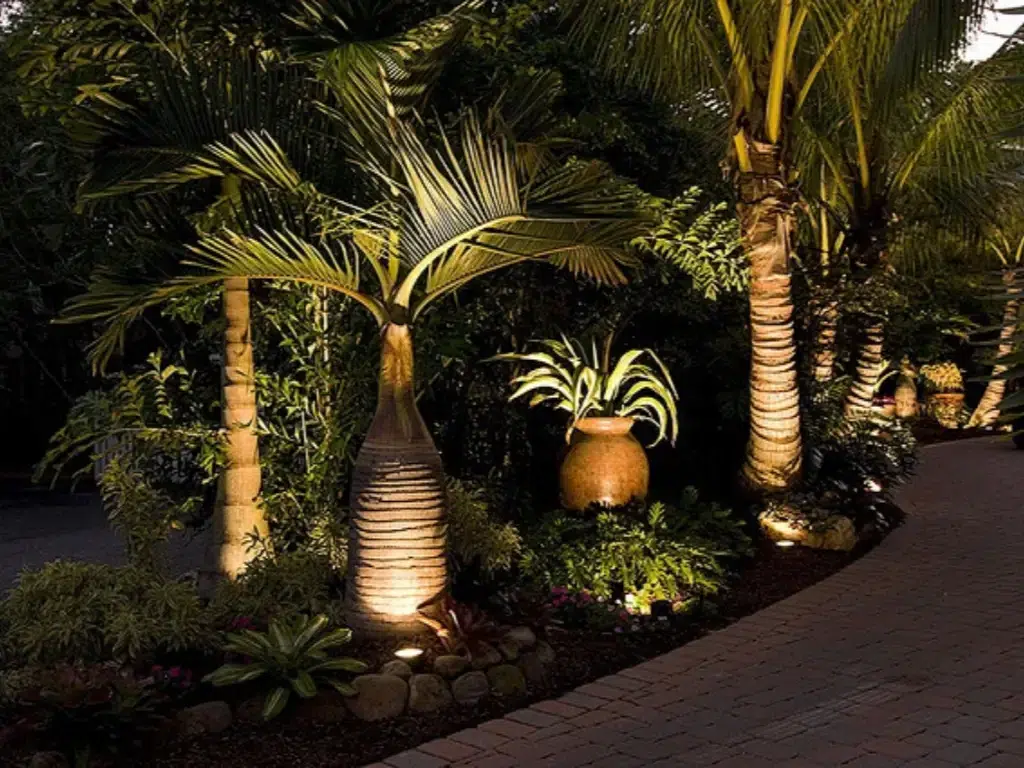

Retaining walls and raised garden beds add texture and structure to a landscape during the day, but after sunset, much of that detail disappears.
Adding lights helps, but poor placement can easily create glare, harsh hot spots, or an overly bright look—especially around seating areas and walkways.
Good landscape lighting should reveal the space without making the fixtures themselves the focus. In this guide, we’ll cover the best ways to light retaining walls and raised garden beds, where to place fixtures to reduce glare, and how to choose the right beam angles and fixture types for a balanced nighttime look.
Why Retaining Walls and Raised Garden Beds Need Special Lighting
Retaining walls and raised garden beds are harder to light than a flat lawn because they have features that affect how light behaves.
- Retaining walls are vertical surfaces. Stone, brick, and concrete can look flat or overly harsh if the light hits them at the wrong angle. Changes in wall height can also create deep shadows, while poorly aimed fixtures may send glare toward nearby seating areas or walkways.
- Raised garden beds change over time. Plants grow, spread, and shift with the seasons, so a fixture that works well in spring may be hidden by summer. Beds also tend to be narrow and exposed to irrigation, so fixture placement and become especially important
In both cases, the goal is to reveal texture and shape without making the fixture or the light source itself the most noticeable part of the scene.
Choose the Right Type of Fixture for Retaining Walls and Beds
The right fixture depends on what you are trying to light. Retaining walls usually benefit from concealed, downward-facing fixtures, while planting areas often need low-profile uplighting. Walkways and bed edges call for a different approach again.
1. Hardscape Lights for Retaining Wall Caps
Best for: Stone, brick, and concrete retaining walls.
Hardscape lights fit beneath capstones, along wall edges, or between masonry layers. Their downward-facing beam illuminates the wall surface while keeping the fixture largely out of sight.
This makes low-voltage hardscape lights a practical choice for bringing out the texture of stone or brick without placing a visible fixture in front of the wall. They work especially well on walls with a cap or overhanging edge that can conceal the light source.
2. Well Lights for Plant-Focused Areas
Best for: Small trees, ornamental grasses, and larger shrubs in or around raised beds.
Well lights sit flush with the soil and direct light upward through trunks, branches, or foliage. Their low profile makes them useful in planting areas where above-ground fixtures would be more noticeable.
Use in-ground landscape well lights selectively rather than placing one under every plant. A few well-chosen focal points usually produce a more natural result than lighting the entire bed at the same intensity.
3. Path Lights for Edges and Transitions
Best for: Walkways, steps, bed edges, and elevation changes.
Path lights make boundaries and walking surfaces easier to see at night. They are especially useful where a raised bed sits beside a path or where one landscape level transitions into another.
Choose shieldedlow-voltage landscape lighting fixtures that direct light downward rather than outward. This keeps the illumination focused on the walking surface instead of adding unnecessary light to the surrounding planting area.
How to Position Lights and Control Beams to Avoid Glare
The right fixture can still cause glare if it is aimed poorly. Once the lights are installed, focus on three things: keeping the light source out of direct view, matching the beam spread to the target, and using only as much brightness as the space needs.
Keep the Light Source Out of Sight
You should see the light on the wall or plants, not the lamp itself. Check each fixture from nearby seating areas, walkways, and windows. If the LED or bulb is visible from a normal viewing position, adjust the angle or add shielding until the source is no longer directly exposed.
Match the Beam Angle to the Target
Beam angle should match the size and shape of what you are lighting. A narrow beam works well for tall trees or architectural details, while broader beams are better suited to walls and low planting areas.
Beam Type | Typical Spread | Best Use |
|---|---|---|
Narrow beam | 10°–15° | Tall trees, columns, narrow details |
Medium beam | 20°–40° | Retaining walls, shrubs, garden beds |
Wide beam | 60°+ | Broad surfaces and low plantings |
A beam that is too narrow can create obvious hot spots, while one that is too wide may spill beyond the intended area. If you are comparing different fixture options, a landscape lighting beam angle guidecan help you judge how each spread will behave.
Start With Less Light
Start with a lower output and increase brightness only where needed. Too much light can flatten wall texture, wash out planting areas, and make individual fixtures more noticeable. Also avoid placing fixtures so close together that their beams overlap into continuous bright areas.
Make your final adjustments after dark, checking for glare, hot spots, and uneven brightness. Fine-tune the beam angle or output until the lighting feels balanced across the space.
Planning Tips Before Installing Retaining Wall Lighting
A few decisions made before installation can prevent unnecessary adjustments later.
- Consider the wall material. Stone responds well to grazing light that brings out surface texture, while brick usually needs a more controlled wash. Wood retaining walls tend to look better with softer, lower-output lighting rather than a hard, concentrated beam.
- Plan for plant growth. Shrubs and grasses can quickly block or redirect light as they mature. Use adjustable fixtures where possible and keep wiring accessible so fixtures can be repositioned without reworking the entire run.
- Plan the low-voltage system early. For most residential installations, a 12V system is easier to route and adjust around planting areas. Keep transformer capacity, cable length, and voltage drop in mind when laying out the runs. A voltage drop calculator for landscape lighting can help determine whether longer distances require a different wire gauge or layout.
Conclusion
Good retaining walls and raised garden bed lighting is not about making the entire landscape brighter. It is about putting light where it is useful, keeping glare under control, and allowing texture and planting to remain visible after dark.
With the right fixtures, careful placement, and controlled beam angles, you can improve nighttime visibility without losing the natural character of the space.

With a Master in Architectural Studies from University of Pennysylvania, Marwa Haydar has pioneered living spaces since 2005. Her expertise, initially honed in a prestigious architectural firm, is evident in her approach to creating environments. Marwa became part of our team in 2019 and has since been a driving force in our home improvement section, known for her practical yet stylish solutions. She’s been spearheading our design workshops since then, infusing her passion for teaching into her work. In her leisure time, Marwa enjoys exploring historic architecture and is an enthusiastic pottery hobbyist, further enriching her understanding of form and texture.