
Mounting a television looks simple until the first hole is drilled in the wrong place. The hardest part is not lifting the screen, but confirming that the wall, bracket, height, and cable route can support a safe installation.
Learninghow to mount a TV on a wall starts with checking the TV’s weight, VESA pattern, wall material, and viewing position before using any tools.
You also need dependable structural support, correctly sized fasteners, safe cable access, and a second person to help with lifting.
In renovation work, I treat the wall and bracket as one supporting system. A strong mount cannot correct a weak attachment point.
This article explains mount selection, stud finding, wall-plate installation, TV attachment, wire management, and final safety checks in a logical working order.
How to Mount Your TV Quickly
To learn how to mount a TV on a wall safely, match the bracket to the television, secure the wall plate to suitable structural support, and lock the screen into place.
Follow this basic order:
- Check the TV’s weight and VESA pattern.
- Choose a comfortable viewing height.
- Identify the wall material and support points.
- Mark the bracket and drill pilot holes.
- Fasten the wall plate securely.
- Attach the mounting arms to the TV.
- Lift the screen with another person.
- Lock, level, and test the installation.
Use two people when lifting the TV, and follow the exact instructions supplied with both the television and mounting bracket.
Correct planning before drilling helps prevent blocked ports, uneven placement, weak fasteners, and damaged walls.
Choose the Right TV Mount Type
Before you check the wall, decide what kind of mount you need. This choice affects how the TV sits, what it costs, and how the cables run.
- Fixed mounts hold the TV flat against the wall with almost no gap. They suit rooms where you always watch from one seat, straight on.
- Tilting mounts let you angle the screen down. Use these above a fireplace, or anywhere the TV sits higher than eye level.
- Full-motion mounts swing out and turn. Pick one if you watch from more than one spot in the room. It also helps if you need to pull the TV forward to reach the ports.
Match the mount to your VESA pattern and weight rating, not just your screen size. A mount rated for a 50-inch, 30-pound TV won’t necessarily hold a 65-inch, 55-pound one.
That’s true even if the holes line up. Check both numbers against your TV’s spec sheet before you buy.
Before You Drill
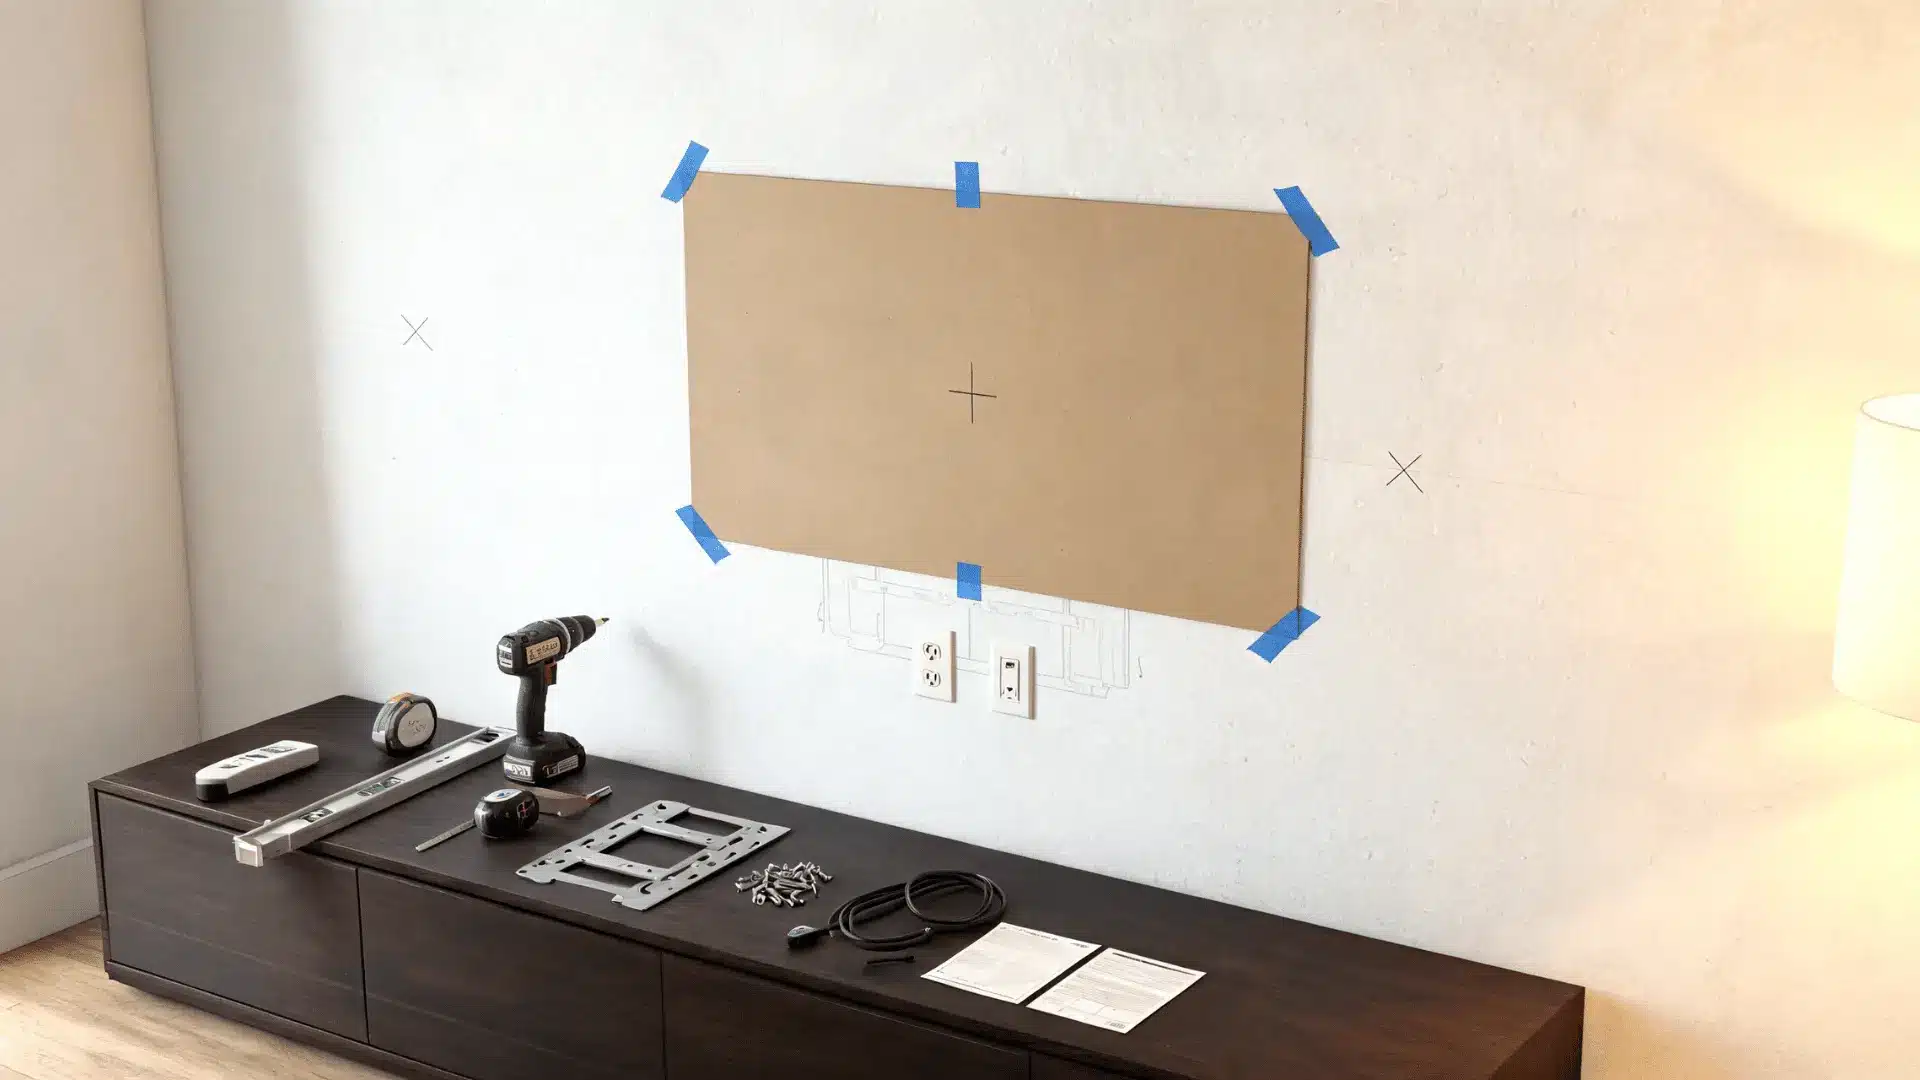
Before learning how to mount a TV on a wall, confirm that the chosen area can support the bracket and screen safely.
Do not drill when you are unsure what sits behind the wall.
Completing these checks first reduces the risk of wall damage, blocked ports, misplaced holes, and an installation that needs to be removed and corrected later.
1. Inspect the Wall: Check the planned mounting area for cracks, damp patches, loose plaster, crumbling masonry, bowed drywall, or large repairs. These signs may indicate that the surface or support behind it is unsuitable.
A mounting plate should never rely on a damaged or unstable section. Patched drywall can also hide old holes or missing support, so confirm the framing location instead of judging the wall only by its outer finish.
2. Check for Hidden Utilities: Electrical cables, water pipes, gas lines, and HVAC parts may run through the drilling area. Look at both sides of the wall and note nearby outlets, switches, sinks, bathrooms, radiators, and vents.
Use a detector designed to identify studs, live wires, and metal before drilling. Stop immediately if the readings are unclear or the drill meets unexpected resistance.
3. Plan Power and Device Access: Decide where the outlet, streaming box, game console, soundbar, HDMI connections, and internet cable will sit before fixing the bracket. Check which TV ports face sideways and which point toward the wall.
A slim fixed mount may leave limited room for thick plugs or straight cable connectors. Right-angle adapters or a bracket with more clearance may solve the problem.
Tools and Materials
Gather every tool and fitting before marking the wall. This keeps the installation organized and helps prevent using the wrong drill bit, screw, or spacer.
| Category | Item | Purpose |
| Measuring | Tape measure | Checks TV height and bracket position |
| Marking | Pencil and painter’s tape | Marks studs and drilling points |
| Detection | Stud finder | Locates support behind drywall |
| Alignment | Level | Keeps the wall plate straight |
| Drilling | Drill or drill-driver | Creates pilot holes and installs hardware |
| Bits | Wood or masonry bits | Matches the wall material |
| Tightening | Socket wrench | Secures mounting bolts |
| Fastening | Screwdriver | Attaches brackets and safety locks |
| Mounting | Compatible TV bracket | Supports the screen safely |
| Hardware | Approved bolts and anchors | Secures the plate to the wall |
| TV fittings | Screws, washers, and spacers | Connect mounting arms to the television |
| Protection | Blanket or foam pad | Protects the screen during setup |
How to Mount TV on Wall
Learning how to mount a TV on a wall becomes easier when each task follows the correct order. Check the manuals first, prepare the television, measure the bracket position, and confirm solid support before drilling.
The following steps cover the complete process from preparing the hardware to testing the finished installation.
1. Read Both Instruction Manuals
Read the television and wall-mount manuals before opening or mixing the hardware packets. Confirm the approved wall types, weight limit, VESA spacing, drill-bit size, pilot-hole depth, and locking method.
Separate the bolts, washers, screws, and spacers into small groups. Similar-looking screws may have different lengths or threads.
Keep both manuals nearby because their instructions take priority over general mounting advice.
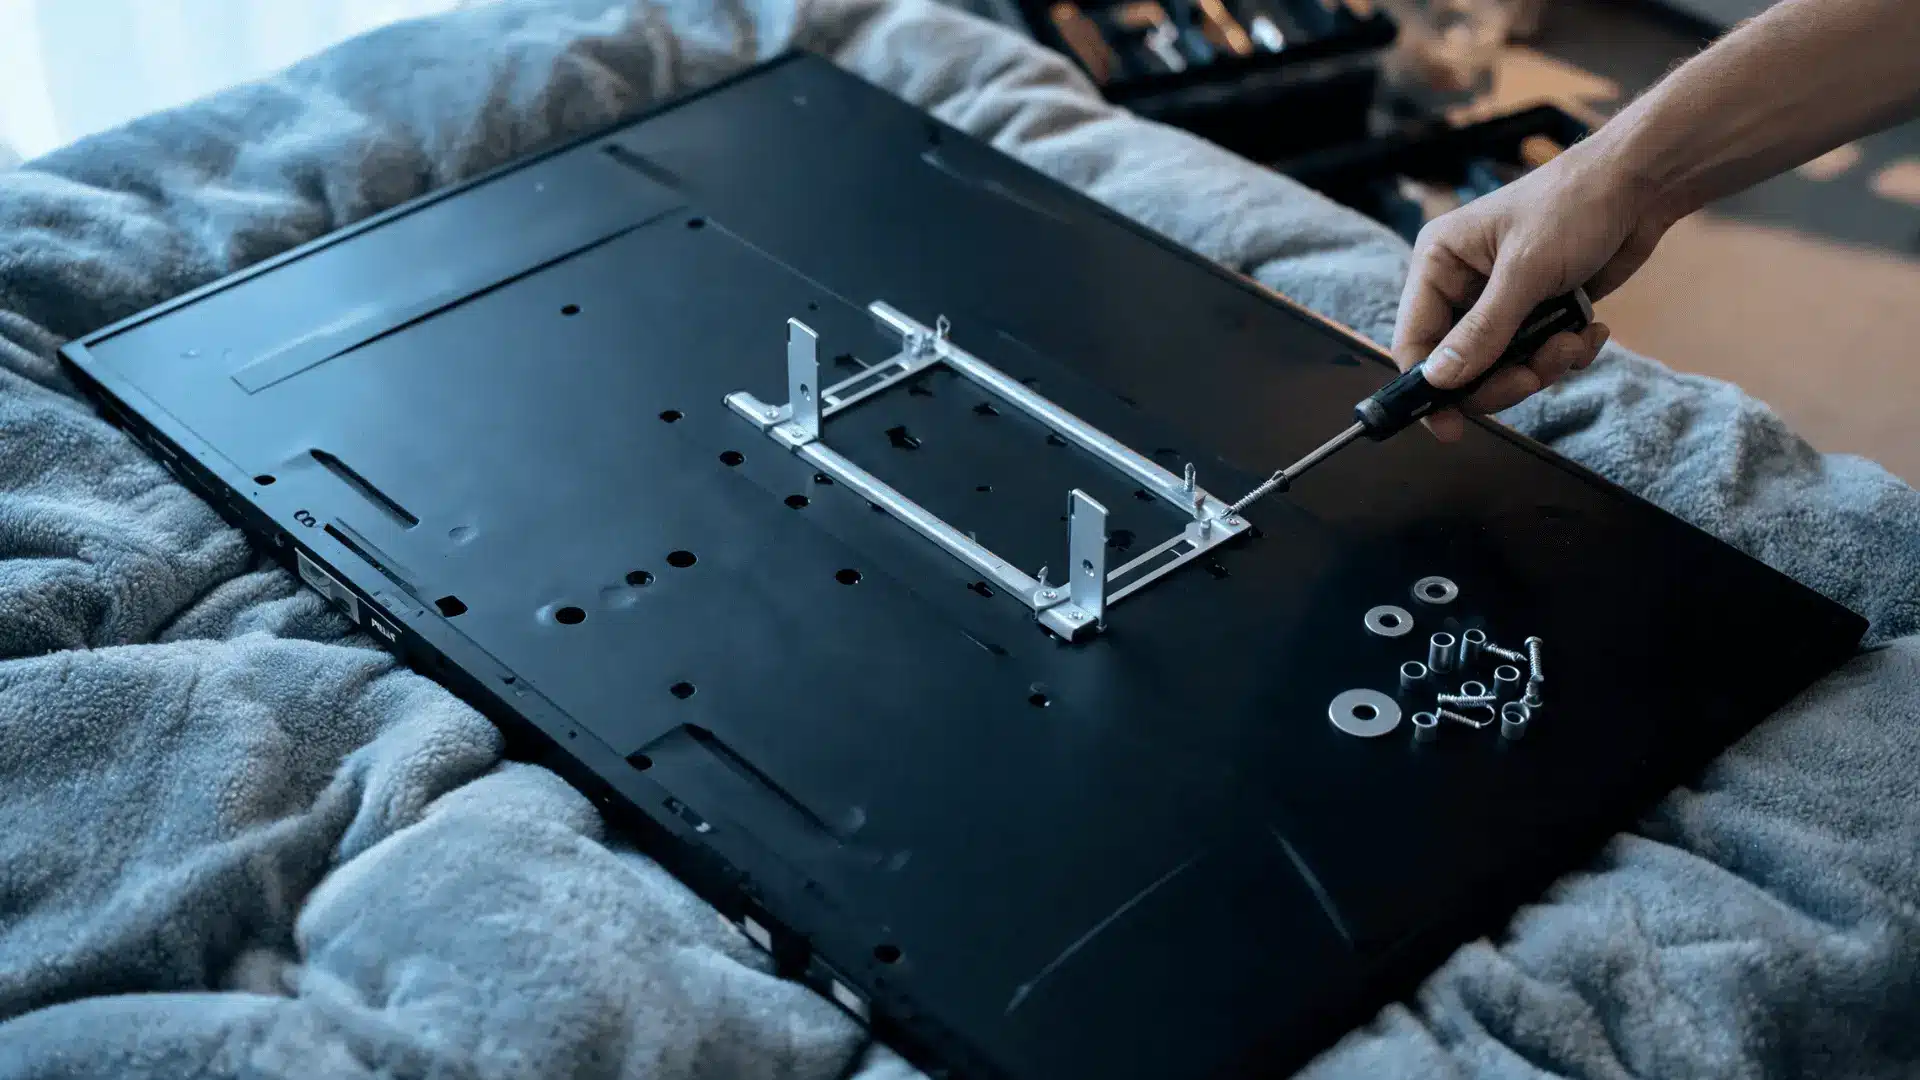
2. Attach the TV Brackets
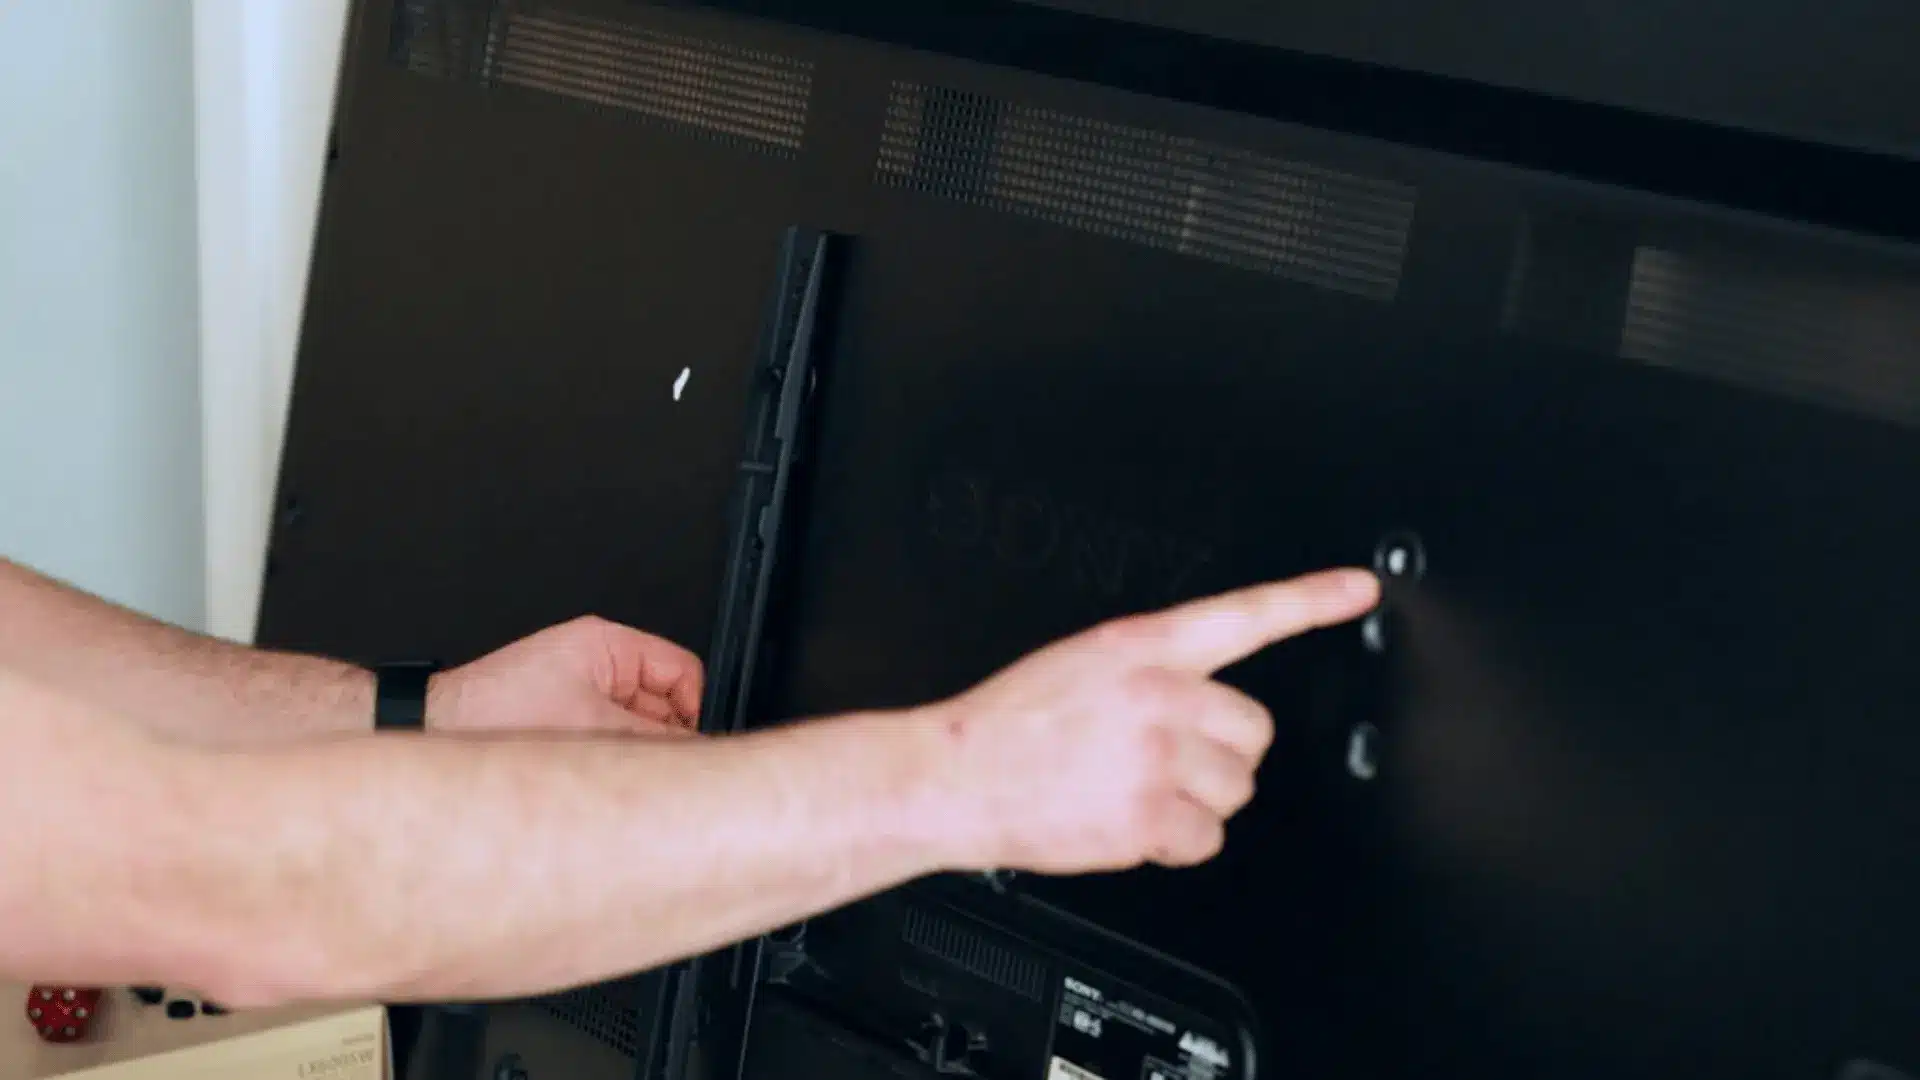
Place the television face down on a clean blanket, foam sheet, or another soft surface. Never apply pressure directly to the screen while positioning it.
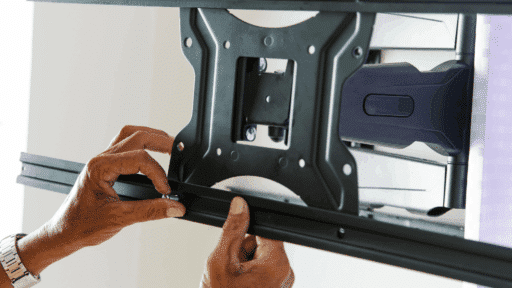
Align the vertical mounting arms with the VESA holes on the back panel. Add the required washers or spacers, then turn each screw by hand before tightening.
Stop if a screw binds, feels loose, or appears long enough to press inside the television.
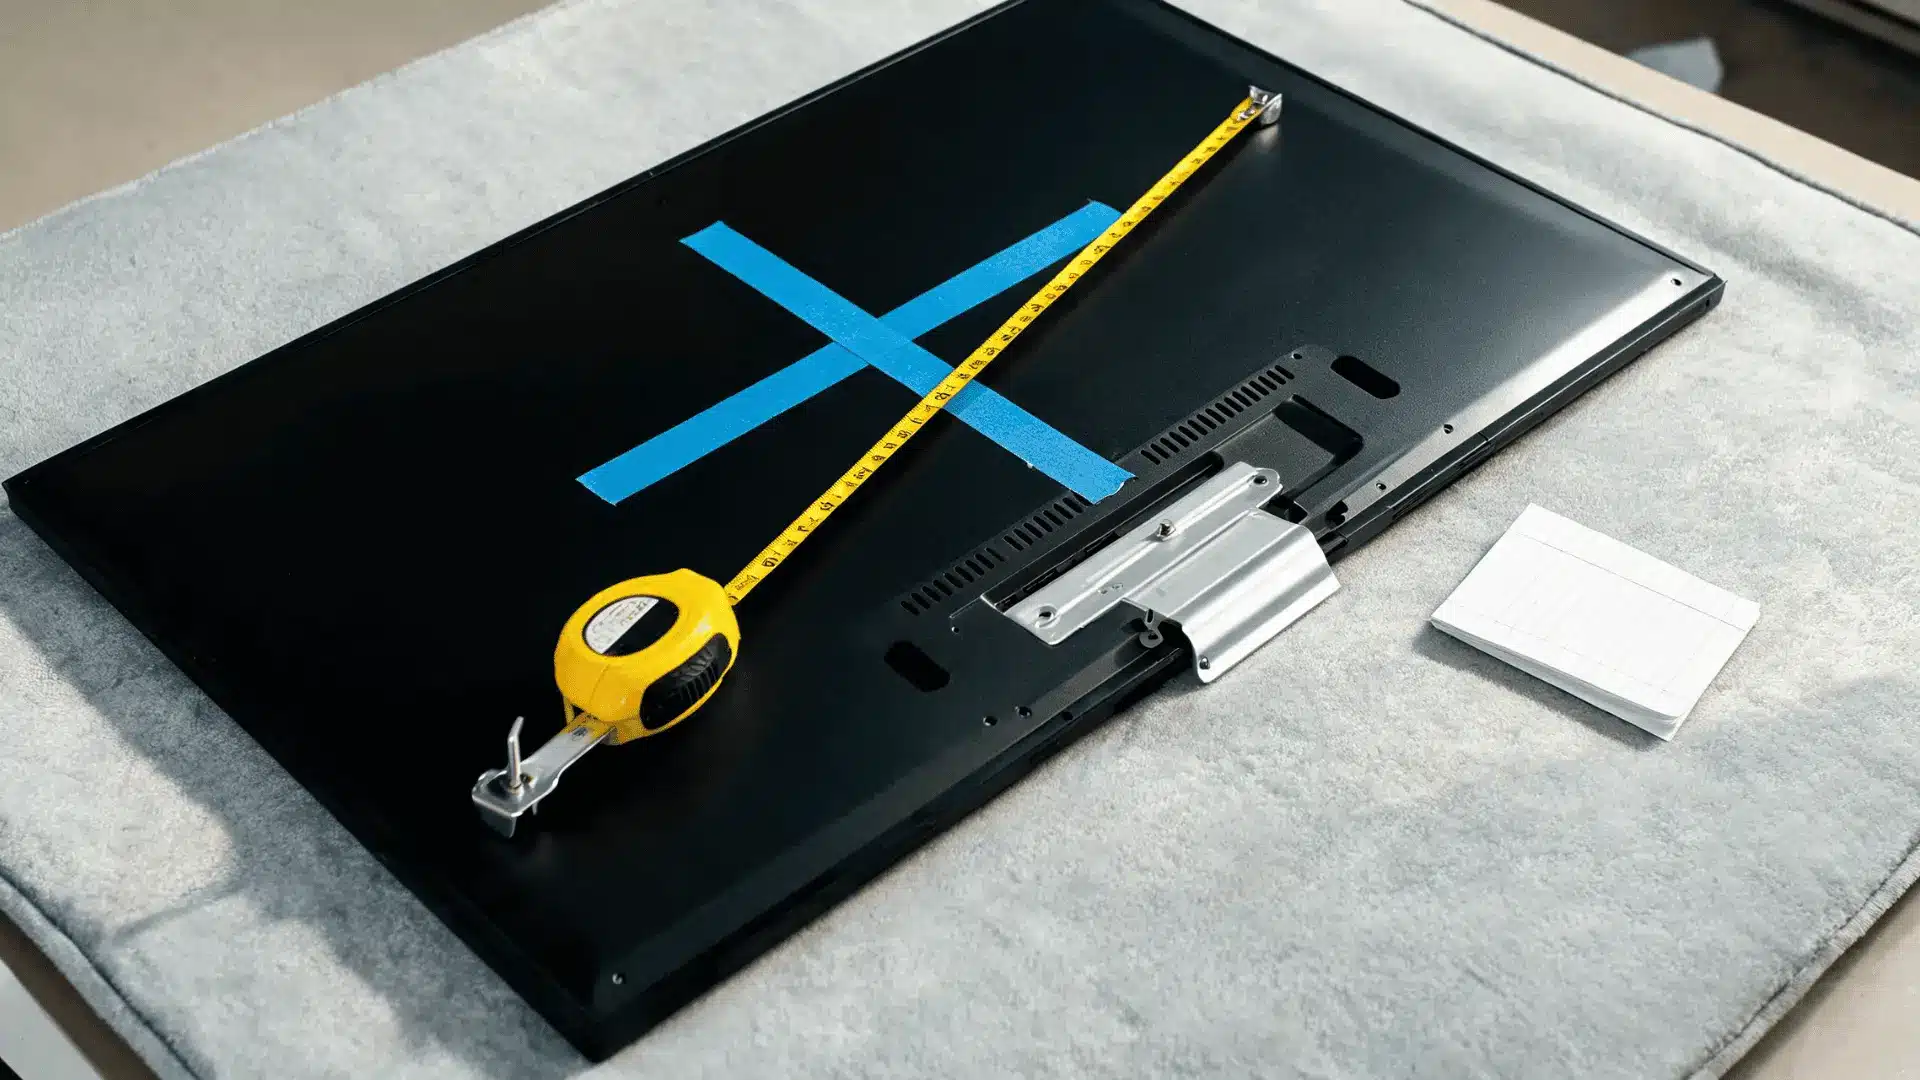
3. Measure the Bracket Offset
The wall plate may not line up with the television’s top edge or screen center. Measure from the mounting hooks on the TV brackets to your chosen screen reference point.
Transfer this distance to the wall using the planned viewing height. Recheck the calculation before marking any holes.
This measurement prevents the finished screen from sitting higher or lower than the position tested earlier.
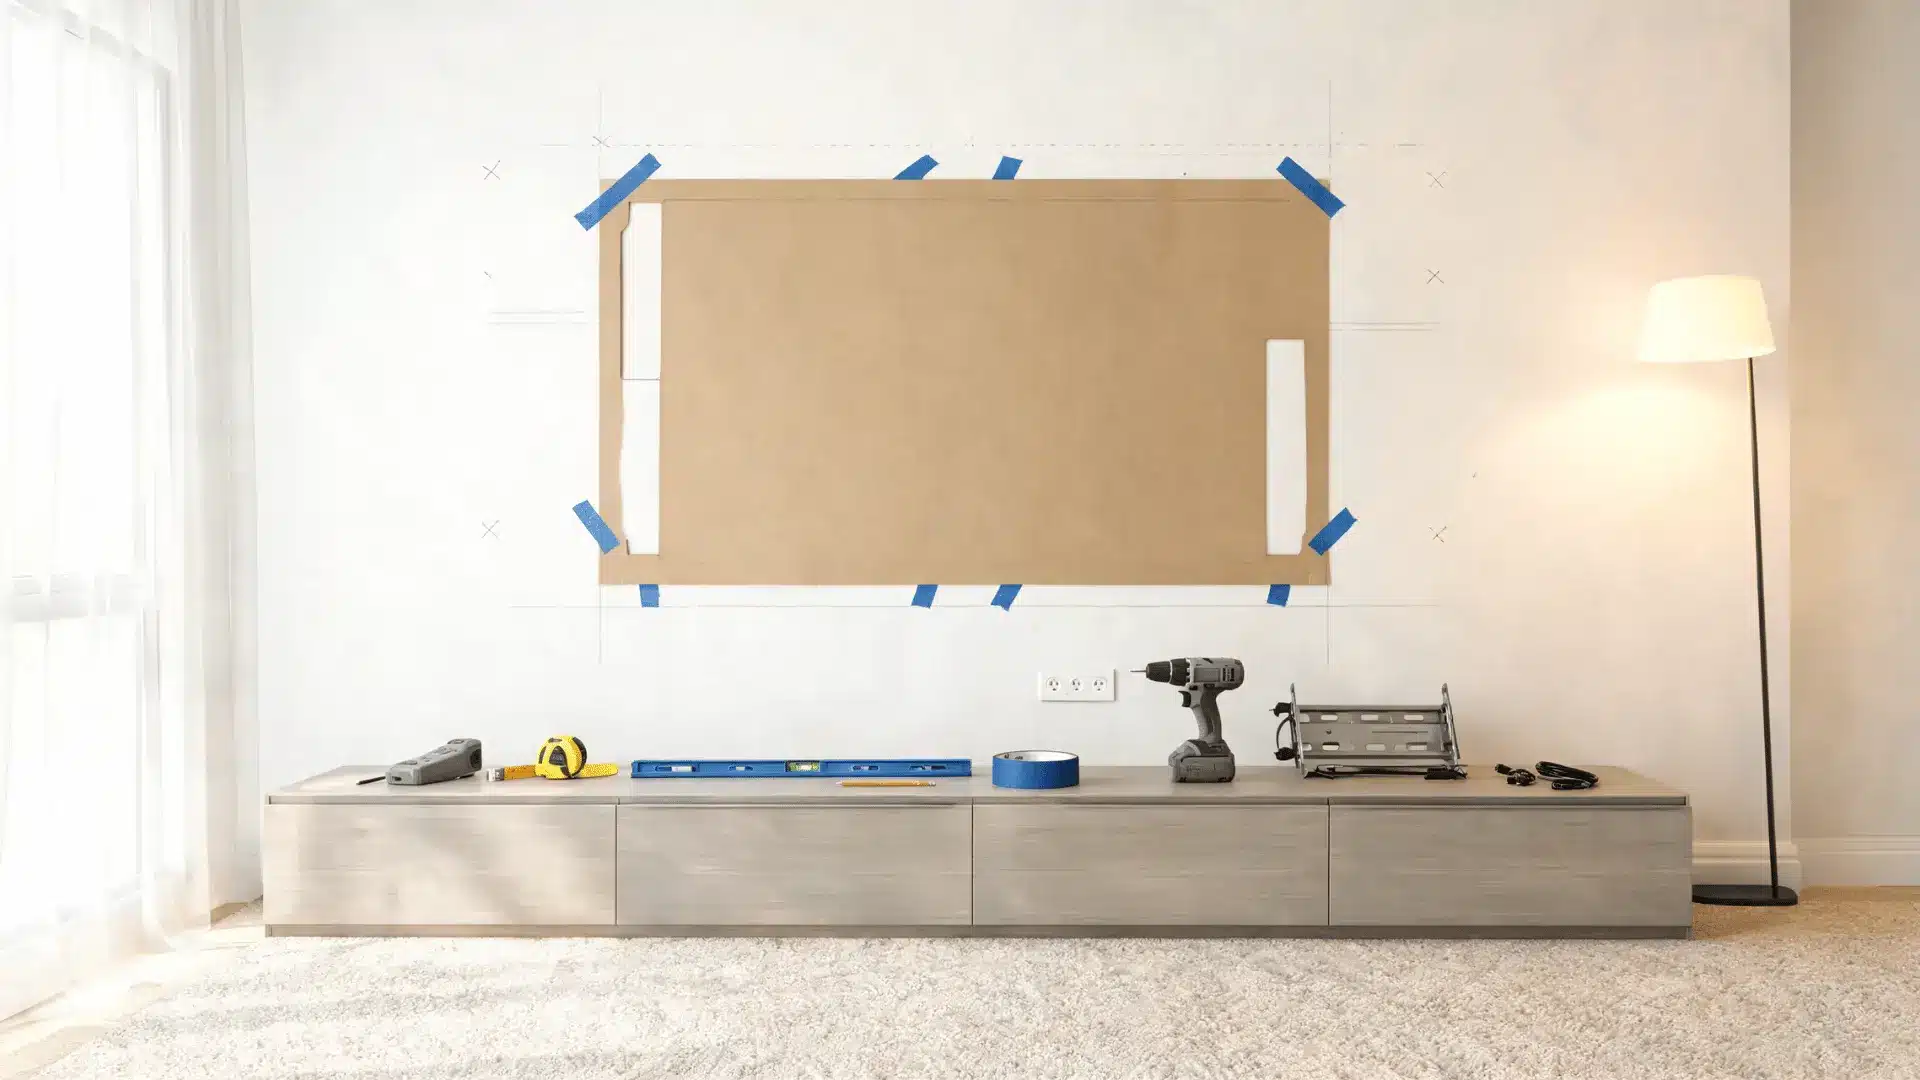
4. Locate the Stud Centers
Move the stud finder slowly across the wall and mark both edges of every detected wood stud. Measure between those marks to accurately identify the center.
Repeat the scan at different heights because inconsistent readings may come from patched areas, wires, or metal fittings. Use another suitable checking method when needed.
Fasteners placed near a stud edge may not provide the same support as centered pilot holes.
5. Mark the Wall Plate
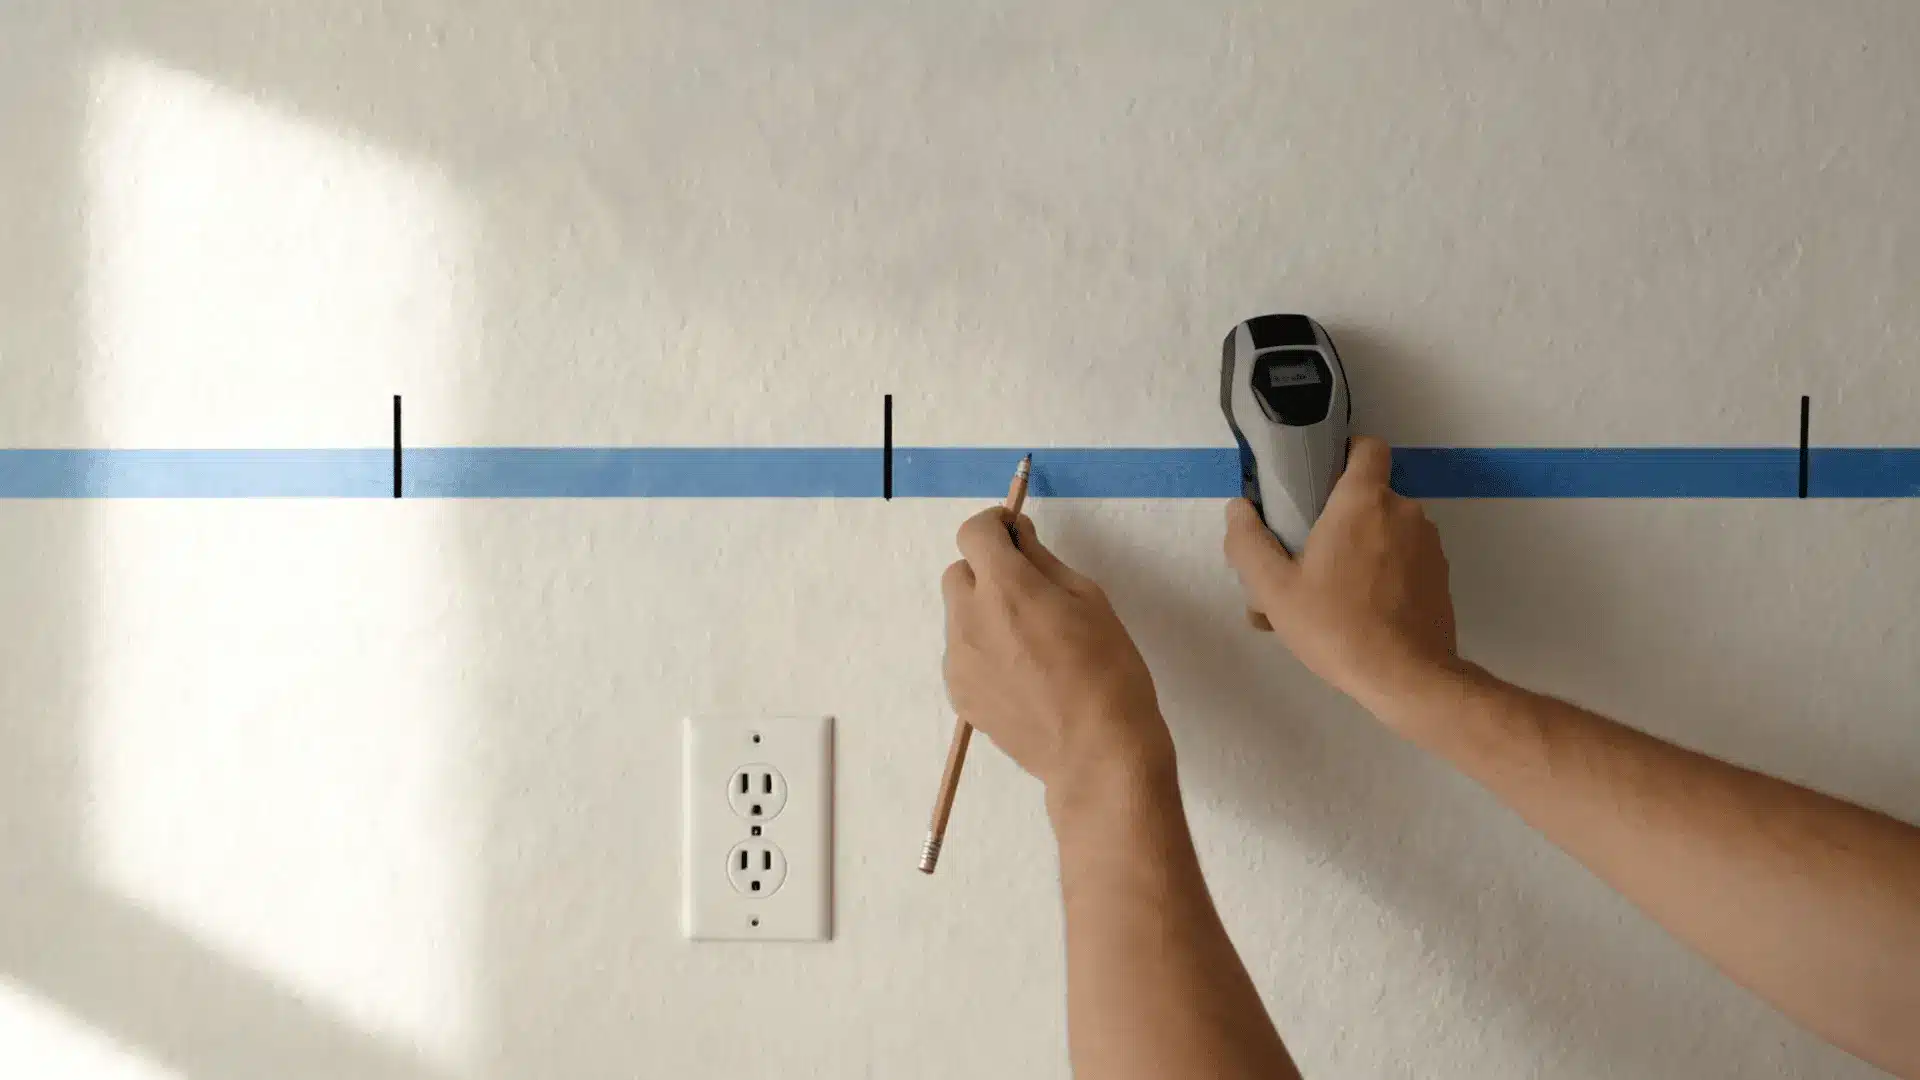
Hold the wall plate or supplied paper template against the identified support points. Place a level along its upper edge and adjust it until the plate sits straight.
Lightly mark the required drilling locations with a pencil. Check the center position, viewing height, furniture clearance, and stud alignment once more.
Correcting pencil marks is easier than repairing holes drilled in the wrong position.
6. Drill the Pilot Holes
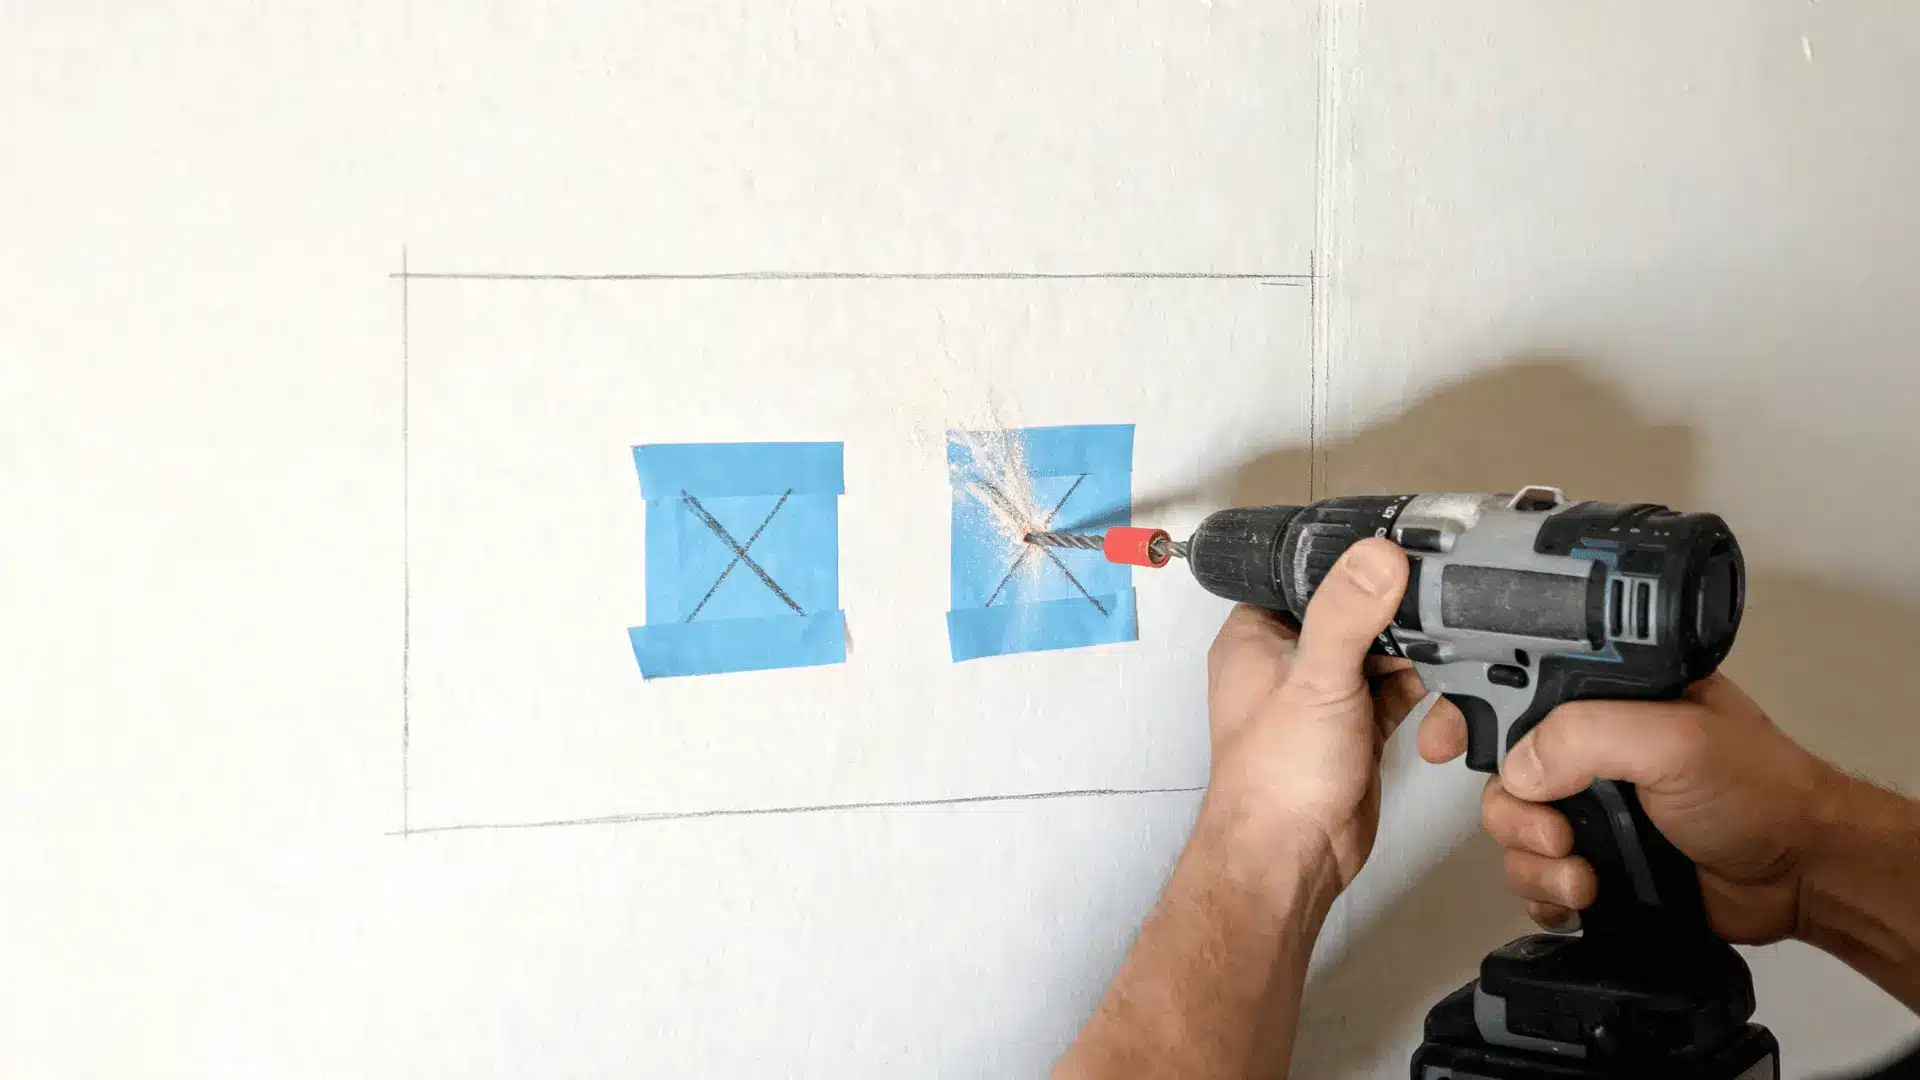
Select the drill bit specified for the fastener and wall material. Keep the drill straight, then create each pilot hole at the required diameter and depth.
Do not widen the holes by moving the drill from side to side. Stop when the bit hits metal, enters an unexpected gap, or misses the support.
Investigate unusual resistance before continuing instead of forcing the drill deeper into the wall.
7. Secure the Wall Plate
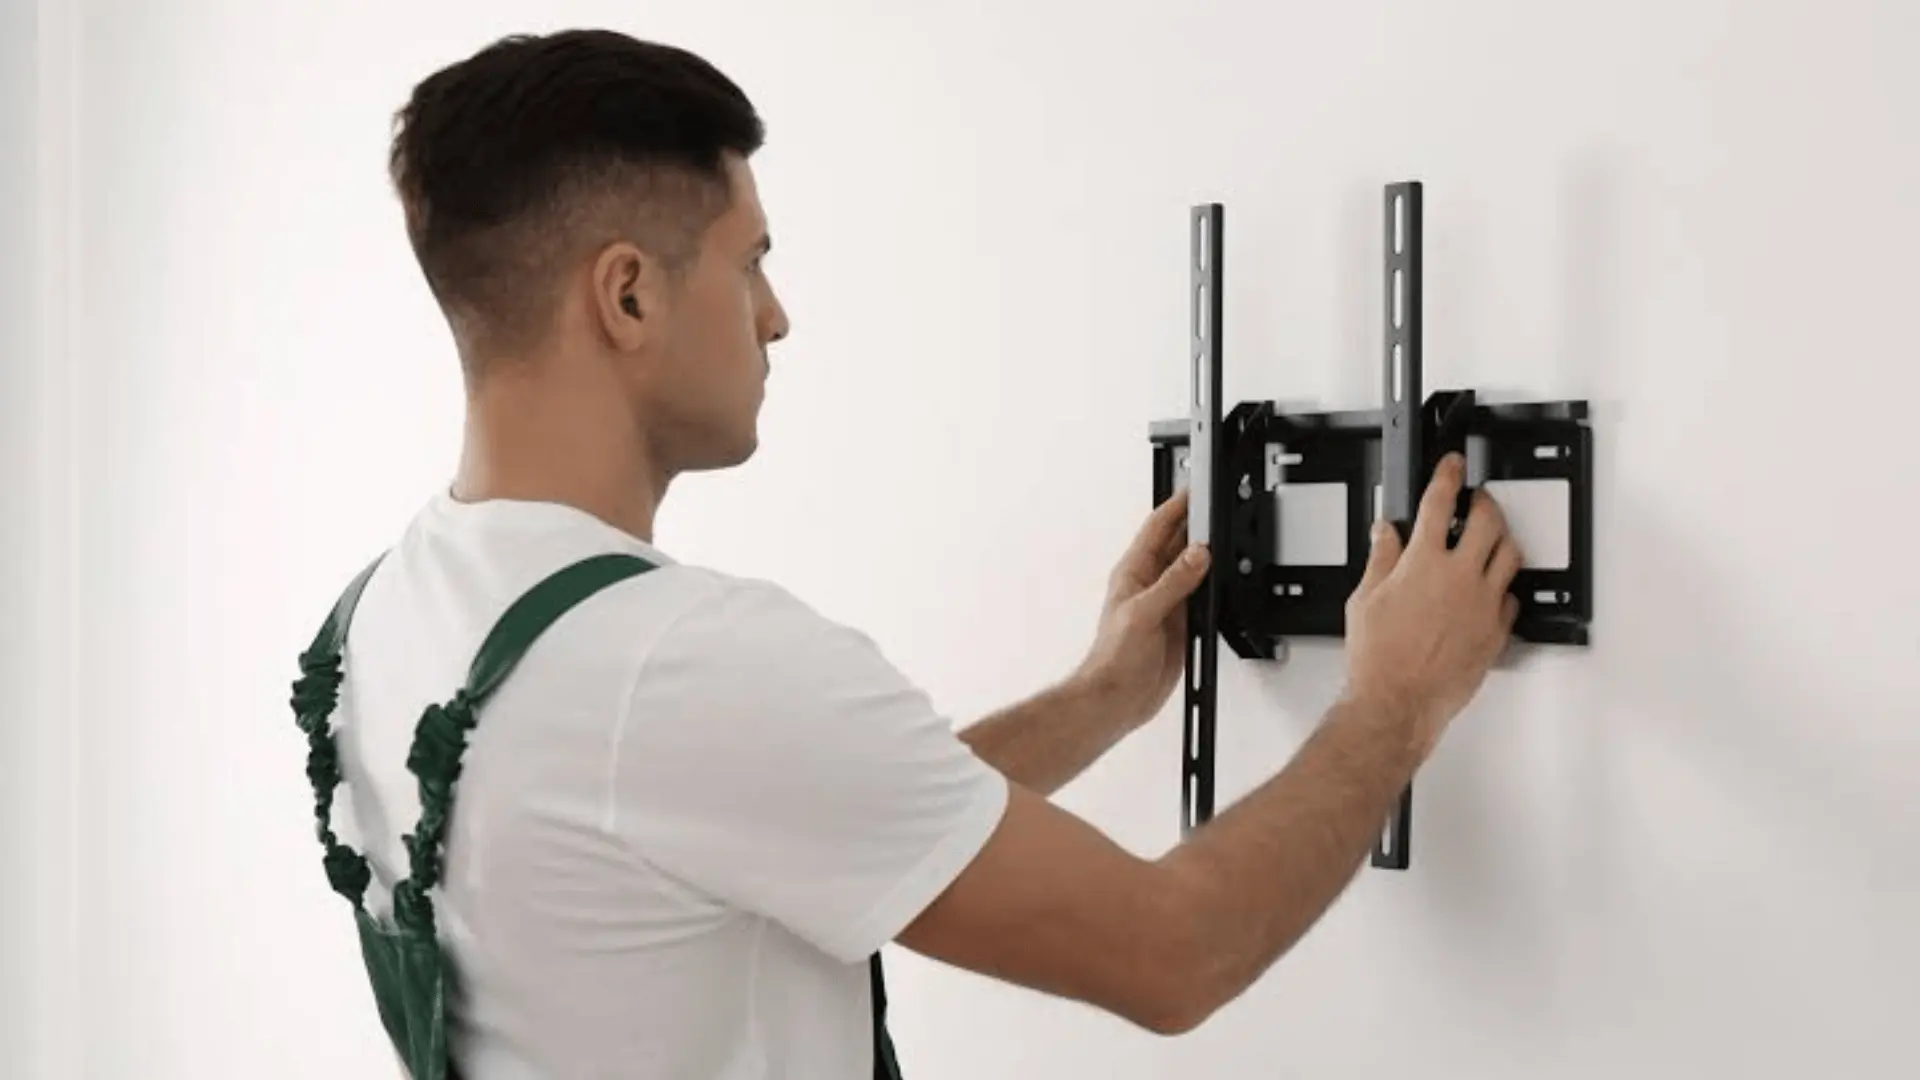
Position the wall plate over the pilot holes and insert each approved fastener loosely. Starting every bolt first makes it easier to maintain alignment.
Tighten the fasteners gradually, moving between opposite sides while checking the level. Follow the manufacturer’s tightening directions and avoid excessive drill force.
The finished plate should remain firm and flat without bending or crushing the wall surface.
8. Connect Restricted Cables
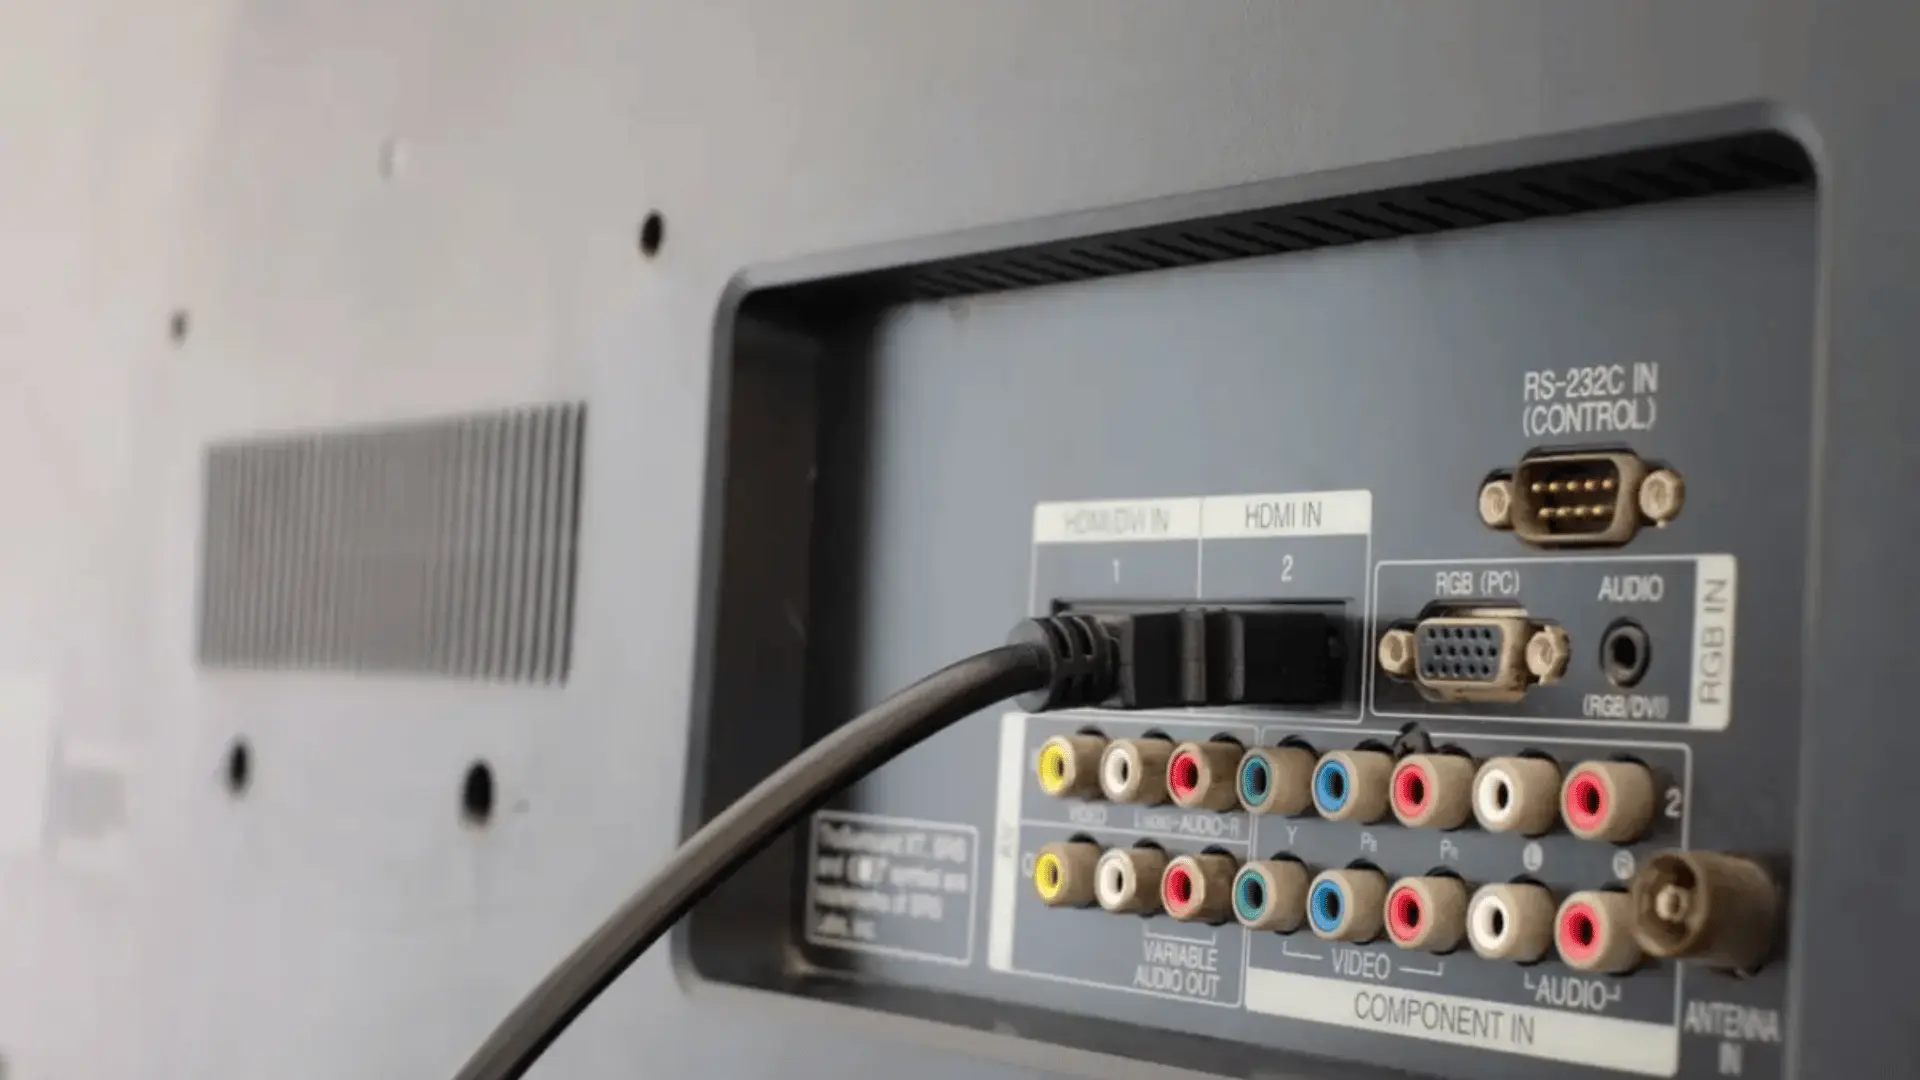
Attach HDMI leads, network cables, antennas, or other connections that may become difficult to reach after mounting. Right-angle adapters can help when the bracket offers limited clearance.
Leave enough cable slack for lifting, tilting, or extending the television. Avoid sharp bends and keep connectors away from the mounting arms.
Test each connection before lifting the TV so faulty or misplaced cables can be corrected easily.
9. Lift and Lock the TV
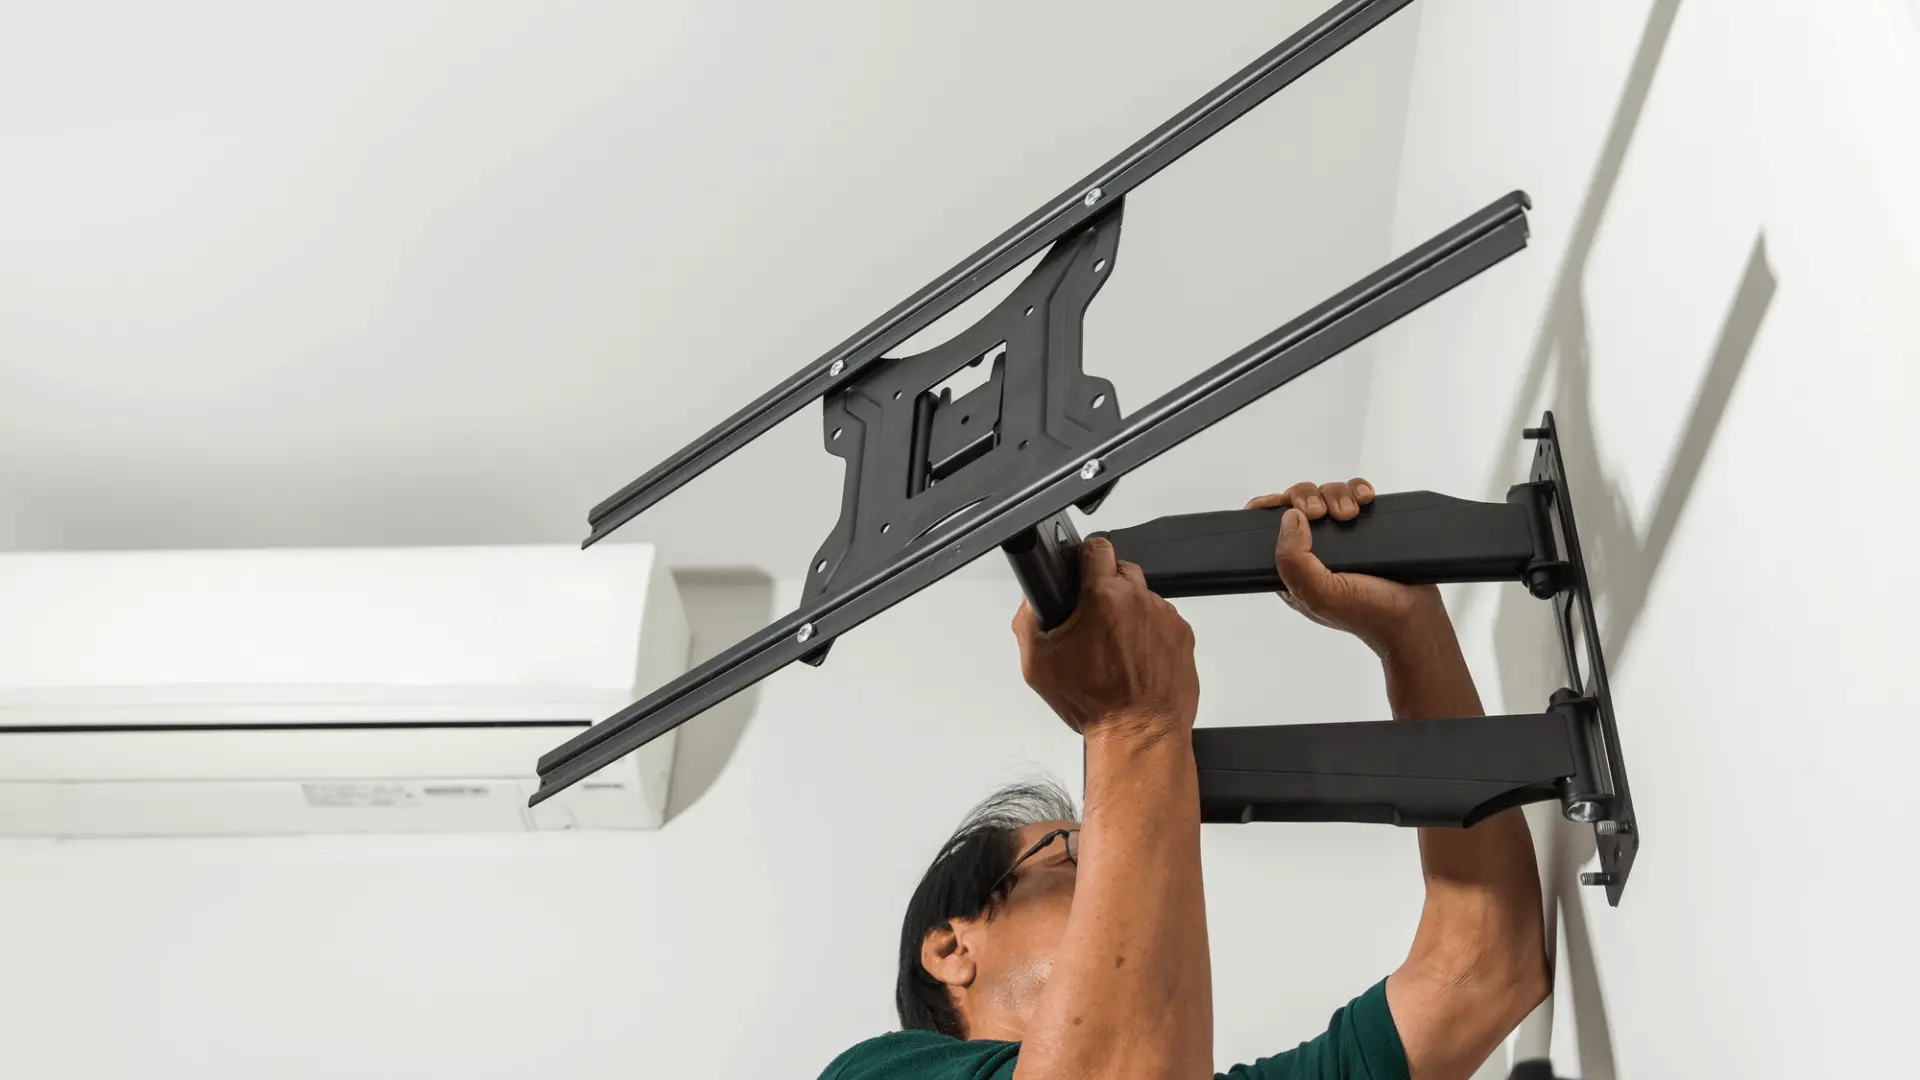
Ask another adult to help, with one person holding each side of the television. Lift from the lower frame without gripping or pressing the display panel.
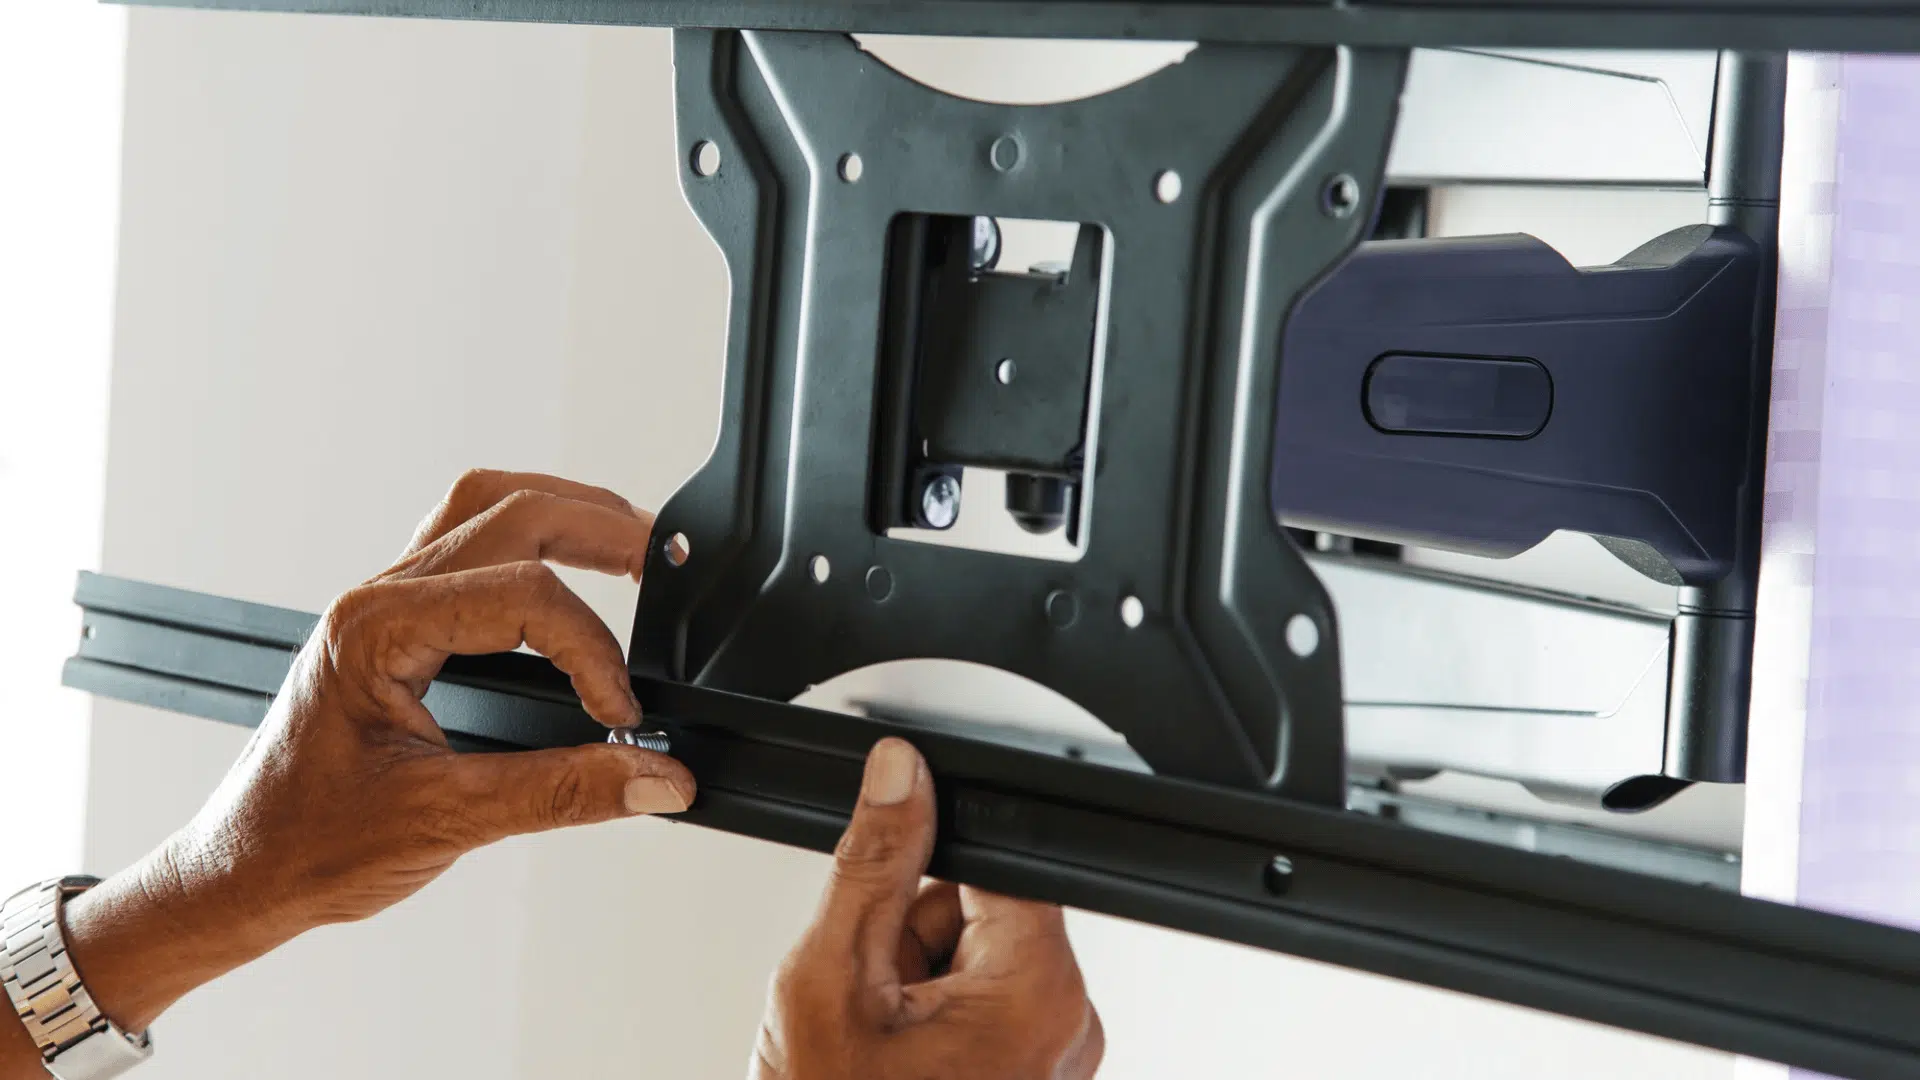
Guide the mounting hooks onto the wall plate, then confirm that both sides are seated evenly. Install every supplied locking screw, clip, tab, or pull-cord mechanism.
Do not release the TV until both people confirm that the brackets are fully engaged.
10. Level and Test the Mount
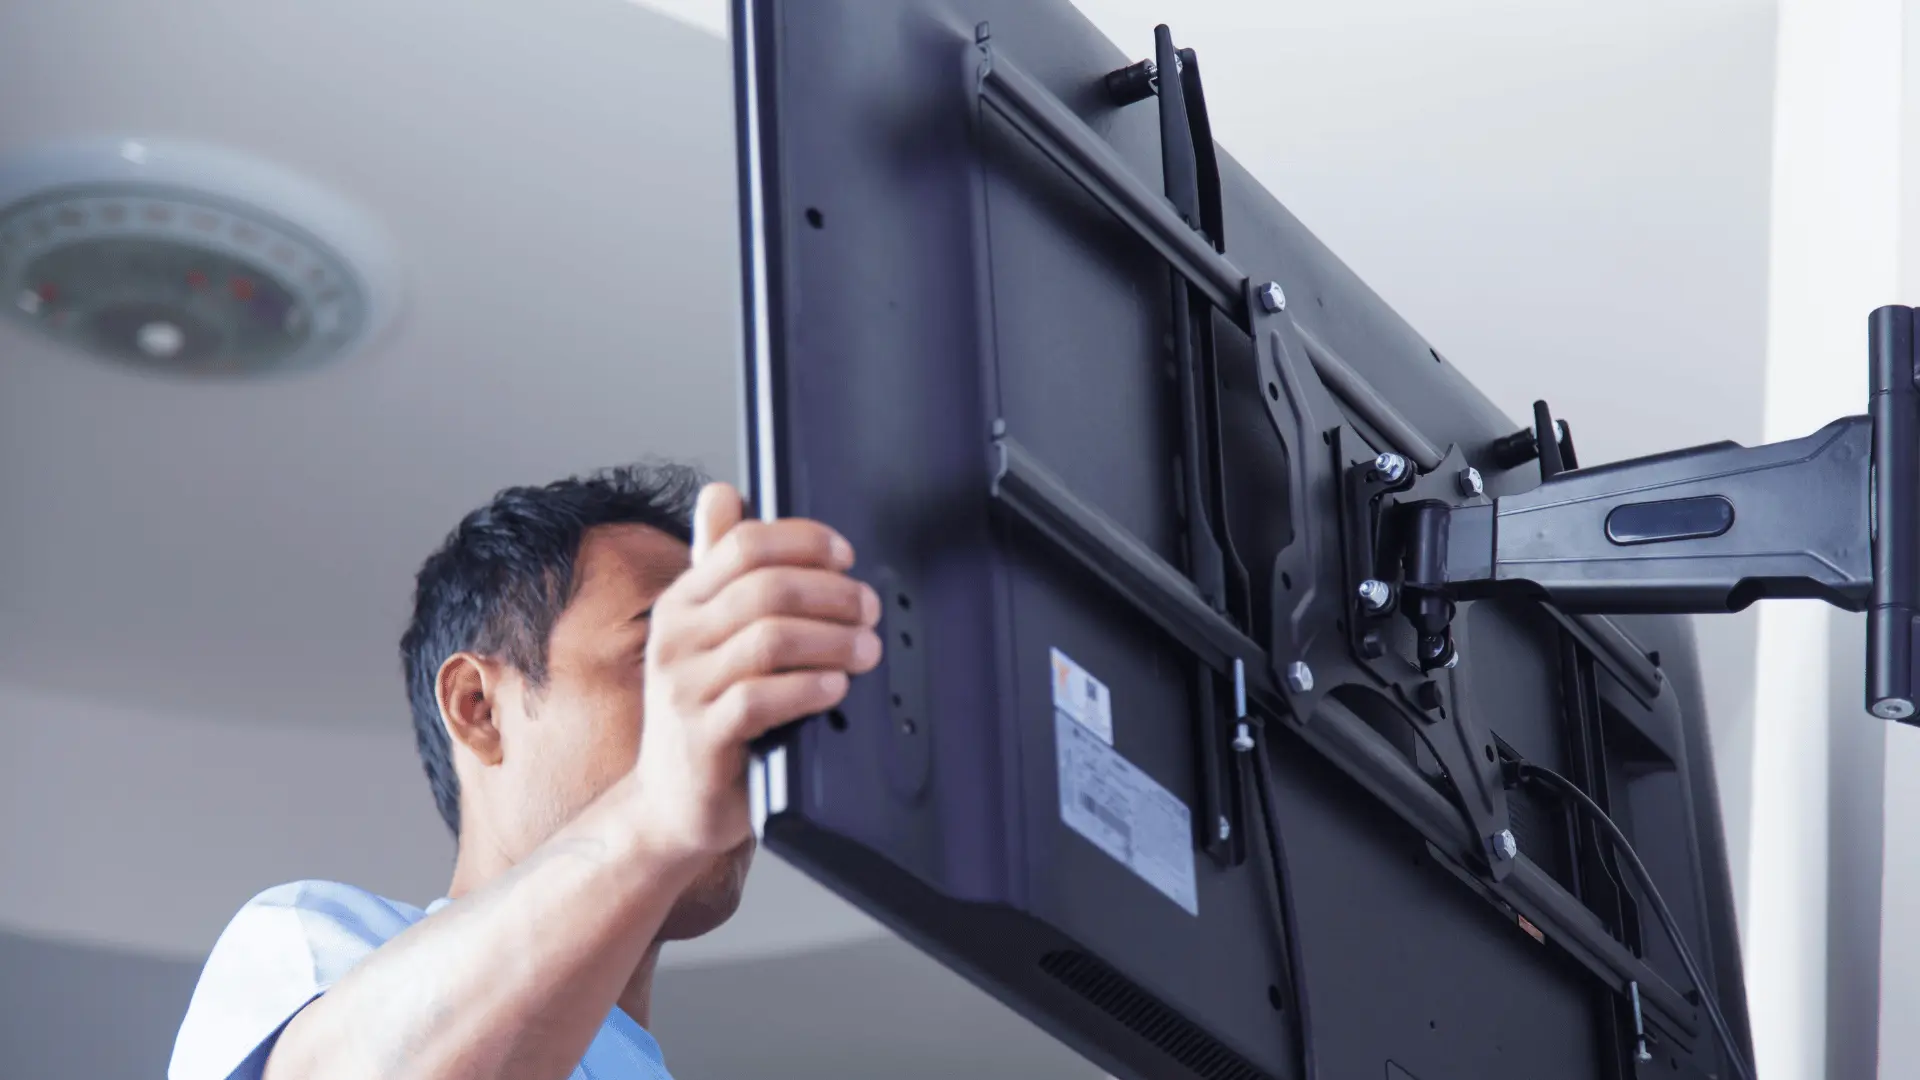
Place a level along the television and use the bracket’s adjustment controls when available. Check that the screen remains stable and does not shift unexpectedly.
Gently test the top and lower edges before moving a tilting or full-motion arm. Watch the wall plate, cable slack, port connections, and locking parts during movement.
I treat the manufacturer’s pilot-hole, fastening, and locking instructions as the final authority because small hardware differences can change the correct method.
Reconnect the power only after the screen is secure and every final check has been completed.
Post-Install Safety Check
A wall-mounted TV is not ready for regular use until the bracket, hardware, cables, and screen position have been checked. Complete each point before reconnecting devices or moving a full-motion arm.
- Confirm every wall fastener is fully seated.
- Check that the wall plate sits flat.
- Verify all safety locks are engaged.
- Test tilt and swivel movement slowly.
- Look for pinched or stretched cables.
- Make sure plugs do not press against the TV.
- Confirm ventilation openings remain clear.
- Check that the screen stays level.
- Photograph the installed hardware.
- Label and store unused screws and spacers.
- Keep the manuals and removal instructions.
Common Mounting Mistakes
Knowing how to mount a TV on the wall also means avoiding errors that weaken the bracket, damage the television, or make future cable access difficult.
The table below pairs common mistakes with safer installation choices.
| Mistake | Better Approach |
| Buying a mount by screen size only | Check the TV weight, VESA pattern, and mount capacity |
| Marking only one stud edge | Find both edges and mark the center |
| Drilling before planning cables | Confirm power, HDMI, and device locations first |
| Using incorrect TV screws | Match the thread, length, washers, and spacers |
| Tightening bolts with excessive force | Follow the mount manufacturer’s instructions |
| Forgetting safety locks | Secure and test every clip, screw, or locking tab |
| Lifting the television alone | Ask another adult to help |
| Hiding a loose power cord inside the wall | Use an approved in-wall power solution |
| Ignoring blocked ports | Check rear clearance before fixing the bracket |
| Skipping the final movement test | Inspect the plate, cables, and locks before use |
Final Thoughts
Knowing how to mount a TV on the wall safely comes down to four checks: bracket compatibility, dependable wall support, accurate measurements, and fully secured locking hardware.
Take time to confirm the TV’s weight, VESA pattern, wall material, stud centers, viewing height, and cable route before drilling. Use approved fasteners, follow both manuals, and ask another adult to help lift the screen.
I always complete the locking, leveling, cable, and movement checks before treating the installation as finished.
Stop using the mount if the wall cracks, the plate shifts, or the screen moves unexpectedly.
A qualified installer should handle unclear wall construction, hidden utilities, electrical changes, or mounting methods not covered by the instructions.
Before starting, review every measurement and hardware choice one final time.
Frequently Asked Questions
Should Mounting Hardware be Rechecked Later?
Inspect the wall plate, bolts, safety locks, and moving joints after installation and whenever the screen develops movement, sagging, or unusual sounds.
Does Wall Mounting Affect a TV Warranty?
Wall mounting usually does not affect coverage when approved hardware and instructions are followed. Damage from incorrect screws or poor installation may not be covered.
How do You Prepare for a Future TV Upgrade?
Keep the mount model, weight rating, VESA range, spare hardware, and manuals. A replacement television must still match every listed compatibility limit.
Can Speakers or a Soundbar Affect Mounting?
Their weight, bracket type, vibration, cable route, and screen clearance should be checked before adding accessories to the television or wall mount.

With a Master’s in Architecture from the University of California, Berkeley, Mitchell Green has spent over two decades dedicated to the study and practical application of home fixture design. His career started in an architectural firm, providing him a strong foundation in the structural and aesthetic aspects of home interiors. Mitchell brought his comprehensive knowledge to our platform, where he has been an influential voice in our home fixtures and fittings section. Since 2018, he has been guiding our readers through the intricacies of selecting and installing fixtures, combining technical know-how with design flair. In his spare time, Mitchell is a keen photographer, capturing architectural details and design elements, an interest that complements his professional focus.