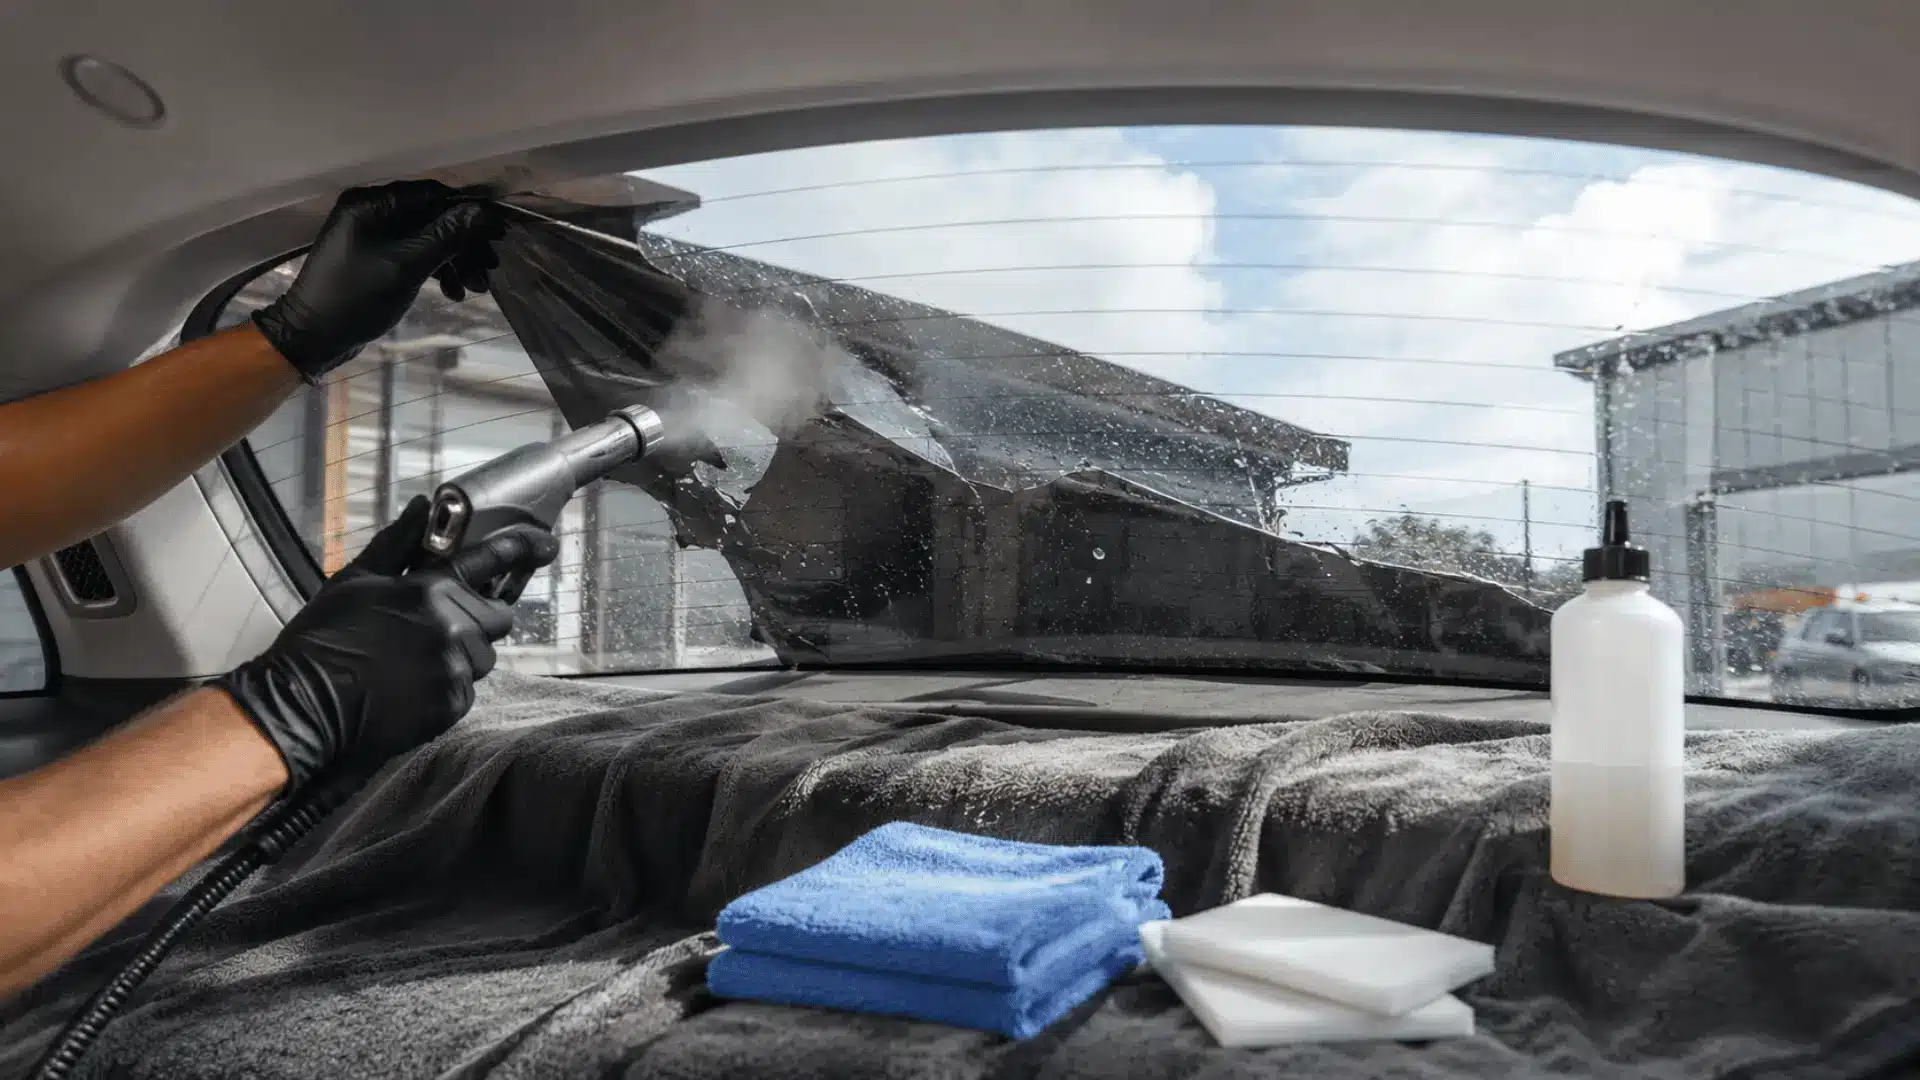

Old window tint can turn purple, bubble at the edges, block your view, or leave the glass cloudy. Removing it may seem simple, but pulling the film too quickly can leave glue behind.
I have broken this process into steps so you can work carefully and protect the glass, seals, trim, and rear defroster lines.
In this guide, you will learn how to remove tint with a steamer, hair dryer, or heat gun. I will also explain which tools to use, how to lift and peel the film, and how to clean adhesive without making a mess.
You will see the key differences between side and rear windows, reasons tint fails, and mistakes that can scratch glass or damage vehicle parts.
By following a steady method, you can prepare each window for clear use or a clean new tint installation.
Tools and Supplies You’ll Need
Here are some tools and supplies that could come in handy while removing tint:
- Handheld hot water steamer
- Hair dryer or heat gun
- Stainless steel razor blade
- Plastic razor blade
- Window tint knife
- Automotive glass cleaner
- Window film adhesive remover
- White non-scratch scrub pads
- Microfiber towels
- Safety glasses
- Plastic sheeting
- Masking tape
- Extension cord
- Trash bag
Step-by-Step Window Tint Removal
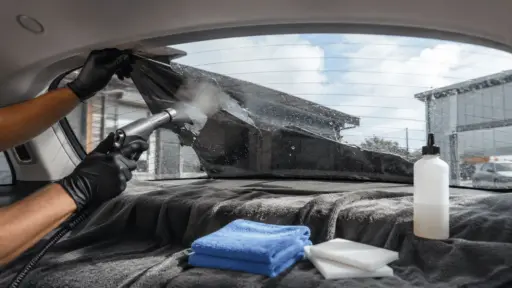
The steamer method softens the adhesive while keeping the film flexible enough to remove in larger sections. Taking your time during peeling can reduce the amount of glue left on the glass.
Step 1: Protect the Interior
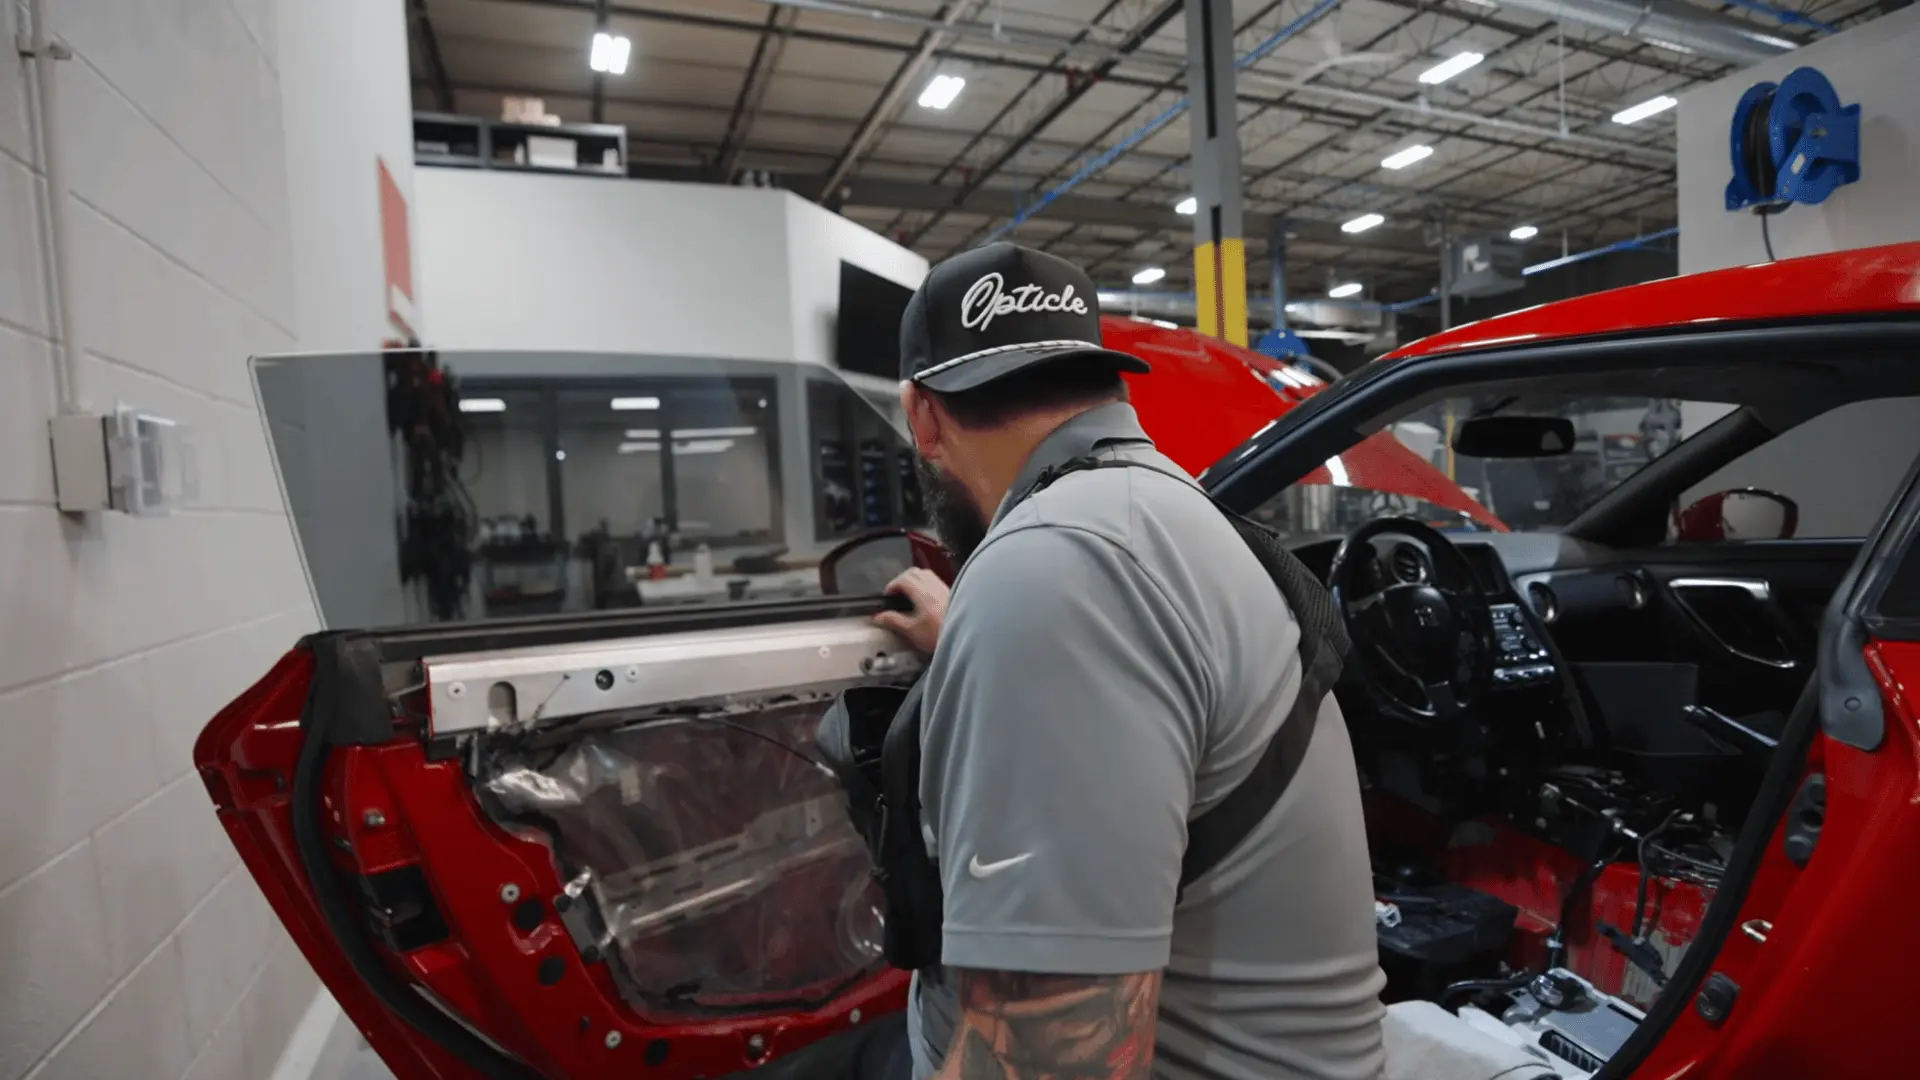
Place towels or plastic sheeting over the door panel, switches, speakers, seats, and nearby trim. You do not normally need to remove the door panel, but removing a loose window seal may provide better access.
Keep electrical parts dry and provide ventilation if you plan to use an adhesive remover later.
Step 2: Warm the Tint and Adhesive
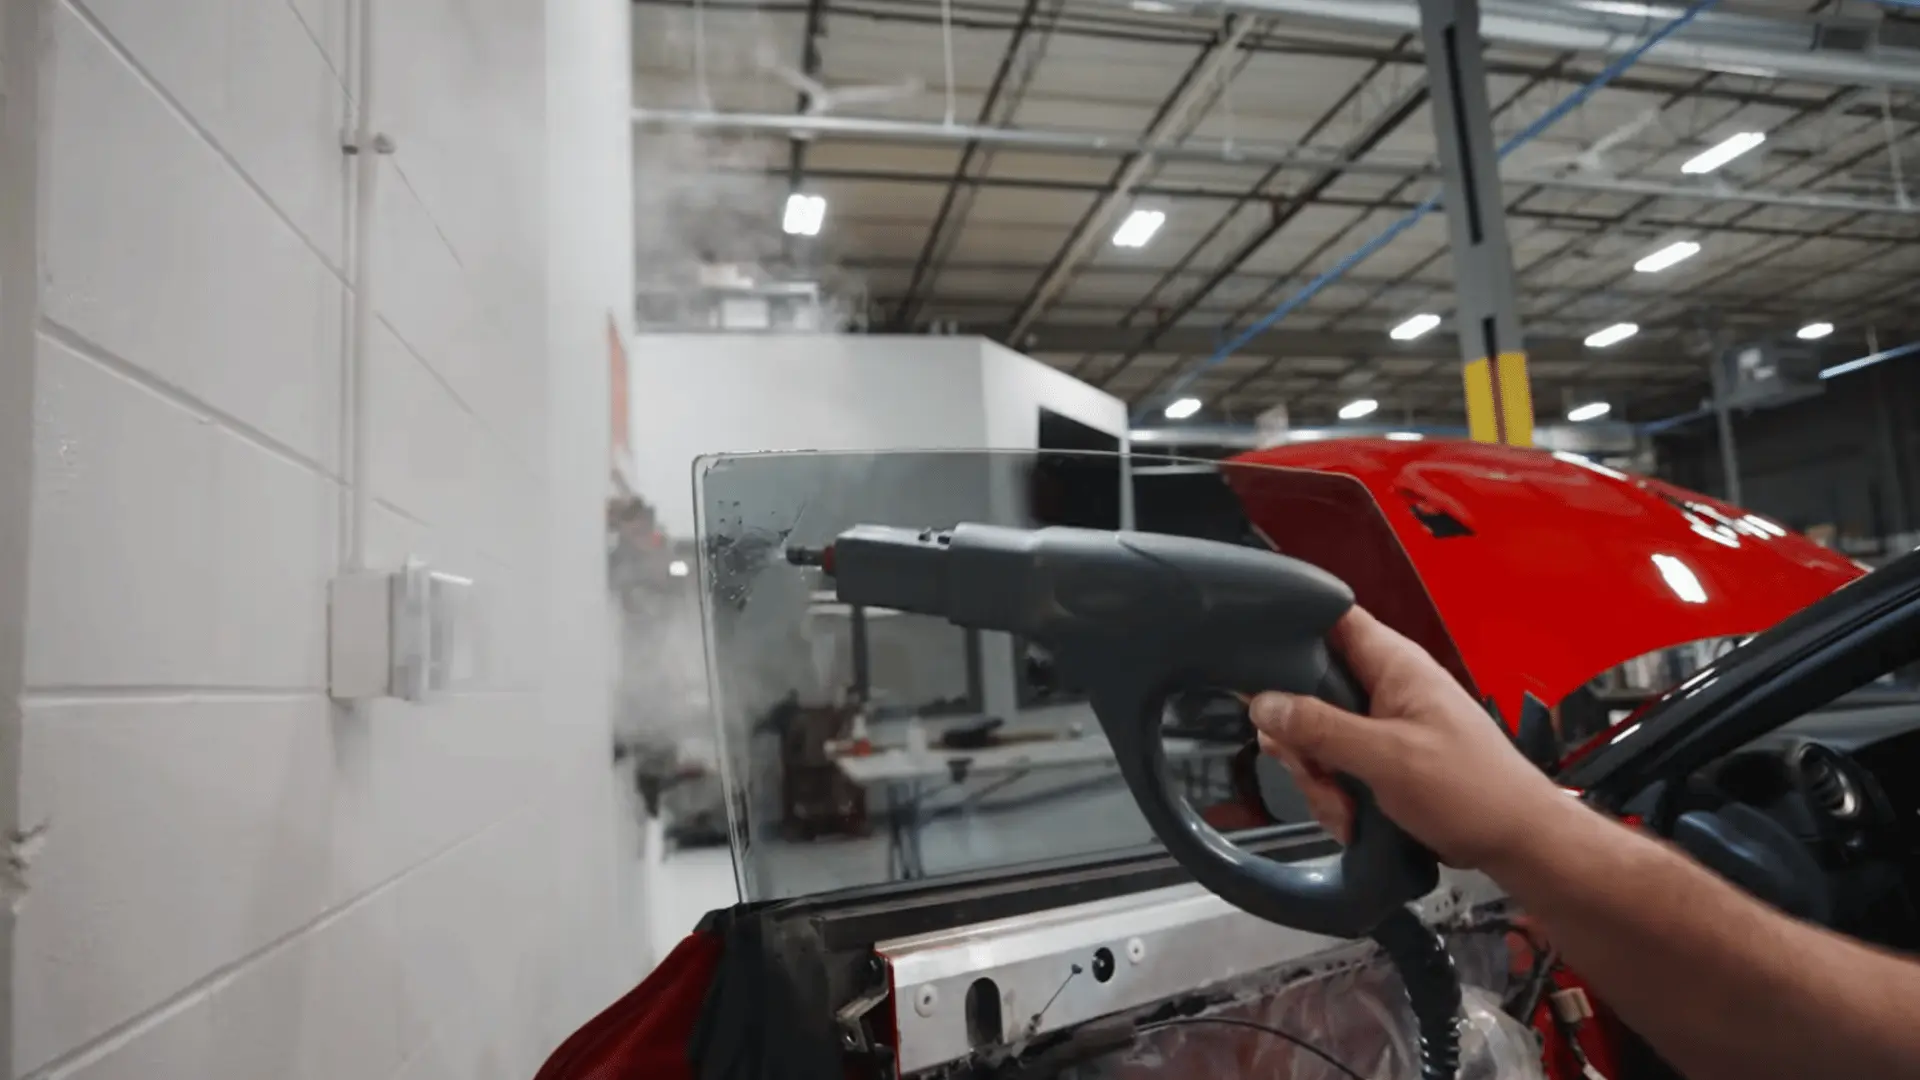
Fill the steamer with water and allow it to heat fully. Move the steam across the inside of the window, paying close attention to the top edge and corners.
Do not hold the steamer against the glass. Keep it moving so the heat spreads evenly. A hair dryer or heat gun can also soften the adhesive, but a heat gun requires more control.
Step 3: Lift One Corner of the Film
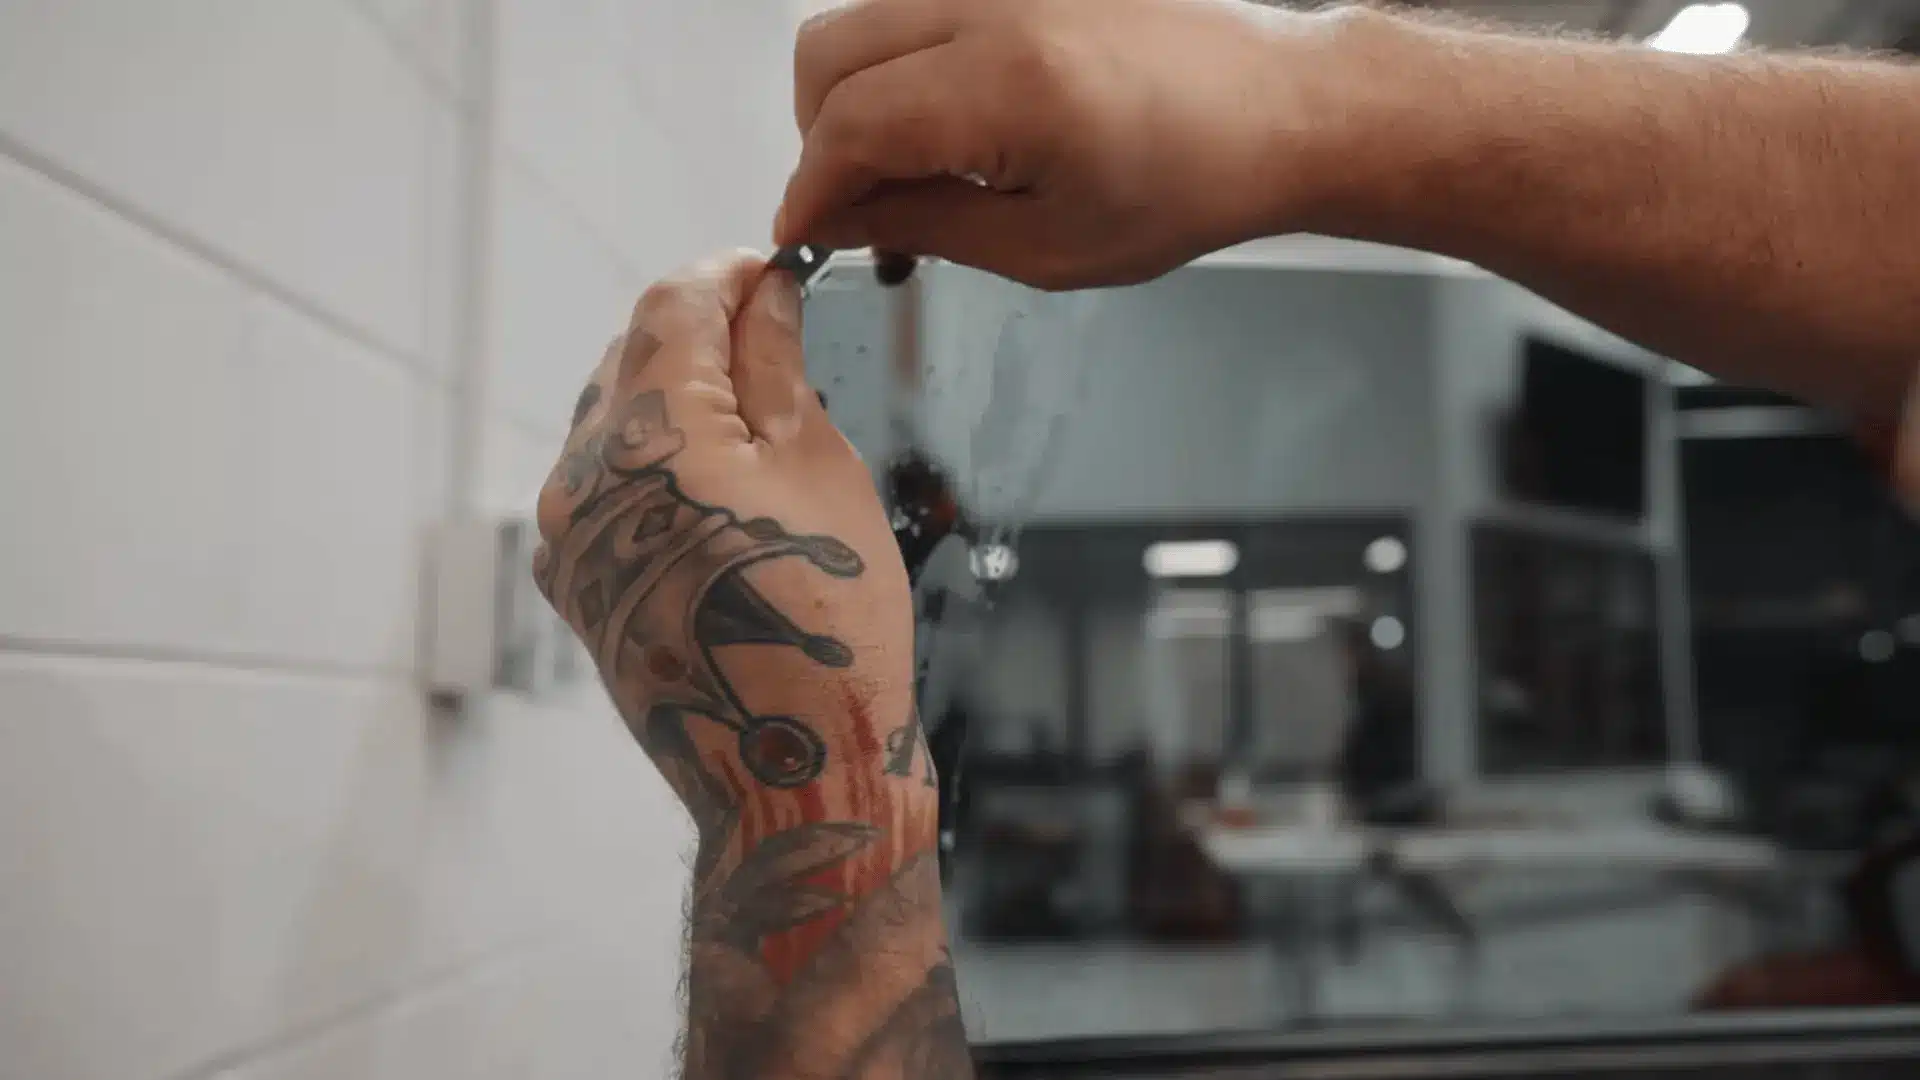
Lower a roll-down window slightly so you can reach the upper edge. Use your fingernail, a plastic blade, or a clean stainless steel blade to lift a small corner.
Use a metal razor only on suitable plain side glass. Do not use one on rear defroster lines, coated glass, or any surface that the vehicle manufacturer warns against scraping.
Step 4: Peel the Tint Slowly
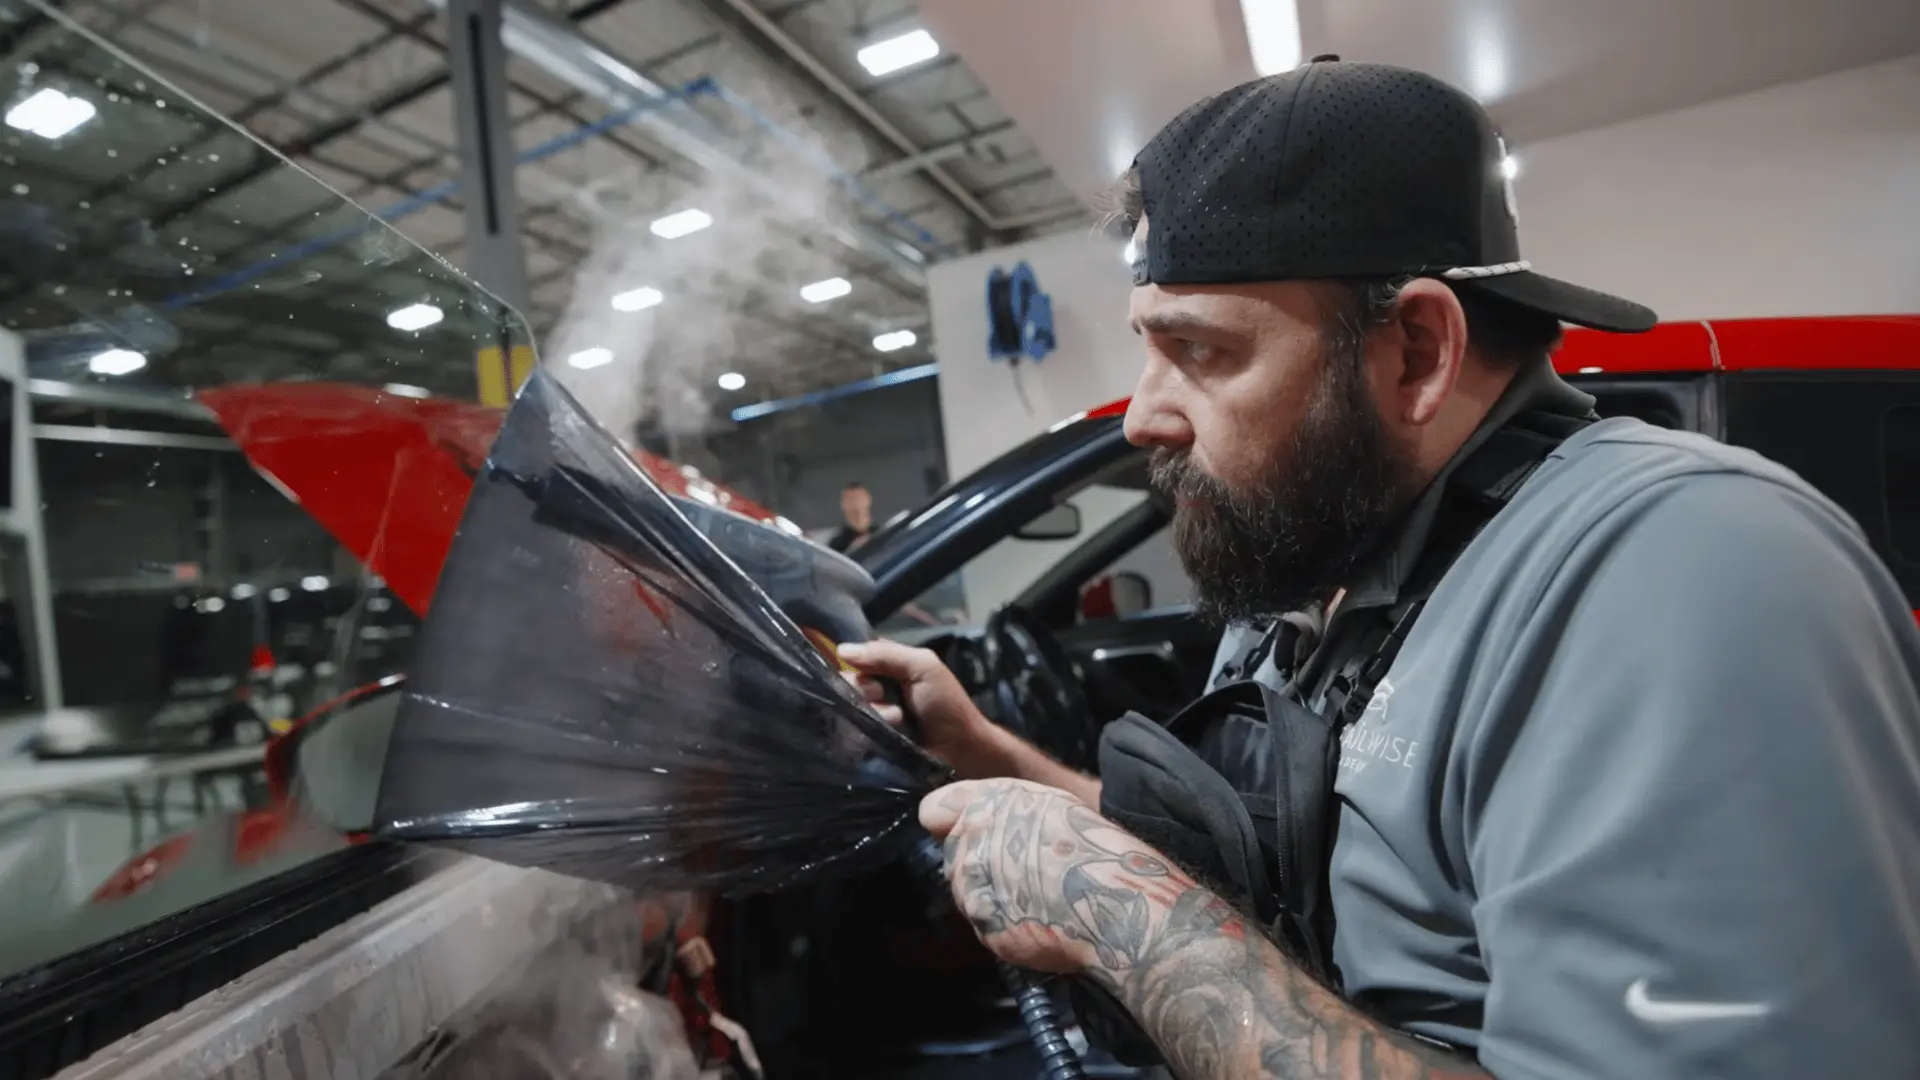
Hold the lifted section and pull the tint back at a low angle. Continue applying steam just ahead of the area being peeled.
Do not rip the film away from the glass. A quick pull can separate the film from its adhesive, leaving a sticky layer behind. Stop when you feel resistance, warm the section again, and continue slowly.
Step 5: Soften the Remaining Glue
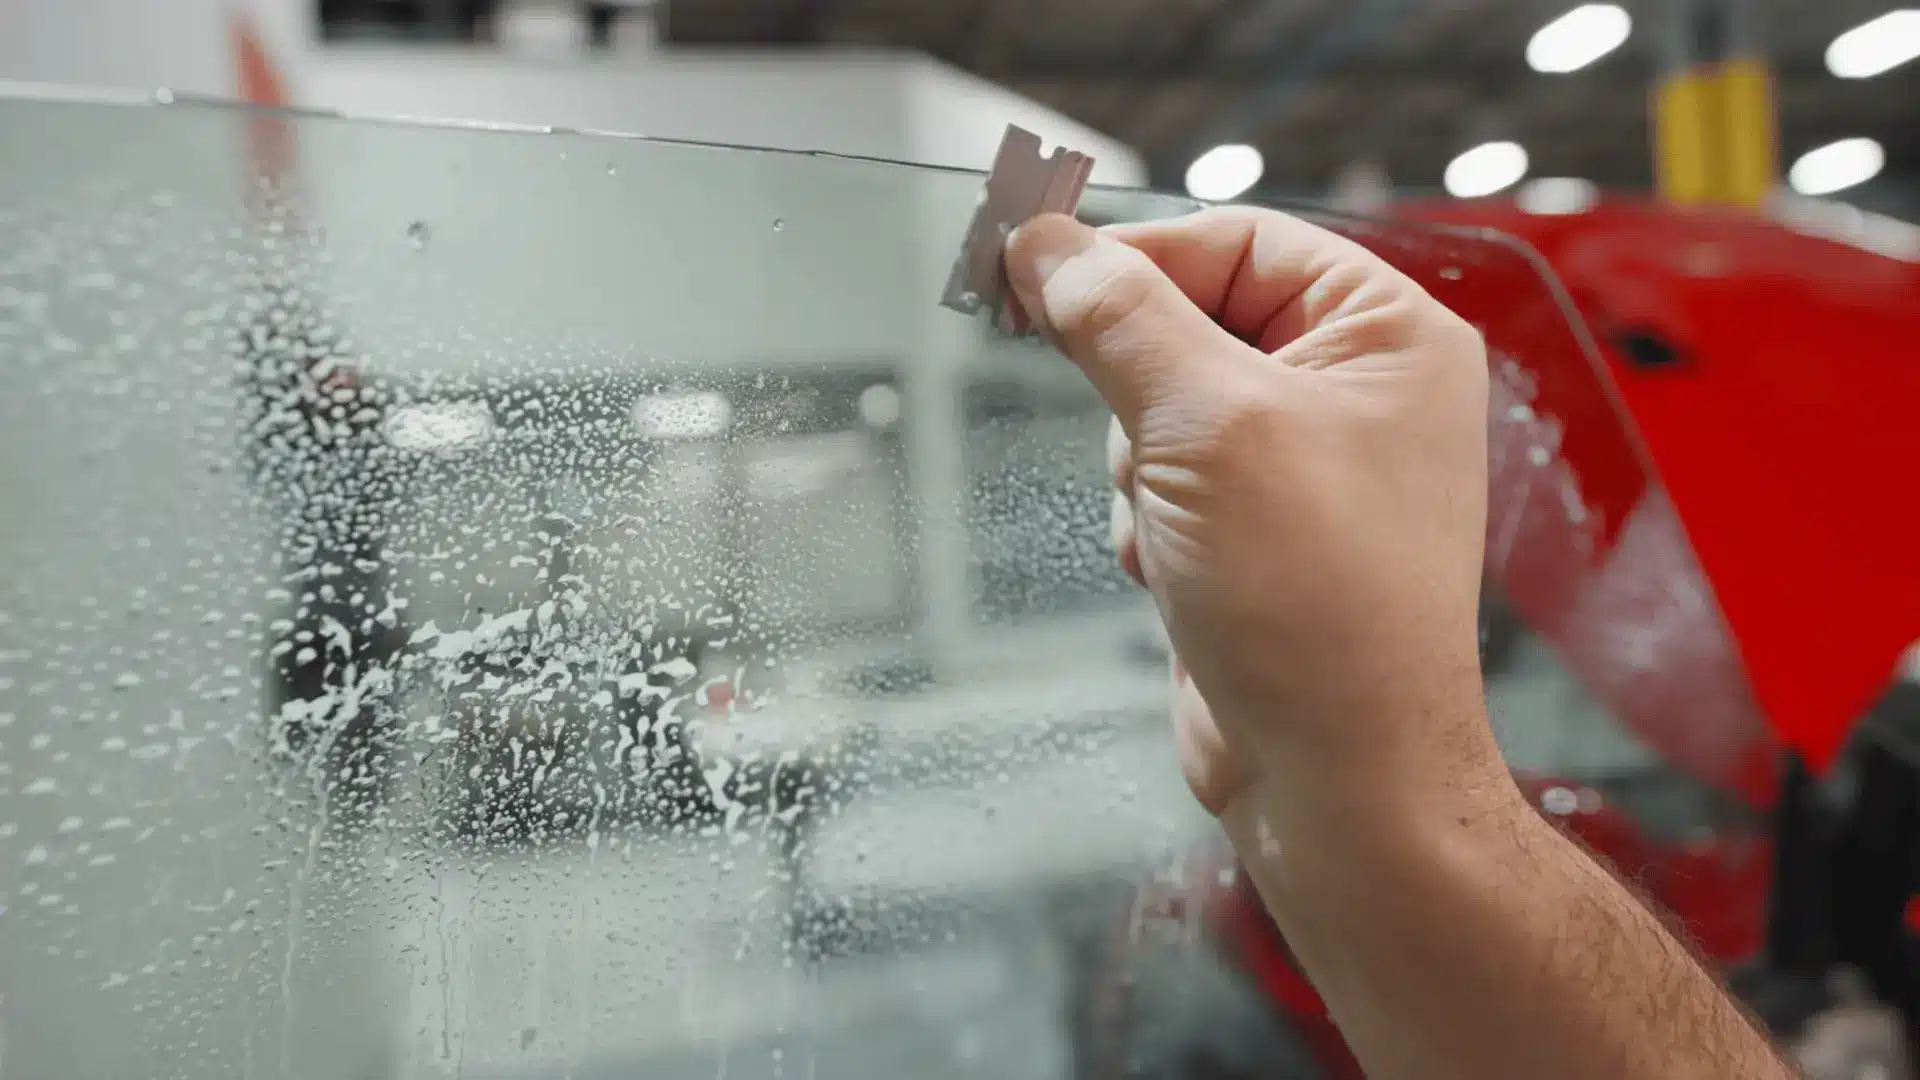
Spray automotive glass cleaner across the exposed adhesive. The liquid keeps the glass wet and provides lubrication while you remove the residue.
On the suitable side of the glass, hold a clean blade at about a 45-degree angle and move it carefully across the surface. Keep the blade flat rather than digging its corners into the glass.
Step 6: Clean Along the Window Seals
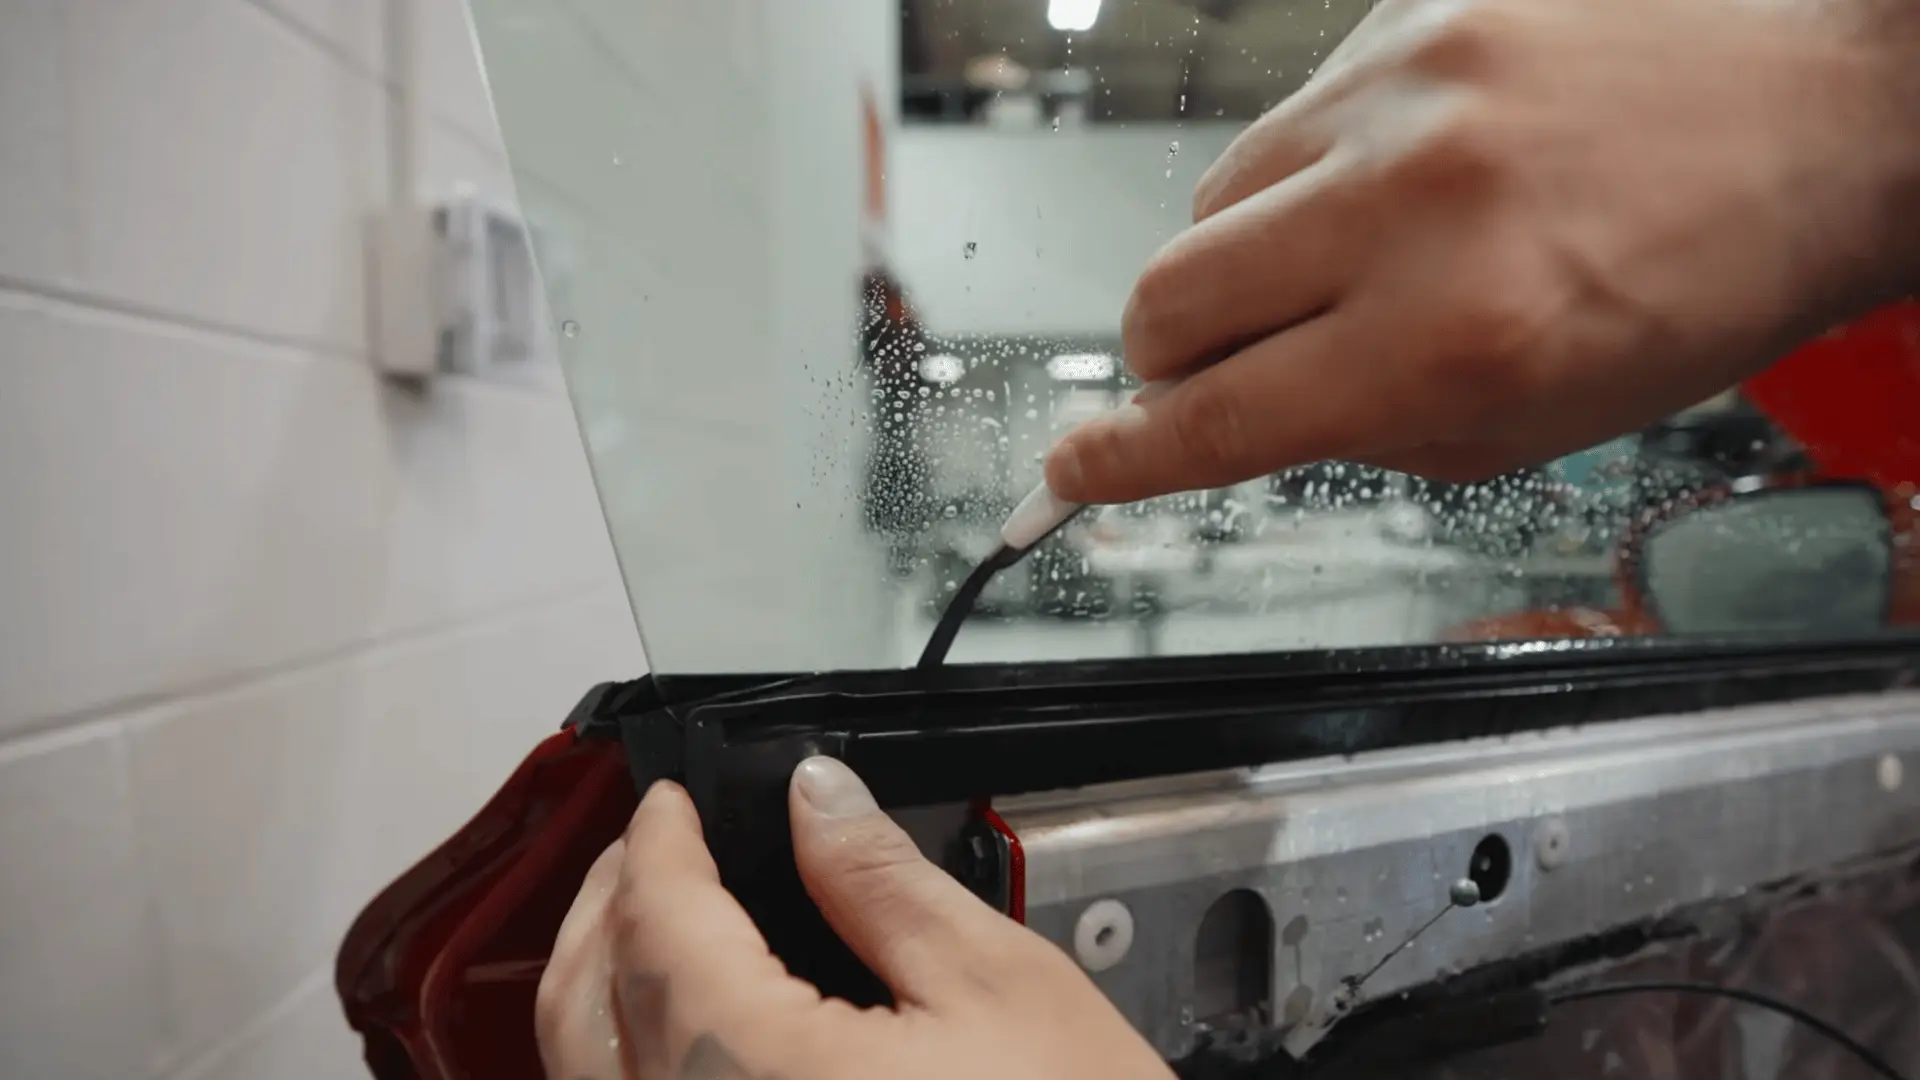
Glue may remain near the side and lower seals. Spray a small amount of glass cleaner into the area and use a tint knife or plastic blade against the glass.
Drag the tool along the edge without cutting into the rubber. Wipe collected adhesive from the tool with a microfiber towel before making another pass.
Step 7: Scrub and Inspect the Glass
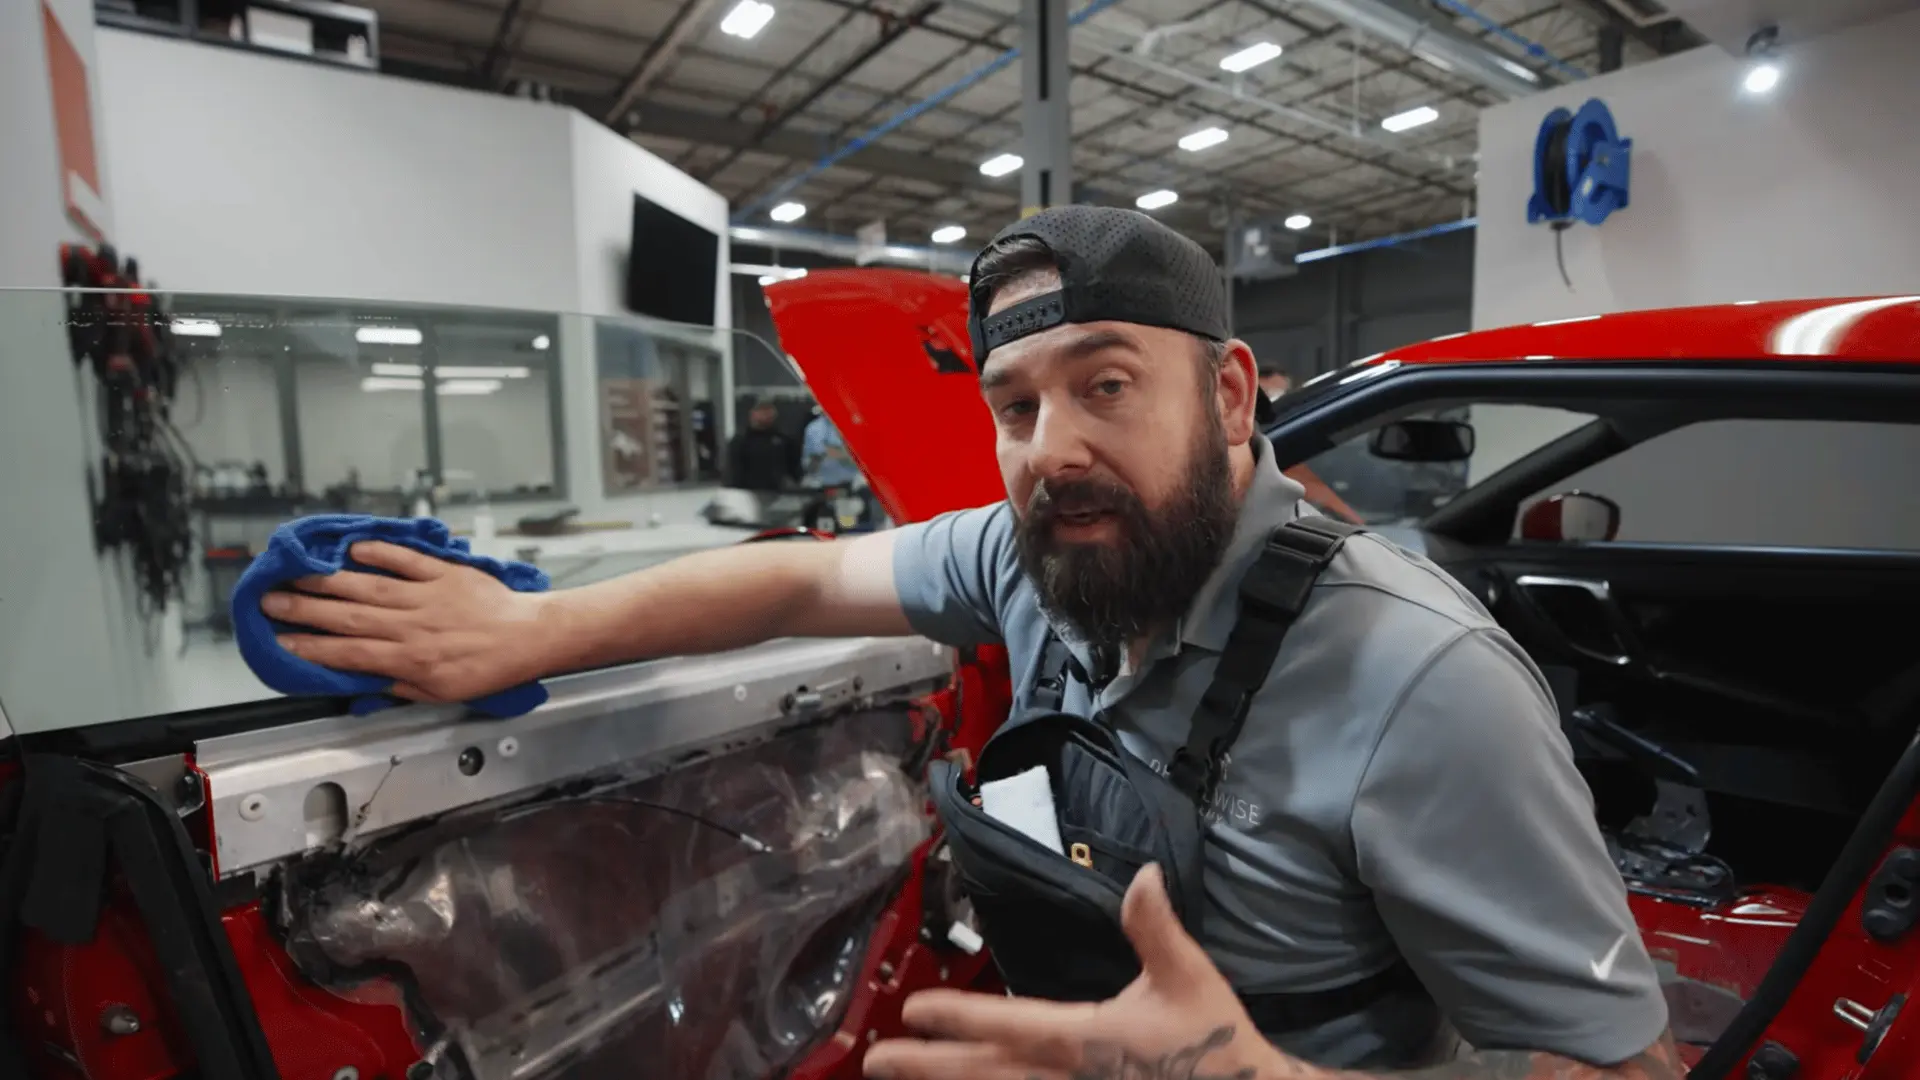
Spray the glass again and clean it with a white non-scratch scrub pad. Focus on the upper edge, corners, and areas that still feel sticky.
Run clean fingers across the wet glass. Adhesive may be easier to feel than see. Repeat the cleaning process until the full surface feels smooth and no film pieces remain.
Removing the film and cleaning its adhesive are separate parts of the job. Any remaining dirt or glue may cause visible defects if new tint is installed.
Removing Tint From Rear Windows
Rear glass needs careful handling because defroster and antenna lines may sit directly on the window. Avoid metal blades and use steam, controlled peeling, and gentle adhesive cleanup.
Step 1: Steam the Rear Tint
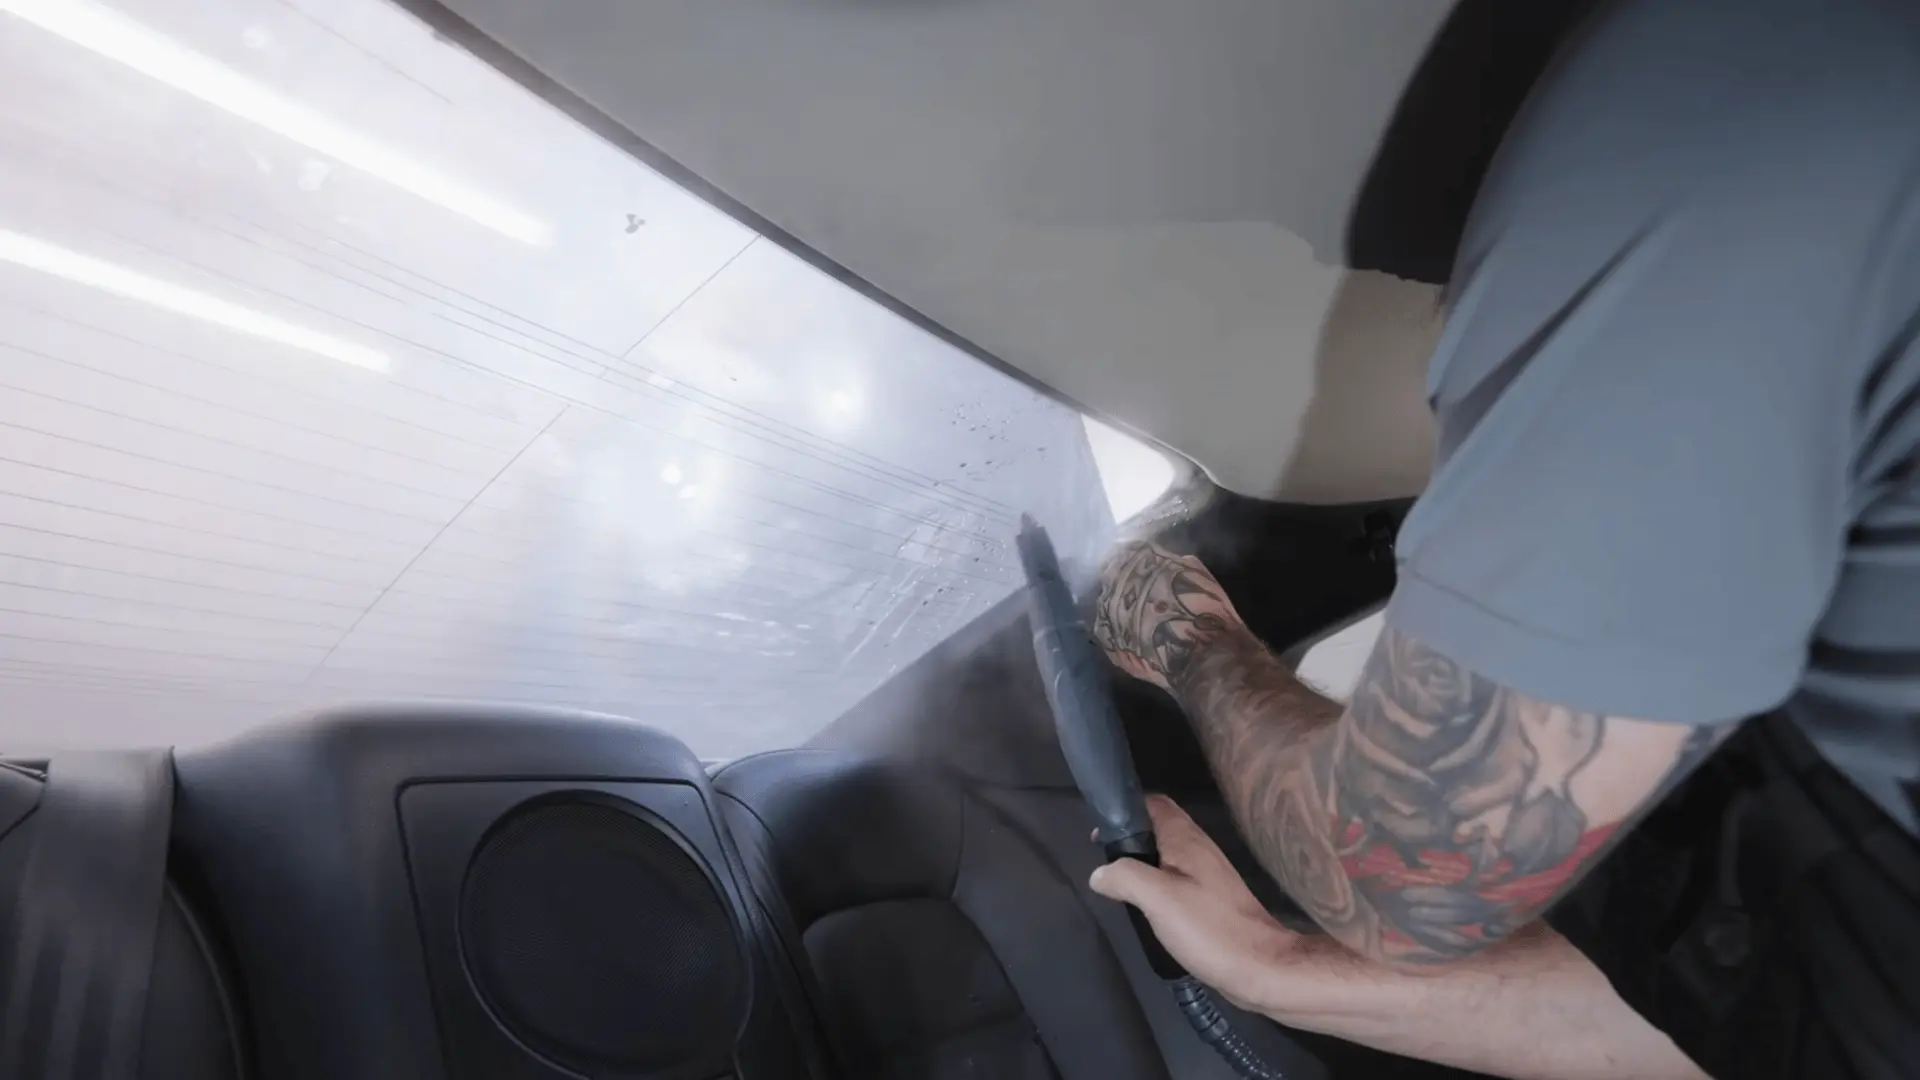
Move a hot water steamer across the inside of the rear window using slow and even passes. Focus on one corner until the adhesive begins to soften.
Keep the steamer moving and avoid pressing it directly against the glass. Do not use a metal razor on the rear window because it can cut the defroster lines.
Step 2: Lift and Peel the Film Slowly
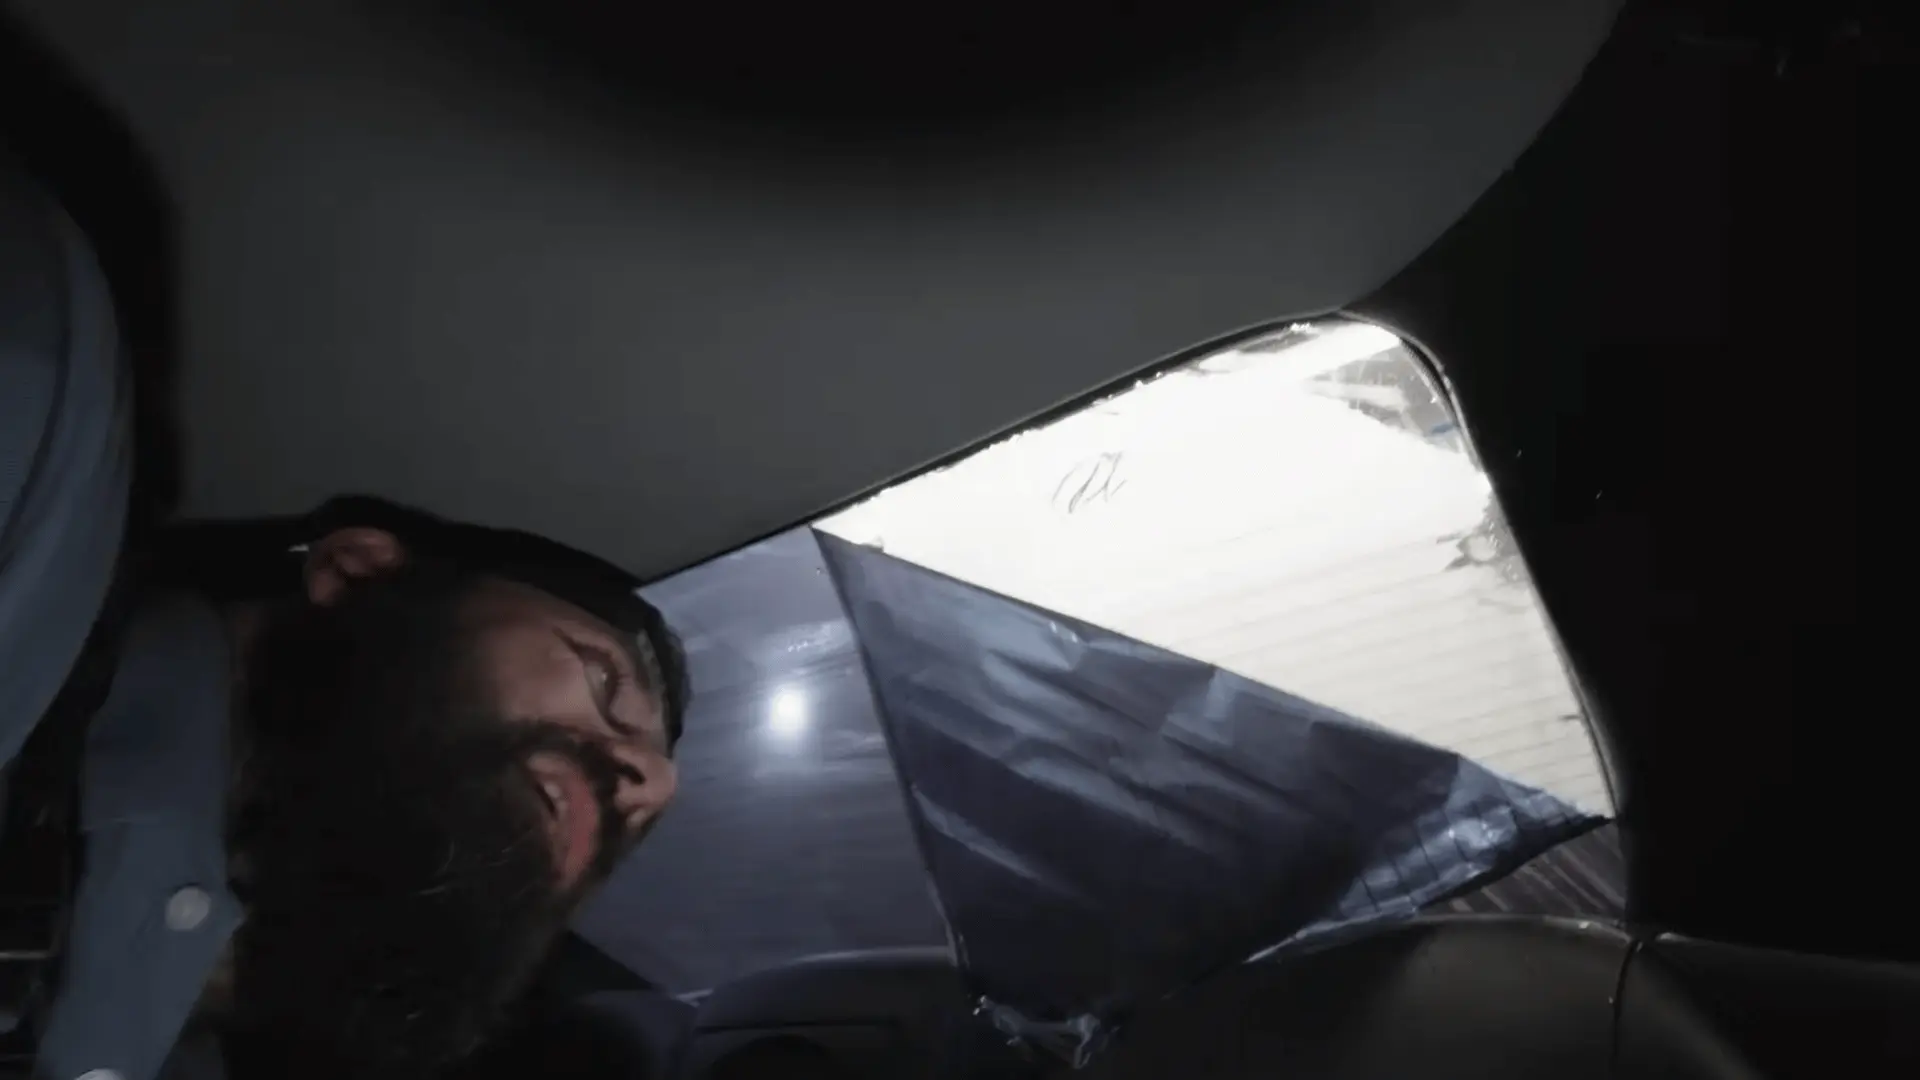
Lift one corner with your fingernail or a plastic blade. Pull the film back over itself at a low angle while continuing to apply steam ahead of the peeling point.
Take your time and stop when the tint resists. Pulling too quickly can leave a thick layer of adhesive behind, making the cleanup process much longer.
Step 3: Inspect and Soften the Adhesive
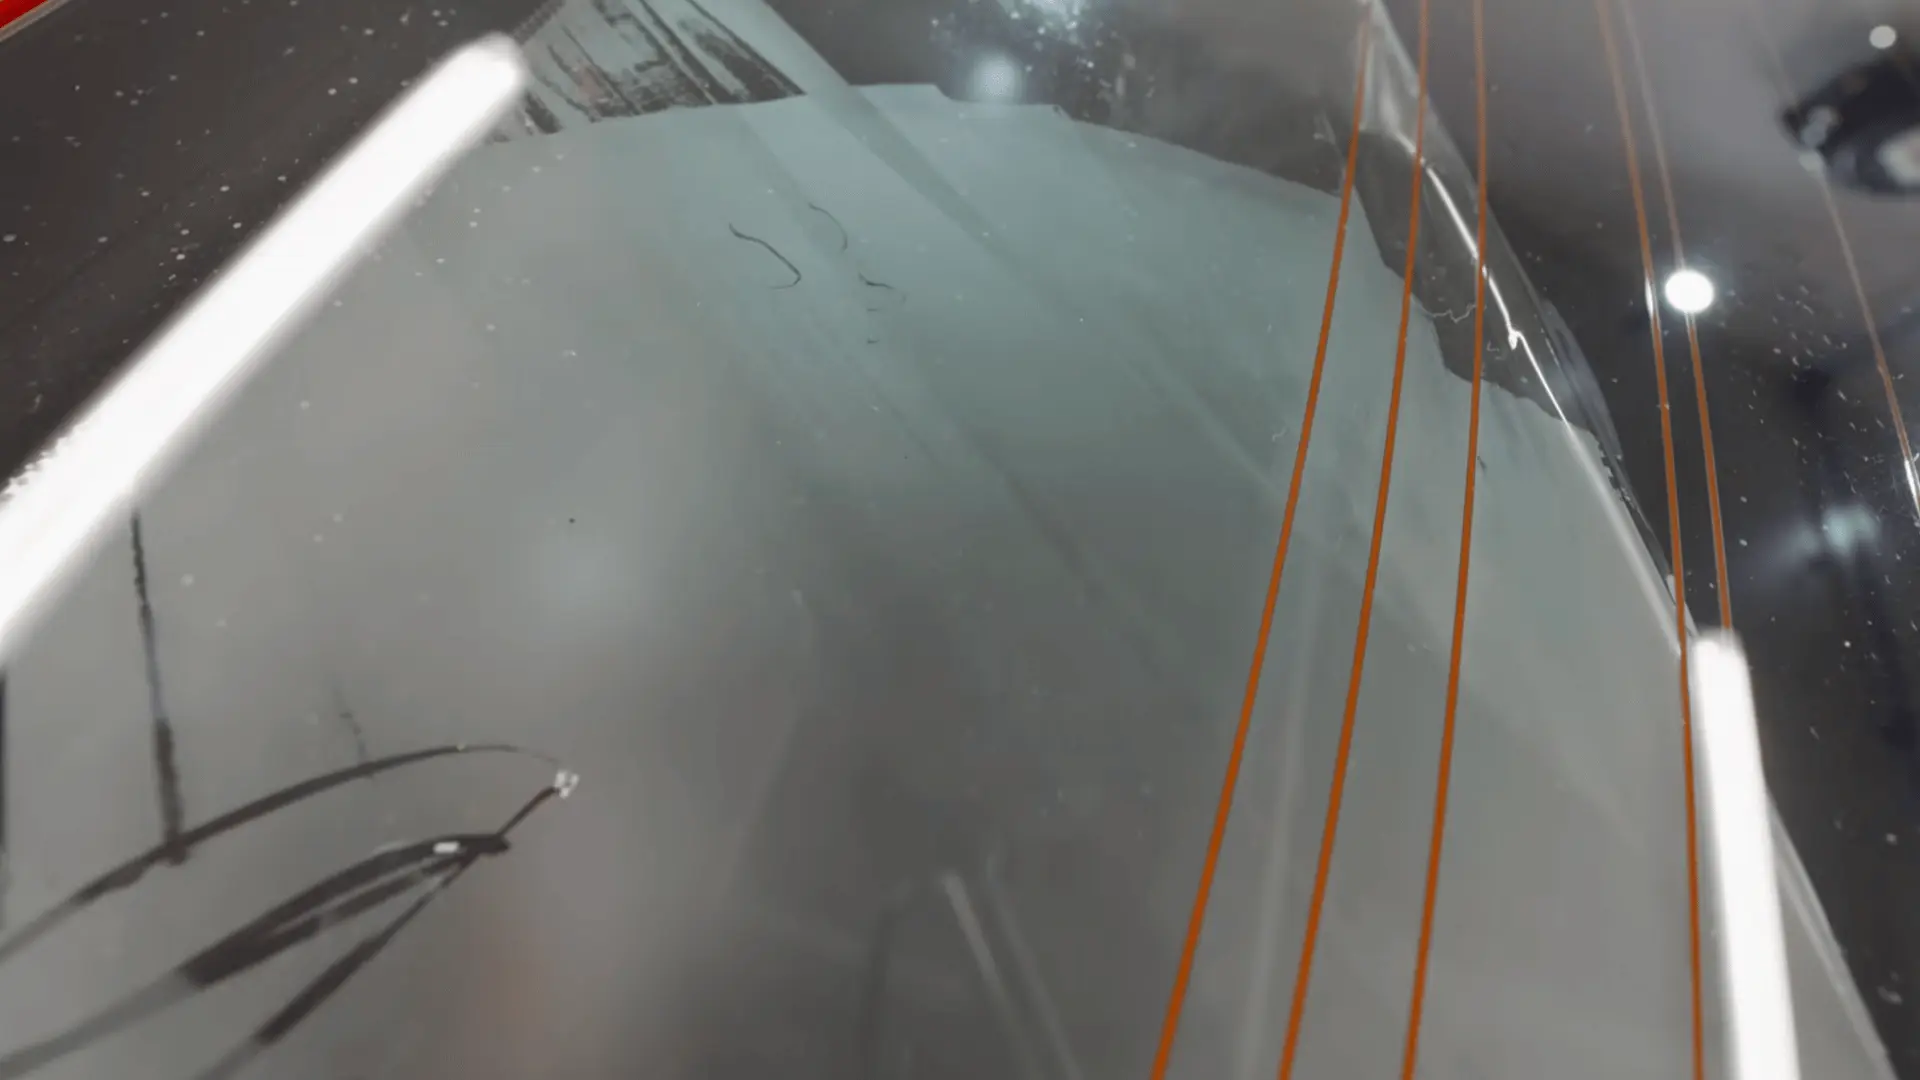
Check the glass for cloudy, sticky, or uneven patches after removing the film. Heavy residue will require an automotive-safe adhesive remover.
Spray the product directly onto a white non-scratch scrub pad rather than across the glass. This prevents the chemical from running onto plastic, carpet, or upholstery. Wipe any accidental drips immediately.
Step 4: Scrub Away the Glue
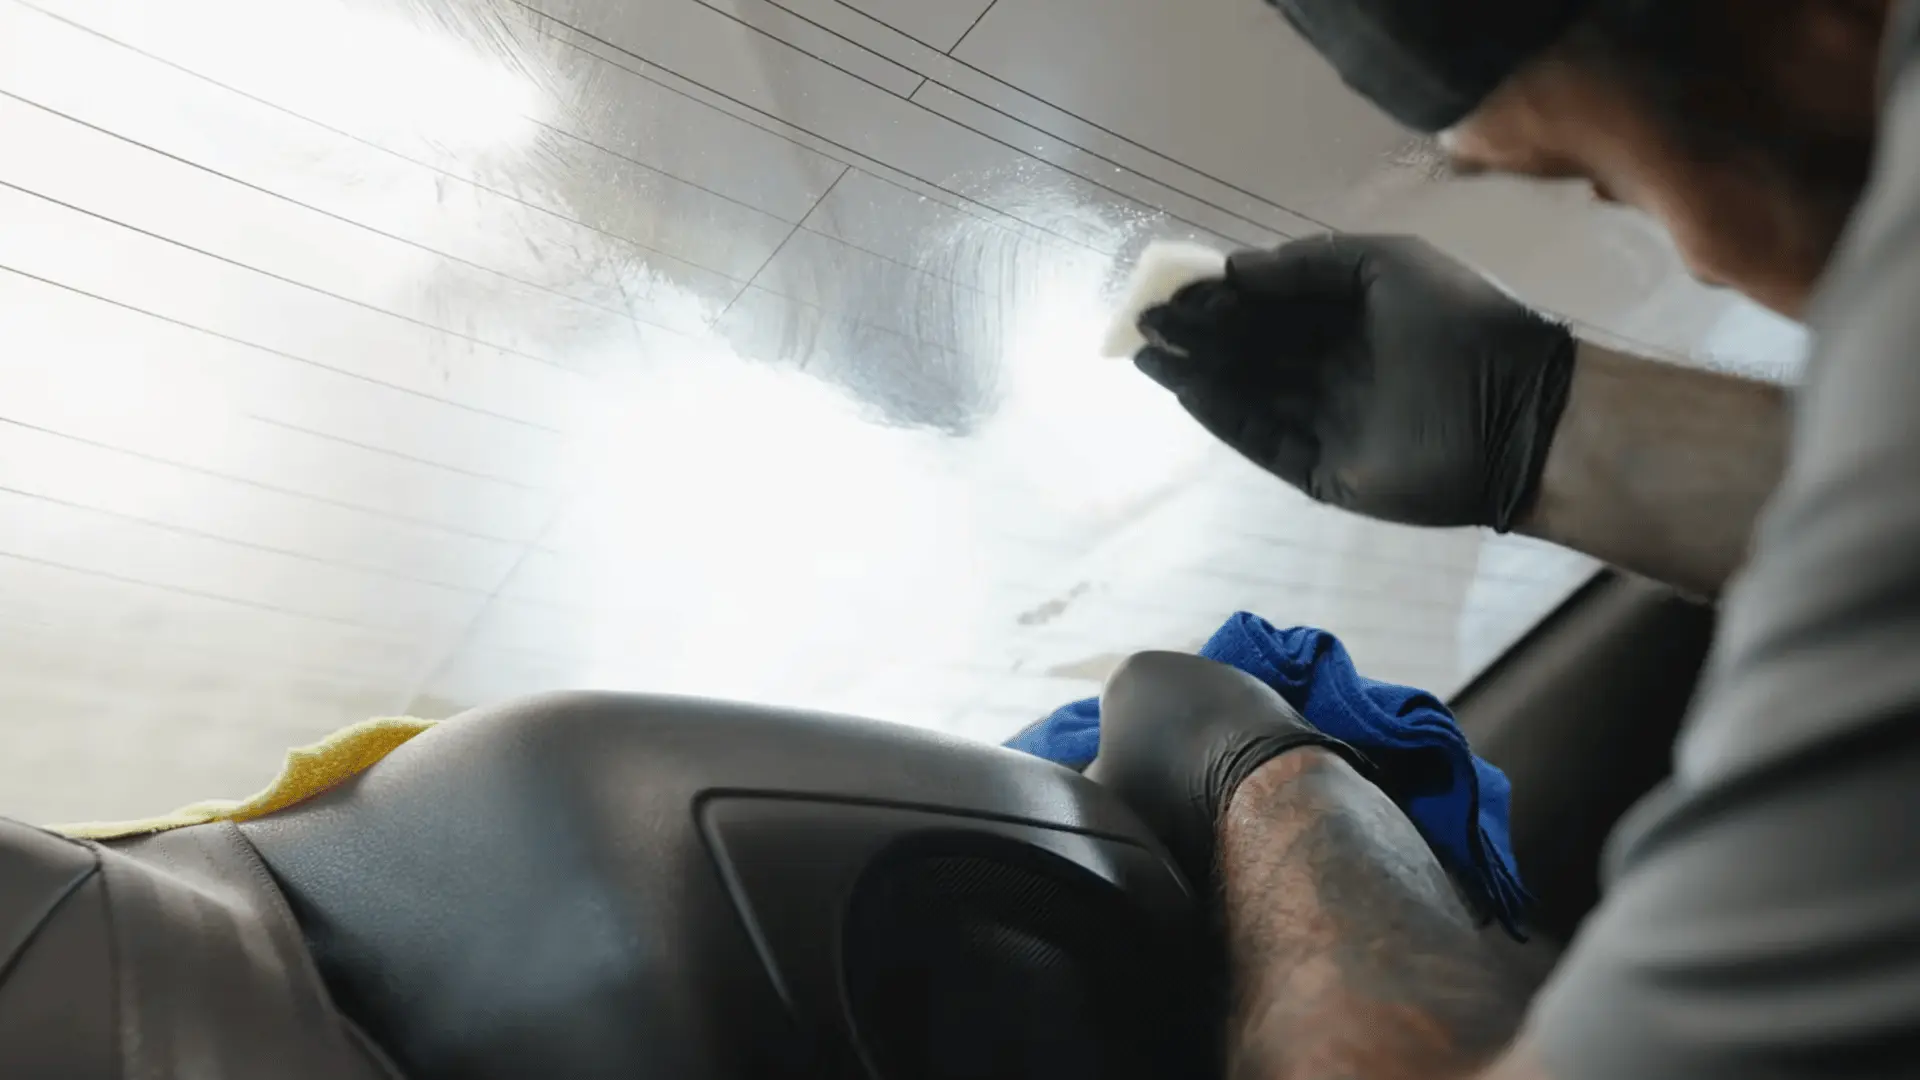
Work on one small section at a time using gentle back-and-forth movements. Allow the adhesive remover to soften the glue before applying more pressure.
Turn the scrub pad over when one side becomes loaded with adhesive. Replace it once both sides are dirty. Several pads may be needed when old tint leaves a heavy glue layer.
Step 5: Clean With Glass Cleaner
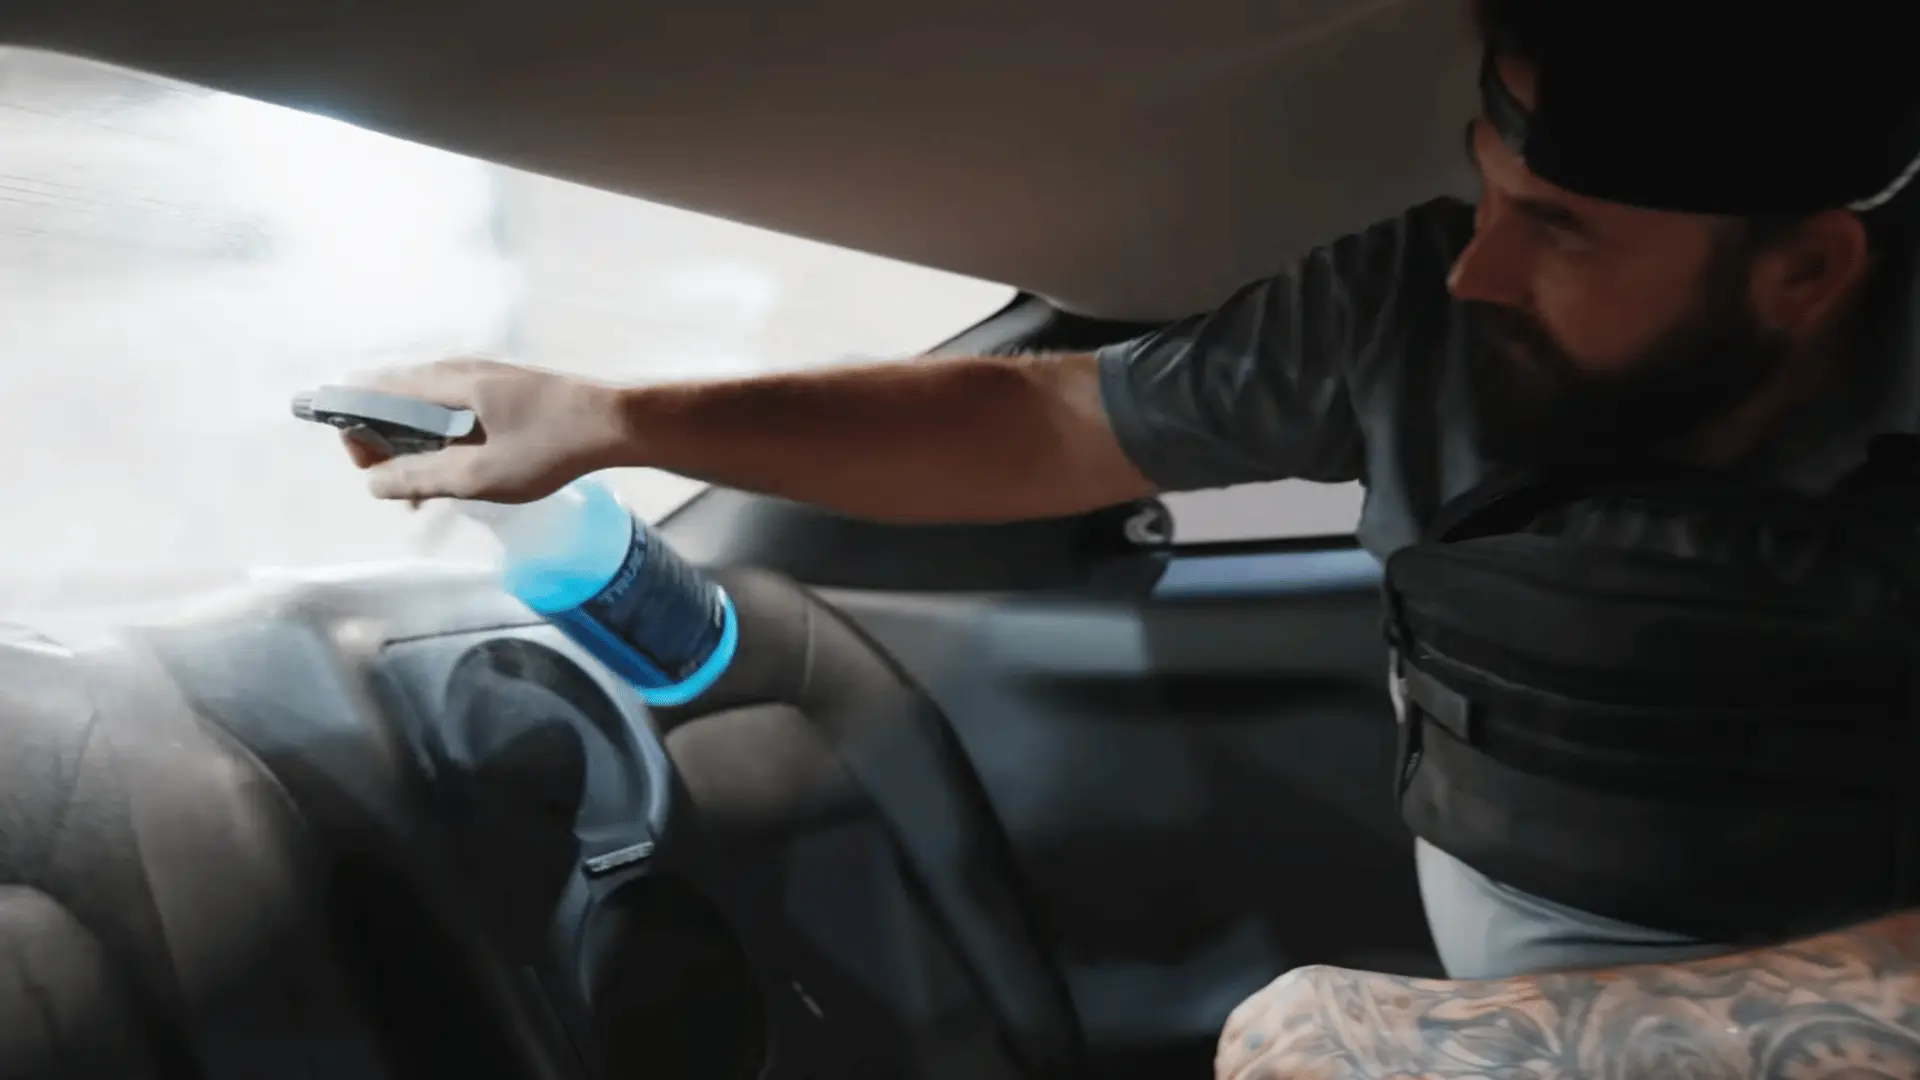
After removing most of the glue, switch to regular automotive glass cleaner and a fresh scrub pad. Wet the glass and clean gently along the direction of the defroster lines.
Wipe the surface with a clean microfiber towel. Repeat the process wherever you notice haze, streaks, or sticky patches. Avoid abrasive pads and sharp tools throughout this step.
Watch this video by Car Supplies Warehouse for clear instructions:
DIY Window Tint Removal Methods
The condition and location of the film determine which removal method works best. Choose a method that matches the glass type and available equipment.
- Steamer Method: Steam warms the film and adhesive at the same time, helping the tint peel away in larger pieces with less scraping.
- Hair Dryer Method: A hair dryer provides mild heat for small side windows, though it may take longer to soften old or baked-on adhesive.
- Heat Gun Method: A heat gun works faster but must stay moving and away from plastic trim, rubber seals, upholstery, and one concentrated area of glass.
- Warm Sun Method: Parking the car in direct sunlight can warm the film before peeling, making this a useful option when a steamer is unavailable.
- Black Bag Method: Wet black plastic placed against the window holds heat near the film and may help soften stubborn adhesive on a warm day.
- Glass Cleaner and Scraper Method: On suitable plain-side glass, glass cleaner and a clean blade can remove residue when used at a low angle.
- Plastic Blade Method: Plastic razor blades provide a safer choice when learning how to remove window tint near defroster lines or easily damaged trim.
Heat is commonly used to soften window-film adhesive before the film is peeled, while solvents or removal sprays can address the remaining residue.
Side Window Tint vs Rear Window Tint Removal
The basic process is similar, but the acceptable tools and risk level are different. Knowing these limits helps you remove tint without damaging glass or electrical parts.
| Comparison Point | Side Windows | Rear Window |
|---|---|---|
| Main concern | Protecting seals, door panels, and glass | Protecting defroster and antenna lines |
| Best heat source | Steamer hair dryer or controlled heat gun | Steamer with slow, even passes |
| Safe lifting tool | Plastic blade or suitable clean metal razor | Fingernail or plastic blade only |
| Metal razor use | May be suitable on approved plain glass | Avoid because it can cut grid lines |
| Peeling direction | Downward from the upper edge | Slow, low-angle pull across the glass |
| Adhesive removal | Wet scraping may be possible | Chemical softening and scrub pads are safer |
| Interior protection | Cover door controls and trim | Cover rear deck speakers, carpet, and trim |
| Difficulty level | Usually easier and easier to reach | Slower due to curve size and grid lines |
| Final inspection | Check edges and lower seals | Feel the full glass around every grid line |
Why Window Tint Fails
Film condition affects how easily it can be removed. Tint that has already changed color, bubbled, cracked, or lifted may separate from its adhesive during peeling.
- Adhesive Breakdown: Aging adhesive loses its hold in some areas while remaining firmly attached in others, which can create bubbles and uneven removal.
- Long Heat Exposure: Repeated heating inside a parked car can dry the film and make it brittle, faded, or harder to peel in one sheet.
- Sun Exposure: Years of direct sunlight can weaken dyes, film layers, and adhesive, causing purple color changes or cloudy areas.
- Heat and Sun Exposure: Repeated exposure to strong sunlight and high interior temperatures can weaken the film, fade its color, dry the adhesive, and make removal harder.
- Low-Quality Film: Thin or poorly made film may fade, scratch, split, or lose its bond sooner than a higher-grade product.
- Poor Surface Preparation: Dust, oil, lint, moisture, and old adhesive can prevent the film from bonding evenly, leading to bubbles, peeling edges, and early failure.
- Damaged Window Seals: Tight or worn seals can catch the upper edge whenever the window moves, slowly pulling the film away.
- Physical Scratches: Rings, tools, seat belts, cargo, or cleaning pads can cut the film and create points where peeling begins.
Bubbling is often linked to adhesive failure or installation problems, while purple discoloration can occur as tint dyes break down with age.
Common Tint Removal Mistakes
Most problems happen when the film is pulled before the glue is warm or when the wrong tool is used. A careful approach helps you remove window tint with less cleanup and a lower risk of damage.
| Mistake | Why It Causes Problems | Better Approach |
|---|---|---|
| Pulling cold tint | The film tears and leaves more adhesive | Warm each section before peeling |
| Ripping the film quickly | Adhesive separates from the film | Pull slowly at a low angle |
| Using a metal blade on rear glass | The blade can cut defroster lines | Use a plastic razor or scrub pad |
| Holding a heat gun in one place | Concentrated heat may harm glass or trim | Keep the heat source moving |
| Scraping dry glass | A dry blade is more likely to scratch | Keep the surface wet with cleaner |
| Using a chipped or dirty blade | Damaged edges can mark the glass | Use a clean, undamaged blade |
| Spraying chemicals across the interior | Cleaner may stain plastic or soak fabric | Apply the product to a scrub pad |
| Skipping protective towels | Liquid and glue can reach electronics | Cover panels, seats, and rear decks |
| Forcing tools under seals | Sharp tools may cut rubber or hidden parts | Use gentle pressure along the glass |
| Ignoring small glue patches | Residue remains visible under new tint | Inspect the glass by sight and touch |
| Reusing glue-filled scrub pads | Old adhesive spreads back onto the window | Turn or replace pads often |
| Installing tint too soon | Moisture and residue weaken the finish | Clean and dry the glass completely |
Final Thoughts
Removing old tint becomes easier when you let heat soften the adhesive before you pull the film. Work in small areas, keep the steamer or dryer moving, and peel slowly so less glue stays on the glass.
Side windows usually allow scraping, but rear glass needs a gentler approach because metal blades can cut defroster lines.
Before you stop, clean the window several times and run your fingers across the surface to find sticky spots you may not see. A clean finish matters more when you plan to install new film.
If the tint is brittle, the glue will not release, or the rear window feels risky, a professional can prevent costly damage.
Have you removed window tint yourself? Share the method that worked for you in the comments below.
Frequently Asked Questions
Can New Tint be Placed Over the Old Adhesive?
No. Old film, glue, dirt, and cleaner residue should be removed first. Any material left on the glass can cause bumps, haze, bubbles, or weak adhesion.
How Long does Tint Removal Take?
The time depends on the number of windows, the tint’s age, and the condition of the adhesive. A clean side window may be quick, while stubborn rear glass can take much longer.
When Should I Hire a Professional?
Professional removal is safer when rear tint is strongly bonded to defroster lines, the film breaks apart, several layers are present, or the glass has special coatings.

Stephanie Grace, a graduate with a degree in Fine Arts from the Savannah College of Art and Design, has been inspiring DIY enthusiasts with her creative and practical guidance for over 14 years. Her career in design and crafting began in a small artisan workshop, where she developed a passion for transforming everyday materials into beautiful and functional items. Stephanie joined our website in 2018, rapidly gaining popularity for her easy-to-follow DIY tutorials and innovative project ideas. Since then, she has been the creative mind behind our DIY section, helping readers bring their artistic visions to life. Outside her professional pursuits, Stephanie enjoys pottery and urban gardening, hobbies that showcase her love for hands-on creativity and nature.