Ginger is one of those plants that look complicated to grow but really aren’t. Give it the right conditions, soil, and a little consistent care, and it will do most of the work on its own.
If you have a full garden bed, a few pots on a balcony, or a sunny windowsill indoors, planting ginger is genuinely achievable, and the result is fresher, more flavorful ginger than anything you will find on a supermarket shelf.
This blog walks you through every stage from choosing your rhizome to pulling your first harvest.
Why Growing Your Own Ginger is Worth It?
Ginger is easier to grow at home than many people think, doing well in warm, partially shaded conditions with minimal care.
Growing your own offers clear advantages over buying it. Freshly harvested ginger has a stronger aroma, smoother texture, and richer flavor than store-bought roots, which are often older.
It is also more cost-effective, as a single piece can yield several harvests over time. Home growing gives you full control over how it is produced, without chemicals or long storage.
Most importantly, it provides convenience; you can harvest only what you need, ensuring a fresh, steady supply year-round.
Ginger Planting Basics to Understand
Getting the conditions right before you start is the most important step to successfully planting ginger. Here is what to check before anything goes into the ground.
- Soil Conditions: Ginger needs loose, well-draining, loamy soil rich in organic matter with a pH between 5.5 and 6.5; compacted or waterlogged soil is one of the most common reasons it fails to establish
- Water Requirements: Ginger needs consistent moisture but not waterlogged conditions
- Temperature: Ginger thrives between 68°F and 86°F (20°C to 30°C). It is frost-sensitive, and even a light frost can damage or kill the plant entirely
- Sunlight: Partial shade is better than full sun; around two to five hours of indirect or dappled light per day is ideal
- Humidity: Ginger prefers a warm, humid atmosphere reflecting its tropical origins; dry air slows growth and stresses the plant, so indoor growers may need to mist the leaves regularly
- Growing Season: Plant in early spring after the last frost for outdoor growing. For indoor growing, ginger can be started at any time of year as long as the conditions are warm and light
Planting Ginger in Pots Vs in the Ground
Both approaches work well; the right choice depends on your climate, available space, and the level of flexibility you need. This is a direct comparison to help you decide:
| Factor | Pots | In the Ground |
|---|---|---|
| Climate Flexibility | Can be moved indoors when temperatures drop | Fixed in place, only suits warmer climates |
| Yield Potential | Smaller harvest due to limited root space | Larger harvest with more room to spread |
| Ease of Management | Easier to control soil, moisture, and temperature | Requires more preparation but less daily monitoring |
| Space Required | Minimal, works on balconies and windowsills | Requires a dedicated garden bed |
| Drainage Control | Easy to manage with the right pot and mix | Depends on existing soil quality |
| Cost | Slightly higher setup cost for pots and quality mix | Lower cost if the soil is already suitable |
| Best For | Cooler climates, beginners, limited outdoor space | Warm climates, larger yields, established gardens |
Note: If the benefits of growing in pots stand out to you, you can read about more options with the guide on Easiest Vegetables to Grow in Pots for small spaces and easy care.
Step-by-Step Process of Planting Ginger
Each stage of planting ginger builds on the last, so getting the early steps right makes everything that follows significantly easier. Follow these steps in order, and you will give your ginger the best possible start:
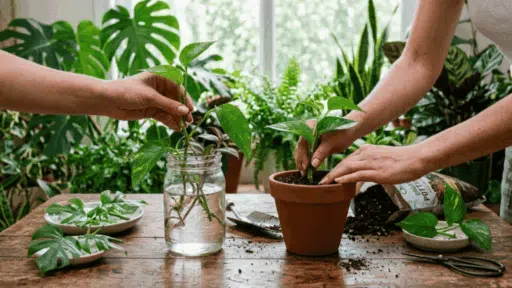
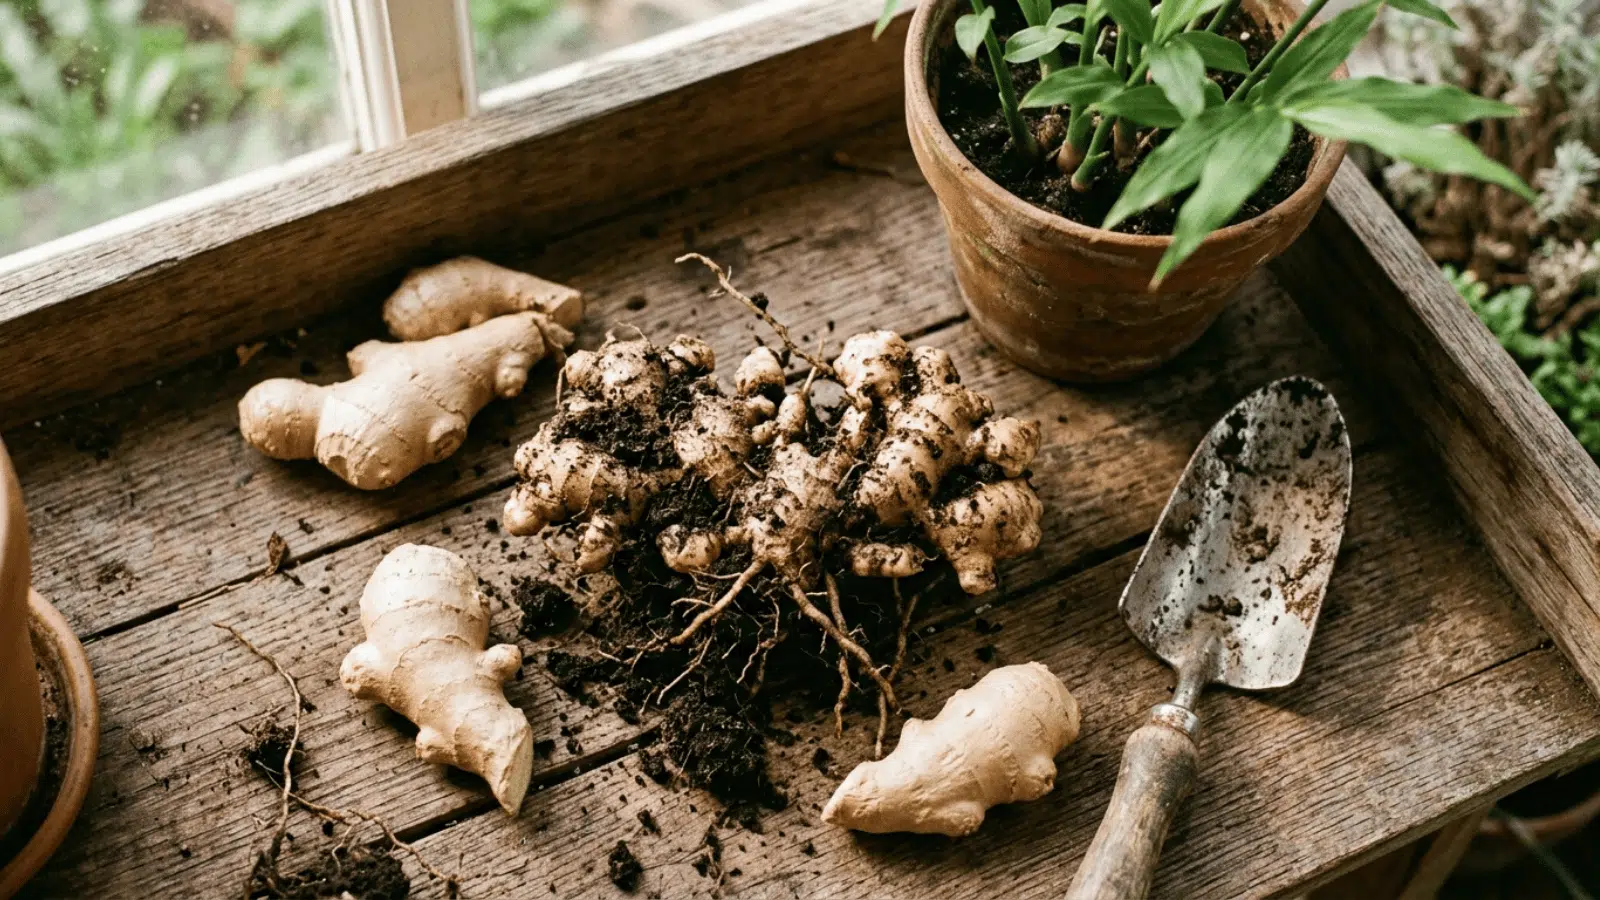
Step 1: Choose and Prepare Your Rhizome
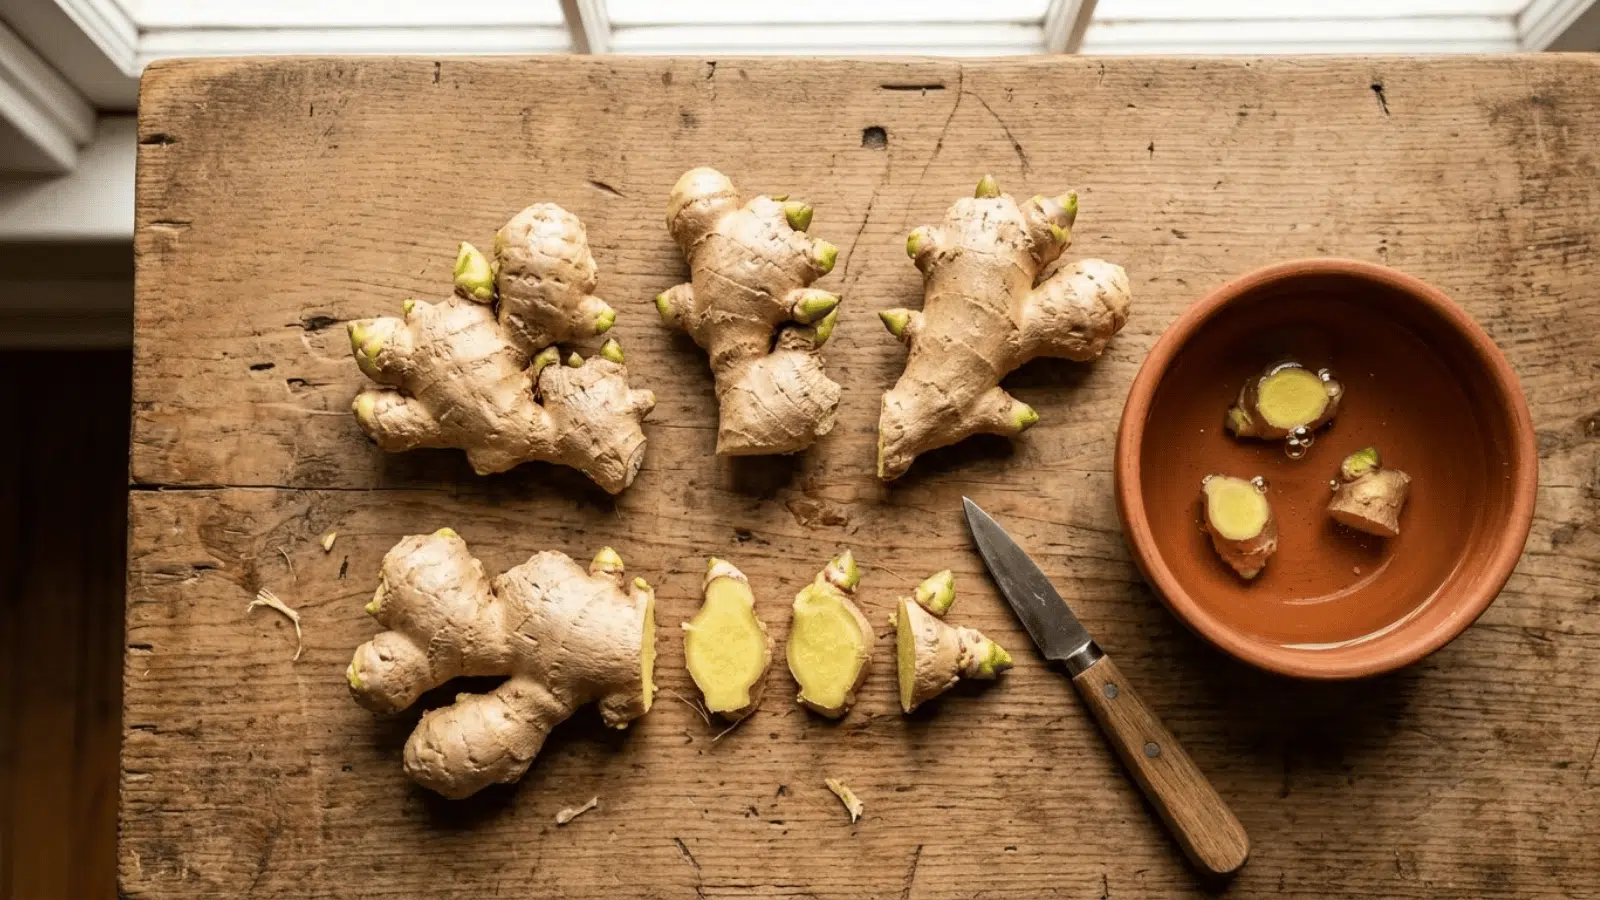
Select a firm, plump rhizome with at leasttwo or three visible growth eyes and the small, raised nodules where new shoots will emerge.
If using store-bought ginger, soak it in water overnight to remove any growth inhibitors.
If the rhizome is large, you can cut it into smaller sections of around 1 to 2 inches each, making sure each piece has at least one eye. Leave cut pieces to dry for a day before planting to reduce the risk of rot.
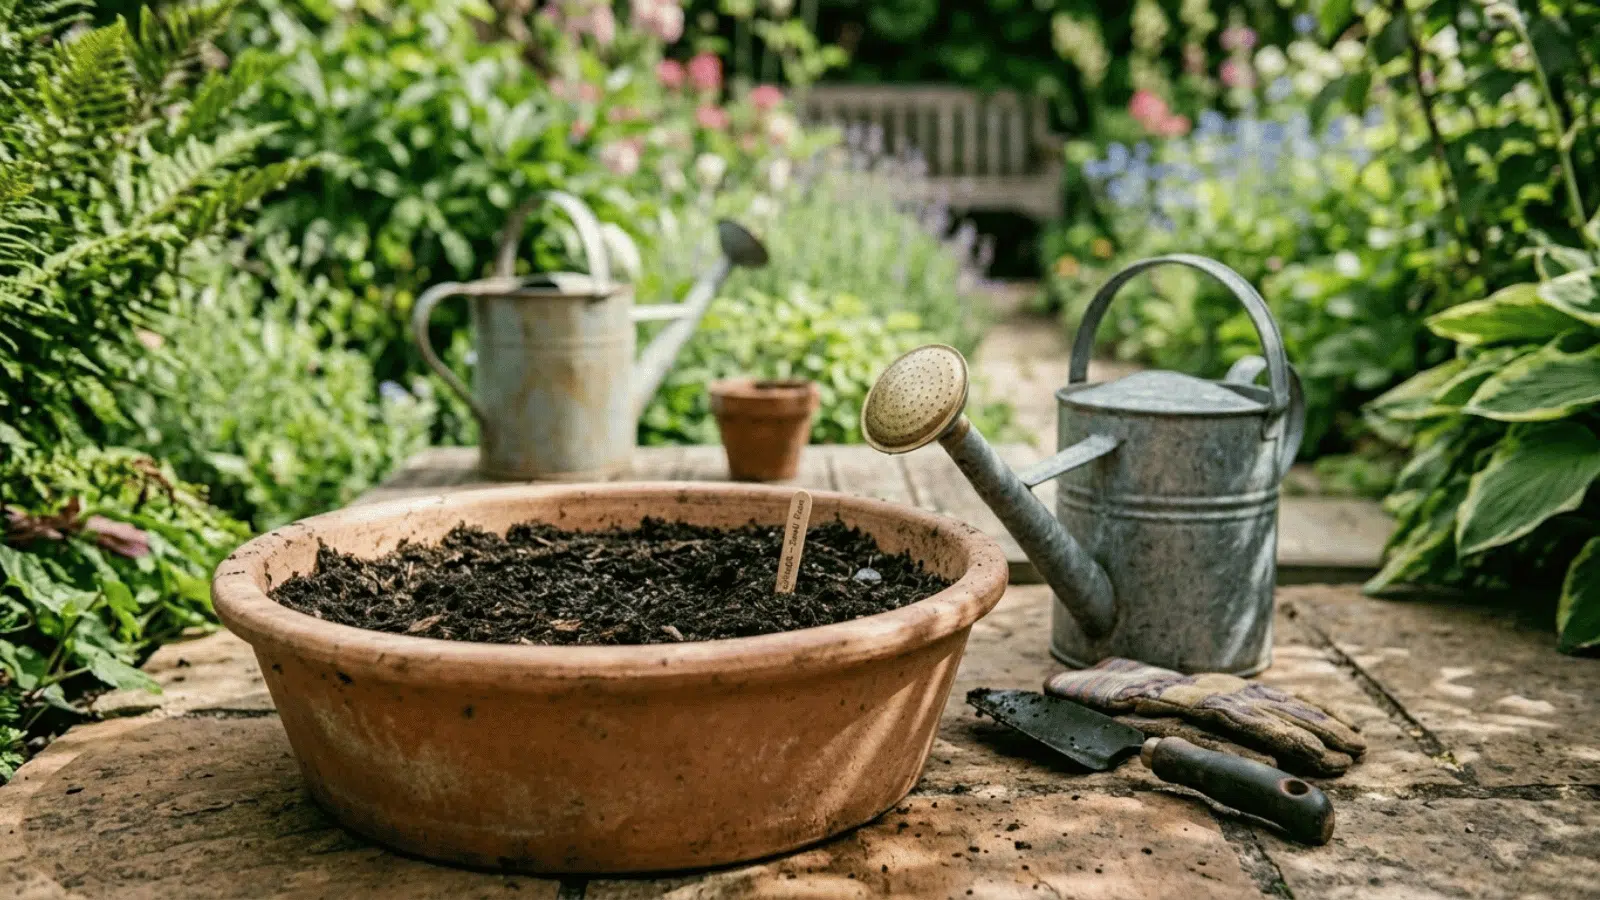
Step 2: Prepare Your Soil or Container
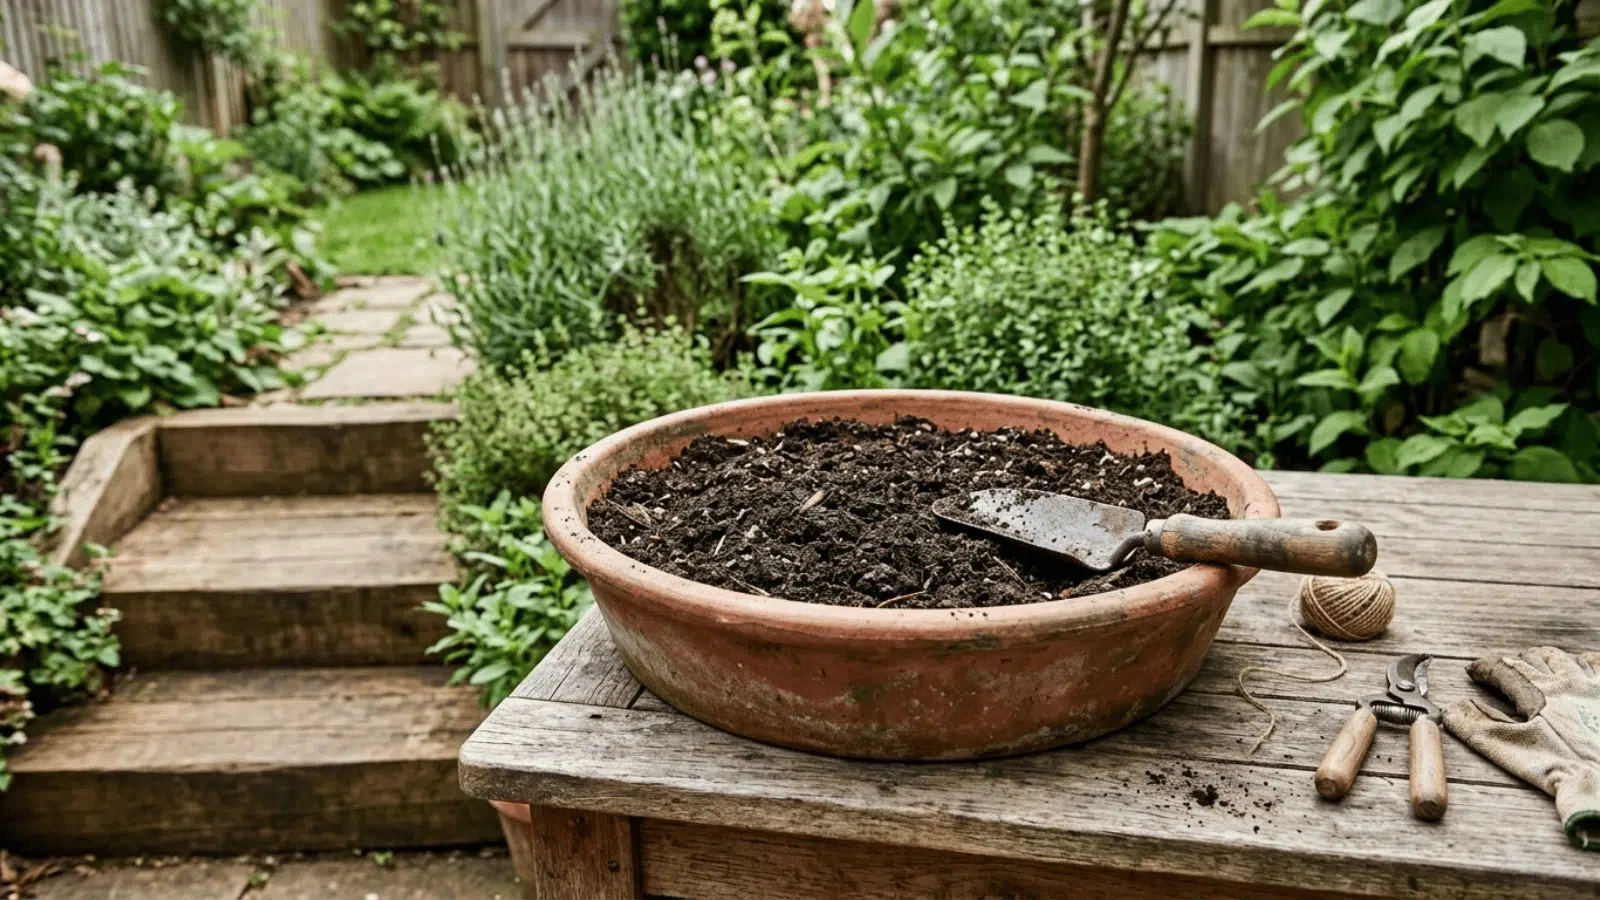
Fill your container or prepare your garden bed with loose, well-draining, loamy soil rich in organic matter. Mix in compost or well-rotted manure to improve nutrient content and drainage.
If using a container, choose one that is wide and shallow, at least 12 inches deep and 14 inches wide, with drainage holes at the bottom.
Loosen the soil to a depth of around 8 inches and level the surface before planting.
Step 3: Plant the Rhizome
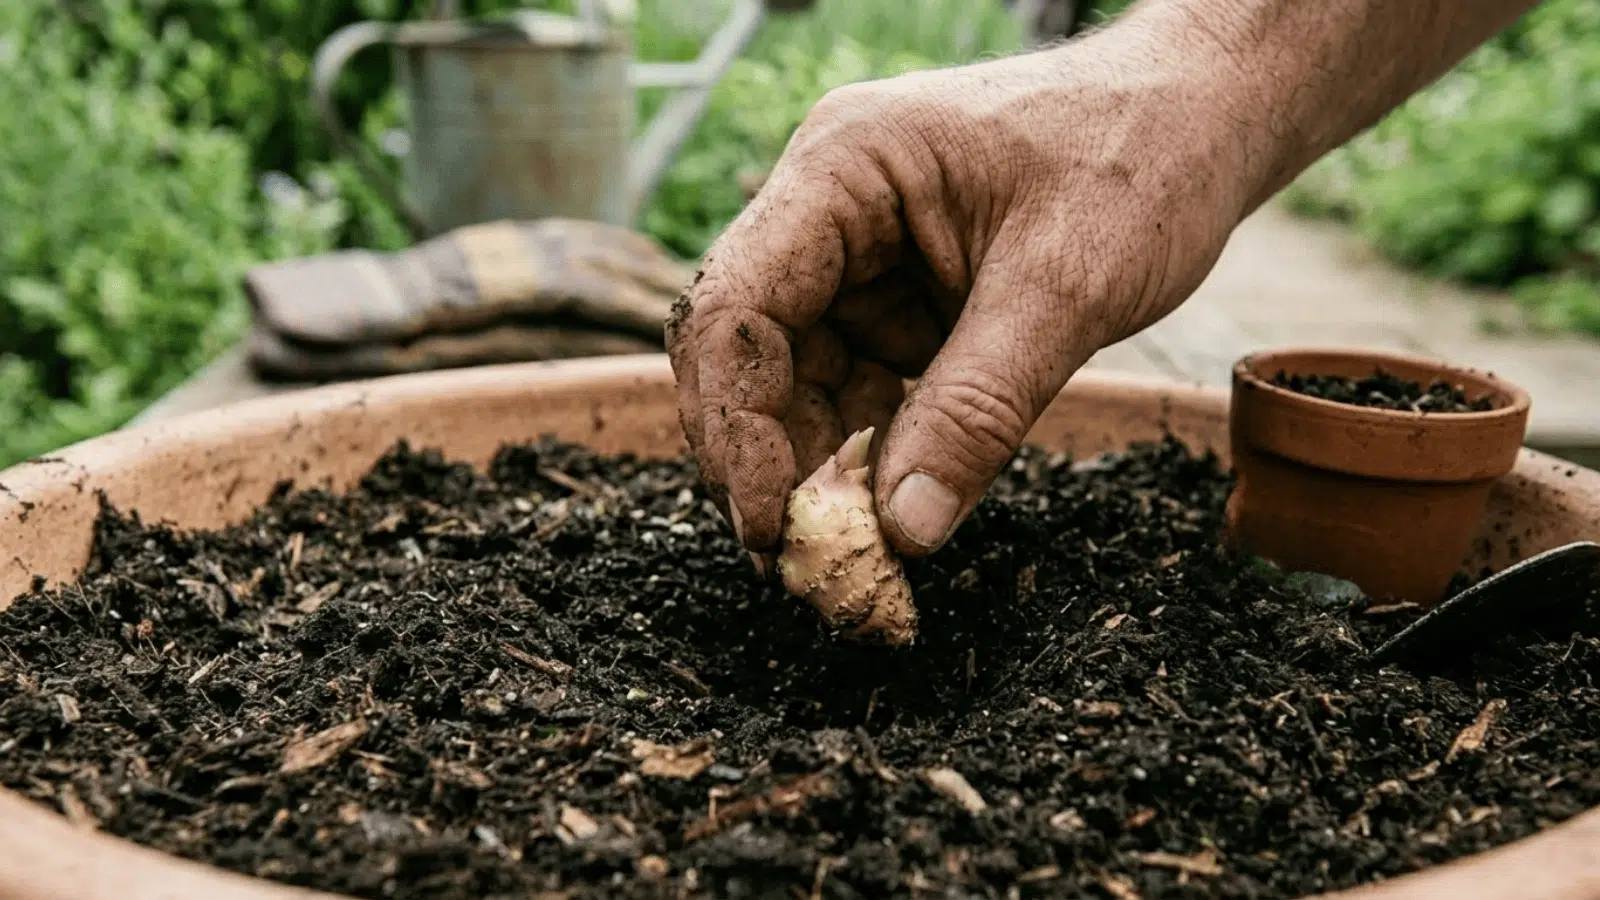
Place the rhizome pieces on the soil surface with the growth eyes facing upward. Press each piece gently into the soil to a depth of around 1 to 2 inches, not too deep, as ginger rhizomes need to stay relatively close to the surface.
Space multiple rhizomes around 8 inches apart to give each one room to spread. Cover lightly with soil and firm gently without compacting.
Step 4: Water Thoroughly after Planting
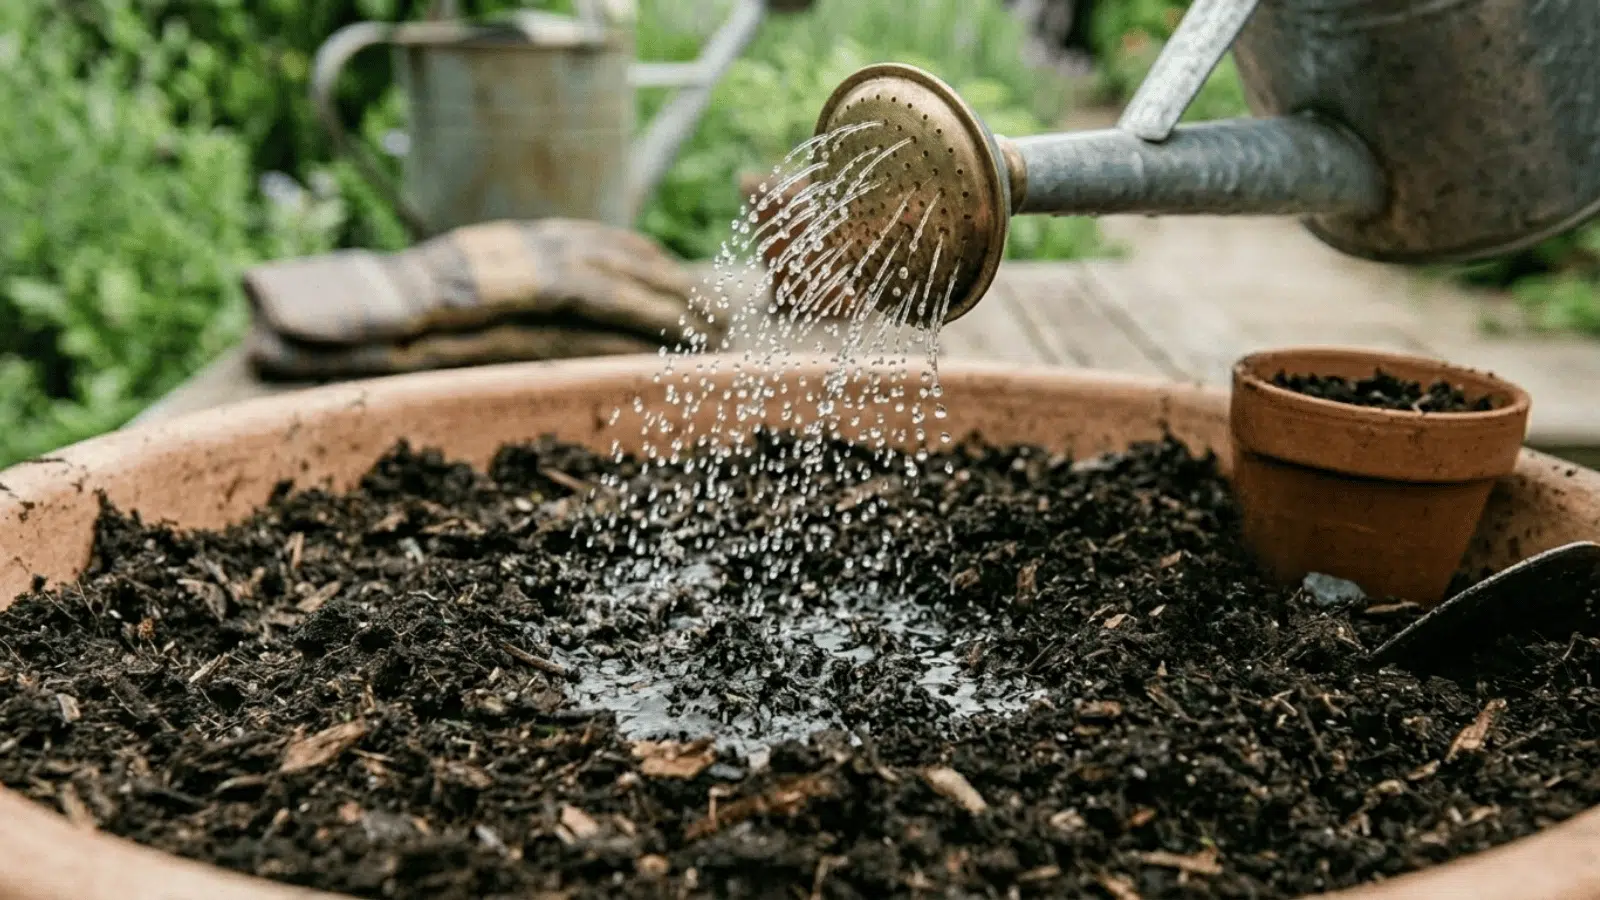
Water the soil gently but thoroughly immediately after planting. The goal is to moisten the entire root zone without waterlogging.
Use a watering can with a fine rose head to avoid disturbing the rhizome. The soil should feel moist throughout but not saturated. Allow the top layer to dry slightly between waterings in the future to prevent rot.
Step 5: Place in the Right Location
Move the pot or prepare your garden bed in a spot that receives partial shade, with around 2 to 5 hours of indirect or dappled light per day.
Avoid spots with harsh afternoon sun. Indoors, place near a bright window that does not receive direct midday sun.
The location should also be warm and sheltered from wind, which can dry out the soil and damage the emerging shoots.
Step 6: Mulch the Surface

Apply a layer of organic mulch, straw, shredded leaves, or wood chips, around 2 to 3 inches thick, across the soil surface. Mulch retains moisture, regulates soil temperature, and suppresses weeds around the emerging shoots.
Keep the mulch slightly away from where the shoots will emerge to avoid blocking growth. Refresh the mulch layer every few weeks as it breaks down.
Step 7: Watch for the First Shoots

Within two to four weeks of planting in warm conditions, small green shoots will begin to emerge from the soil. This is the sign that the rhizome has established and growth has begun.
At this stage, maintain consistent moisture and warmth; do not disturb the soil or move the container unnecessarily. Growth will be slow at first and accelerate as temperatures rise through spring and summer.
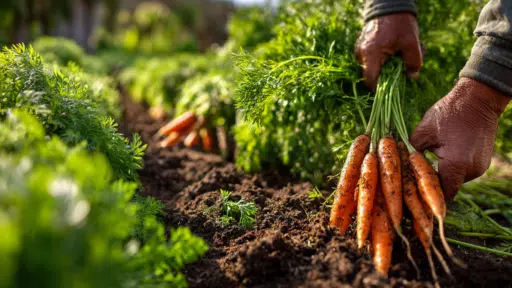
When and How to Harvest Ginger?
Ginger is typically ready to harvest eight to ten months after planting.
The clearest sign is the leaves yellowing and dying back naturally, which tells you the plant has finished its growing cycle, and the energy has moved into the rhizome.
For a milder, more tender flavor, you can harvest baby ginger as early as four to six months in. To harvest, loosen the soil around the plant with a fork and lift the rhizome carefully to avoid breaking it.
You can take the whole plant or practice partial harvesting, removing some rhizomes while leaving the rest in the ground to keep producing through the following season.
Caring Tips for Keeping Your Ginger Plant Healthy
Once your ginger is in the ground and showing shoots, consistent care is what takes it from a sprouted rhizome to a full harvestable crop. Here are some tips you can follow to make sure your ginger plant is healthy and safe:
- Fertilizing: Apply a balanced liquid fertilizer every three to four weeks from shoots emerging until late summer; compost tea, fish emulsion, or seaweed solution all work well
- Reduce watering toward harvest: As leaves yellow and die back, gradually reduce watering to encourage the plant to store energy in the rhizome
- Manage humidity: Mist leaves lightly every day or two in dry or indoor environments, place containers on a pebble tray filled with water to raise ambient moisture
- Monitor for pests: Check weekly for aphids, spider mites, and shoot borers, and treat early with neem oil or insecticidal soap before infestations spread
- Watch for disease: Yellowing leaves, soft stems, or wilting can signal root rot or fungal disease. Improve drainage and remove affected sections immediately
- Protect from temperature drops: If temperatures fall below 50°F (10°C), move containers indoors or cover outdoor plants to prevent cold damage to the rhizome
Conclusion
Planting ginger is one of those gardening projects that feels more complicated than it actually is.
Get the soil right, give it warmth and partial shade, water it consistently, and it will largely look after itself through the growing season.
If you grow it in a pot on a balcony or directly in a garden bed, the process is the same: start with a good rhizome, follow the steps, and give it the time it needs.
The time between planting and harvest feels long at first, but the result is fresh homegrown ginger that is sharper and more aromatic. So, start with one rhizome and see how it goes.

With a Master’s in Landscape Architecture from the University of Virginia, Sophia Stephenson has dedicated the last 20 years to creating and maintaining vibrant outdoor spaces. Her professional journey started in landscape design, where she gained a reputation for innovative and sustainable approaches. Sophia became a part of our editorial team as a freelancer in 2019, offering a fresh perspective on outdoor living. Since 2020, she has been the chief for our outdoor design content, blending aesthetic appeal with environmental stewardship. In her leisure time, Sophia is a keen photographer, capturing the beauty of natural landscapes, a hobby that complements her professional expertise.