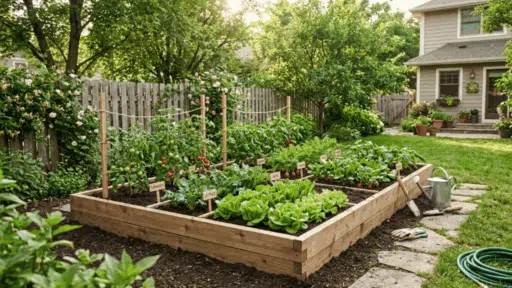

Hollyhocks are a great choice for adding height and bright color to any garden. Their tall stems and bold flowers can easily stand out in even a small space.
But success starts with knowing when to plant hollyhock seeds and understanding how to grow hollyhocks the right way.
Planting too early can expose seeds to cold, while planting too late can slow down growth and delay blooms. This blog will help you choose the right planting time and follow easy steps so your plants grow strong and healthy.
What are Hollyhocks?
Hollyhocks are tall, flowering plants known for their long stems lined with large, colorful blooms. They belong to the mallow family and are often seen growing along walls, fences, or garden edges.
Their flowers come in a wide range of colors, including pink, red, yellow, and white. Hollyhocks are usually grown as biennials, which means they focus on leaf growth in the first year and bloom in the second.
Beginners often look into planting and growing hollyhock seeds because proper timing and care are key to getting healthy plants and full blooms.
Best Time to Plant Hollyhock Seeds
Knowing when to plant hollyhock seeds helps avoid slow growth and poor results. The following are the 3 best seasons to plant hollycock seeds.
1. Spring
Spring is a good time to sow hollyhock seeds because conditions become stable and supportive for growth. As temperatures rise, seeds germinate more evenly, and seedlings grow without stress.
During this stage, plants focus on forming strong roots, which later support tall flower spikes. Soil moisture is usually more balanced in spring, which helps seeds sprout faster and more evenly.
The longer daylight hours also support steady and consistent growth. In addition, fewer sudden temperature drops reduce stress on young seedlings and improve survival rates.
2. Fall
Late summer or early fall planting works well for giving seeds a natural start. The soil still holds warmth, which helps early root development.
As seasons change, the plants stay dormant but resume growth quickly when temperatures rise again, often leading to faster flowering.
This timing also reduces exposure to intense summer heat, which can slow early growth. Natural seasonal changes help seeds settle better into the soil.
As a result, plants often develop stronger roots before the next growing cycle begins.
3. Summer
Early summer can also be a suitable time to plant hollyhock seeds when conditions are not too harsh. Warm soil during this period helps seeds sprout quickly and supports early growth.
With proper care, seedlings can establish well and continue growing through the season. Regular watering becomes important during this time to prevent the soil from drying out.
This planting period allows plants to build strength before cooler months arrive.
With the right balance of moisture and sunlight, summer planting can still yield healthy plants that continue to develop into the next season.
Factors That Affect Planting Time
Planting hollyhock seeds at the right time depends on more than just the season, as several natural conditions also affect how well the seeds germinate and grow.
- Frost Timing Matters: Always wait until the last frost has passed before planting seeds. Cold temperatures can slow germination and damage young seedlings.
- Avoid Cold Soil: Seeds struggle to grow in frozen or very cold soil. Planting in slightly warm soil helps seeds sprout faster and more evenly.
- Check Soil Condition: Loose and well-drained soil supports better root growth. Heavy or compact soil can limit early development.
- Ensure Enough Sunlight: Hollyhocks grow best in full sun. A bright spot with several hours of direct sunlight helps plants grow strong.
- Pick the Right Location: Choose an open area with good airflow and space. This helps plants grow without crowding and reduces common growth issues.
Tools and Materials Required to Grow Hollycocks
Before getting started, gather a few basic items to keep the planting process smooth and simple.
| Material | Purpose |
|---|---|
| Hollyhock Seeds | Main planting material |
| Garden Soil | Base for seed growth |
| Compost | Adds nutrients and improves soil quality |
| Hand Trowel or Tool | Helps loosen and prepare the soil |
| Watering Can | Used for gentle and controlled watering |
| Gardening Gloves | Protects hands while working |
How to Plant Hollyhock Seeds Successfully?
Knowing how to grow hollyhocks becomes much easier when you follow a clear process. These simple steps help seeds settle well and grow into strong plants.
Step 1: Prepare the Soil
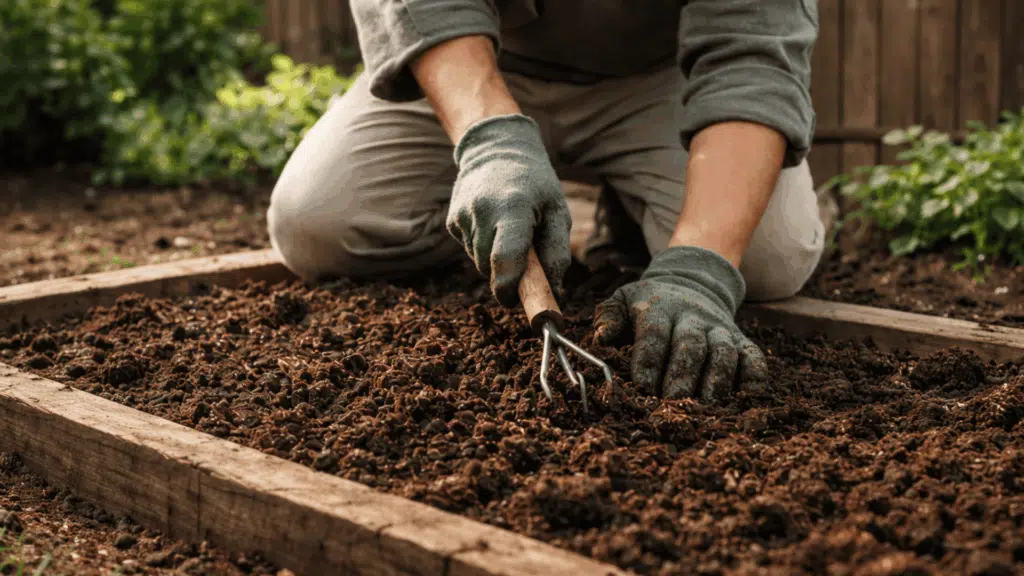
Start by choosing a spot with well-drained soil and good sunlight. Loosen the soil so roots can grow easily, and mix in compost to improve texture and nutrient levels.
Good soil preparation helps seeds settle faster and supports early growth without stress. Make sure the soil is not too compact, as loose soil allows better root spread.
Clearing weeds from the area also prevents competition during early growth.
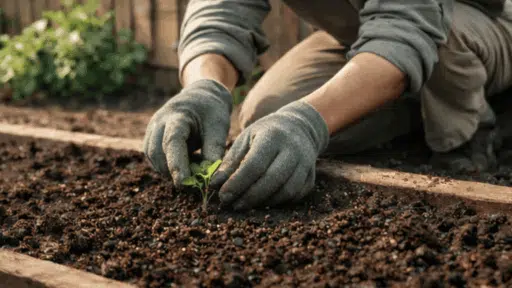
Step 2: Sow the Seeds
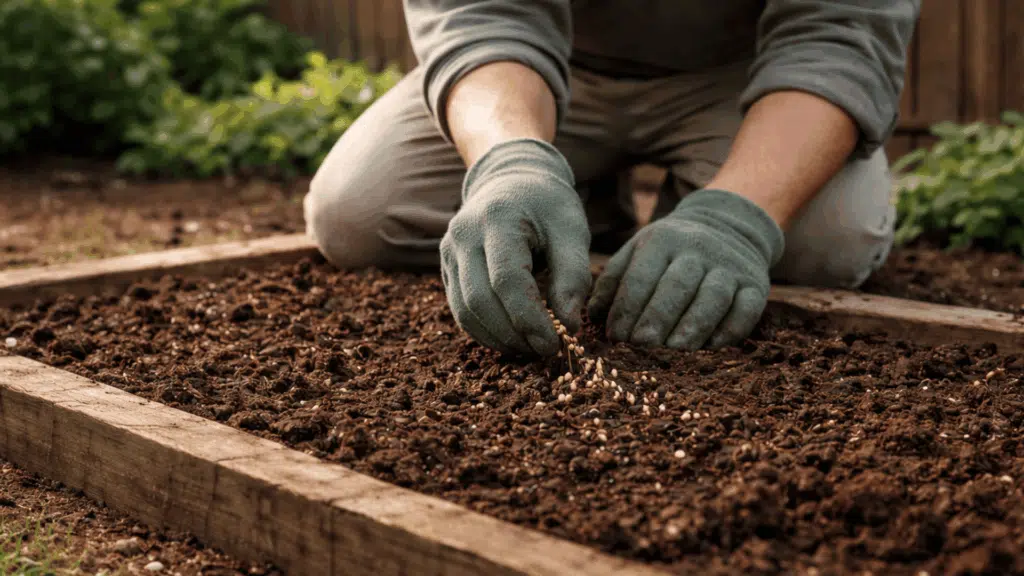
Place the seeds on the soil surface and press them gently, rather than burying them deep. Hollyhock seeds need light to germinate, so keeping them near the surface improves success.
Spacing them slightly apart also prevents overcrowding later. Avoid covering seeds with heavy soil, as this can slow germination. Light spacing at this stage makes thinning easier later on.
Step 3: Water Gently
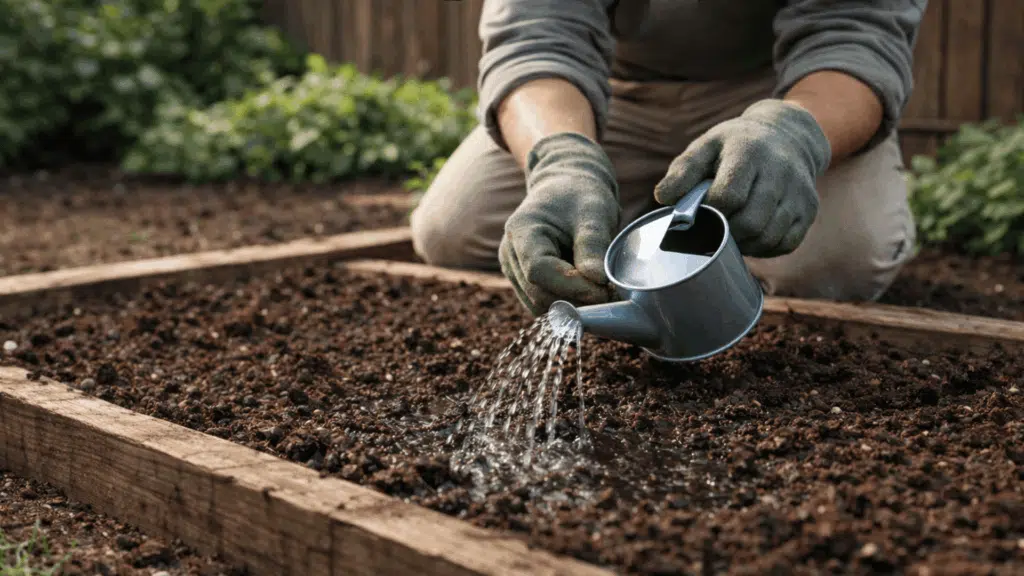
After planting, water the soil lightly to keep it moist. Avoid soaking the area, as too much water can damage seeds. Consistent moisture helps seeds sprout evenly and supports steady early growth.
Using a gentle spray prevents seeds from shifting out of place. Regular but light watering keeps conditions stable for sprouting.
Step 4: Support Early Growth
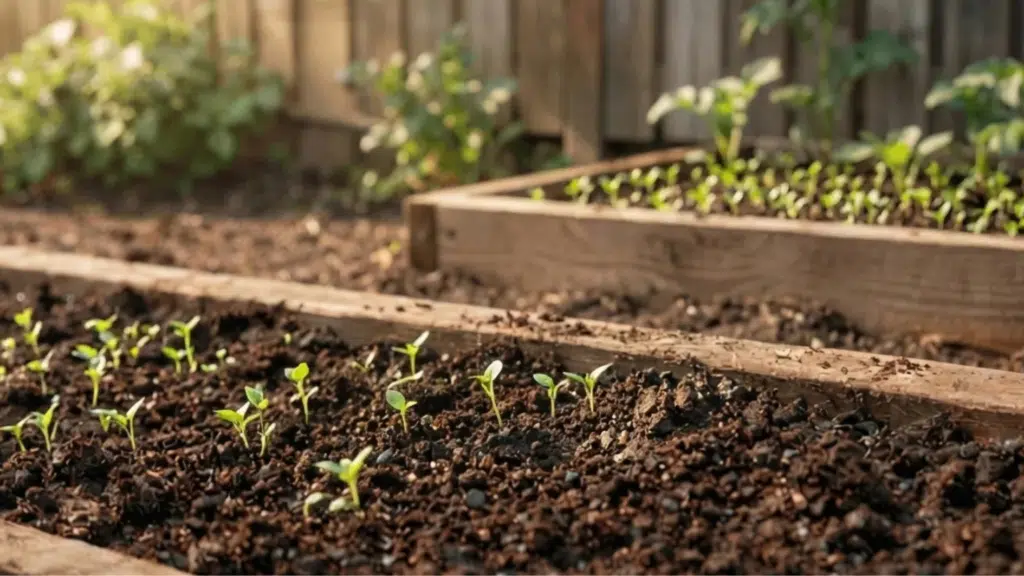
As seedlings begin to grow, make sure they get enough sunlight and airflow. This reduces the chance of weak stems and keeps plants healthy.
Light care during this stage helps plants grow stronger over time. Avoid overcrowding, as poor airflow can lead to weak growth.
Keeping the area clean also helps seedlings stay healthy.
Step 5: Give Plants Proper Spacing
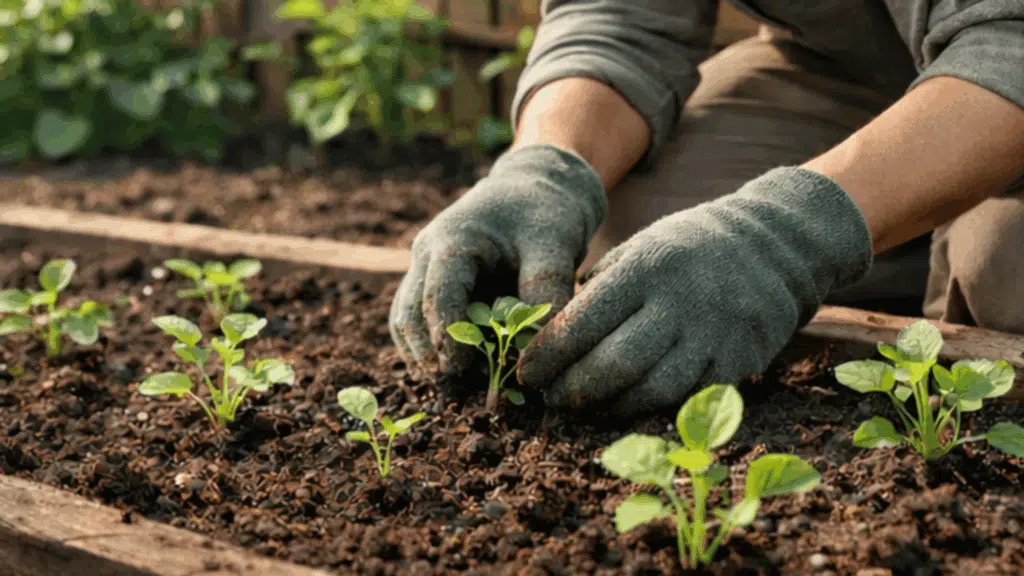
Once seedlings are large enough, give them proper space to grow. Remove weaker ones or move them to another spot.
This step allows each plant to grow without competition and develop fully.
Proper spacing helps roots expand without restriction. It also improves airflow, supporting stronger, healthier plants over time.
Common Mistakes to Avoid
Knowing when and how to grow hollyhocks properly can help avoid common mistakes that often lead to poor growth or delayed blooms.
- Planting Before Frost Ends: Starting too early can expose seeds to cold temperatures, which may stop germination or damage young seedlings.
- Overwatering Seeds: Too much water can make the soil soggy and harm seeds. It can also lead to rot before the seeds even sprout.
- Planting in Shade: Hollyhocks need plenty of sunlight to grow well. Planting in low-light areas can result in weak stems and poor development.
- Expecting Flowers in Year One: Hollyhocks are usually biennial plants. They focus on growing leaves in the first year and bloom in the second year.
- Planting Seeds Too Deep: Hollyhock seeds need light to germinate, so burying them too deep can prevent sprouting or slow down early growth.
Conclusion
Growing hollyhocks can be a rewarding addition to any garden when the process is done with care and patience. Understanding when to plant hollyhock seeds ensures seeds settle in the right conditions and develop without stress.
Once established, these plants require minimal effort and continue to grow steadily over time. With consistent care and the right setup, hollyhocks can thrive and bring height and color to your space.
Following the right approach from the beginning helps create healthy plants that return and perform well in the seasons ahead.
Start planting today and enjoy watching your hollyhocks grow strong and bloom beautifully.

Veronica Lee holds a Master’s degree in Landscape Architecture from Cornell University and has dedicated more than 15 years to transforming outdoor areas into artistic and sustainable spaces. Her career took off in a renowned landscape design firm, where she excelled in creating visually stunning and environmentally responsible designs. In 2019, Veronica brought her expertise to our platform, quickly becoming a key contributor to our outdoor design and sustainability sections. As the lead of our landscape innovation series ever since joining, she has inspired readers with her forward-thinking and practical approach. When not drafting designs, Veronica enjoys pottery and participates in local conservation efforts, activities that complement her professional ethos of blending art with nature.