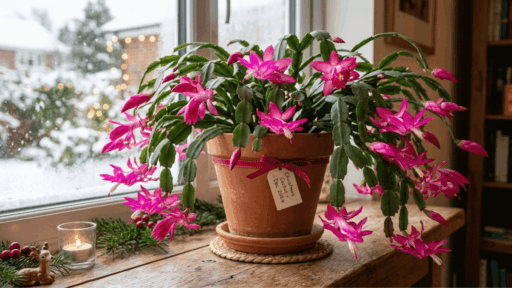

Potatoes rank among the most practical crops any home grower can start with. You don’t need a large plot of land; a bag, bucket, or small raised bed is enough to get a good crop going.
This blog walks you through the complete process of growing potatoes without synthetic fertilizers or pesticides.
From selecting the right seed potatoes to hilling your plants and pulling them from the ground, every step is broken down in plain terms.
If you have never grown food before, potatoes are a solid first crop to try. Small space or not, you can make it work.
Why Grow Potatoes at Home?
Growing potatoes at home gives you direct control over what goes into your food. Store-bought potatoes often carry pesticide residues and can sit in cold storage for weeks before reaching your plate.
When you grow your own, you pick them fresh and skip the chemicals entirely. The cost savings are real. A small bag of seed potatoes produces far more than its purchase price in food.
Balconies, patios, and rooftops all serve as growing spots, so a traditional garden is not required. The flavor difference is noticeable from the first bite.
Homegrown potatoes have a firmer texture and a more pronounced taste that most supermarket varieties cannot match.
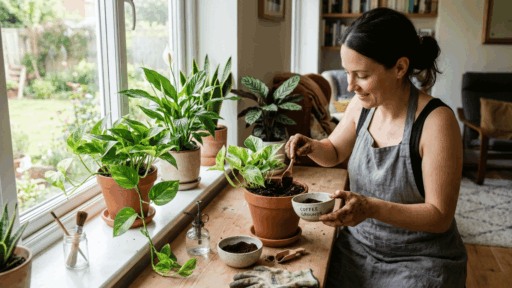
How to Plant Potatoes Organically
Getting the planting stage right makes a big difference in how well potatoes grow later. A few simple steps can help prevent rot and support strong, healthy shoots.
| Step | What to Do | Why It Matters |
|---|---|---|
| Cut Seed Potatoes Properly | Slice into chunks with 1–2 eyes each | Ensures each piece can sprout and grow |
| Let Pieces Dry Before Planting | Leave for 24–48 hours to harden edges | Reduces risk of rot in the soil |
| Prepare Loose, Well-Draining Soil | Break clumps and mix in compost | Improves root growth and drainage |
| Plant at the Right Depth | Dig 4–6 inches deep, eyes facing up | Supports proper sprouting and development |
| Cover Lightly with Soil | Add 3–4 inches of soil on top | Protects pieces while allowing growth |
| Water Gently After Planting | Light watering to settle soil | Keeps soil moist without disturbing placement |
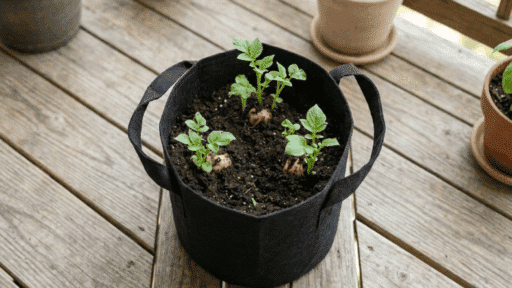
Understanding the Hilling Process
Hilling is a key part of learning how to grow potatoes successfully. It means pulling soil up around the base of your potato plant and mounding it along the stems as the plant grows taller.
Potato tubers form along the underground portion of the stem, so the more stem you bury, the more tubers the plant produces.
Mounding soil over the tubers keeps them buried, retains moisture around the root zone, and supports steadier growth throughout the season.
When to Hill Potatoes
- Start Early – Begin hilling before stems get too tall, as older stems become woody and can snap easily when covered.
- Add Soil Gradually – Build soil in layers, covering only the lower two-thirds of the stem instead of adding too much at once.
- Keep Leaves Exposed – Always leave the top leaves above the soil so the plant continues getting sunlight for growth.
- Repeat Regularly – Hill again every time the plant grows 6–8 inches to support steady development.
- Use Fresh Soil Mix – Add compost or potting mix each time to keep the soil loose and rich in nutrients.
Step-by-Step Container Method
Learning how to grow potatoes in a container is simple when broken into clear stages, from planting potatoes in the right soil mix to tending each potato plant as it grows.
Step 1: Set Up Your Container
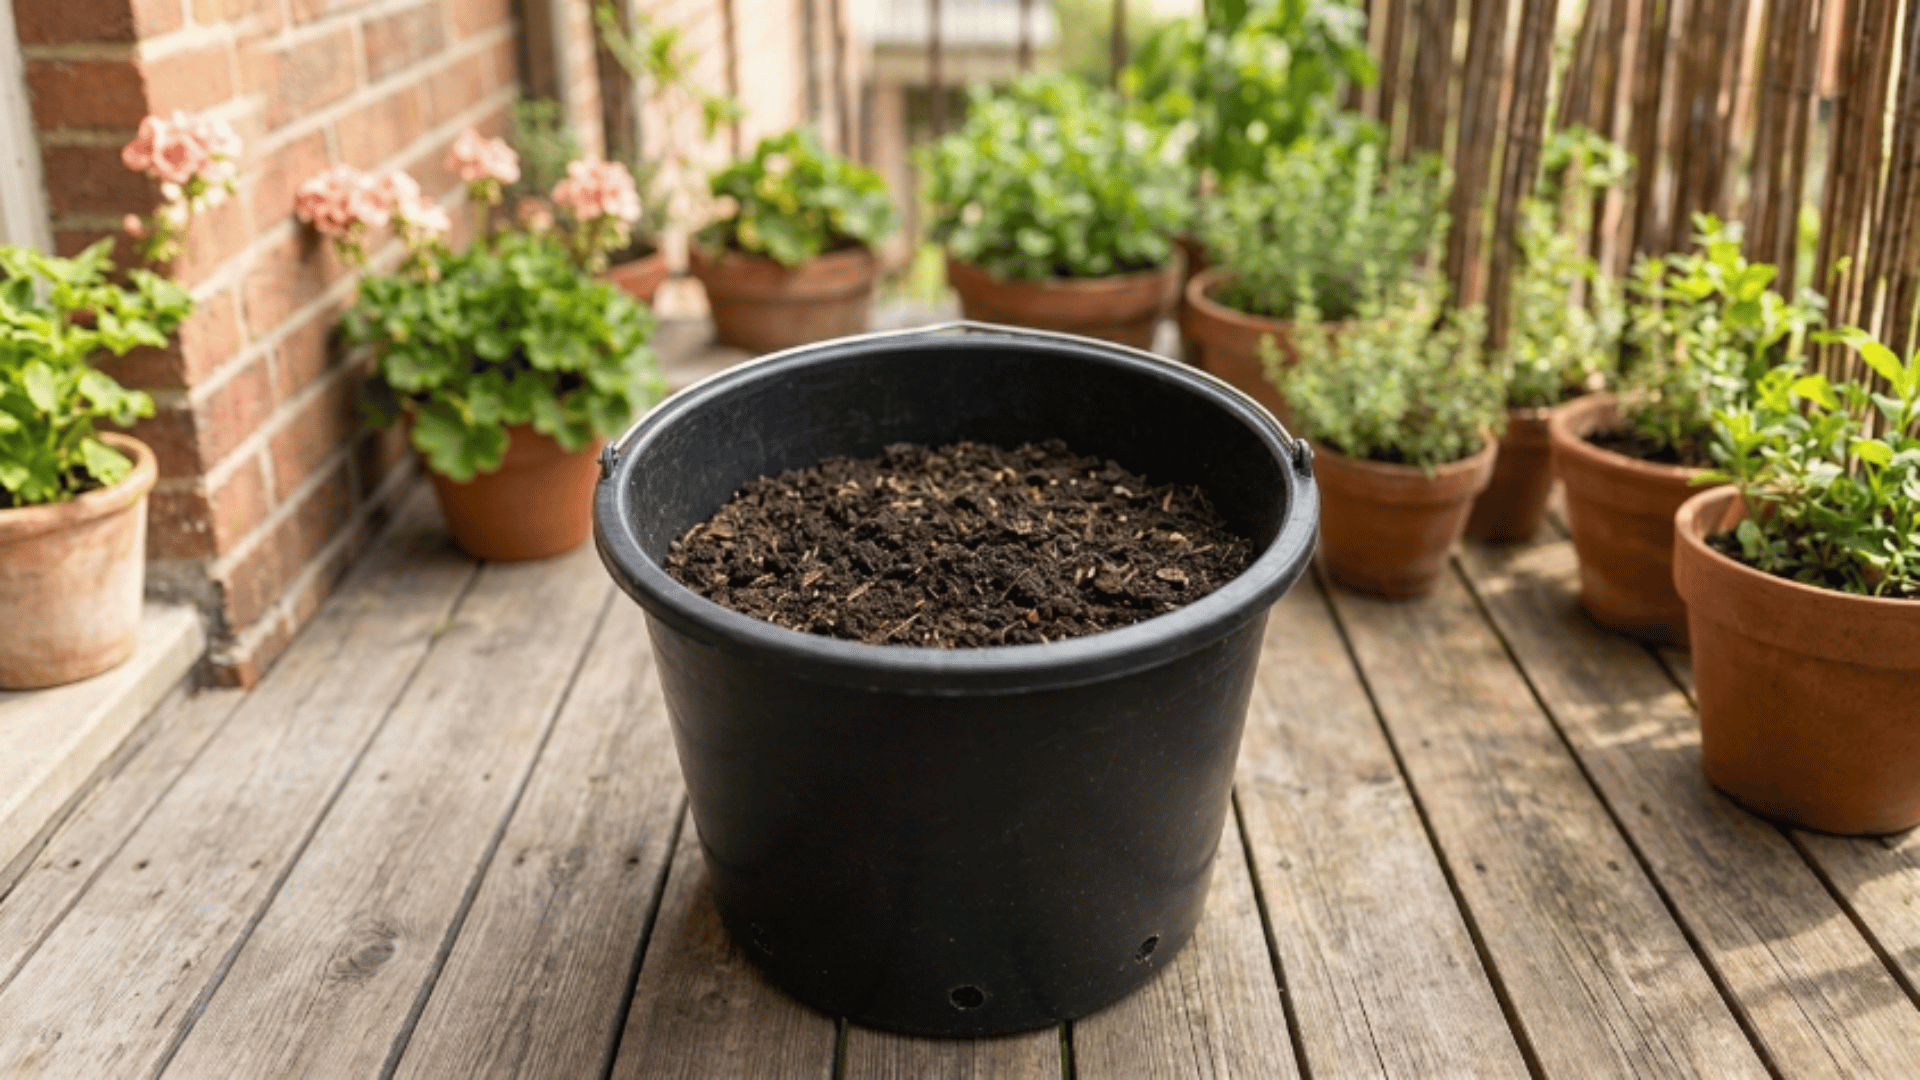
Take a large bucket with drainage holes at the bottom and fill it with 4 to 6 inches of loose potting mix or compost.
Avoid using regular garden soil as it compacts inside the bucket and blocks root growth. This base layer sets a firm, breathable foundation for your seed potatoes to settle into.
Getting this step right makes every stage that follows much easier to manage.
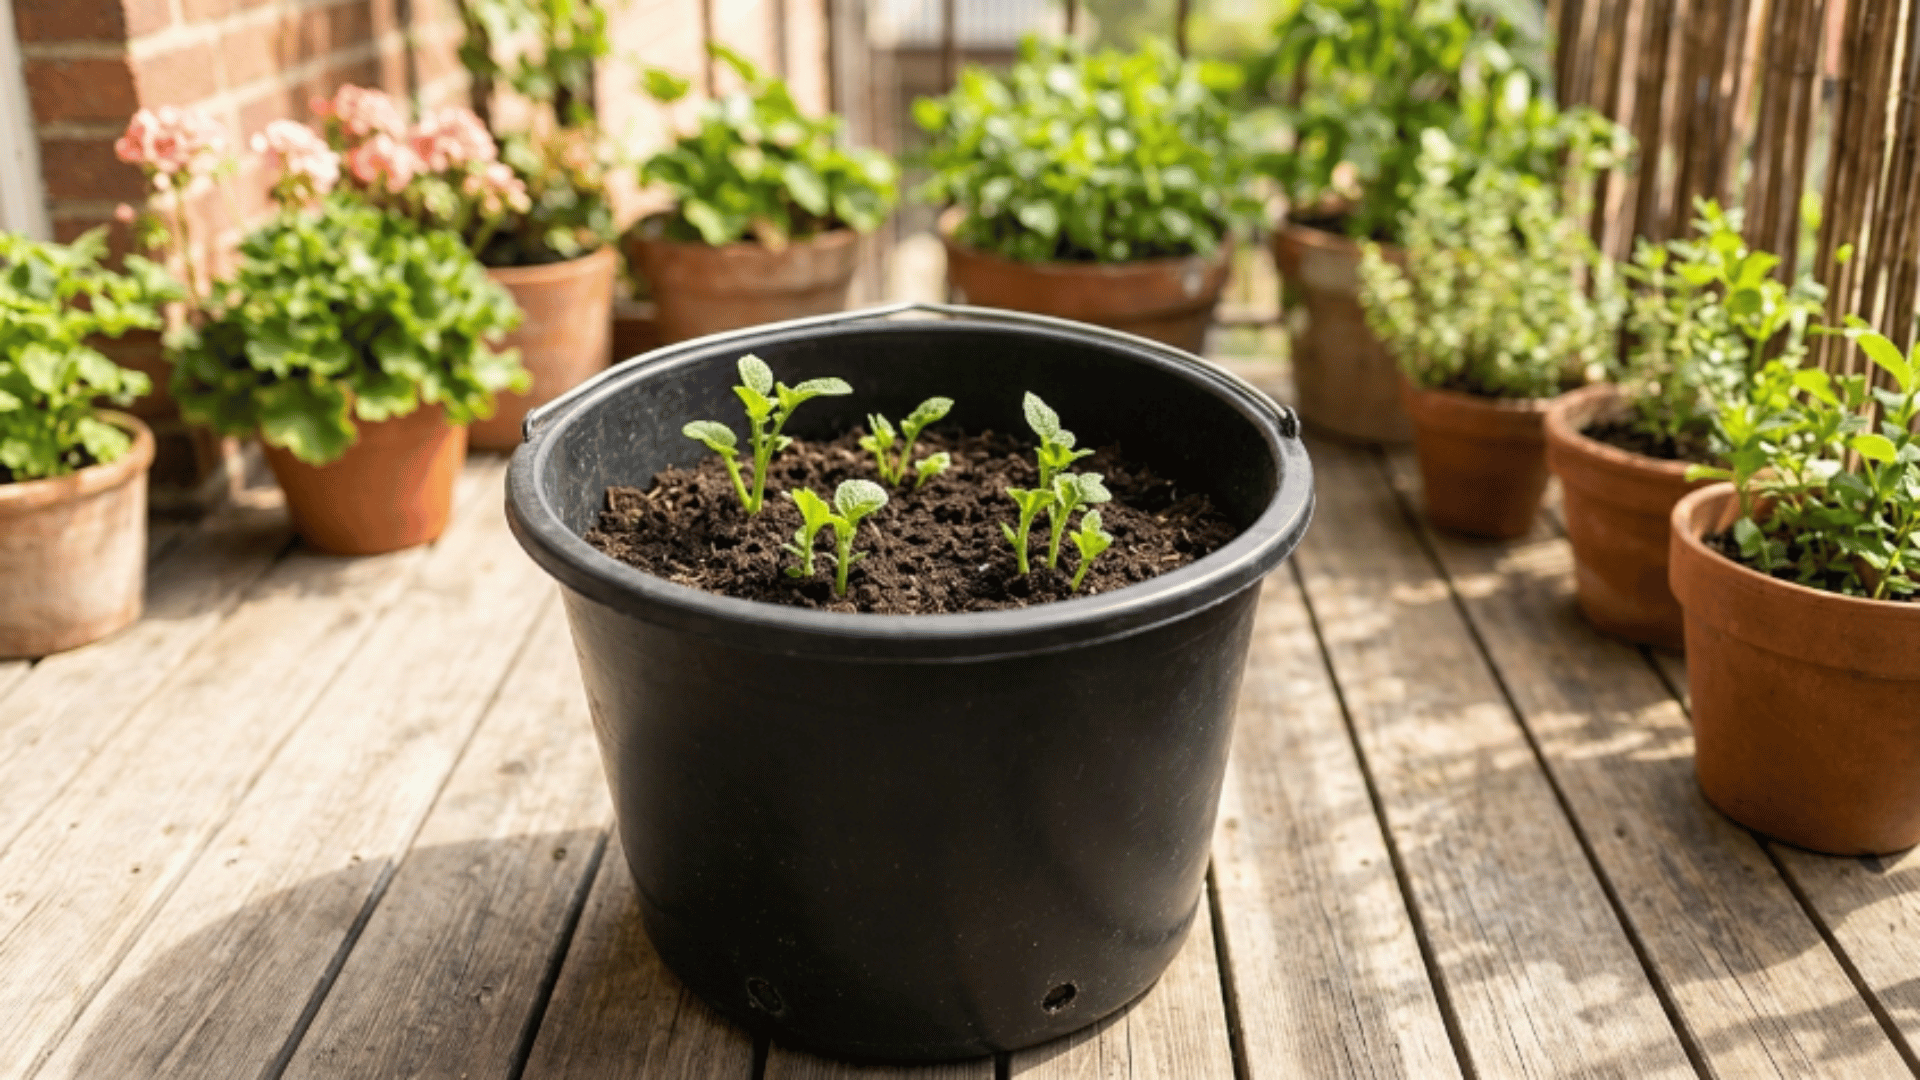
Step 2: Place Your Seed Potatoes
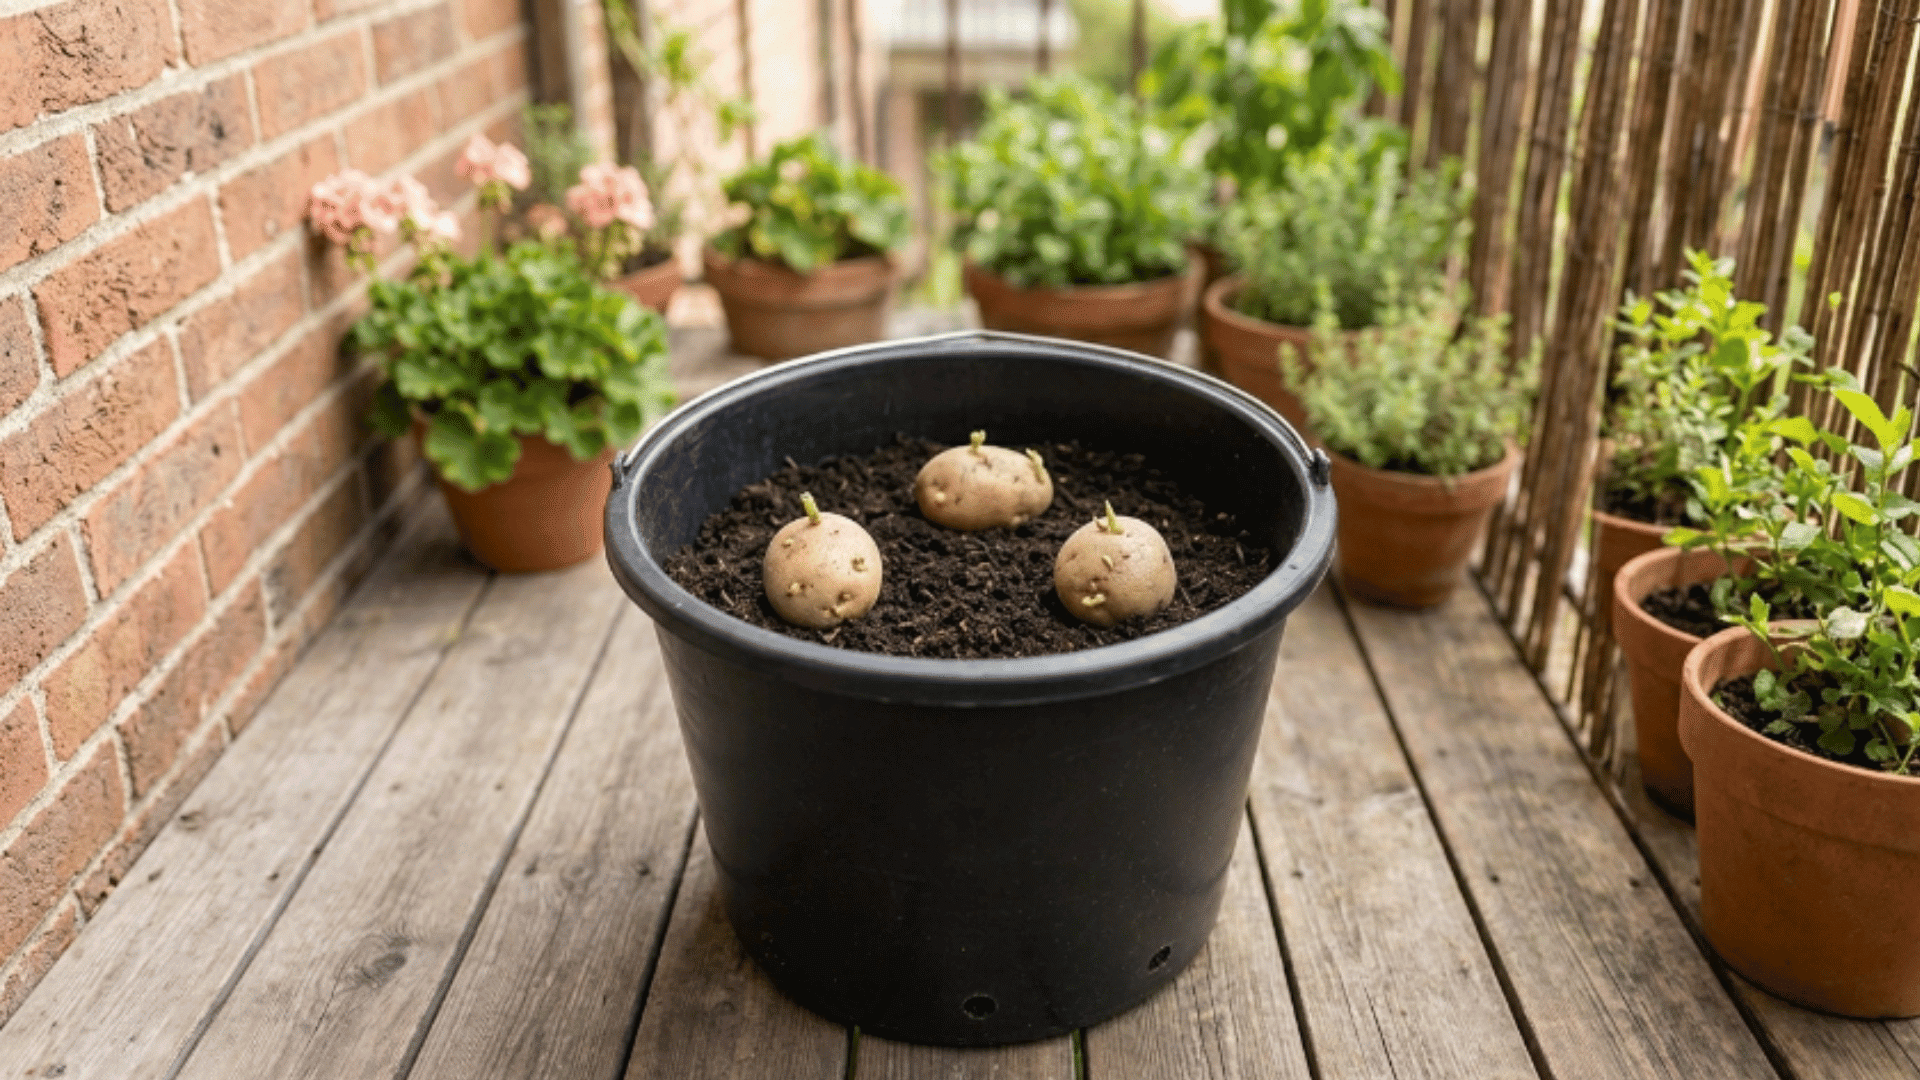
Place 2 to 3 seed potato pieces on top of the soil in the bucket, with the eyes of the small raised buds facing upward.
Placing the eyes upward is important because shoots naturally grow toward light, and a correctly placed piece sprouts faster and stronger.
Crowding pieces too close together at this stage reduces the number of potatoes you will get at harvest.
Step 3: Cover with Soil and Water
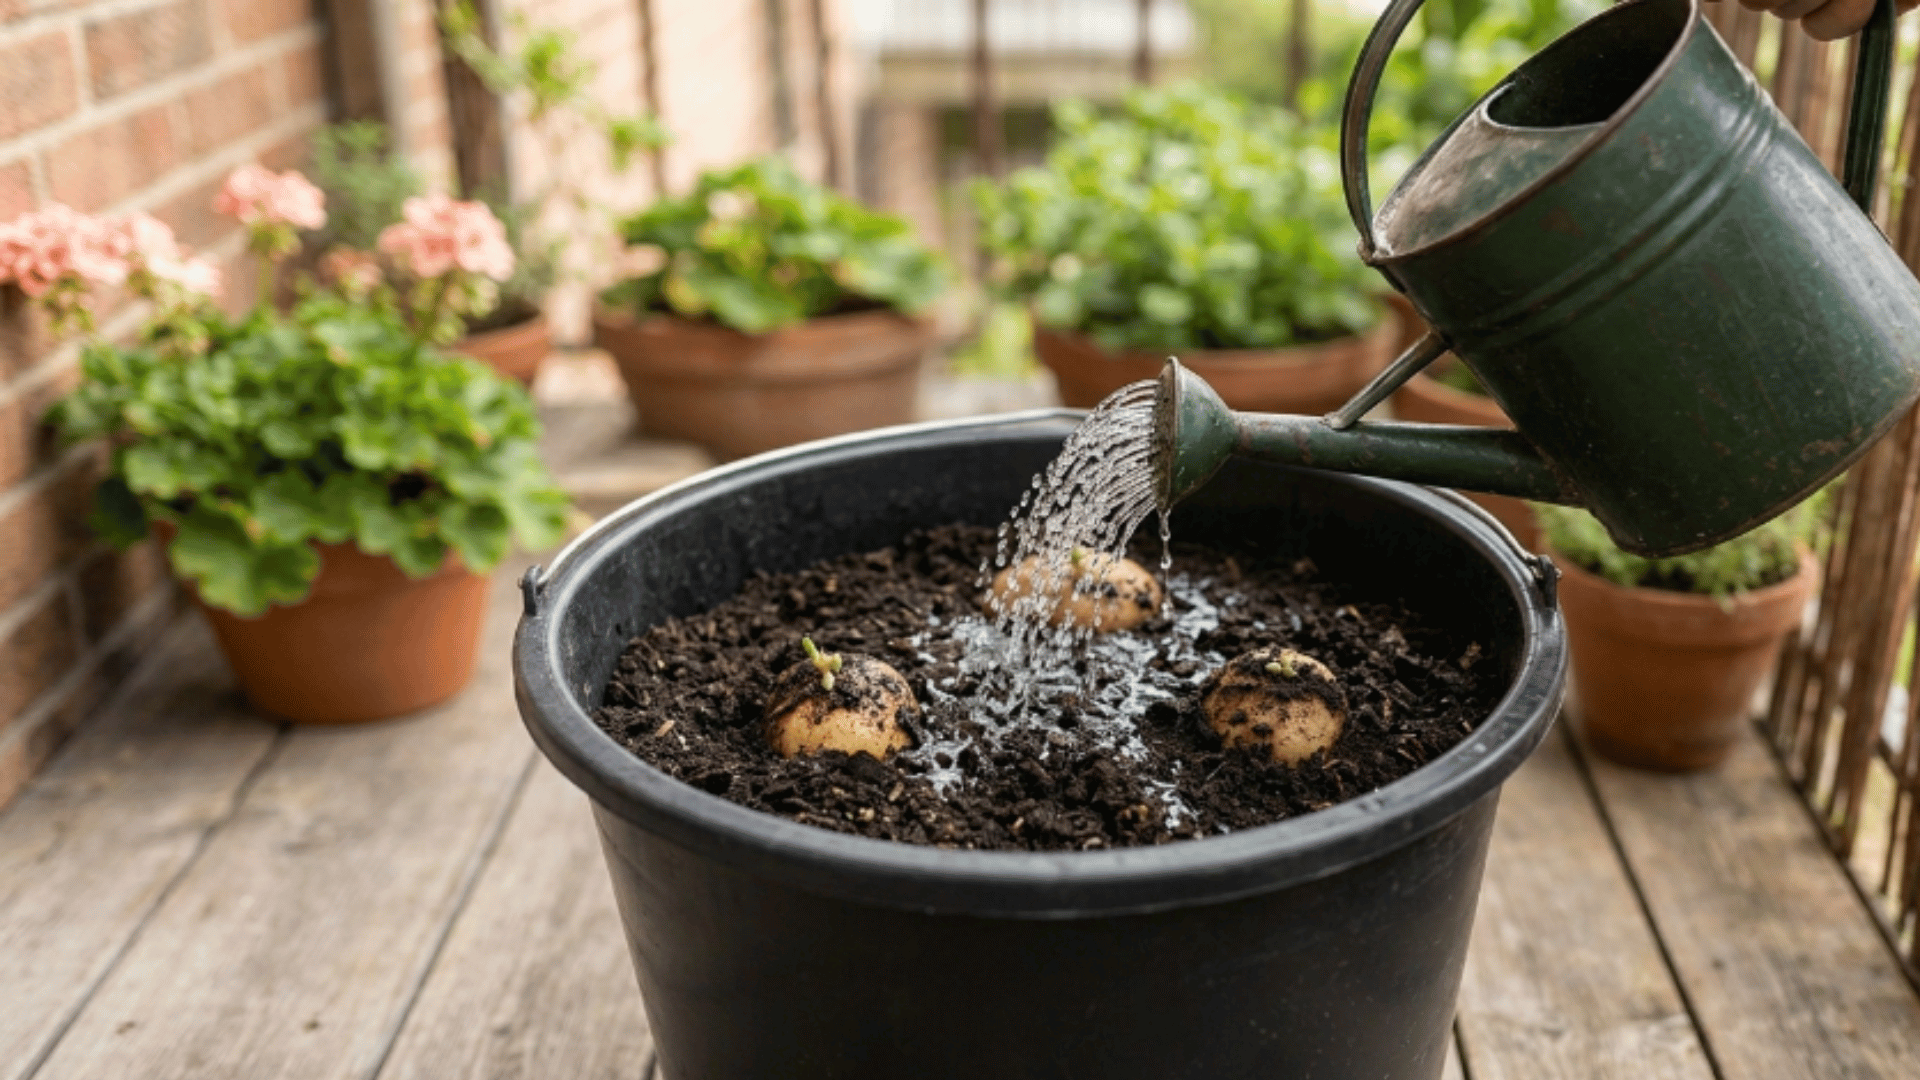
Add another 3 to 4 inches of soil over the seed potatoes in the bucket, then press it down lightly without compacting it. Do not fill the bucket to the top.
At this point, you will need the remaining space for hilling later. Water the soil slowly and evenly until it feels moist throughout, then check every couple of days and water only when the top inch feels dry.
Step 4: Move the Bucket to a Sunny Spot
Place the bucket in an area that receives 6 to 8 hours of direct sunlight daily. A south-facing balcony, patio, or rooftop works well for this.
Rotate the bucket every few days if your space gets uneven light, so every side of the growing plant receives consistent sun exposure.
Poor light early on leads to weak stems that struggle to support the plant as it matures.
Step 5: Add Soil as Plants Grow
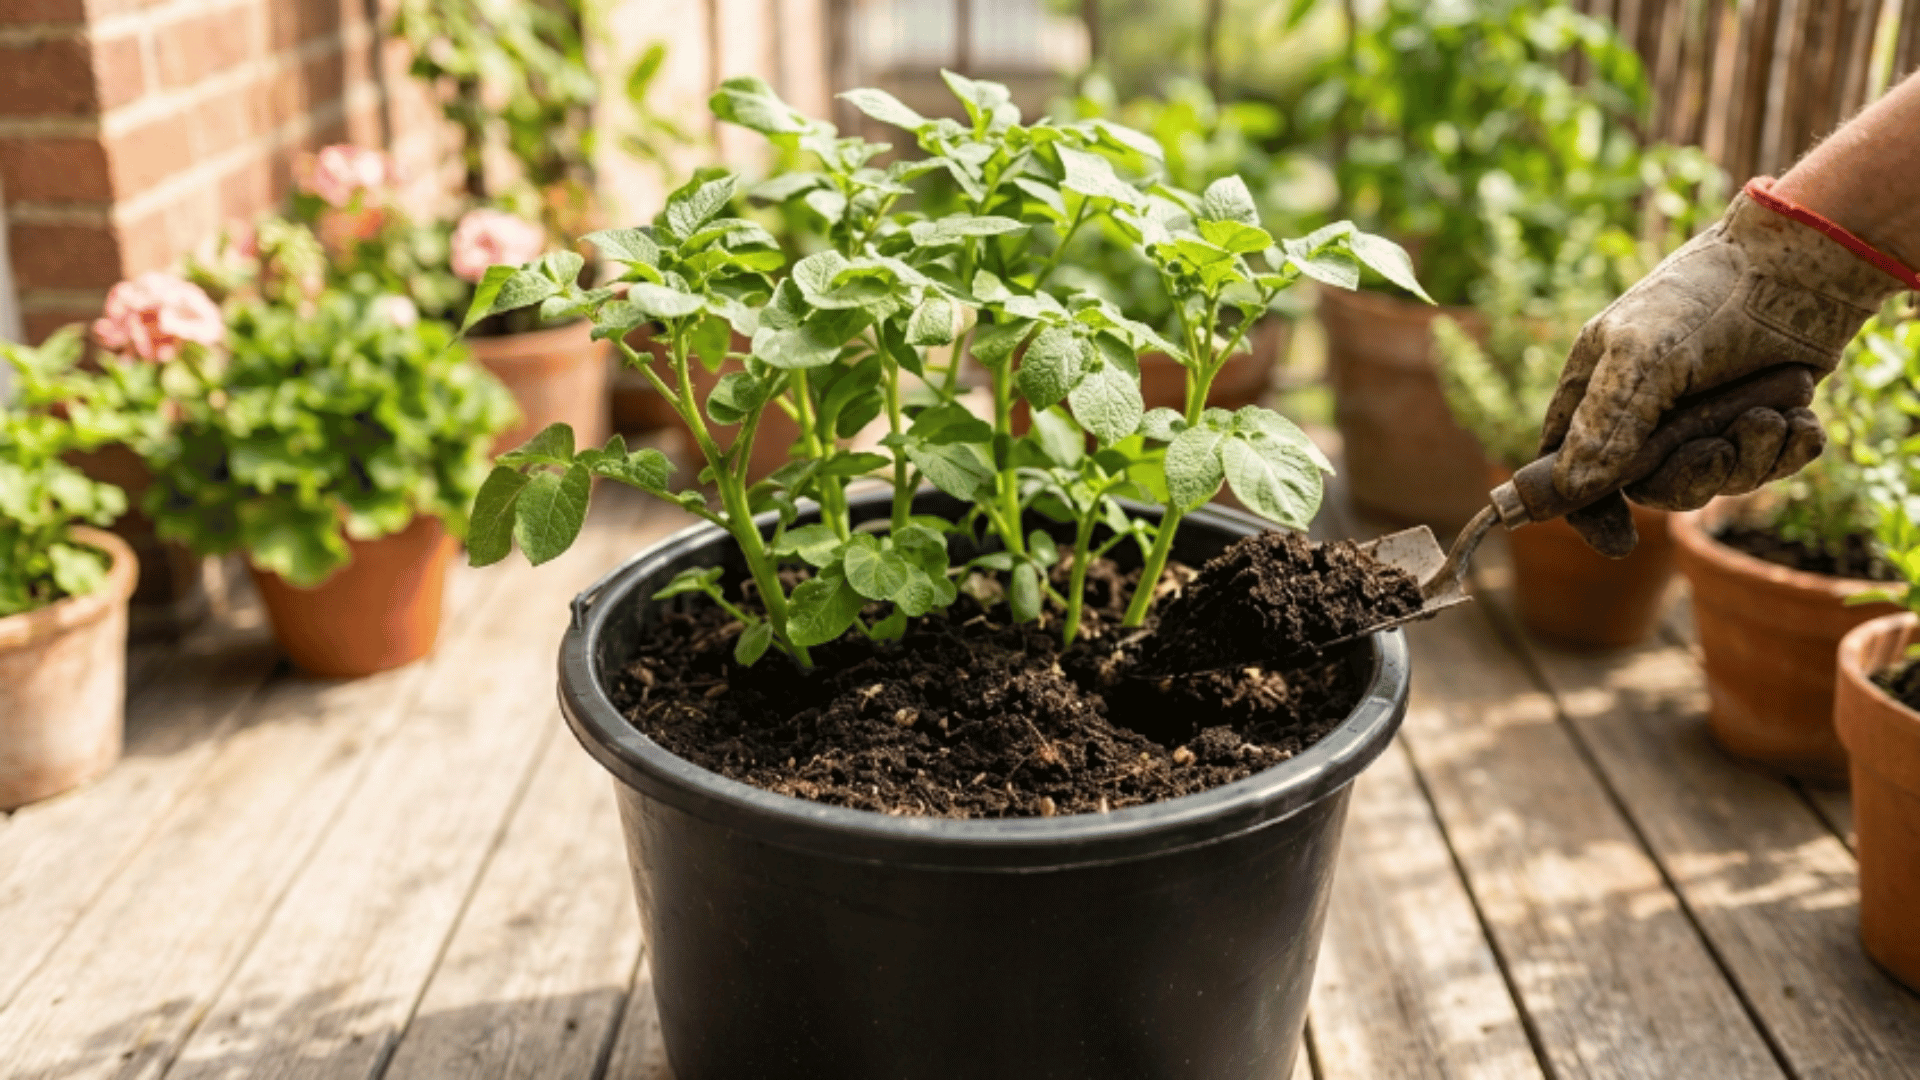
Once the stems growing out of the bucket reach 6 to 8 inches above the soil, add more soil to cover the lower two-thirds of the visible stems, leaving only the top leaves exposed.
Repeat every time the plant grows another 6 to 8 inches and continue until the bucket is filled to within 2 inches of the rim.
Best Conditions to Grow Potatoes at Home
If learning how to grow potatoes successfully, understanding the right conditions is key. A healthy potato plant depends on proper sunlight, soil, and care to grow well at home.
| Factor | Ideal Condition | Why It Matters |
|---|---|---|
| Sunlight | 6–8 hours of direct sunlight | Supports strong plant growth |
| Soil Type | Loose, well-draining, compost-rich | Prevents rot and helps roots expand |
| Watering | Evenly moist, not soggy | Avoids disease and poor growth |
| Temperature | 60–70°F (15–21°C) | Best range for healthy development |
| Hilling | Add soil every 6–8 inches of growth | Boosts yield and protects potatoes |
Signs Potatoes are Ready to Harvest
Knowing exactly when to harvest keeps you from pulling potatoes too early or leaving them in the ground too long. Watch for these clear signs that your potato plant is ready:
- Leaves Turn Yellow: The foliage gradually loses its green color and turns yellow. This is the most reliable sign that tuber production is complete.
- Stems Start Dying Back: The stems weaken, droop, and collapse toward the soil surface. This means the plant has completed its full growing cycle.
- Skin Sets Firmly: Gently rub the skin of a dug-up potato. If it slides off, they need more time. If it holds firm under light pressure, they are ready.
- Flowering Has Passed: The plant produces small flowers before foliage begins to die back. Once those flowers drop and leaves turn yellow, harvest time is close.
- Underground Check: Push your hand into the soil near the base of the plant and feel around. If the tubers feel firm and full-sized, the crop is ready.
Wrapping up
Growing potatoes at home does not require expertise or a large setup, just the right steps and consistent care.
Focus on soil quality, regular hilling, and steady watering, and your plants will do the rest. Whether you choose a bucket, grow bag, or raised bed, the process stays the same.
Pay attention to the signs your plant gives you and harvest at the right time for the best results. Start with one container this season, learn as you go, and build from there.
Ready to grow your first batch? Pick up your seed potatoes today and get started.

With a Master’s in Landscape Architecture from the University of Virginia, Sophia Stephenson has dedicated the last 20 years to creating and maintaining vibrant outdoor spaces. Her professional journey started in landscape design, where she gained a reputation for innovative and sustainable approaches. Sophia became a part of our editorial team as a freelancer in 2019, offering a fresh perspective on outdoor living. Since 2020, she has been the chief for our outdoor design content, blending aesthetic appeal with environmental stewardship. In her leisure time, Sophia is a keen photographer, capturing the beauty of natural landscapes, a hobby that complements her professional expertise.