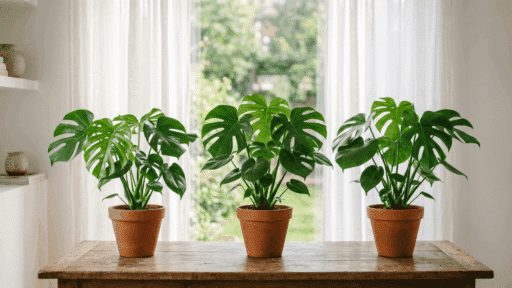
The Swiss cheese plant is one of those indoor plants that people notice and remember the moment they walk into any room for the first time.
Its large, distinctive tropical leaves, with their natural patterns, give it a look that feels both bold and organic at the same time.
Most people assume a plant this visually striking and architecturally interesting must be difficult to maintain indoors, but the reality is quite the opposite.
GoodSwiss cheese plant care is more accessible than most people expect, and the plant is far more forgiving than its appearance might suggest.
How Did the Swiss Cheese Plant Get Its Name?
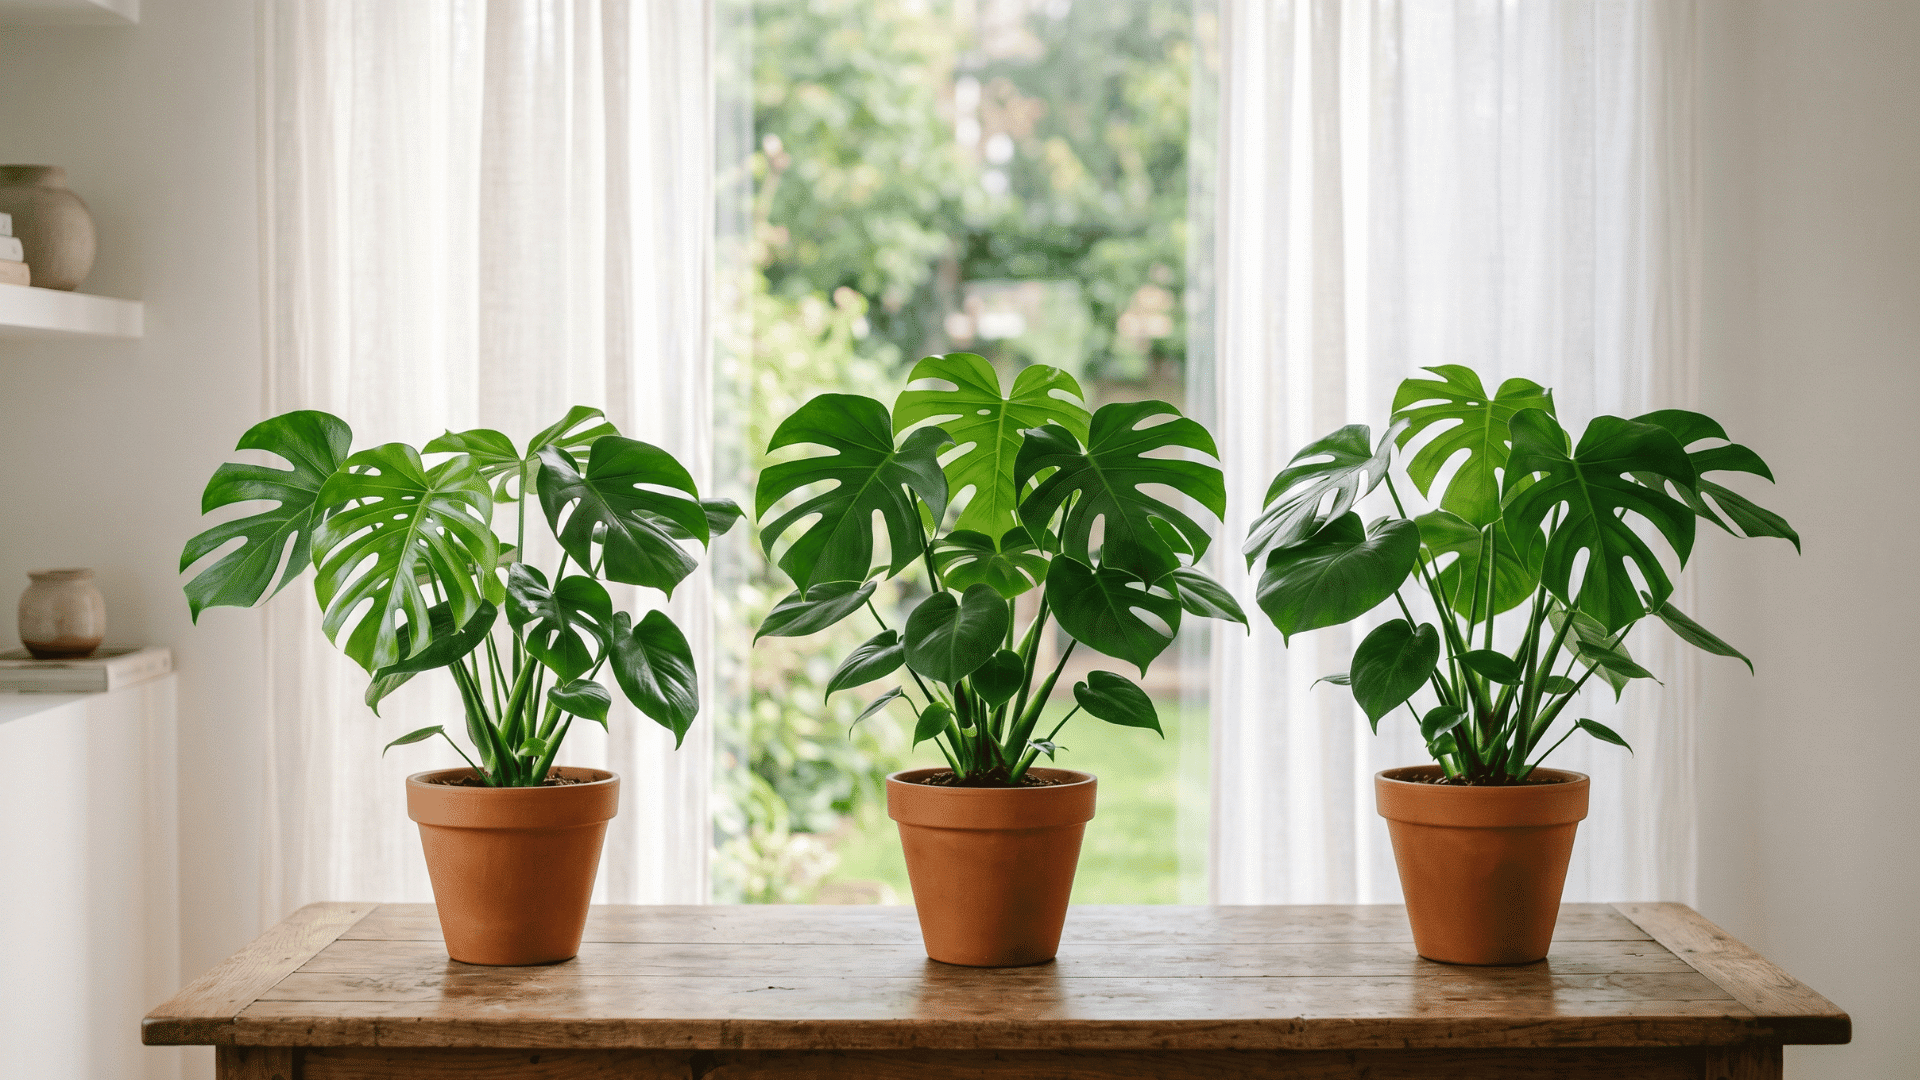
The name comes directly from the appearance of the leaves, which develop natural holes and splits as the plant matures, a pattern that closely resembles the holes found in Swiss cheese.
ThisPlant with holes in Its leaves is not damaged or diseased; it is A natural process called fenestration that the plant develops in response to its growing conditions.
In the wild, these holes are believed to help the large leaves withstand heavy tropical rainfall and strong winds without tearing by allowing water and air to pass through rather than against the surface.
The holes also allow light to filter through the lower canopy of the plant, ensuring that even the lower leaves receive some exposure despite the size of the upper ones.
Types of Swiss Cheese Plant
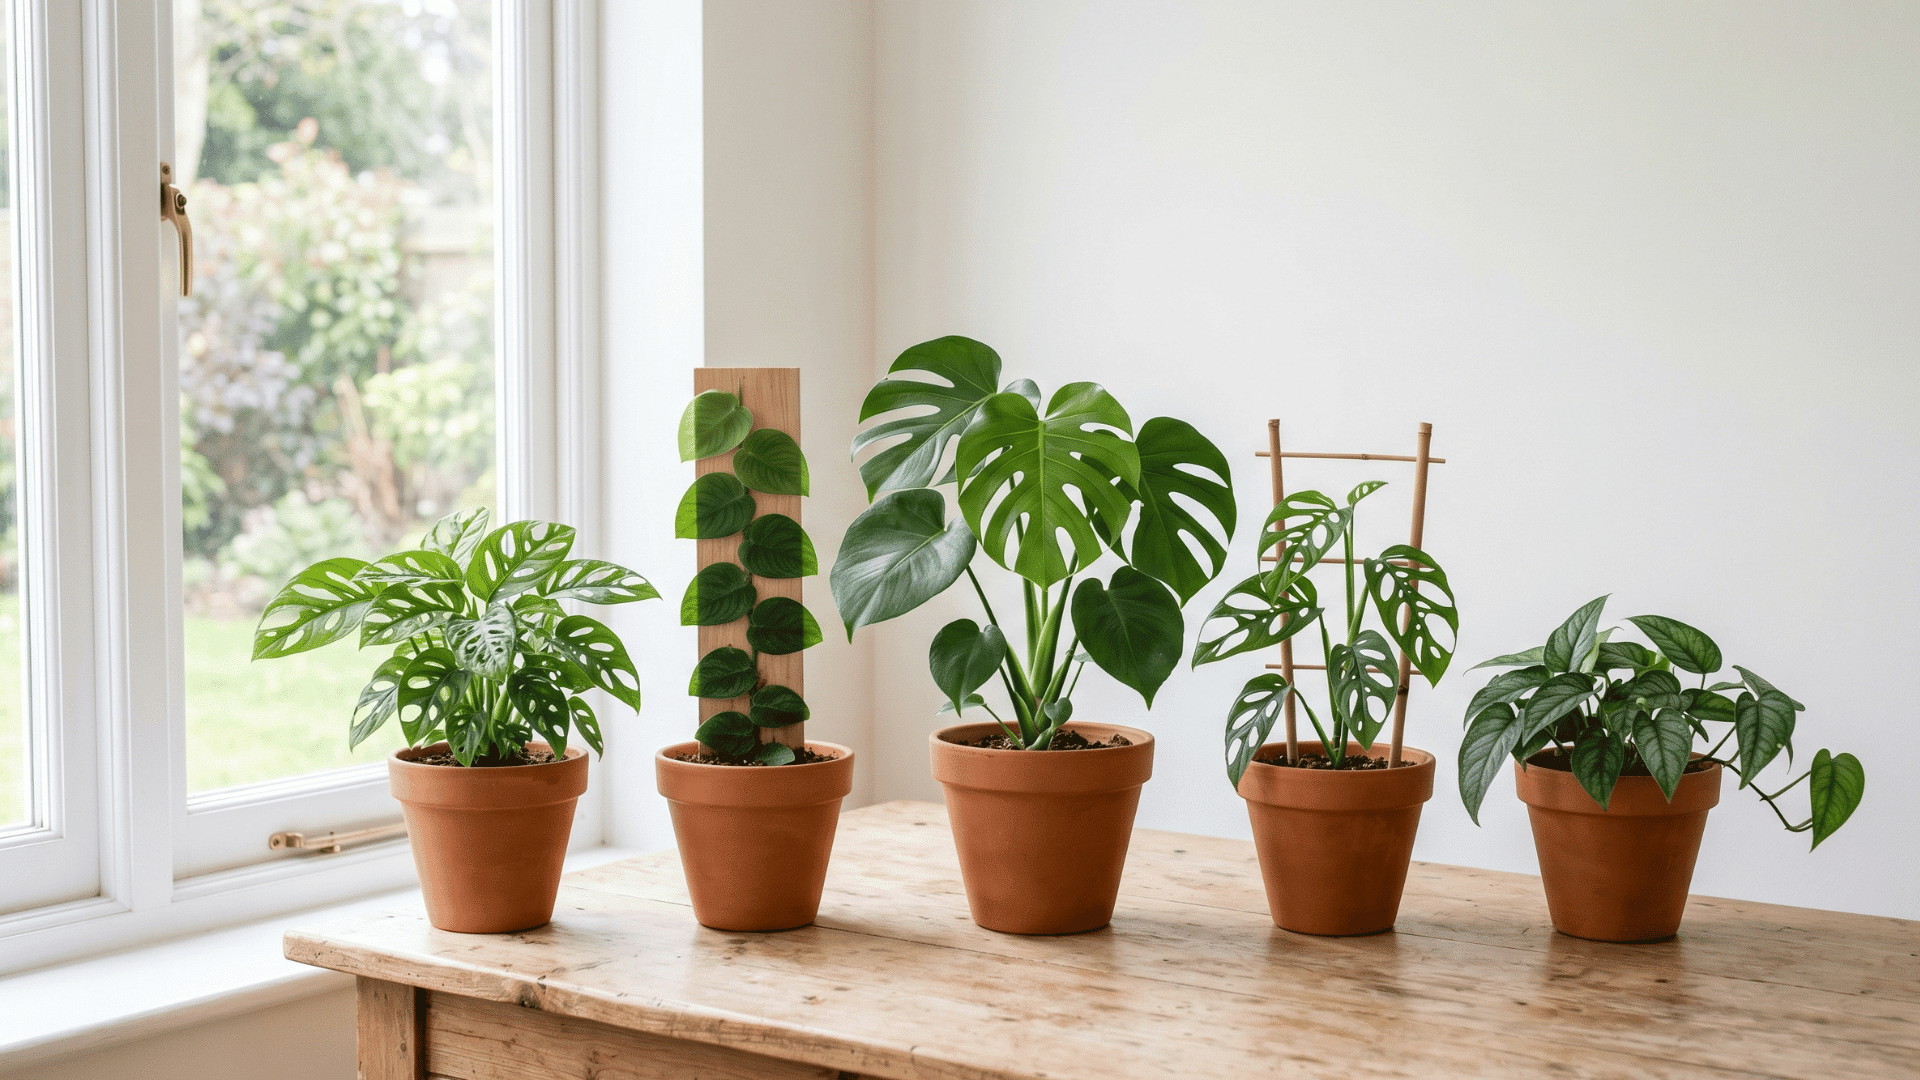
Here is a simple table that visually shows different types to help with swiss cheese plant care and choosing the right plant with holes in its leaves for your space.
| Type | Look | Key Feature |
|---|---|---|
| Monstera deliciosa | Large, split leaves | Classic plant with holes in leaves |
| Monstera adansonii | Small, oval leaves | More holes than the leaf surface |
| Monstera obliqua | Very thin leaves | Extreme holes, delicate look |
| Monstera dubia | Flat, climbing leaves | Grows against surfaces |
| Monstera siltepecana | Long, silver leaves | Holes develop with age |
How to Grow a Swiss Cheese Plant?
Growing a Swiss cheese plant from seeds takes time, but each stage is easy to follow: from seeds to sprouts, then to a young growing plant.
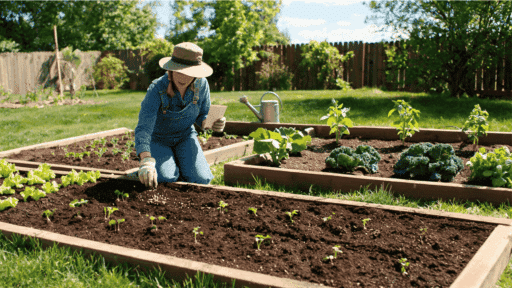
Step 1: Plant the Seeds in Moist Soil
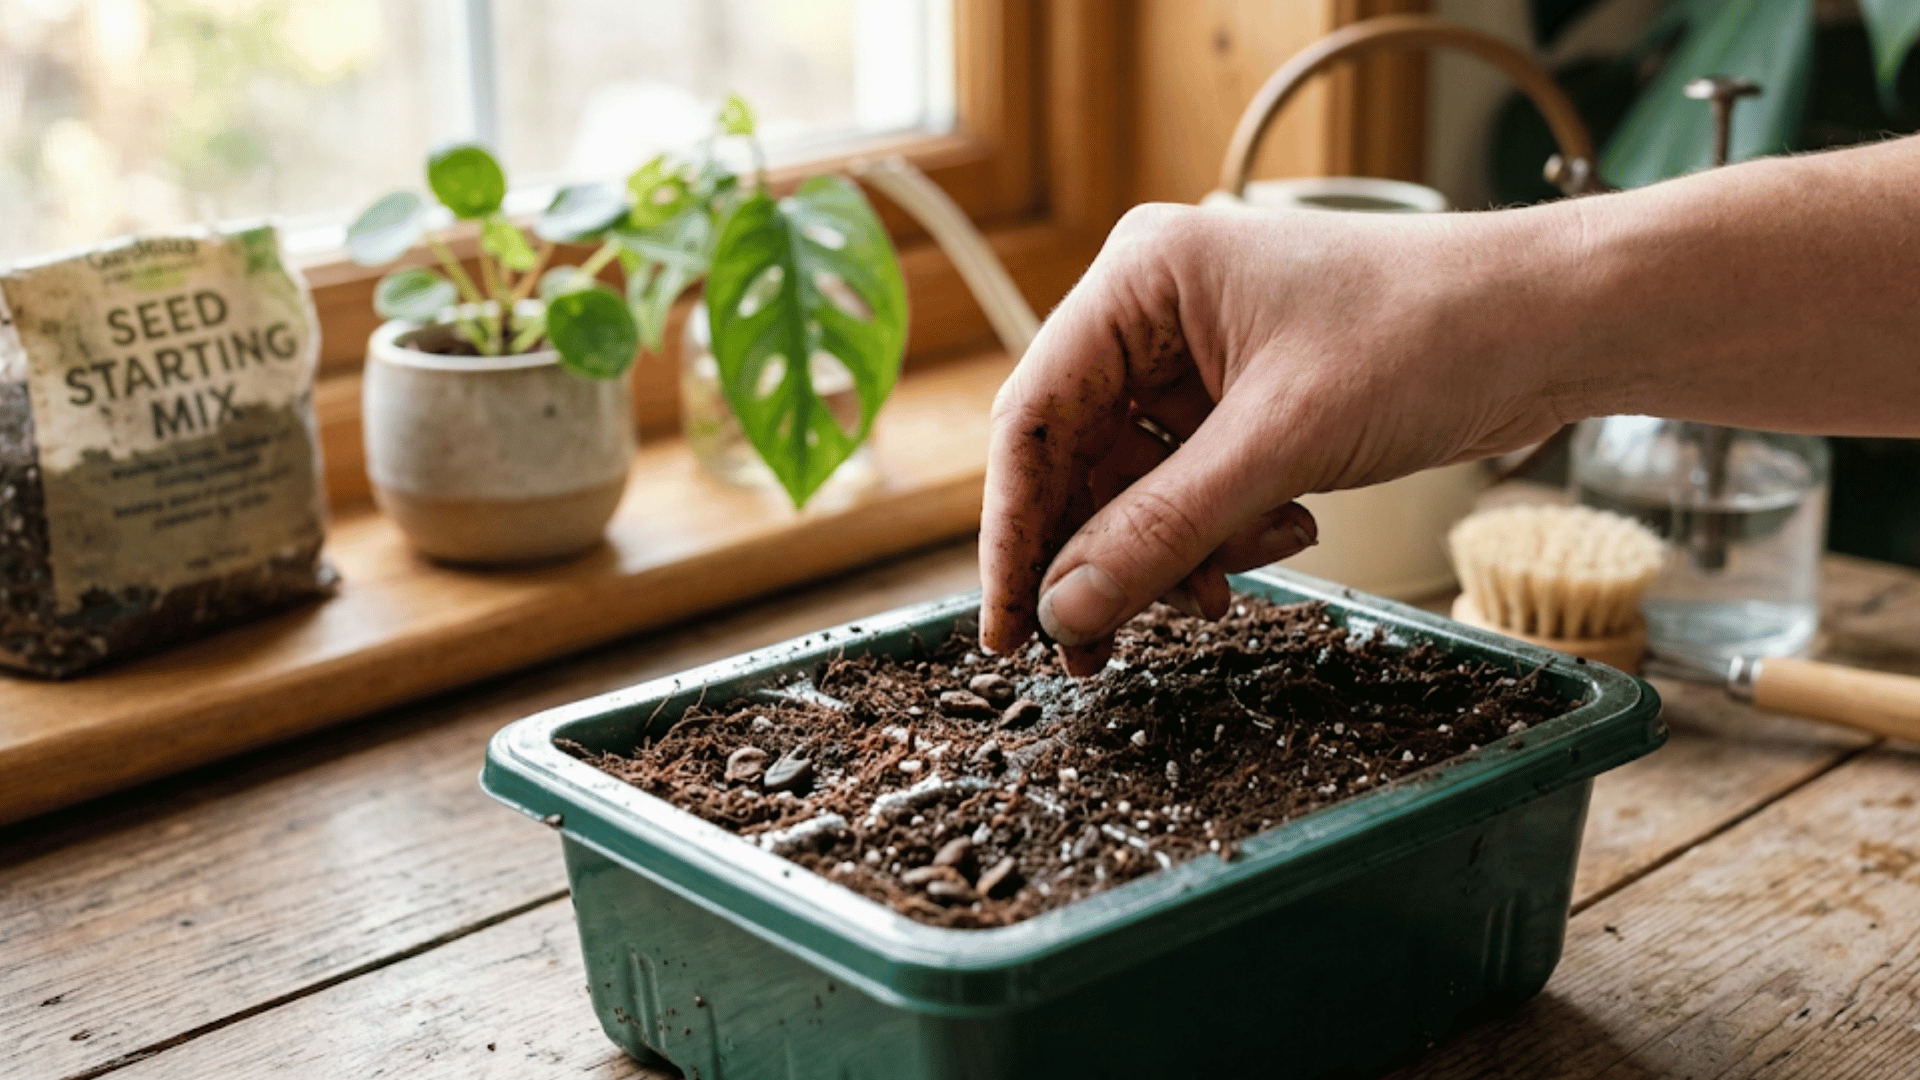
Start with fresh Swiss cheese plant seeds and a small seed tray or nursery pot. Fill the tray with light, well-draining seed-starting soil.
Place the seeds on top of the damp soil and cover them with a thin layer of soil. Do not plant them too deep, because tiny sprouts need to push through the soil.
Mist the top gently so the soil stays moist but not soaked.
Step 2: Keep the Seeds Warm
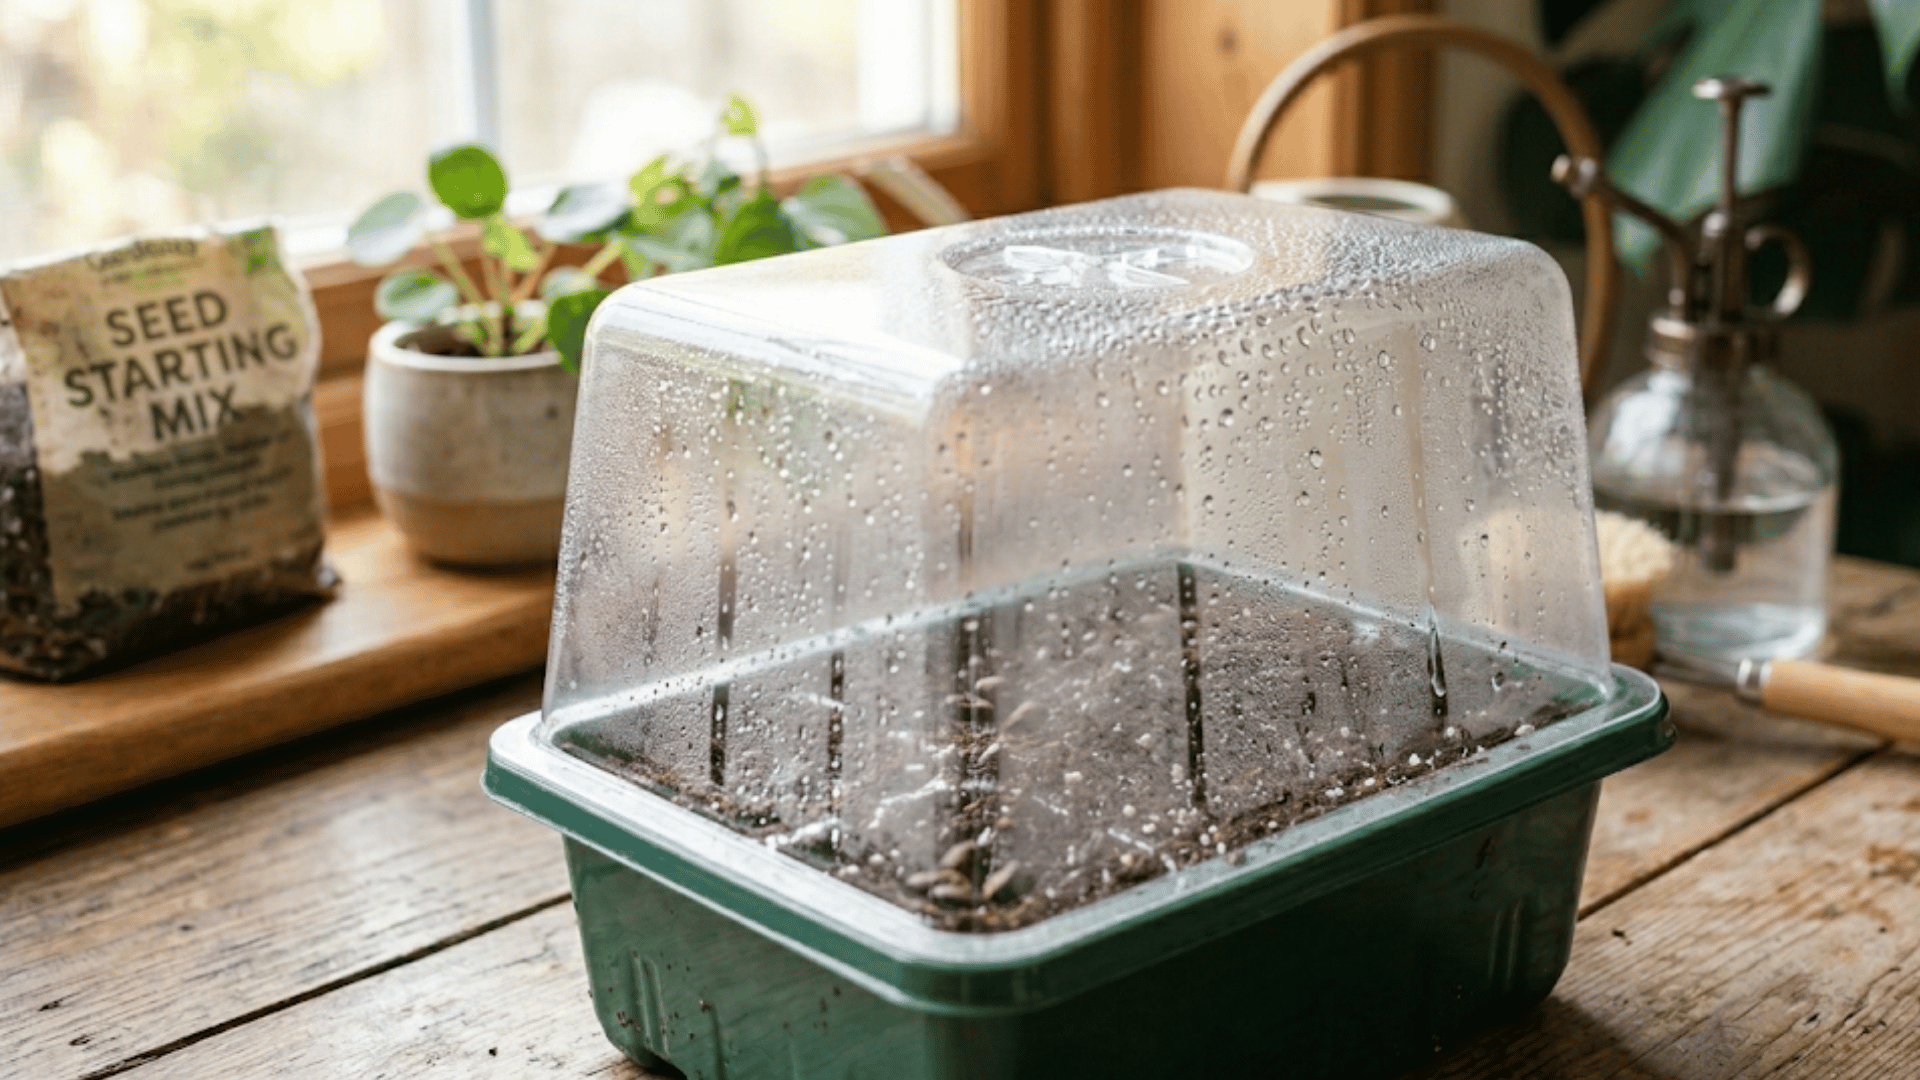
Place the seed tray in a warm spot with bright indirect light. Cover it with a clear lid or plastic wrap to hold moisture. Open the cover daily so fresh air can reach the soil.
Mist the soil when the top starts to feel dry. After some time, small green sprouts will begin to come out of the soil.
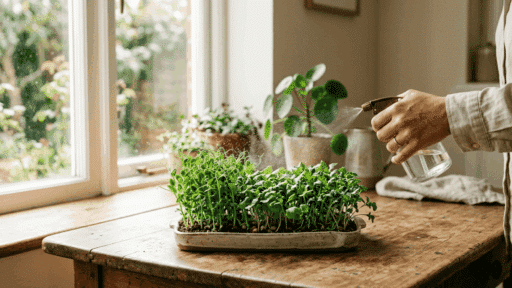
Step 3: Water the Tiny Sprouts Carefully
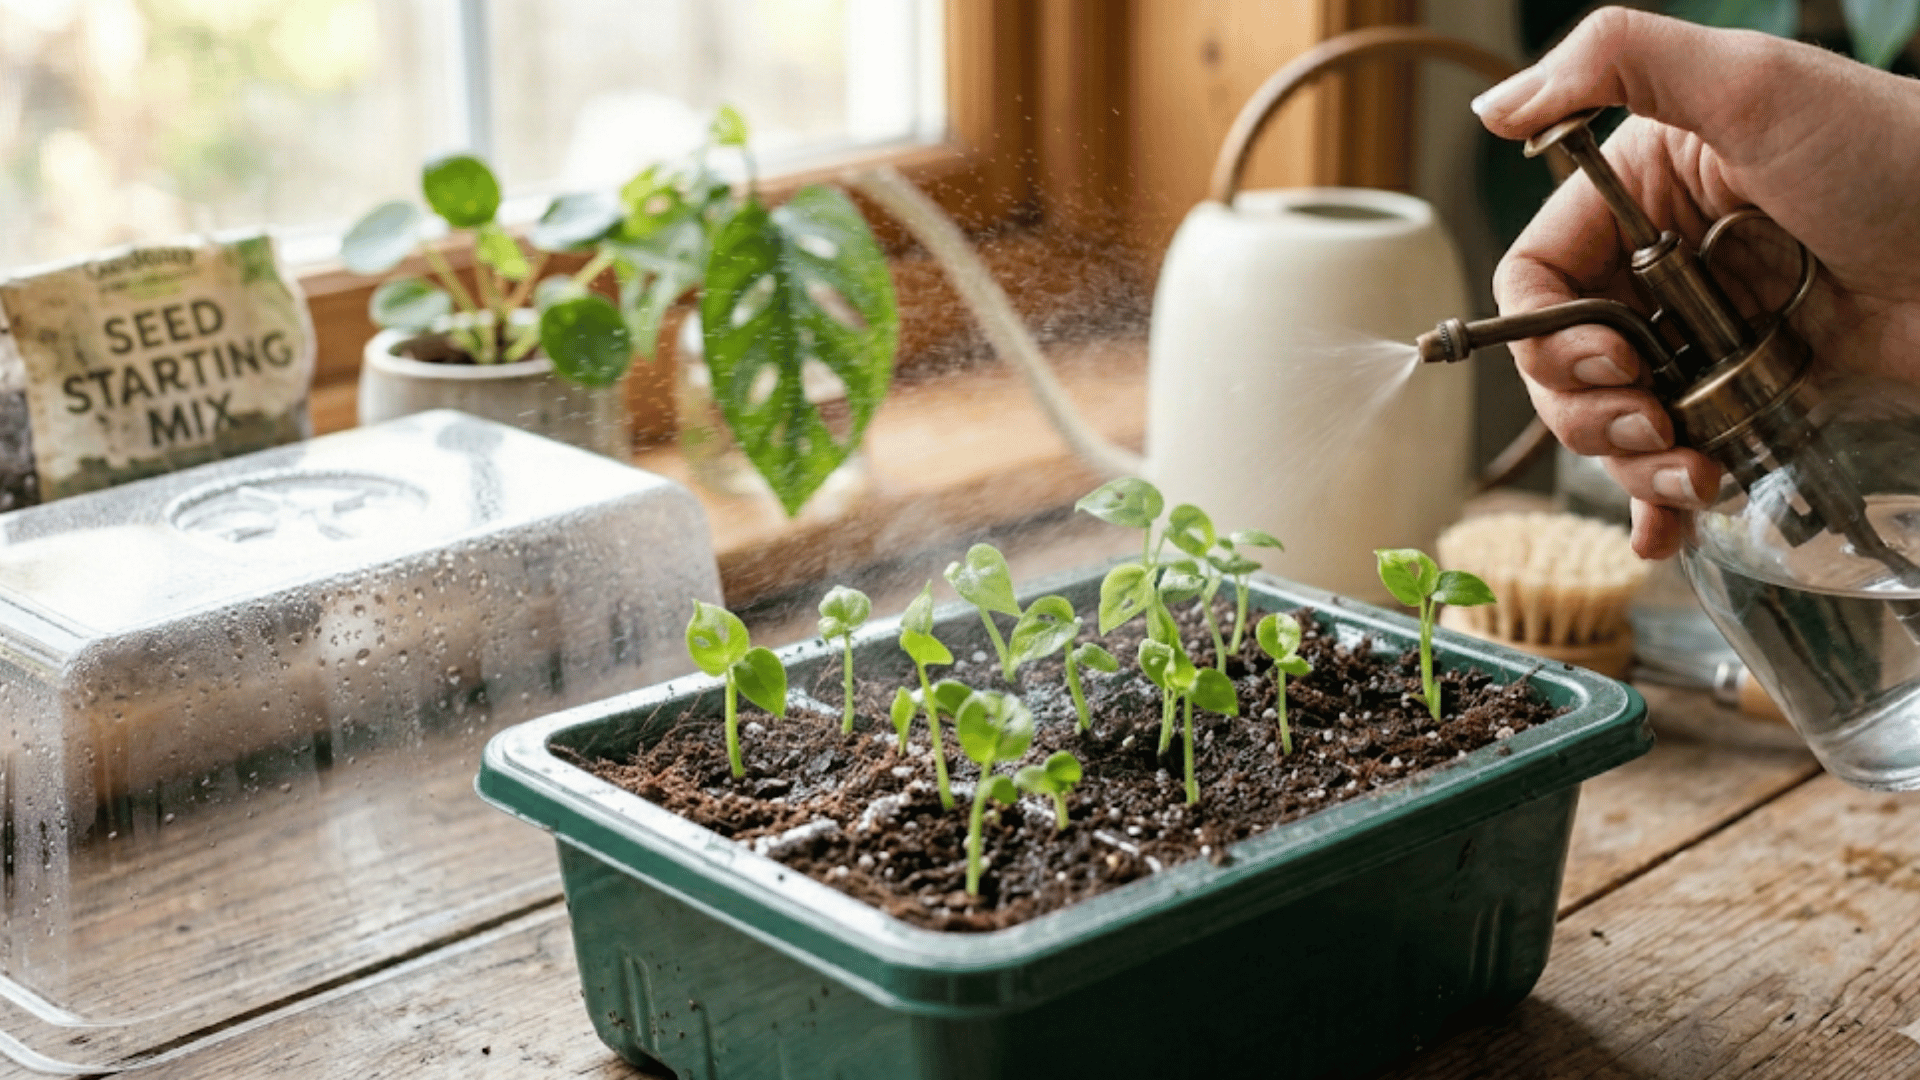
Once sprouts appear, remove the cover for longer periods each day. Keep the soil lightly moist, but never soggy.
Use a spray bottle or small watering can so the tiny stems do not bend or break. Water when the top layer of soil feels slightly dry.
At this stage, the plant begins to grow small leaves and stronger roots.
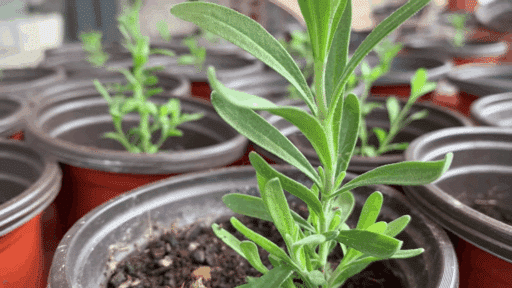
Step 4: Move Seedlings Into Small Pots
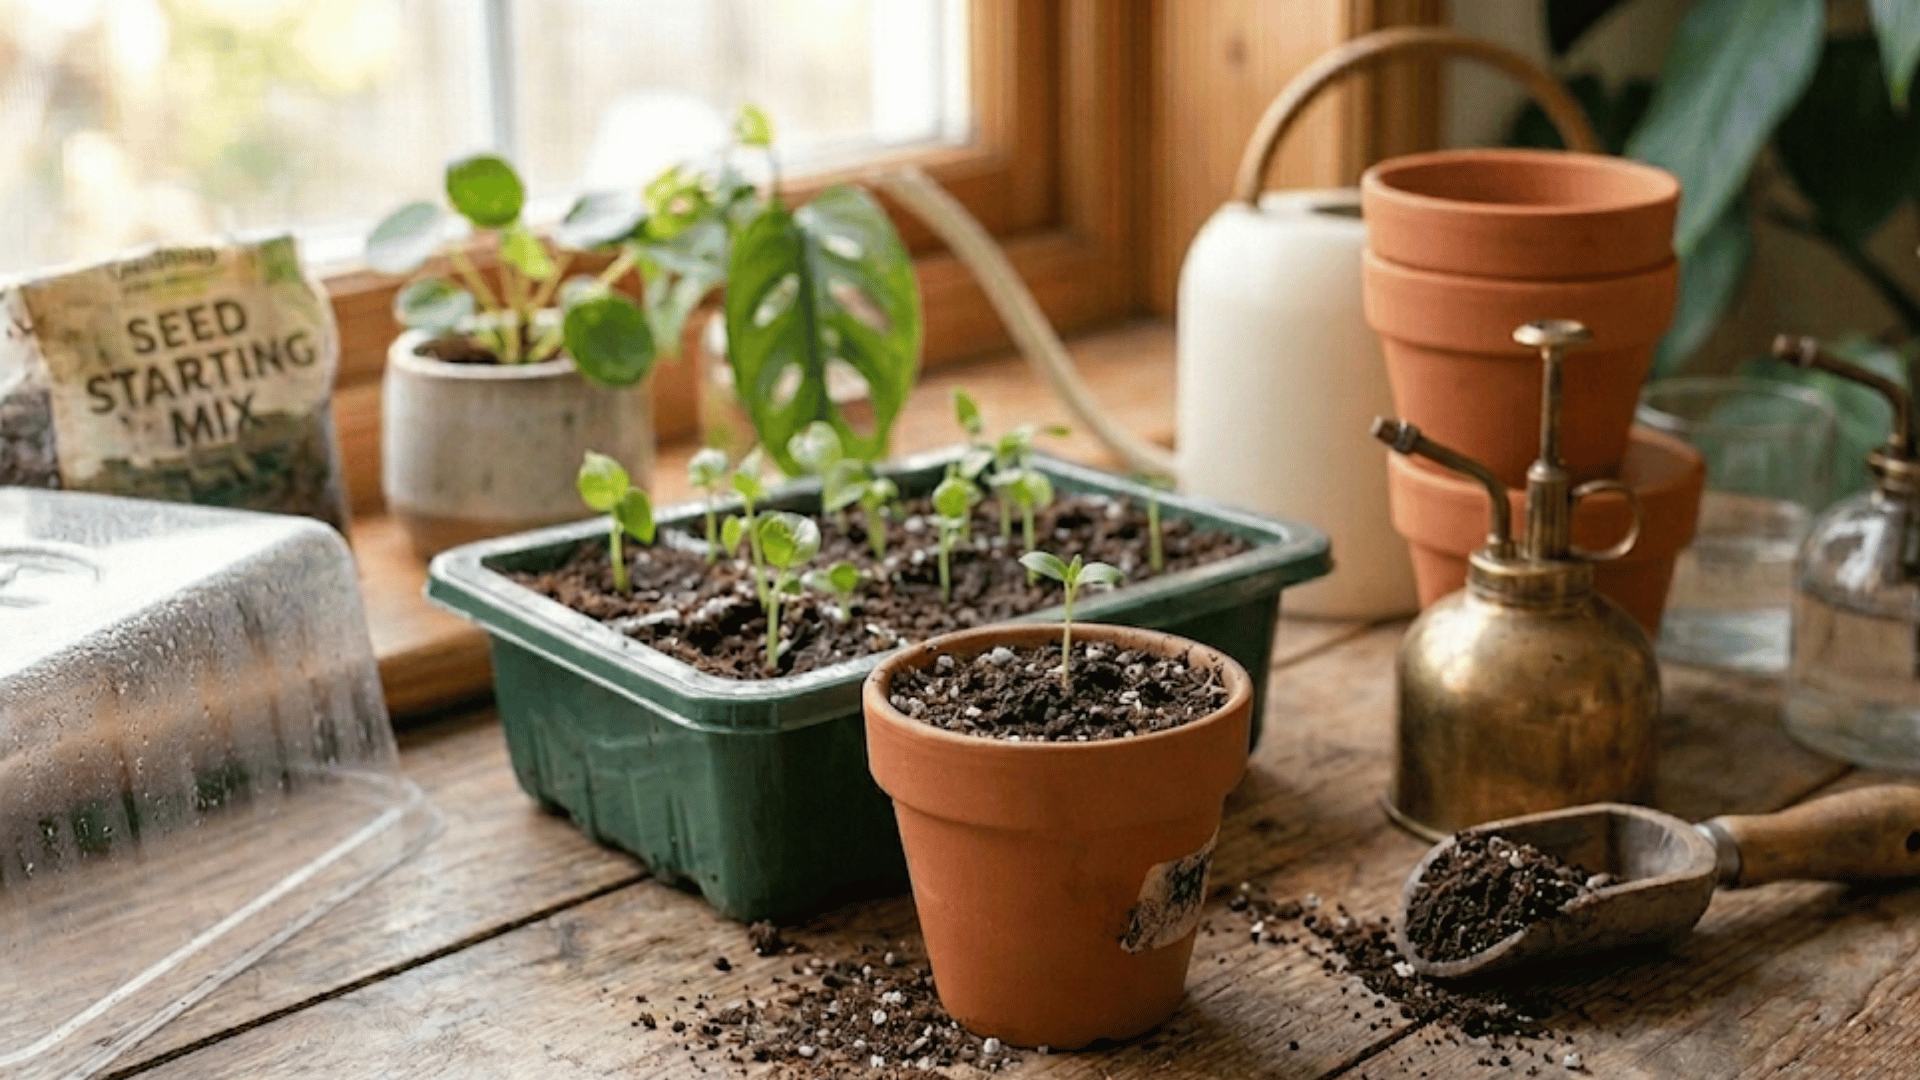
When each seedling has a few leaves, move it into its own small pot. Choose a pot with drainage holes so extra water can flow out. Lift each seedling gently with the soil around the roots.
Plant it at the same depth it was growing before. After repotting, water lightly and place it back in bright indirect light.
Step 5: Grow It Into a Healthy Plant
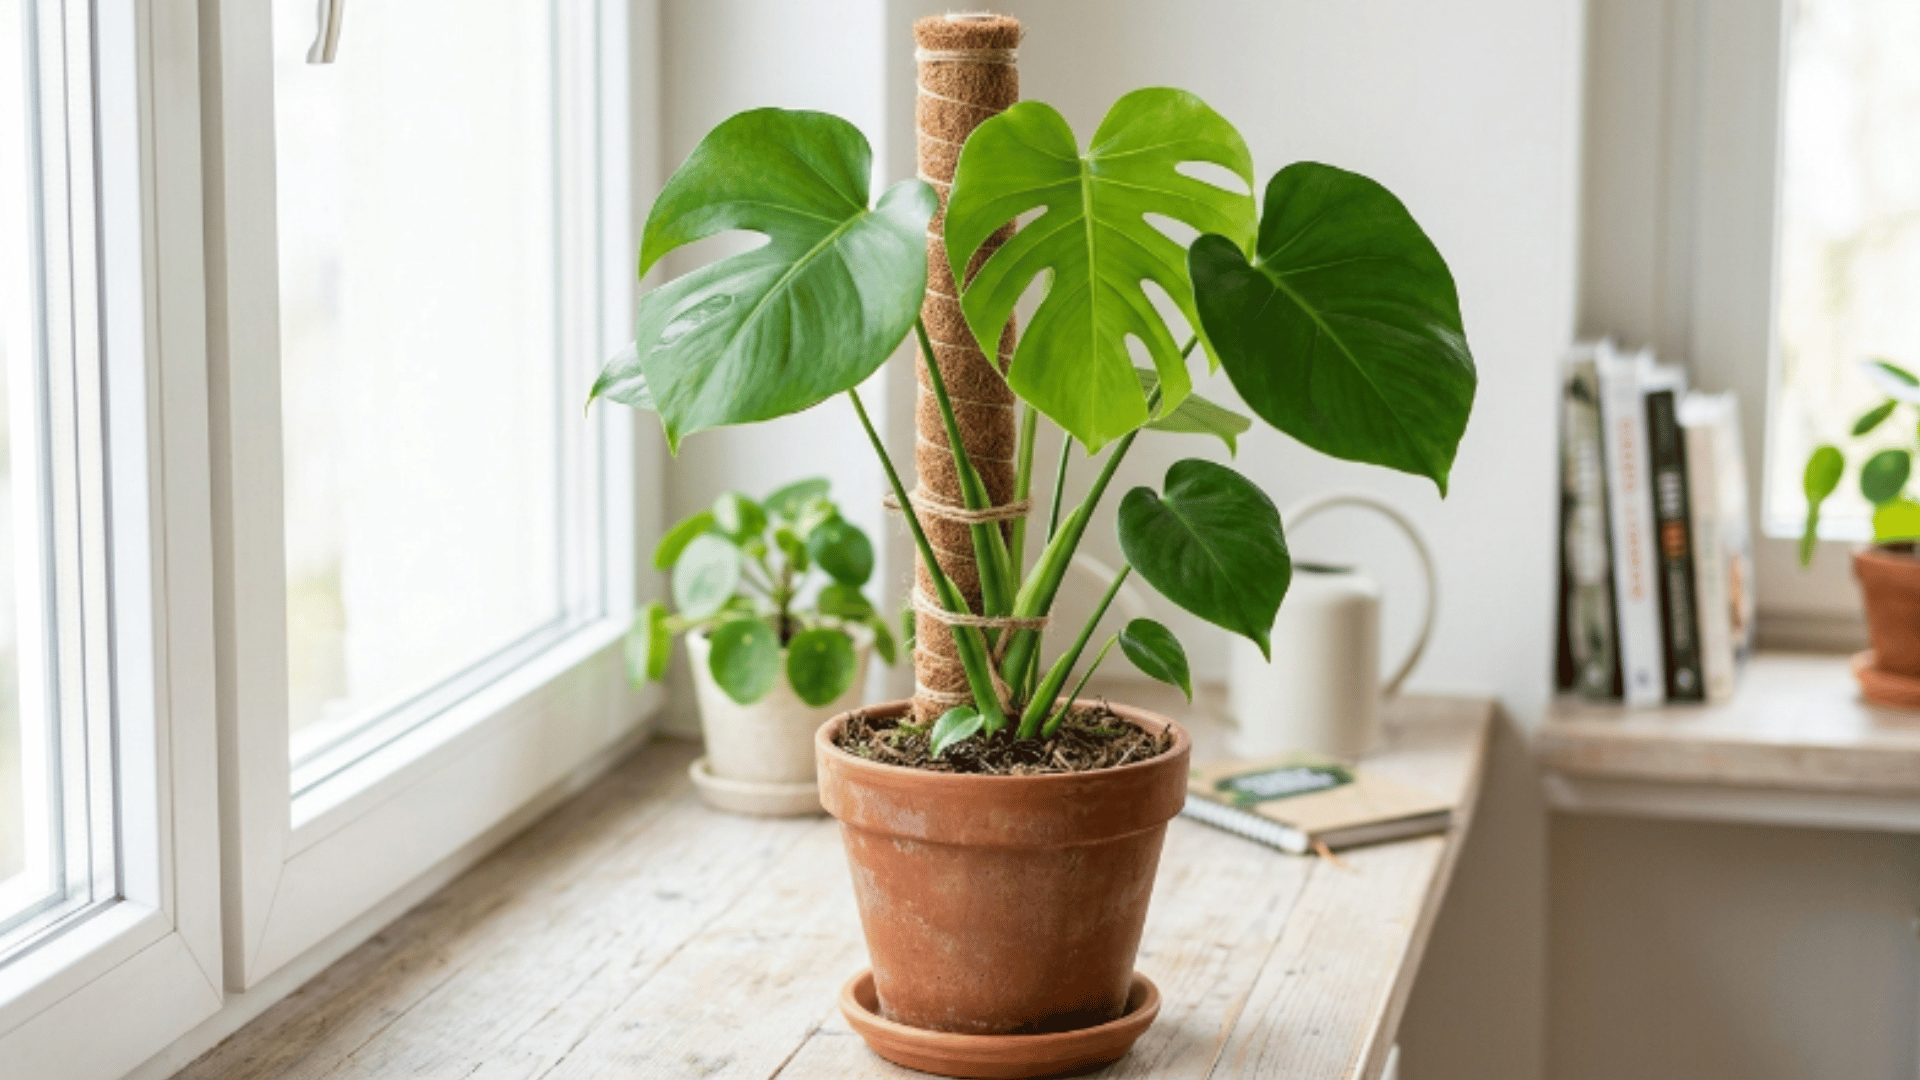
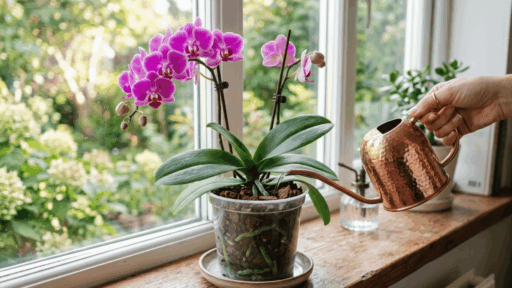
As the plant grows taller, give it steady care. Water only when the top 1–2 inches of soil feel dry. Keep it near bright indirect light so the leaves can grow bigger.
Add a small stake or moss pole when the stems begin to climb. Over time, the plant will grow fuller and stronger, and it will begin forming larger, Swiss-cheese-style leaves.
Swiss Cheese Plant Care Tips for Healthy Growth
With the right balance of light, water, and basic care, Swiss cheese plant care is rewarding, even for first-time plant owners caring for this plant with holes in its leaves indoors.
- Avoid Water Buildup: Standing water around the roots can damage them over time and slow overall growth.
- Let Soil Dry Between Watering: Allowing the soil to dry out between watering sessions helps maintain healthy roots consistently.
- Avoid Direct Sunlight: Direct sunlight hitting the leaves causes burning and brown patches that do not recover.
- Watch for Growth Signs: Slow growth or small leaves without splits usually indicate the plant needs more light.
- Use Well-Draining Mix: A mix that drains freely prevents excess moisture from sitting around the roots between watering sessions.
- Keep in Warm Indoor Conditions: A consistent temperature between 65°F and 85°F supports the most steady, reliable growth indoors.
How to Repot Your Swiss Cheese Plant?
Repotting this plant with holes in leaves every one to two years helps maintain healthy growth and prevents the roots from becoming crowded inside the existing container.
As the plant grows, it may outgrow its pot, leading to slower growth or roots circling tightly within the container.
When repotting, choose a pot that is one size larger with proper drainage holes to allow excess water to escape freely after watering.
Gently remove the plant from its current pot and loosen the roots slightly before placing it into fresh, well-draining soil suited for swiss cheese plant care.
Keep the plant at the same depth as before and avoid watering right away. Letting the plant settle for a day or two helps reduce stress and supports better root adjustment in the new container.
Common Problems with The Swiss Cheese Plant You Might Face
Swiss cheese plant care is largely trouble-free, but there are a few common issues worth knowing about before they affect this plant, which can develop holes in its leaves.
- Yellowing Leaves: Yellow leaves are most commonly caused by overwatering, so make sure the plant is never sitting in soggy soil between watering sessions.
- Wrinkled or Curling Leaves: Curling or wrinkled leaves usually indicate underwatering or soil that is too dry, so water thoroughly when the top 1 to 2 inches feel dry.
- Black Marks On Leaves: Black patches on the leaves are typically a sign of leaf burn from prolonged exposure the direct sunlight.
- Drooping Leaves: Drooping can be caused by either overwatering or underwatering; water only when the top 2 inches of soil feel dry and drain thoroughly.
- Leaves Not Growing: If leaves are falling off or failing to grow at a normal rate, insufficient light is the most likely cause and should be addressed first.
- Leaves Not Splitting: The absence of splits is almost always caused by too little light, so increase exposure slowly and gradually to avoid shocking the plant.
Wrapping It Up
A Swiss Cheese Plant rewards patience with bigger leaves, more defined splits, and steady growth that improves season after season.
Small adjustments to placement, watering habits, and pot choice make a measurable difference in how the plant develops over time.
Most problems that come up are easy to correct once the cause is identified and addressed early.
Good Swiss cheese plant care is less about perfection and more about building simple habits that the plant genuinely benefits from.

With a Master’s in Landscape Architecture from the University of Virginia, Sophia Stephenson has dedicated the last 20 years to creating and maintaining vibrant outdoor spaces. Her professional journey started in landscape design, where she gained a reputation for innovative and sustainable approaches. Sophia became a part of our editorial team as a freelancer in 2019, offering a fresh perspective on outdoor living. Since 2020, she has been the chief for our outdoor design content, blending aesthetic appeal with environmental stewardship. In her leisure time, Sophia is a keen photographer, capturing the beauty of natural landscapes, a hobby that complements her professional expertise.