
A fresh coat of paint can completely transform a room — but only when it’s done right. Plenty of DIYers pick up a brush with confidence, only to end up with drips, uneven coverage, peeling edges, or colour that looks nothing like the swatch. The good news? Most painting mistakes are easy to avoid once you know what to watch for.
Here are seven of the most common wall painting mistakes — and exactly what to do instead.
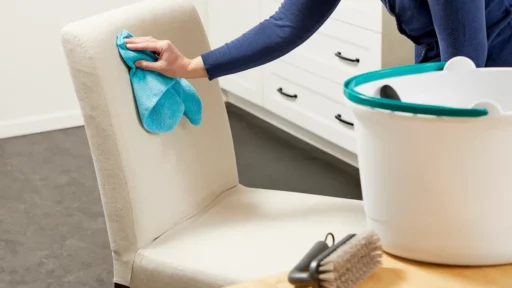
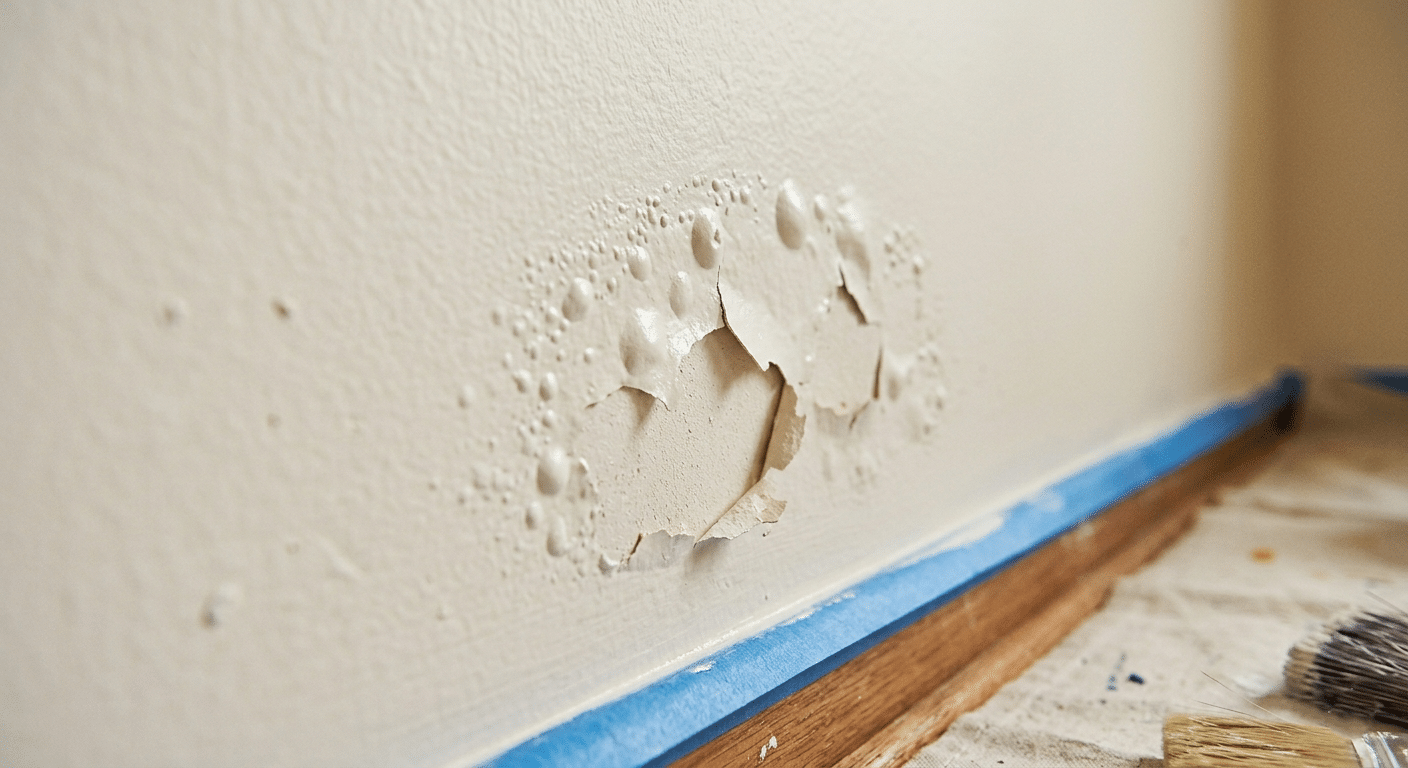
1. Skipping Surface Prep
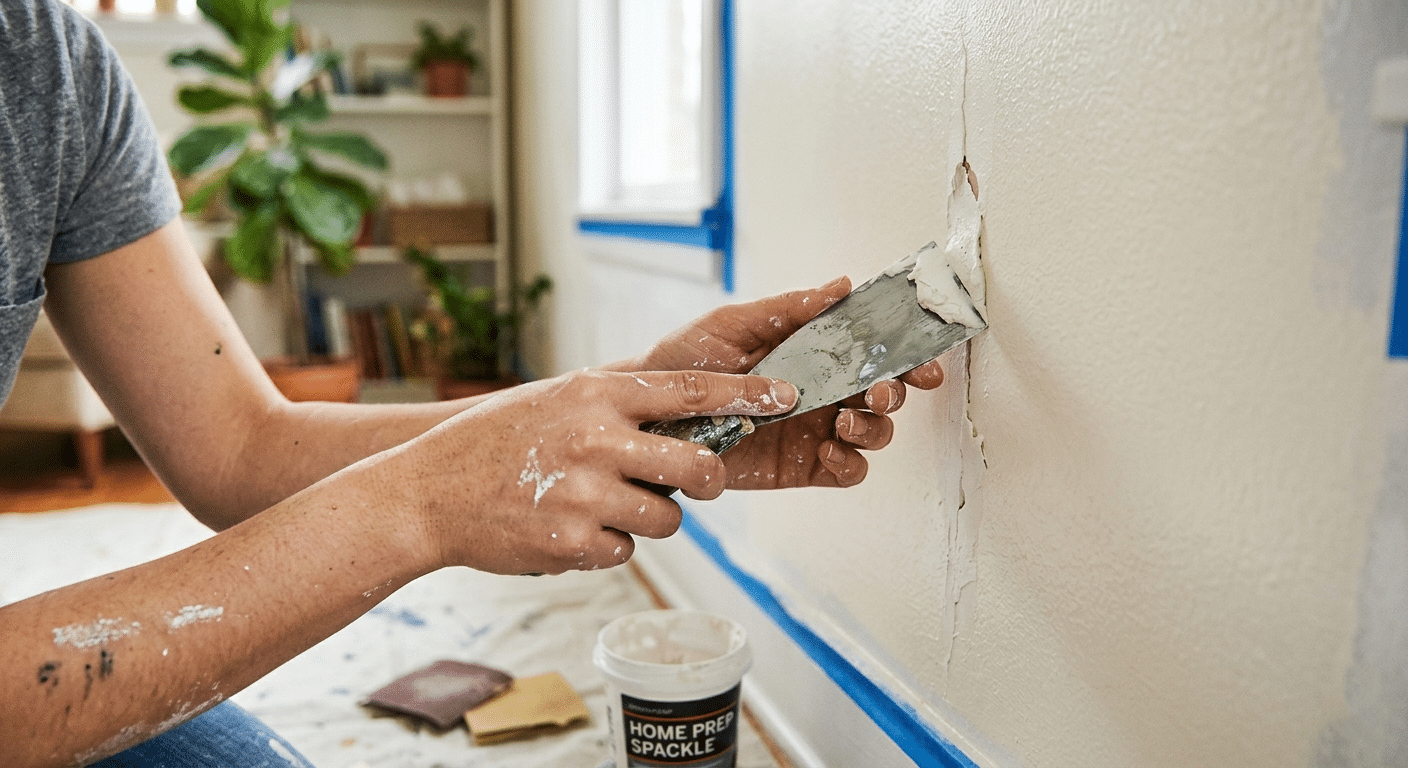
Paint doesn’t fix imperfections — it highlights them. Before you open a single can, fill any cracks or nail holes with spackling paste, sand them smooth, and wipe down the walls with a damp cloth to remove dust and grease. Painting over dirty or uneven surfaces is the fastest way to end up with a finish that looks amateur, even if the colour is perfect.
2. Not Using a Primer
Primer is not optional — it’s what gives your paint something to grip onto. Skip it on bare drywall or over dark colours, and you’ll end up using twice as much paint to get even coverage. Use a tinted primer that matches your topcoat when making dramatic colour changes, and always prime over patches or repairs.
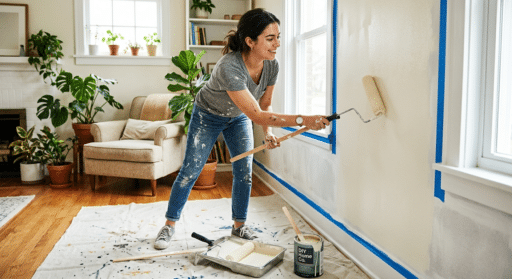
3. Using the Wrong Masking Tape (Or None at All)
This is one of the most underestimated steps. Freehand cutting in along trim, ceilings, and edges without tape leads to wobbly lines and paint bleed — no matter how steady your hand is. But not all tape is equal. Using standard household tape can tear paint off walls when removed, especially on freshly painted surfaces.
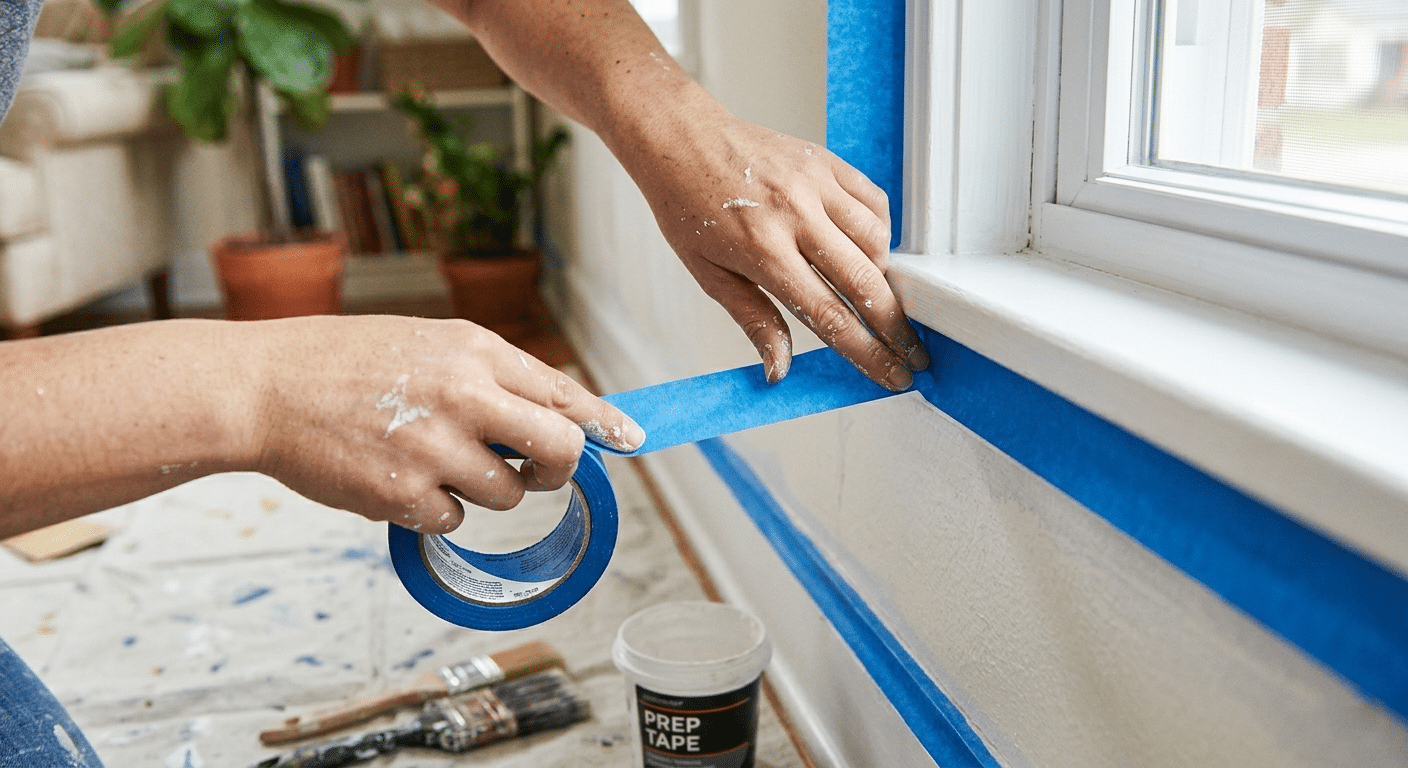
Invest in quality masking tape for painting — one designed specifically for clean removal without damaging the underlying surface. Apply it along trim, window frames, skirting boards, and ceiling edges before you begin, press it down firmly to seal the edges, and remove it at a 45° angle while the paint is still slightly wet for the cleanest lines.
4. Loading the Roller Too Much (Or Too Little)
A roller loaded with too much paint creates drips and splatters. Too little, and you get uneven, streaky coverage. The right amount is somewhere in the middle — enough that the roller feels saturated but not dripping. Roll it gently on the tray grid to distribute the paint evenly, and use a “W” or “M” pattern on the wall to spread it before filling in with parallel strokes.
5. Painting in the Wrong Order
Always paint from top to bottom: ceiling first, then walls, then trim last. Many people make the mistake of doing trim first, which means cutting back in after the walls are done — messy and time-consuming. Ceiling first also means any drips land on unpainted walls, which you’ll cover anyway.
6. Rushing Between Coats
Impatience is the enemy of a smooth finish. Applying a second coat before the first is fully dry causes the paint to lift, streak, or bubble. Check the manufacturer’s recoat time on the tin — most latex paints need at least two hours between coats, and some need longer in humid or cool conditions. When in doubt, wait an extra hour.
7. Ignoring Lighting When Choosing Colour
Lighting dramatically changes how paint colour reads in a room. A cool white can look pink under warm LED bulbs. A sage green can shift grey under fluorescent lighting. Always test your paint swatches in the actual room, at different times of day, before committing to a full tin. Most paint brands offer sample pots — use them.
Final Thoughts
Good painting results come down to preparation, patience, and the right materials. The difference between a professional-looking finish and a frustrating repaint job is rarely the paint itself — it’s the steps taken before the first stroke. Get your surface right, choose quality tape, prime properly, and take your time between coats. Your walls will show the difference. And if your refresh extends beyond the walls, we’ve also put together a guide on the best paint for kitchen cabinets without sanding — worth a read before you open that first tin.
Ready to start your next painting project? Make sure your prep kit is sorted before you pick up the brush.

Veronica Lee holds a Master’s degree in Landscape Architecture from Cornell University and has dedicated more than 15 years to transforming outdoor areas into artistic and sustainable spaces. Her career took off in a renowned landscape design firm, where she excelled in creating visually stunning and environmentally responsible designs. In 2019, Veronica brought her expertise to our platform, quickly becoming a key contributor to our outdoor design and sustainability sections. As the lead of our landscape innovation series ever since joining, she has inspired readers with her forward-thinking and practical approach. When not drafting designs, Veronica enjoys pottery and participates in local conservation efforts, activities that complement her professional ethos of blending art with nature.