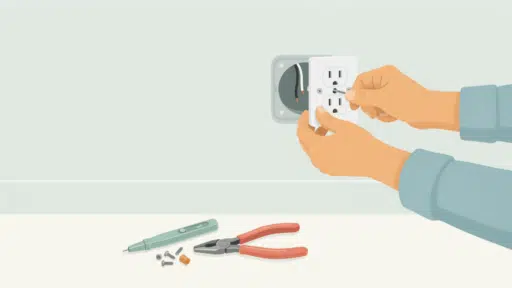
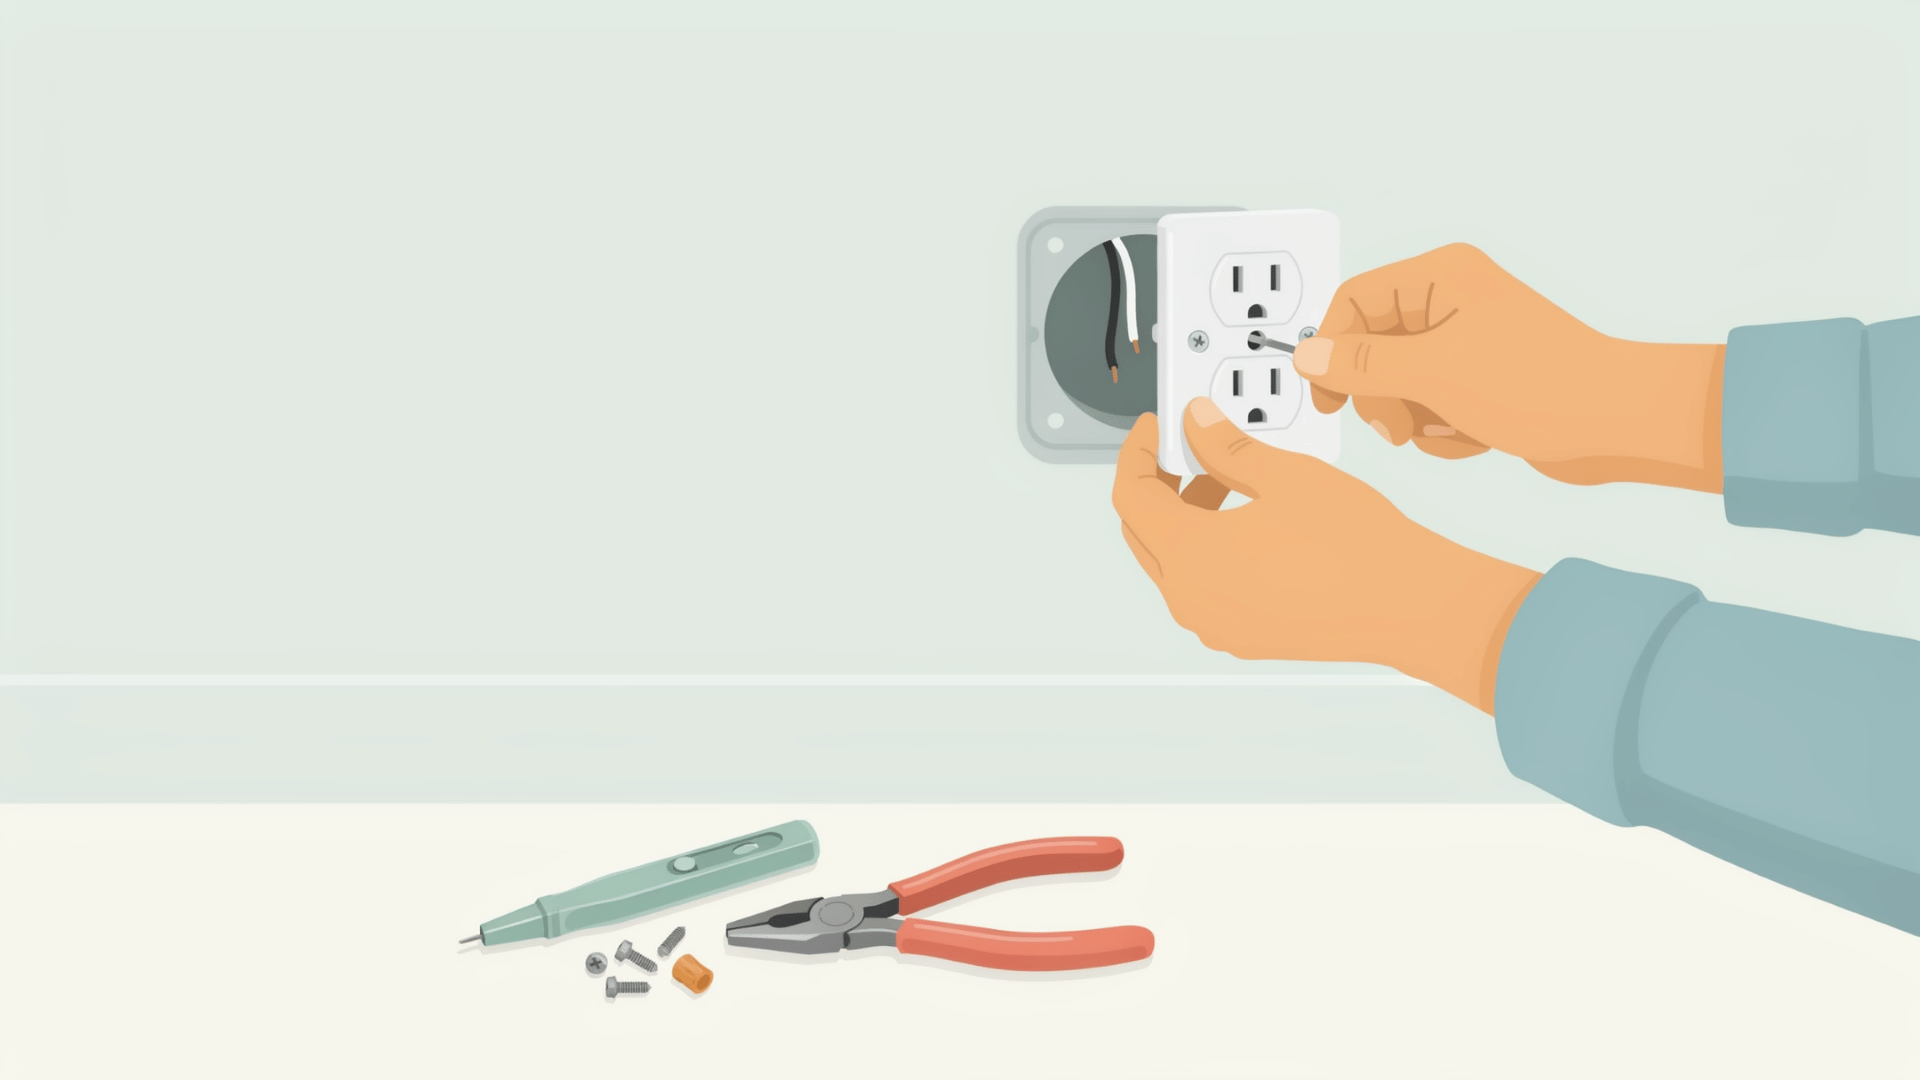

Have you ever plugged a cord into a wall, only to find a dead or burnt-out plug staring back at you? It can be frustrating, but I promise that fixing it is entirely beginner-friendly.
Even if you have zero prior experience, learning how to replace an outlet is a simple project you can do yourself.
The most crucial part of the process is safety, so we will focus heavily on making sure you turn off the power first before touching anything.
In this post, I will walk you through the simple steps to get your wall plug working again safely.
We will also look at the different types of plugs you can buy and share important safety warning signs to look for when it is time to call a professional.
How to Replace an Outlet Safely
Replacing a wall plug safely comes down to following the right steps in the correct order. The most critical rule is managing the electricity before you start taking things apart.
You do not want to rush this part of the job. By using a basic circuit tester and taking your time with each wire, you can complete this fix without any worry.
Below, the entire process is broken down into easy steps. Make sure you have your screwdrivers, pliers, and a tester ready to go.
Step 1. Test and Remove the Cover Plate
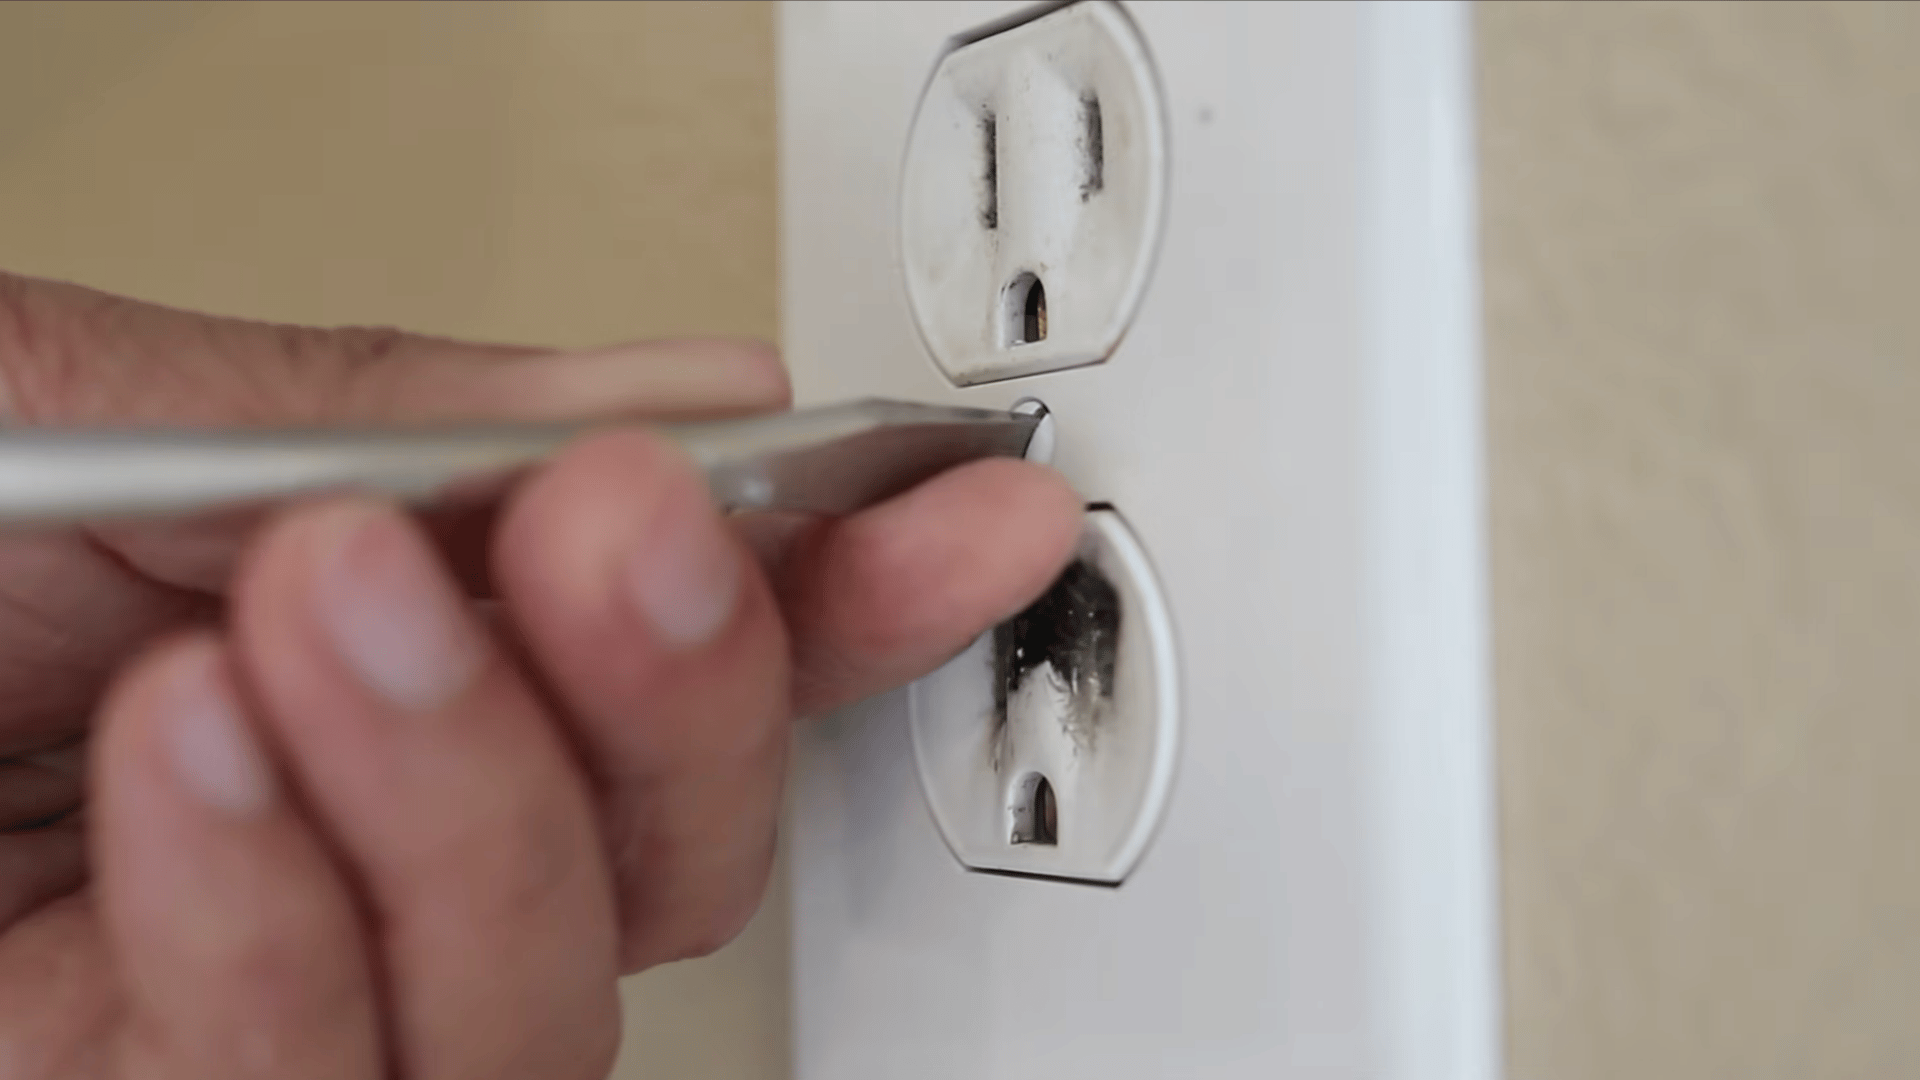
Start by checking your current plug with a circuit tester. If the tester lights up, the plug is still live and has electricity flowing to it. Next, take a screwdriver and remove the faceplate so you can clearly reach the screws underneath.
It’s highly recommended not to skip this initial tester step. It tells you that the plug is active and reminds you why the very next step matters so much.
Be sure to keep that small cover screw somewhere safe, since you will need it again at the very end.
Step 2. Turn Off Power and Confirm It’s Dead
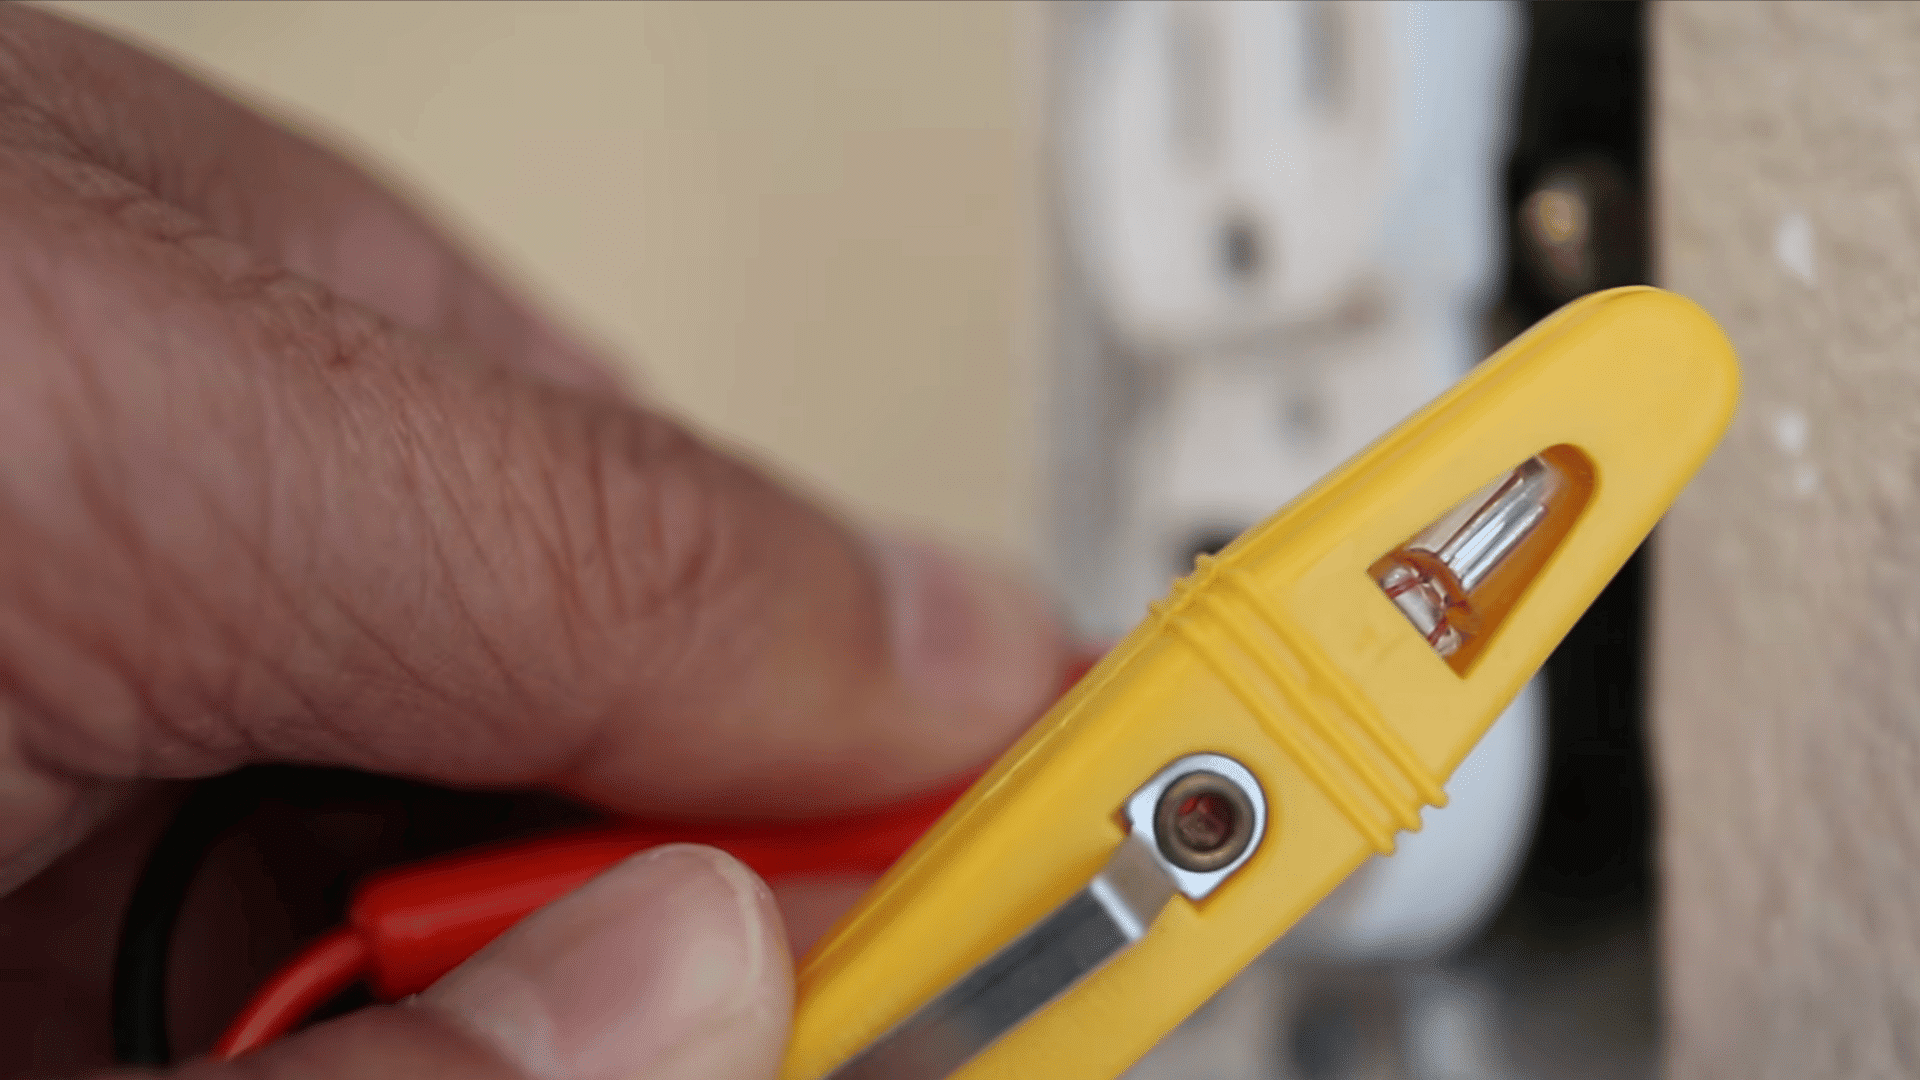
Now, go to your home electrical panel and switch off the circuit breaker for this specific room. Come back and touch your circuit tester to the plug one more time.
Seeing no light means the power is entirely off, and it is safe for you to keep working. It cannot be stressed enough: this double-check is the most important safety step in the whole job.
Never start unscrewing any wires until your tester shows that the plug is completely dead.
Step 3. Unscrew and Slide Out the Outlet
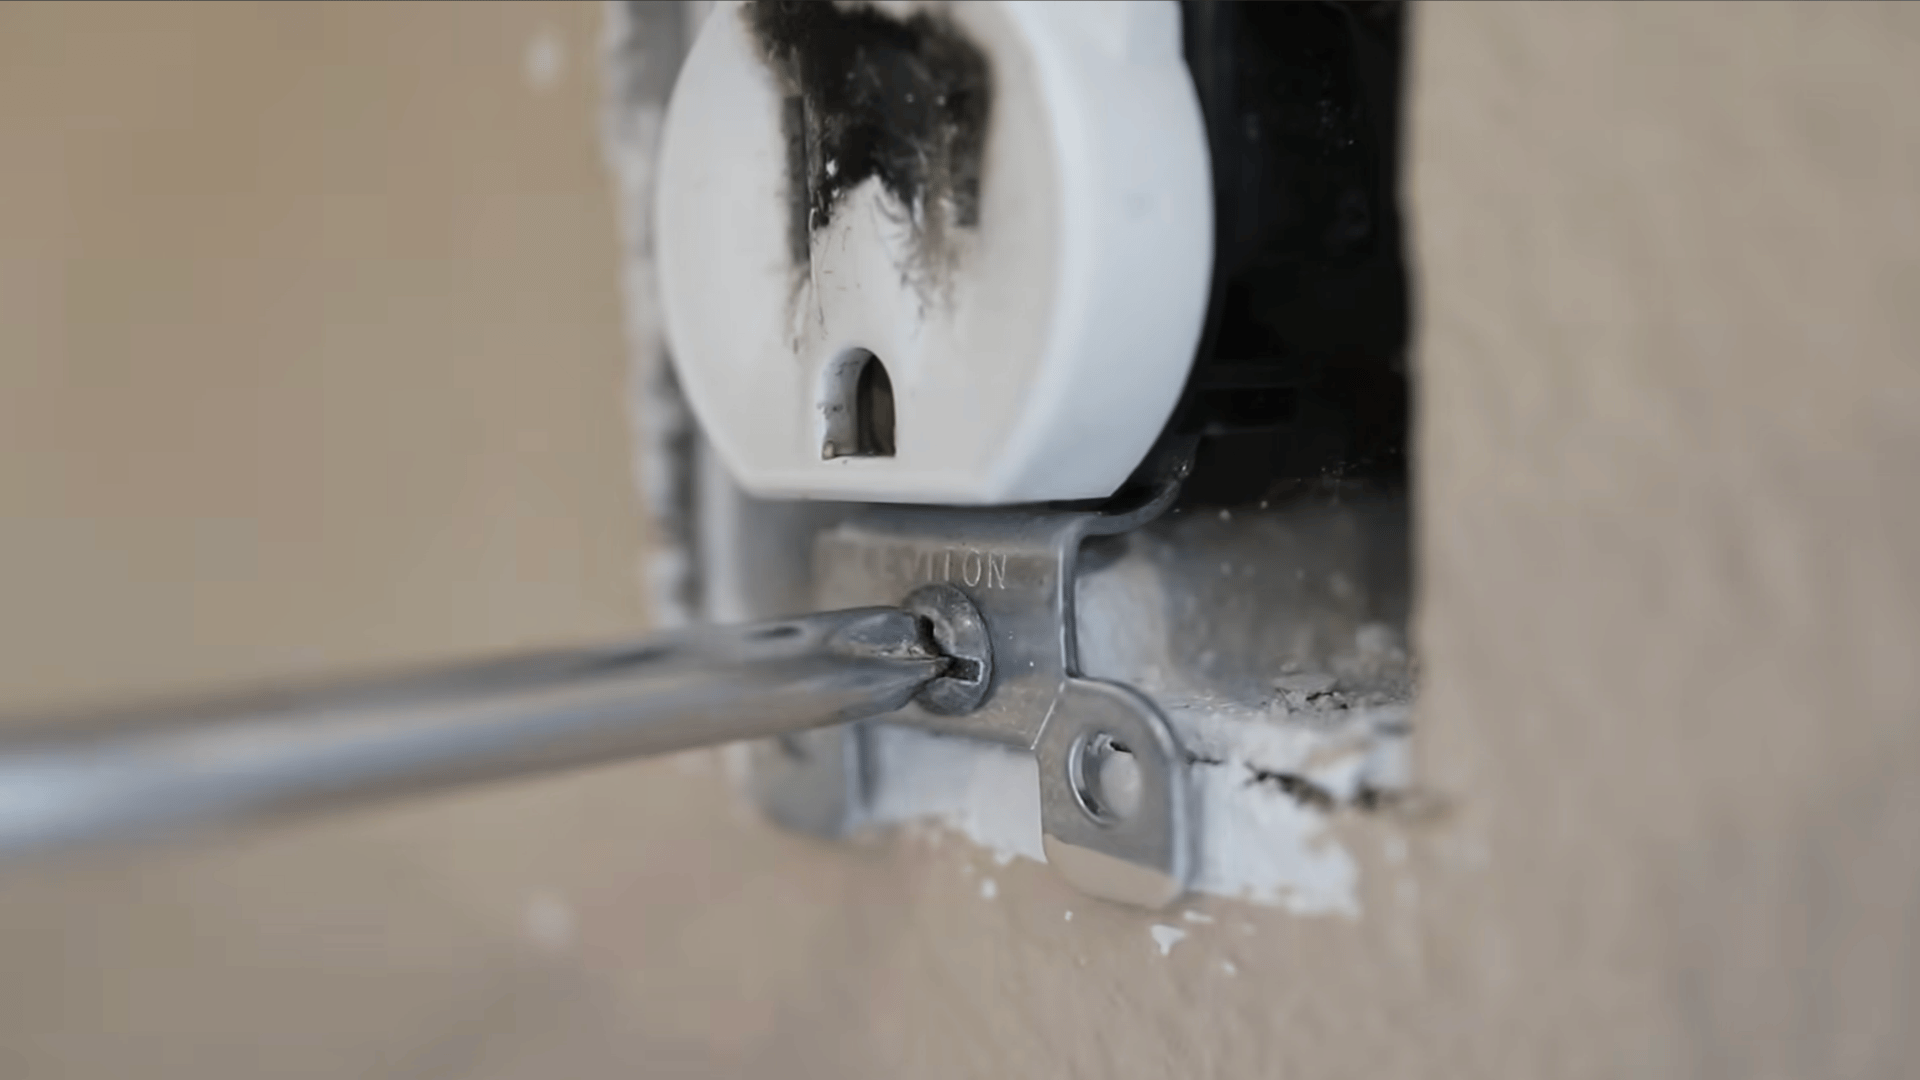
You will see two screws holding the plug inside the wall box. There is one at the top and another at the bottom. Use your screwdriver to loosen both of them.
Once they are out, gently pull the plug toward you. It will probably feel quite tight because the thick wires behind it are stiff and do not bend easily.
Just slide it out slowly. This lets you see exactly how everything is connected before you touch any of the wires.
Step 4. Disconnect and Reconnect the Black Wire
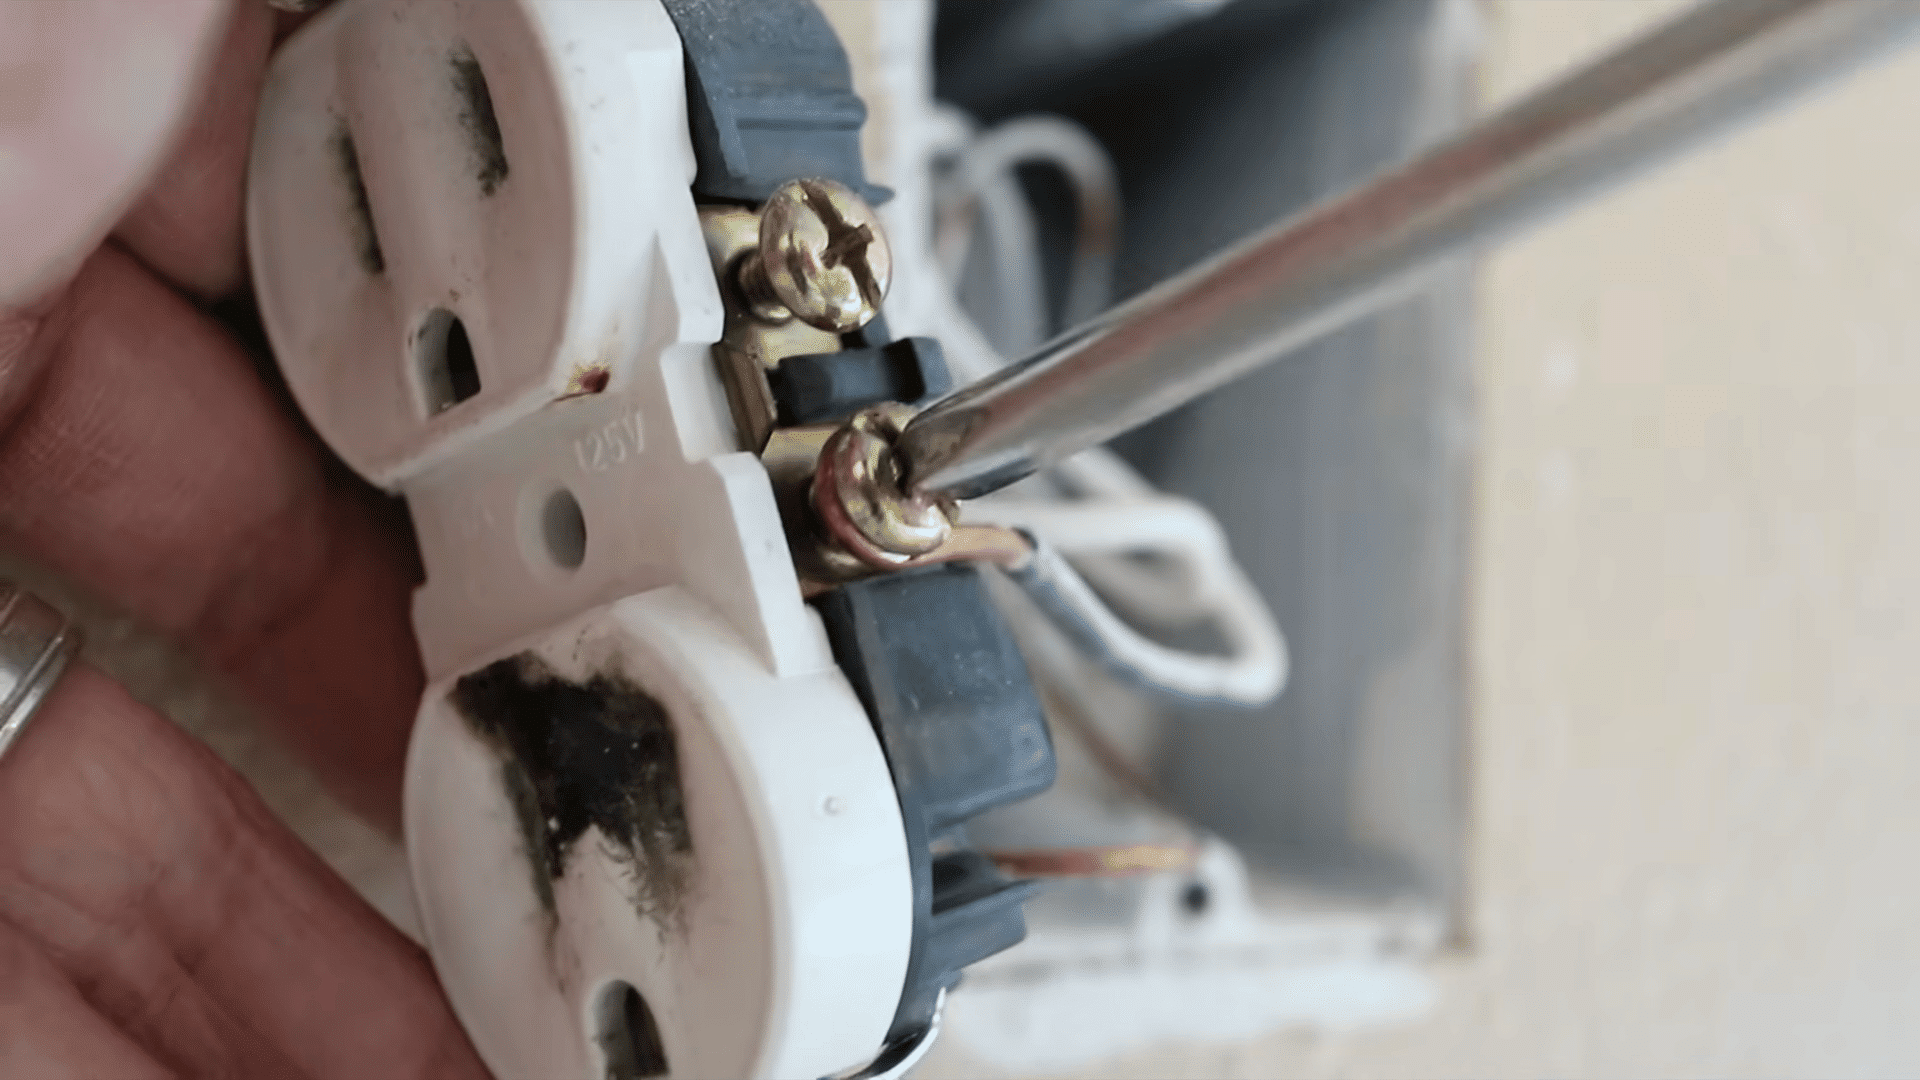
Work on one wire at a time so you do not lose track of where each one goes. Start by loosening the screw holding the black wire and wiggling the wire free.
Take your brand-new plug and hook the black wire onto the matching brass screw in the same spot. Use your pliers to wrap the wire neatly around the screw.
Then, tighten it down firmly so the connection stays strong and secure inside the wall.
Step 5. Move Over the White Wire
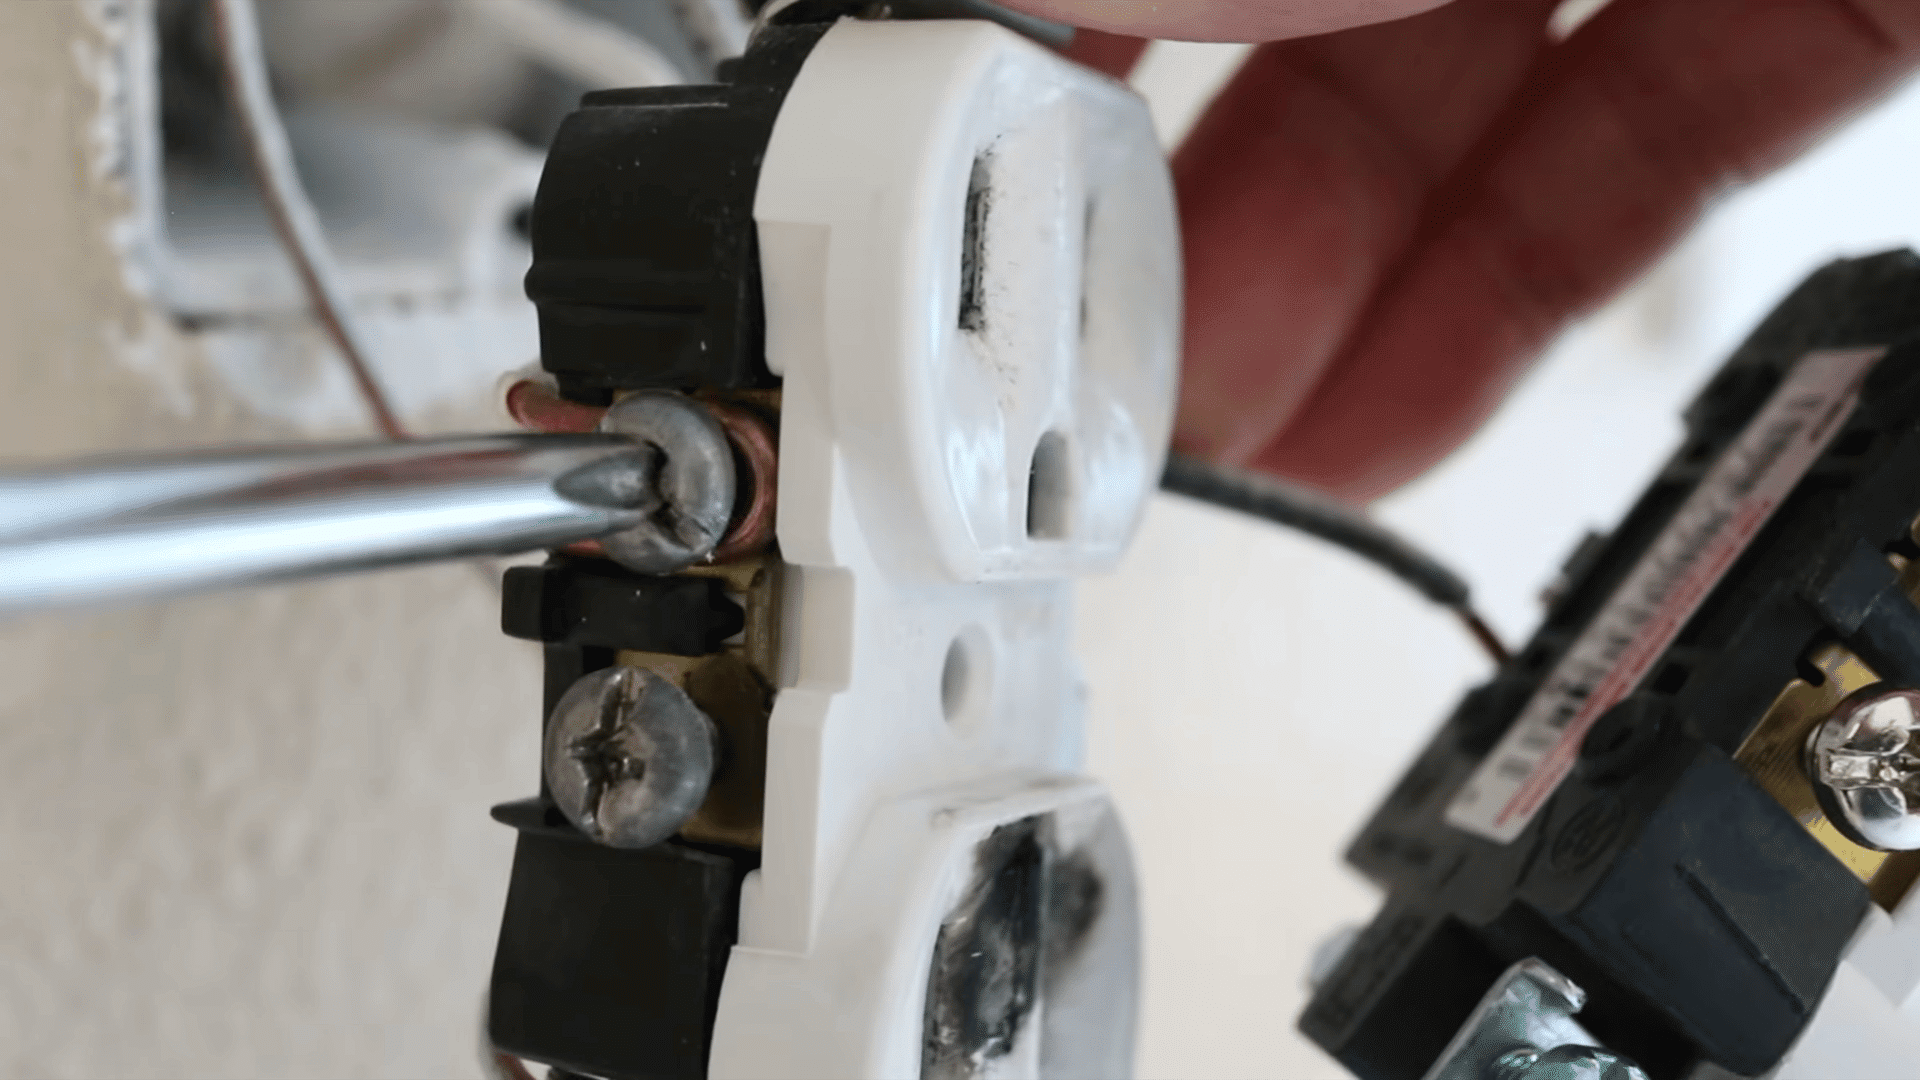
Set the new plug aside for a quick moment and remove the white wire from the old one. Moving them over one by one is what keeps the wiring simple and prevents confusing mix-ups.
Since these wires are quite thick, you will likely need your pliers to bend them into shape. Connect the white wire to the matching silver screw on the new plug, just like you did with the black one.
Finally, tighten the screw to lock it securely in place.
Step 6. Attach the Bare Ground Wire
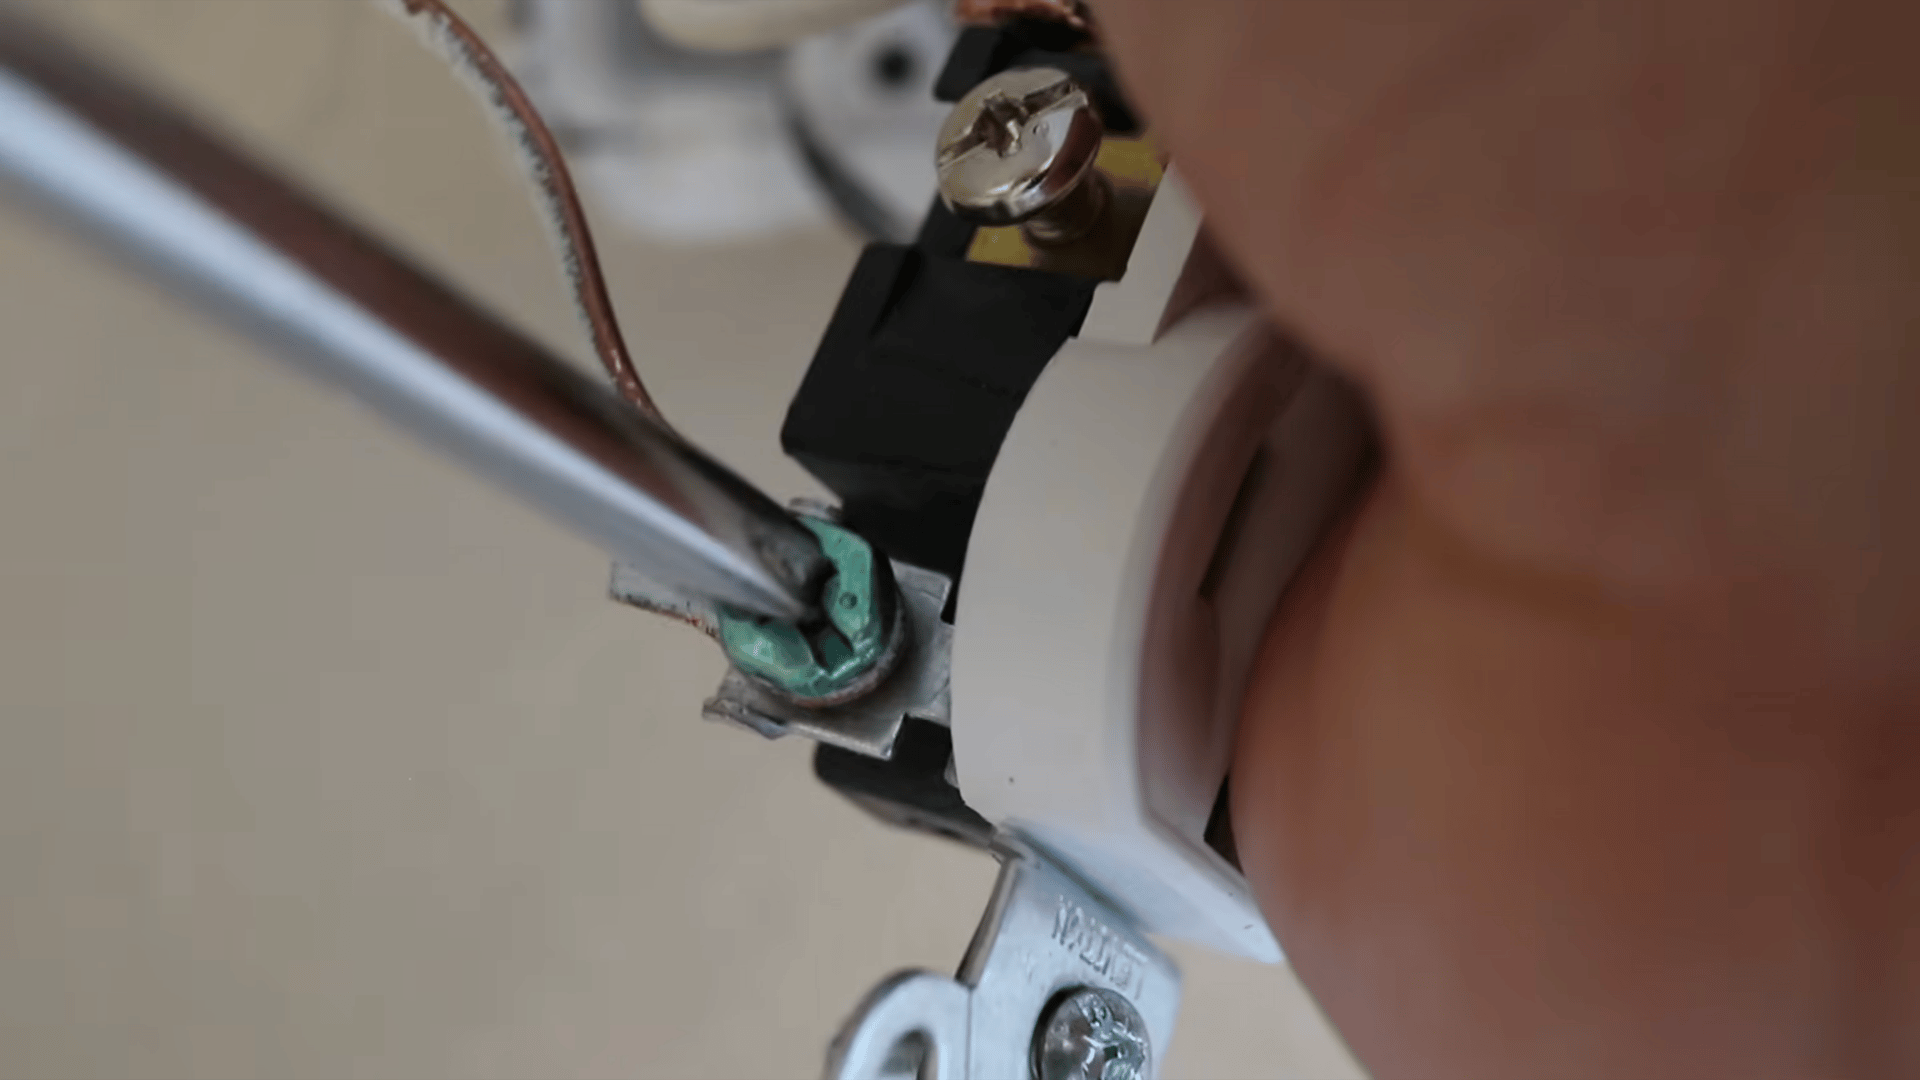
The last wire to move is the ground wire. You will notice it has no colored plastic coating. Use your needle-nose pliers to loosen it from the old plug and pull it free.
Next, connect it directly to the green screw on the new plug. Wrap it tightly around the screw and tighten it down fully.
Once this wire is safely secured, all three of your connections are complete, and the hardest part of the wiring job is officially finished.
Step 7. Tuck Wires and Mount the Outlet
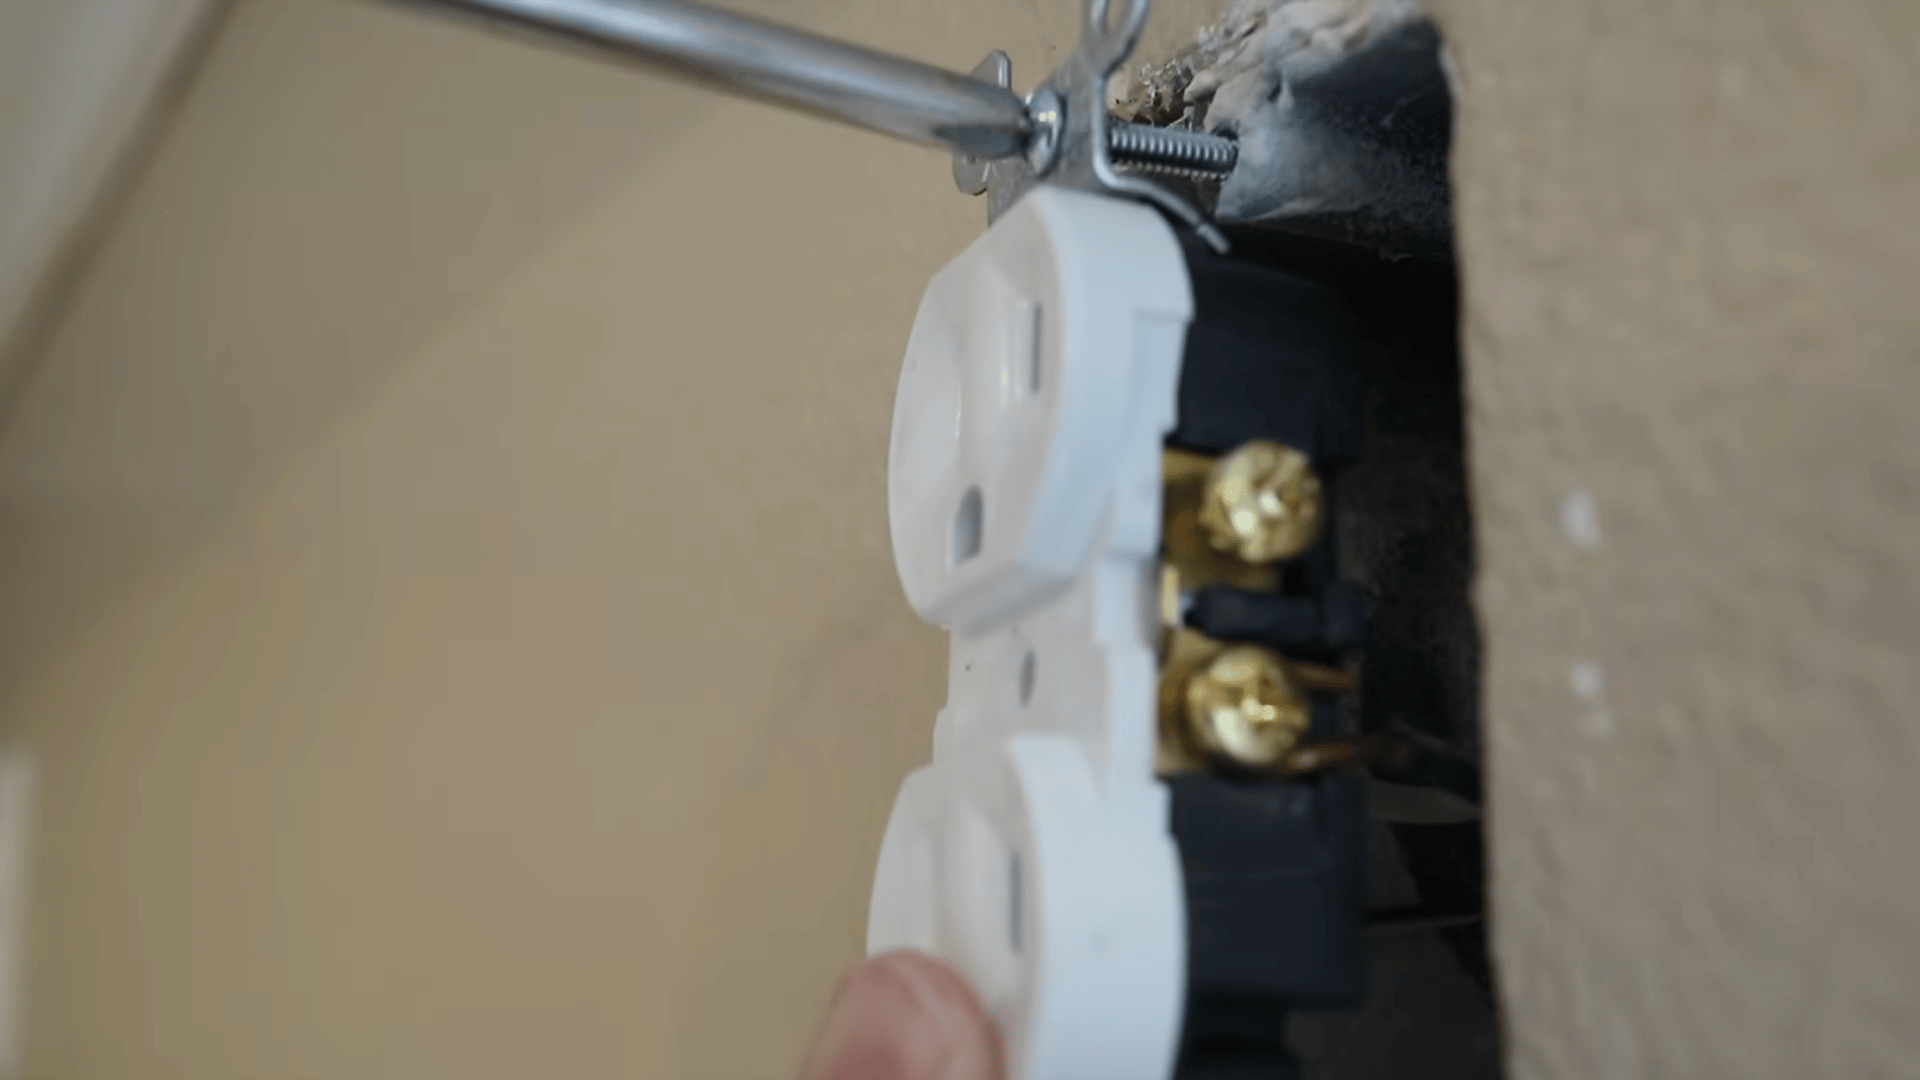
Carefully push all the stiff wires back into the wall box and set the plug flat against the wall opening. Line up the top mounting screw first and drive it in, then do the same thing at the bottom.
If the plug looks a bit crooked, simply loosen one screw, slide the unit left or right until it is straight, then retighten the screw. A perfectly level plug ensures the faceplate sits flush against the wall and looks very clean.
Step 8. Replace the Plate and Test It
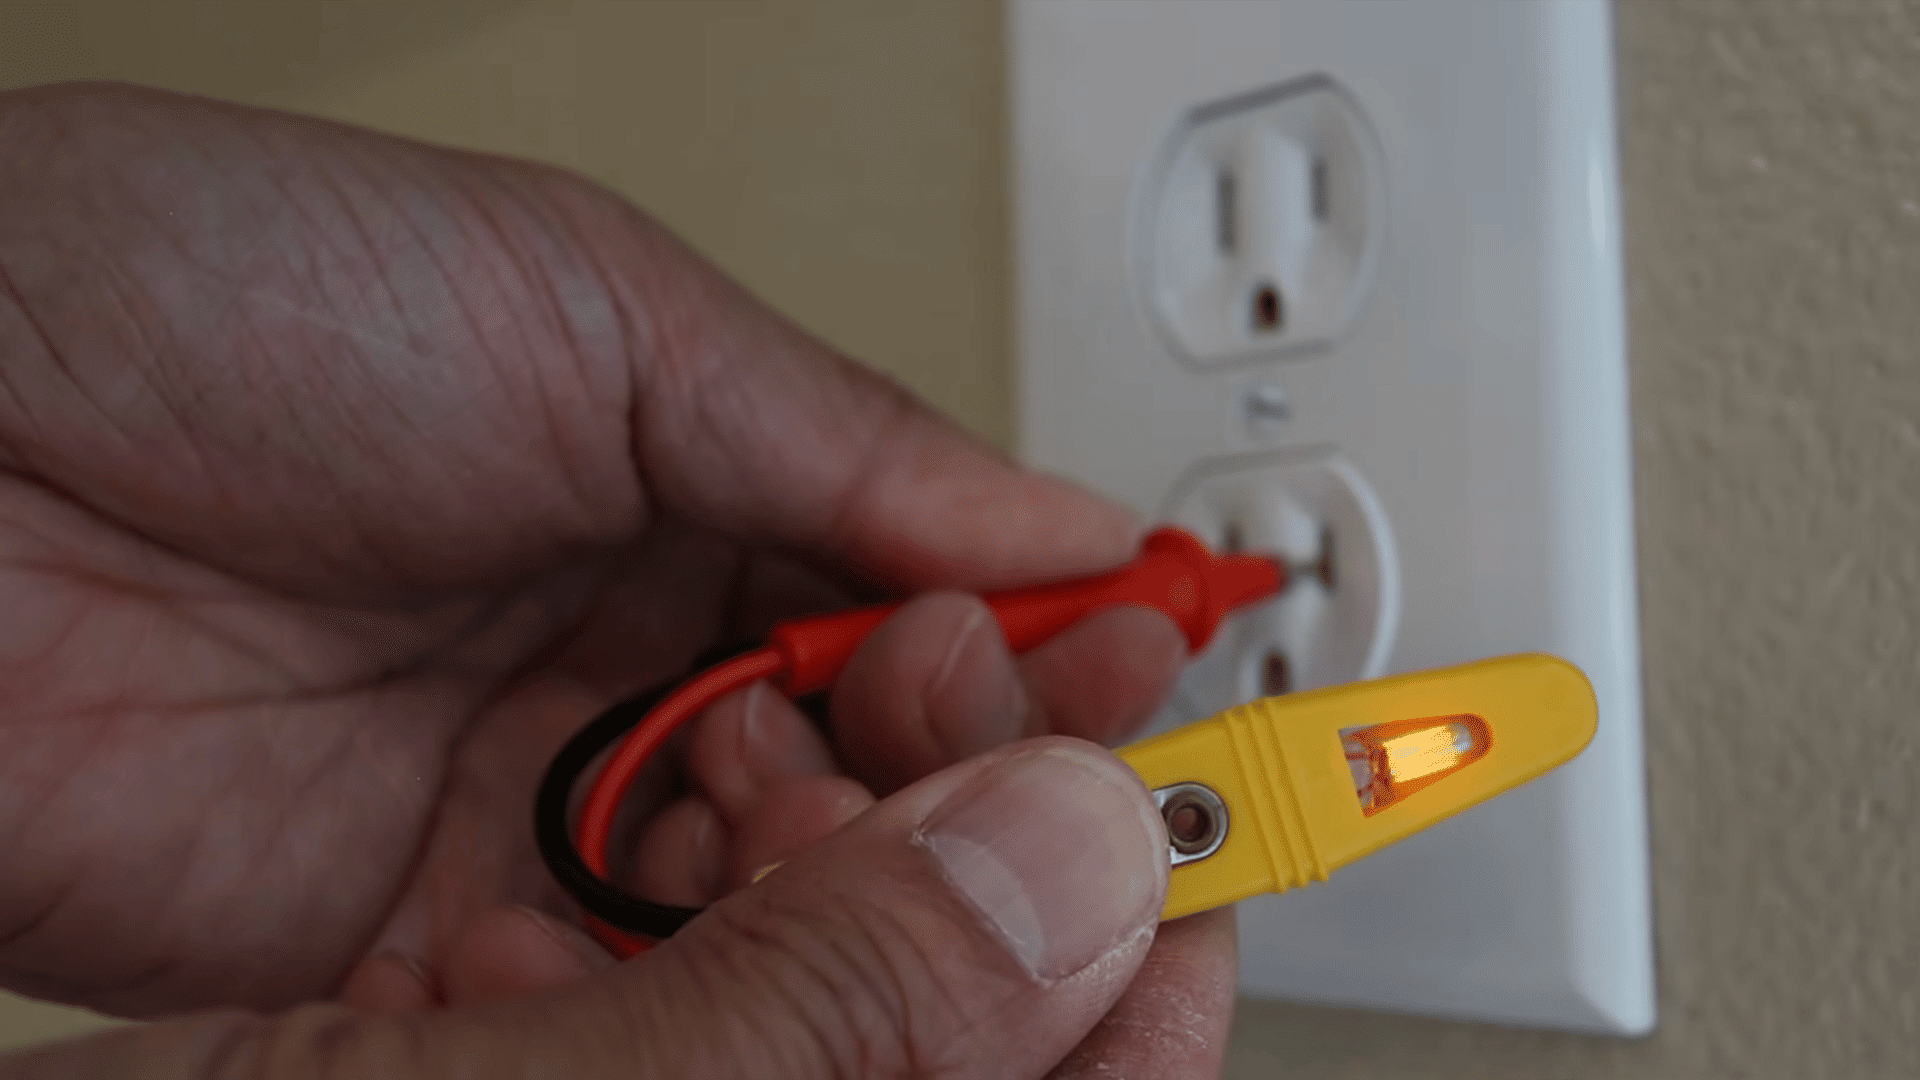
Put the plastic faceplate back on and secure it with its single small screw. Now, head back to your electrical panel and switch the breaker for this room back on.
Return to the wall and do one final circuit test to confirm the plug has power and is working correctly. If your tester lights up, you have successfully finished the job.
That final test gives you peace of mind that everything is wired right and completely safe to use in your home.
For a visual explanation of the process, here is a video from TheRenderQ to better illustrate the steps of replacing your outlet safely:
Common Mistakes to Avoid When Replacing an Outlet
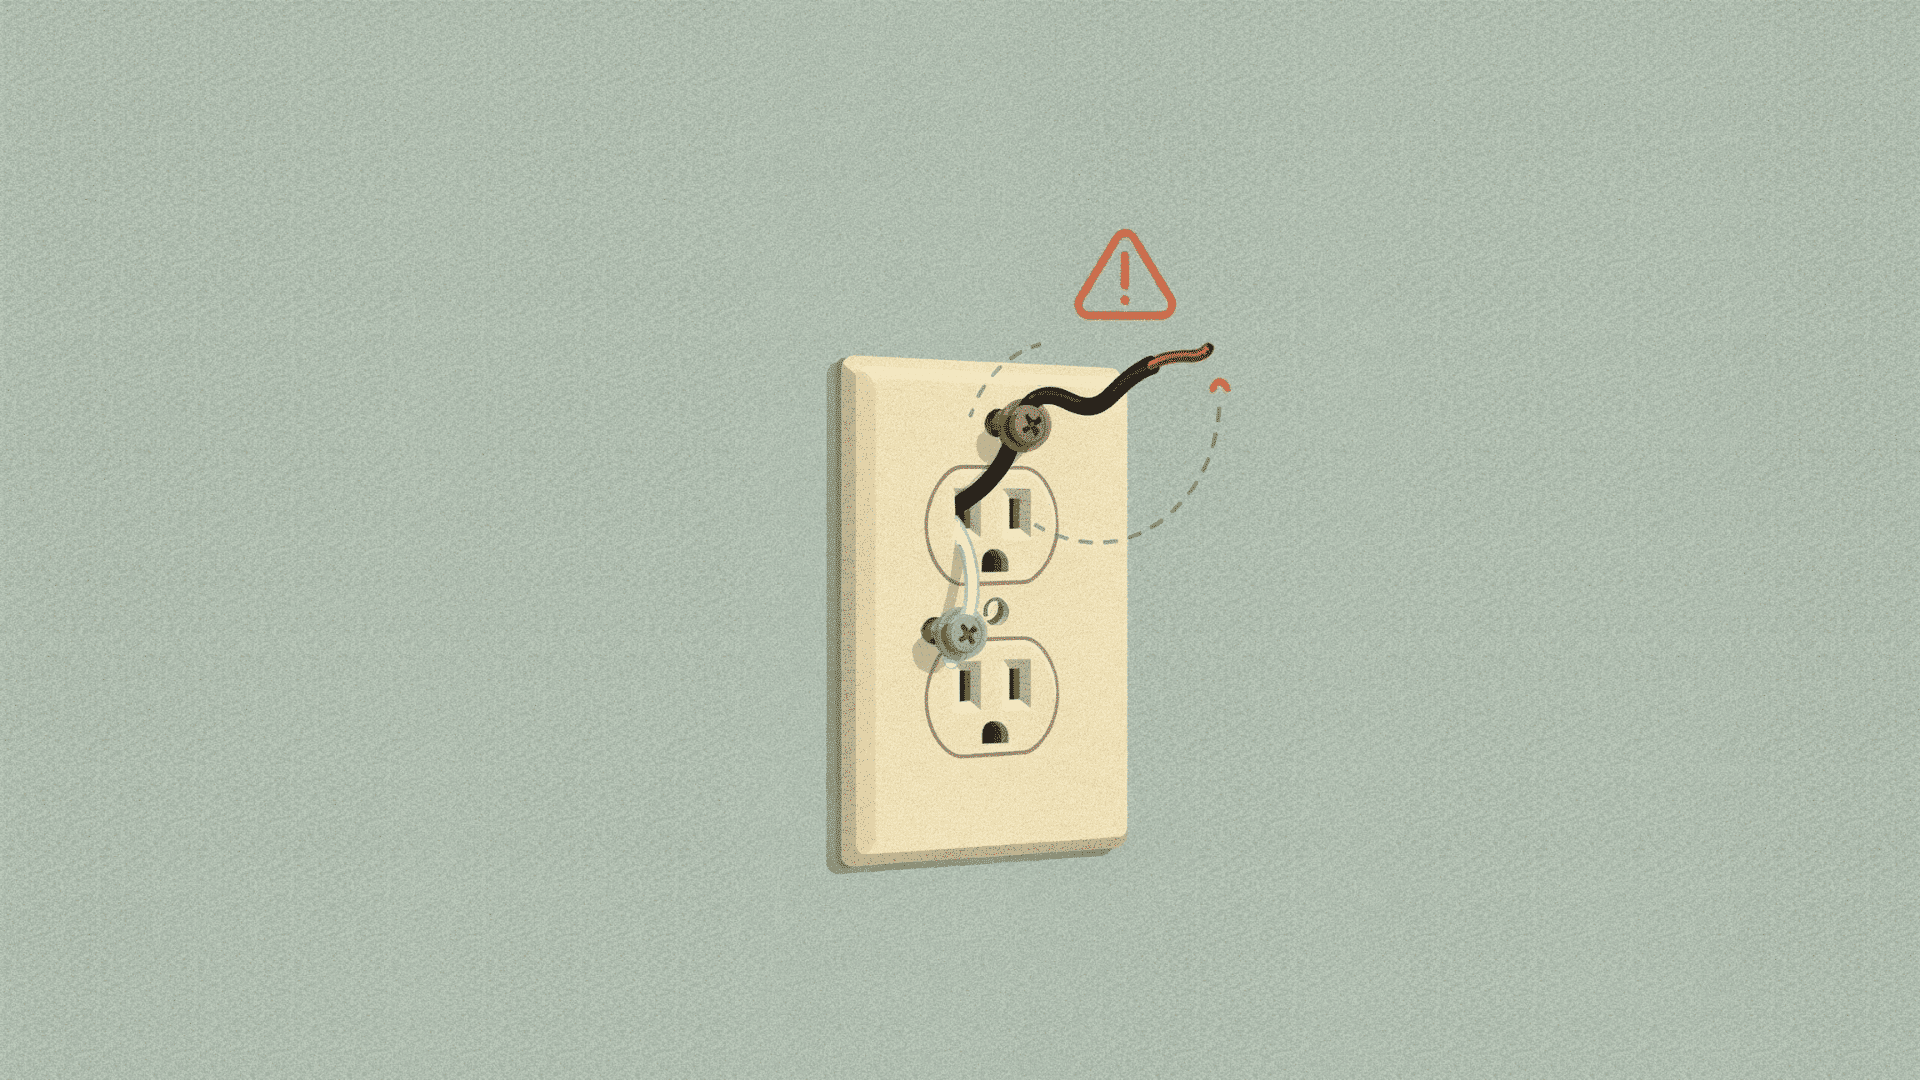
Even when you follow the steps perfectly, it is easy to make a few small errors along the way. Many beginners rush through the process and create dangerous situations without realizing it.
Replacing a wall plug requires attention to detail, especially when dealing with old wires. One simple slip can cause your circuit breaker to trip or leave your plug completely dead.
To help you stay safe, here are a few common errors that people make during this project. By keeping these specific problems in mind, you can finish your job correctly on the very first try.
Reversing the Black and White Wires
Mixing up your wires is the most frequent error I see. People often forget which side is which and connect the black wire to the silver screw instead. This creates reverse polarity, which can ruin your electronics or cause a shock.
Match the black wire with the brass screw and the white wire with the silver screw. Taking a picture of the old plug before removing it helps prevent this entirely.
Leaving Wire Connections Too Loose
Another major problem happens when people do not tighten the side screws enough. If you leave the wires loose, they can easily slip out of place once you push the plug back into the wall.
A loose connection causes sparking and heat, which is a serious fire hazard. Always use pliers to pinch the wire tightly around the screw before grabbing my screwdriver to lock it down completely.
Nicking the Wires With Your Tools
When you use wire strippers or pliers, it is very easy to accidentally cut into the metal. Nicking the copper wire weakens it and makes it prone to snapping inside the wall box.
If you accidentally damage the wire while bending it, you should cut the damaged piece off and strip a fresh section. Taking your time with your tools ensures the electrical connection stays strong.
Outlet Warning Signs and When to Stop
While replacing a plug is an easy DIY task, there are some signs that mean you should stop right away. Look out for major warning flags before taking anything apart:
- Hot or Scorched Plates: If your wall plate feels hot or has dark, scorched marks, that is a serious red flag.
- Sparks and Loose Cords: Sparks flying when you plug in a cord,, or a plug that constantly falls out,, are also big problems.
- Frequent Tripping: If your breaker trips frequently, do not try to fix it yourself.
- Old Wiring: If you find old two-prong wiring without a ground, stop working immediately.
These issues point to deeper electrical problems behind the wall. In these cases, calling a licensed electrician is your safest choice.
Different Types of Electrical Outlets
Before you buy a replacement, it helps to know what choices you have. Not all wall plugs are the same, and picking the right one depends on where you are installing it.
Here is a quick look at the most common options I see in homes today.
| Outlet Type | Best Location | Main Benefit |
| Standard (15A/20A) | Bedrooms, living rooms | Great for everyday electronics |
| GFCI | Kitchens, bathrooms | Protects you from water shocks |
| AFCI | Bedrooms, hallways | Helps prevent electrical fires |
| USB & Smart | Offices, nightstands | Offers built-in phone charging |
| Tamper-Resistant | Homes with children | Blocks objects from entering |
1. Standard 15-Amp and 20-Amp Outlets
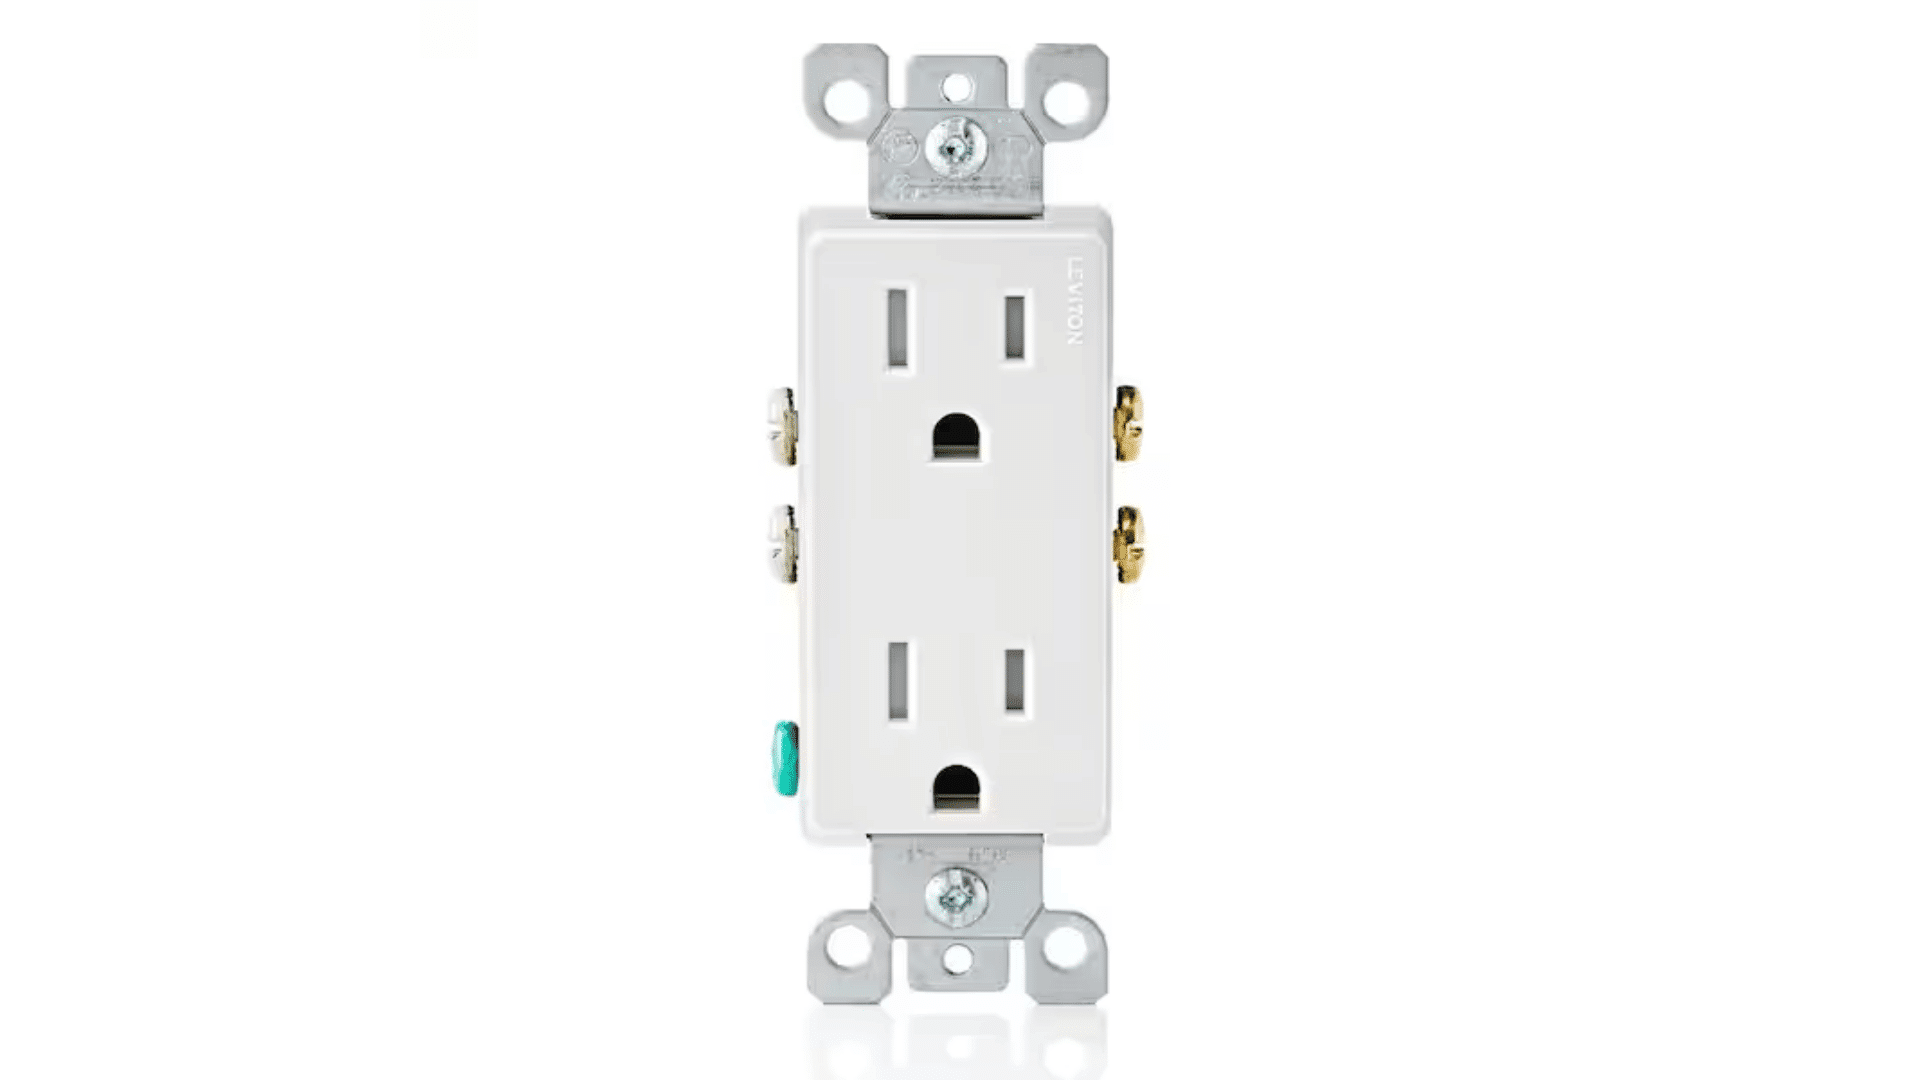
The most common plugs you will find in your house are standard 15-amp and 20-amp models. A 15-amp version is perfect for basic items like lamps, phone chargers, and televisions.
You will usually spot these in bedrooms and living rooms. On the other hand, 20-amp models handle heavier electrical loads.
I usually install 20-amp versions in garages or dining rooms where people plug in large appliances like space heaters or microwaves.
Link: Home Depot: 15 AMP and 20 AMP
2. GFCI Outlets
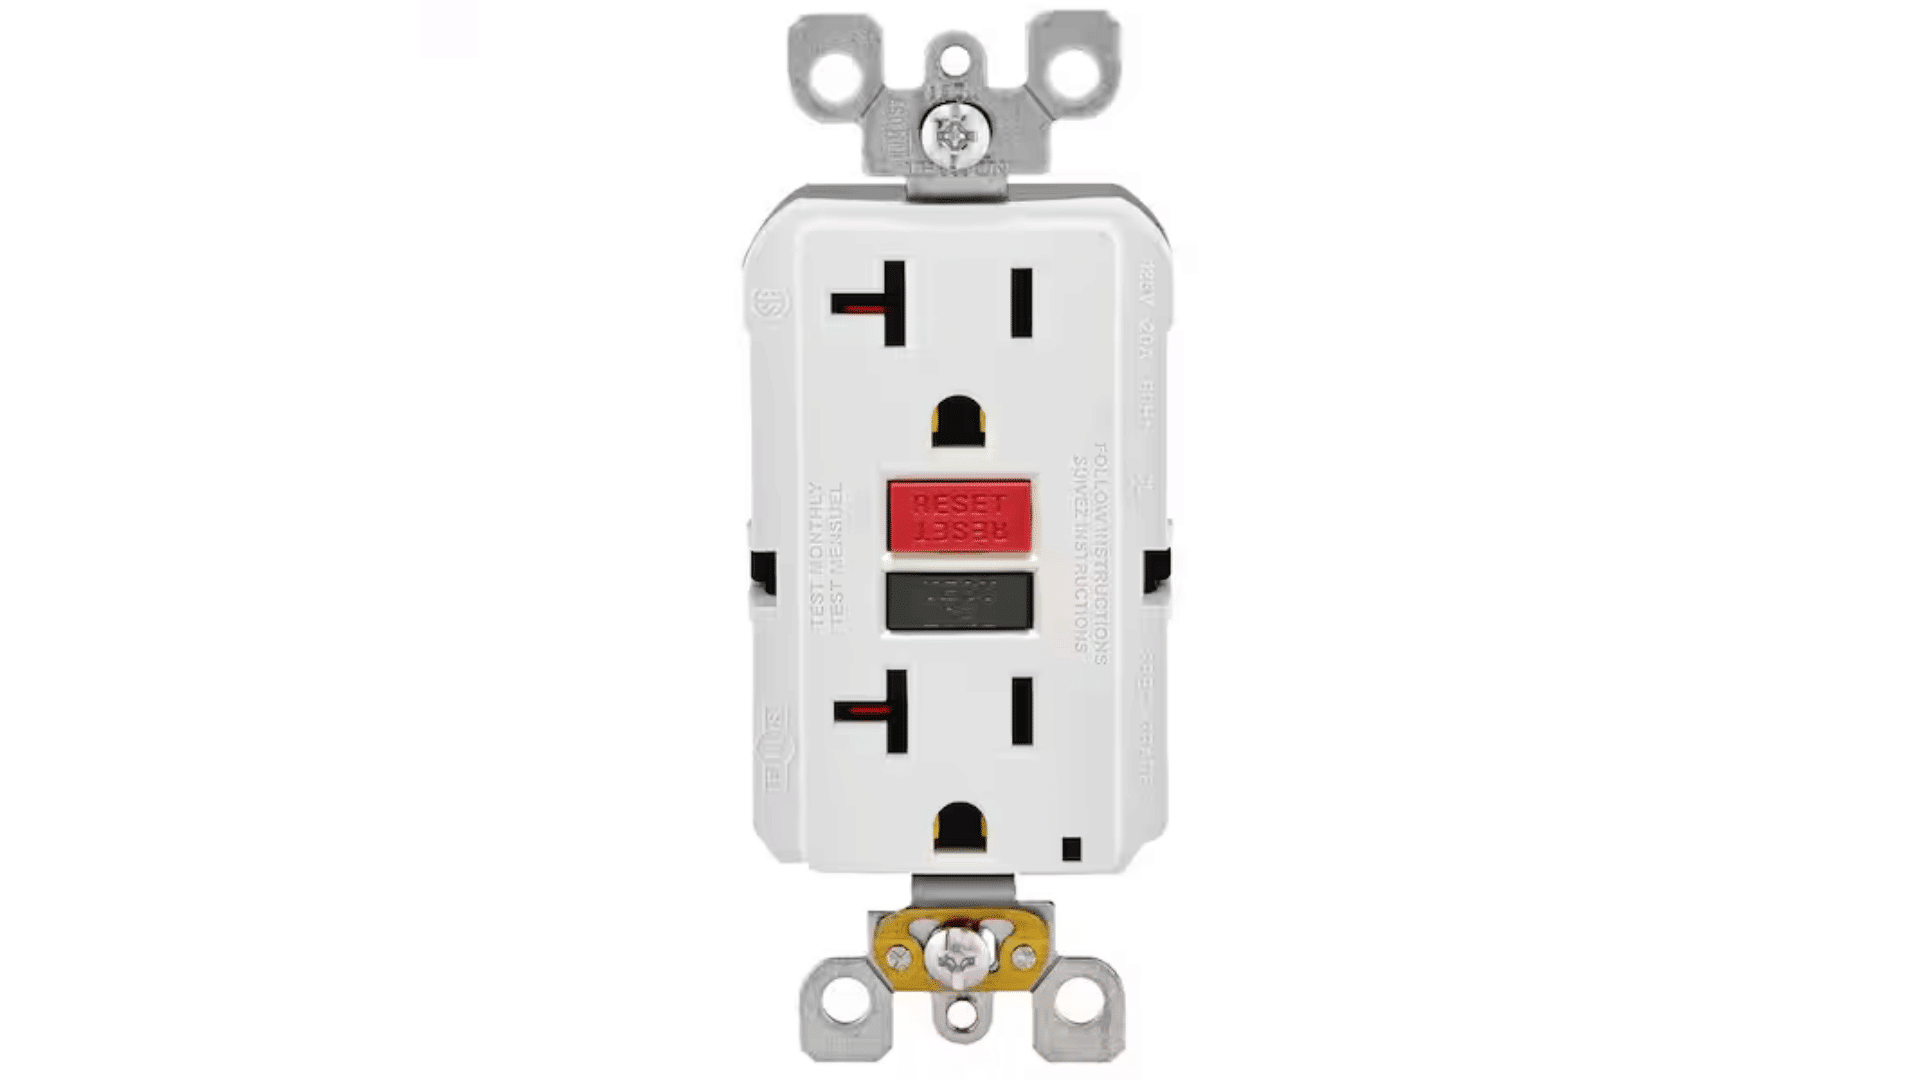
If you are replacing a plug near water, you must use a GFCI model. GFCI stands for Ground Fault Circuit Interrupter.
These specific units have few “test” and “reset” buttons right on the front. I always put these in bathrooms, kitchens, and outdoor spaces.
They constantly monitor the electricity flowing through them. If they sense water or a sudden shock risk, they instantly cut the power to keep you completely safe.
Link: Home Depot: GFCI Outlet
3. AFCI Outlets
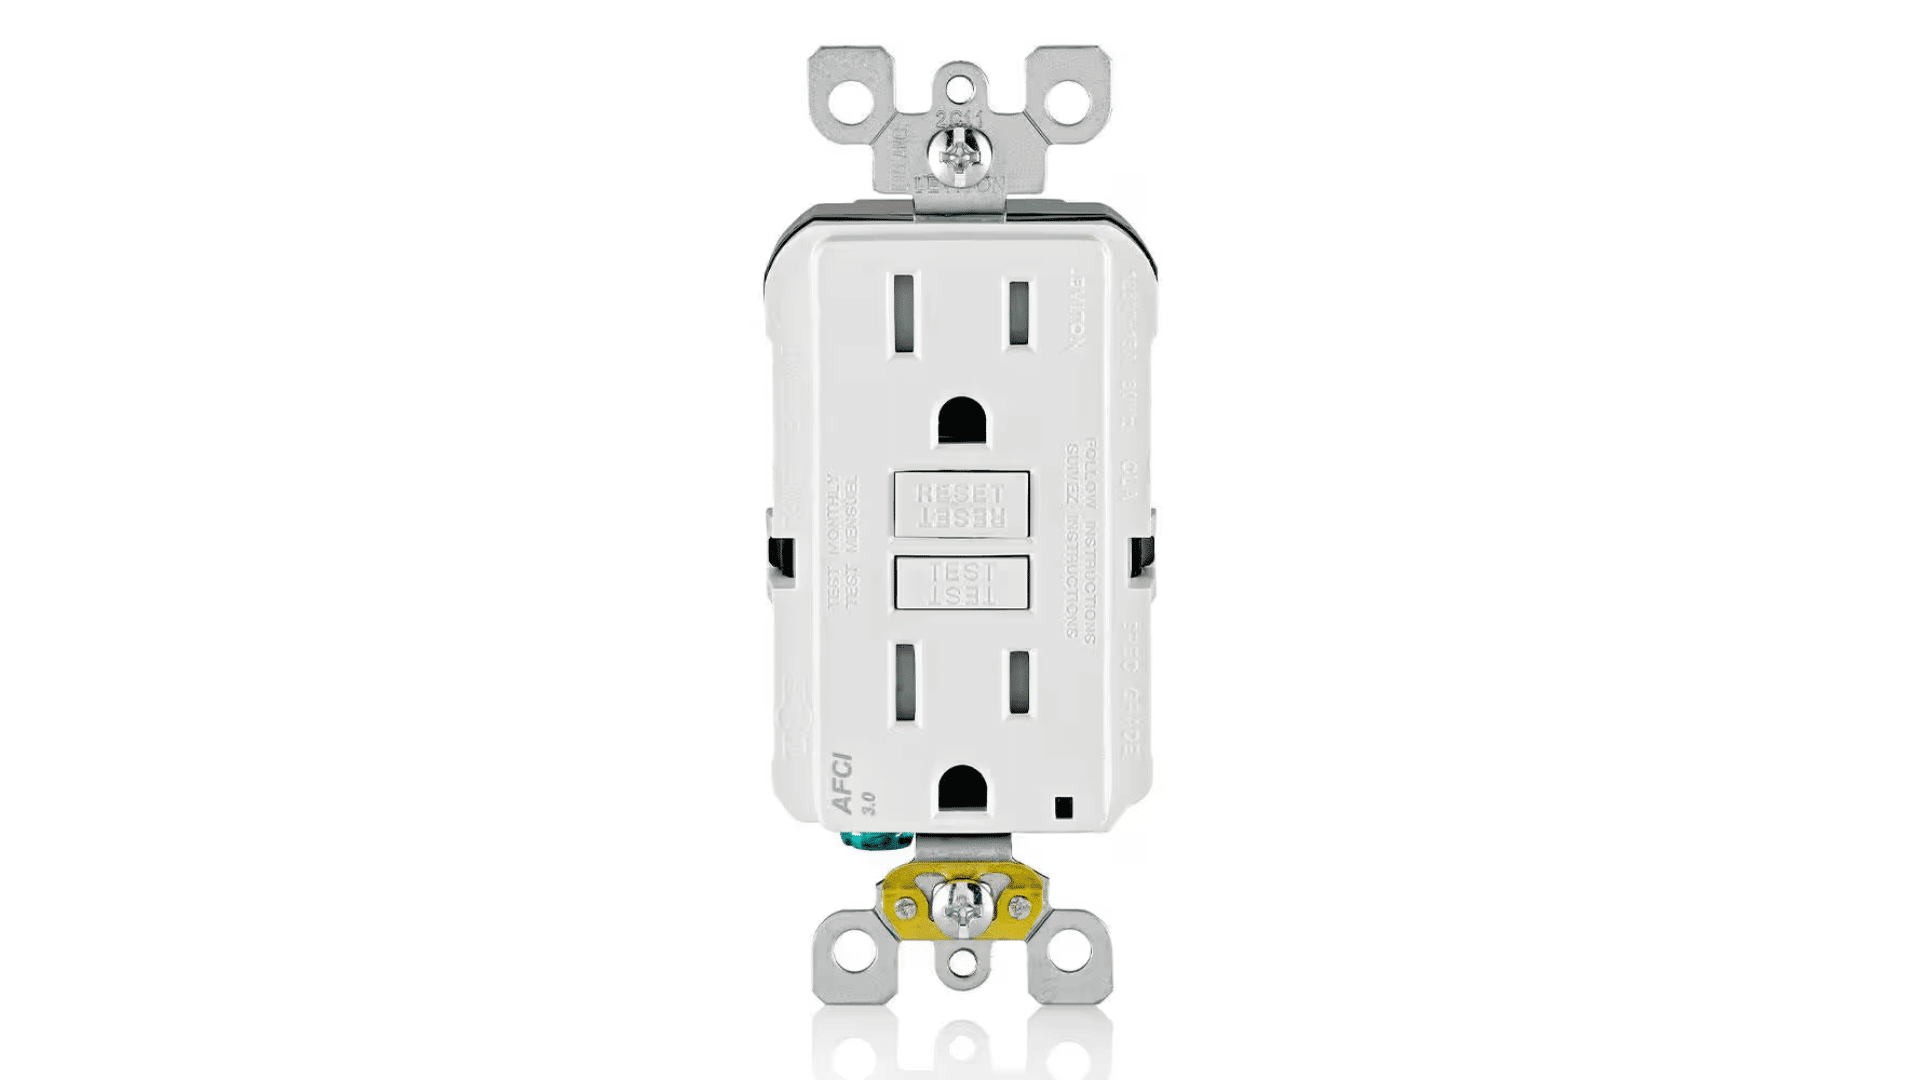
An AFCI plug looks very similar to a GFCI, but it serves an entirely different purpose. Instead of protecting you from water shocks, an Arc Fault Circuit Interrupter helps prevent house fires.
If a wire gets damaged or gets too hot, the AFCI detects the dangerous sparking and shuts off the electricity right away. I highly recommend using these in bedrooms and hallways to give your family extra peace of mind.
Link: Home Depot: AFCI Outlet
4. USB and Smart Outlets
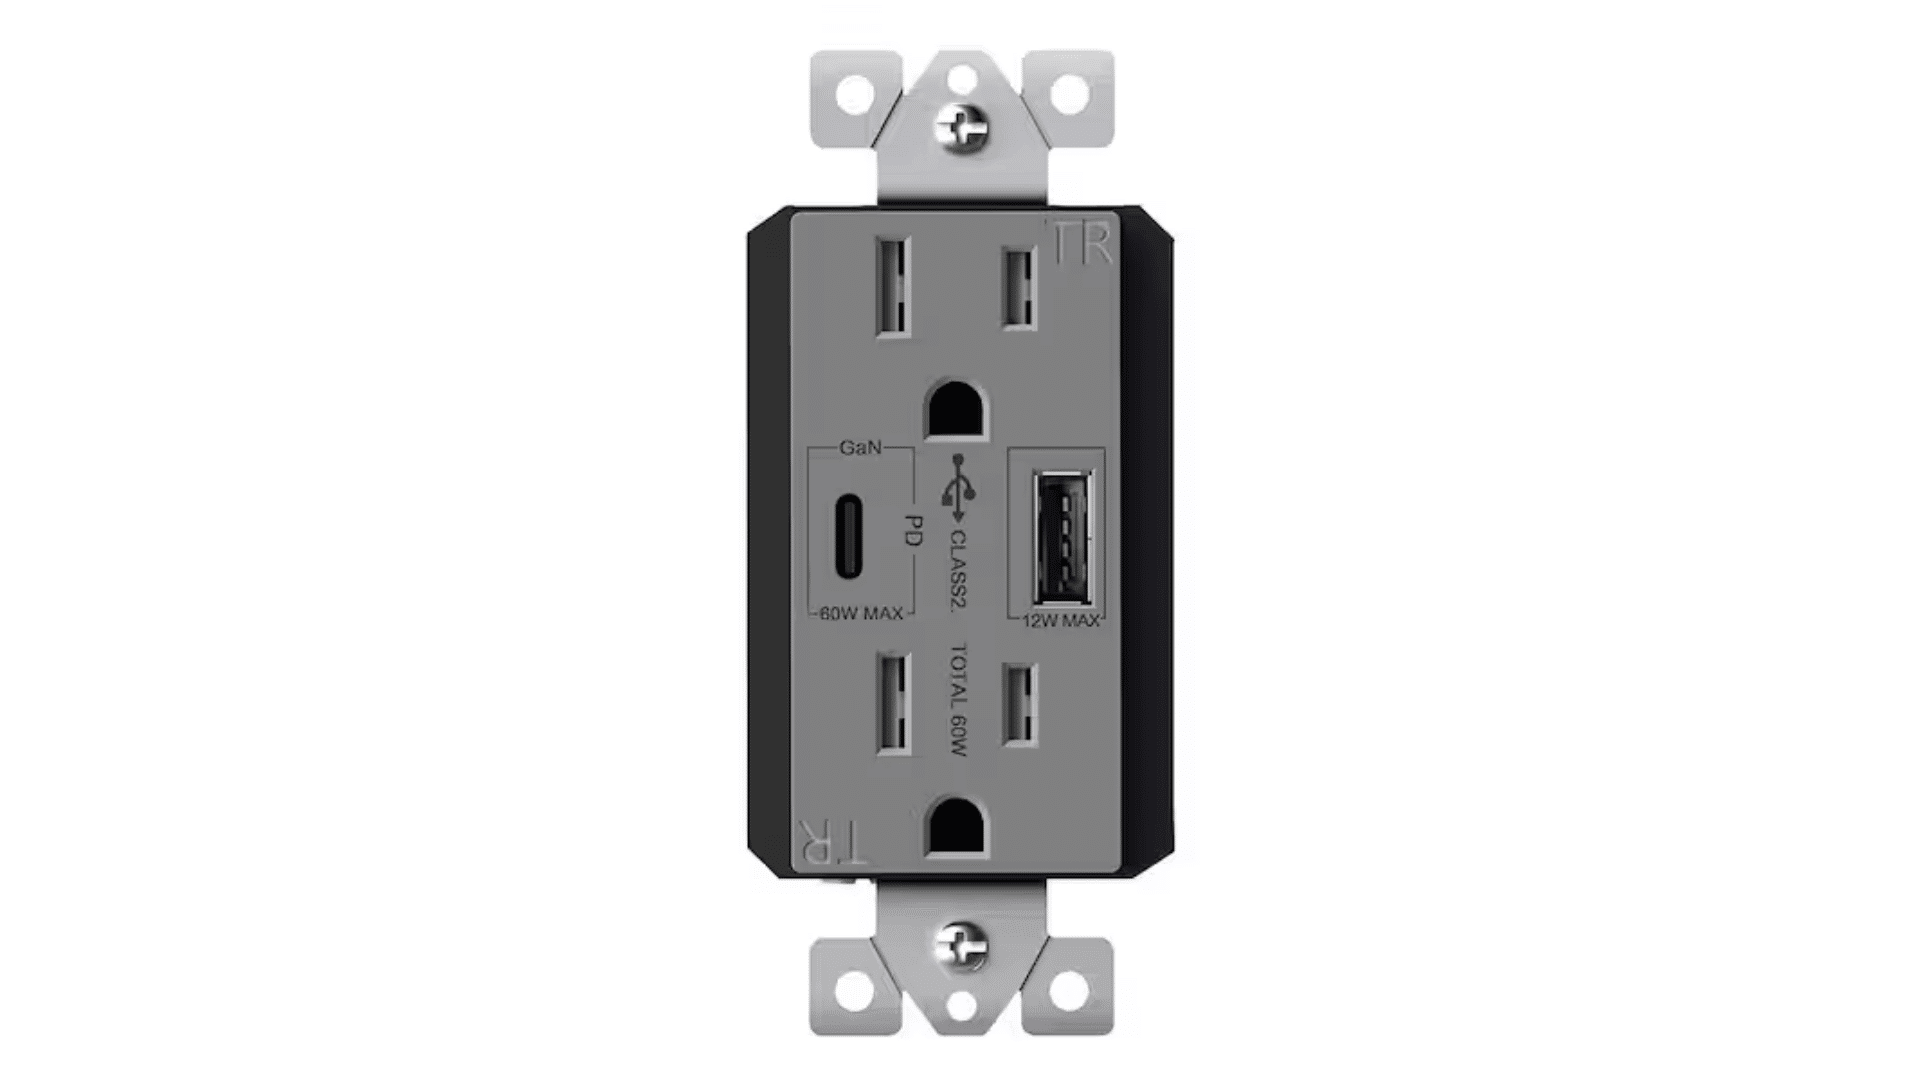
We all have multiple devices to charge these days, which makes USB plugs incredibly popular. These models have built-in USB ports right next to the regular plug slots.
You can charge your phone without taking up space with a bulky adapter block. Smart plugs are another fun upgrade I love.
They connect to your home internet, letting you control your lights or fans straight from an app on your phone.
Link: Home Depot: USB Smart Outlet
5. Tamper-Resistant Outlets
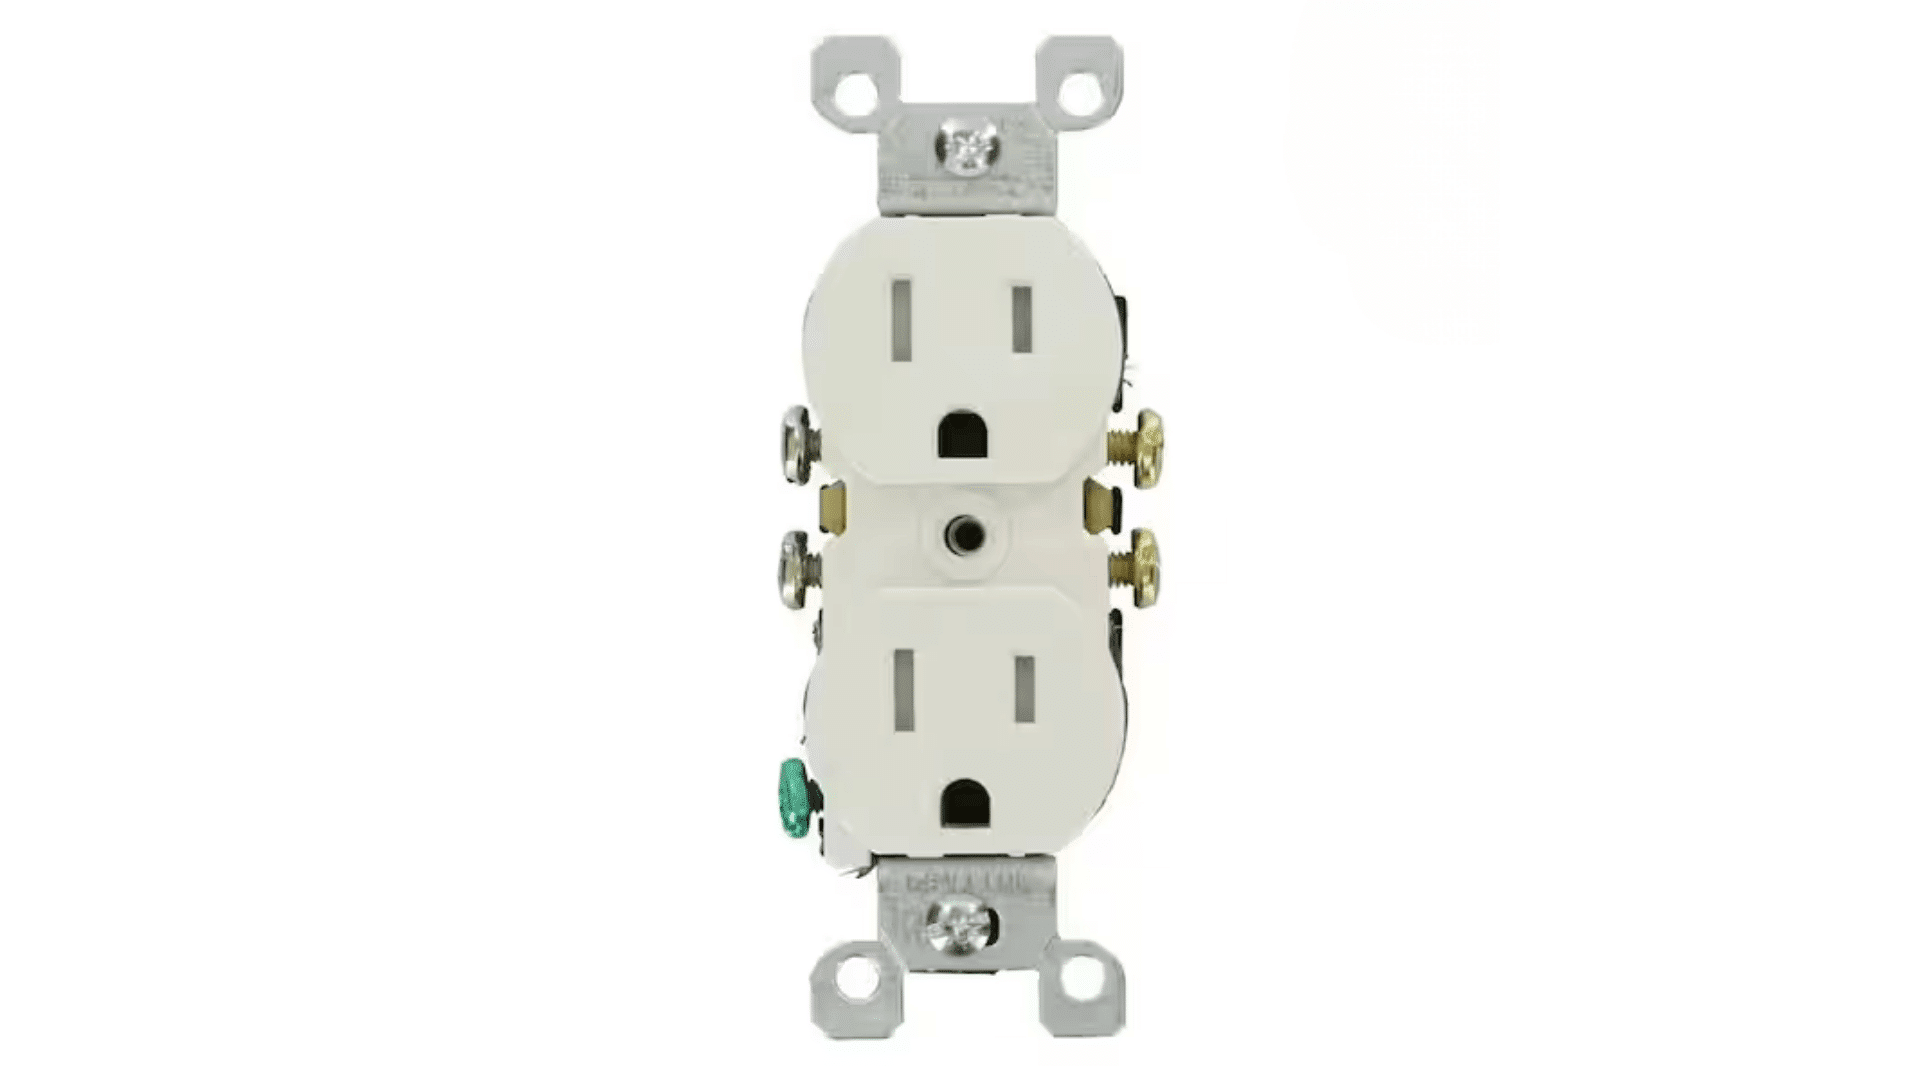
If you have small children walking around the house, tamper-resistant plugs are an absolute must. These models have hidden plastic shutters inside the plug slots.
The shutters only open when you push a real electrical cord into them evenly. If a curious toddler tries to push a paperclip or toy into one side, the shutter stays locked.
I think this simple feature is the best way to prevent dangerous electrical accidents.
Link: Home Depot: Tamper-Resistant Outlet
Bottom Line
Fixing a broken wall plug does not have to be scary or expensive. By taking your time and testing the electrical system first, you can complete this quick job safely.
We covered how to remove the old parts, swap the black, white, and ground wires, and safely turn the power back on. I hope you see now that keeping the power off until the very end makes this a stress-free project.
You also know what warning signs mean; it is time to call a pro.
Now that you know the steps, why not try upgrading an old plug in your own home this weekend? Let me know in the comments if this guide helped you!
Frequently Asked Questions
Should I Push the Wires Into the Back Holes?
I always avoid those back holes. Wrapping the wire around the side screw creates a much stronger connection. Back-inserted wires often come loose and cause problems later.
Why are Some Wall Plugs Installed Upside Down?
Sometimes, I install them with the ground hole facing up. This stops metal objects from falling onto the hot prongs if a cord is slightly pulled out.
What if My Wall Wires are Silver Instead of Copper?
If you see silver aluminum wires, stop immediately. Do not connect them to a standard plug. I highly recommend calling a professional, as aluminum requires special connectors.
How do I Fix a Plug that Pushes into the Wall?
If the box is set too deep, I use small plastic spacers. You slide them over the long mounting screws to keep the plug firmly in place.
Can I Paint My Outlet Cover to Match the Wall?
I suggest buying a colored faceplate instead. Painting them often leads to chipping, and wet paint can easily run inside the plug, which is highly dangerous.

Tommy Hardy, an alumnus of the Georgia Institute of Technology with a degree in Mechanical Engineering, has been a go-to figure in residential upkeep and innovation for over 18 years. His career commenced in a leading home appliance manufacturing company, where he mastered the intricacies of household systems. Joining our platform in 2020, Tommy quickly became a reader favorite for his practical and easy-to-follow guides. He took the helm of our DIY section in 2019, consistently delivering content that empowers homeowners. Beyond his professional pursuits, Tommy is a passionate gardener and enjoys woodworking, skills enhancing his hands-on approach to home care.