
I’ve torn insulation out of enough backyard sheds to know the mistakes look the same every time.
Winter turned your shed into a freezer last year, and summer baked it like an oven. That temperature swing isn’t just annoying; it’s costly if you use the space for tools, hobbies, or storage that hates extreme heat.
Learning how to insulate a shed changes everything, and it’s simpler than most online guides make it seem.
Gather a few materials, block the gaps properly, and your shed will withstand the weather.
This blog outlines where heat escapes, effective materials, and common costly mistakes.
Decide What Your Shed Actually Needs Before Buying Insulation
A shed used for storage barely needs insulation at all.
A workshop or hangout space is a different story entirely. Check the walls, the roof, and the gaps around windows first. Rigid foam works great for tight budgets, and mineral wool handles moisture better in damp climates.
Consider how frequently you’ll utilize the space and in which seasons.
That answer influences all your subsequent material choices, so avoid guesswork and begin with it.
Understand Where a Shed Loses the Most Heat
Heat leaks through the floor more than you might think.
Cold ground quickly absorbs heat, particularly from concrete or bare slabs.
Door seals are important, and inexpensive hinges often leave gaps you can detect with your palm. Metal roofing conducts temperature fast, turning a shed into an oven or a freezer depending on the season.
Ventilation slats, while useful for airflow, become weak points without proper sealing.
Corners and joints where panels meet often get overlooked entirely.
Run your hand along each seam on a cold day to swiftly identify the issues and fix them one at a time.
Choose the Right Shed Insulation Material
Not all materials are suitable for every shed. Use this quick guide to find the best match.
| Material | Best For | R-Value Range | Cost |
|---|---|---|---|
| Fiberglass batts | DIY installs, standard framing | 3.1–4.3 per inch | Low |
| Rigid foam board | Floors, tight spaces | 4–6.5 per inch | Moderate |
| Spray foam | Sealing odd gaps, air leaks | 3.5–6.5 per inch | High |
| Reflective foil | Hot climates, radiant heat | Varies by setup | Low |
| Denim/cotton batts | Eco-conscious builds | 3.0–3.7 per inch | Moderate |
These R-values are typical manufacturer averages and can shift by product line, so check the label on whatever you buy before comparing options.
How Much Insulation Does a Shed Need?
Climate zone decides the number first. Colder regions need higher R-values, often R-13 or above for walls.
Mild climates get by with R-7 to R-10 in most cases.
Roof insulation should run higher than walls since heat rises and escapes upward fast. Floor insulation matters less in warm zones but becomes critical once temperatures drop below freezing regularly.
Check your local building codes before buying anything in bulk.
A quick call to a supplier can confirm exact numbers for your specific region and shed size.
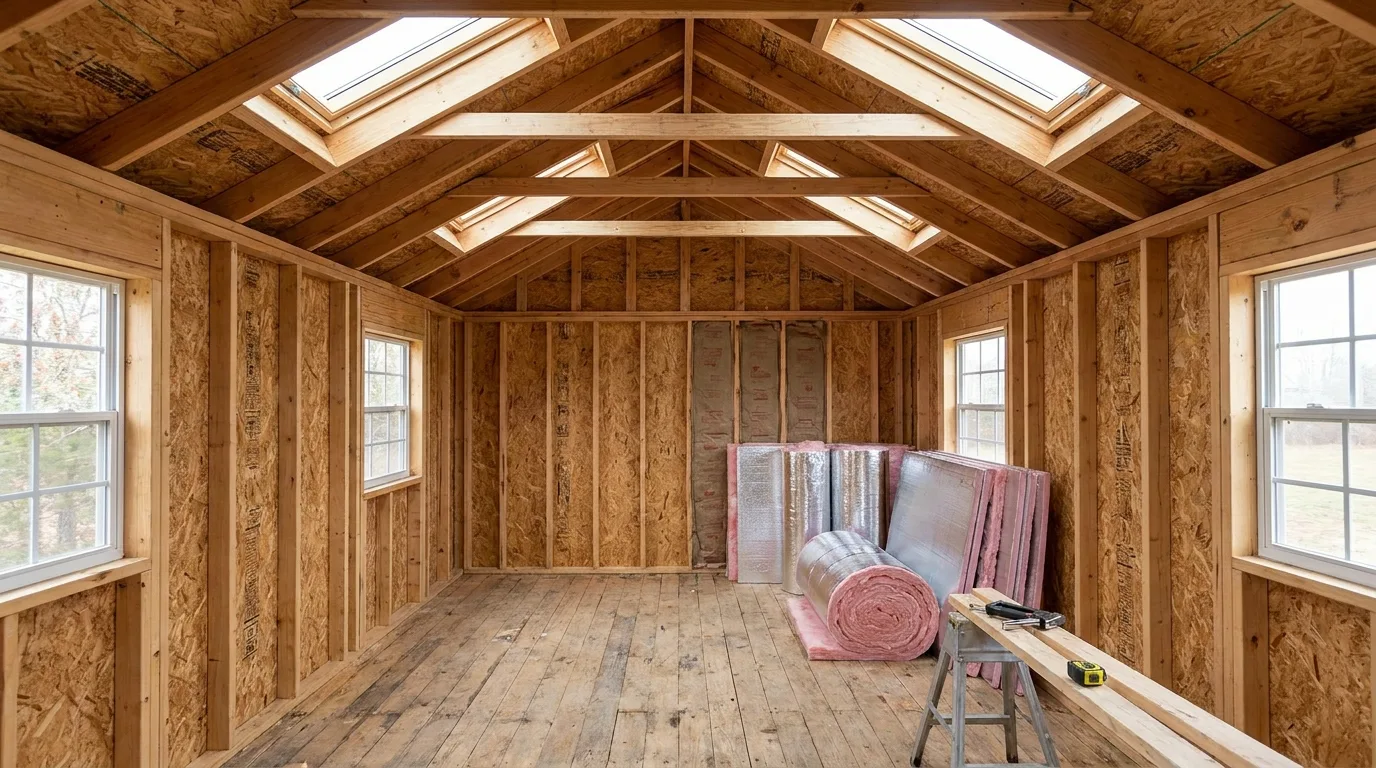
Gather the Tools and Materials Before You Start
Align your supplies with the upcoming steps to keep your project moving smoothly.
- Insulation batts or rigid foam boards
- Plywood, OSB, or drywall panels
- Drill with screws
- Weatherstripping kit for doors
- Canned spray foam for gaps
- Safety goggles
- Ladder for roof access
- Pencil or marker for cut lines
- Handsaw for trimming panels
Prepare the Shed for Insulation
Clear out everything first. Boxes and shelving get in the way fast.
Sweep the floor and wipe down walls to remove dust and cobwebs. Check for pests hiding in corners or behind panels. Patch any cracks or holes with wood filler or sealant before moving forward.
Secure or reroute loose wiring away from work zones. Lay down a drop sheet if you’re worried about mess.
A clean shed speeds up later steps and protects materials from damage or contamination.
Step-by-Step Process: How to Insulate a Shed and Air-Seal
For a more detailed video, check out this video by How To Do It All
Pick up your tools and work through each step in order, since skipping ahead is how gaps get missed.
Step 1: Measure Every Wall and Roof Panel
Pull out your tape measure before cutting anything. Note the height, width, and depth of each stud bay.
Sheds rarely have uniform framing, so measure every section separately. Write numbers down instead of trusting memory. Mistakes here cascade into wasted material later.
Round up slightly for insulation, since a snug fit beats gaps.
Double-check roof panel dimensions too, since they often differ from wall measurements.
Step 2: Cut Your Insulation to Size
Lay batts flat on a clean surface. Use a straight edge to guide your utility knife.
Cut slightly larger than the bay, so the fit stays tight. Rigid foam needs a sharper blade and slower, steadier strokes.
Wear gloves throughout this process, especially with fiberglass. Keep offcuts organized instead of tossing them, since smaller gaps around outlets or vents often need scrap pieces later.
Step 3: Install a Vapor Barrier First
Staple sheeting across studs before placing insulation. Overlap seams by several inches, and tape every joint tightly.
This barrier blocks moisture from creeping into your walls. Skipping it invites mold down the line, especially in humid climates. Smooth out wrinkles as you go, since trapped air pockets weaken the seal.
Work top to bottom for cleaner coverage across each wall.
Step 4: Fit Insulation Into Wall Cavities
Press batts firmly into each bay, filling corners completely.
Avoid compressing the material, since squished insulation loses effectiveness fast. Push gently until it sits flush against the frame. Uneven gaps reduce performance, so take your time here.
Check behind outlets and switches carefully, since installers often rush past them.
A snug, even fit matters more than speed at this stage.
Step 5: Insulate the Roof and Ceiling
Roof panels lose heat fastest, so give this area extra attention.
Cut batts or rigid foam to match rafter spacing exactly.
Secure everything with staples or adhesive, depending on material type.
Leave small air gaps near metal roofing to prevent condensation buildup. Work in sections rather than tackling the whole roof at once, since overhead installs quickly strain your arms and neck.
Step 6: Address the Floor
Lay rigid foam boards directly onto the subfloor or slab.
Trim edges carefully around support beams and corners. Tape seams tightly to block cold air from creeping through. Add a plywood layer on top if you’re planning heavy foot traffic.
Floors often get skipped, yet cold ground pulls heat out constantly.
Don’t rush this step, since a solid floor barrier makes a noticeable difference.
Step 7: Seal Gaps Around Doors and Windows
Grab your caulk gun and target every visible seam. Run a steady bead along window frames and door trim.
Add weatherstripping around door edges for extra protection.
Check hinges and latches too, since cheap hardware often leaves small gaps. Smooth caulk lines with a finger for a clean finish. This step stops drafts that batts and boards alone can’t fully block.
Step 8: Cover Everything With Interior Paneling
Attach plywood, OSB, or drywall over your insulated walls.
Screw panels into studs at consistent intervals for stability. This layer protects insulation from damage and gives your shed a finished look. Leave small gaps near outlets or switches if wiring runs through the walls.
Sand rough edges afterward, since splinters and jagged corners cause unnecessary injuries during future projects.
Step 9: Inspect and Test for Leaks
Walk through the finished shed on a windy or cold day. Run your palm along seams, corners, and door edges.
Feel for drafts you might have missed earlier. Patch any weak spots immediately with extra caulk or foam.
Check the roof line and floor edges one more time.
A thorough final pass now saves you from bigger headaches once the season changes.
Insulate the Door and Windows Without Building Moisture
Doors and windows can quickly trap condensation if you omit some important details.
- Choose foam tape over rigid materials for door frames, since flexibility handles daily movement better.
- Leave a small air gap behind window insulation to allow moisture to escape naturally.
- Skip vapor barrier film directly on glass, since trapped moisture can fog and warp frames.
- Use silicone-based caulk near windows, since it resists cracking from temperature swings.
- Check rubber seals every few months, since they degrade faster than wall insulation.
- Avoid sealing windows completely shut if your shed lacks any ventilation source.
- Wipe down frames before installing anything, since trapped dust holds moisture against surfaces.
Shed Insulation Cost: What Actually Affects the Price
Costs can differ greatly based on shed size, insulation type, and whether you do it yourself or hire a professional.
| Category | What It Covers | Typical Cost Range |
|---|---|---|
| Insulation | Fiberglass, mineral wool, foam board, or spray foam | $0.50–$3.00 per sq ft |
| Framing | Furring strips or additional studs if walls need adjusting | $50–$300 |
| Air-Sealing Materials | Expanding foam, caulk, weatherstripping | $30–$100 |
| Sheathing | OSB, plywood, or drywall for interior finish | $200–$600 |
| Flooring | Insulated subfloor or floor insulation | $100–$400 |
| Tools | Staple gun, utility knife, caulk gun, safety gear | $50–$150 (one-time) |
I’m not fully certain these ranges reflect current pricing in every region, so treat them as a starting estimate and check with a local supplier before setting a budget.
Do You Need a Vapor Barrier or Vapor Retarder?
The difference comes down to permeability.
A vapor barrier blocks moisture almost completely, while a retarder slows it down but lets some through.
Cold climates usually call for a full barrier, since trapped warm air inside pushes moisture toward the walls.
Milder regions often do better with a retarder, allowing walls to breathe slightly.
Wood-framed sheds benefit from retarders more than metal ones. Check your climate zone and shed material before deciding, since the wrong choice traps moisture instead of stopping it.
How to Prevent Condensation Inside an Insulated Shed
Ventilation stops condensation before it starts. Add roof vents or gable vents to let trapped air escape steadily.
Use a small dehumidifier during humid months, especially if the shed stays closed often.
Avoid storing damp items directly against insulated walls. Temperature swings between day and night cause the most moisture buildup, so consistent airflow matters more than insulation thickness alone.
Check corners and hidden spots monthly for early signs of dampness, and act quickly before mold gets a foothold.
Should You Insulate the Shed Before or After Adding Walls?
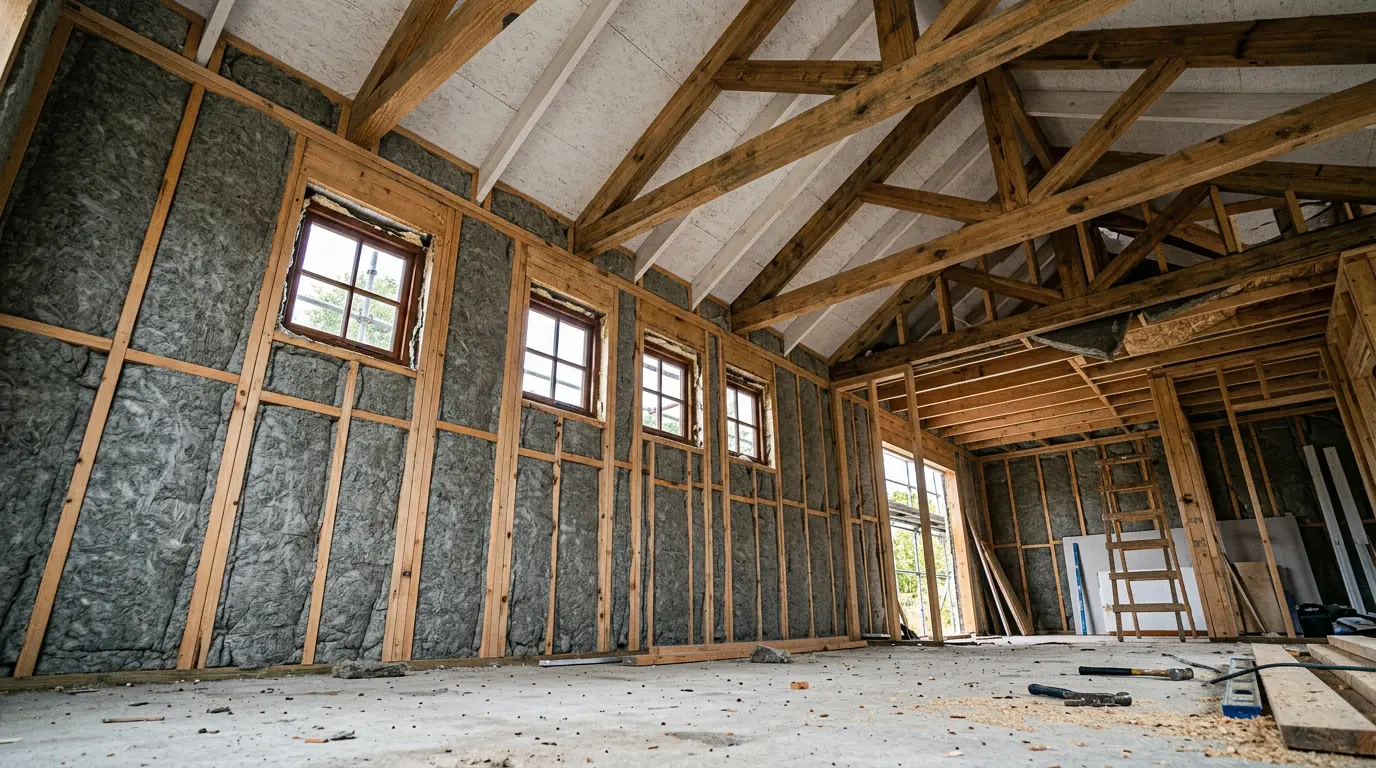
Insulating before walls go up saves headaches later.
You get clear access to every stud bay, and cutting batts becomes far easier without obstructions.
Retrofitting an older structure means working around wiring, shelving, and fixed panels already in place, which is a different job than building a shed from the ground up with insulation planned in from day one.
Both approaches work, but new builds favor early insulation every time.
If you’re renovating an older structure, plan for slower progress and expect some panel removal.
Either way, sequence matters less than doing each layer completely before moving forward.
Special Considerations for Different Types of Sheds
Changing the shed type completely alters your strategy. Here are the main priorities for each build.
| Shed Type | Priority Focus | Key Consideration |
|---|---|---|
| Metal shed | Condensation control | Add a thermal break before insulating panels |
| Wood shed | Pest prevention | Check for rot before sealing walls |
| Plastic/resin shed | UV protection | Insulation prevents warping from heat exposure |
| Workshop shed | Soundproofing | Denser materials reduce noise alongside heat loss |
| Converted living space | Electrical safety | Insulation must clear wiring and outlets properly |
Common Shed Insulation Mistakes that Cause Problems Later
Minor installation mistakes can lead to more costly repairs later.
- Skipping the vapor barrier step entirely, which invites moisture straight into wall cavities.
- Compressing batts to force them into tight spaces, significantly reducing their insulating power.
- Ignoring the floor completely, since cold ground pulls heat out year-round.
- Ordering the wrong R-value for your climate zone, wasting money on underperforming material.
- Sealing the shed too tightly without any ventilation, trapping humidity inside permanently.
- Rushing panel installation over exposed wiring, creating a fire hazard behind the walls.
- Forgetting to check for pests before closing up walls, sealing problems inside for months.
When Shed Insulation is Not Enough
Insulation alone won’t fix everything.
A shed with no heat source still gets brutally cold in winter, regardless of R-value.
Poor ventilation causes problems no amount of insulation solves. Structural gaps, rotting frames, or a leaking roof need repair first, since insulation can’t patch physical damage.
Electrical issues, if present, require an electrician before you touch anything else.
Consider a small heater or fan alongside insulation for real comfort.
Insulation supports a system, but doesn’t replace every missing piece.
Is Insulating Your Shed Worth It?
Depends on how you use the space. A storage-only shed rarely justifies the cost or effort involved.
A workshop, studio, or hangout spot changes the math completely.
Energy savings add up over years, especially if you’re running tools or a heater regularly.
Comfort matters too, since a properly insulated shed becomes usable across more seasons.
Once the insulation and paneling are done, many people finish the project by giving the exterior a fresh coat of paint, which protects the structure and makes the upgrade feel complete.
Compare your budget with how frequently you’ll use the space to help inform your choice.
Wrapping Up
A properly insulated shed pays for itself through comfort and usability, not just energy numbers on paper.
Every wall, seam, and floor gap you sealed earlier now works together as one system.
Materials matter, technique is key, and skipping steps causes drafts or damp corners. Check and patch seasonally to keep your shed functional through temperature swings.
Have you tackled a shed insulation project yourself?
Tell us what worked, or what you’d do differently, in the comments below.
Frequently Asked Questions (FAQ’s)
1. How Long Does Shed Insulation Typically Last?
Most materials last 20 to 30 years if installed correctly and protected from moisture damage.
2. Can You Insulate a Shed Yourself without Professional Help?
Yes, most DIY-friendly sheds only require basic tools and a weekend of steady work.
3. Does Shed Insulation Increase Property Value?
Slightly, especially if the shed functions as a workshop, studio, or additional livable square footage.
4. What’s the Average Cost to Insulate a Small Shed?
Costs range between $200 and $800, depending on materials chosen and shed size.
5. Do All Sheds Legally Require Insulation?
No, insulation isn’t legally required, though local codes may apply for converted living spaces.

Tommy Hardy, an alumnus of the Georgia Institute of Technology with a degree in Mechanical Engineering, has been a go-to figure in residential upkeep and innovation for over 18 years. His career commenced in a leading home appliance manufacturing company, where he mastered the intricacies of household systems. Joining our platform in 2020, Tommy quickly became a reader favorite for his practical and easy-to-follow guides. He took the helm of our DIY section in 2019, consistently delivering content that empowers homeowners. Beyond his professional pursuits, Tommy is a passionate gardener and enjoys woodworking, skills enhancing his hands-on approach to home care.