Most home improvement projects come with a predictable set of unknowns: permits, lead times, tradespeople who don’t show up when they say they will. Installing a stairlift is different. It is one of the few residential upgrades that reliably goes in quickly, cleanly, and without structural changes to the home.
If you have been putting it off because you assumed it would be a major job, the reality will surprise you.
How the Track Gets Fitted
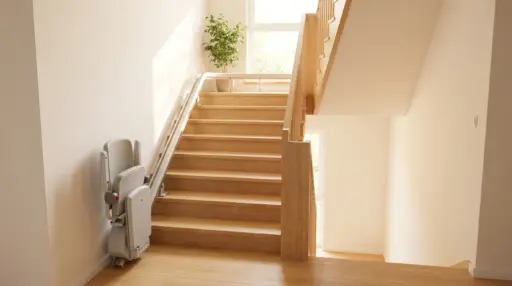
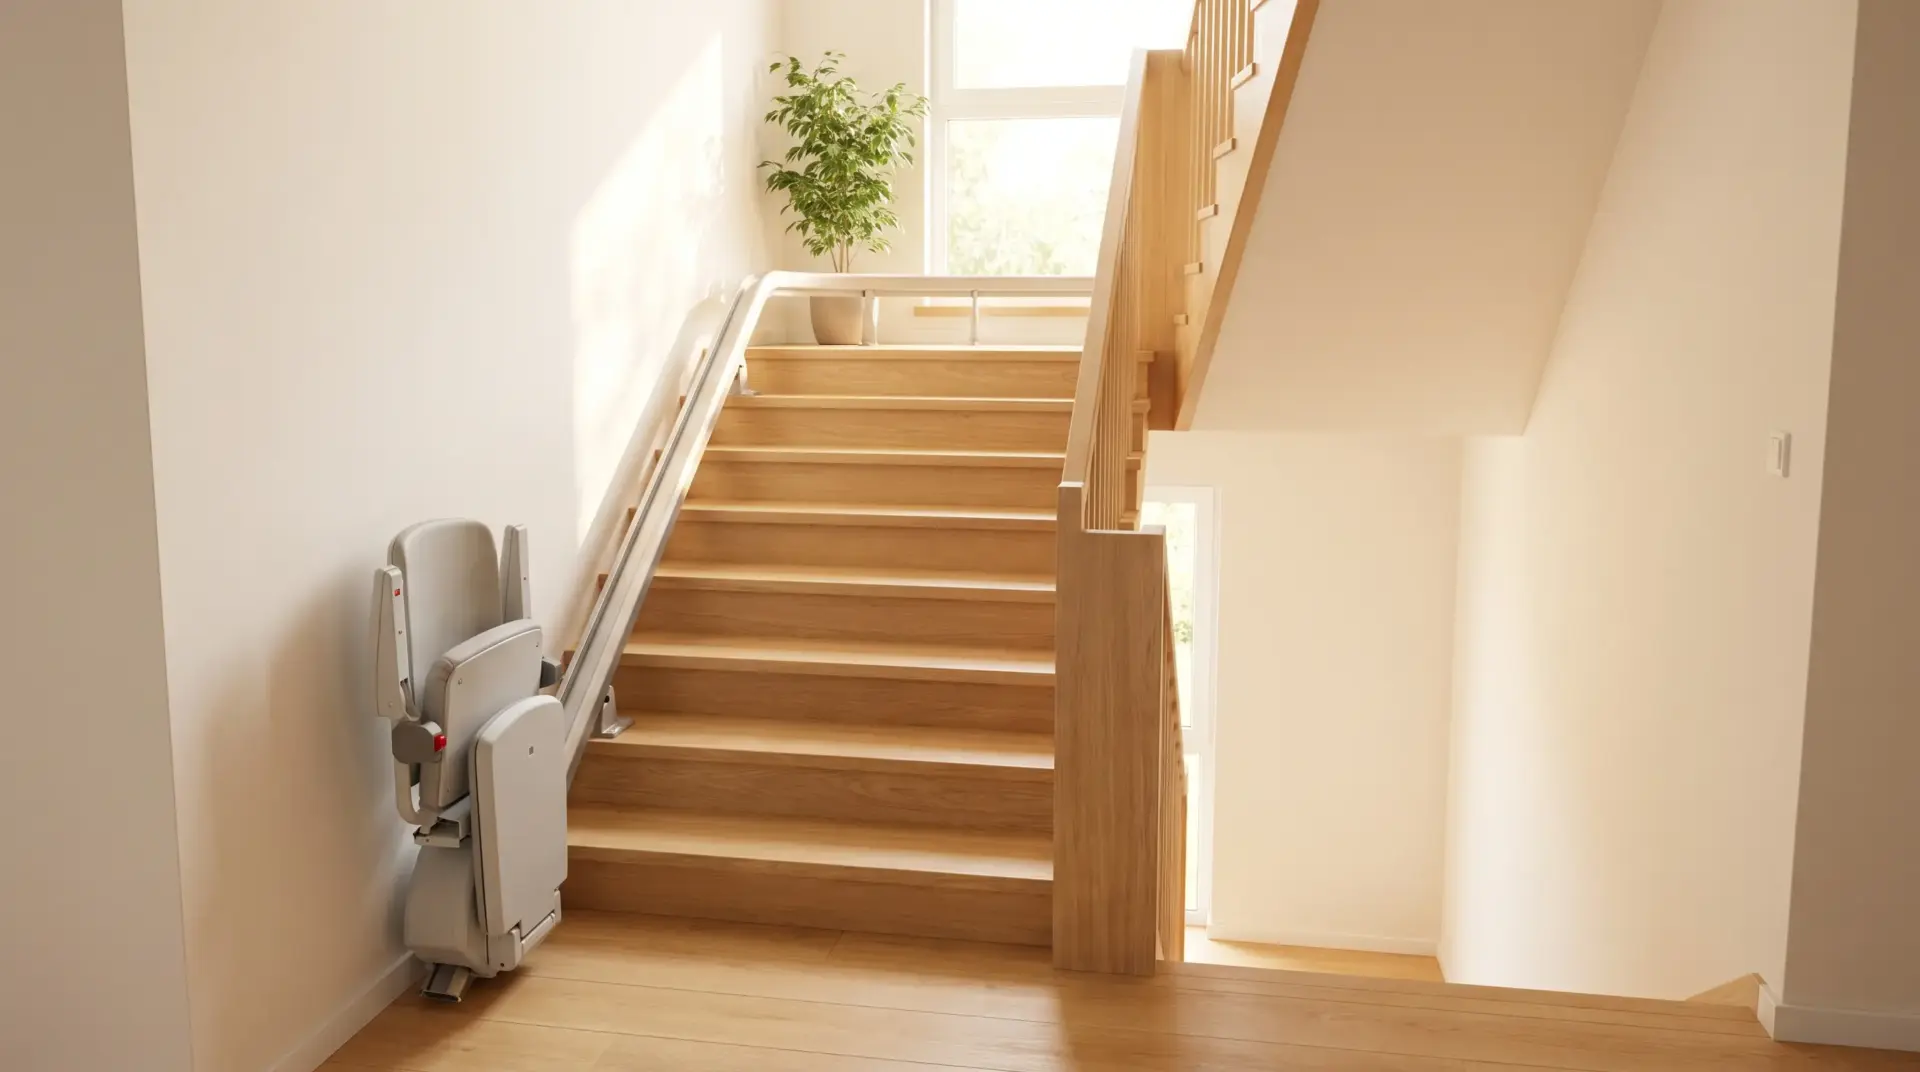
The first thing most people get wrong is assuming the track bolts to the wall. It doesn’t. The rail mounts directly to the stair treads, which means no drilling into drywall, no patching, and no damage to the surrounding structure. For anyone who has done finish work and knows how hard it is to make wall repairs disappear, this matters.
On a straight staircase, the track arrives pre-cut to length and the brackets go in with standard hardware. A curved staircase requires a custom-bent rail manufactured to the exact measurements of that specific flight, which adds lead time but does not add installation complexity on the day.
The chair, armrests, and footrest all fold flat when not in use. The staircase stays fully functional. Someone carrying a laundry basket up the stairs is not going to be blocked by the lift sitting in the middle of the run.
Electrical Requirements
A stairlift runs off a standard household outlet at the top and bottom of the stairs. There is no dedicated circuit required and no panel upgrade needed. The chair charges continuously when parked, and the battery backup means it keeps working through a power outage. If your wiring is up to code for normal household use, it is up to code for this.
What the Job Site Looks Like Afterward

This is where the installation genuinely differentiates itself from most trades work. There is nothing to clean up. No dust, no offcuts, no patching compound drying on the baseboards. The fitters bring what they need, install the system, run you through the controls, and leave. The staircase looks the same as it did before, with a rail on it.
For anyone who has survived a kitchen renovation or a bathroom remodel, the contrast is notable.
What to Check Before You Book
A few practical things to confirm before you get a quote:
- Staircase width: most standard lifts need at least 28 inches of clear width. Narrower stairs need a site assessment before anything else.
- Obstructions at top and bottom: the chair needs a few feet of flat space to park safely at each end of the run.
- Straight vs. curved: if your stairs have any bend or landing, you need a custom rail. Tell the supplier upfront so they quote the right product.
- Weight capacity: standard models handle up to 300 lbs. Higher-capacity options exist; confirm this if it is relevant.
The One Thing Worth Doing Before Installation
Have the conversation with whoever else uses the stairs about how the lift is going to change how the staircase works day to day. The chair folds flat and the staircase stays usable, but it is still a change. People who know what to expect before it arrives tend to find the adjustment easier than those who encounter it for the first time on installation day.
Beyond that, there is not much to prepare. It is a straightforward job, and it tends to go exactly the way a good installation should: on time, on scope, and done properly the first time.

Holding a Master’s in Architecture from the University of Texas at Austin, Emily Rodriguez has dedicated more than two decades to the art and science of building renovation. Starting her journey in historic preservation, she developed a profound respect for blending old with new in building design. Emily became a vital part of our team in 2019, renowned for her insightful and innovative renovation tips. She has been leading our DIY home improvement series since ever since, where she shares her wealth of knowledge in turning outdated spaces into modern havens. When not engaged in writing or consulting, Emily is a passionate advocate for heritage conservation and enjoys exploring vintage architecture, a hobby that complements her professional expertise.