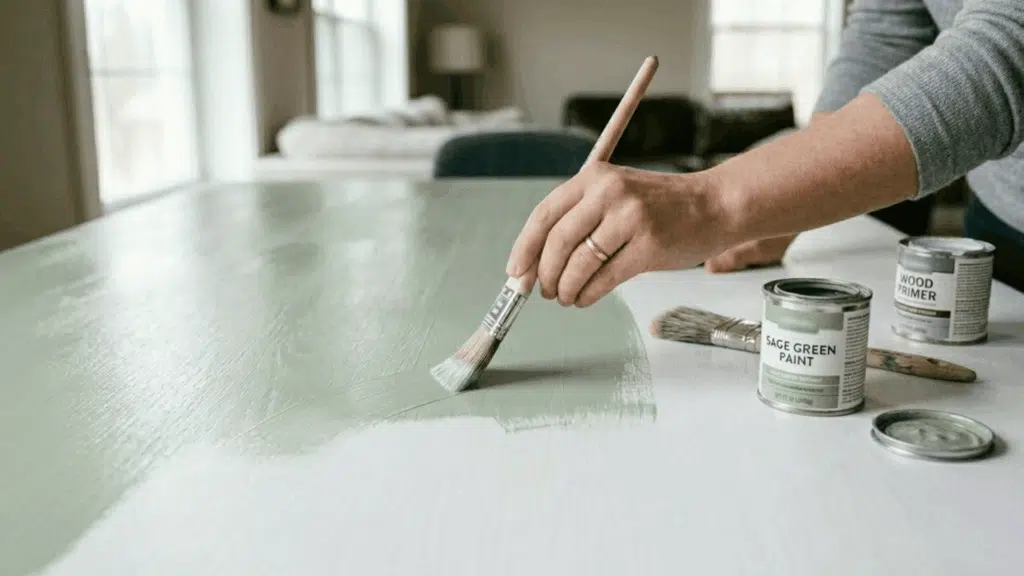
Can you paint over polyurethane? This is one of the most common questions people ask when updating old furniture or cabinets.
The answer depends on several factors that most people overlook. Surface preparation, coating selection, and timing all play critical roles in whether paint sticks or starts peeling later.
Many DIY users online share mixed results, and most of it comes down to skipping key steps.
This blog covers the best types of paint, how to prep the surface, and when sanding or no-sanding methods make sense.
What Is Polyurethane?
Polyurethane is a clear protective coating applied to wood and other surfaces to guard against damage. It forms a strong, sealed layer that helps resist moisture, stains, and everyday wear.
This coating is commonly used on furniture, cabinets, doors, and floors to extend their lifespan. Once applied, it dries into a smooth and slightly hard surface.
Polyurethane can have different finishes, from shiny to more subtle looks, but all types create a sealed barrier.
That sealed layer makes it durable but harder to work with later. Since it blocks absorption, anything applied on top needs proper surface prep to hold well.
Can You Paint Over Polyurethane?
Yes, but surface prep is everything. Polyurethane leaves behind a slick, non-porous finish that paint has nothing to grip onto.
Skip the prep, and you will likely see bubbling, peeling, and lifting within weeks, especially on high-touch surfaces like cabinets and tabletops.
Chalk and milk paint tend to bond better on glossy surfaces.
Still, most experienced DIYers agree that replacing sanding with a liquid deglosser or a quality adhesion primer is the safer move. Without one of these, adhesion is left entirely to chance.
Best Paints to Use Over Polyurethane
Not every paint performs the same over a polyurethane surface. Choosing the right one upfront saves you from failures and costly do-overs.
1. Latex / Acrylic Paint
The most common choice for painting over polyurethane. It works well when paired with a bonding primer and is easy to clean up with water. Widely available and budget-friendly.
- Drying Time: 1 to 2 hours between coats
- Best Paints: Behr Premium Plus, Benjamin Moore Regal Select, and Sherwin-Williams Emerald
- Best for: walls, furniture, and interior wood surfaces
2. Chalk Paint
A favorite in upcycling and furniture flipping communities. Chalk paint bonds to glossy surfaces without sanding, making it a go-to for quick furniture refreshes.
- Drying Time: 30 to 60 minutes between coats
- Best Paints:Rust-Oleum Chalked
- Best for: furniture, cabinets, and decorative pieces
3. Oil-Based Paint
Offers the strongest bond of any paint type over polyurethane. The tradeoff is a longer dry time and stronger fumes, so ventilation matters.
- Drying Time: 6 to 8 hours between coats
- Best Paints: Rust-Oleum oil-based enamel, Benjamin Moore Alkyd, and Minwax Oil-Based paint
- Best for: high-traffic surfaces, floors, and outdoor furniture
4. Milk Paint with Bonding Agent
A natural, low-VOC option popular in furniture restoration communities. On its own, milk paint can be unpredictable over sealed surfaces, but adding a bonding agent solves that reliably.
- Drying Time: 1 hour between coats
- Best Paints: Miss Mustard Seed Milk Paint, General Finishes Milk Paint, and The Real Milk Paint Co.
- Best for: antique furniture, farmhouse-style pieces, and eco-conscious projects
Tools and Materials Required to Paint Polyurethane
Before getting started, having the right tools and materials on hand makes the whole process smoother and cleaner. Here’s everything needed to paint polyurethane properly, from brushes to prep supplies.
| Tools/Materials | Purpose |
|---|---|
| Fine-grit sandpaper | To remove surface shine and help adhesion |
| Clean cloth or rag | To wipe dust and dirt |
| Mild cleaner | To clean grease and grime |
| Bonding primer | Helps paint stick to the sealed surface |
| Paintbrush or roller | For smooth paint application |
| Deglosser (optional) | Alternative to sanding |
| Painter’s tape | To protect edges and corners |
| Drop cloth | To protect the surrounding area |
How to Paint Over Polyurethane Easily?
Most paint jobs over polyurethane fail because of skipped steps, not bad paint. This section walks you through exactly what to do and in what order.
Step 1: Clean the Surface Properly
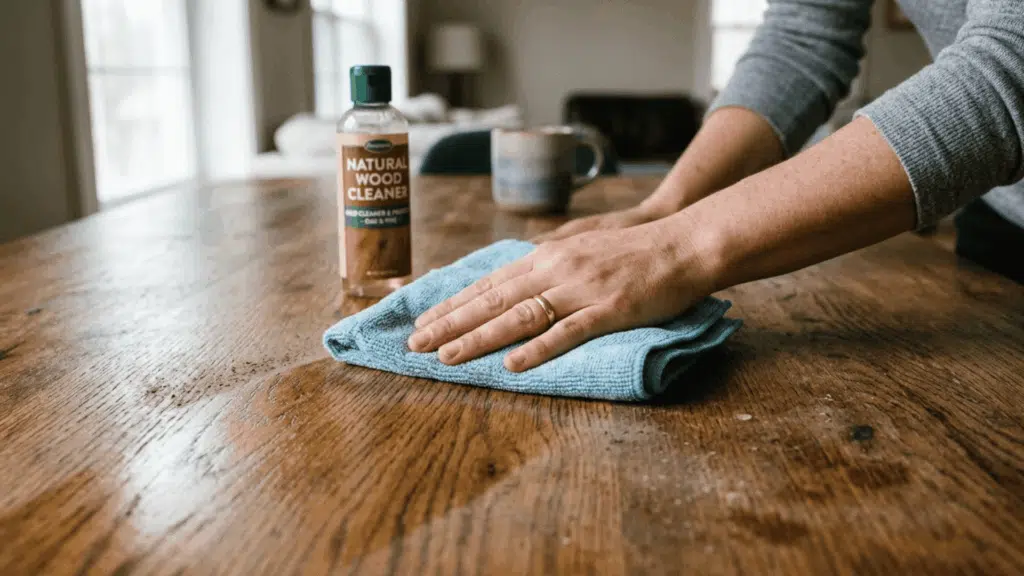
Start by cleaning the surface to remove dust, grease, and any buildup. Even small amounts of dirt can stop paint from sticking well. Use a mild cleaner and a soft cloth to wipe everything down carefully.
Pay extra attention to corners and edges where grime tends to collect. After cleaning, let the surface dry completely before moving to the next step.
Step 2: Sand the Surface Lightly
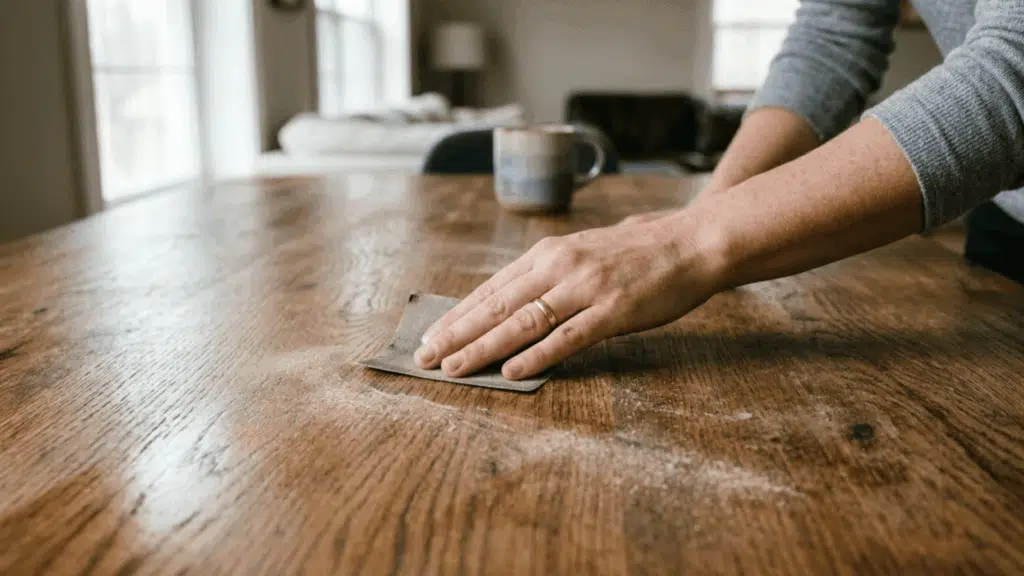
Light sanding helps remove the glossy polyurethane layer. Use fine-grit sandpaper and gently go over the entire surface.
The goal is not to strip the coating but to dull the shine so the new layer can grip better.
Keep the pressure even to avoid scratches. Once done, wipe away all sanding dust with a clean cloth. A properly sanded surface makes a big difference in how well everything holds.
Step 3: Apply a Bonding Primer
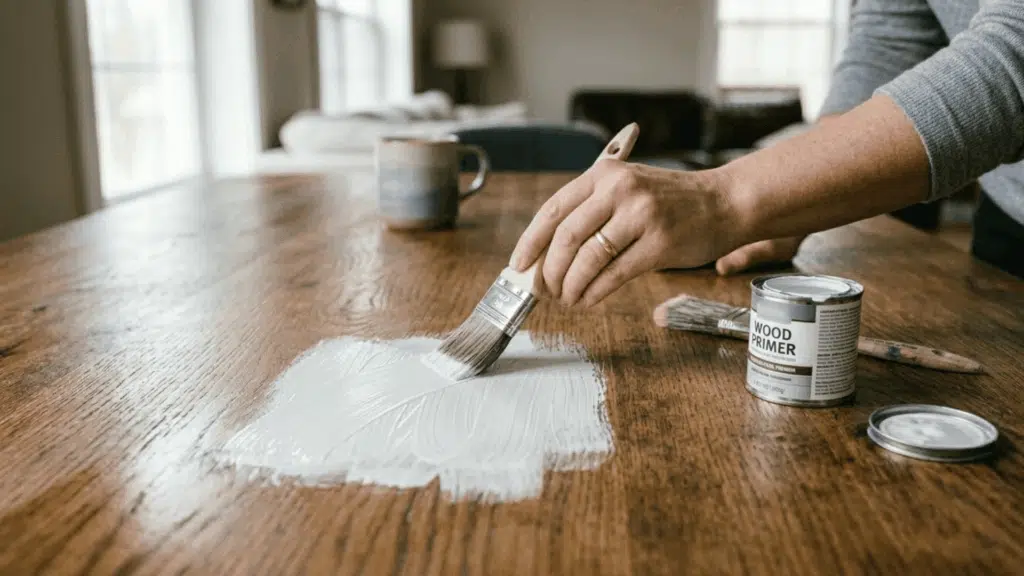
Applying a bonding primer is an important step when working with sealed surfaces. It creates a base that helps the next layer stick better and last longer.
Before priming, some people also use a deglosser, often called liquid sandpaper, as an easier alternative to sanding. It helps dull the surface so the primer can grip better.
Once ready, use a brush or roller to apply an even coat. Avoid thick layers as they can dry unevenly. Let the primer dry completely before proceeding.
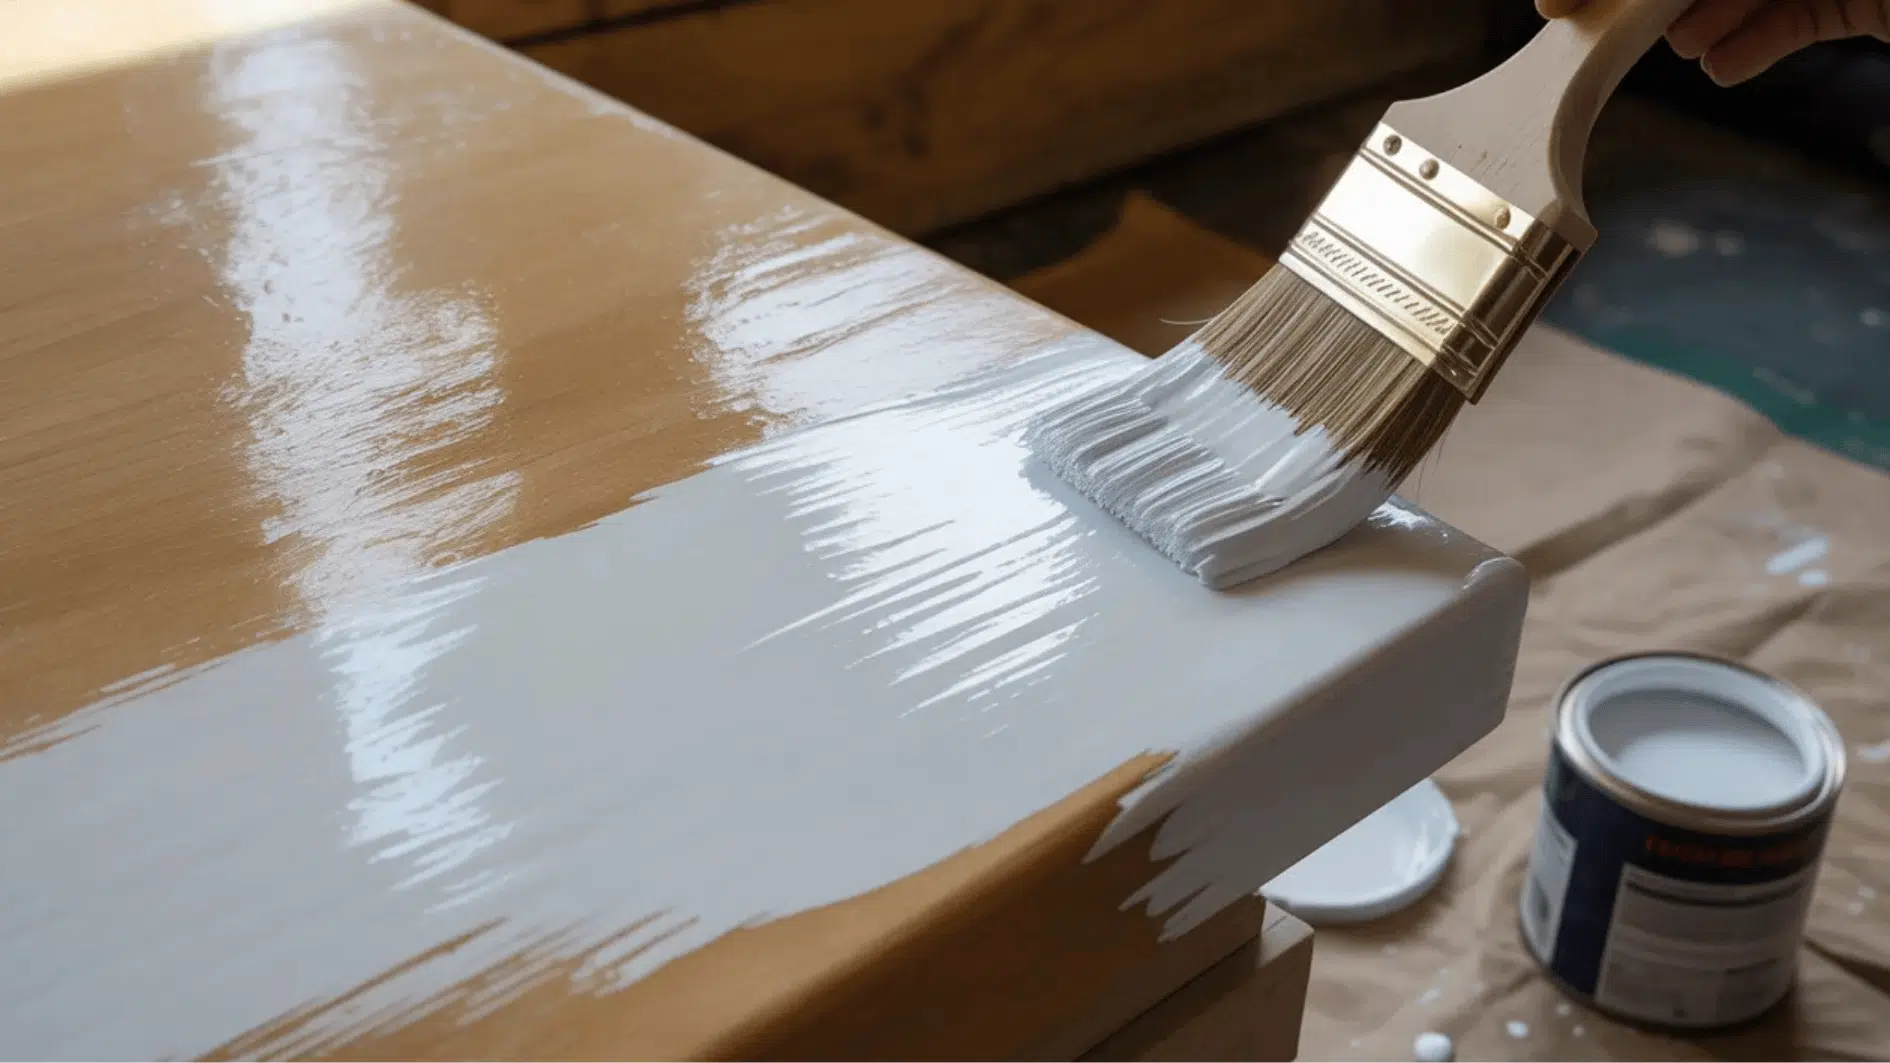
Step 4: Apply the Paint in Thin Coats
Once the primer is dry, start applying paint in thin, even layers.
Thick coats may look faster, but they often lead to drips and uneven coverage. Use smooth strokes and allow each coat to dry before adding another.
Most surfaces need at least two coats for a clean finish. Take your time with this step, as rushing can affect the final look and the paint’s longevity.
Step 5: Let It Dry and Cure Properly
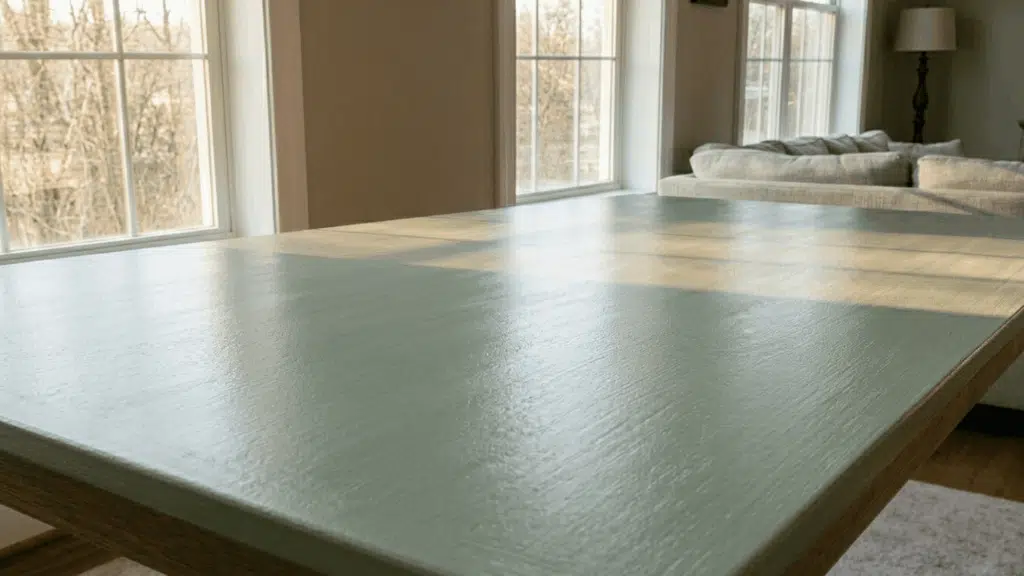
Drying and curing are not the same, and both are important. After applying the final coat, allow it to dry fully. Most surfaces feel dry to the touch within 4 to 6 hours, but that does not mean they are ready for use.
Avoid touching or using the surface too soon. Full curing can take 24 to 72 hours, and sometimes up to a week, depending on conditions.
This waiting time helps the finish become stronger, prevents the surface from feeling sticky, and reduces the risk of early damage.
What People Online Say About Painting Over Polyurethane?
In a WoodworkingTalk thread, people asked how to paint over 30-year-old polyurethane on southern yellow pine trim.
The discussion that followed focused on proper surface prep to prevent bleed-through and ensure long-term adhesion.
I would advise that you start with a good wipe down with paint thinner to remove any wax or other contaminants that might have accumulated for 30 years.-yomanbill
You will need to sand/rough up the poly before you apply binding primer. Shewin Williams makes a very good Bonding Primer. I think it’s called Xstream Bond.-GCTony
You could roughen the finish with some 180 grit sandpaper and prime it with either a bonding primer or an oil based primer such as Kilz original. From there you could paint it with what ever paint you choose. You could also skip the primer and use an oil based paint however if you paint a light color it might take three coats to cover.-Steve Neul
Common Problems and How to Fix Them?
Even small mistakes can affect the final result. Here are the most common issues people face and how to fix them quickly.
- Paint Peeling Off: Happens due to poor prep; fix it by sanding the surface and reapplying properly.
- Uneven Finish: Caused by thick coats; fix it by applying thin, even layers.
- Sticky or Tacky Paint: Happens when products do not work well together. Fix it by allowing proper Drying Time.
- Brush Marks Visible: Caused by heavy strokes or low-quality tools, fix it by using light strokes and better brushes.
- Poor Adhesion: Paint does not stick well due to a glossy surface. Fix it by sanding or using a prep product.
- Bubbles In Paint: Caused by applying too fast or on a dirty surface, fix it by sanding lightly and repainting.
- Chipping Edges: Edges wear off quickly due to weak bonding; fix it by proper prep and careful application.
Final Thoughts
A smooth and long-lasting finish comes down to patience and attention to detail.
Small things like proper Drying Time, even application, and using the right tools can make a big difference in how the final result looks and holds up over time.
Every surface behaves a little differently, so testing a small area first can help avoid bigger issues later. Taking a careful approach also reduces the need for touch-ups and keeps the finish looking fresh for longer.
When planning to paint over polyurethane, focus on consistency and timing to achieve a clean, durable result.

Holding a Master’s in Library and Information Science from the University of Illinois, Josh Clarke has dedicated more than 15 years to managing and disseminating information across various platforms. His professional journey includes significant experience as a research librarian, where he developed an expertise in sourcing and providing accurate and comprehensive answers to diverse questions. In 2018, Josh brought his rich experience to our platform, quickly establishing himself as a reliable source for general FAQs. He has been overseeing our information curation since then, combining his research skills with a flair for engaging content delivery. When not involved in information management, Josh enjoys exploring digital photography and participating in local quiz competitions, hobbies that complement his inquisitive nature and love for learning.