
Dirty windows can make any space look dull, even after cleaning the rest of the room. Smudges, streaks, and dust accumulate quickly, especially on glass surfaces exposed daily.
That’s where cleaning windows with vinegar becomes a simple and budget-friendly solution.
Many people already have vinegar at home, making it an easy choice for a DIY window cleaning solution. It helps break down grime and leaves glass looking clearer when used the right way.
The best part is that you don’t need expensive products to get good results. With the right mix and a few basic tools, it’s possible to achieve a streak-free finish.
This blog shares easy steps, helpful tips, and a reliable window cleaning solution that actually works.
Is Vinegar Safe for Your Windows?
Vinegar is generally safe for most standard glass surfaces, but it should be used with care on certain types of windows.
When using vinegar as an etch tool, its mild acidity can help remove mineral deposits and stubborn residue without damaging regular glass.
This makes cleaning windows with vinegar a practical option for everyday maintenance. However, windows with special coatings, tinted films, or treated surfaces may react differently.
It’s also important to avoid letting the solution sit too long, as prolonged contact can increase the risk of etching on delicate surfaces.
Tools and Materials Required Other Than Vinegar
Before starting, having the right items on hand makes cleaning windows with vinegar much easier and more effective. Using proper tools gives a cleaner finish without extra effort.
| Tool/Material | Purpose |
|---|---|
| Water | dilutes vinegar to make it safe and effective for glass |
| Spray bottle | helps apply the cleaning solution evenly across the window |
| Microfiber cloth | wipes the glass without leaving lint or streaks |
| Dry microfiber cloth | used for buffing and removing any leftover marks |
| Squeegee | ideal for cleaning large windows quickly and evenly |
| Soft brush or duster | removes dust and cobwebs before applying the solution |
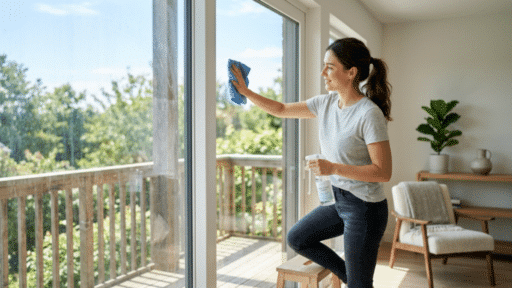
Cleaning Windows with Vinegar: Step-By-Step Process
Cleaning windows with vinegar can give a clear, streak-free finish using simple tools at home. Follow these easy steps to get better results without extra effort.
Step 1: Dust the Window First
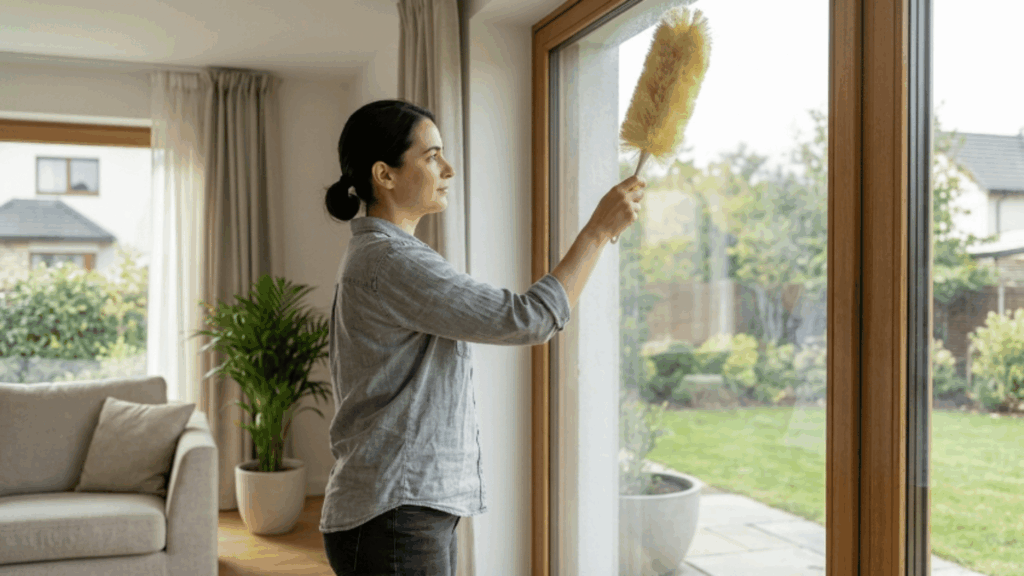
Start by removing loose dirt, dust, and cobwebs from the window surface before using any liquid. Use a dry cloth, soft brush, or duster to clean both the glass and the frame.
Pay close attention to corners where dust tends to collect over time. This step is important because it prevents dirt from turning into muddy smears once the cleaner is applied.
Step 2: Prepare and Spray the Vinegar Solution

Mix white vinegar and water in a spray bottle to make a simple window-cleaning solution. Shake the bottle gently to blend the mixture before use.
Make sure the spray spreads evenly across the surface. Applying just the right amount helps control the cleaning process. A light, even coat works best for a smooth finish.
Step 3: Wipe in a Consistent Direction

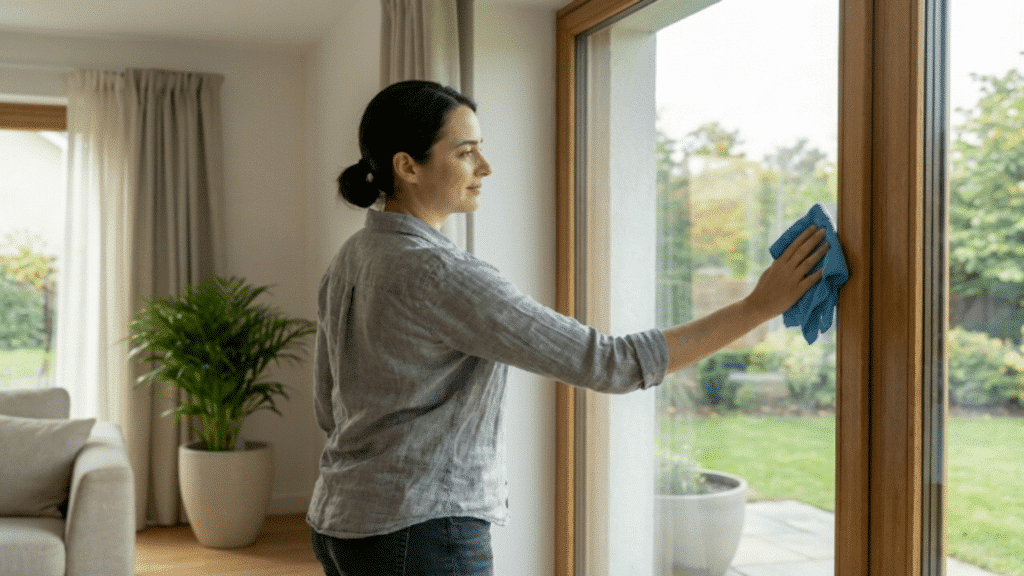
Use a microfiber cloth to wipe the glass in one steady direction for better results. You can choose top-to-bottom or side-to-side, but keep the motion consistent throughout.
Avoid random wiping patterns, as they often leave behind streaks that are hard to fix later. Apply light pressure while cleaning so the cloth can pick up dirt properly.
Step 4: Use a Squeegee for Large Windows

For larger windows, a squeegee can help achieve a cleaner, faster result. Start at the top of the glass and pull the squeegee downward in a straight line.
Keep steady pressure so the blade removes the solution evenly.
After each pass, wipe the blade with a cloth to prevent dirt from spreading. Slightly overlap each stroke to cover the full surface.
Step 5: Buff Dry for a Clear Finish
Finish the process by buffing the glass with a clean, dry microfiber cloth. Lightly go over the entire surface to remove any remaining streaks or smudges.
Proper drying also helps prevent water spots from forming later. A quick buff can make the window look clearer and brighter. It is one of the simplest ways to get a polished result.
When Not to Use Vinegar on Windows?
While cleaning windows with vinegar is a simple window-cleaning solution that works well in many cases, there are situations where it may not be the best choice.
- Tinted Windows: Windows with special tint or film may get damaged if vinegar is used, especially if the manufacturer advises against it.
- Coated Glass: Some modern windows have protective coatings that can degrade over time when exposed to acidic solutions, such as vinegar.
- Stone Surfaces: Nearby materials such as natural stone trim can be affected if vinegar is accidentally sprayed on them.
- Sensitive Frames: Certain window frames or finishes may react poorly to overspray, leading to discoloration or wear.
Vinegar Vs Store-Bought Window Cleaning Solution
Choosing between a homemade mix and a ready-made window cleaning solution often comes down to personal preference and cleaning needs.
| Factor | Vinegar Solution | Store-Bought Cleaner |
|---|---|---|
| Cost | Very low cost, uses common household ingredients | Higher cost depending on brand and quantity |
| Simplicity | Easy to mix with water at home | Ready to use with no preparation needed |
| Smell | Strong smell that fades after drying | Usually has added fragrance, more pleasant for some |
| Convenience | Requires mixing and preparation | Quick and easy to use anytime |
| Effectiveness | Works well for regular dirt and light buildup | May handle tough grime or specialty cleaning better |
| Surface use | Best for standard glass surfaces | Designed for different surfaces and special coatings |
Common Mistakes to Avoid
Even a simple method like cleaning windows with vinegar, using the right window cleaning solution, can give poor results if a few common mistakes are overlooked.
- Dusty Glass: Spraying cleaner on dusty glass turns dirt into muddy streaks that are harder to remove and leaves the surface looking worse.
- Dirty Cloths: Using reused or damp cloths can spread grime rather than properly clean the surface, leaving behind marks.
- Direct Sunlight: Cleaning in direct sunlight can cause the solution to dry too quickly, leading to visible streaks and uneven spots.
- Too Much Solution: Applying excess liquid can cause drips and uneven drying, making it harder to achieve a clean finish.
- Wrong Materials: Using newspaper or linty paper towels can leave fibers or residue, making the glass appear dull rather than clear.
The Bottom Line
Cleaning glass does not always require strong chemicals or expensive products. Using a simple vinegar-based window cleaning solution is a practical way to handle everyday dirt while keeping the process easy to manage.
Paying attention to small details, such as wiping direction, proper drying, and avoiding common mistakes, helps improve the final result.
Over time, this method can become a quick habit that keeps windows clear without extra effort. Consistency matters more than complexity when it comes to maintaining clean glass.
Try this method during your next cleaning session and see how much clearer your windows can look with minimal effort.

Tommy Hardy, an alumnus of the Georgia Institute of Technology with a degree in Mechanical Engineering, has been a go-to figure in residential upkeep and innovation for over 18 years. His career commenced in a leading home appliance manufacturing company, where he mastered the intricacies of household systems. Joining our platform in 2020, Tommy quickly became a reader favorite for his practical and easy-to-follow guides. He took the helm of our DIY section in 2019, consistently delivering content that empowers homeowners. Beyond his professional pursuits, Tommy is a passionate gardener and enjoys woodworking, skills enhancing his hands-on approach to home care.