
Fertilizing orchids can feel confusing at first, and many people either overdo it or skip it entirely. The result is weak growth, fewer blooms, and plants that don’t look healthy.
The tricky thing is that orchids don’t respond well to the usual houseplant routine, so common advice often leads you in the wrong direction.
This blog keeps things simple. You’ll learn how it actually works, when to do it, and how to get better blooms without guesswork or overcomplicating your care routine.
Why Fertilizing Orchids is Different from Other Houseplants?
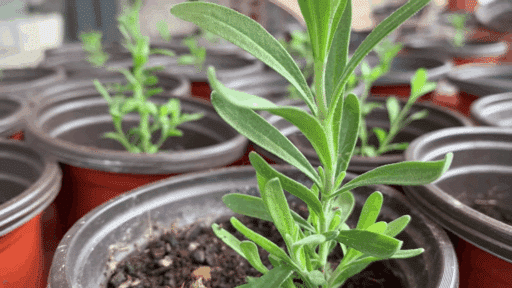
It is different because it doesn’t grow in soil as most houseplants do. Instead, they sit in bark or moss, which drains quickly and doesn’t hold nutrients for long.
So rather than occasional heavy feeding, orchids need light, regular doses. Their roots are also more sensitive, so strong fertilizers can easily cause damage.
On top of that, orchids naturally grow in environments that provide small amounts of nutrients over time rather than large amounts at once.
Because of this, a gentle, regular approach works far better than feeding them heavily like other indoor plants.
How to Know if Your Orchid is Getting the Right Nutrition?
It’s not always obvious if your fertilizing routine is working, but orchids give clear signs when they’re getting the right amount of nutrients. Instead of guessing, you can look at how the plant grows over time.
- Healthy Leaves: Firm, green leaves without yellowing or dark patches
- Strong Roots: Thick, silvery-green roots with active growth tips
- Regular Blooms: Flowers appear on a consistent cycle, not randomly
- Steady Growth: New leaves or roots develop over time
- No Residue Buildup: Potting medium stays clean without white crust
Different Methods of Fertilizing Orchids
The right fertilizing method depends on your routine, but a few simple approaches work well for most growers. Here are the most practical methods, along with how to use each one properly.
1. Liquid Fertilizer Method
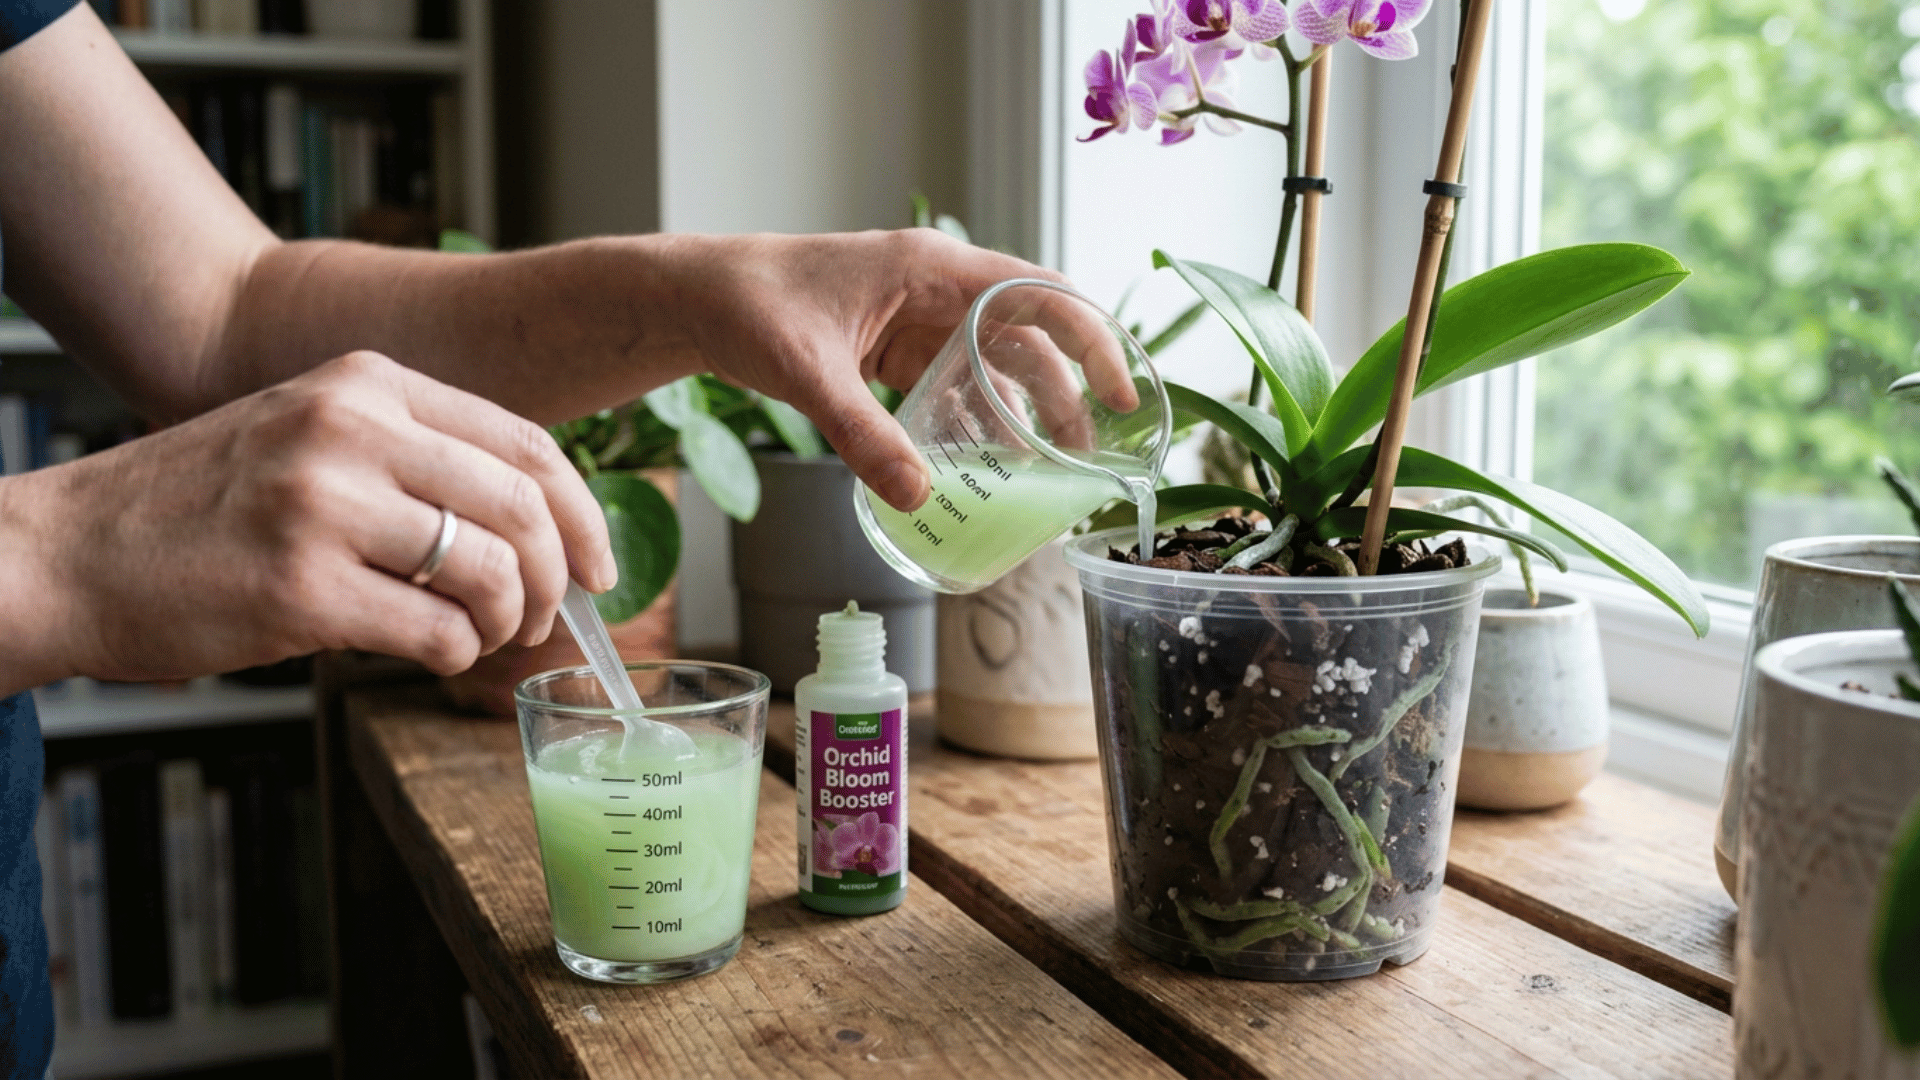
This is the most widely used method because it gives you full control over how much you feed your orchid. It blends easily into your watering routine and helps prevent uneven feeding.
Since orchids are sensitive to excess nutrients, this method helps keep things balanced and avoid buildup over time.
How to do it:
- Mix fertilizer with water at ¼ to ½ of the recommended strength
- Water the plant first with plain water before applying fertilizer
- Pour the solution evenly through the potting medium
- Let excess water drain out completely
- Repeat weekly during active growth
2. Foliar Feeding Method
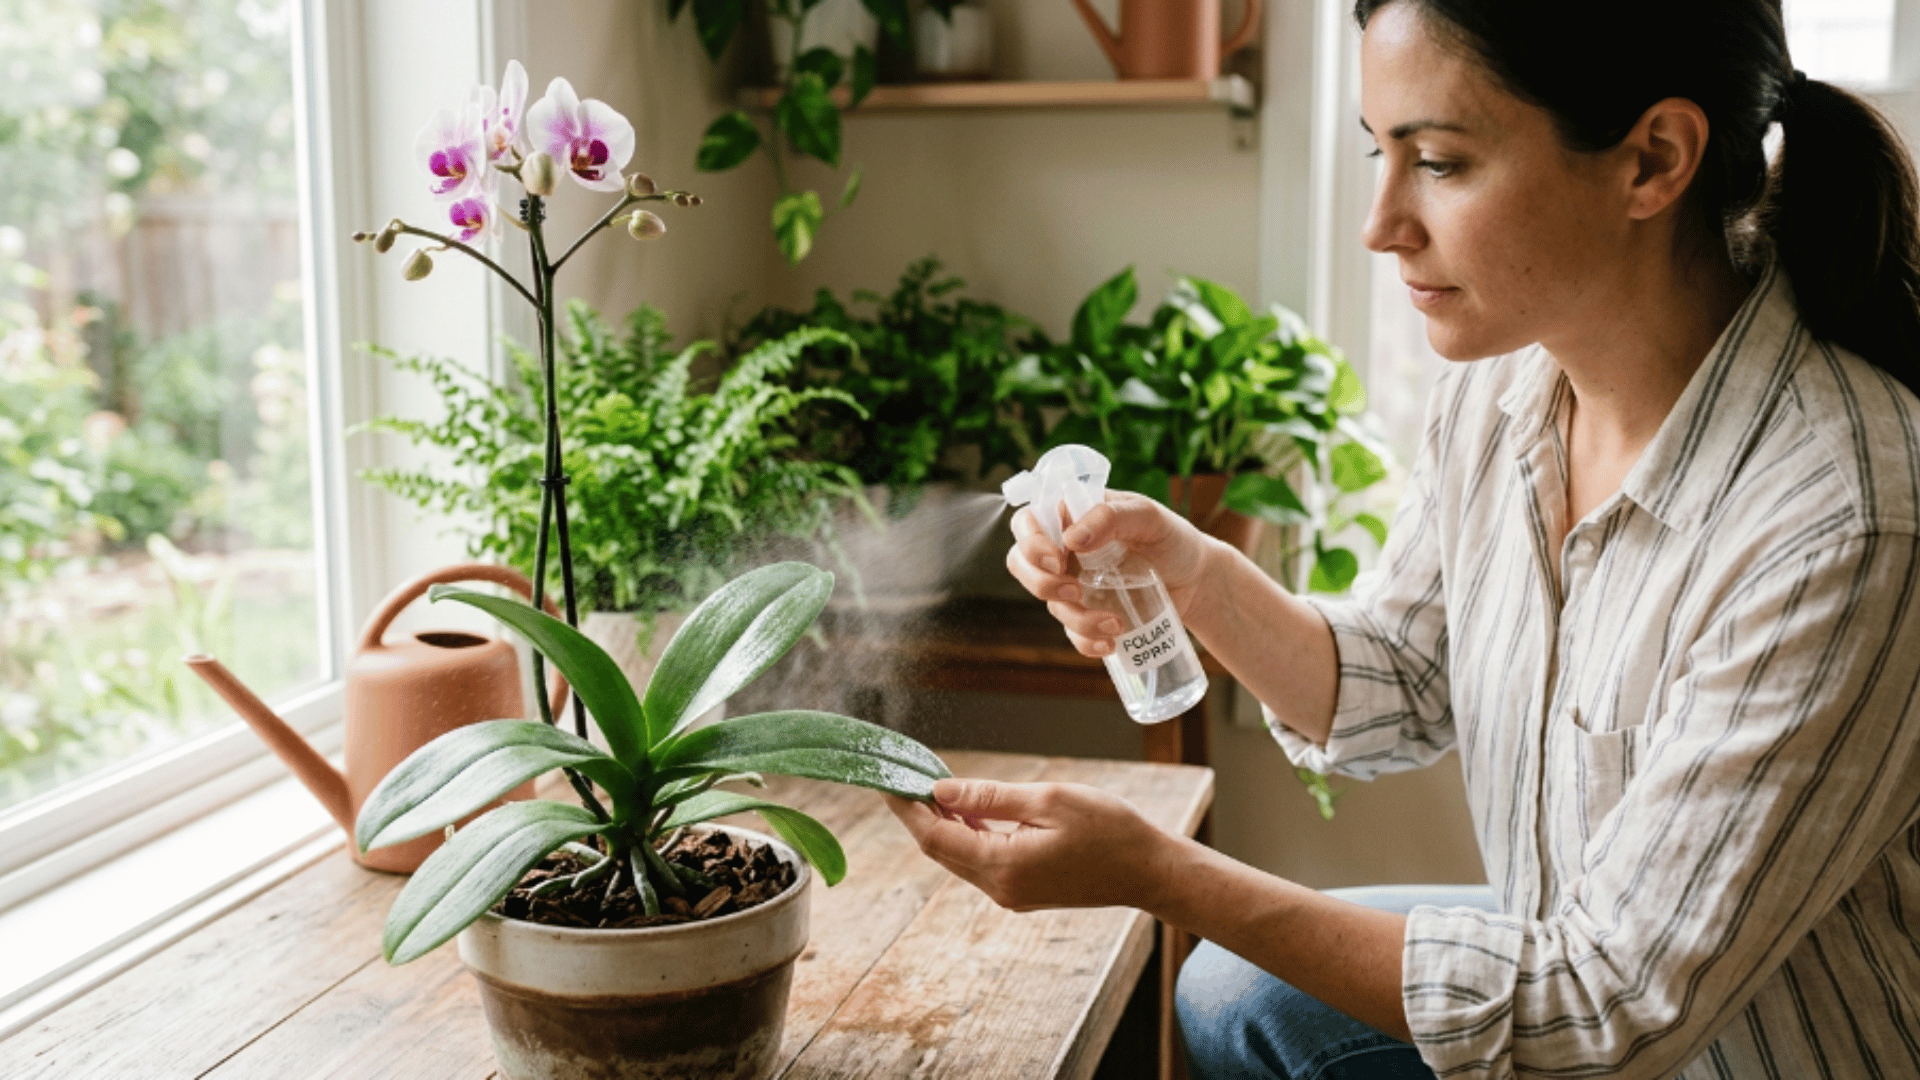
Foliar feeding works by allowing the leaves to absorb nutrients directly, which can be useful when the plant needs a quick boost.
It’s not meant to replace root feeding, but it can support overall care when used occasionally. This method is especially helpful if root health is temporarily weak.
How to do it:
- Use a very diluted fertilizer solution
- Spray lightly on the leaves, not soaking them
- Apply in the morning so the leaves dry quickly
- Avoid spraying directly into the crown
- Use occasionally, not as your main method
3. Slow-Release Fertilizer Method
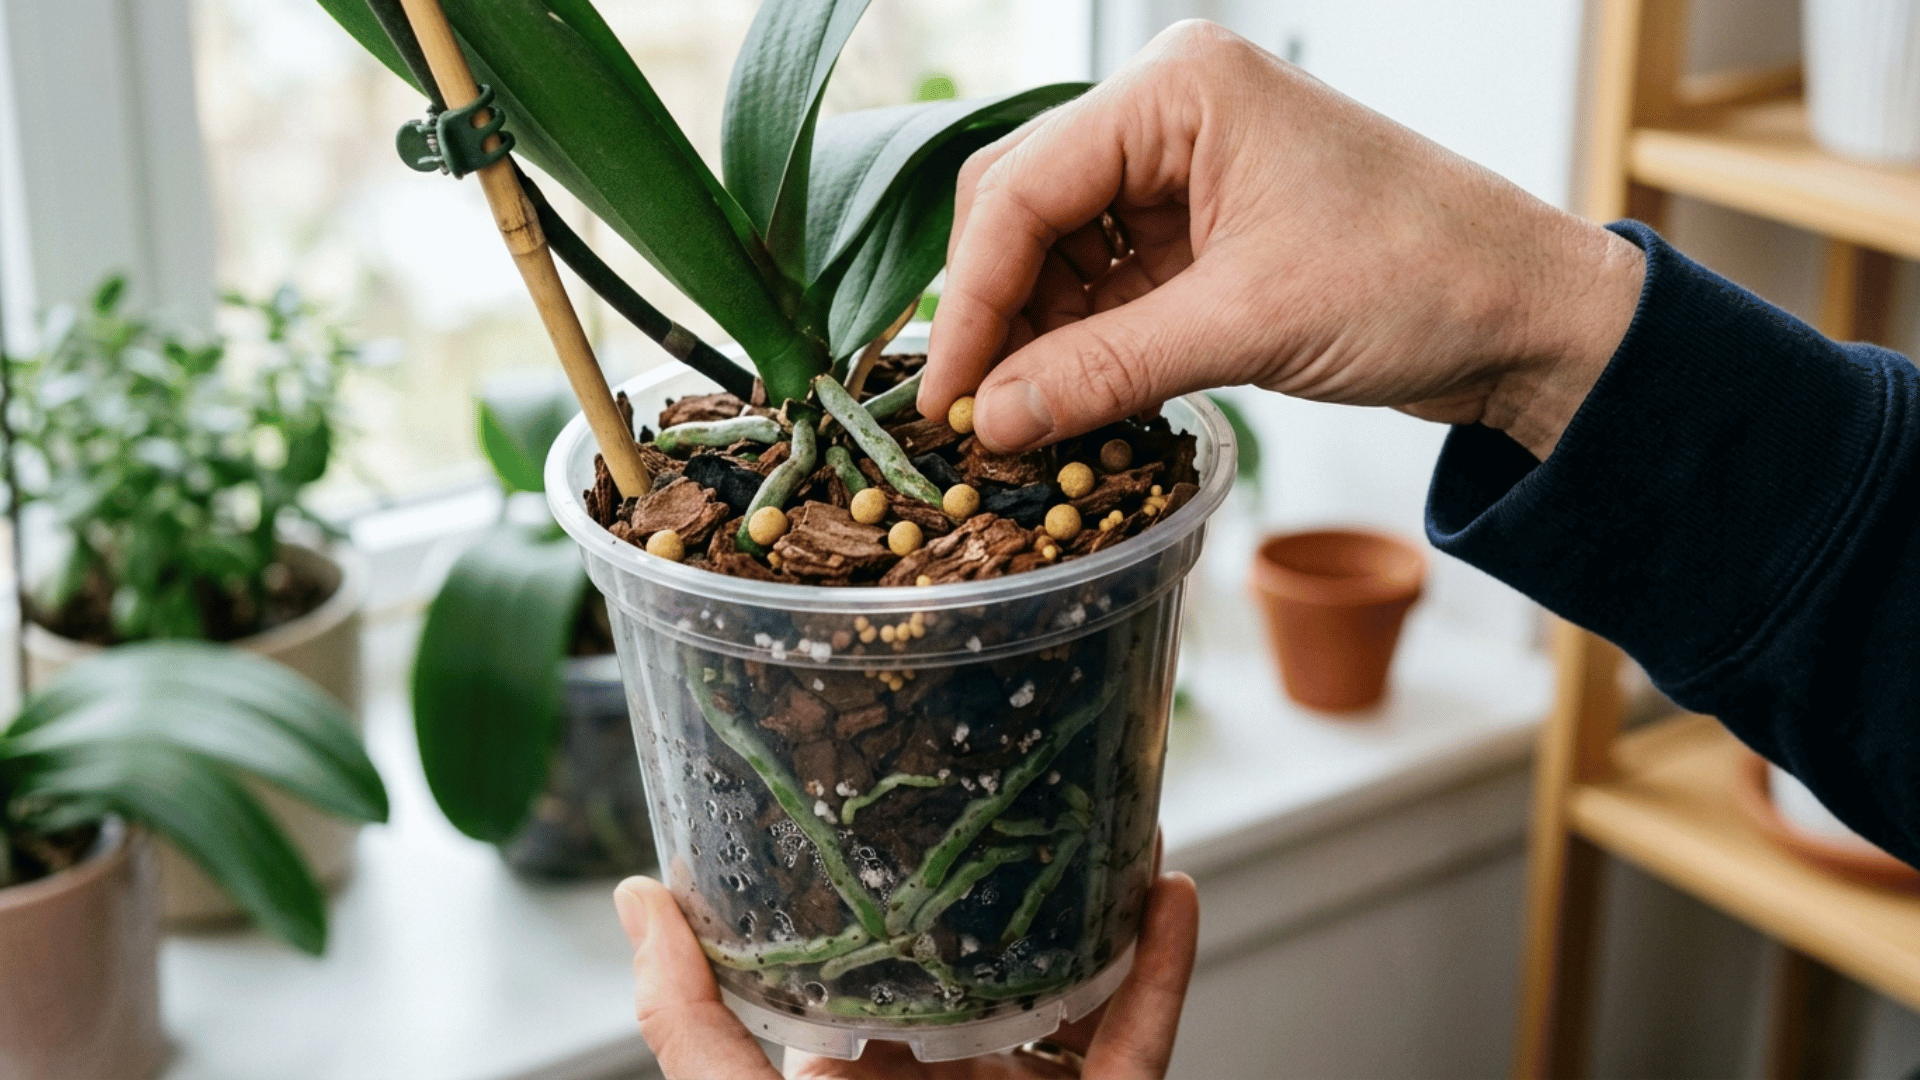
This method is more hands-off, as nutrients are released gradually without frequent mixing. It can be convenient if you prefer a low-maintenance routine, but it requires careful use.
How to do it:
- Add a small amount of pellets to the potting mix
- Place them away from direct root contact
- Watering normally activates the slow-release
- Monitor plant condition to avoid overfeeding
- Replace pellets based on product duration
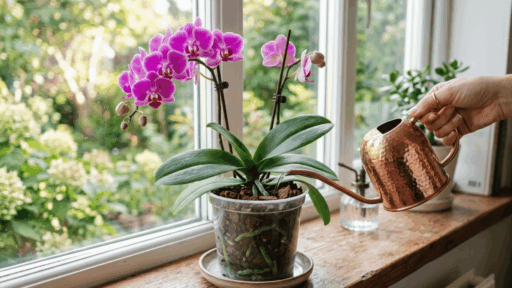
4. Watering and Fertilizing Combined Approach
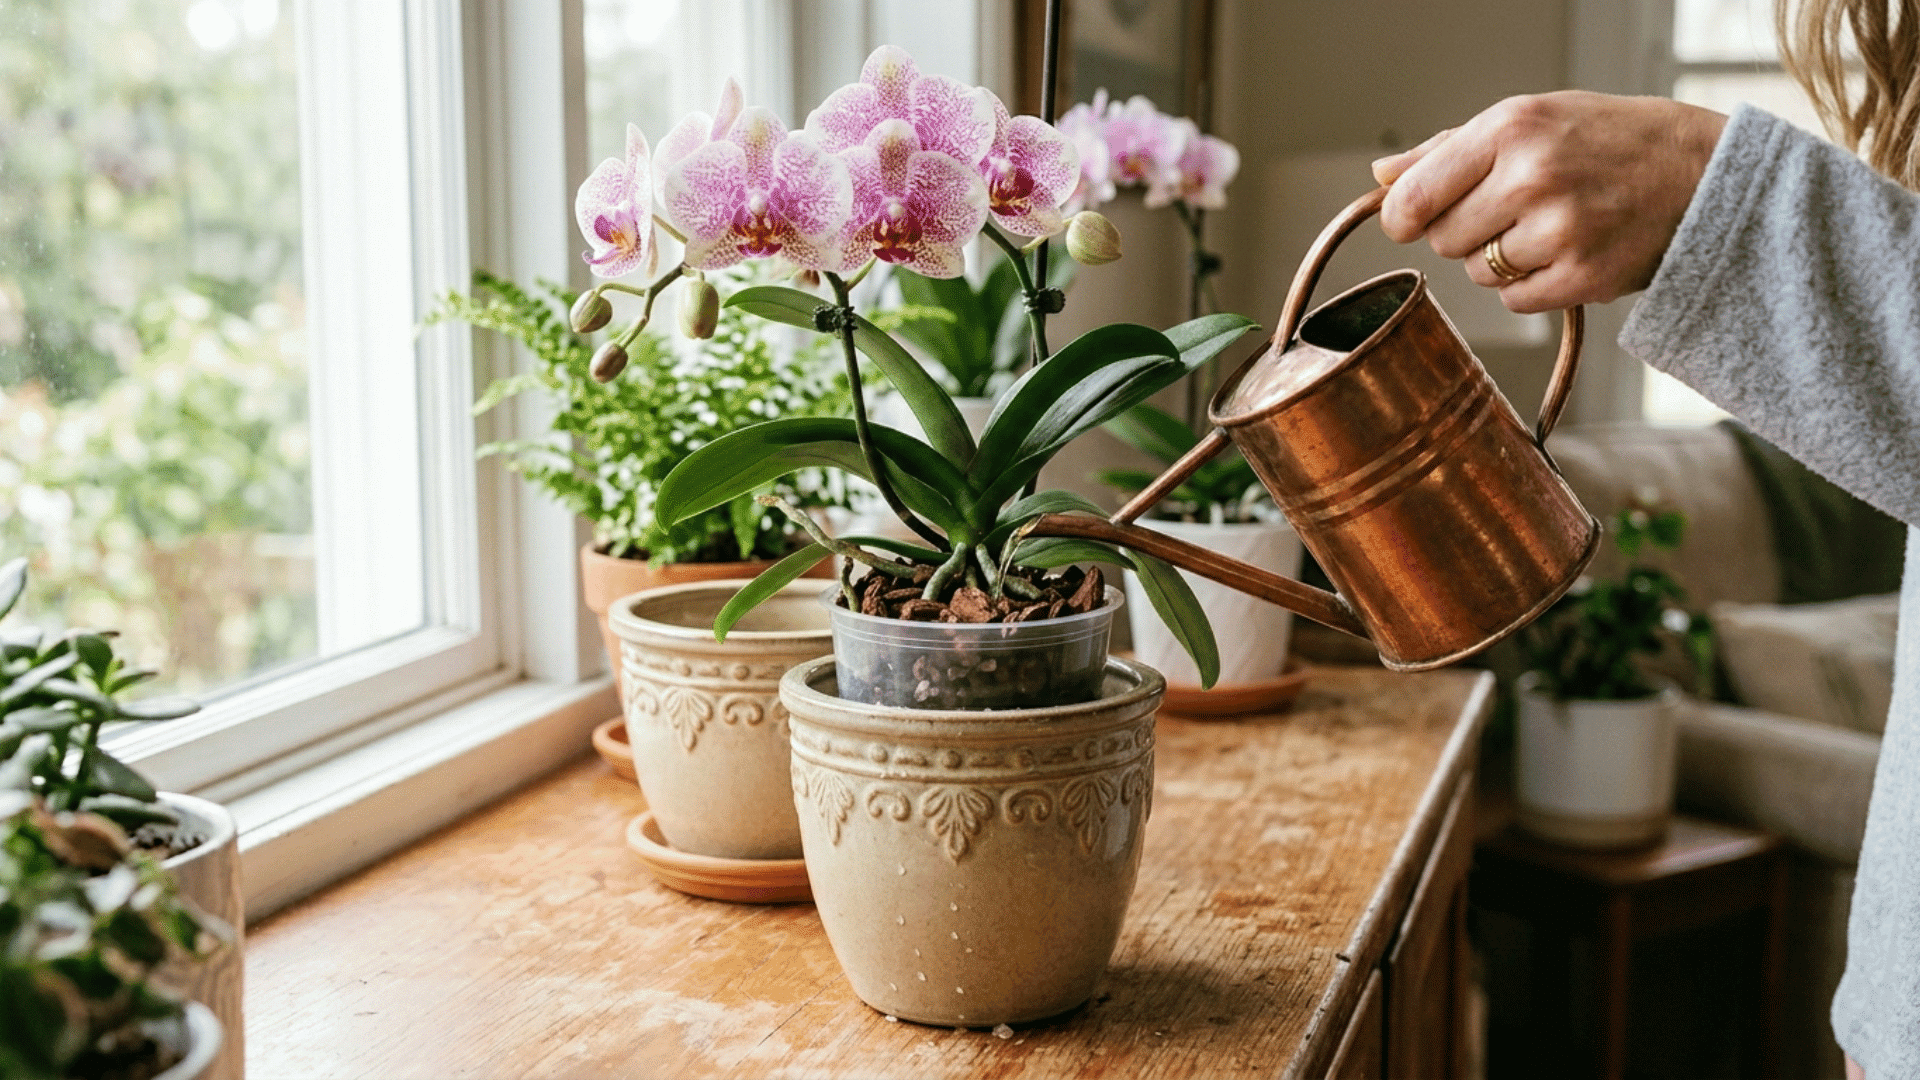
This approach combines feeding with your regular watering schedule, making it simple and easy to stay consistent.
Instead of treating fertilizing as a separate task, it becomes part of your routine. This reduces the chances of missing feedings and helps maintain steady growth.
How to do it:
- Mix diluted fertilizer into your watering can
- Apply during regular watering sessions
- Let the solution run through the pot completely
- Ensure proper drainage after each session
- Follow a weekly routine for best results
Schedule and Timings to Follow
Instead of following a single fixed routine year-round, it’s better to adjust feeding based on the plant’s growth cycle. Here’s a simple breakdown to follow:
| Phase / Timing | When | Frequency | Notes |
|---|---|---|---|
| Active Growth | Spring–Summer | Weekly (diluted, ¼ strength) | Regular feeding supports strong foliage and root development |
| Transition Phase | Fall | Every 2 weeks | Gradually reduce fertilizer as growth slows and the plant prepares for blooming |
| Dormant / Slow Growth | Winter | Monthly or skip feeding | Overfeeding during this stage can harm roots since nutrient uptake is minimal |
| Blooming Period | Varies by type | Every 2–3 weeks (light) | Use a balanced or bloom-boost fertilizer to support healthy and long-lasting flowers |
| Best Time of Day | Morning | With watering | Water first, then fertilize so roots absorb nutrients better and dry out properly |
| After Repotting | Anytime | Skip for 2–3 weeks | Newly repotted orchids need time to adjust before receiving fertilizer |
| Flush Schedule | Monthly | Rinse with plain water | Prevents fertilizer salt buildup that can damage roots over time |
Important Tips for Fertilizing Orchids
These simple tips help you avoid common issues, keep your orchids healthy, and address problems like yellowing leaves before they get worse.
- Water First: Always water your orchid before adding fertilizer to prevent root damage
- Use Diluted Feeding: Stick to diluted fertilizer instead of full-strength solutions
- Flush Regularly: Flush the pot with plain water once a month to remove salt buildup
- Adjust by Growth: Change feeding based on the plant’s growth phase, not a fixed calendar
- Ensure Drainage: Make sure the pot drains well after every watering or feeding
- Protect the Crown: Avoid letting water or fertilizer sit in the crown
- Stay Consistent: Keep your routine steady instead of changing it too often
It’s a Wrap
Fertilizing orchids doesn’t need to be complicated, but it does need consistency.
When you focus on light feeding, the right timing, and simple methods, your plants respond with stronger growth and better blooms.
The key is to avoid extremes, no heavy doses, and no long gaps. Stick to a routine that matches your orchid’s growth cycle, and make small adjustments as needed.
Over time, you’ll notice what works best in your space. With a steady approach, it becomes less of a task and more of a habit that supports healthy, long-lasting plants.

With a Master’s in Landscape Architecture from the University of Virginia, Sophia Stephenson has dedicated the last 20 years to creating and maintaining vibrant outdoor spaces. Her professional journey started in landscape design, where she gained a reputation for innovative and sustainable approaches. Sophia became a part of our editorial team as a freelancer in 2019, offering a fresh perspective on outdoor living. Since 2020, she has been the chief for our outdoor design content, blending aesthetic appeal with environmental stewardship. In her leisure time, Sophia is a keen photographer, capturing the beauty of natural landscapes, a hobby that complements her professional expertise.