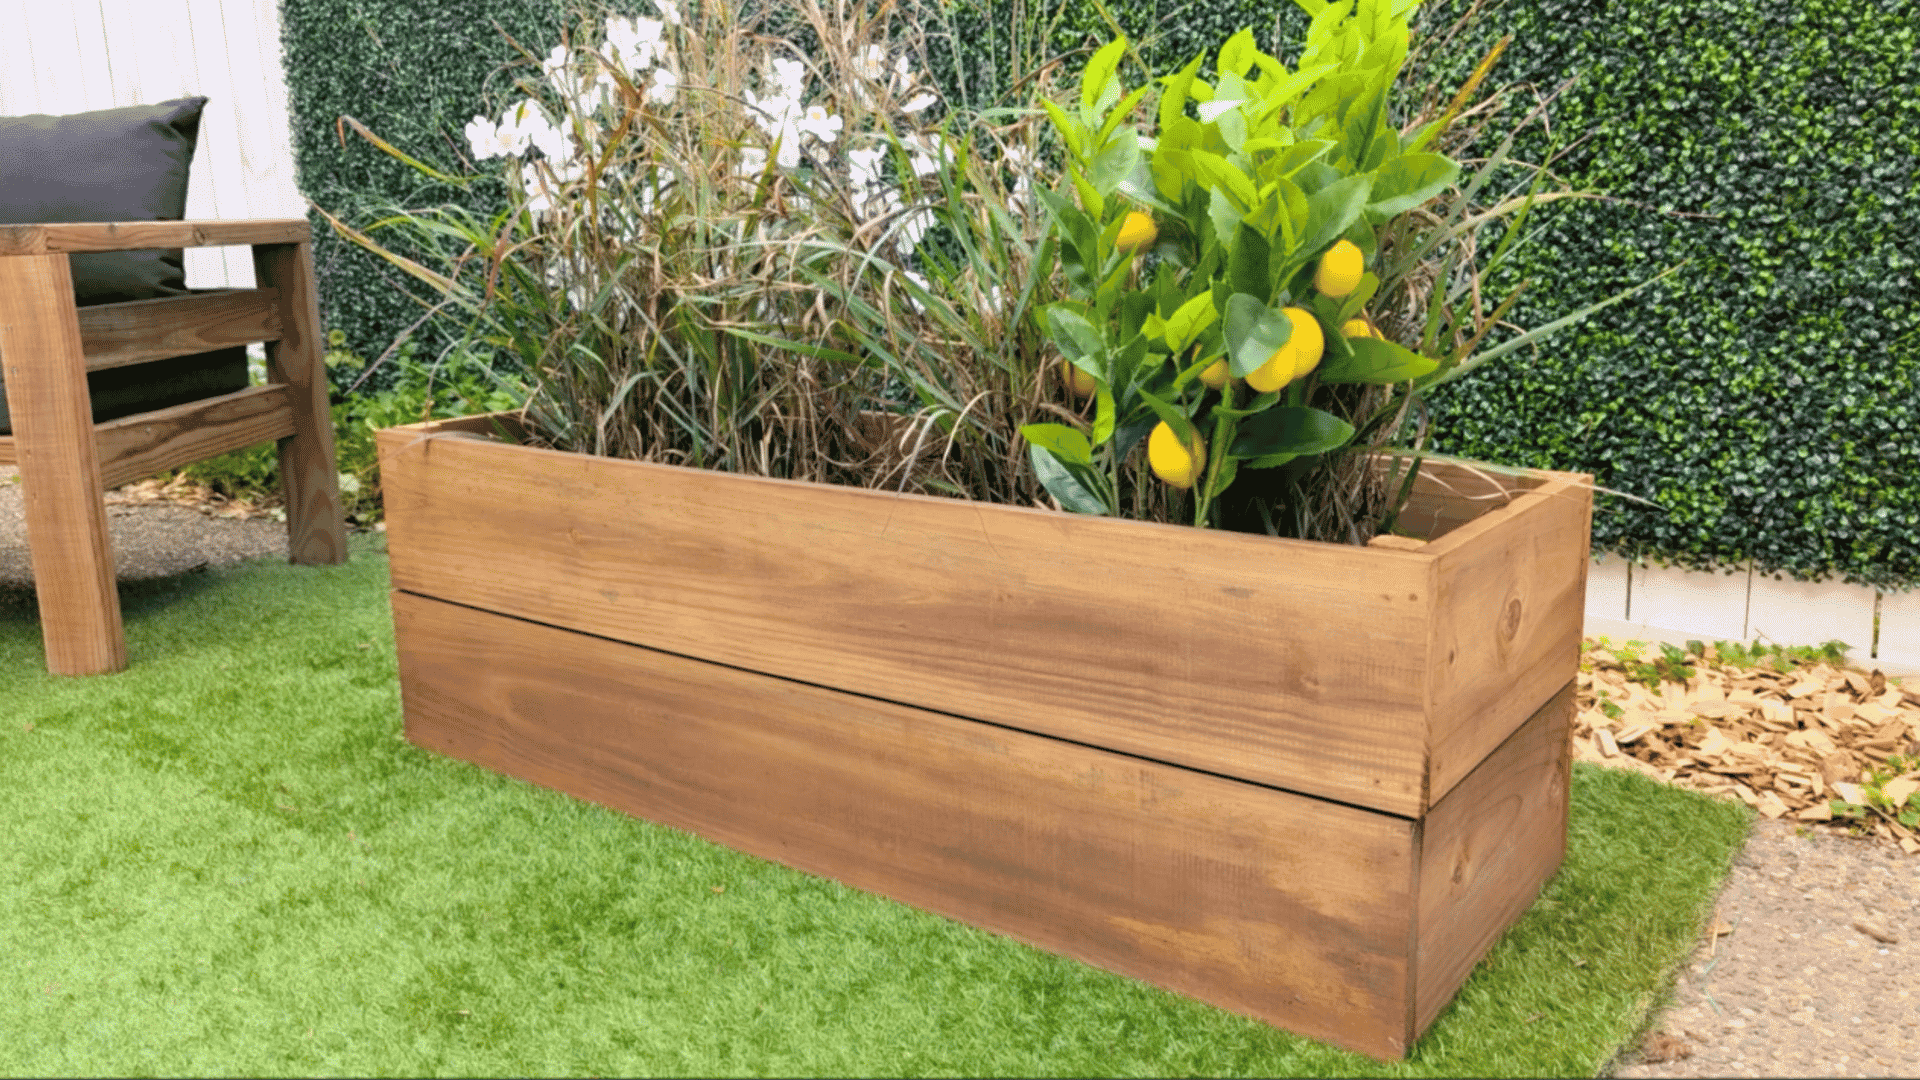
I love the idea of growing fresh herbs and bright flowers right on my patio, but seeing the price tags on store-bought planters always makes me pause.
They are incredibly expensive for what is essentially just a simple wooden box. Instead of paying premium prices, I realized that making one at home is a much smarter choice.
With just a few basic tools and some affordable lumber, anyone can put together a durable garden box in a single afternoon.
In this post, I will share exactly how to build a diy planter box from scratch. I will walk you through the complete build process, share some creative design ideas, and give you practical tips to keep your budget low.
What You Need Before You Start
Always gather your supplies before cutting any wood. It saves time and frustration during the project. You do not need a huge workshop or expensive equipment to pull this off.
A simple drill and a saw will do the job perfectly. When picking your wood, you have a few options. Cedar is naturally rot-resistant and lasts for years, but it costs a bit more.
Pine is cheaper and works well on a tight budget, though you will need to replace it sooner. I prefer cedar for vegetables to avoid chemical treatments leaching into the soil. Let me show you exactly what to buy.
- Lumber: Cedar or pine boards for the main box frame.
- Screws: Exterior-grade wood screws to prevent early rusting.
- Drill: A basic power drill for making pilot holes and driving screws.
- Saw: A miter saw, circular saw, or even a simple hand saw.
- Liner: Landscaping fabric to hold the dirt and allow proper drainage.
How To Build a DIY Planter Box Step-by-Step
Now that we have all the materials ready, it is time to start building. You’ll always find the construction phase the most rewarding part of the project.
Following simple planter box plans keeps the whole process organized and stress-free. Let us walk through the exact steps to build a sturdy, long-lasting garden bed without spending the entire weekend on it.
Step 1. Cut the Lumber to Size
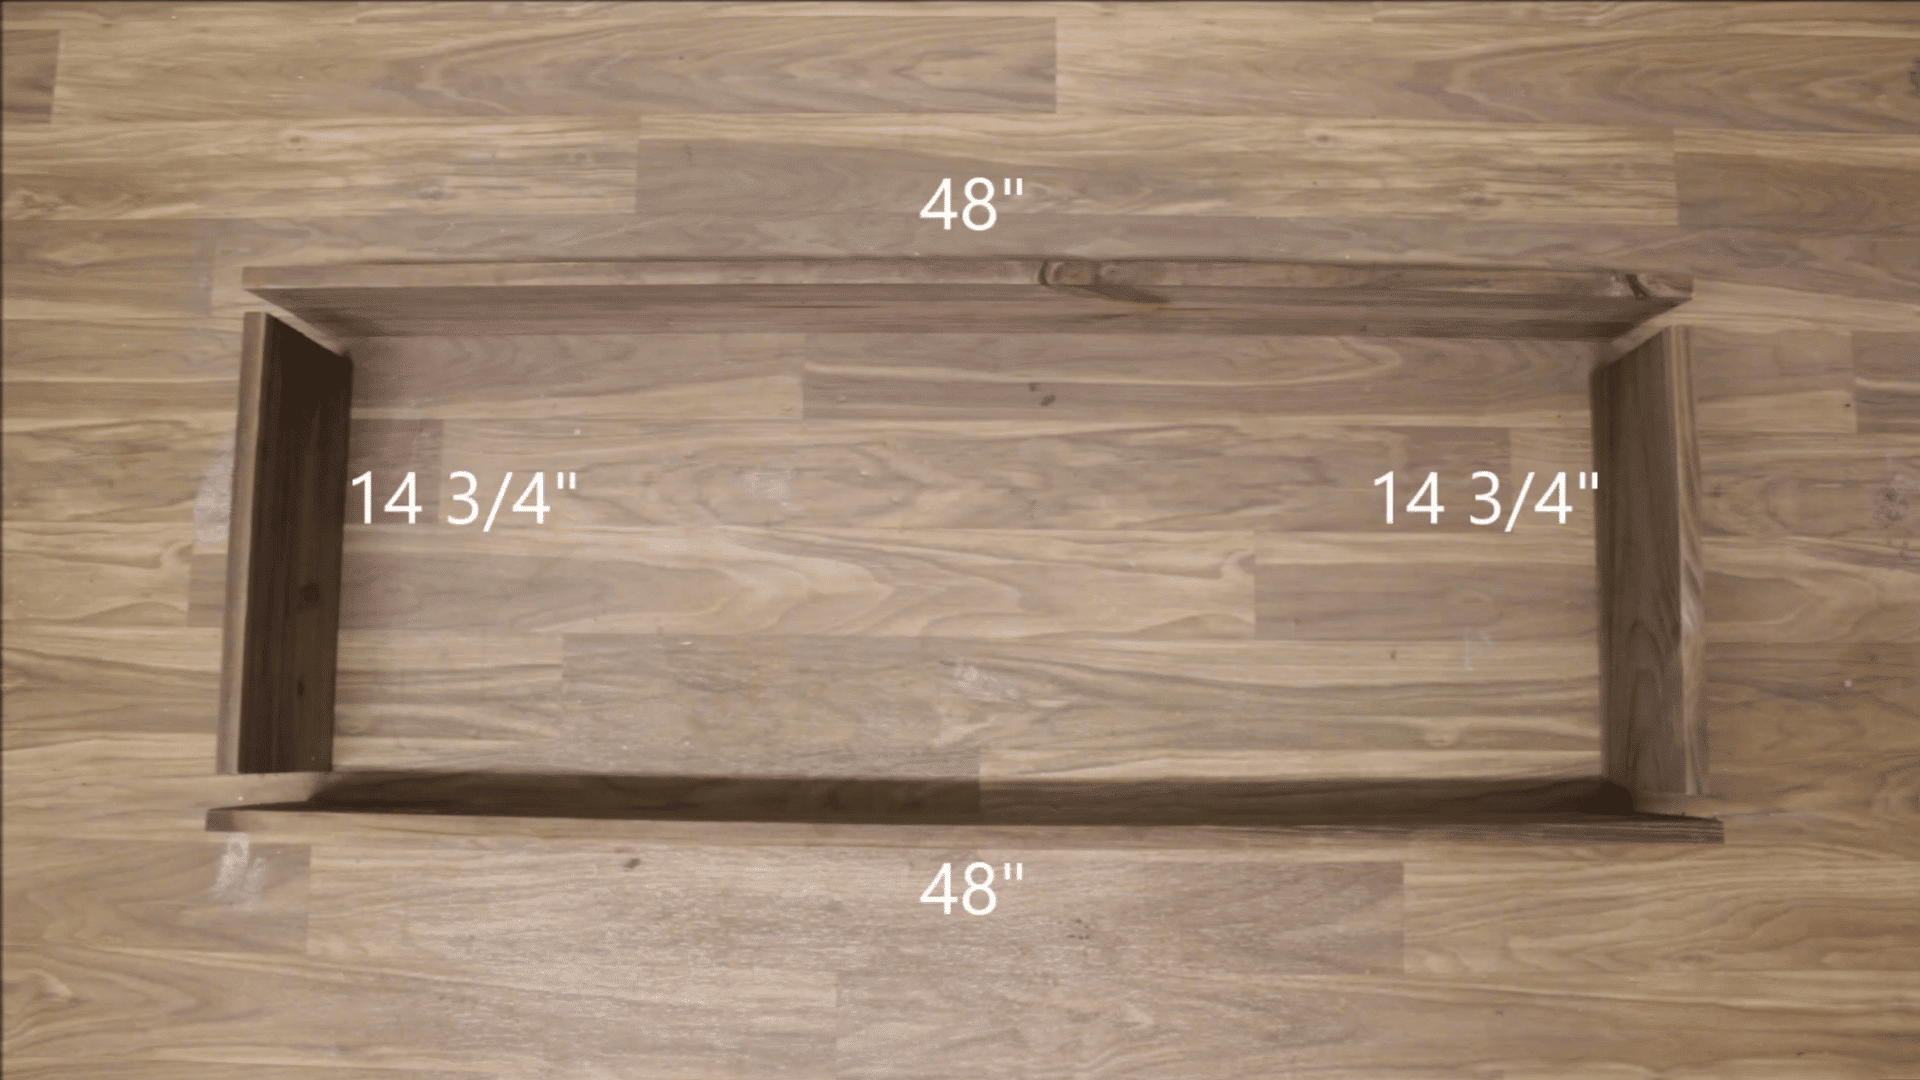
The very first thing to do is measure and cut all the wood boards to the proper lengths.
Measure and cut the following pieces:
1″ x 8″s:
- Four pieces 48” long
- Two pieces 46 1/4″ long
- Four pieces 14 3/4″ long
2” x 2″s:
- Four pieces 12 1/4″ long
- Three pieces 14 1/2″ long
Having all your pieces cut beforehand makes the assembly go much faster. If you do not own a saw, most hardware stores will actually cut the lumber for you if you bring your measurements.
Always double-check your tape measure markings before making the final cut to avoid wasting any of your good wood.
Step 2. Drill the Pocket Holes
Once the boards are cut, grab your jig to drill pocket holes into the shorter side pieces. Pocket holes hide the screws on the inside of the frame, which gives the outside a much cleaner look.
You want to drill two holes at each end of your short boards. If you do not have a pocket-hole jig, you can simply drill standard pilot holes straight through the outer boards instead.
Step 3. Assemble the Two Long Sides
Now lay the freshly cut boards flat on my workbench to assemble the two long side panels. Use exterior wood glue along the seams before driving the screws into the pocket holes.
The glue adds extra strength so the heavy, wet soil will not push the sides apart later.
Clamping the boards down while you drive the screws keeps everything flush and prevents the wood pieces from shifting around.
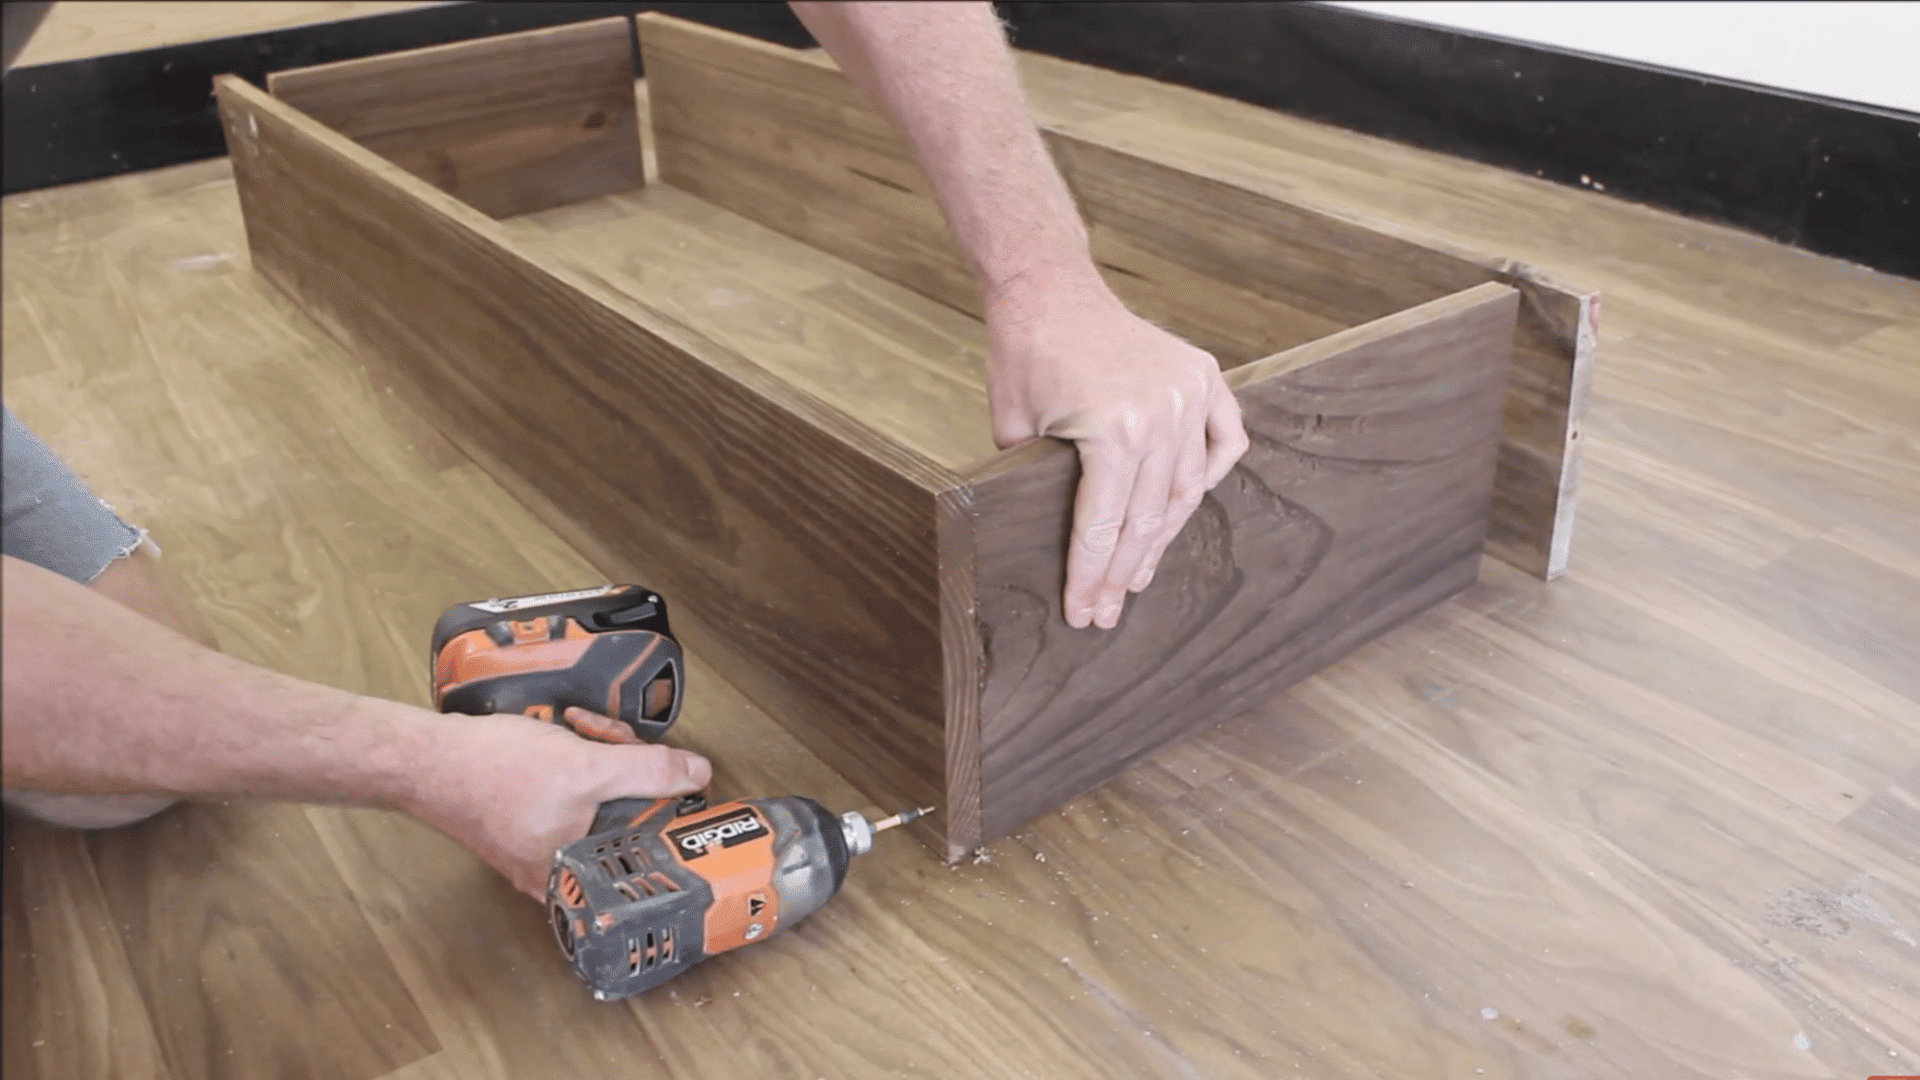
Step 4. Join the Sides Into a Frame
With the two long side panels finished, stand them upright to connect them with the shorter end pieces. This is where the diy planter box suddenly starts looking like a real garden bed.
It is recommended to ask a friend to hold the panels steady while you drive the screws in. You want to verify the corners meet at a perfect right angle so the entire box sits flat on the ground.
Step 5. Assemble and Attach the Bottom Slats
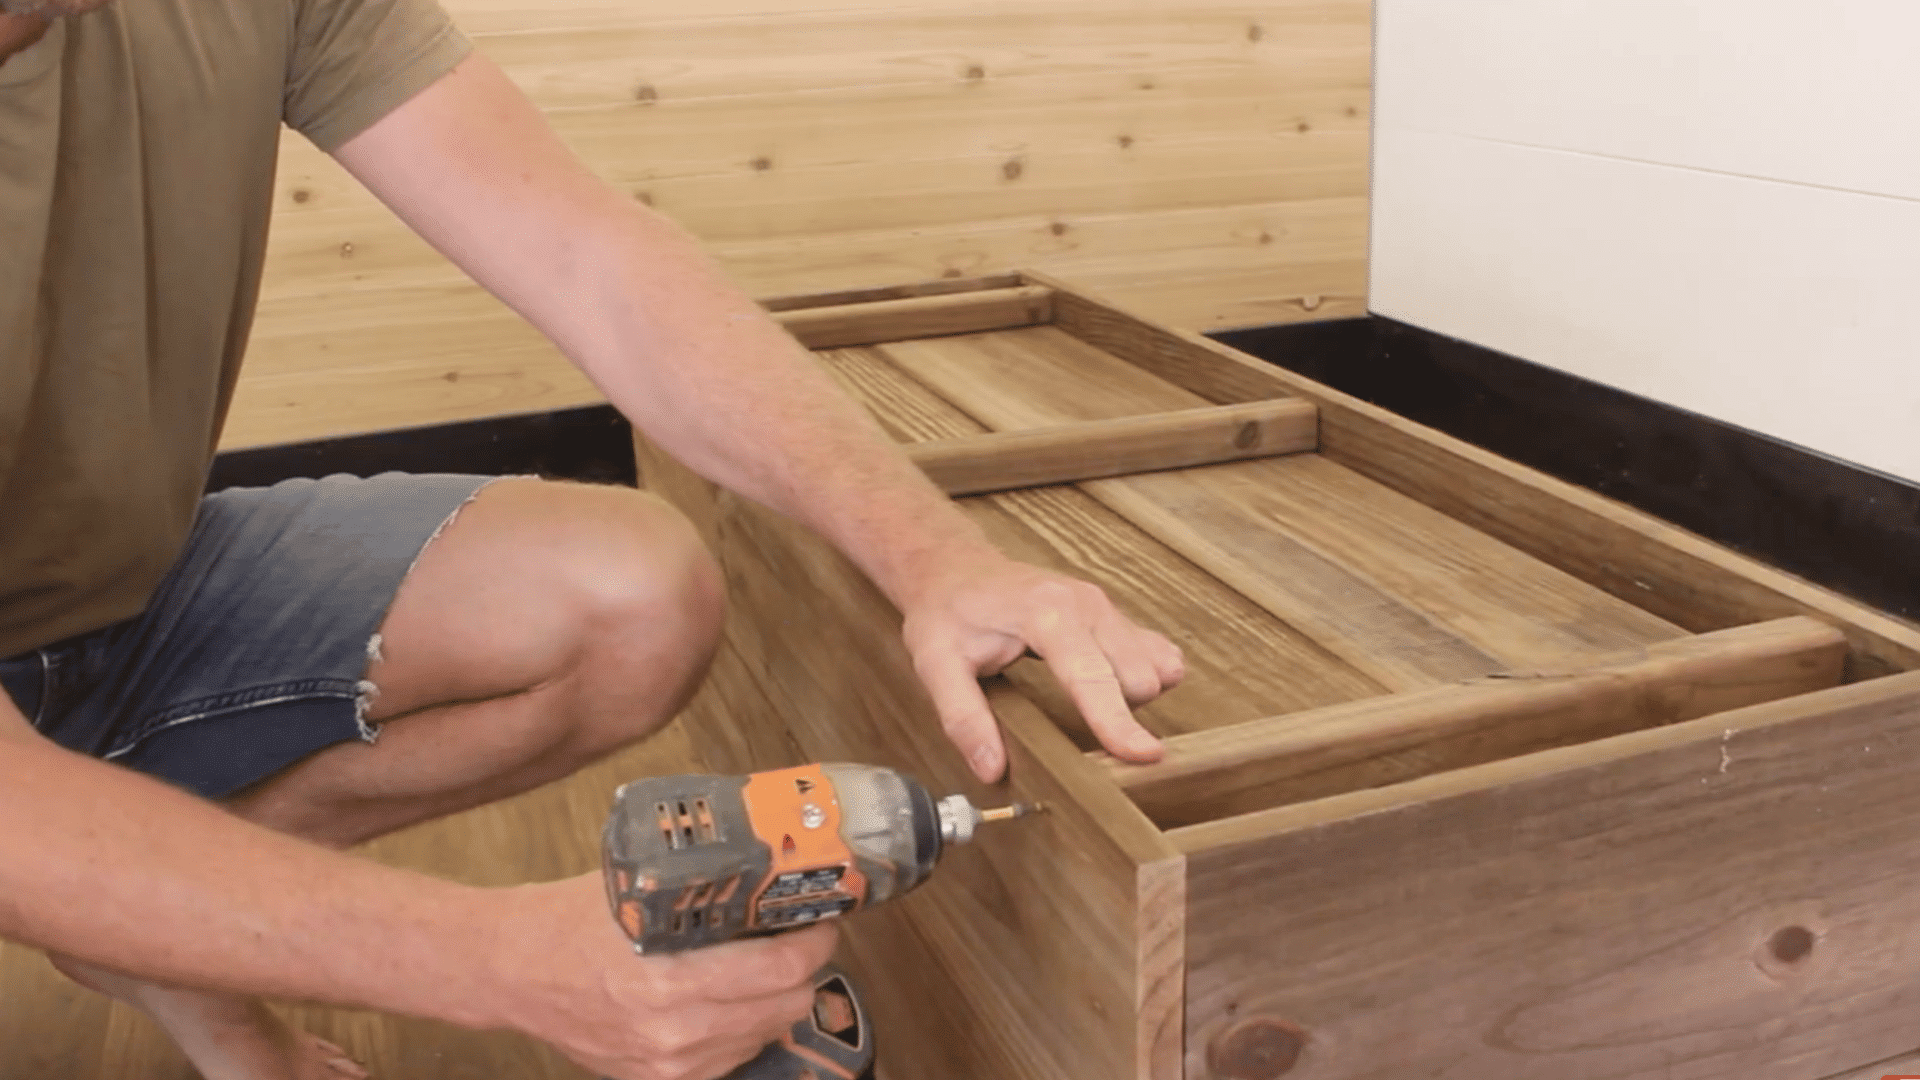
Flip the wooden frame upside down so you can easily attach the bottom support slats.
Place your three 2″ x 2” x 14 1/2″ pieces approximately 2 feet apart, then lay your two 1” x 8″ x 46 1/4” pieces across the top. We’ll want to have those middle 2 “x 2″ centers and an overhang of 2″ on each end. Secure with screws.
This gap is absolutely necessary because it allows excess water to escape easily. Simply screw each slat directly into the bottom edges of the long side panels. You do not need to use pocket holes for this hidden part.
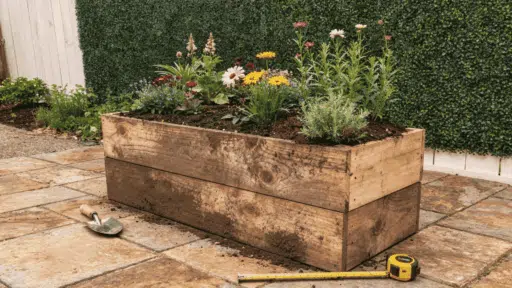
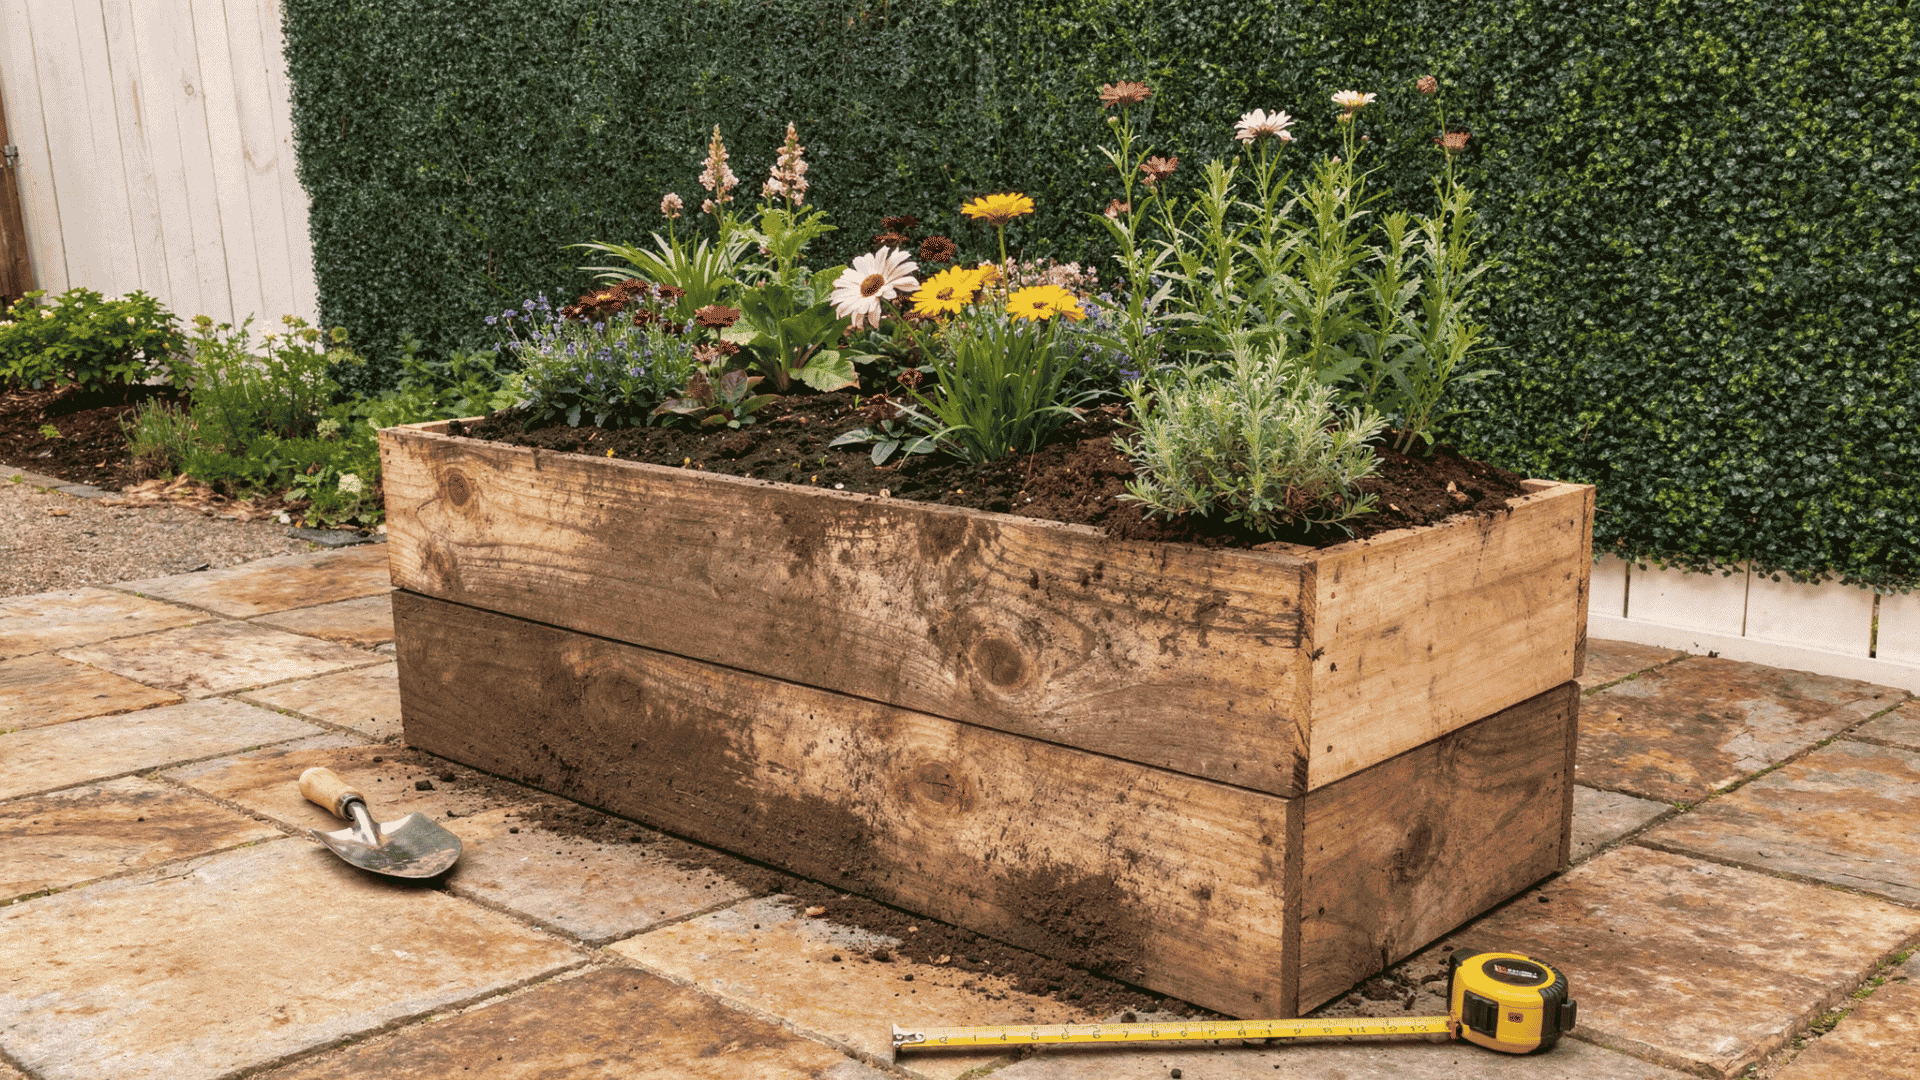
Step 6. Fill With Soil and Plant
Move your finished raised planter box to its permanent sunny location before filling it with heavy dirt. I use a high-quality potting mix blended with organic compost to give my vegetables the best possible nutrients.
Once the dirt is gently packed in, you can finally plant your favorite flowers or herbs directly into the soil. Give everything a good watering to help the roots settle into their brand-new home.
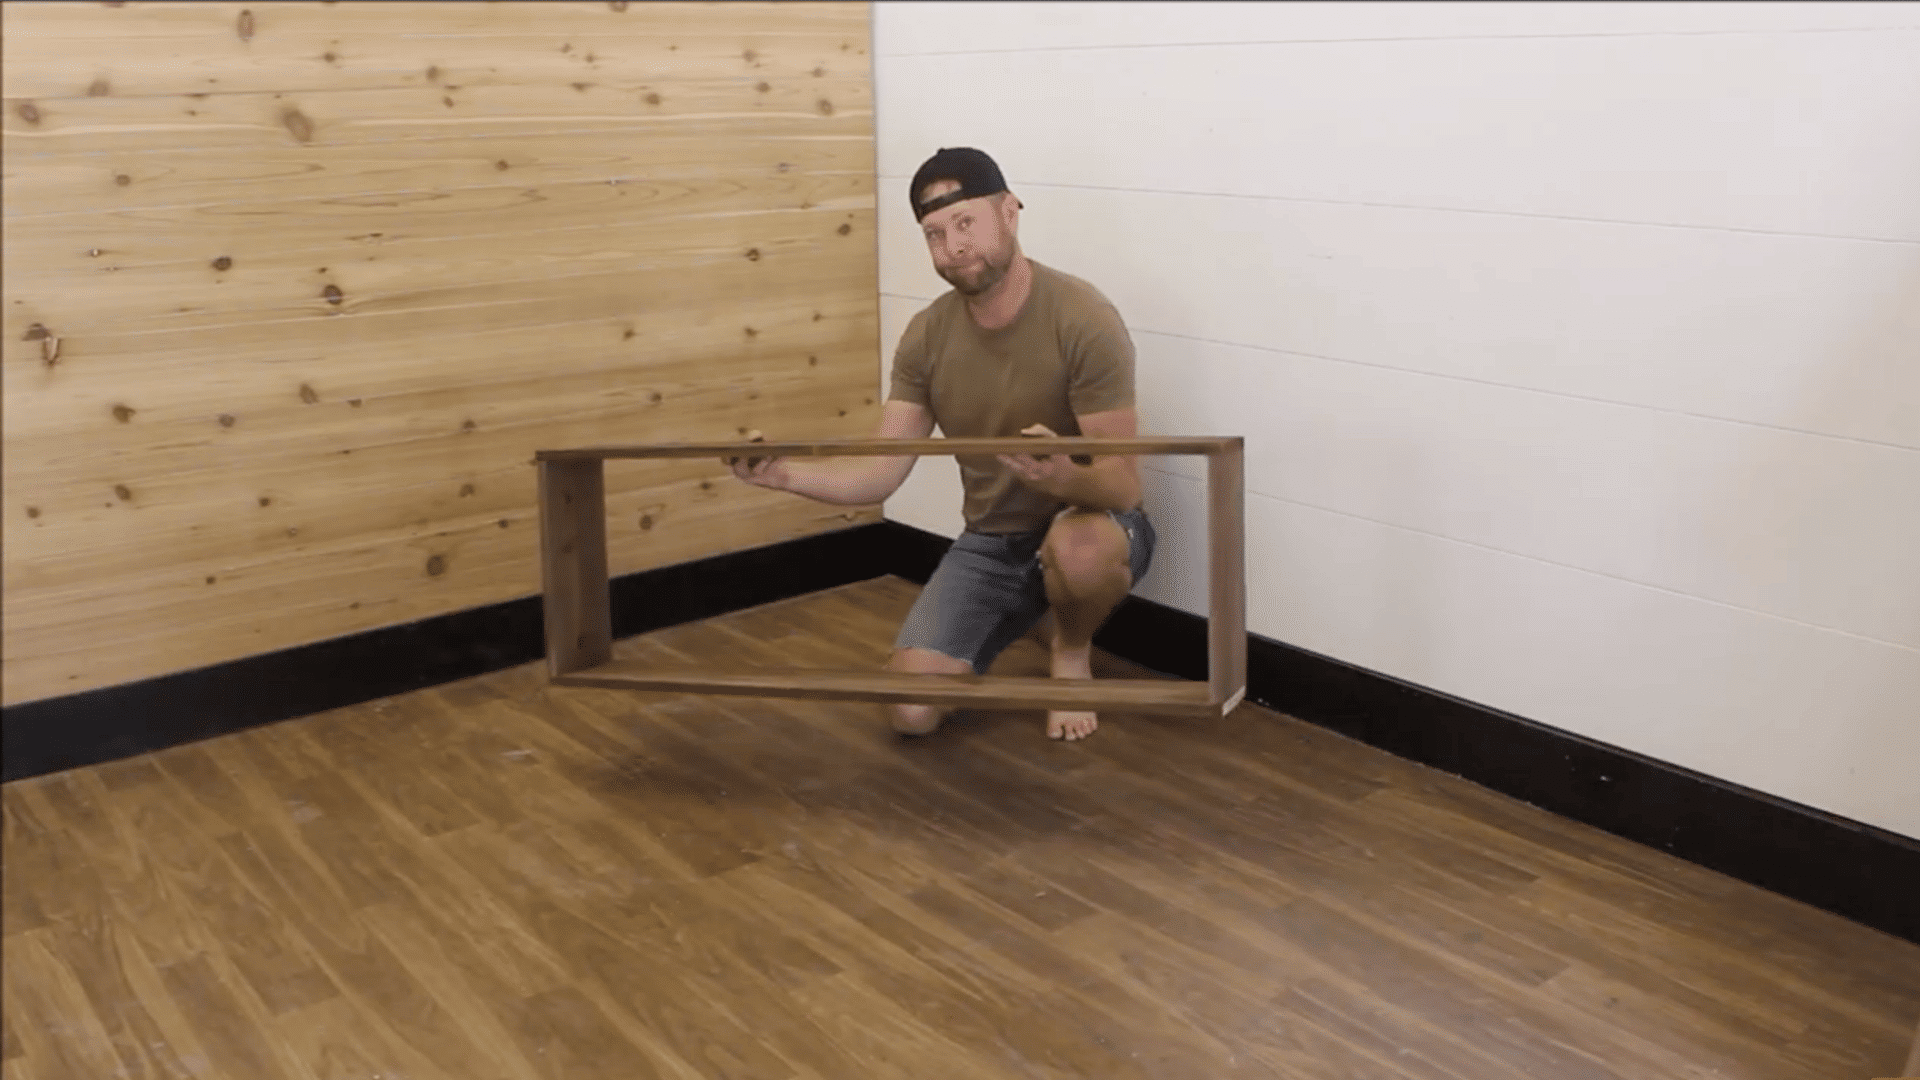
If you want a visual explanation of the process, here is a video by the The Rehab Life to better illustrate the steps:
Different Types Of DIY Planter Box Ideas
Once you know the basic framing technique, you can easily change the shape to fit your yard perfectly. Building a custom garden container gives you total control over how your outdoor space functions.
By simply adjusting the leg height or stacking the wooden frames, you can create completely different styles. Let me show you a few of my favorite diy planter box ideas to inspire your next outdoor project:
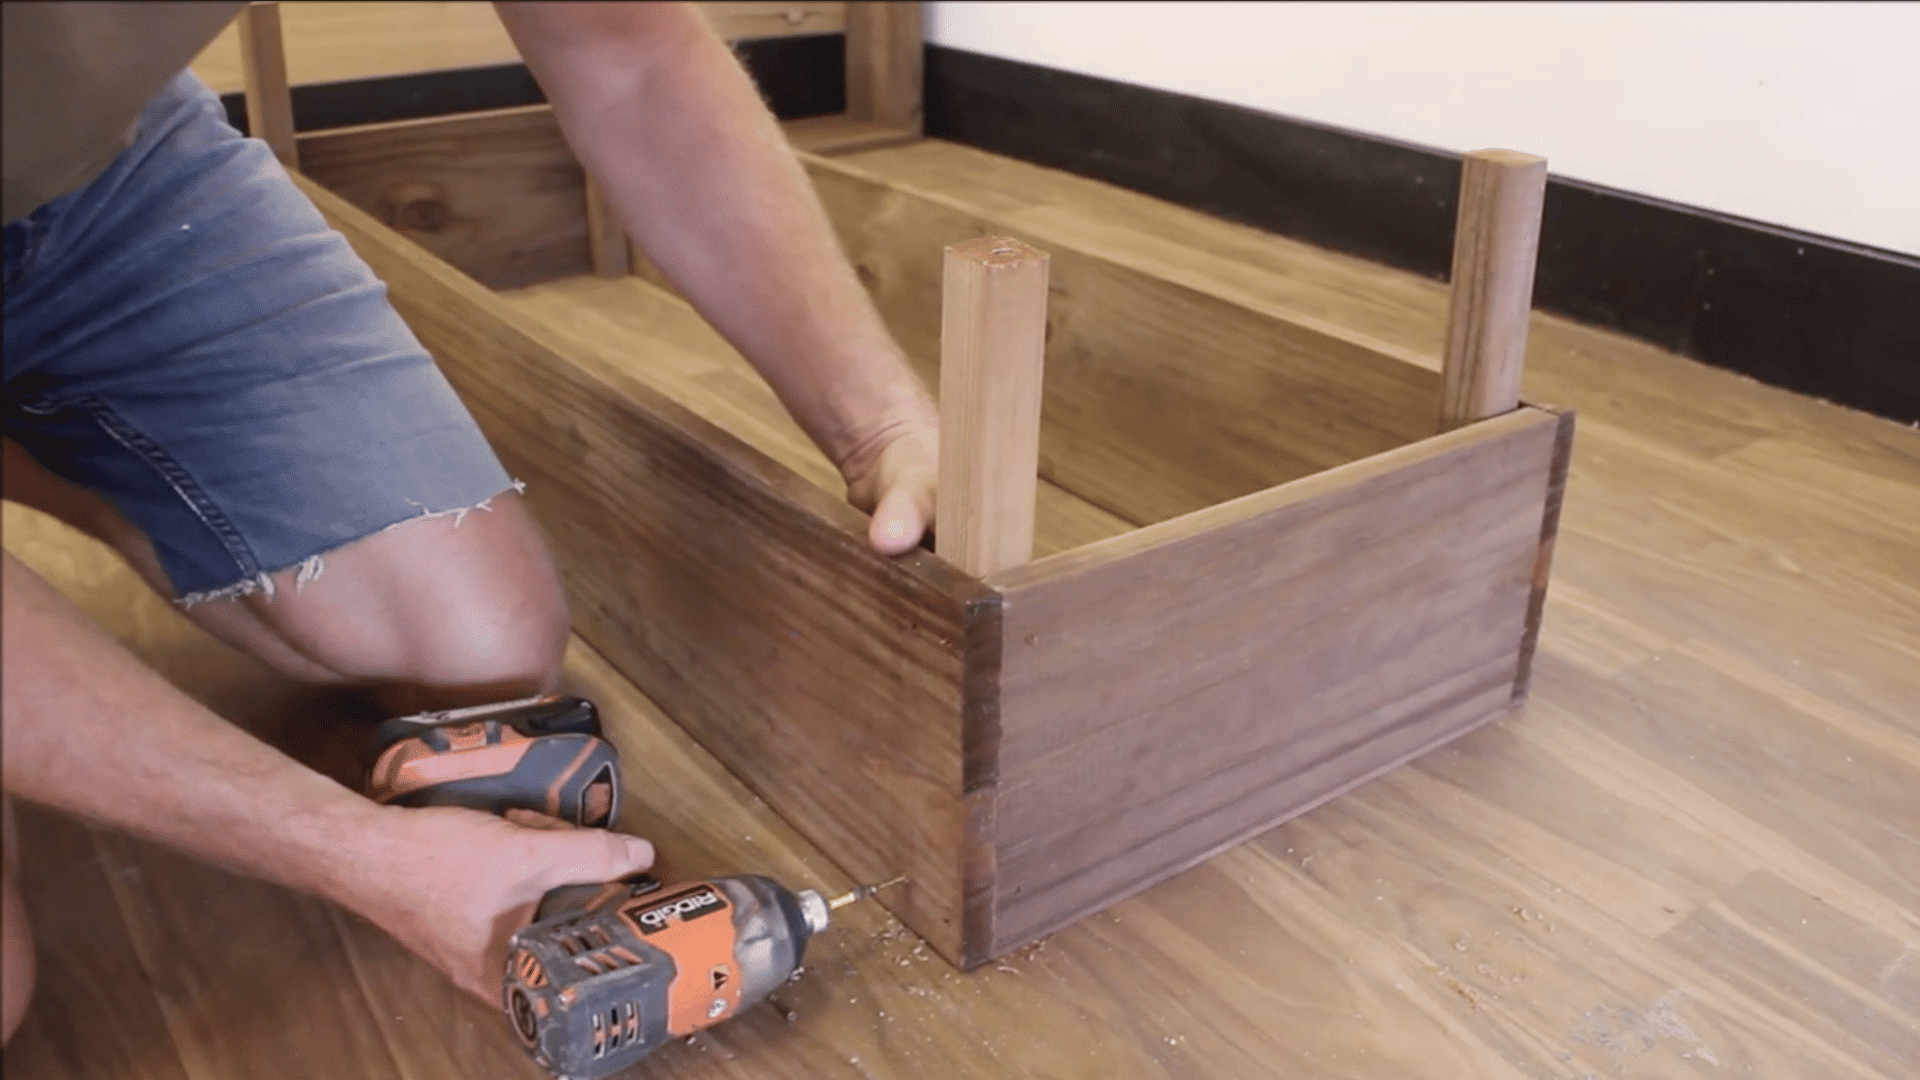
1. Raised Planter Box On Legs
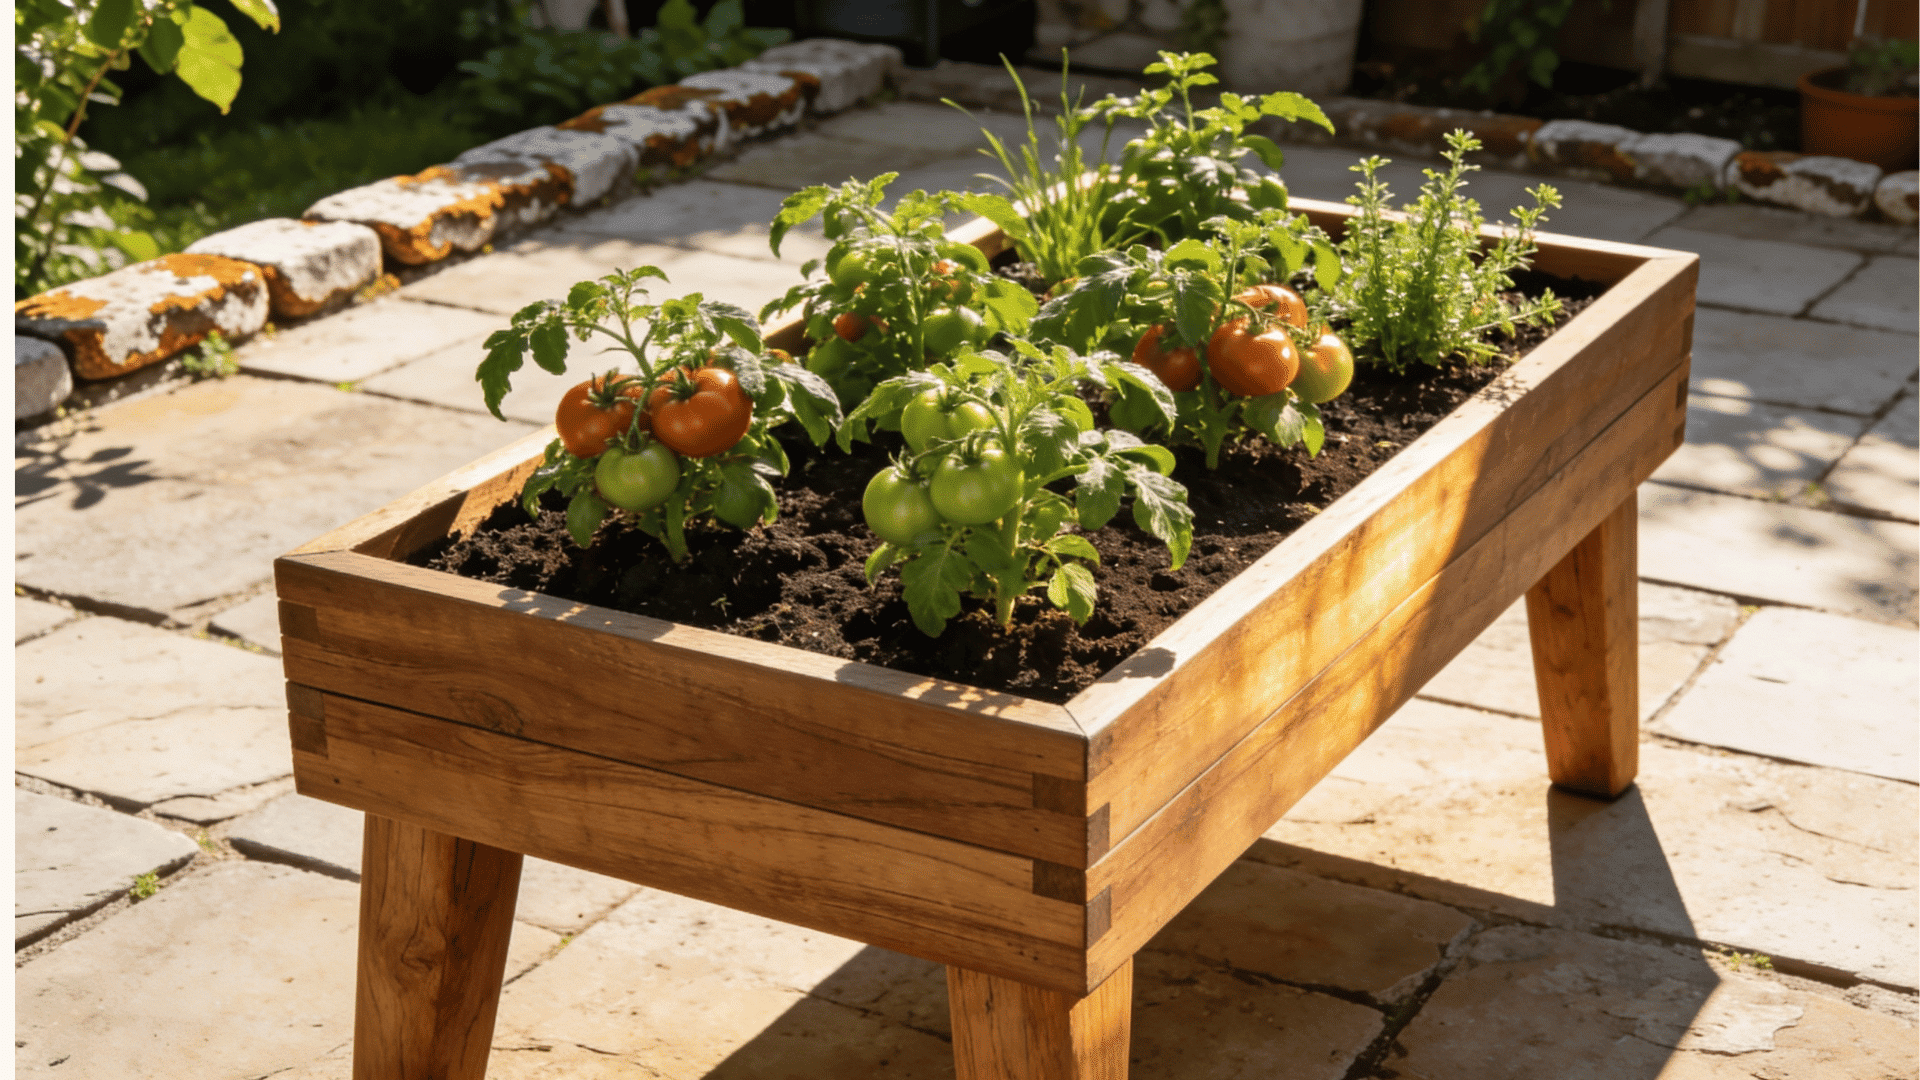
Adding tall wooden posts to the corners of your frame creates a raised bed that saves your back from constant bending. This design is great for harvesting heavy vegetables like tomatoes or peppers.
Raising the soil off the ground also protects your precious plants from hungry rabbits and neighborhood pets. You will want to use thicker wood for the legs to support the heavy wet dirt.
2. Tiered Planter Box
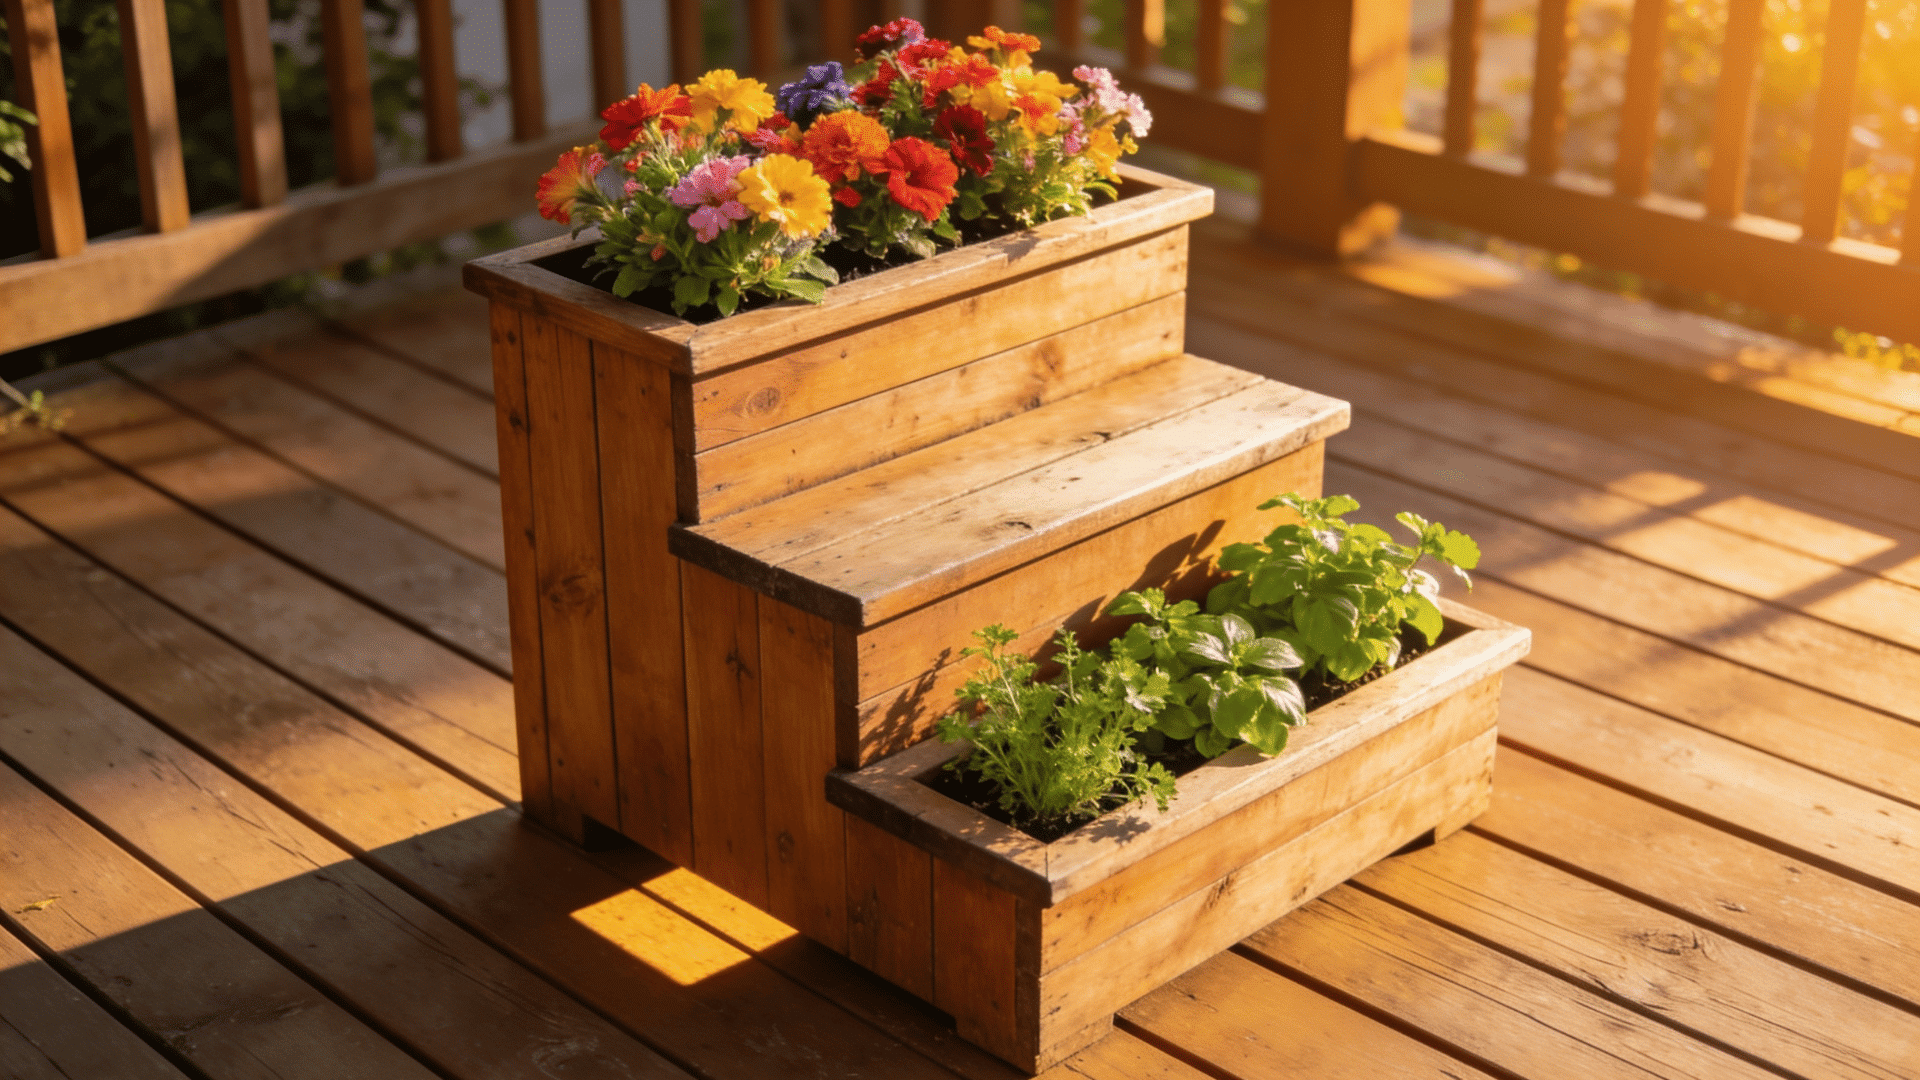
A tiered design looks like a small set of wooden stairs, offering multiple levels of planting space. This is a brilliant solution if you have a tight patio but still want to grow several different herbs.
It’s usually placed in the sun-loving plants on the very top step, and put shade-tolerant varieties on the bottom. It creates a beautiful cascading waterfall effect once the flowers bloom.
3. Vertical Pallet Planter
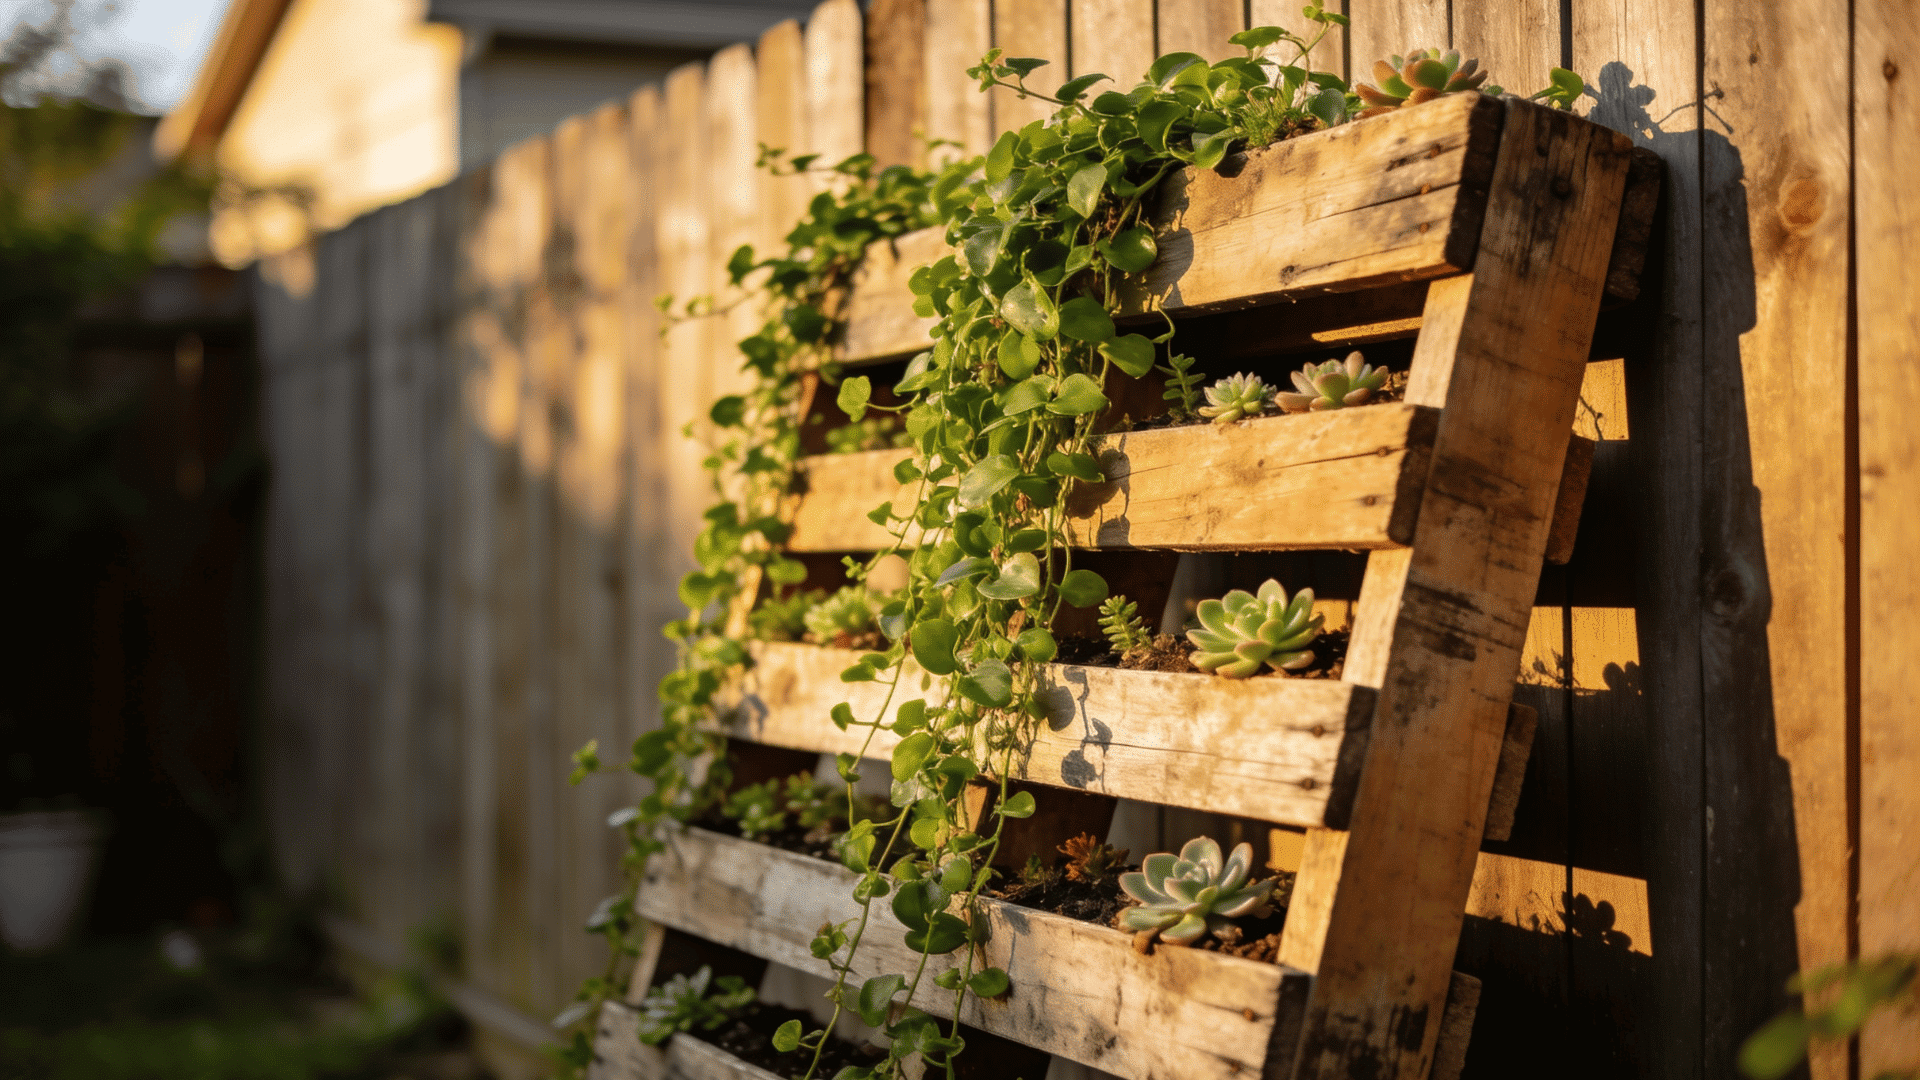
If you want a quick project, taking apart an old shipping pallet makes an excellent vertical garden. Lean these flat wooden structures directly against your backyard fence to save precious ground space.
You just need to staple landscaping fabric tightly behind the wooden slats to hold the potting soil. This rustic style looks especially great when filled with trailing vines or small succulent plants.
4. Window Box Planter
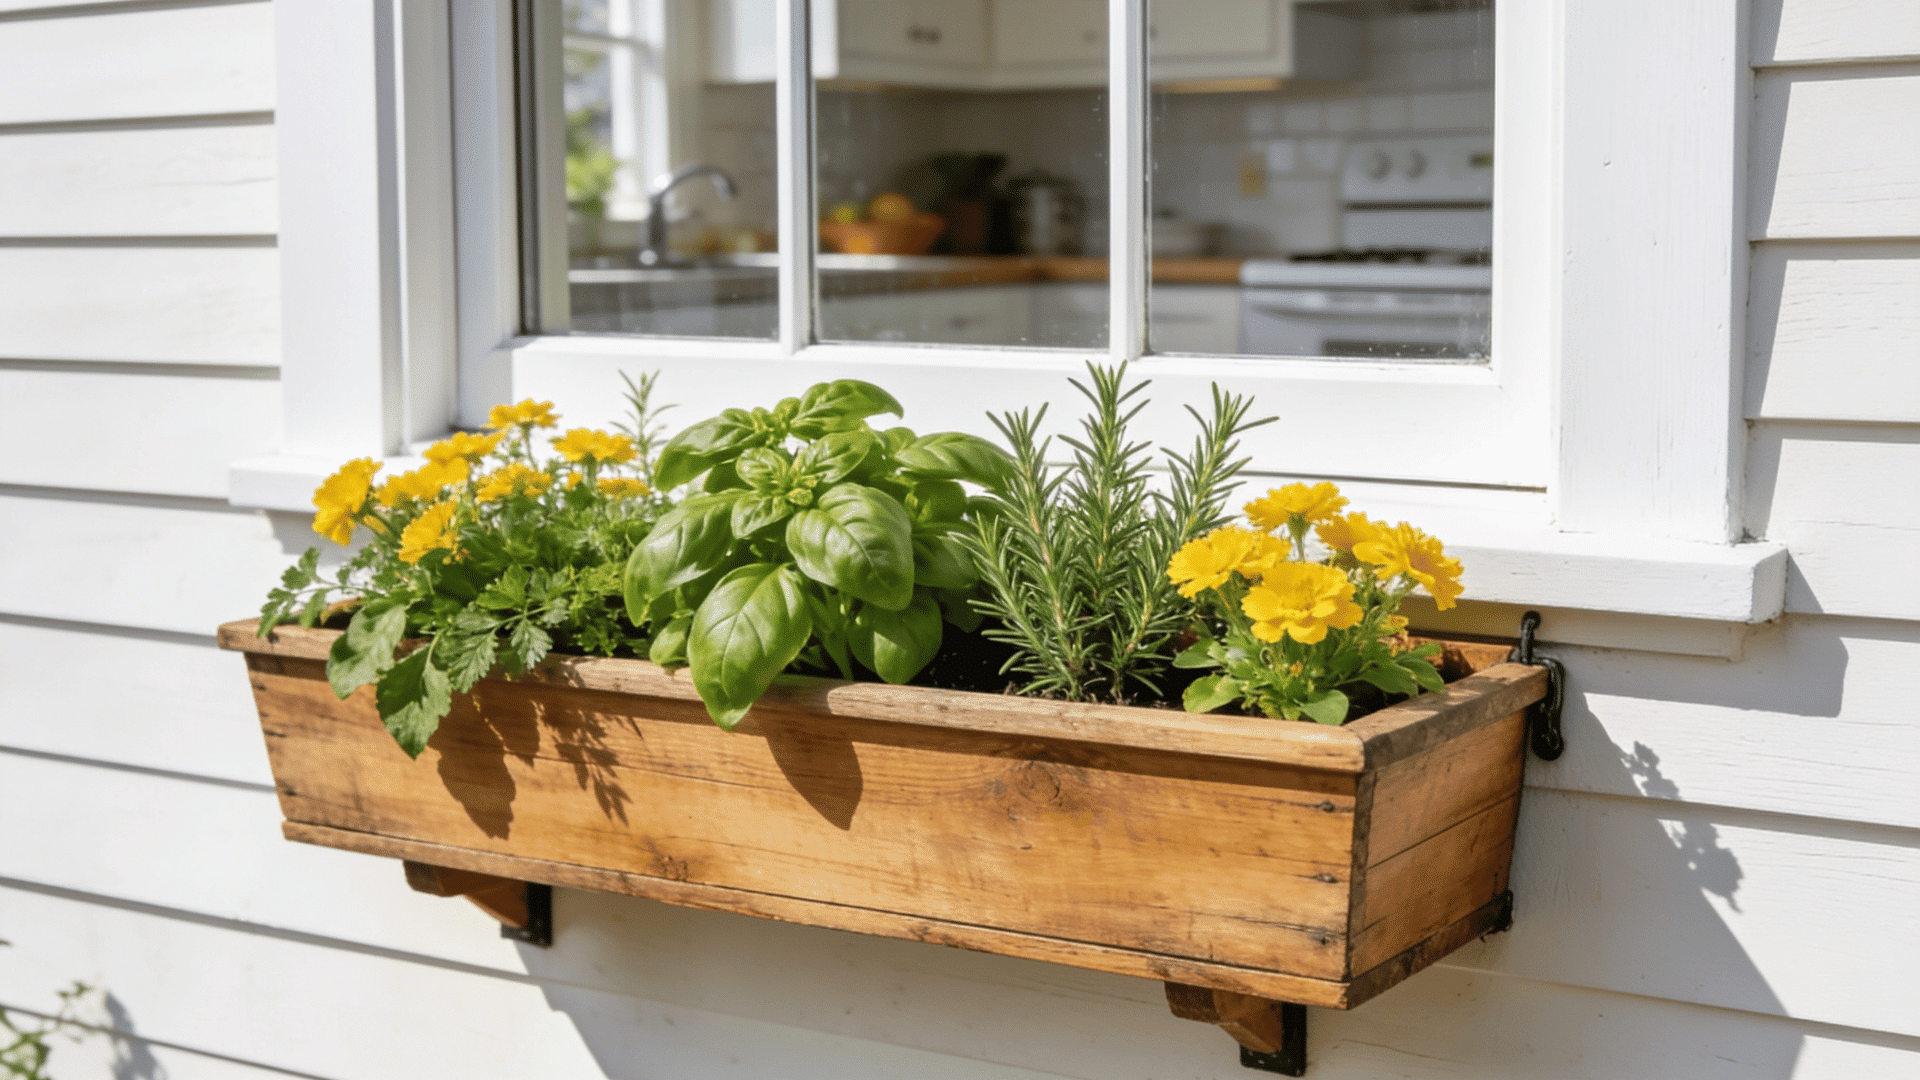
Scaling down your measurements gives you the perfect wooden box to hang right below your kitchen window. These smaller versions keep fresh cooking herbs right outside your house.
You must securely bolt them to the exterior wall using heavy-duty metal brackets because the wet soil gets surprisingly heavy. Make sure to drill extra drainage holes so the roots stay healthy.
5. Self-Watering Planter Box
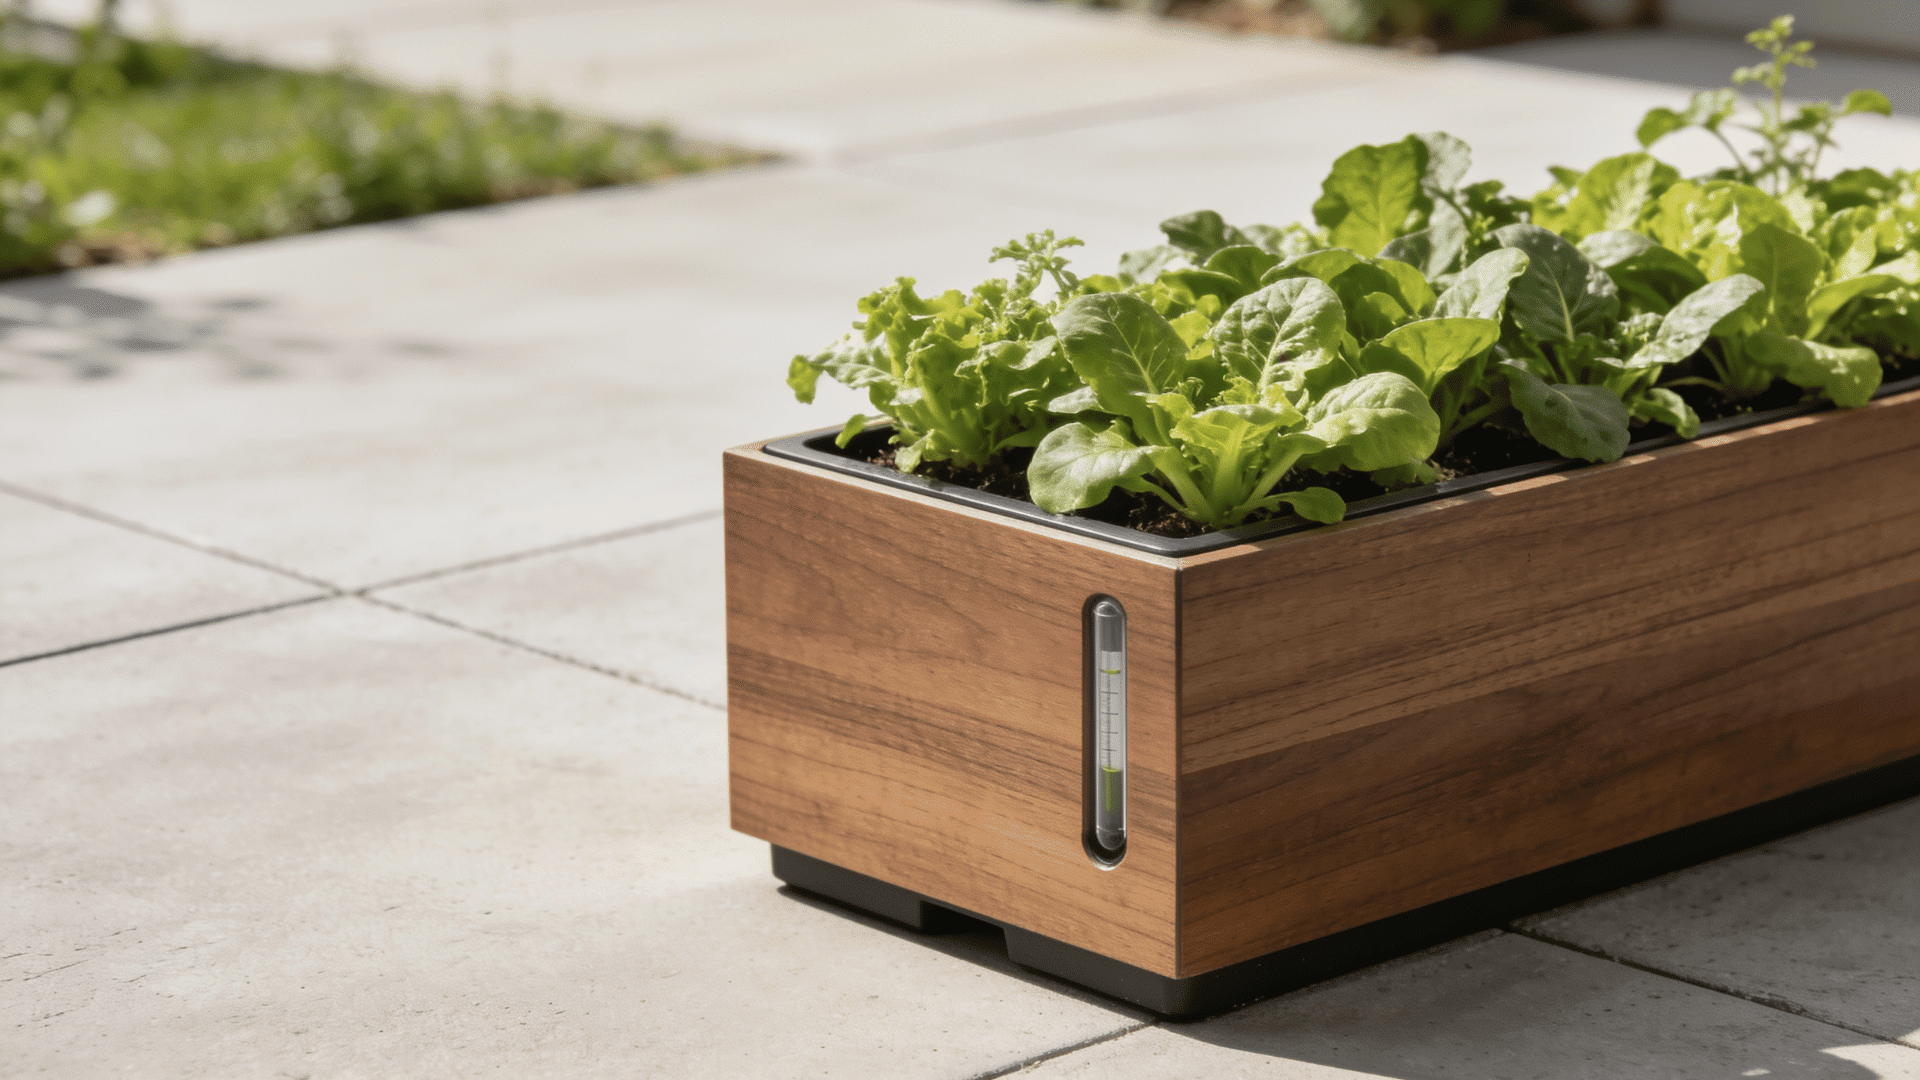
For anyone who forgets to water their plants, building a self-watering system into the bottom is a lifesaver. Insert a plastic water reservoir beneath the soil level, separated by a piece of sturdy mesh.
The plant roots naturally reach down through the dirt to drink exactly what they need. This clever design keeps the moisture levels perfectly balanced during those hot summer afternoons.
Budget Tips To Build a Planter Box Cheaply
Keeping costs down is usually my main goal when starting a new garden project. You absolutely do not need to spend hundreds of dollars to get a great-looking wooden container.
I always look for ways to lower the price without sacrificing the strength of the final product. For instance, using fence pickets instead of premium cedar boards easily cuts your lumber bill in half.
If you do not want to buy an expensive pocket-hole jig, you can simply use cheap metal corner brackets to hold the frame together.
Reusing scrap wood from old projects or breaking down free shipping pallets are also fantastic ways to save cash. Let me share a quick breakdown of how much you can actually save.
- Pallet Wood: Breaking down free shipping pallets gives you plenty of rustic boards for practically zero cost.
- Fence Pickets: Buying standard pine fence pickets is much cheaper than purchasing thick dimensional lumber at the hardware store.
- Reusing Scrap: Always check your garage for leftover wood pieces from past home improvement projects before buying new materials.
- Alternative Joints: Skip the fancy joinery tools and use basic metal brackets to secure your box corners cheaply.
| Build Method / Material | Estimated DIY Cost | Store-Bought Equivalent Cost |
| Pallet Wood (Upcycled) | $5 – $10 | $50 – $75 |
| Pine Fence Pickets | $15 – $25 | $80 – $120 |
| Premium Cedar Boards | $40 – $60 | $150 – $250+ |
Common Mistakes to Avoid with DIY Planter Box
Even with a simple project like this, I have made my fair share of errors along the way. Building a wooden box seems foolproof, but a few small missteps can completely ruin your hard work after just one single season.
Paying attention to these basic details will guarantee your new garden bed stays strong and looks beautiful for many years.
- Drainage: Forgetting to leave gaps between the bottom slats will trap water and drown your plant roots quickly.
- Wood Choice: Using older chemically treated lumber can leak dangerous toxins directly into your organic vegetable soil.
- Sealing: Skipping the exterior stain or waterproof sealant on pine boards causes them to warp and rot rapidly.
- Sizing: Making the frame too wide makes it incredibly hard to comfortably reach the plants sitting in the middle.
At the End
Creating your own garden containers does not have to be a complicated weekend chore. By picking the right materials and following these simple steps, anyone can put together a beautiful diy planter box that lasts for seasons.
I have covered everything from basic frame construction to keeping your lumber costs incredibly low.
You now have all the knowledge to skip the overpriced garden center and build a custom setup that fits your exact patio space perfectly.
I really hope this guide helps you grow healthier vegetables and brighter flowers right at home.
If you have any questions about measuring the wood or picking the right potting soil, drop a comment below and let me know what kind of seeds you plan to plant first!
Frequently Asked Questions
How do I Stop Soil from Falling Through the Bottom Slats?
I always staple landscaping fabric inside the frame. It holds the heavy dirt securely while allowing excess water to drain out easily through the wooden bottom.
Can I Put a Heavy DIY Planter Box on My Balcony?
You should always check your building’s weight limits first. Wet dirt gets extremely heavy, so I recommend mixing perlite into your soil to reduce the overall weight.
What is the Best Food-Safe Wood Sealer for Vegetable Planters?
I prefer using raw linseed oil or pure tung oil. These natural finishes protect the pine wood from water damage without leaking harsh chemicals into your food.
Should I Add Rocks to the Bottom of My Planter Box?
No, I actually avoid doing this. Adding gravel creates a perched water table that keeps the soil too wet. Just use a good fabric liner instead.
How do I Protect My Wooden Planter Box During Winter?
I suggest emptying the dirt if possible and covering the wood with a tarp. Keeping the heavy snow off the frame prevents the joints from splitting.

James McLaren, with a rich background in architecture from the University of Manchester, has been contributing his expertise to the world of creative construction and home innovation for over 20 years. His journey began as a project manager for a leading construction firm, where he honed his skills in bringing complex designs to life. James joined our platform as a freelancer in 2019, quickly becoming a favorite for his insightful and practical advice. He has been a pivotal force to our wing ever since, bringing our readers a blend of technical know-how and creative flair. Beyond his professional life, James is an avid woodworker and enjoys restoring vintage furniture, a hobby that complements his professional insights beautifully.