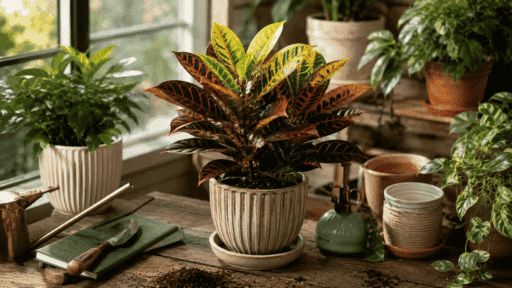
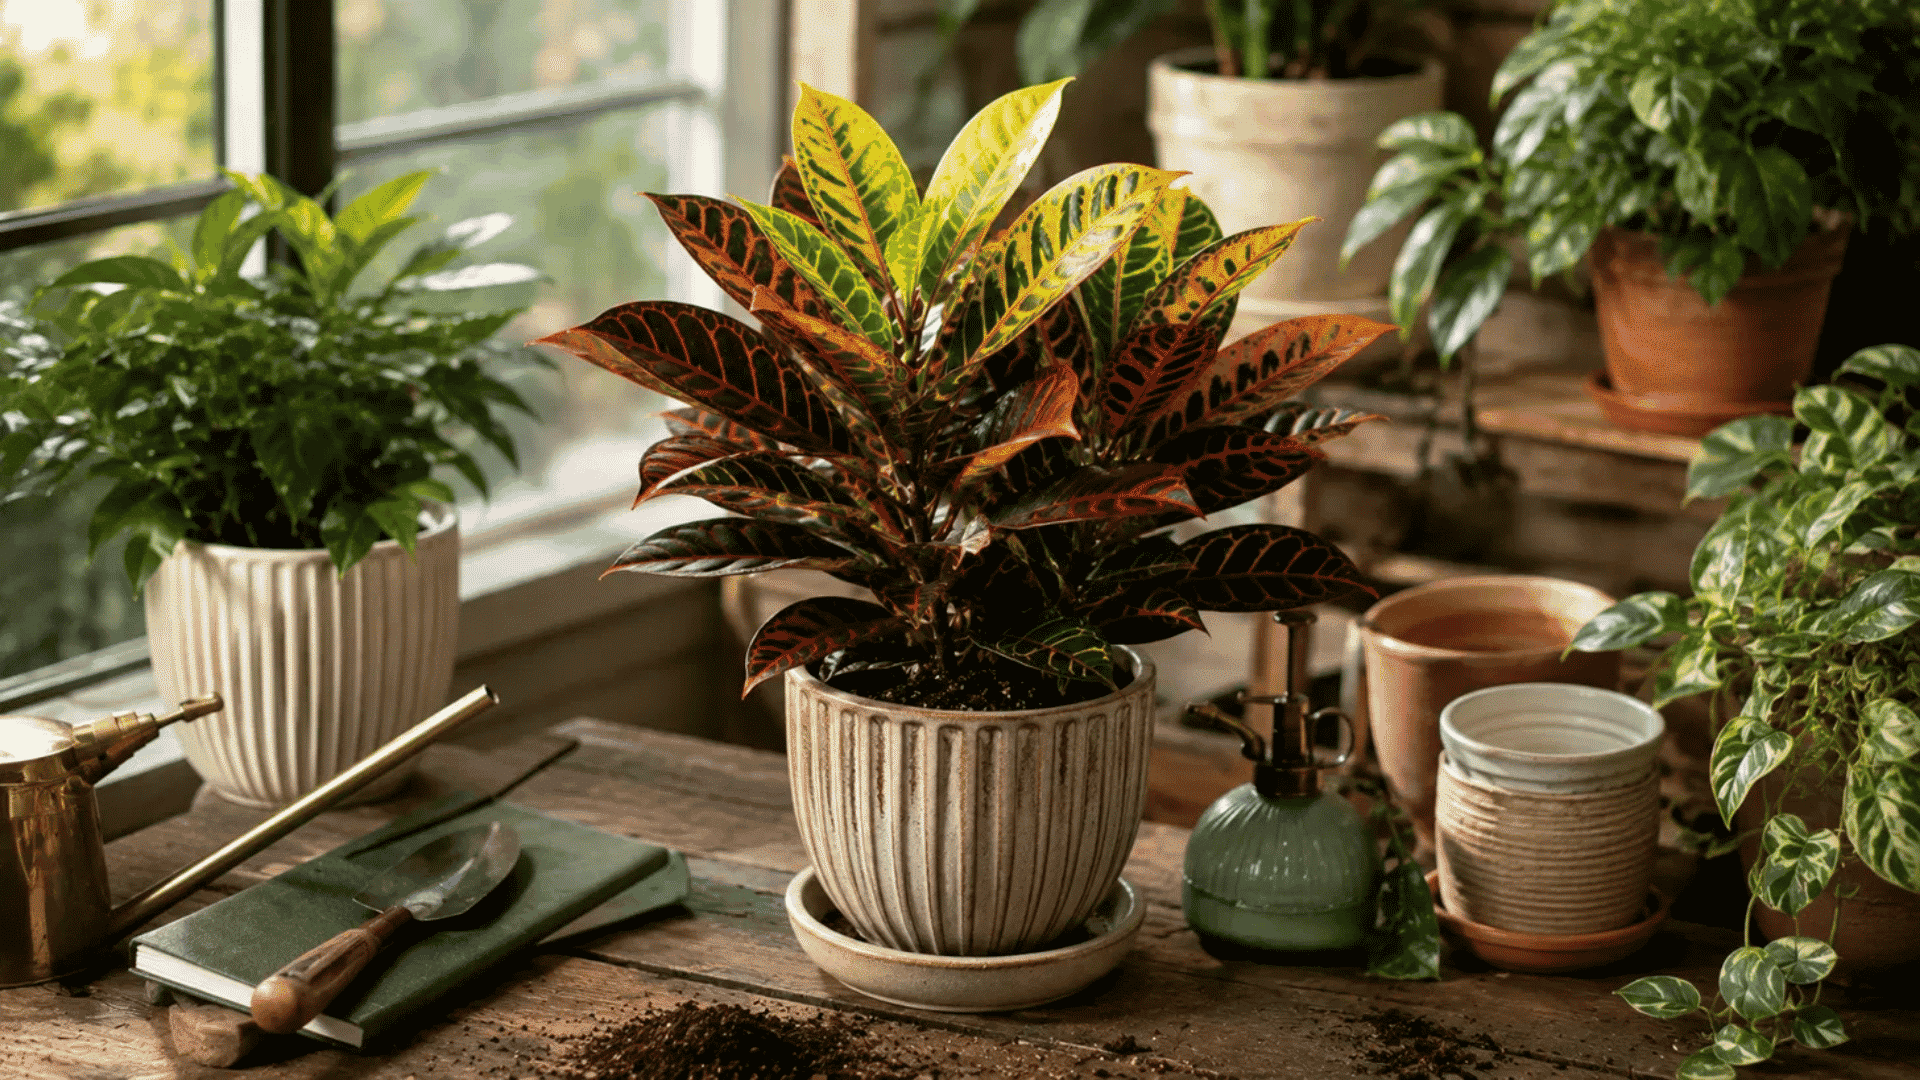

A croton can look like the brightest plant in the room one day and then start dropping leaves like it has given up the next.
That dramatic shift is exactly why caring for a croton plant can feel confusing at first. The colors are bold, the leaves are glossy, and varieties like the Mammy croton almost look hand-painted.
But this plant has opinions. It wants the right light, steady warmth, careful watering, and a potting mix that does not stay soggy. I have seen crotons bounce back beautifully once those basics are corrected.
Below, you will find simple care steps for keeping your croton healthy, colorful, and less likely to drop leaves.
Croton Care at a Glance
One thing I’ve learned from growing crotons is that they respond more to consistency than to constant attention. Once you understand their basic care needs, they become much easier to maintain.
Think of the table below as your quick reference guide. It covers the essentials, while the sections that follow explain exactly how to keep your croton healthy, colorful, and growing well throughout the year.
| Care Factor | Quick Rule | Watch For |
|---|---|---|
| Light | Place in bright, indirect light for most of the day. | Dull colors usually mean it needs more light. |
| Water | Water only after the top 1–2 inches of soil dry out. | Constantly wet soil can cause yellow leaves, root damage, and leaf drop. |
| Soil | Use a loose, fast-draining potting mix. | Heavy, compact soil holds too much moisture. |
| Temperature | Keep between 60–85°F (16–29°C). | Cold drafts and temperatures below 50°F (10°C) can stress the plant. |
| Humidity | Maintain moderate to high humidity. | Dry air may cause brown leaf edges or curling. |
| Fertilizer | Feed during spring and summer only. | Too much fertilizer can burn roots and damage foliage. |
| Pruning | Trim damaged or leggy growth as needed. | Wear gloves because the sap may irritate the skin. |
| Repotting | Repot only when roots outgrow the container. | A root-bound plant dries out much faster. |
| Propagation | Use healthy stem cuttings during active growth. | Rooting takes patience and consistently warm conditions. |
| Outdoor Care | Move outdoors only after temperatures stay above 50°F (10°C). | Introduce it to outdoor conditions gradually to avoid shock. |
| Toxicity | Keep away from pets and young children. | Contact with sap or leaves may cause irritation or stomach upset if ingested. |
Where to Place a Croton Plant
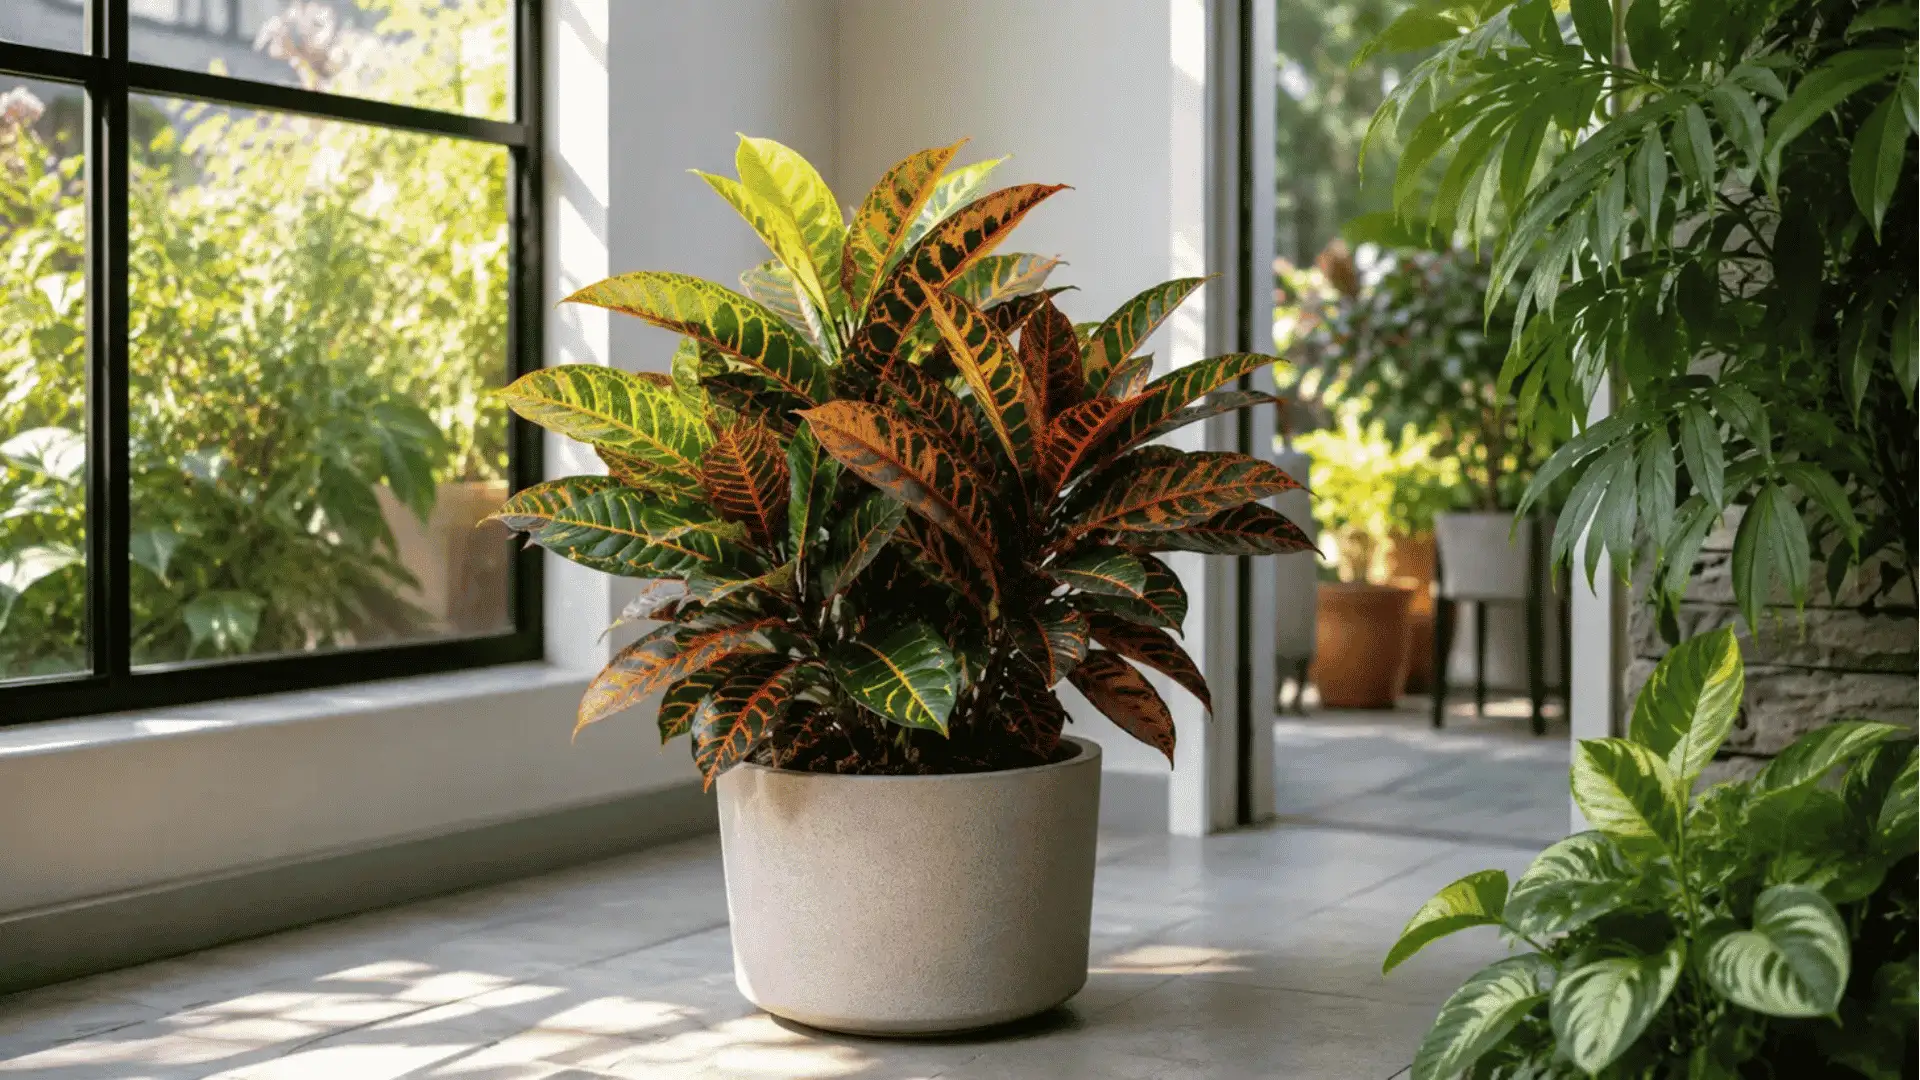
Place a croton near a bright window where it receives six to eight hours of filtered or indirect light. Protect it from cold drafts and intense afternoon sun.
Crotons are known for their vibrant foliage, but they only show their best colors when they’re growing in the right environment.
Here’s how to choose a spot that supports strong color, steady growth, and fewer stress-related problems:
- Give your croton bright, indirect light.
Crotons need plenty of light to keep their leaves bold and colorful. Place the plant near an east-facing window, a bright south-facing room, or a west-facing spot with filtered light. Aim for 6–8 hours of bright, indirect light each day. - Avoid dark corners if you want strong color.
Low light will not kill a croton right away, but it often causes dull leaves, slower growth, and weaker variegation. The reds, yellows, oranges, and greens show best when the plant receives steady brightness. - Protect it from harsh direct sunlight.
A little gentle morning sun is usually fine, but strong afternoon sun can scorch the leaves. If the window gets intense light, use a sheer curtain or move the pot a few feet back. - Keep the plant away from sudden temperature changes.
Do not place your croton beside AC vents, heaters, drafty doors, or cold windows. Crotons react quickly to stress, and a sudden shift can lead to leaf drop. - Choose a safe spot around pets and children.
Croton leaves and sap can irritate skin and may cause stomach upset if eaten. Place the plant on a sturdy table, plant stand, or shelf where pets and young children cannot easily reach it.
Best Soil and Potting Mix for Croton Plant Care
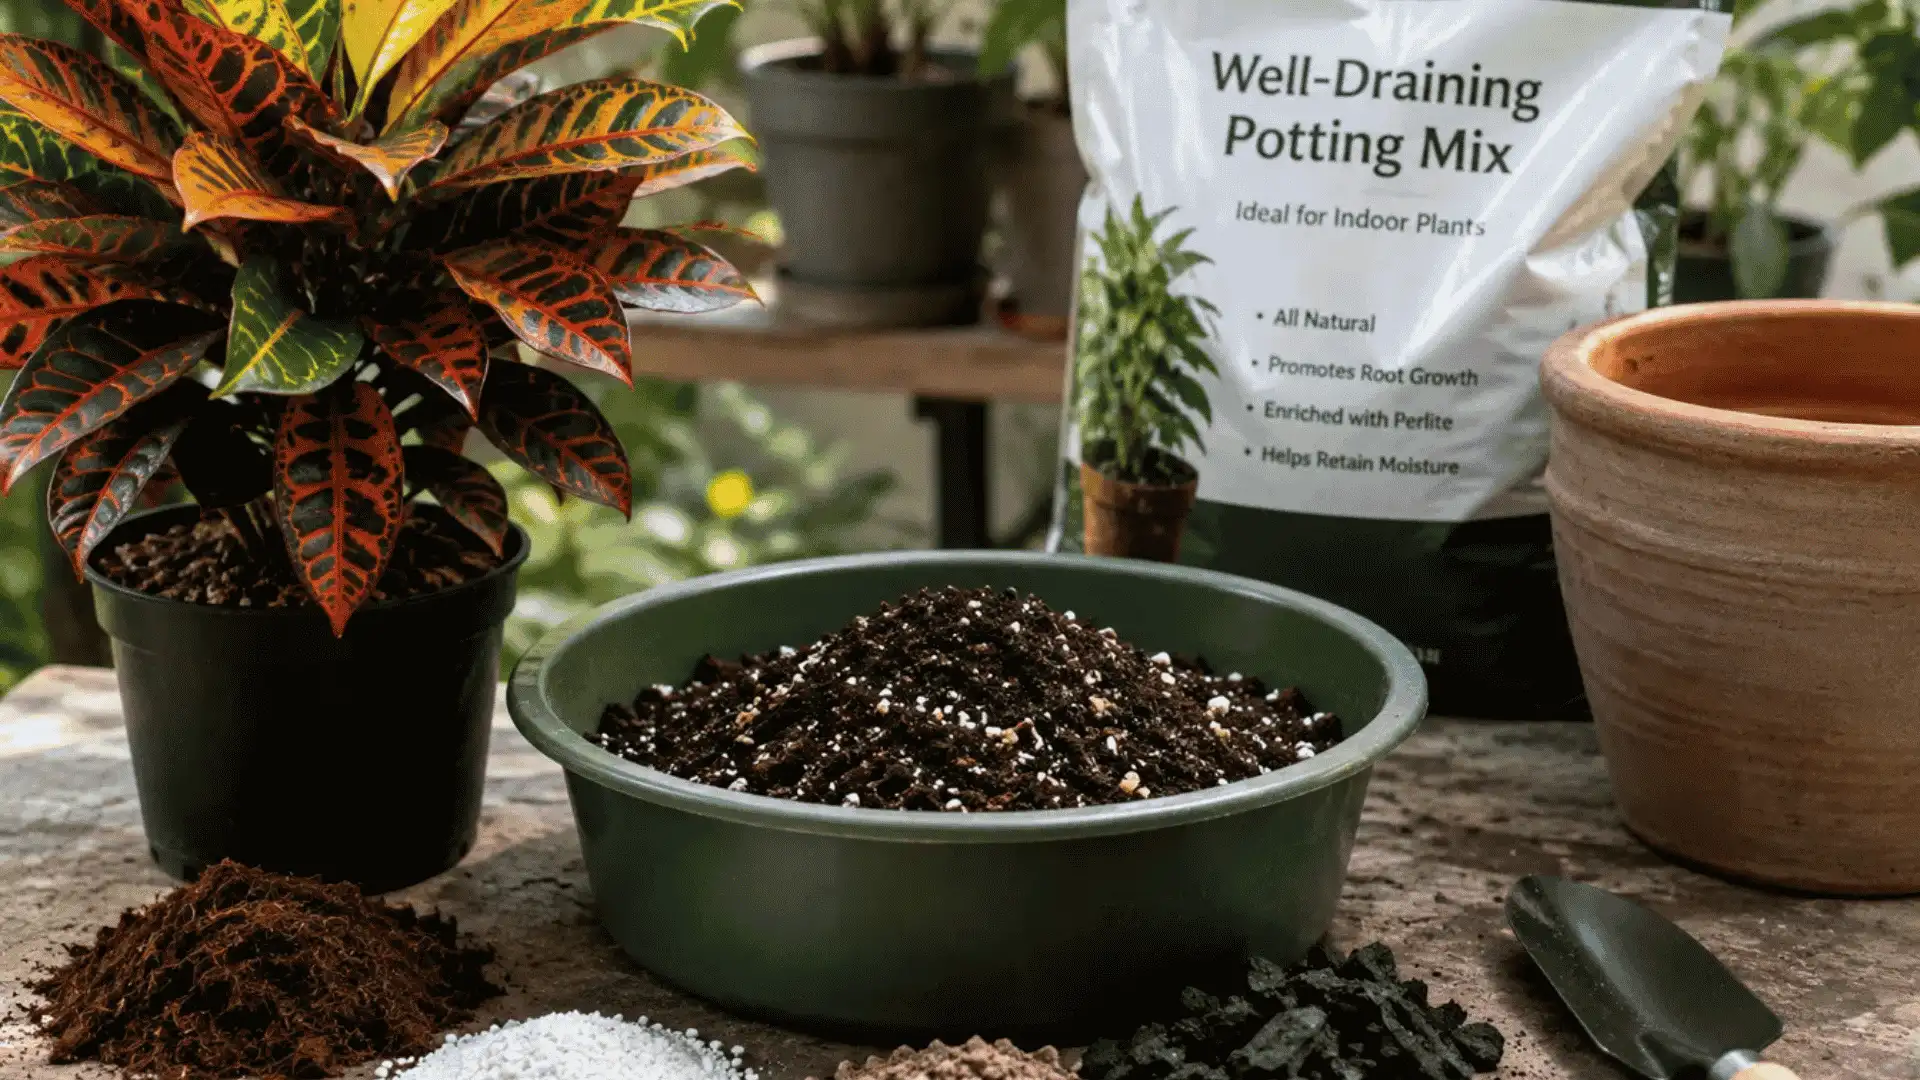
Healthy roots are the foundation of a healthy croton, so the potting mix matters just as much as watering.
Crotons prefer a loose, well-draining mix that holds some moisture without becoming soggy. Use two parts indoor potting mix, one part perlite, and one part fine pine bark. This combination holds light moisture while allowing excess water to drain.
According to NC State Extension, crotons perform best in well-drained, organic-rich soil, as constantly wet soil can quickly lead to root problems.
Aim for a slightly acidic soil pH of about 5.5–6.5, which helps the plant absorb nutrients efficiently and maintain vibrant foliage.
When choosing a container, pick one with drainage holes and make sure it is only 1–2 inches wider than the current root ball. A pot that’s too large stays wet for longer, increasing the risk of root rot.
The University of Wisconsin Horticulture Extension also recommends repotting only when the plant becomes root-bound rather than moving it into an oversized container too soon.
Avoid using heavy garden soil in containers because it compacts easily and may hold too much water around the roots.
Watering Your Croton
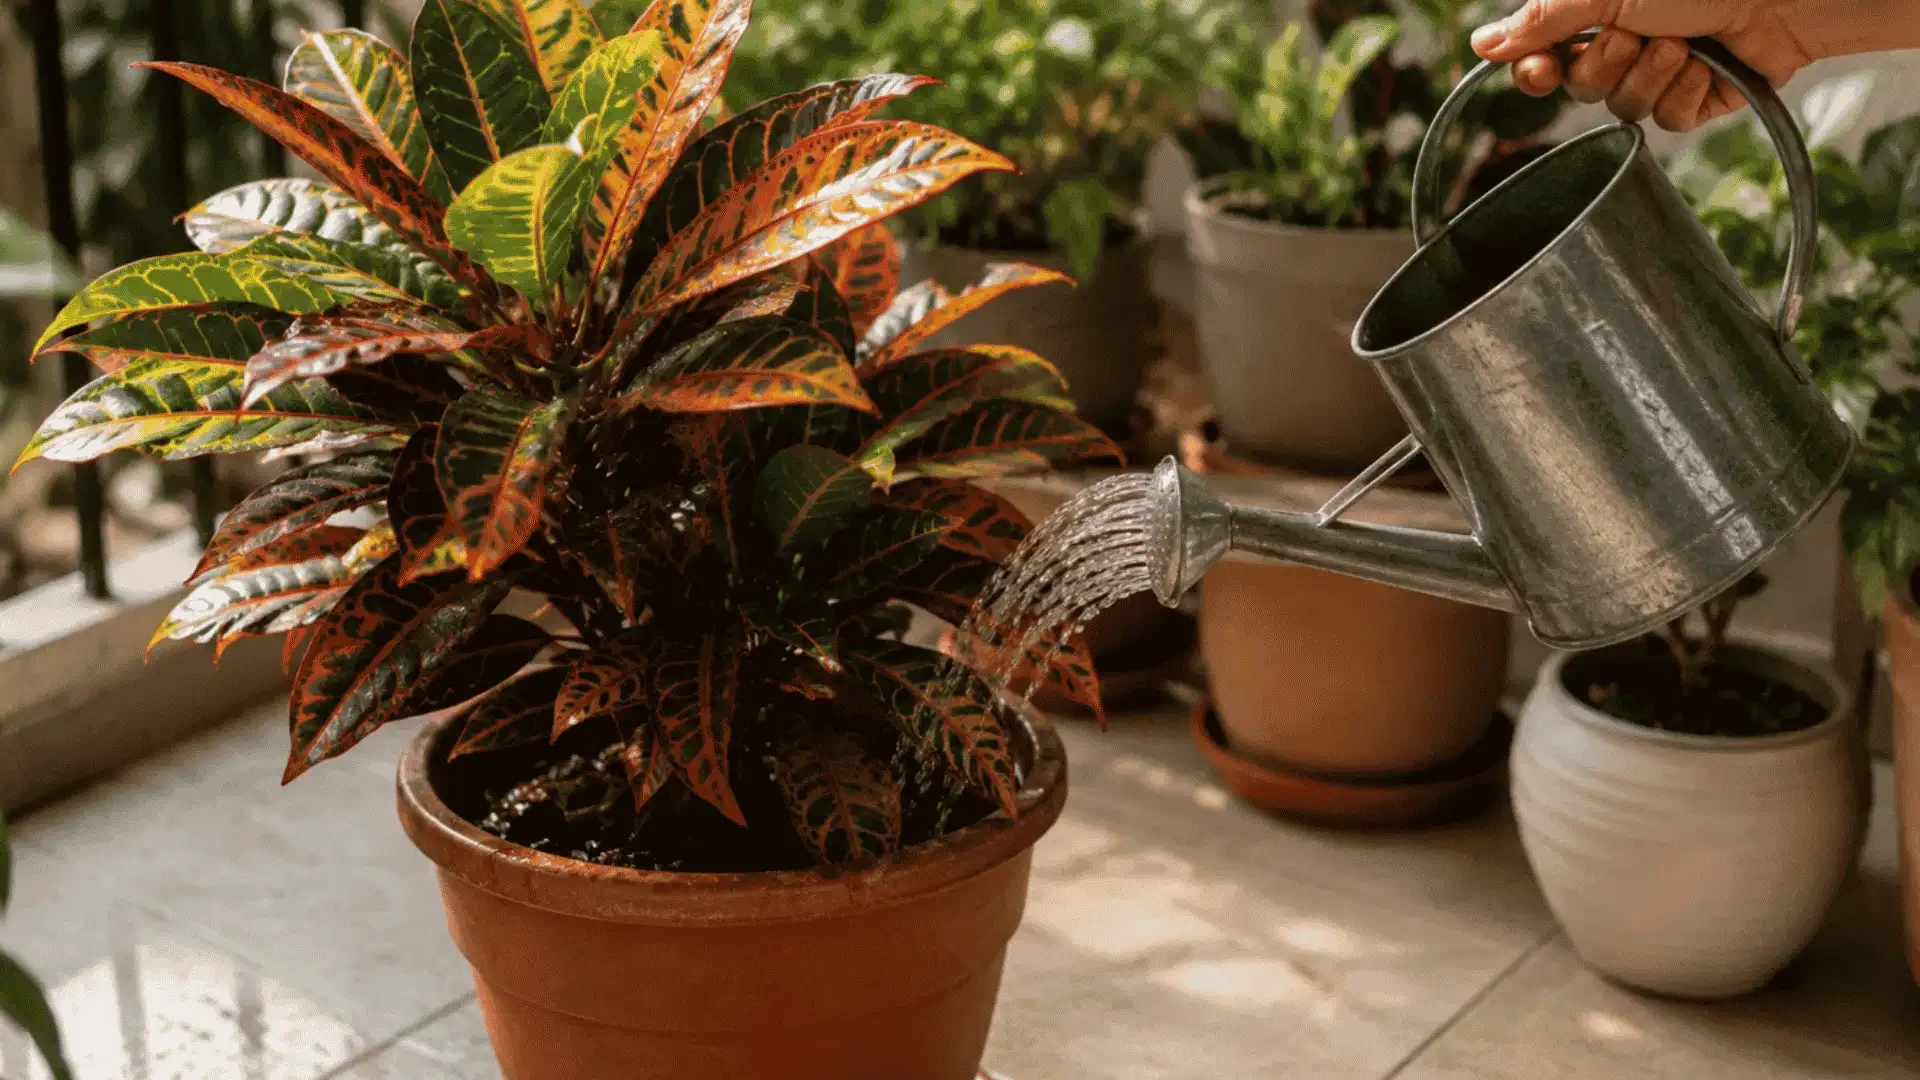
Crotons prefer evenly moist soil but dislike sitting in water. Instead of following a fixed schedule, adjust your watering routine based on how quickly the soil dries.
How Often Should You Water a Croton?
Most indoor crotons need water about once every one to two weeks, but the exact timing depends on growing conditions.
| Condition | Watering Adjustment |
|---|---|
| Spring and summer | Check the soil more often, as it dries faster |
| Fall and winter | Water less often as growth slows |
| Bright light or a small pot | Expect the soil to dry more quickly |
| High humidity or a large pot | Moisture remains in the soil longer |
After checking that the top 1–2 inches of soil are dry, water slowly until excess drains from the bottom of the pot. Always empty the saucer so the roots are not left sitting in water.
The table below can help you spot signs of overwatering or underwatering.
| Sign | Likely Issue | What To Do |
|---|---|---|
| Yellow leaves and wet soil | Overwatering | Let the soil dry and improve drainage |
| Crispy edges and dry soil | Underwatering | Water thoroughly and check more often |
| Drooping after watering | Poor drainage | Use a lighter potting mix or a better-draining pot |
| Sudden leaf drop | Environmental stress | Review recent changes in watering, light, or temperature |
How and When to Fertilize a Croton
A croton only needs fertilizer when it is actively growing. Feed it with a balanced liquid fertilizer every 4–6 weeks during spring and summer to support healthy new growth and vibrant foliage.
Apply fertilizer after watering or to slightly moist soil to help protect the roots. As daylight drops and growth slows in fall and winter, reduce feeding or stop it until spring.
Wisconsin Horticulture Extension notes that a complete houseplant fertilizer is enough for many indoor plants, and overfertilizing can burn leaves or even kill the plant.
Avoid overfeeding, as salt buildup can cause brown edges, weak roots, and stunted growth.
Best Temperature and Humidity for Croton Plant Care
Crotons are tropical plants, so steady warmth and moisture in the air matter. Use this table to maintain a comfortable indoor environment.
| Care Point | Ideal Condition | What To Do |
|---|---|---|
| Temperature | 60–85°F | Keep crotons in a warm, stable room with no sudden temperature swings. |
| Cold Limit | Avoid below 50°F | Move the plant away from cold windows, drafty doors, and outdoor exposure in cool weather. |
| Humidity | Moderate to high | Group it with other plants, use a pebble tray, or run a humidifier nearby. |
| Misting | Short-term humidity boost | Mist lightly in dry weather, but do not rely on it as the only humidity method. |
| Warning Signs | Leaf drop, curling, brown edges | Check for cold drafts, dry indoor air, or sudden changes in room conditions. |
I learned the hard way that the cold limits the hard way one winter, when the croton sitting closest to my window shed nearly a third of its leaves in a week.
Moving it three feet back from the cold glass stopped the leaf drop within days, so a bright window can still be a bad spot if it turns chilly at night.
Fun fact: Crotons often drop leaves faster from cold drafts than from missed watering. That is why a bright window can still be a bad spot if it gets chilly at night.
Pruning and Maintenance
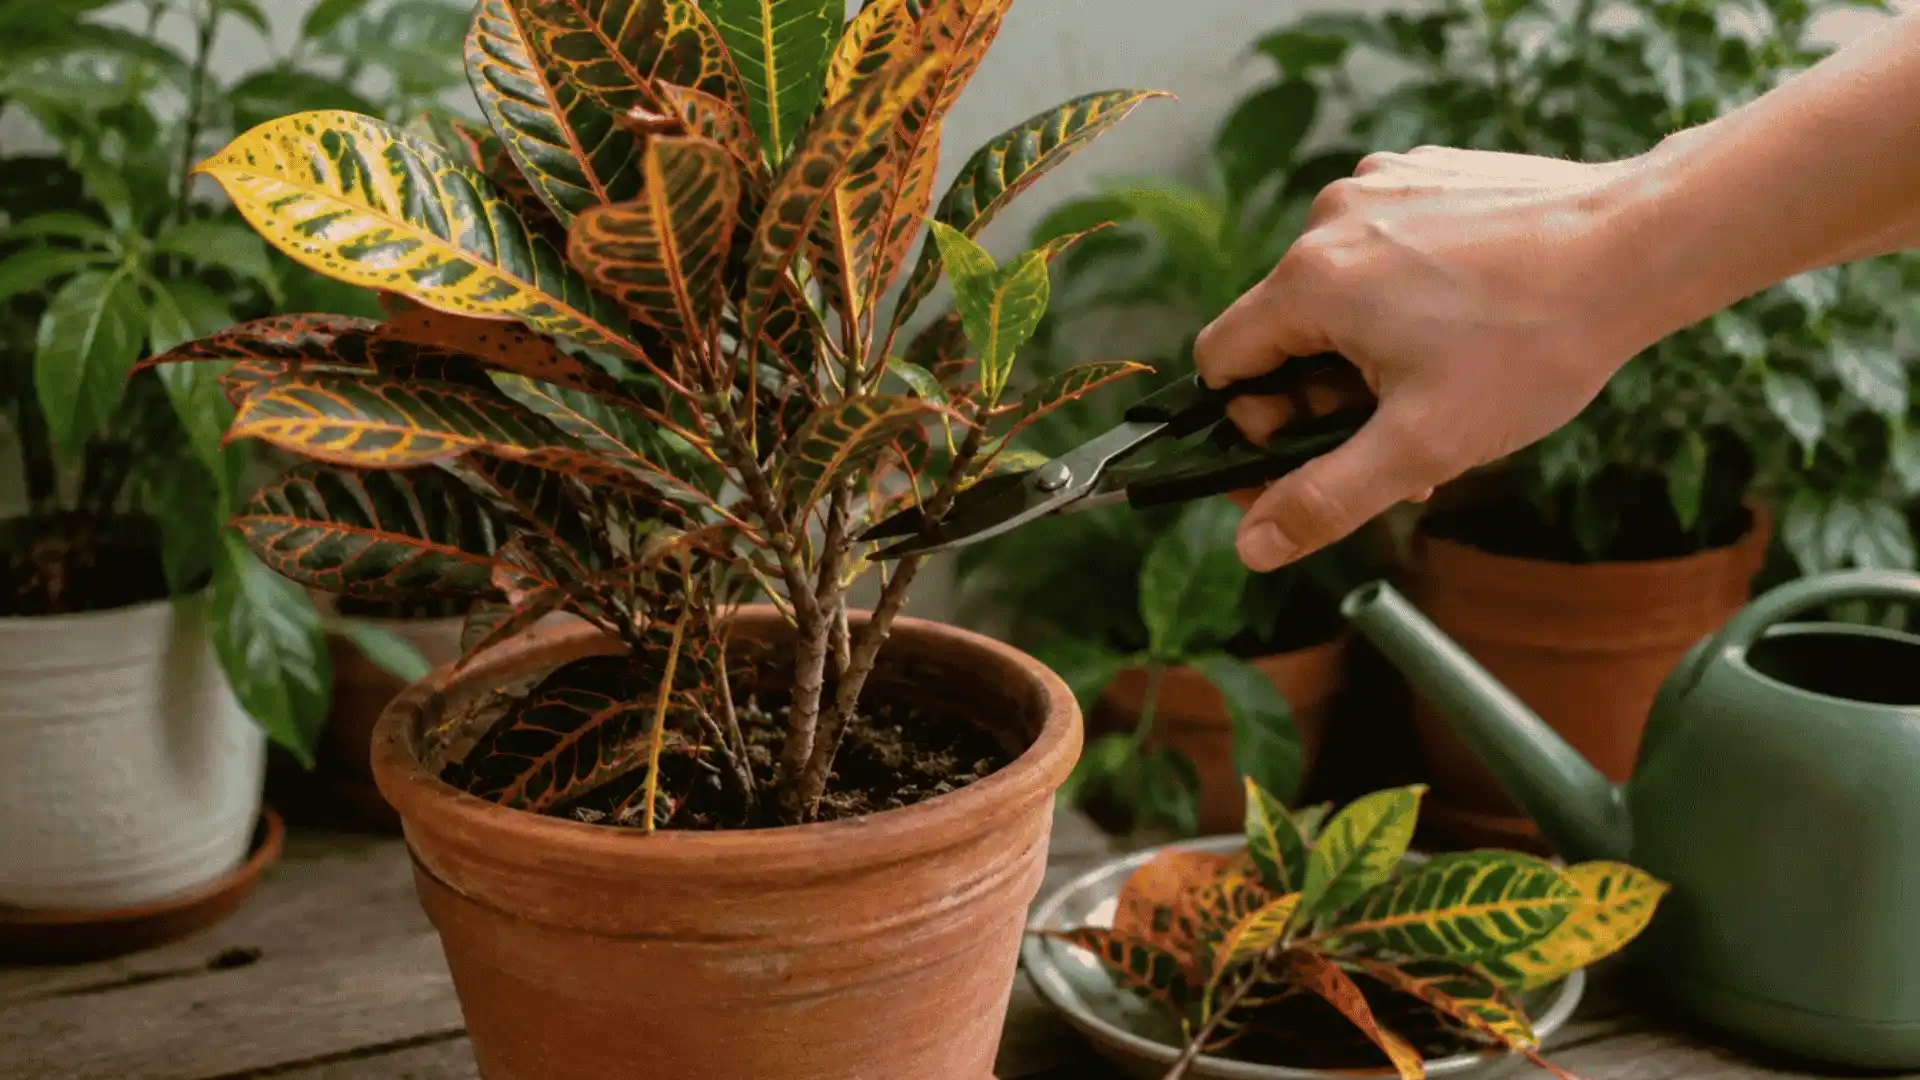
Pruning helps your croton stay full, neat, and healthy. Crotons often become leggy when they receive insufficient light or grow for long periods without trimming.
A few careful cuts during the growing season can make the plant look much stronger.
Use these simple pruning tips:
- Prune in spring or early summer: This gives the plant enough warmth and time to recover from active growth.
- Remove weak or damaged leaves: Cut off yellow, brown, or unhealthy leaves so the plant can focus on fresh growth.
- Trim leggy stems above a node: This encourages new side shoots and helps the plant grow fuller over time.
- Use clean, sharp pruners: Wipe your tools before cutting to reduce the chance of spreading disease.
- Wear gloves while pruning: Crotons release milky sap that may irritate skin, so avoid direct contact.
- Clean the leaves: Wipe dust from the foliage with a damp cloth so the plant can receive light more effectively.
- Rotate the pot: Turn it slightly every week or two to encourage more even growth.
Pro Tip: Do not throw away healthy cuttings. You can use them for propagation in the next section.
When and How to Repot a Croton
Repotting gives your croton more room to grow, but it only needs to be done when the roots outgrow the current pot. Moving it too often or choosing a pot that’s too large can slow growth and keep the soil wet for longer than needed.
Look for these signs before repotting:
- Roots are growing through the drainage holes.
- Water runs through the pot too quickly.
- Roots are circling tightly inside the pot.
- Growth has slowed despite proper care.
- The plant dries out much faster than usual.
When it’s time to repot:
| Repotting Step | What To Do | Why It Matters |
|---|---|---|
| Choose The Right Pot | Pick a pot only 1–2 inches wider than the current one. | This gives roots space without leaving too much wet soil around them. |
| Repot in the Right Season | Repot in spring or early summer. | Crotons recover better when they are actively growing. |
| Refresh The Potting Mix | Use a loose, well-draining mix instead of compacted old soil. | Fresh mix improves airflow, drainage, and root health. |
| Water After Repotting | Soak the soil once, let any excess water drain, then resume normal watering. | This settles the mix around the roots without keeping them soggy. |
Bonus Tip: Wait about 3–4 weeks before fertilizing after repotting so the roots can settle first.
Propagating Croton from Stem Cuttings
Crotons are easiest to propagate from stem cuttings in spring or early summer, when warmth supports faster rooting.
- Cut a healthy 4–6-inch stem below a leaf node.
- Wear gloves to avoid contact with the irritating sap.
- Remove the lower leaves, keeping a few at the top.
- Plant the cutting in moist, well-draining potting mix.
- Keep it in bright, indirect light with warm humidity.
- Keep the soil lightly moist, not soggy.
- Expect roots in about 4–8 weeks.
You can root croton cuttings in water, but potting mix usually develops stronger roots.
Popular Croton Varieties to Grow at Home
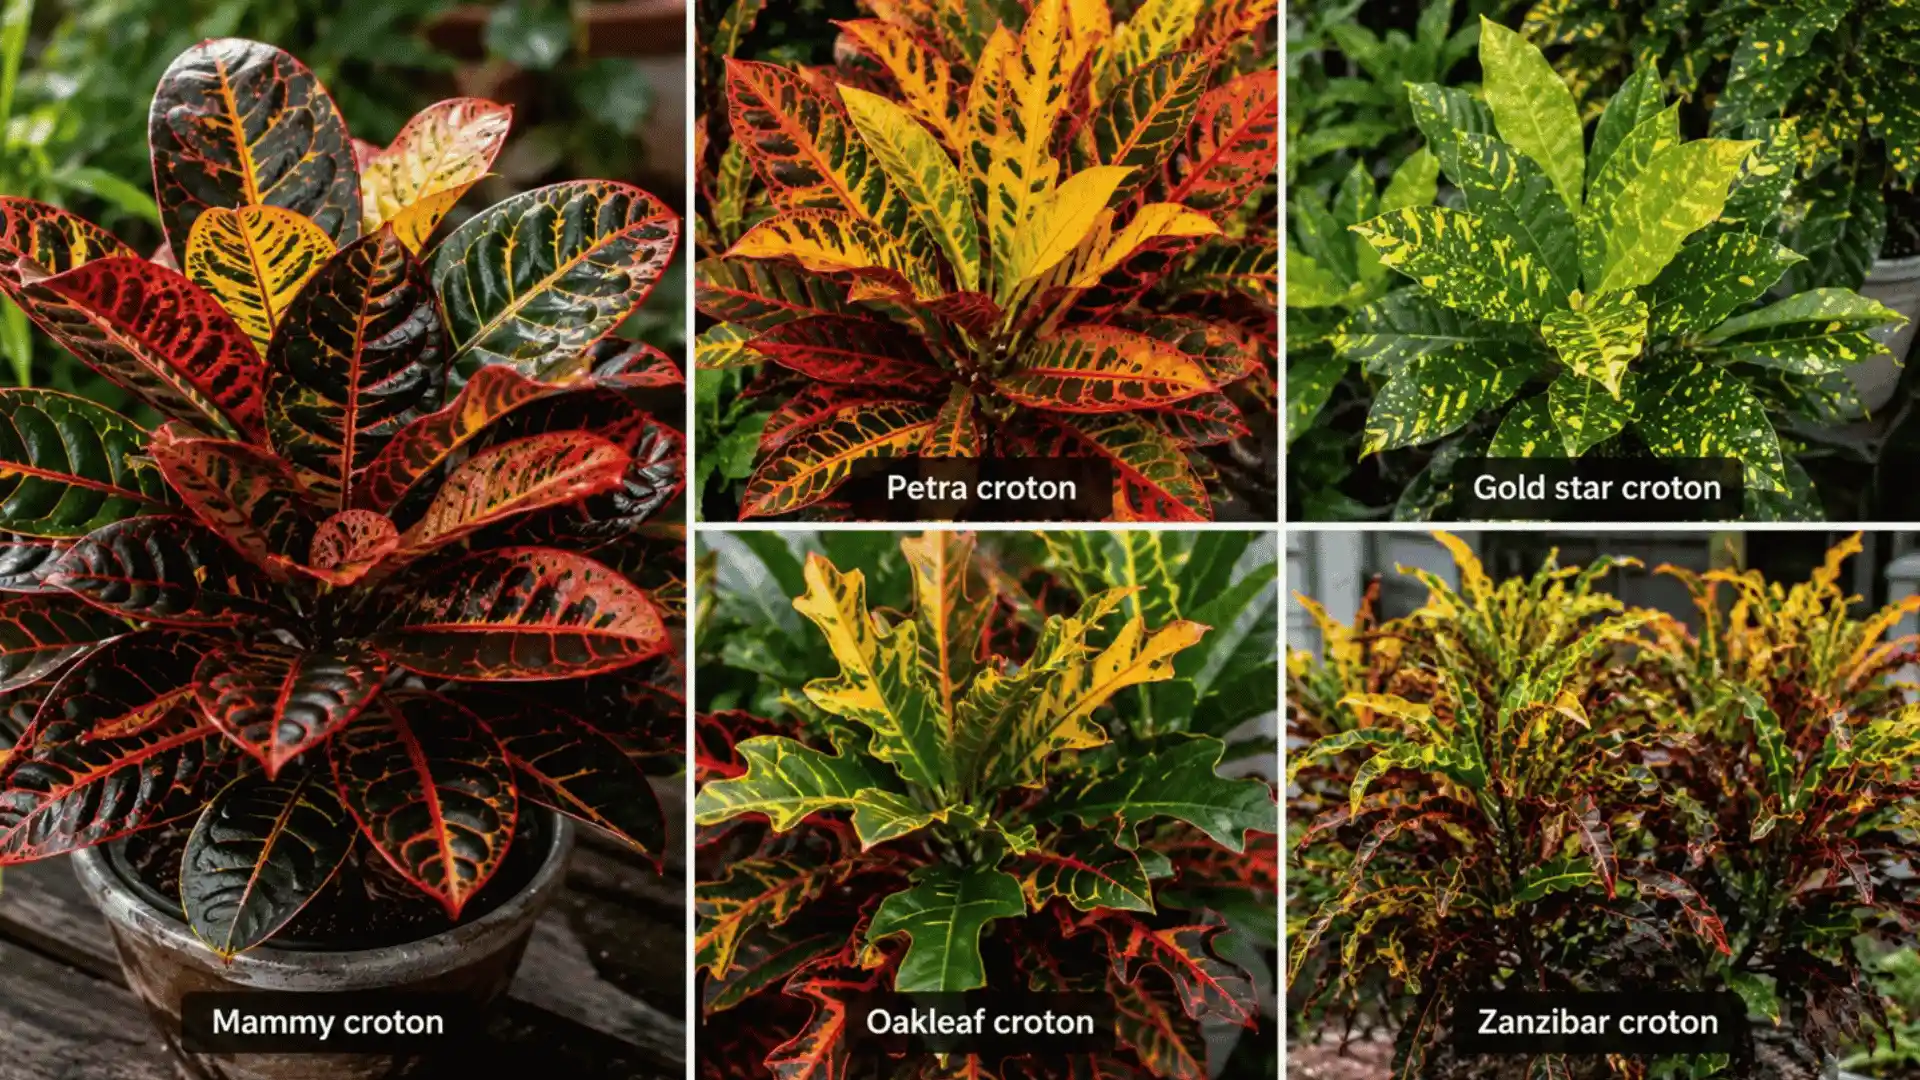
Not all crotons look the same. While they share similar care needs, each variety stands out through its leaf shape, color pattern, or growth habit.
There are several hundred named croton cultivars, so the five below are simply the ones you are most likely to find at a local nursery or garden center.
| Variety | What It Looks Like | Best For | Special Note |
|---|---|---|---|
| Mammy Croton | Narrow, twisted leaves with bright red, orange, yellow, and green colors | Indoor display and colorful focal points | One of the most eye-catching varieties, thanks to its curled foliage and bold color mix. |
| Petra Croton | Broad, oval leaves with green centers and yellow, orange, or red veins | Beginners and everyday houseplant collections | The most commonly sold croton and one of the easiest varieties to find. |
| Gold Star Croton | Green leaves covered with bright yellow speckles | Small spaces and low-maintenance displays | Produces a unique spotted appearance instead of bold color blocks. |
| Oakleaf Croton | Deeply lobed leaves that resemble oak leaves | Decorative indoor or patio containers | Leaf colors gradually shift from green to yellow, orange, and red as they mature. |
| Zanzibar Croton | Long, thin, grass-like leaves in shades of green, yellow, orange, and purple | Modern interiors and mixed plant arrangements | Its fine-textured foliage gives it a very different look from traditional crotons. |
What Causes Croton Leaves to Fall?
Crotons can be dramatic about change. A healthy plant may drop several leaves after being moved, repotted, exposed to a cold draft, or placed in different lighting.
A newly purchased croton may also shed a few leaves as it adjusts to your home.
The University of Wisconsin–Madison Division of Extension explains that drafts, temperature fluctuations, and rapid environmental changes can shock crotons and trigger leaf drop.
Illinois Extension also lists uneven watering, low light, transplant stress, and insect attacks as possible causes.
Keep the plant in a stable, bright location, maintain consistent moisture, and inspect the stems and undersides of the leaves for pests. Healthy growth should gradually return once the stress is corrected.
Common Croton Problems and How to Fix Them
Crotons react quickly to changes in light, water, or temperature. Check the issue first, then adjust only what needs fixing.
| Common Problem | Why It Happens | What To Do Instead |
|---|---|---|
| Leaves losing color | Not enough bright, indirect light | Move it closer to a bright window with filtered light |
| Curling leaves | Dry air or uneven watering | Raise humidity and keep soil lightly moist |
| Yellow leaves | Overwatering or poor drainage | Let the top soil dry and empty the saucer |
| Brown leaf edges | Low humidity, underwatering, or fertilizer buildup | Increase humidity and flush the soil if needed |
| Pests on leaves or stems | Mealybugs, spider mites, or scale | Isolate the plant and wipe pests off early |
Croton Toxicity and Safety
Crotons are beautiful plants, but I always recommend handling them with a little extra care. Their milky sap can irritate the skin, and according to the ASPCA, crotons are toxic to cats and dogs if chewed or eaten.
I wear gardening gloves whenever I prune or repot mine, and it’s a habit worth adopting.
Keep the plant out of reach of curious pets and young children, then wash your hands after handling it. If sap gets on your skin, rinse the area with soap and water.
If a pet or child chews the leaves, remove any plant material from the mouth, offer a small amount of water, and contact your veterinarian or healthcare provider promptly, especially if vomiting, drooling, or irritation develops.
Final Thoughts
Croton plant care becomes much easier once you focus on the basics. Bright light, well-draining soil, steady watering, and a stable environment help this colorful plant stay healthy throughout the year.
In my experience, crotons respond best to consistency rather than constant attention, so small, regular care often brings better results than frequent changes.
Every home is a little different, so take time to notice how your croton responds and adjust its routine as needed.
What has worked best for your croton so far? Share your experience, favorite variety, or any care tips you’ve picked up along the way.
Your advice could help another plant owner grow a healthier, more colorful croton.
Frequently Asked Questions
Can Crotons Grow Under Grow Lights?
Yes. Full-spectrum LED grow lights can support healthy growth and vibrant leaf color when natural light is limited. Place the light about 12–18 inches above the plant for the best results.
Should You Rotate a Croton Plant?
Yes. Rotate the pot about a quarter turn every one to two weeks. This helps all sides receive light evenly and encourages balanced, upright growth.
How Long does a Croton Plant Live?
With proper care, an indoor croton can live for many years. Consistent light, watering, and occasional repotting help it remain healthy and colorful over the long term.
Can You Keep a Croton Outside Year-Round?
Only in warm, frost-free climates. In cooler regions, grow crotons in containers and bring them indoors before temperatures drop below 50°F (10°C).

Jordan Mathews, who has a degree in horticulture from Texas A&M University, has been a guiding force in plant health and sustainable gardening for over 16 years. His career began with a role at a renowned botanical garden, where he deepened his understanding of plant physiology and eco-friendly cultivation methods. Jordan joined our website as a freelancer in 2020, becoming a go-to expert for readers seeking advice on nurturing diverse plant species apart from offering insights grounded in scientific knowledge and practical experience. Beyond his professional achievements, Jordan is a keen nature photographer, capturing the beauty of flora in its immensely diversified forms.