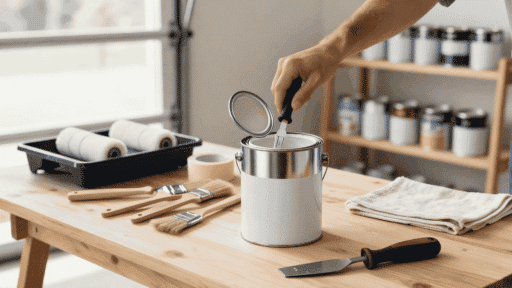
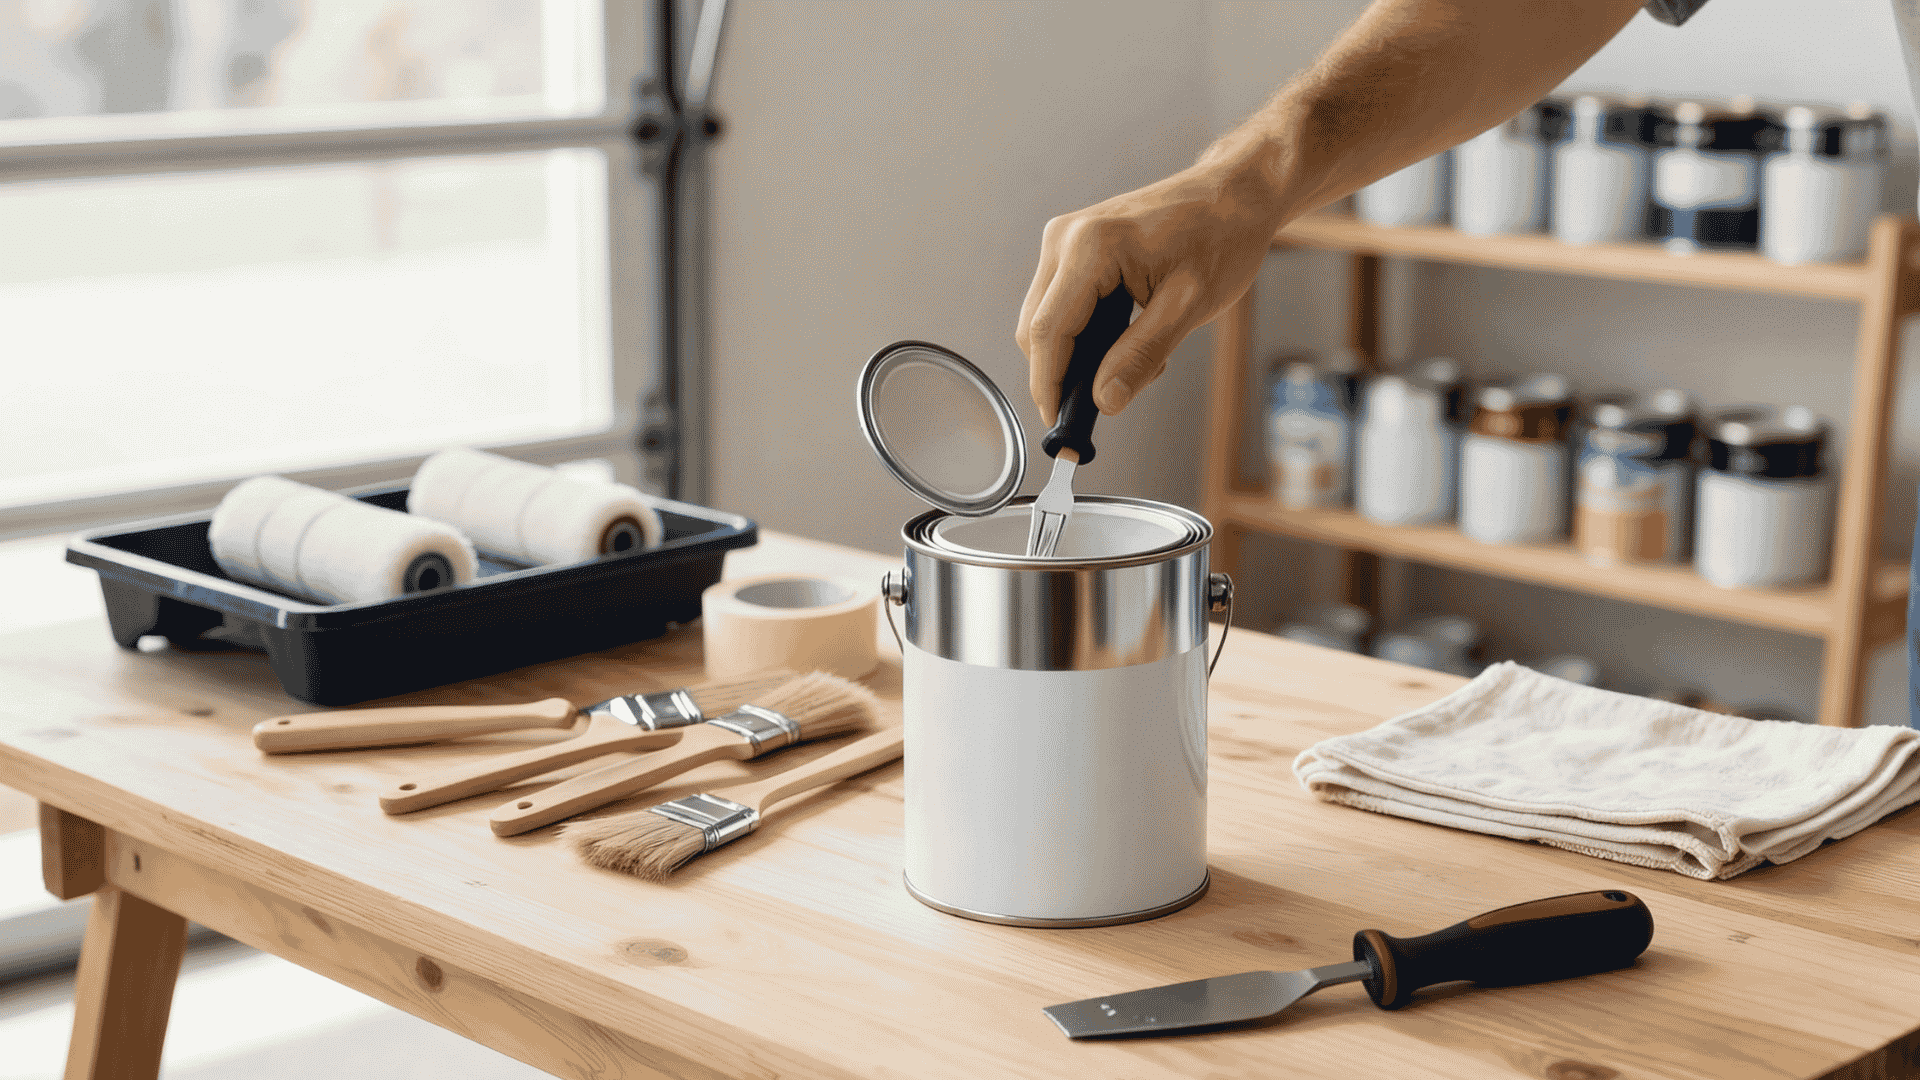

Opening a paint can may seem like a simple task, but using the wrong technique can lead to bent lids, messy spills, and wasted paint.
If you are starting your first DIY project or refreshing a room with a new coat of color, learning how to open a paint can the right way makes the entire job easier.
With a few basic tools and a careful approach, you can remove the lid without damaging the rim or creating unnecessary mess.
This guide explains why paint can lids are so tight, how to open them safely, the tools that work best, and simple tips for closing and storing leftover paint to keep it fresh for future use.
Why Paint Can Lids are So Tight
Paint cans use a press-fit lid that seals tightly against the rim. This airtight seal keeps air out and helps the paint stay fresh longer.
The lid hooks under the lip of the can. That tight connection prevents leaks during storage and transportation, but it also makes the lid harder to remove without the right technique.
Instead of pulling upward from one spot, work around the edge. Applying gentle pressure at several points breaks the seal evenly and reduces the risk of bending the lid.
Before You Open the Paint Can
A few simple prep steps help you open the paint can safely and keep the paint clean before you start.
- Prepare your workspace before opening the paint can.
- Gather a paint can opener or a flathead screwdriver, a drop cloth, a rag, and gloves.
- Place the can on a flat, stable surface to prevent spills.
- Wipe dust, dirt, or dried paint from the outside of the can.
- Cleaning first helps keep debris out of the fresh paint.
- A little prep makes the painting process safer, cleaner, and more organized.
Simple Tools that Make the Job Easier
The right tools help you open, clean, and reseal a paint can with less mess. Keep them nearby before you start so you do not have to stop midway.
Step-by-Step Instructions to Open a Paint Can
Opening a paint can is easier than many people think. The goal is to release the seal gradually instead of forcing the lid upward.
1. Prepare the Paint Can
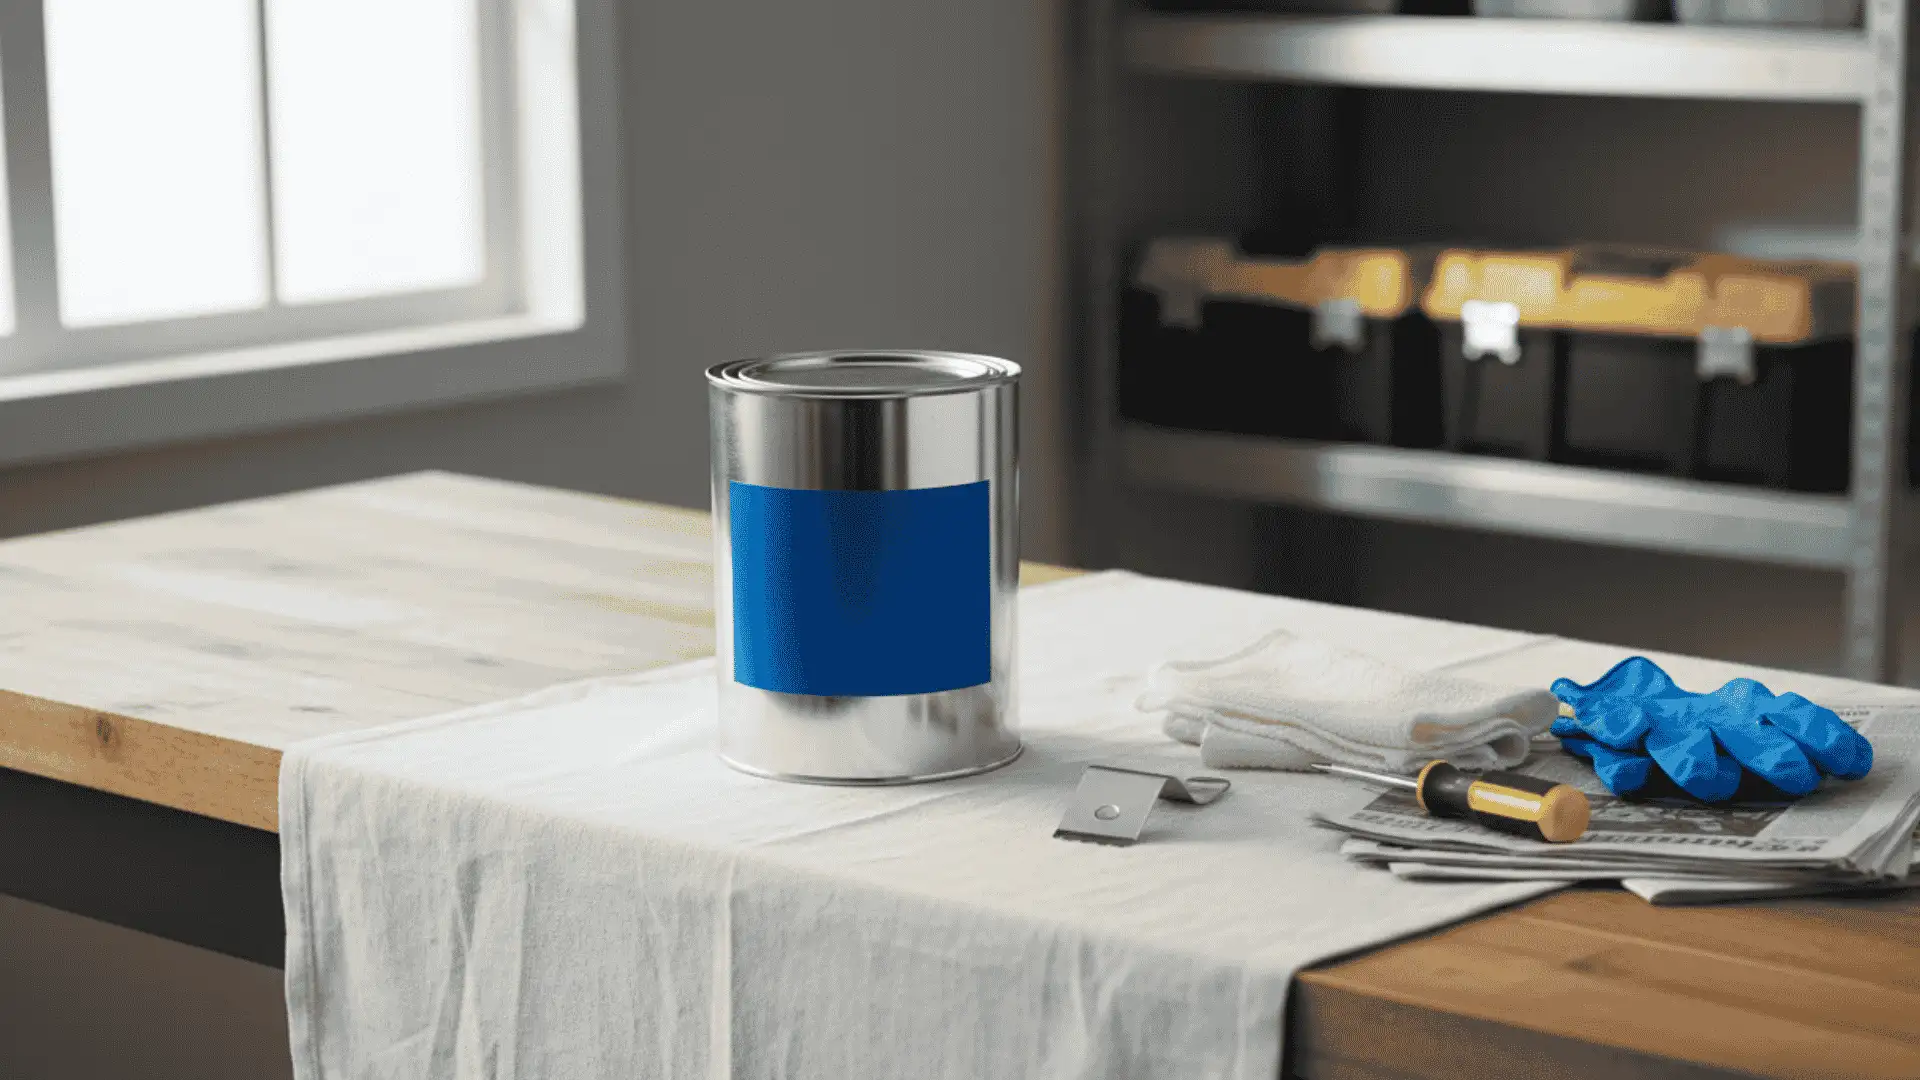
Place the paint can on a flat, stable surface with a drop cloth or old newspaper underneath. Wipe away any dirt or dried paint from the outside of the can before you begin.
A clean, secure workspace reduces the risk of spills and prevents debris from falling into the paint once the lid is removed.
2. Position Your Tool Under the Lid
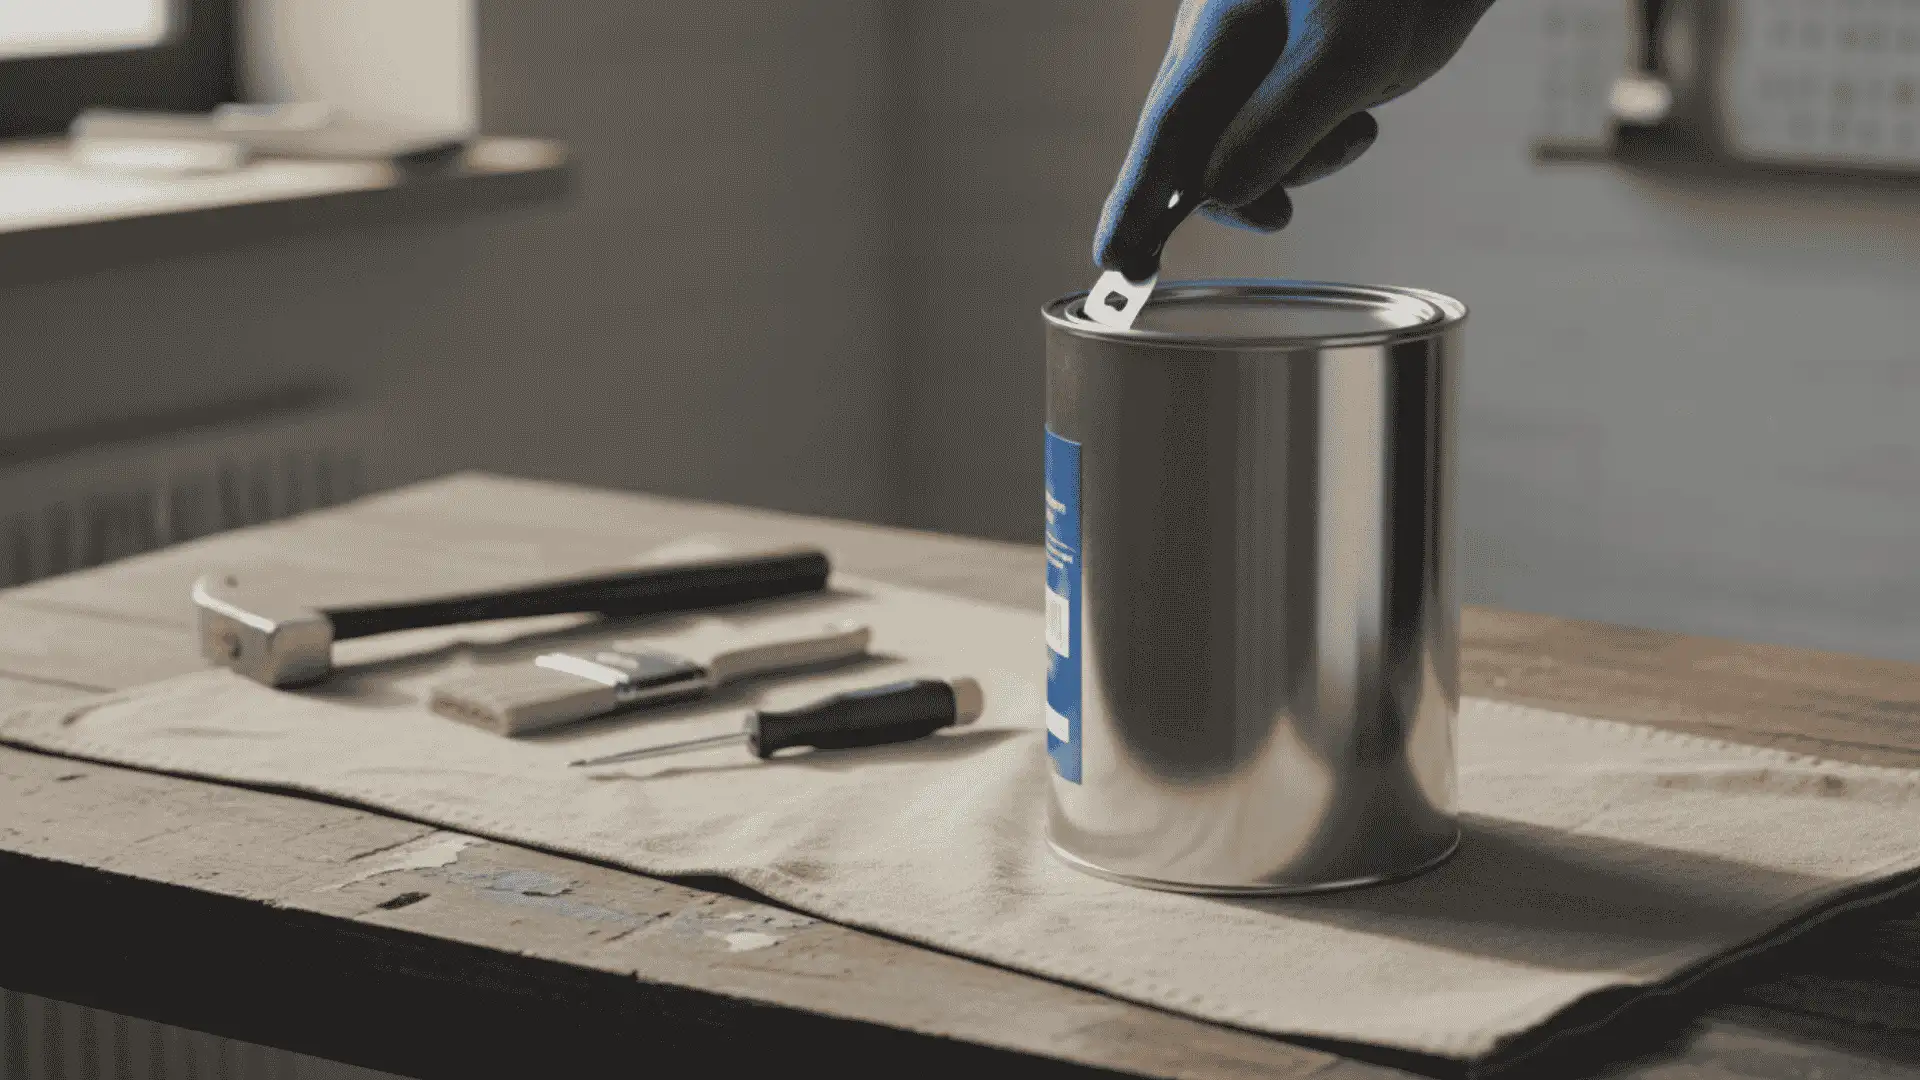
Slide a paint can opener beneath the lid lip where it meets the rim. If you do not have one, use a flathead screwdriver instead. Make sure the tool is seated securely before applying pressure.
Proper placement gives you better control and helps prevent scratches, bent lids, or damage to the rim.
3. Break the Seal Gradually
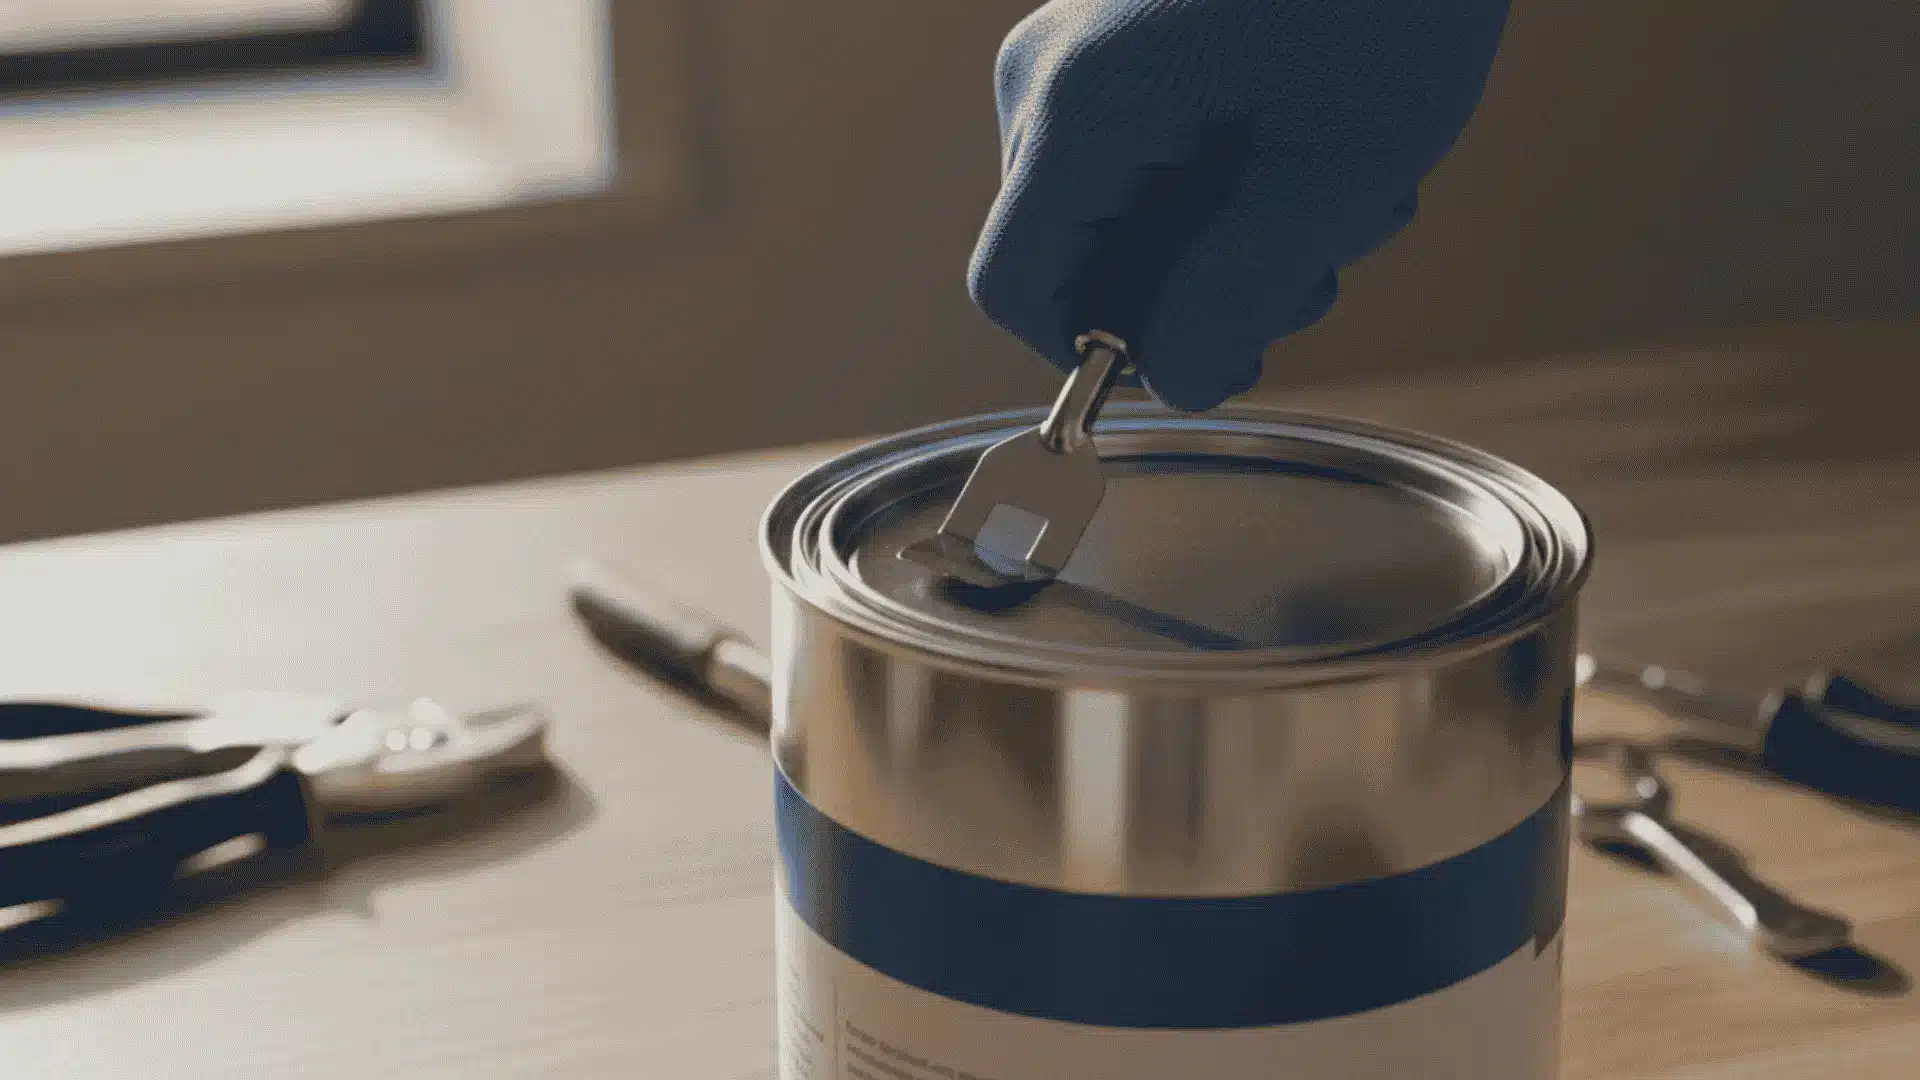
Lift the lid gently until it rises slightly, then move a few inches around the rim and repeat the process. Continue working around the entire edge instead of prying from one spot.
This evenly releases the airtight seal, protects the rim from bending, and greatly reduces the risk of paint spatter when opening.
4. Loosen the Lid Completely
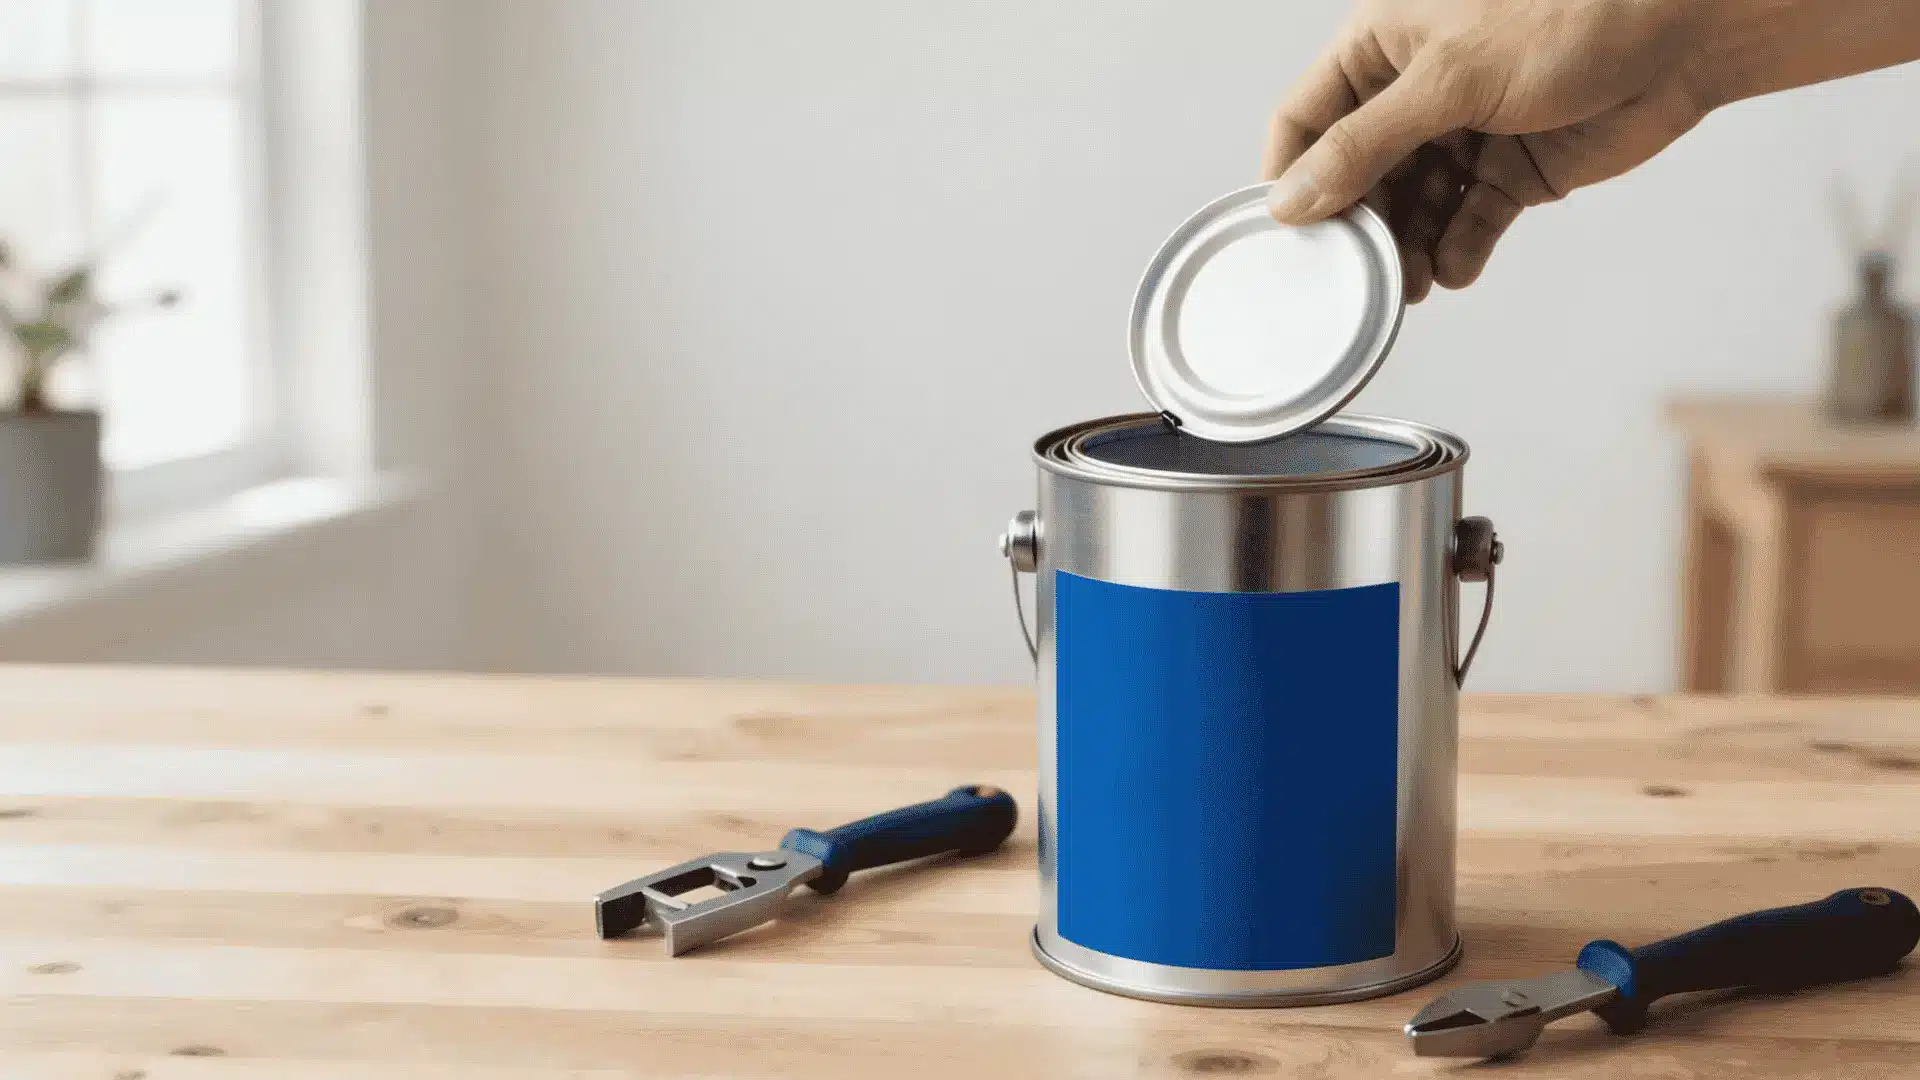
Keep circling the rim until the lid feels loose enough to lift with little effort. If you encounter resistance, return to another section and continue the same gentle motion rather than forcing the lid upward.
Taking your time helps preserve the can’s seal, making it easier to close and store leftover paint after your project.
5. Remove the Lid Carefully
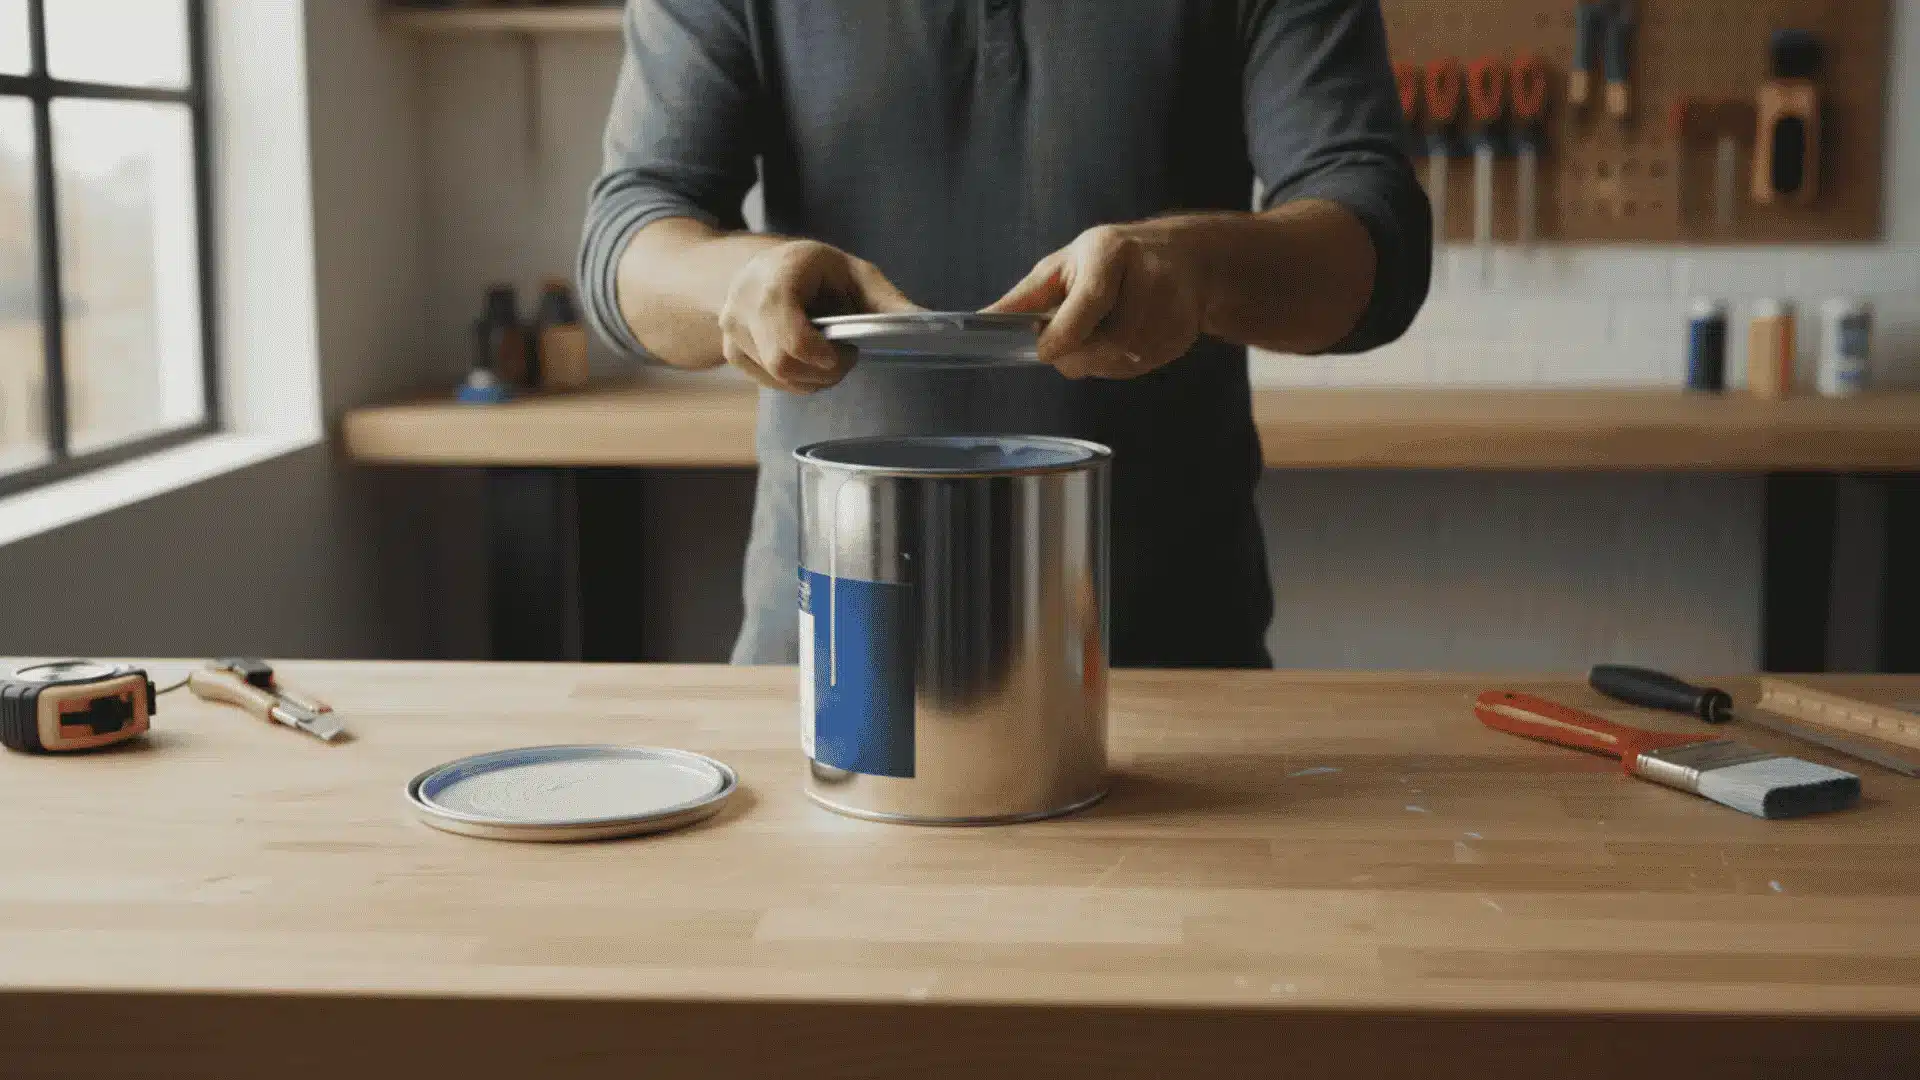
Once the seal has released, lift the lid slowly with both hands while keeping it level. Wet paint often collects on the underside, so moving too quickly may cause drips.
Place the lid on a clean surface with the painted side facing upward to keep dust and dirt away before you begin painting.
Why a Paint Can Opener Works Better
A paint can opener is made for this exact task. Its curved shape fits under the lid without damaging the metal.
Unlike many screwdrivers, the opener spreads pressure over a small area. That lowers the chance of bending the rim or scratching the lid.
The tool is also small enough to keep in any painting kit. If you paint often, it is a worthwhile addition.
Using a Flathead Screwdriver
If you do not have a paint can opener, a flathead screwdriver can work well. Slide the blade under the lid and lift gently. After each small lift, move around the rim before prying again.
Do not twist the screwdriver with too much force. Heavy pressure can warp the lid, making it harder to reseal the can after your project.
Avoid These Common Mistakes
Many paint spills happen when people rush while opening or closing the can. A slow, careful approach protects the paint, lid, and workspace.
| Mistake | Why It Causes Problems | What To Do Instead |
|---|---|---|
| Pulling The Lid From Only One Side | This can bend the lid and damage the rim. | Lift the lid little by little from different points around the edge. |
| Hitting The Lid Directly With A Hammer | A hammer can dent the lid, preventing it from sealing properly later. | Place a scrap piece of wood over the lid first, then tap gently. |
| Using Too Much Force | Forcing the lid open can cause paint to splash or the metal to warp. | Use steady pressure and work slowly around the rim. |
| Opening The Can On An Uneven Surface | A wobbly surface increases the risk of spills. | Place the paint can on a flat, stable floor or worktable. |
| Leaving The Lid On A Dirty Floor | Dust, hair, or debris can stick to the wet lid and fall into the paint. | Set the lid on a clean cloth or plastic sheet. |
A careful method keeps the paint clean, prevents mess, and helps the can seal tightly after use.
Safe Methods For Opening A Stuck Paint Can
Dried paint around the rim can make the lid hard to lift.
Work slowly so the can, lid, and paint stay clean and usable.
- Clean The Rim: Wipe away dried paint with a damp cloth or gently scrape it with a putty knife. This helps break the seal before you try lifting the lid.
- Loosen The Lid Gradually: Use a paint can opener or flathead screwdriver to lift the lid at several points. Avoid forcing one side, as this can bend the lid.
- Tap The Edge Lightly: If the lid still feels stuck, tap around the rim with a rubber mallet. The small vibrations can loosen dried paint without damaging the can.
- Avoid Sharp Tools: Do not use knives or pointed tools to pry the lid open. They can puncture the metal, create shavings, or contaminate the paint.
Closing and Preserving the Leftover Paint
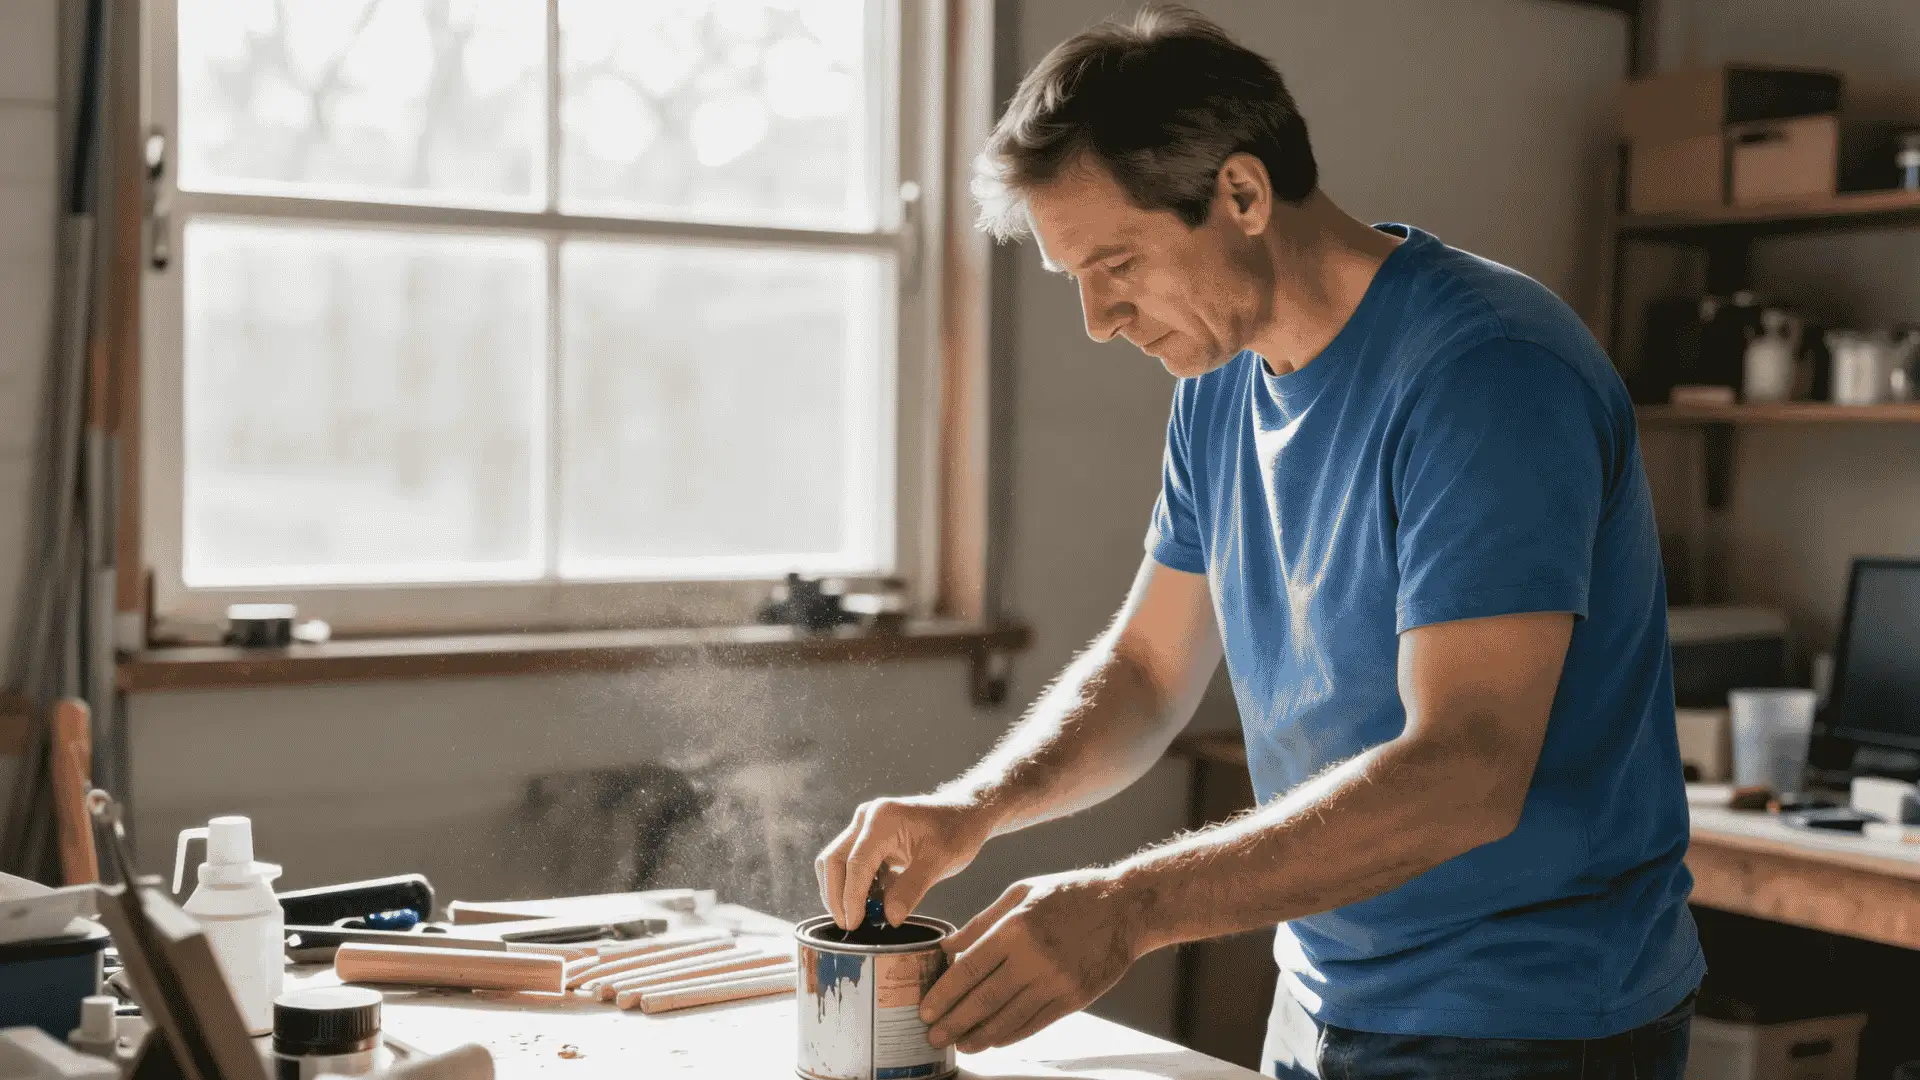
A secure seal and suitable storage conditions help protect leftover paint from air, leaks, and temperature changes. Use the table below to keep it ready for future touch-ups.
| Step | What to Do |
| Position the lid | Place the lid back on the rim and make sure it sits evenly on all sides. |
| Press it gently | Use your hands to press the lid down lightly and hold it in place. |
| Add scrap wood | Place a small piece of wood across the lid before using a hammer. |
| Tap around the lid | Tap the wood lightly in different areas until the lid is fully sealed. |
| Avoid direct hammering | Do not hit the metal lid directly, as dents may weaken the seal. |
| Clean the can | Wipe paint from the rim and outside of the can before storing it. |
| Store it upright | Keep the can standing straight to reduce leaks and make reopening easier. |
| Choose the right location | Store paint in a cool, dry place away from sunlight, heat, and freezing temperatures. |
| Reduce air exposure | Check that the lid is tightly sealed to help prevent the paint from drying out. |
| Label the lid | Write the room name, paint color, and purchase date on the lid for easy reference. |
Prevent Spills and Fix Common Paint Can Problems
A few careful habits can protect the lid, rim, and paint while making cleanup easier. Use these practical steps before opening, pouring, resealing, or storing the can.
- Place the Can on a Flat Surface: Keep the paint can steady while opening it, rather than holding it in the air.
- Lift the Lid Slowly: Once the seal breaks, raise the lid carefully to prevent paint underneath from splashing.
- Set the Lid Paint-Side Up: Place it on cardboard or a drop cloth to keep dirt and debris away from the wet paint.
- Pour Paint Gradually: Avoid overfilling the tray and stop pouring before the paint reaches the top.
- Clean Drips From the Rim: Wipe away fresh paint before it dries so the lid seals properly and opens more easily later.
- Loosen a Stuck Lid Gradually: Work around the entire rim instead of forcing the tool into one spot.
- Remove Dried Paint Carefully: Use a putty knife to scrape buildup from the edge without damaging the rim.
- Straighten a Bent Lid: Gently reshape it before closing the can so it can form a secure seal.
- Fix a Lid That Will Not Seal: Clean the rim and lid groove before pressing the lid back into place.
- Use the Right Opening Tool: Choose a paint can opener, putty knife, or five-in-one painter’s tool rather than an unsuitable sharp object.
- Apply Gentle Pressure: Avoid rushing or using excessive force, which can bend the lid or damage the can.
- Close the Can Securely: Press around the lid evenly to create a tight seal without distorting its shape.
- Store Leftover Paint Upright: Keep the sealed can in a cool, dry place to reduce leaks and extend the paint’s shelf life.
Conclusion
Knowing how to open a paint can correctly helps protect both the paint and the container while making your project cleaner and less stressful.
By preparing your workspace, using the right tools, and gradually loosening the lid, you can avoid common problems such as bent lids, spills, and damaged rims.
The same care should continue after opening by cleaning the rim, properly sealing the lid, and storing any leftover paint in a cool, dry place.
These simple habits keep paint fresh and ready for future touch-ups or projects. Follow the steps and tips in this guide each time you paint, and you’ll enjoy a smoother, safer, and more organized painting experience.
Frequently Asked Questions
Can You Open a Paint Can without A Screwdriver?
Yes. A paint can opener, putty knife, or five-in-one painter’s tool can safely loosen the lid.
Should You Hit a Paint Can with A Hammer?
Avoid hitting the lid directly. Use a scrap piece of wood to spread the force when closing the can.
Why is My Paint Can Lid Stuck?
Dried paint around the rim usually creates a tight seal. Cleaning the edge and prying evenly solves the problem.
Can I Reuse a Paint Can After Opening It?
Yes. Clean the rim and reseal the lid tightly to help keep the remaining paint fresh.
How Should I Store Leftover Paint?
Store it upright in a cool, dry place with the lid sealed tightly and away from heat or freezing temperatures.

Holding a Master’s in Library and Information Science from the University of Illinois, Josh Clarke has dedicated more than 15 years to managing and disseminating information across various platforms. His professional journey includes significant experience as a research librarian, where he developed an expertise in sourcing and providing accurate and comprehensive answers to diverse questions. In 2018, Josh brought his rich experience to our platform, quickly establishing himself as a reliable source for general FAQs. He has been overseeing our information curation since then, combining his research skills with a flair for engaging content delivery. When not involved in information management, Josh enjoys exploring digital photography and participating in local quiz competitions, hobbies that complement his inquisitive nature and love for learning.