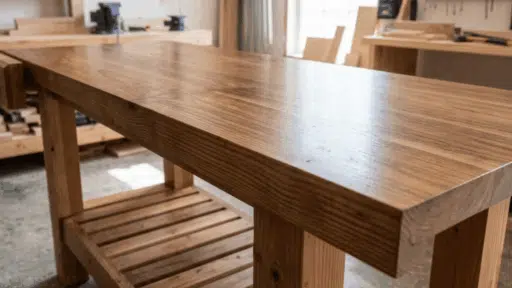
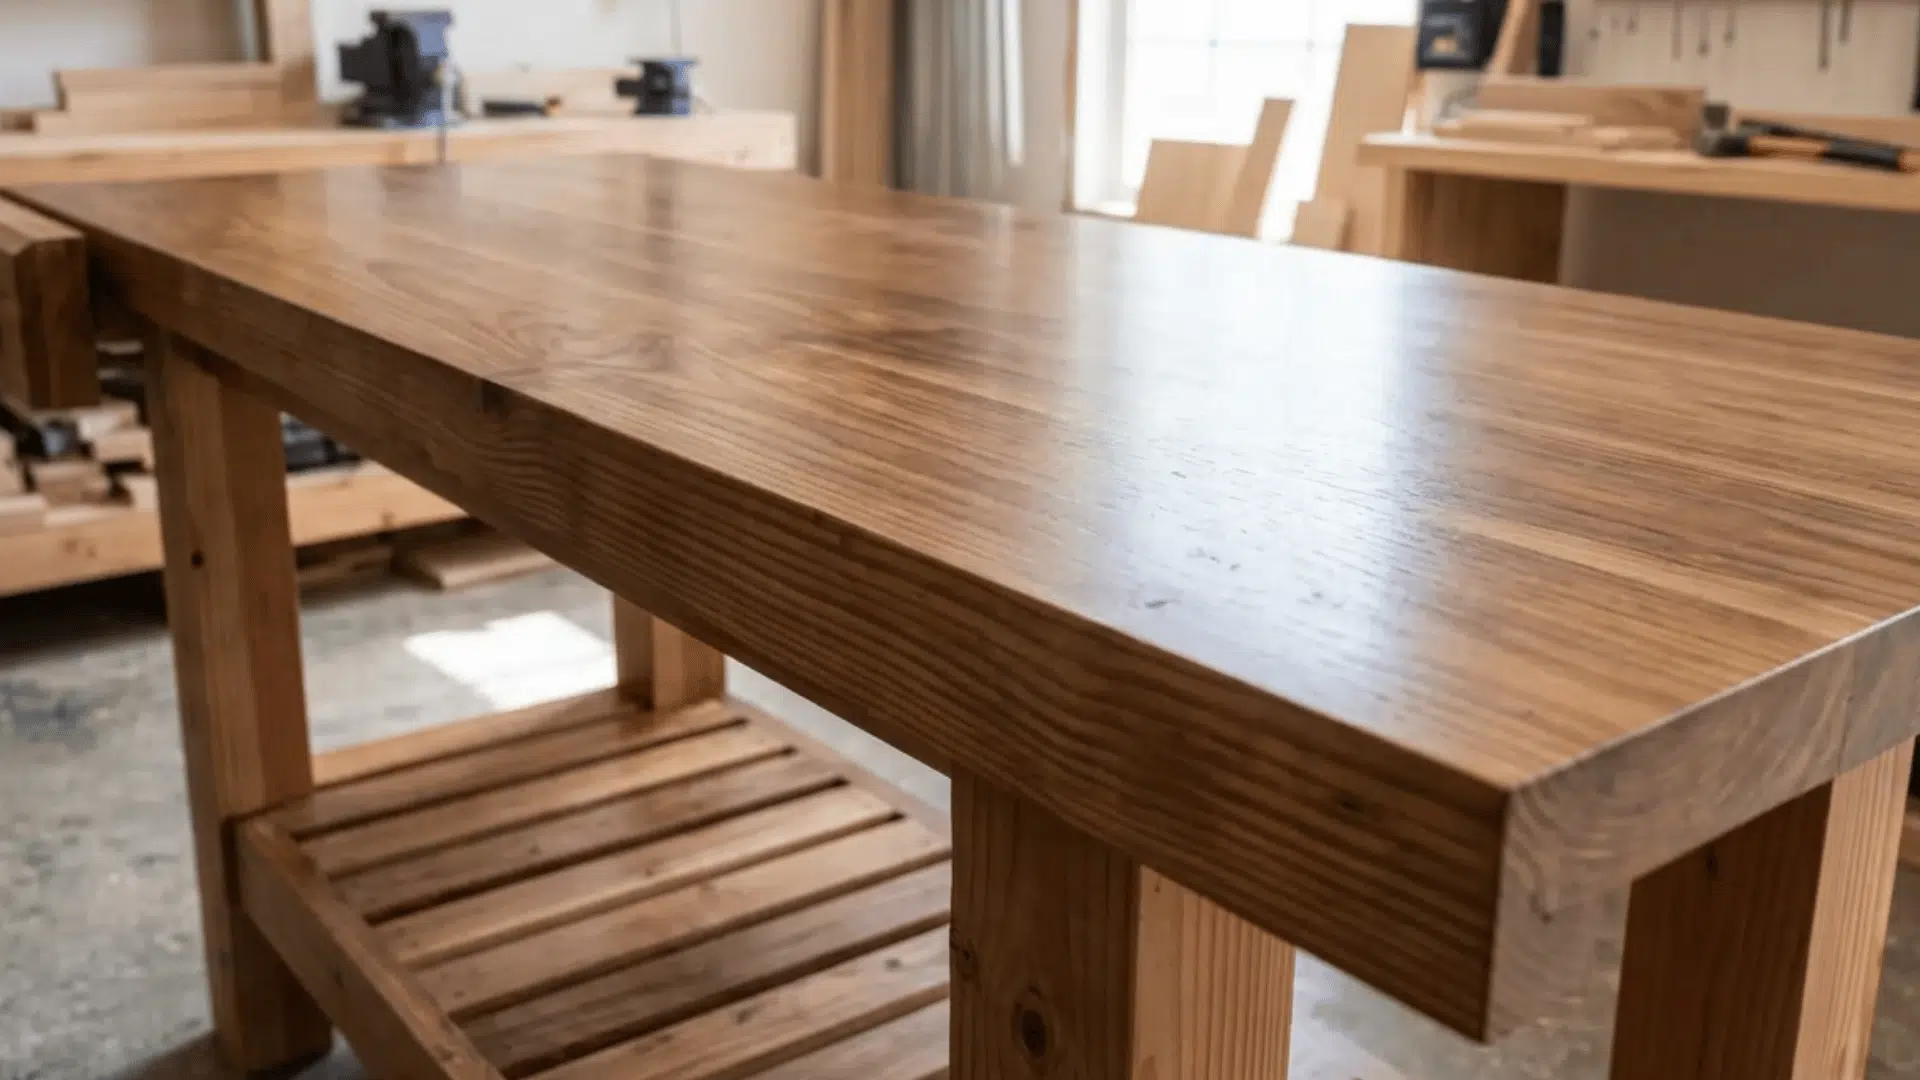

The first time I stained a deck, I made every mistake possible. Blotchy patches, drips along the railing, and a color two shades darker than the can promised.
After years of trial and error on furniture, fences, and floors, I finally figured out what separates a clean finish from a mess.
That experience is exactly why this guide is written. If you want to learn how to stain wood the right way, this article walks you through each step.
You will see how to prep the surface, choose the right stain type, apply it without streaks, and seal it to ensure it lasts. None of this requires fancy tools or years of practice.
A few basic supplies and a little patience go a long way.
Why do You Need to Stain Wood
Wood gets stained for two main reasons: protection and looks. Knowing how to stain wood the right way helps a project last longer while bringing out the natural grain underneath.
Raw wood soaks up moisture, which leads to warping, swelling, and rot over time. Stain seeps into the fibers, adding a layer of defense against water and daily wear.
It works differently from paint, which just sits on the surface and hides the grain. The second reason is color. A bare board often looks plain or uneven.
Stain evens out the tone and can make cheaper wood look richer. It also lets the texture show through instead of covering it up.
That mix of protection and beauty is why staining stays a common step in most woodworking jobs.
Tools And Materials Needed
Gathering the right supplies before starting makes the staining process smoother and helps avoid mistakes halfway through.
- Wood stain (oil-based or water-based)
- Wood dye for blotch-prone wood
- Clear topcoat or sealer polyurethane, lacquer, or wax)
- Sandpaper in 100, 150, and 220 grit
- Tack cloth or clean rags
- Scrap wood for testing
- Foam brushes or natural-bristle brushes
- Painter’s tape
- Nitrile gloves
How to Stain Wood
Follow these steps in order, from bare wood to a sealed, finished surface, and each one builds on the last for a clean result.
Step 1: Prep the Surface
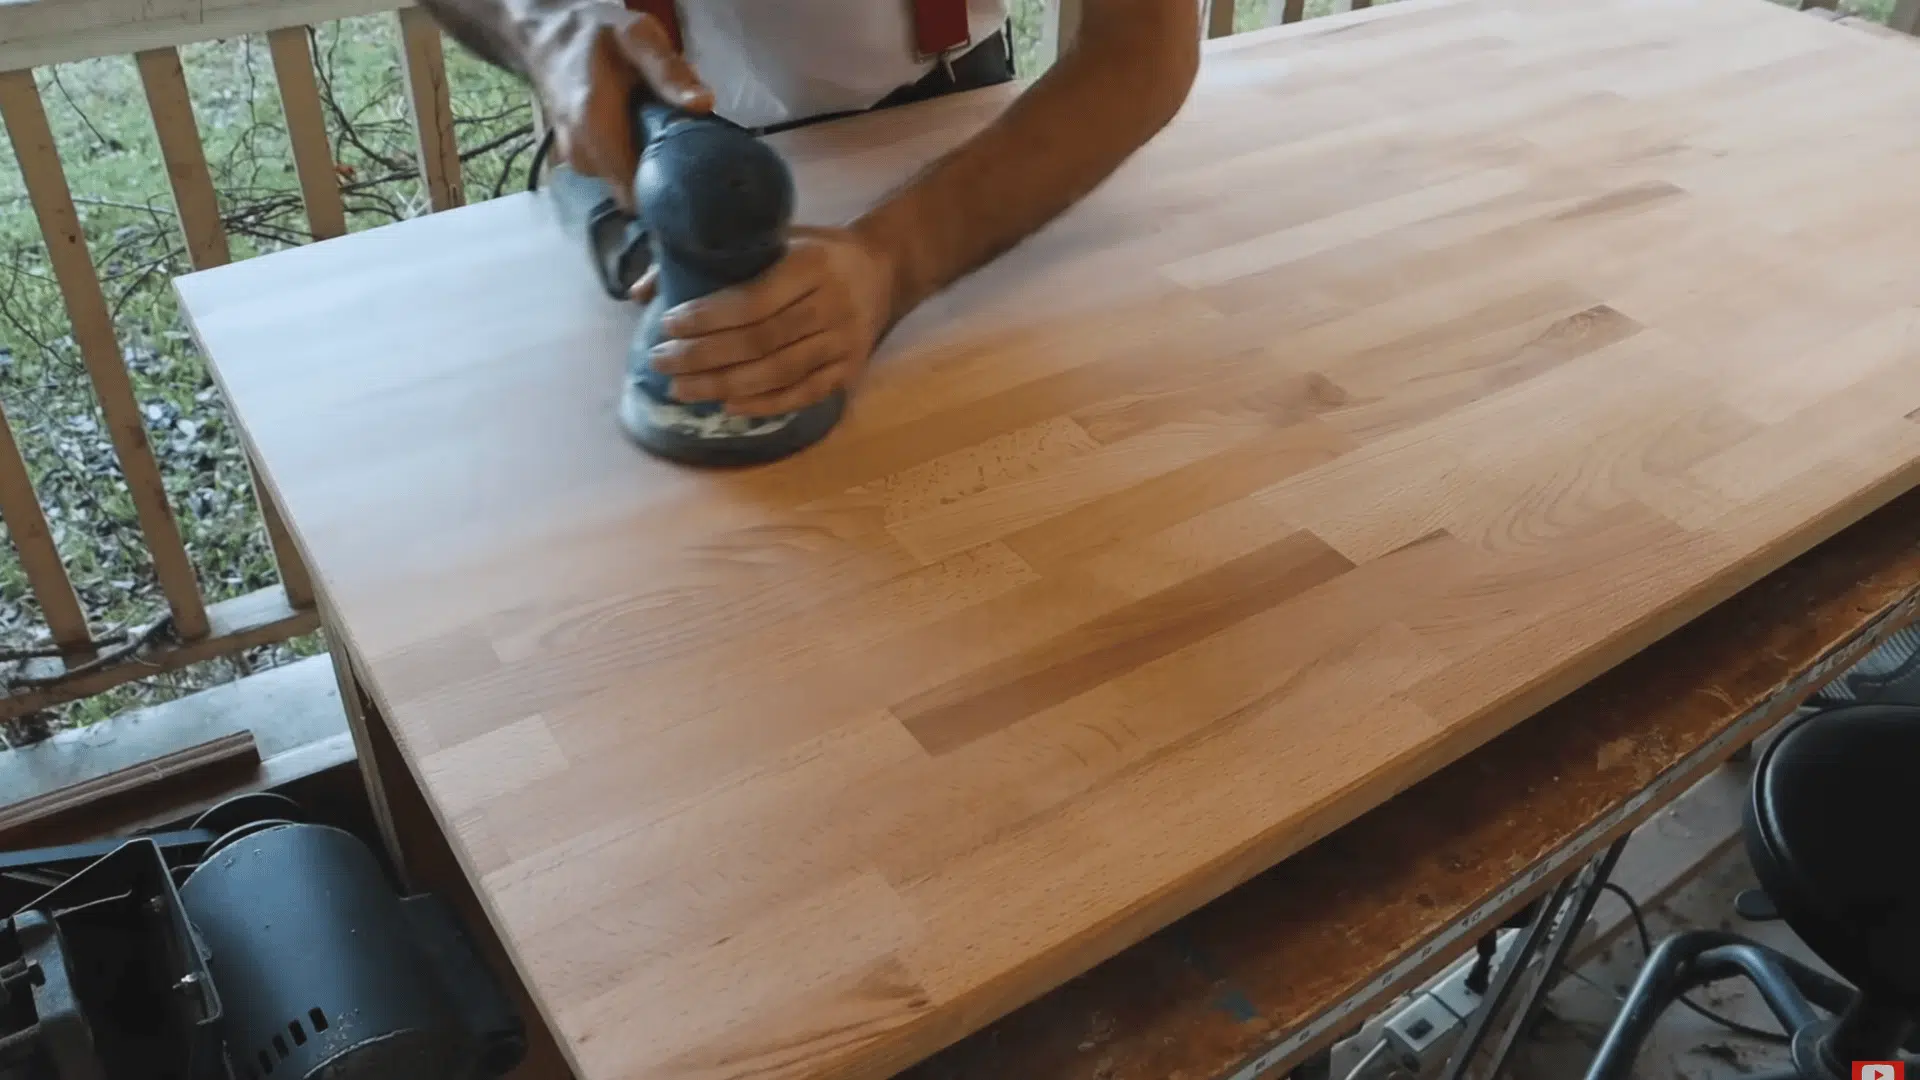
Start by removing any support rails from the underside and setting them aside for safe storage. Even when the factory surface feels smooth, a light pass with high-grit sandpaper improves stain absorption.
Use 220 grit or higher, since higher grit means a gentler cut. A sanding sponge, a homemade sanding block, or a random orbital sander all give the same result, and the only difference between them is how long the job takes.
One rule matters most through every pass: never sand against the grain. Keep each stroke parallel to the lines of the glue joints for an even surface.
Step 2: Clean Off All Dust
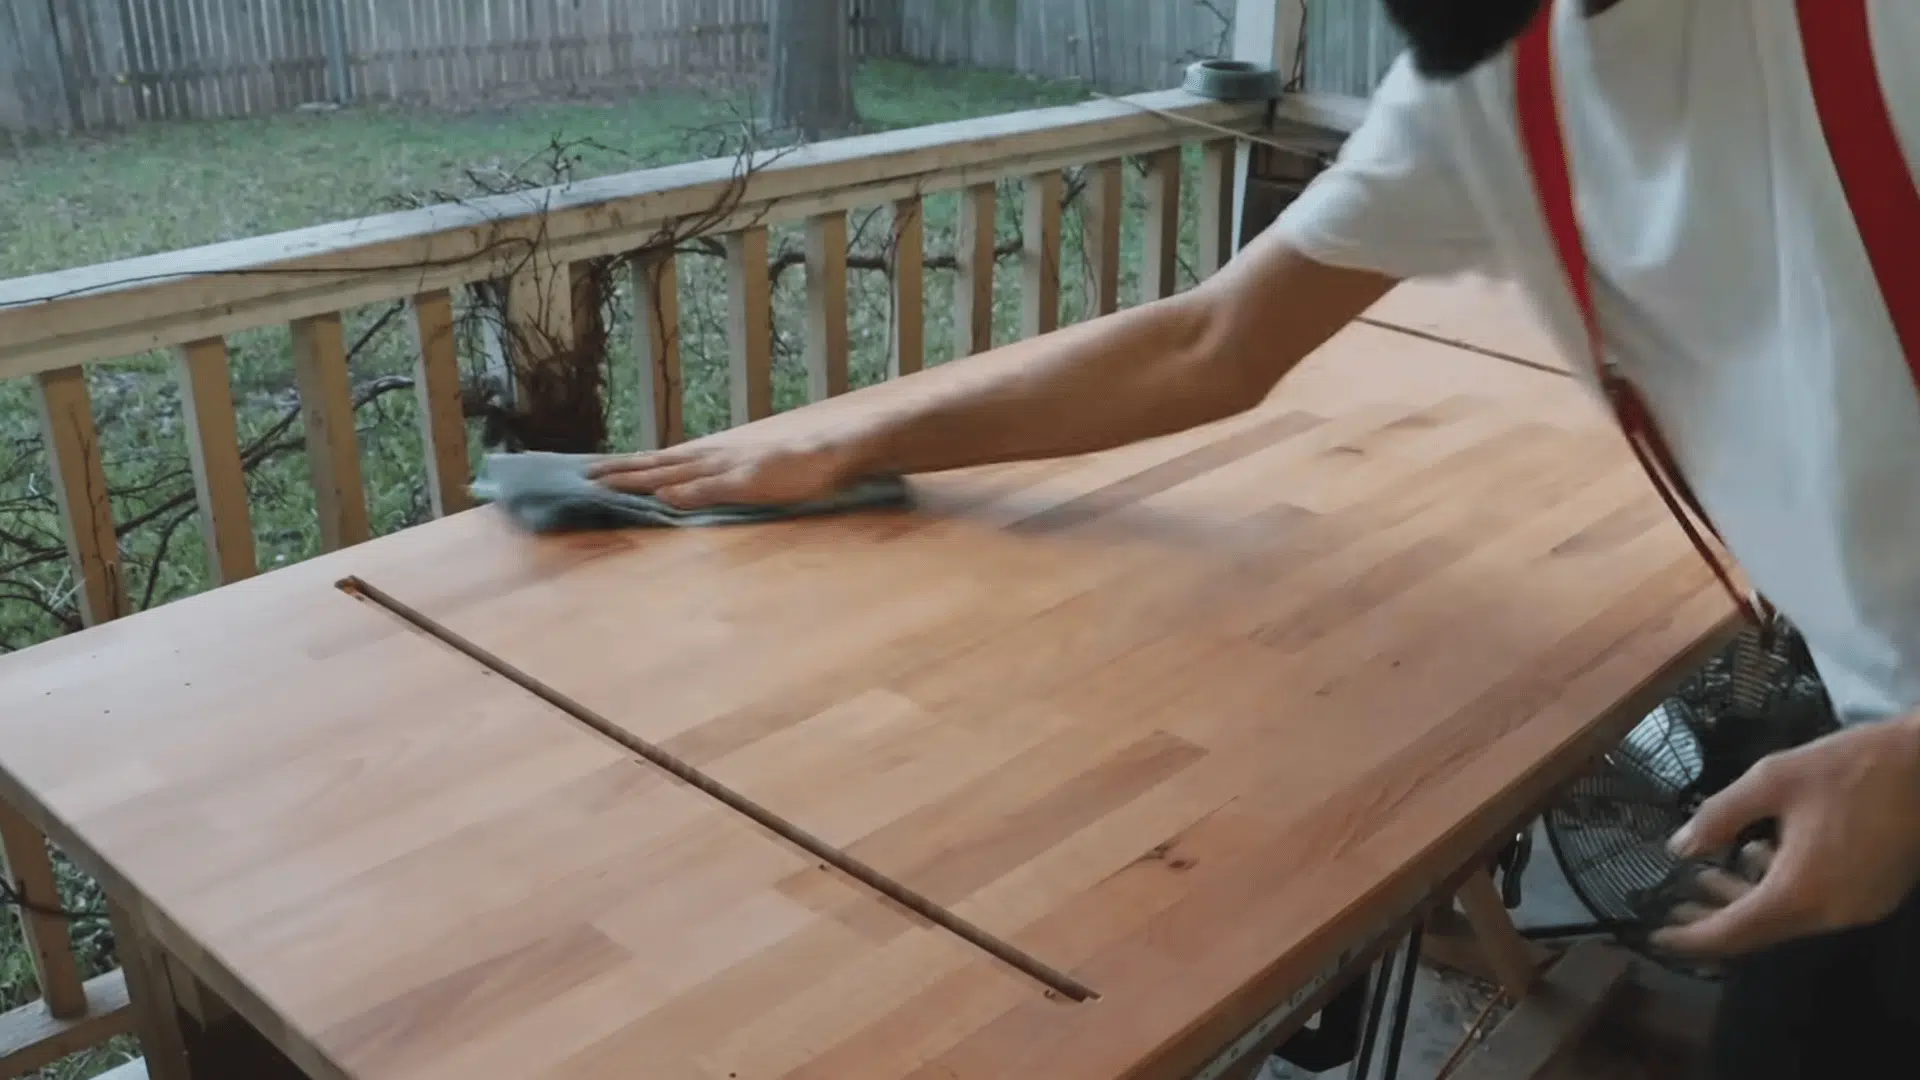
Stain clings to leftover dust, creating a gritty finish, so cleaning the surface is not optional. Brush the whole tabletop first to lift loose particles from the grain.
Then follow with a lint-free cloth to wipe away the fine dust the brush leaves behind. A tack cloth is the best tool for this job if one is on hand, since it picks up particles a dry cloth can miss.
Take time here, because any grit left on the wood will show up under the stain and ruin an otherwise smooth result.
Step 3: Apply the Stain
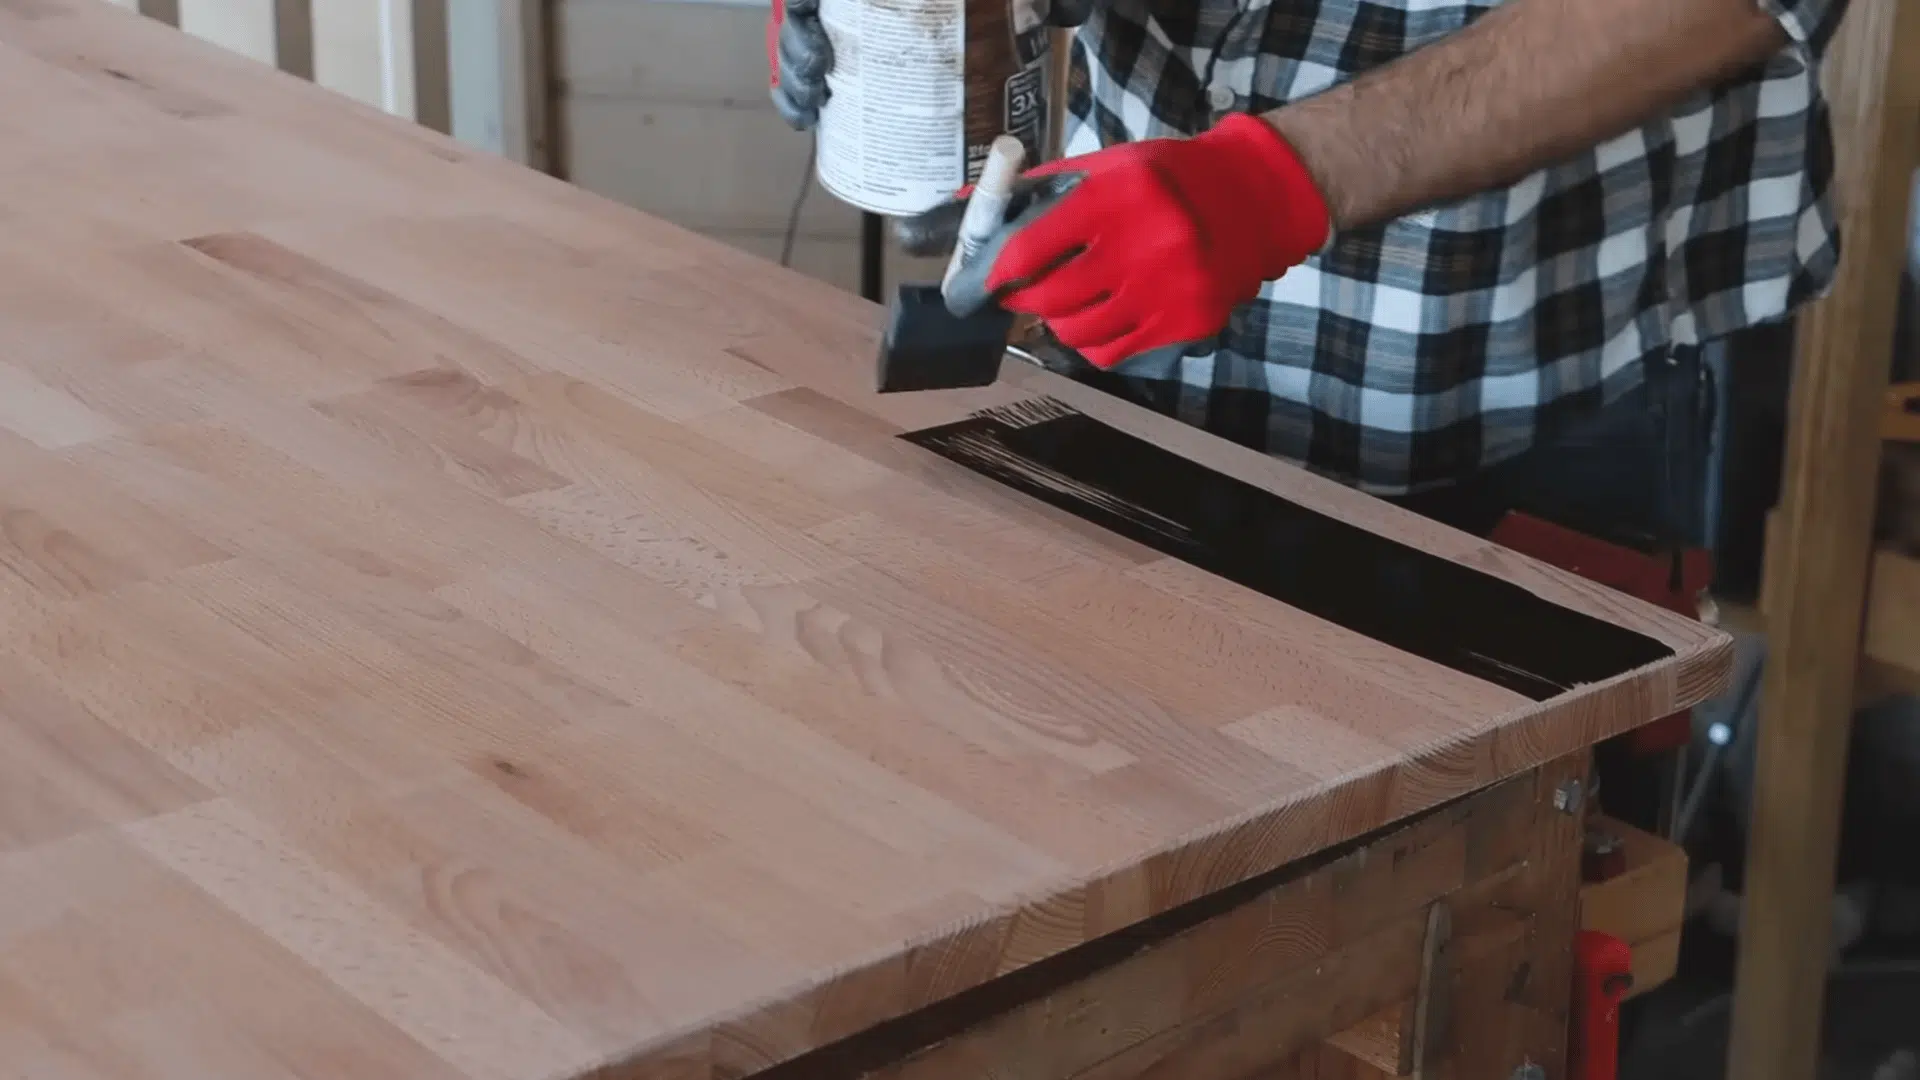
Apply the stain over one manageable section at a time so it does not dry before it gets wiped. Use a foam brush to lay down a thick, even coat across that section.
Then immediately wipe it off with a clean rag before moving on. Working in small areas keeps the color consistent from one part of the table to the next.
The direction of the wipe shapes the final look, so always wipe with the grain and never against it. This single habit separates a clean, professional finish from a streaky, patchy one that needs to be redone.
Step 4: Let It Dry, then Start the Topcoat
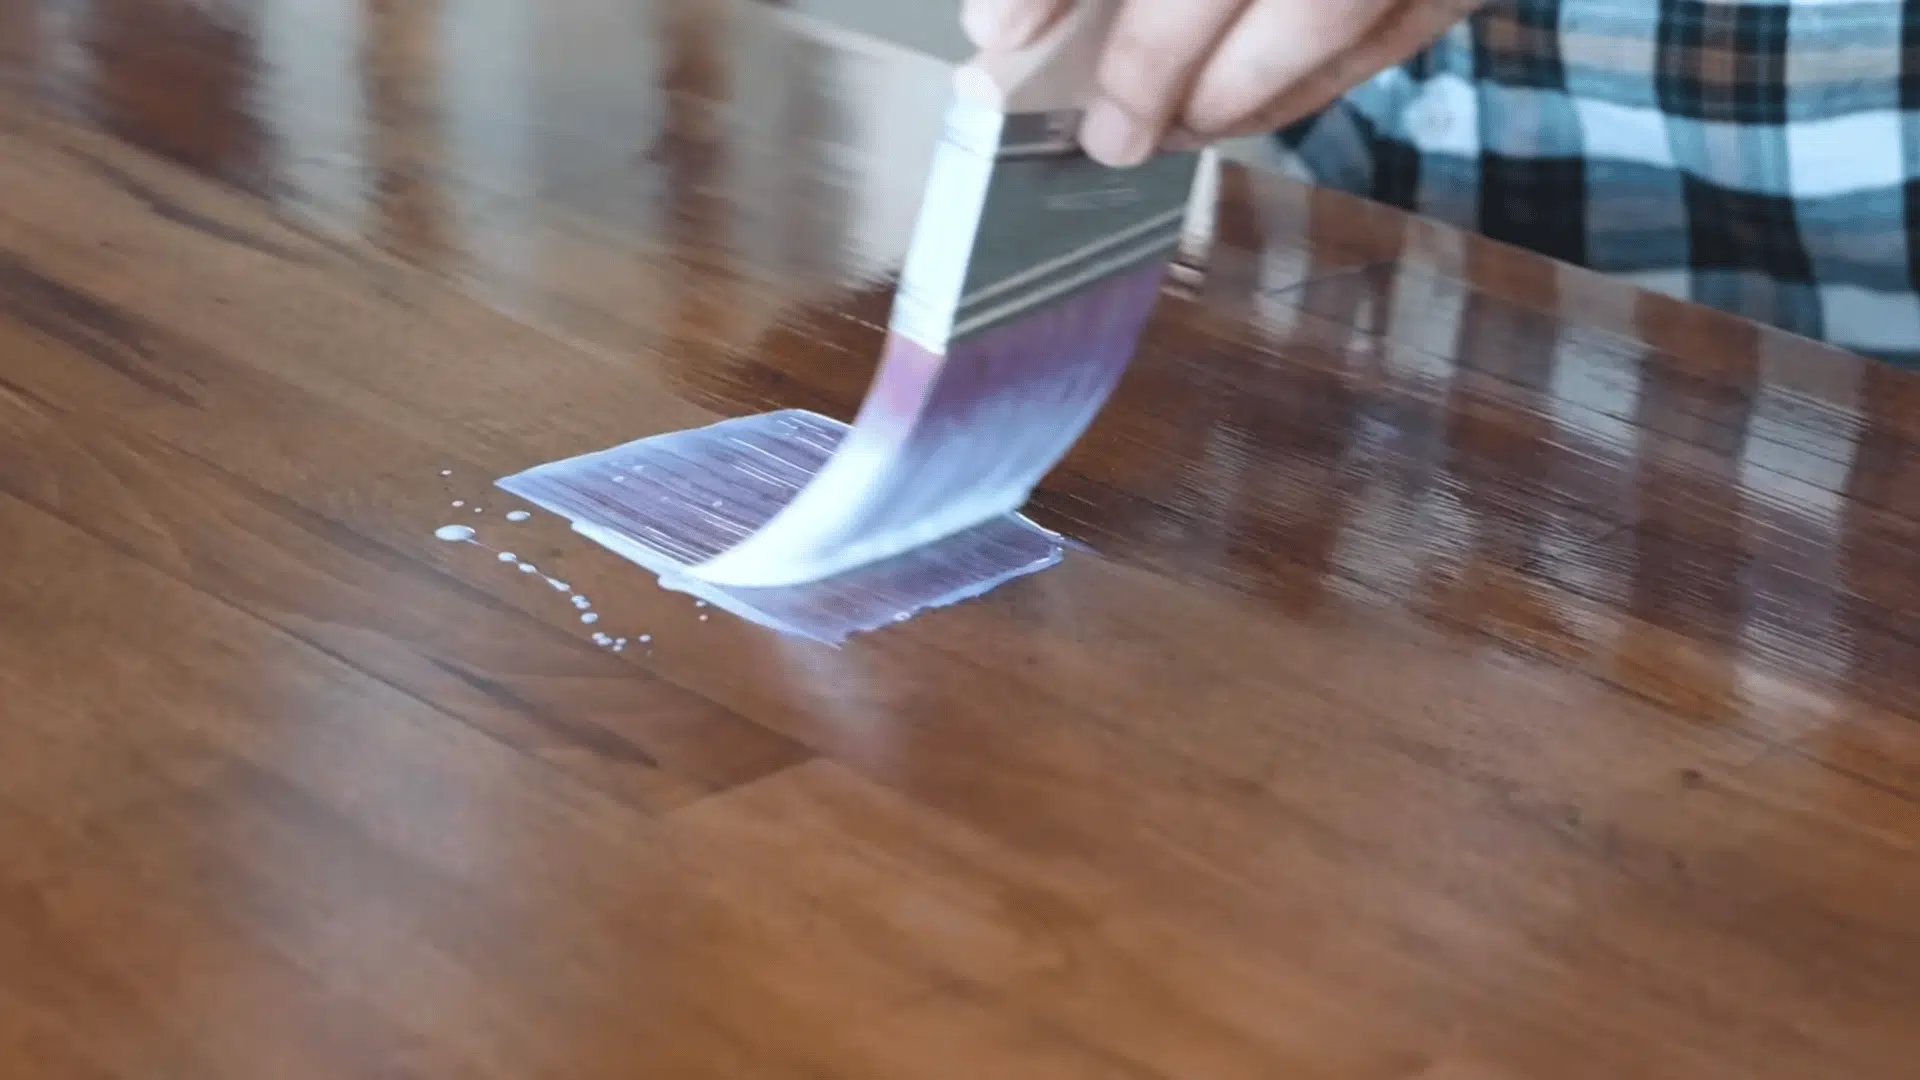
After the stain sits overnight, the protective topcoat goes on next. Water-based polyurethane dries in about 20 minutes between coats, while oil-based polyurethane can take up to 24 hours, so the water-based option speeds the project along.
Use a high-quality soft brush set aside just for this purpose, since a clean brush leaves fewer marks. Saturate the brush, start from the middle of the table, and work outward to each side.
Then come back on the same stroke to keep the coat even. Starting from the center prevents heavy buildup along the edges where drips tend to form.
Step 5: Build Up Three Coats
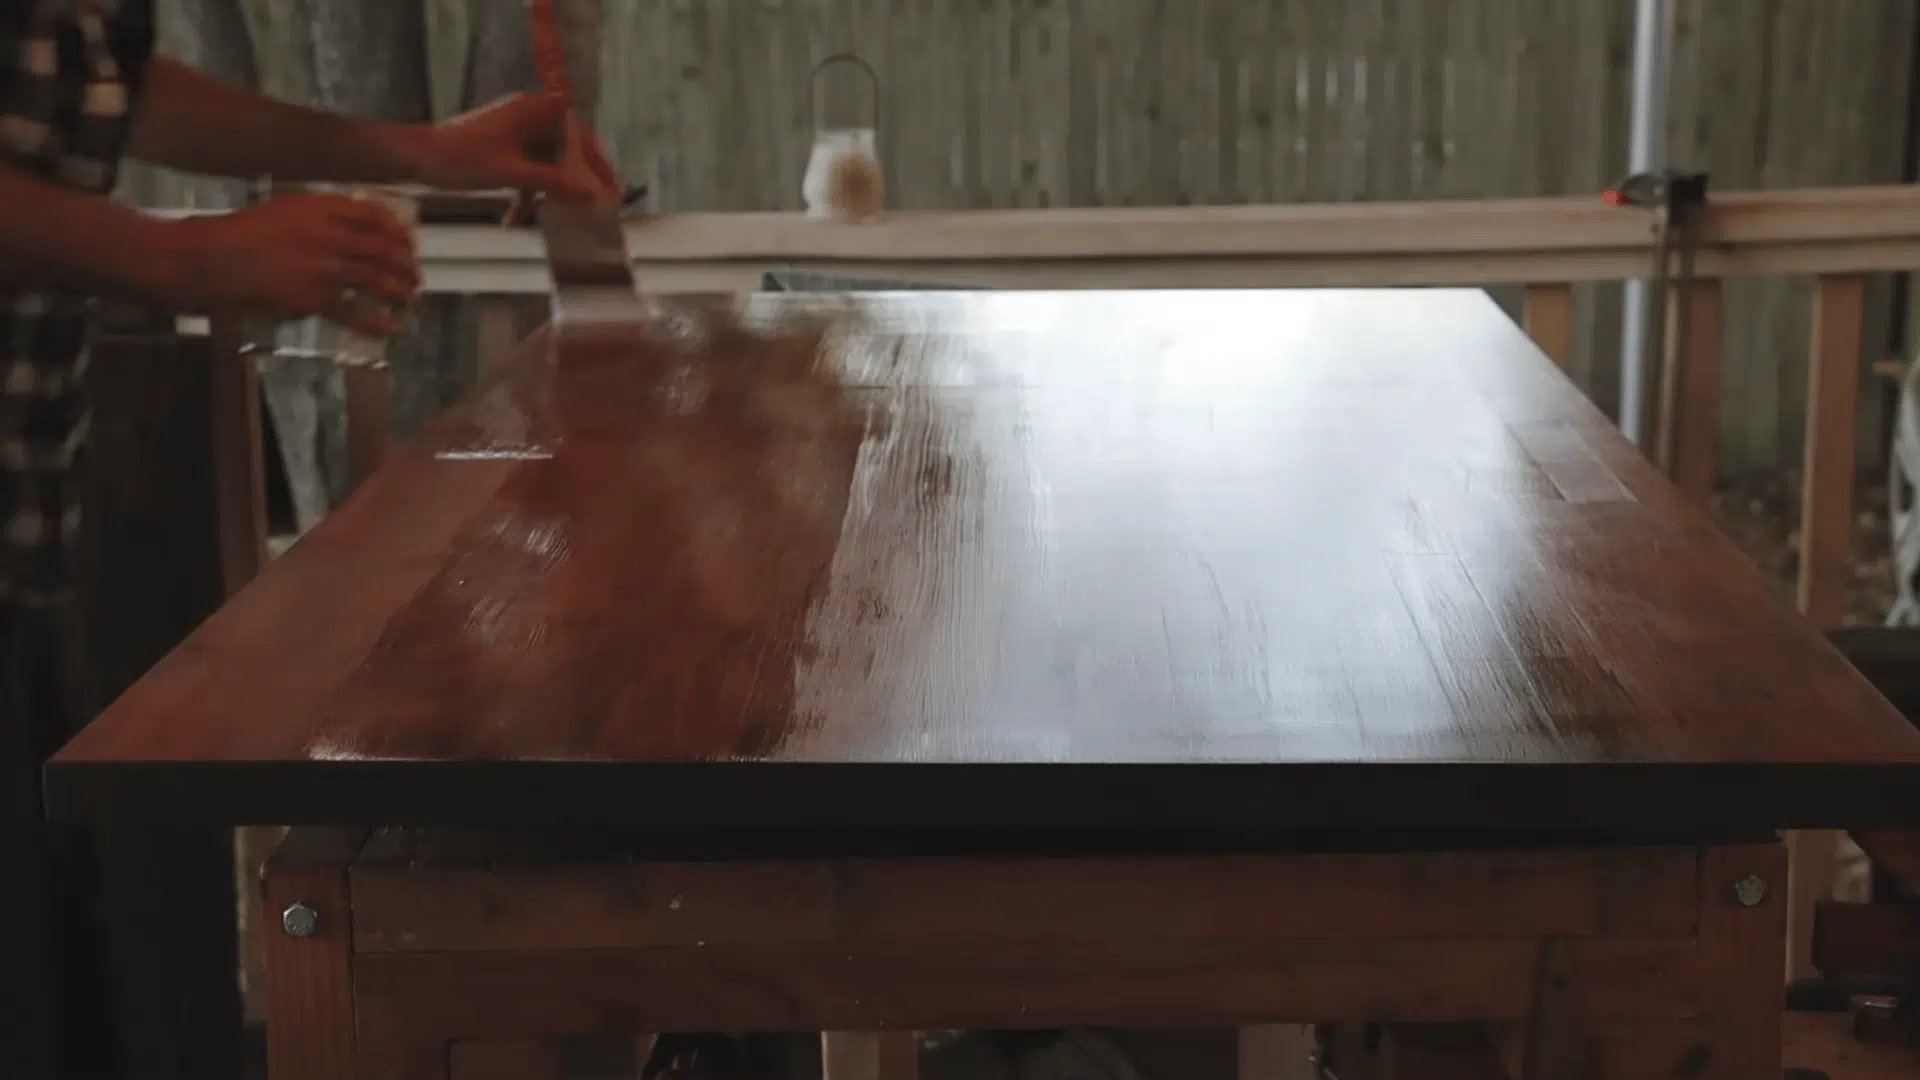
The sides go on more cleanly with a foam brush, which gives more precise control than a wide brush along narrow edges.
Plan for three coats in total to build a durable, even finish. Between coats, store brushes in a sealed bag so the bristles stay soft and ready.
After each coat has sat for about 20 minutes, sand very lightly with 320-grit sandpaper to knock down any raised grain, then clean the surface again before the next coat.
This light sanding between layers is what gives the final result its smooth, glass-like feel.
Watch this video by A Mere Creator for more instructions:
What is the Best Way to Stain Wood?
The best way to stain wood is to sand the surface, apply a thin coat of oil-based stain with a lint-free rag, and wipe off the excess within 15 minutes.
This method gives even color control and works on most wood types.
A rag beats a brush for most projects because it pushes the stain into the grain without leaving drips or lap marks. Brushes still help on carved details and tight corners where a rag cannot reach.
Working in small sections keeps the color consistent from one end to the other. An oil-based stain suits beginners since it dries slowly, giving time to fix mistakes.
Water-based stain dries faster and has less odor, but it demands quicker hands and a light touch.
Types of Wood Stains
Choosing the right stain depends on the project, the wood species, and the time required.
| Stain Type | Drying Time | Best For | Key Trait |
| Oil-based | 6 to 8 hours | Furniture, doors, trim | Deep penetration and long working time |
| Water-based | 1 to 2 hours | Indoor projects, low-odor spaces | Easy cleanup with soap and water |
| Gel | 8 to 10 hours | Vertical surfaces, pine, veneer | Resists drips and blotching |
| Varnish | 4 to 6 hours | Outdoor furniture, railings | Color and protective seal in one coat |
| Lacquer | 15 to 30 minutes | Spray projects, cabinets | Fast drying with a smooth, hard finish |
Oil-based stain remains the most forgiving choice for first-time projects, while lacquer suits experienced hands working with spray equipment.
How to Choose the Right Stain Color
The right stain color depends on the wood species, the room’s lighting, and the existing furniture or flooring nearby. Testing the stain on a scrap piece or hidden spot always shows the true result before committing.
Light stains like golden oak or natural tones show off the grain and keep small spaces feeling open. Dark stains like walnut or espresso hide minor flaws and suit formal rooms, but they show dust and scratches more easily.
The same stain looks different on every wood species, since pine, oak, and maple each absorb color at their own rate. Undertones matter as much as shade.
Warm woods pair well with red or amber stains, while cooler interiors pair well with gray or ash tones. Bringing a stained sample into the actual room helps confirm the choice under real lighting.
What Reddit Says About Staining Wood

Reddit woodworkers agree that sanding grit and prep work matter more than any product applied later. In an r/woodworking thread titled “Stain correctly the first time,” users tested methods and shared real results.
One user ran a side-by-side test on trim. Pre-stain conditioner did not prevent blotching, and a board sanded to 220 grit absorbed less stain and came out lighter than one sanded to 150 grit.
A frequent poplar stainer backed this up, advising tests on scrap pieces of the same wood and a final sanding at 120 grit, since finer grits block absorption.
Another commenter called pre-conditioners a waste, suggesting a dye for blotch-prone wood and stopping at 150 grit, which most oil-based penetrating stains recommend.
Key takeaways: sand to 120 to 150 grit, test on scraps first, skip the conditioner.
Common Wood Staining Mistakes
Most wood-staining mistakes stem from rushing prep work or ignoring drying times. Avoiding these errors saves hours of sanding and re-staining later.
- Skipping the Sanding Step: Stain sits unevenly on rough or glossy surfaces, leaving patchy color that no second coat can fix.
- Staining Over Dust: Leftover particles mix with the finish, creating a gritty texture across the wood.
- Leaving Excess Stain on Too Long: Stain that sits for more than 15 minutes becomes sticky and never cures properly.
- Not Testing the Color First: Every wood species absorbs stain differently, so the can’s label rarely matches the final result.
- Applying Thick Coats: Heavy layers dry slowly and peel rather than soak into the grain.
- Forgetting the Topcoat: Unsealed stain offers no protection against water, scratches, or fading.
Final Thoughts
Staining wood is one of those skills that looks harder than it is. Once you understand the basics, sand well, test first, wipe off the excess, and seal the surface, every project gets easier.
Your first attempt might not be perfect, and that is fine. Mine wasn’t either. Each piece teaches something new about how wood takes color.
The real reward comes when you step back and see plain boards turned into something that looks finished and built to last. If it is a small shelf or a full deck, the process stays the same.
Pick a project, grab a can of stain, and put these steps to work. Already stained something? Share your experience in the comments below.
Frequently Asked Questions
How Many Coats of Stain Should You Apply?
1–2 coats are standard, with one coat giving a light-to-medium tone and two coats adding deeper richness and depth.
What is the Best Temperature for Staining Wood?
Stain works best between 50°F and 90°F (10°C to 32°C) with low humidity, since extreme temperatures affect drying and absorption.
Can Old Stain be Covered with a New Color?
A darker stain can go over a lighter one after light sanding, but going lighter requires stripping or sanding back to bare wood.

Stephanie Grace, a graduate with a degree in Fine Arts from the Savannah College of Art and Design, has been inspiring DIY enthusiasts with her creative and practical guidance for over 14 years. Her career in design and crafting began in a small artisan workshop, where she developed a passion for transforming everyday materials into beautiful and functional items. Stephanie joined our website in 2018, rapidly gaining popularity for her easy-to-follow DIY tutorials and innovative project ideas. Since then, she has been the creative mind behind our DIY section, helping readers bring their artistic visions to life. Outside her professional pursuits, Stephanie enjoys pottery and urban gardening, hobbies that showcase her love for hands-on creativity and nature.