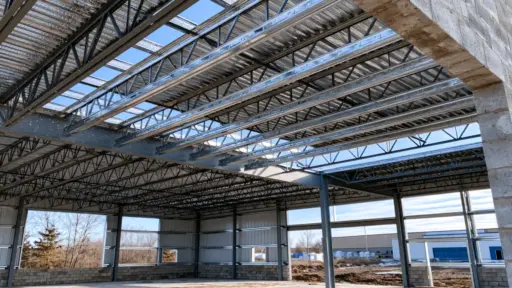
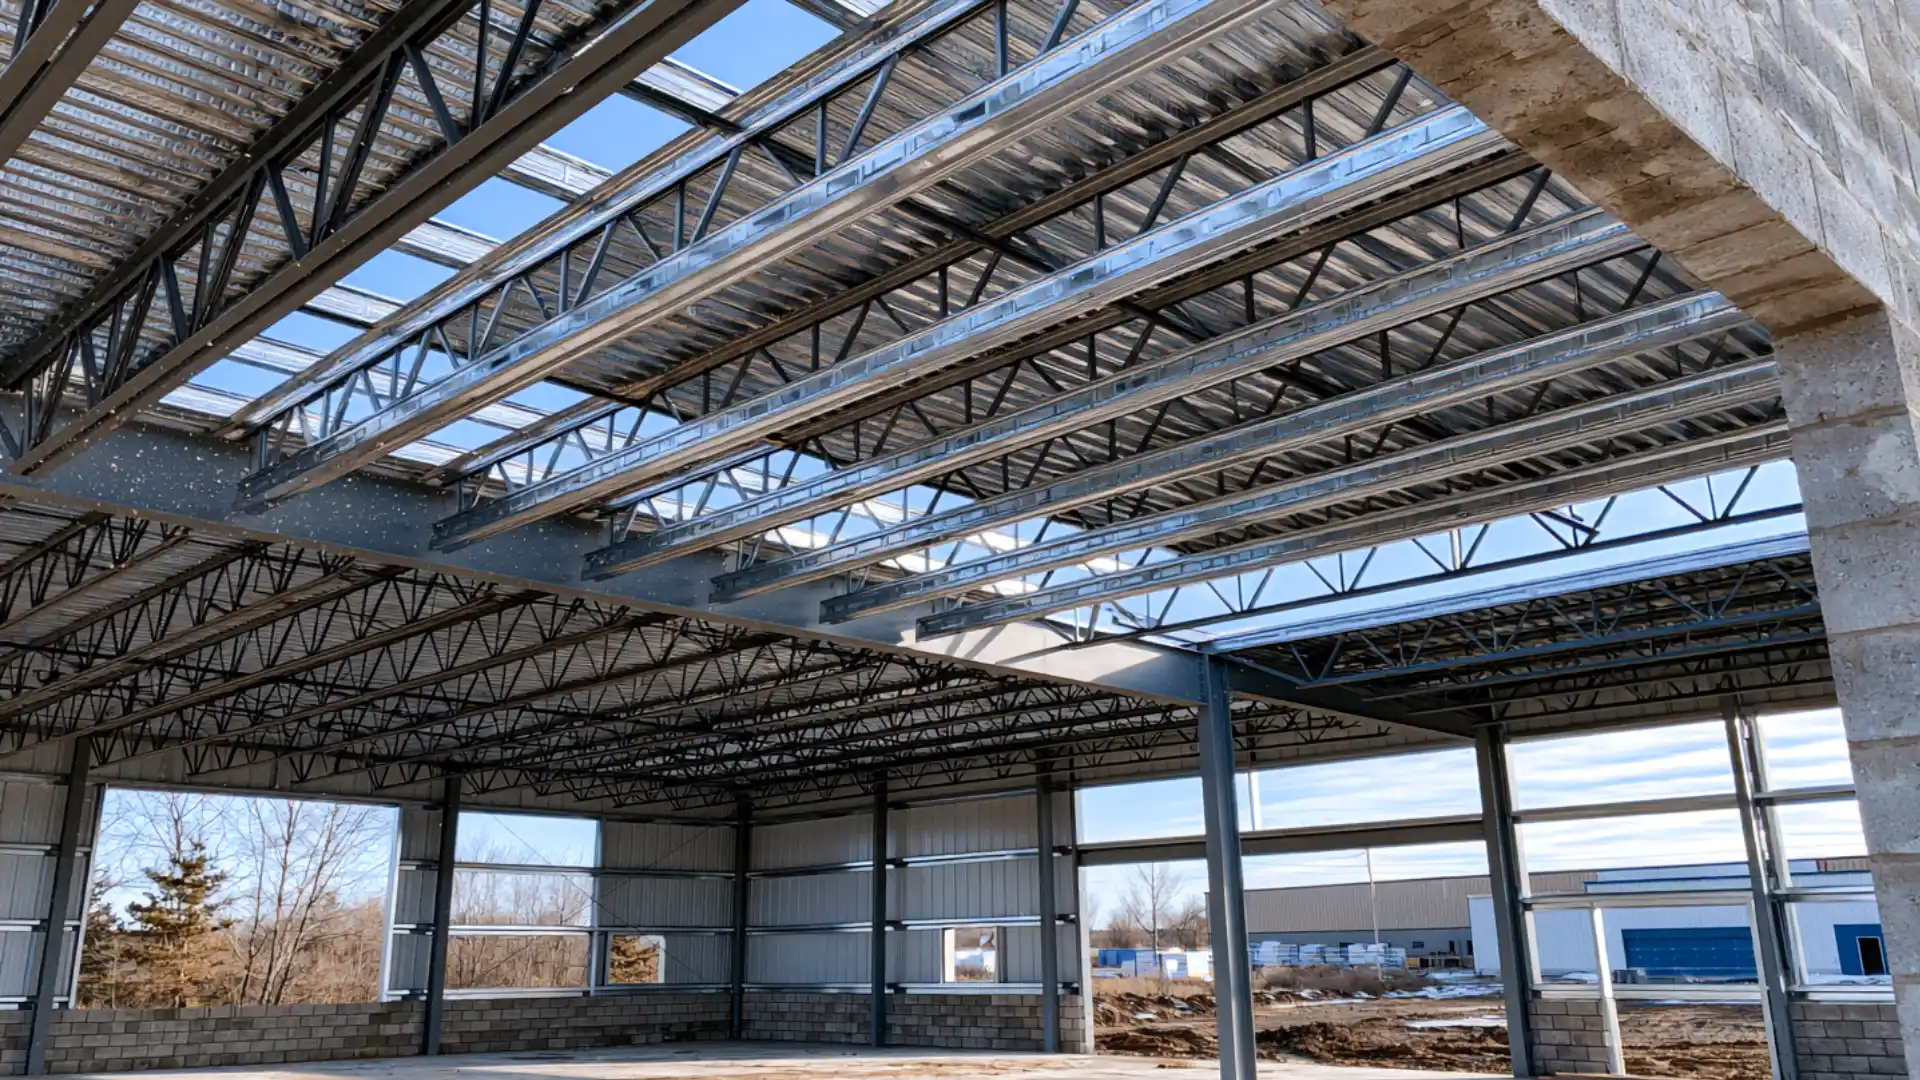

Snow piles up, wind pushes sideways, somewhere under those metal panels, a grid of steel is quietly taking the hit.
That’s the job a purlin roof does every single day.
Getting it wrong shows up fast: rippled panels, sagging lines, screws working themselves loose.
This blog walks through purlin types, gauge, spacing, and real pricing, the numbers and decisions that separate a roof built to last from one that needs patching within a few winters.
No filler, just what actually matters when you’re framing or fixing a metal roof.
What are Purlins Roof?
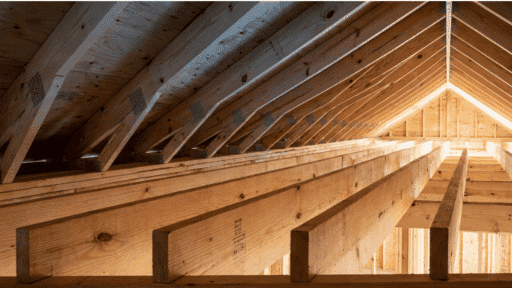
Purlins are horizontal beams installed across the rafters or trusses, running perpendicular to them.
They sit between the main frame and the roof panels, creating a stable surface for fastening the metal sheeting and distributing weight evenly across the building.
Their role in the roof system comes down to a few key jobs:
- Support the roof panels and hold them in place under wind and snow load.
- Transfer that load down to the primary framing (rafters or trusses).
- Add rigidity to the roof structure to reduce flex and movement over time.
- Provide consistent spacing points for panel fastening and alignment.
Purlins are often confused with girts and primary framing, but each piece serves a different purpose in the building.
How Do Purlins Roof Work in Construction?
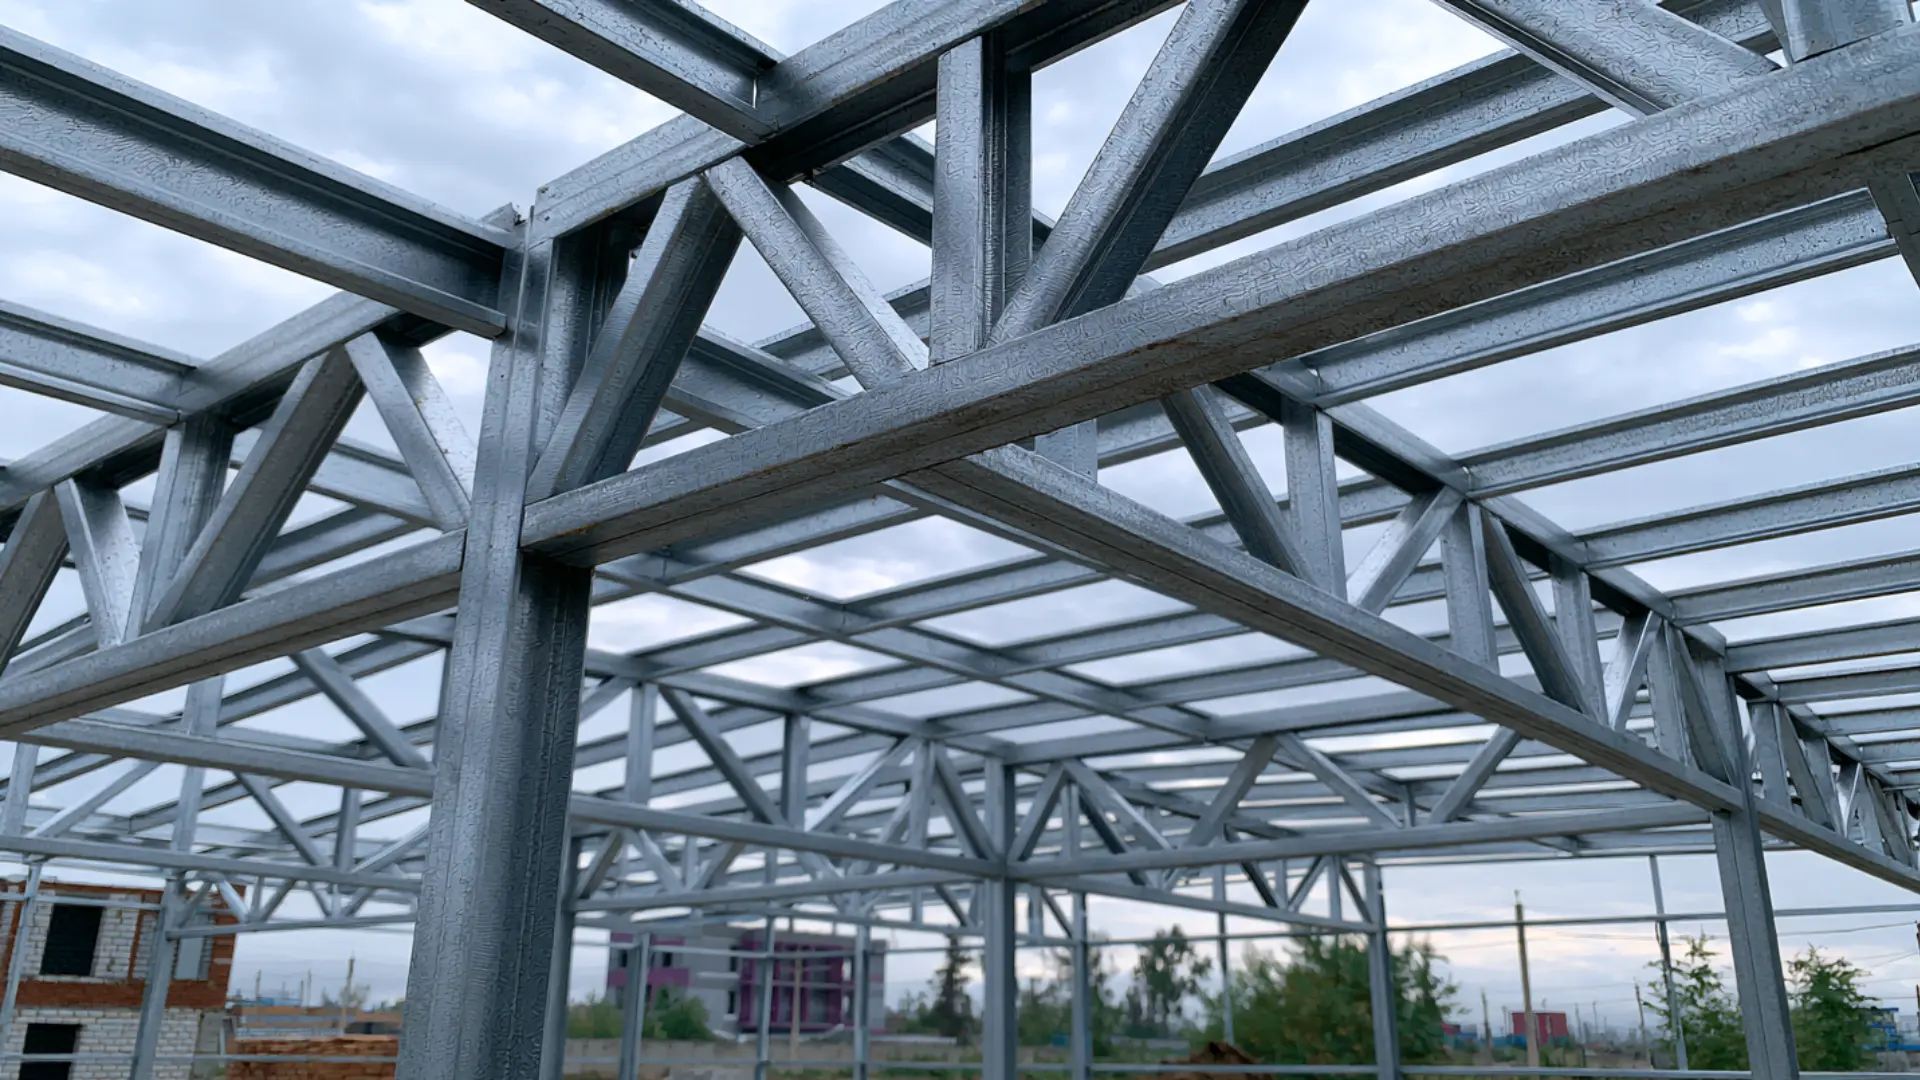
Purlins quietly span gaps between trusses, transforming a flimsy frame into a rigid system that resists gravity daily.
Load Distribution
Purlins distribute roof weight across multiple rafters rather than a single point.
This prevents pressure points and maintains roof balance under snow, wind, or foot traffic.
Spanning Support
They bridge the space between trusses or rafters, cutting down how far your roofing material has to stretch unsupported. Shorter spans mean stronger, stiffer coverage overhead.
Structural Bracing
Purlins tie trusses together horizontally, preventing them from twisting or leaning sideways.
This bracing effect adds lateral stability, especially critical during high winds or seismic movement.
Attachment Point
Roofing sheets, tiles, or panels get fastened directly onto purlins.
Without this steady base, your roofing material would flex, rattle, and loosen from movement and vibration.
Weight Transfer
Purlins channel roof loads down into the rafters, then the walls, then the foundation. This chain of transfer keeps forces moving where they belong, away from weak points.
Main Types of Purlins Roof
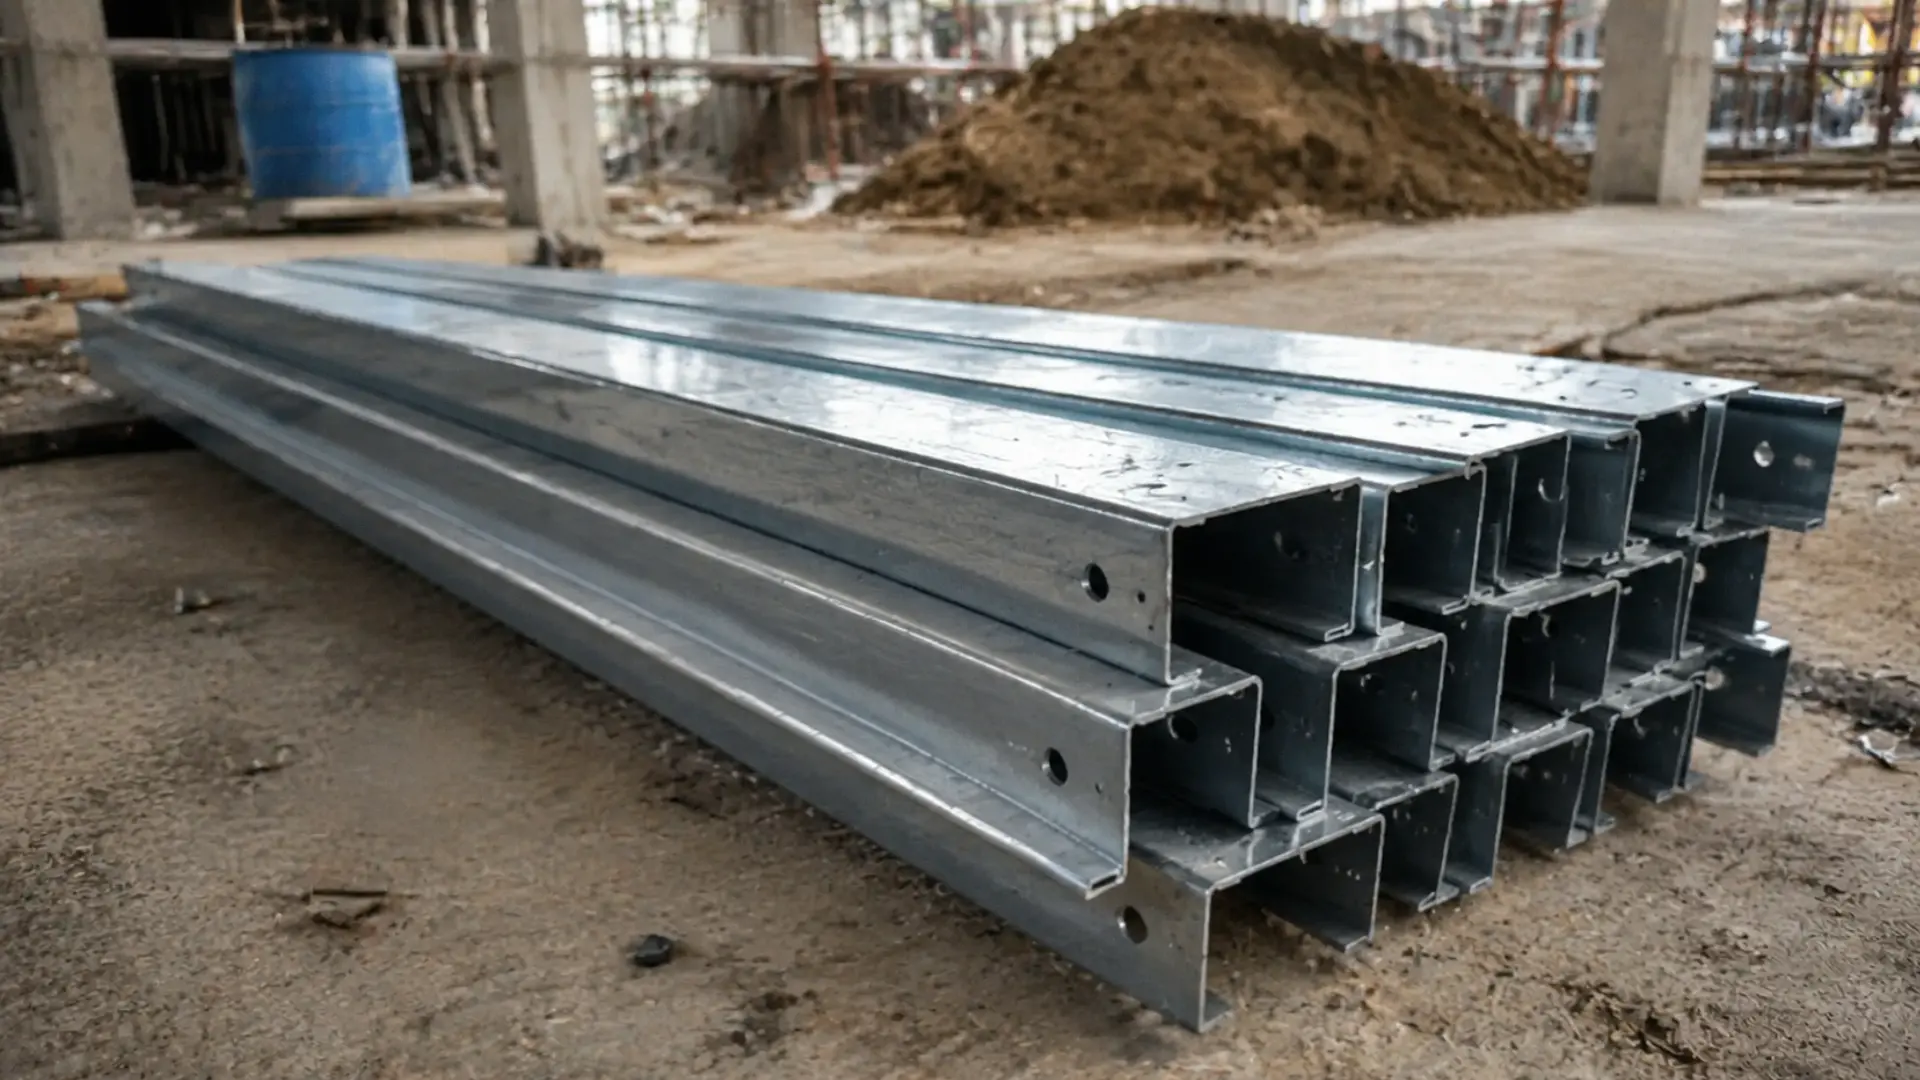
Metal purlins generally come in two main shapes, each designed for different structural needs.
Choosing between them isn’t just a matter of preference. It depends on your building’s span length, load requirements, and how the panels will be fastened.
C-Purlins
Depths typically run 4” to 12” in 12- to 20-gauge galvanized steel.
They’re used on shorter single spans like small pole barns, sheds, and detached garages, priced roughly $2-$5 per linear foot depending on gauge.
Structurally, the open C-shape resists bending but can’t be lapped across supports.
So builders rely on it mainly for clear, budget-friendly framing where spans stay under 25 feet.
Z-Purlins
Same depth range as C-purlins, but with an offset flange that allows sections to nest and overlap at supports.
Common in commercial steel-frame buildings and warehouses where continuous multi-span strength matters. Pricing is slightly higher, around $3-$6 per linear foot, offset by the need for fewer total pieces.
Engineers favor them because lapped Z-sections behave like continuous beams, distributing load more evenly across the whole roof frame.
Hat/Top-Hat Channels
Lighter-gauge (20-26 gauge), shallow profiles under 3” deep, made for retrofit work rather than new framing.
Installed directly over old shingle roofs or rigid insulation to create a fastening plane and ventilation gap.
Cost is the lowest of the three, often $1-$3 per linear foot. They don’t carry the primary structural load; their role is purely to hold panels flat and properly spaced during a metal roof overlay.
Structural Steel Purlins
Heavier hot-rolled I-beams or angle sections, 6” to 16” deep, are used in large-scale industrial and pre-engineered metal buildings (PEMBs) with long clear spans.
Pricing runs much higher, often $ 8–$15+ per linear foot, given the raw tonnage of steel involved.
These carry the heaviest snow and wind loads in the system, functioning less like secondary framing and more like mini-beams between rigid frames, essential wherever cold-formed sections can’t handle the span or load.
Wood Purlins
Sawn or engineered lumber, commonly 2×6 to 2×10 or glulam for larger spans, is still used in timber-frame homes, cabins, and rustic pole barns. Cost is generally $1- $4 per linear foot, depending on species and grade.
They function the same way as steel versions structurally, but suit lighter roof loads and shorter spans.
They matter most when exposed wood framing is part of the design, not when they serve as hidden structural support.
Steel vs Wood Roof Purlins: Which is Better?
The right choice usually comes down to your building’s load demands, climate exposure, and long-term maintenance appetite rather than upfront cost alone.
- Steel won’t ignite or add fuel to a fire, which helps with insurance ratings on commercial builds.
- Steel resists warping and shrinking, keeping panel lines straighter over the years.
- Wood carries termite and rot risk in humid climates; steel doesn’t.
- Damaged wood purlins can be sistered on-site; bent steel usually needs full replacement.
- Wood adds less dead load, helpful on older foundations with limited capacity.
- Wood is usually available locally with no lead time; steel often needs to be ordered in advance.
Standard Roof Purlin Sizes and Dimensions
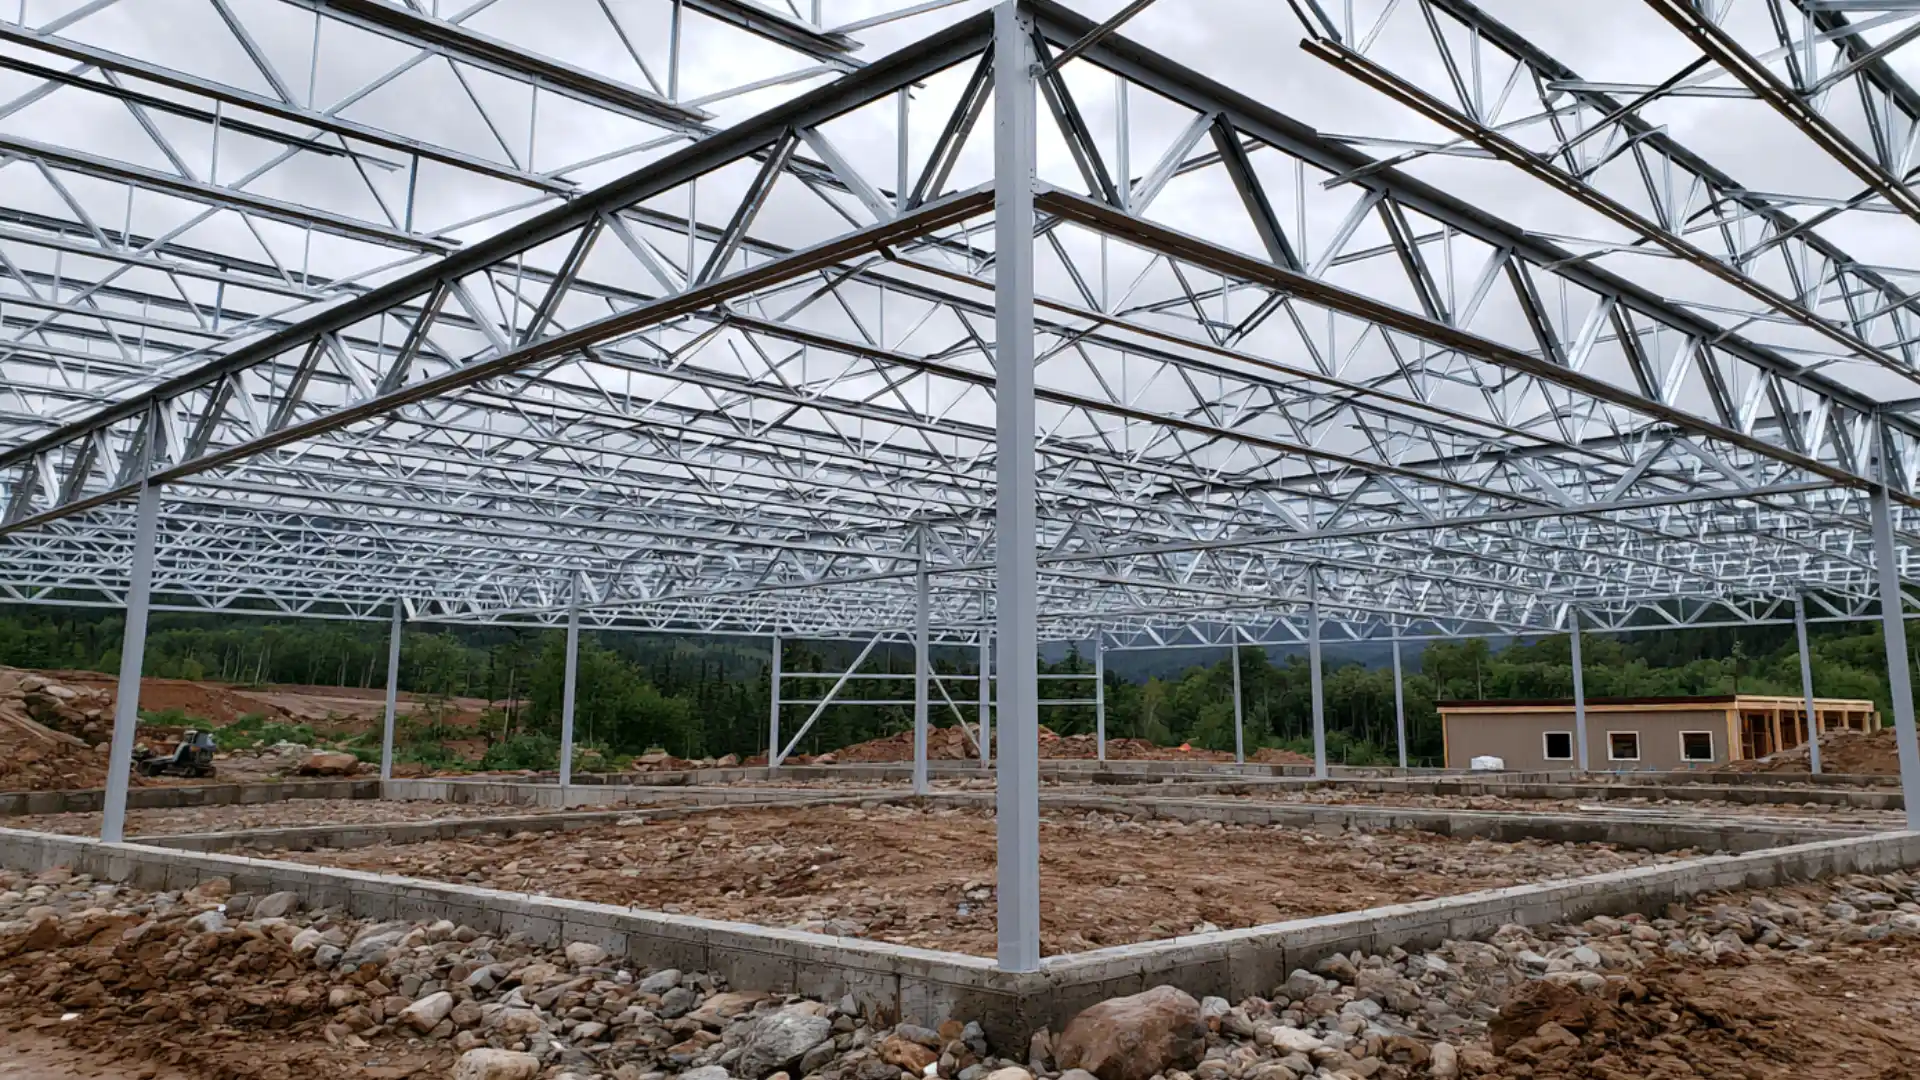
Purlin size and gauge play a bigger role in roof performance than most people realize. Depth, flange width, and material thickness all affect how much weight a purlin can carry and how far it can span.
Getting these numbers right from the start means fewer structural issues down the road.
| Depth | Flange Width | Thickness (Gauge) |
|---|---|---|
| 4 inches | 1.5–2 inches | 14–18 gauge |
| 6 inches | 2–2.5 inches | 12–18 gauge |
| 8 inches | 2.5–3 inches | 12–16 gauge |
| 10 inches | 2.5–3.5 inches | 10–14 gauge |
| 12 inches | 3–3.5 inches | 10–12 gauge |
How Gauge Affects Strength and Cost
Gauge refers to the thickness of the steel and uses a reverse scale, where a lower number indicates thicker, stronger material. A 12-gauge purlin holds up better under heavy loads than an 18-gauge one.
Thicker gauges make sense for larger spans and heavier snow or wind loads, while lighter gauges work fine for smaller structures with modest load requirements.
Balancing gauge against your project’s actual load needs keeps costs reasonable without under-building the roof.
Matching Size and Gauge to Span and Load
| Roof Span | Recommended Depth | Recommended Gauge | Typical Load Condition |
|---|---|---|---|
| Under 20 feet | 4–6 inches | 16–18 gauge | Light snow/wind areas |
| 20–30 feet | 6–8 inches | 14–16 gauge | Moderate snow/wind areas |
| 30–40 feet | 8–10 inches | 12–14 gauge | Heavy snow/wind areas |
| 40+ feet | 10–12 inches | 10–12 gauge | High-load or commercial buildings |
These are general starting points rather than fixed rules, since local building codes and site-specific load calculations ultimately determine the exact size and gauge needed for a project.
Purlins Roof Material and Finish
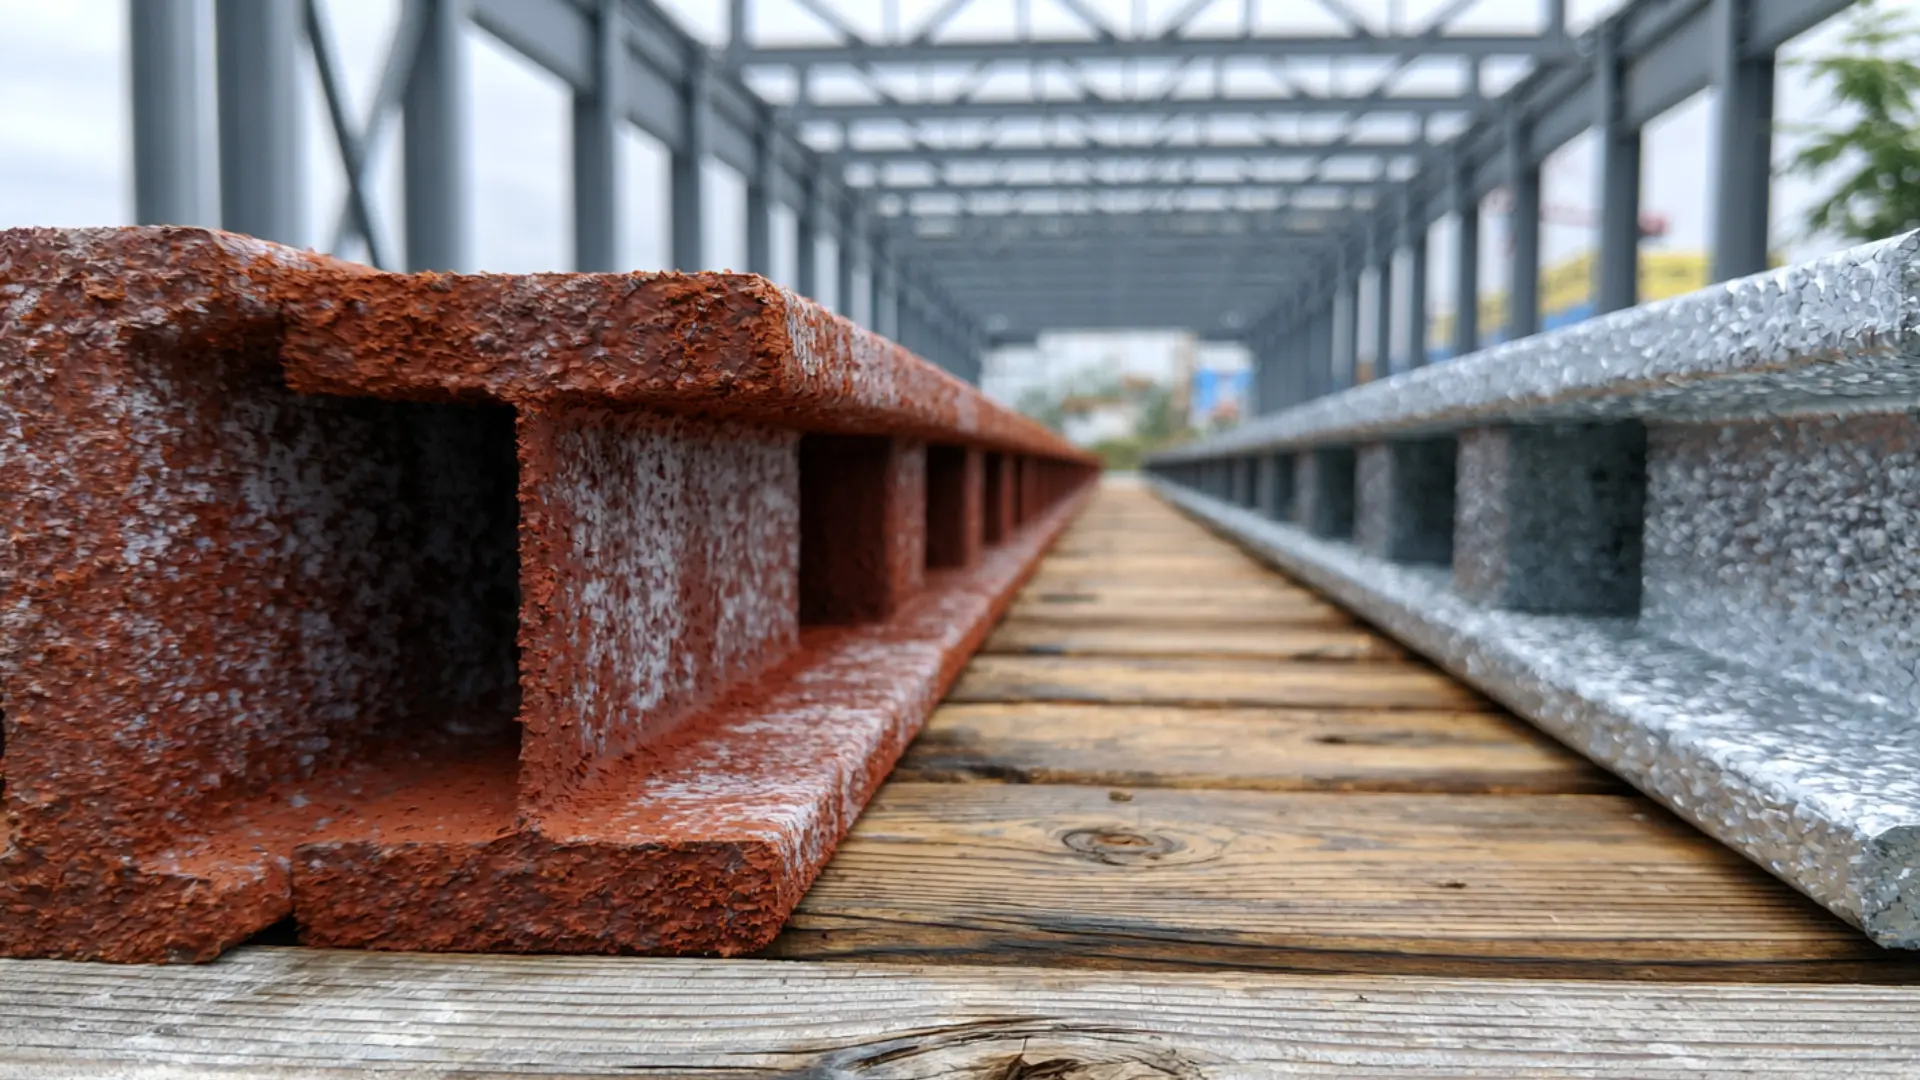
The finish you choose affects more than just appearance. It plays a real role in how long your purlins last and how well they hold up against moisture, humidity, and temperature swings over time.
Galvanized Steel Purlins
Galvanized steel is the go-to choice for most metal building projects, and for good reason.
The zinc coating bonds to steel, creating a protective barrier that resists rust in humid or coastal environments.
It also self-heals to some degree, since the zinc corrodes before the underlying steel does.
Galvanized purlins are a reliable long-term investment, especially in high-moisture areas.
Red Oxide vs. Prime-Painted Purlins
Red oxide purlins are coated with a rust-inhibiting primer for short-term protection during storage and transport, not for long-term corrosion resistance.
Prime-painted purlins take it a step further with a more durable coating that holds up better once installed.
Neither option matches the protection level of full galvanization, but they can work for indoor or low-moisture applications where budget matters more than maximum durability.
Corrosion Resistance and Lifespan by Finish
The choice of finish directly affects how long your purlins last.
Galvanized steel outperforms red oxide and prime-painted options, especially in coastal or humid areas where rust forms more quickly. Red oxide purlins need earlier replacement or maintenance as their coating degrades over time.
Prime-painted purlins protect well in dry areas but are less durable than galvanized steel in tougher conditions.
Metal Roof Purlin Spacing Requirements
Purlin spacing plays an important role in determining the strength and stability of a metal roof system.
Proper spacing provides enough support for roof panels, helps prevent bending or sagging, and allows the structure to handle loads from weather conditions.
Purlins too far apart cause sheet flex or damage; closer spacing increases costs.
The correct spacing depends on factors such as the type and thickness of metal panels, purlin size, roof design, building span, expected wind or snow loads, and local building requirements.
Larger structures often require engineering calculations to determine the safest and most efficient purlin layout.
Installing Metal Roof Purlins
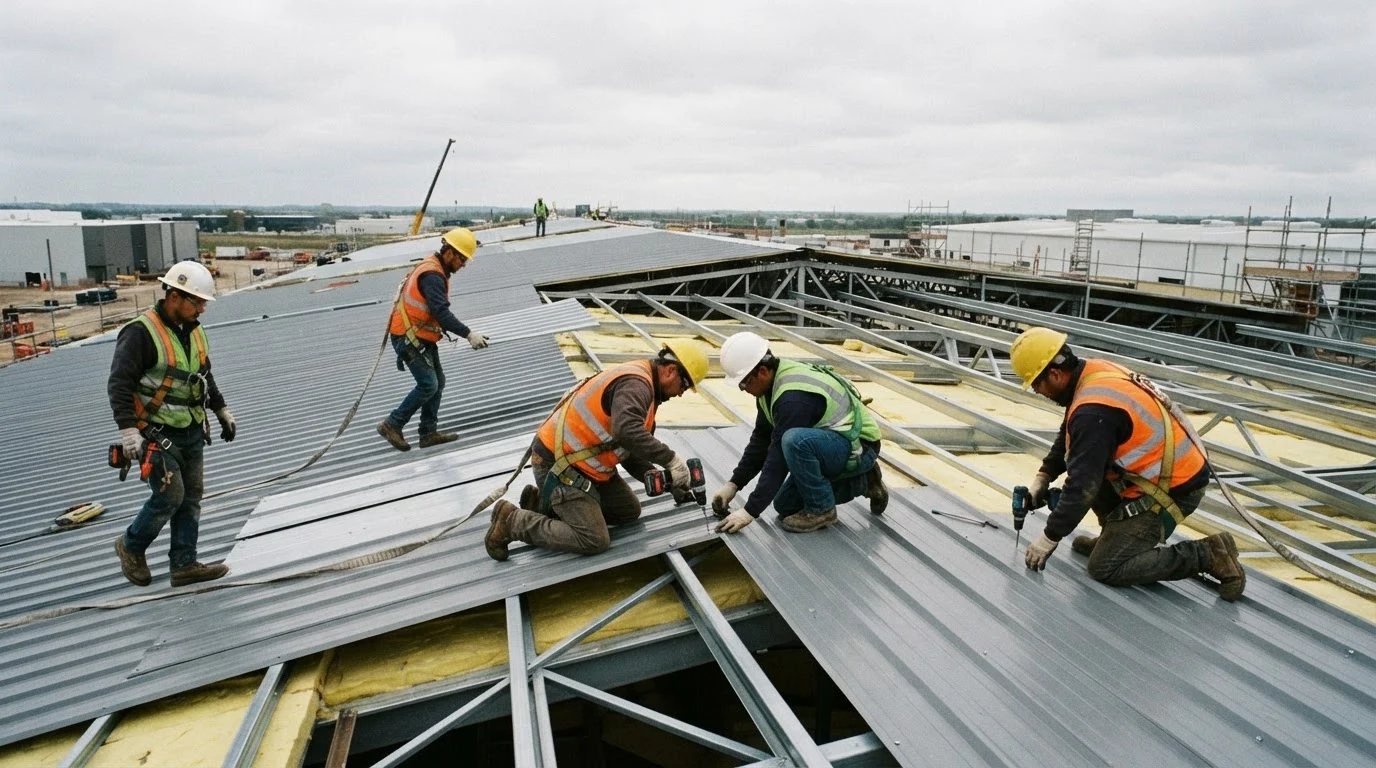
Proper installation distinguishes a long-lasting roof from one that develops problems early.
- Plan the layout based on the roof design, purlin spacing, and structural requirements before installation begins.
- Position purlins evenly across rafters or trusses to create a stable support surface for metal panels.
- Check alignment carefully to ensure all purlins are level, straight, and properly spaced.
- Secure purlins using appropriate fasteners, bolts, or clips designed for the specific framing system.
- Confirm connections are tight and strong enough to handle roof loads and weather conditions.
- Avoid excessive spacing, as wide gaps can reduce panel support and cause movement.
- Do not use damaged or rusted purlins, as they can weaken the roof structure.
- Avoid improper fastening methods that may create loose connections or structural issues over time.
How Much Do Metal Purlins Cost?
Purlin pricing depends on size, gauge, material, and finish, so exact numbers vary by supplier and region.
Here’s a breakdown by size and gauge, including factors influencing price changes.
| Size /Depth | Gauge | Approximate Price per Linear Foot |
|---|---|---|
| 4–6 inches | 16–18 gauge | $1.00–$2.00 |
| 6–8 inches | 14–16 gauge | $2.00–$3.50 |
| 8–10 inches | 12–14 gauge | $3.50–$5.00 |
| 10–12 inches | 10–12 gauge | $5.00–$7.00 |
Maintenance and Inspection Tips for Roof Purlins
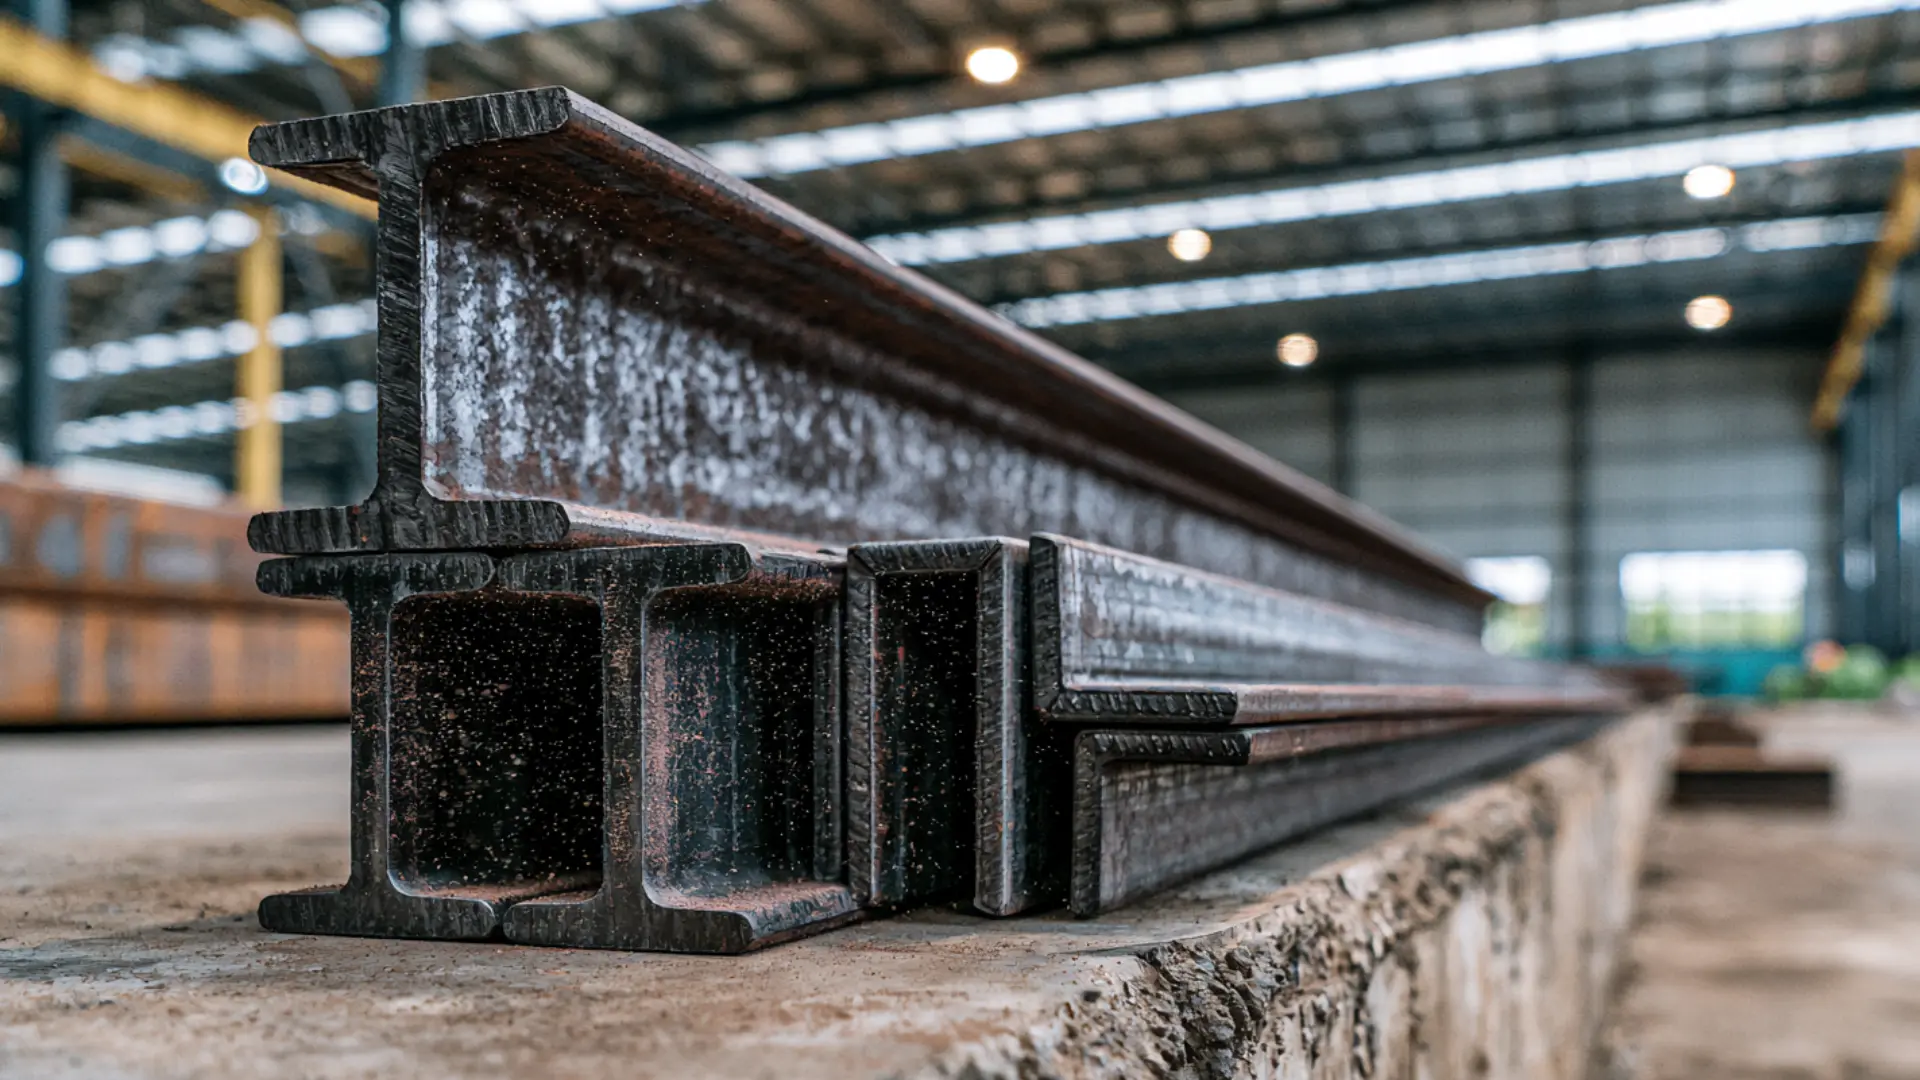
Though metal purlins are hidden under roof panels, regular inspection ensures proper function and safety.
Watch for signs such as rust spots, discoloration, sagging between supports, loose fasteners, or water stains beneath the roof. Periodic inspections, especially after severe weather, can help identify problems early.
Check that protective coatings remain intact and clear away trapped debris that can hold moisture against the steel. Addressing small issues before they spread helps maintain the roof’s structural integrity.
Properly installed and maintained galvanized metal purlins can typically last 40 to 60 years.
Routine maintenance and timely repairs help extend their lifespan and reduce the risk of costly structural issues.
How to Choose the Right Purlin for a Metal Roof
Choosing the right purlin depends on roof span, load needs, roofing material, and climate to ensure durability.
- Consider the roof design, metal panel type, and overall building structure before selecting a purlin.
- Check the roofing sheet weight, expected wind or snow loads, and purlin spacing requirements.
- Choose between C and Z purlins based on the project span, support needs, and installation requirements.
- Use standard purlin sizes for small structures; larger buildings need detailed calculations.
- Ensure proper sizing to improve roof stability, reduce structural stress, and support long-term performance.
Fasteners, Brackets, and Connections for Roof Purlins
Hardware matters as much as the purlin; the wrong fasteners cause failure regardless of the purlin’s strength.
| Component | Function | Size/Type |
|---|---|---|
| Self-drilling screws | Fix panels to purlins | #12-14, 1 “-3” |
| Purlin bolts | Join purlin to rafter | 3/8″-1/2″ hex |
| Cleat brackets | Support purlin at bearing | 12-16 gauge |
| Sag rods | Stop purlin rotation | 1/2″-5/8″ rod |
| Eave brackets | Anchor first purlin row | Custom steel |
| Splice plates | Join the purlin ends | Flat steel |
Common Roof Purlin Design Mistakes to Avoid
Wrong flange direction on Z-purlins causes panels to twist loose over time.
Skipping sag rods on long spans lets purlins rotate, and panels ripple.
Mixing purlin gauges mid-roof creates uneven deflection points. Ignoring manufacturer span charts for a specific panel profile leads to premature sagging. Ordering purlins by depth alone results in an undersized load capacity.
Poor eave alignment throws off every subsequent purlin row.
How to Tell When Roof Purlins Need Repair or Replacement
Visible sagging between panel ribs signals overloaded or undersized purlins.
Rust bleeding around fastener holes points to trapped moisture eating the steel. A wavy roofline from the ground usually means one or more purlins have bent.
Loose or spinning screws indicate the purlin metal itself has worn thin.
Cracked paint or coating along a purlin edge often hides corrosion starting underneath.
Wrap Up!
Purlins might be among the smaller components of a metal building, but they carry a lot of responsibility.
Whether you’re leaning toward C-purlins for a smaller project or Z-purlins for a wider span, matching your choice to the building’s actual load and code requirements matters more than picking based on price alone.
When in doubt, running your numbers by a structural engineer or trusted supplier is worth the extra step.
Getting the framing right the first time saves both money and headaches for decades to come.
Frequently Asked Questions (FAQ’s)
1. What is the Main Purpose of a Metal Roof Purlin?
Purlins support roof panels and transfer roof loads down to the primary framing structure.
2. Which is Stronger, C-Purlins or Z-Purlins?
Z-purlins generally offer higher load capacity thanks to their ability to lap and nest at supports.
3. How Far Apart Should Purlins Roof Be Spaced?
Spacing typically ranges from 2 to 5 feet, depending on panel type, roof pitch, and load requirements.
4. Do Galvanized Purlins Last Longer than Painted Ones?
Yes, galvanized purlins offer better corrosion resistance and generally outlast red oxide or prime-painted options.
5. How Long Do Purlins Roof Typically Last?
Properly installed and maintained purlins usually last 40 to 60 years under normal conditions.

Holding a Master’s in Construction Management from Purdue University, William Ray has dedicated more than two decades to studying and applying construction principles. His professional journey includes a tenure with a prominent construction firm, where he specialized in project management and building technologies. William brought his knowledge to our team, providing in-depth insights into practical construction techniques. As the leader of our beginner’s guide to building since 2019, he has a knack for breaking down intricate processes into easily digestible content. When not involved in writing or onsite consultations, William enjoys woodworking and volunteering in community building projects, which aligns with his passion for hands-on construction and community service.