
Shiplap vs tongue-and-groove is one of the most common questions homeowners ask before starting a wall, ceiling, or shed project.
Both board styles look similar at first glance, but they join together in very different ways overall. Shiplap uses an overlapping lap cut, while tongue-and-groove uses an interlocking tongue-and-slot.
That small difference changes how each board handles installation, moisture, everyday wear, and the final look of the finished room.
In this guide, you will learn what each profile looks like, how each one performs, and which option best fits your next project.
By the end, you will know which board style best fits your space, plus a few common mistakes to avoid during installation.
What is Shiplap and Tongue and Groove
Shiplap and tongue-and-groove are both wood-board profiles used on walls, ceilings, siding, and outbuildings across the United States.
The difference comes down to how each board connects to the next one along its edge. Once you see how each connection is cut and shaped, the rest of this comparison makes far more sense for your project.
What is Shiplap

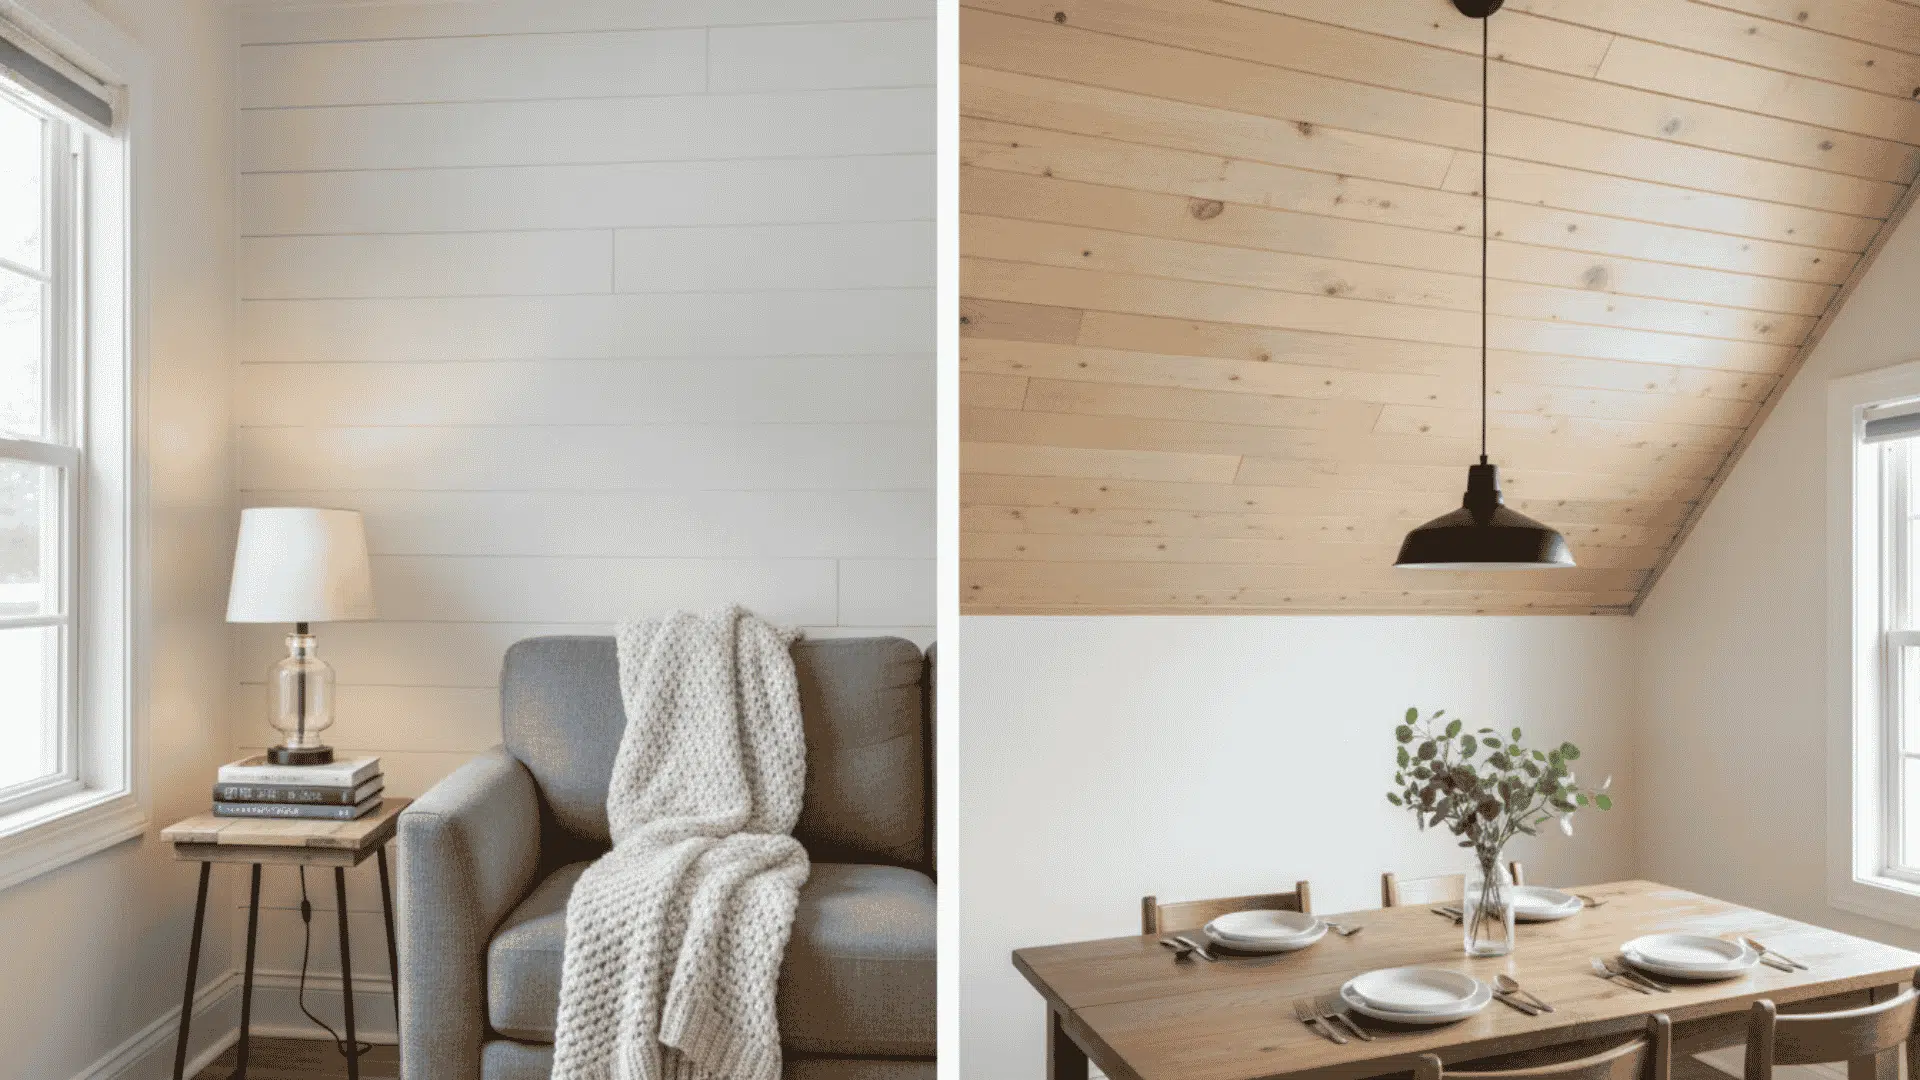
Shiplap boards have a lapped profile, so each board overlaps the one right next to it along a rabbeted cut.
This overlap creates the classic shadow line you see on farmhouse walls, porch ceilings, and rustic sheds across the country.
Shiplap depends mostly on nails or screws to stay in place during installation, since there is no locking joint holding it together.
Now let’s look at the other profile, which locks together in a completely different way from a simple lapped profile.
What is Tongue and Groove
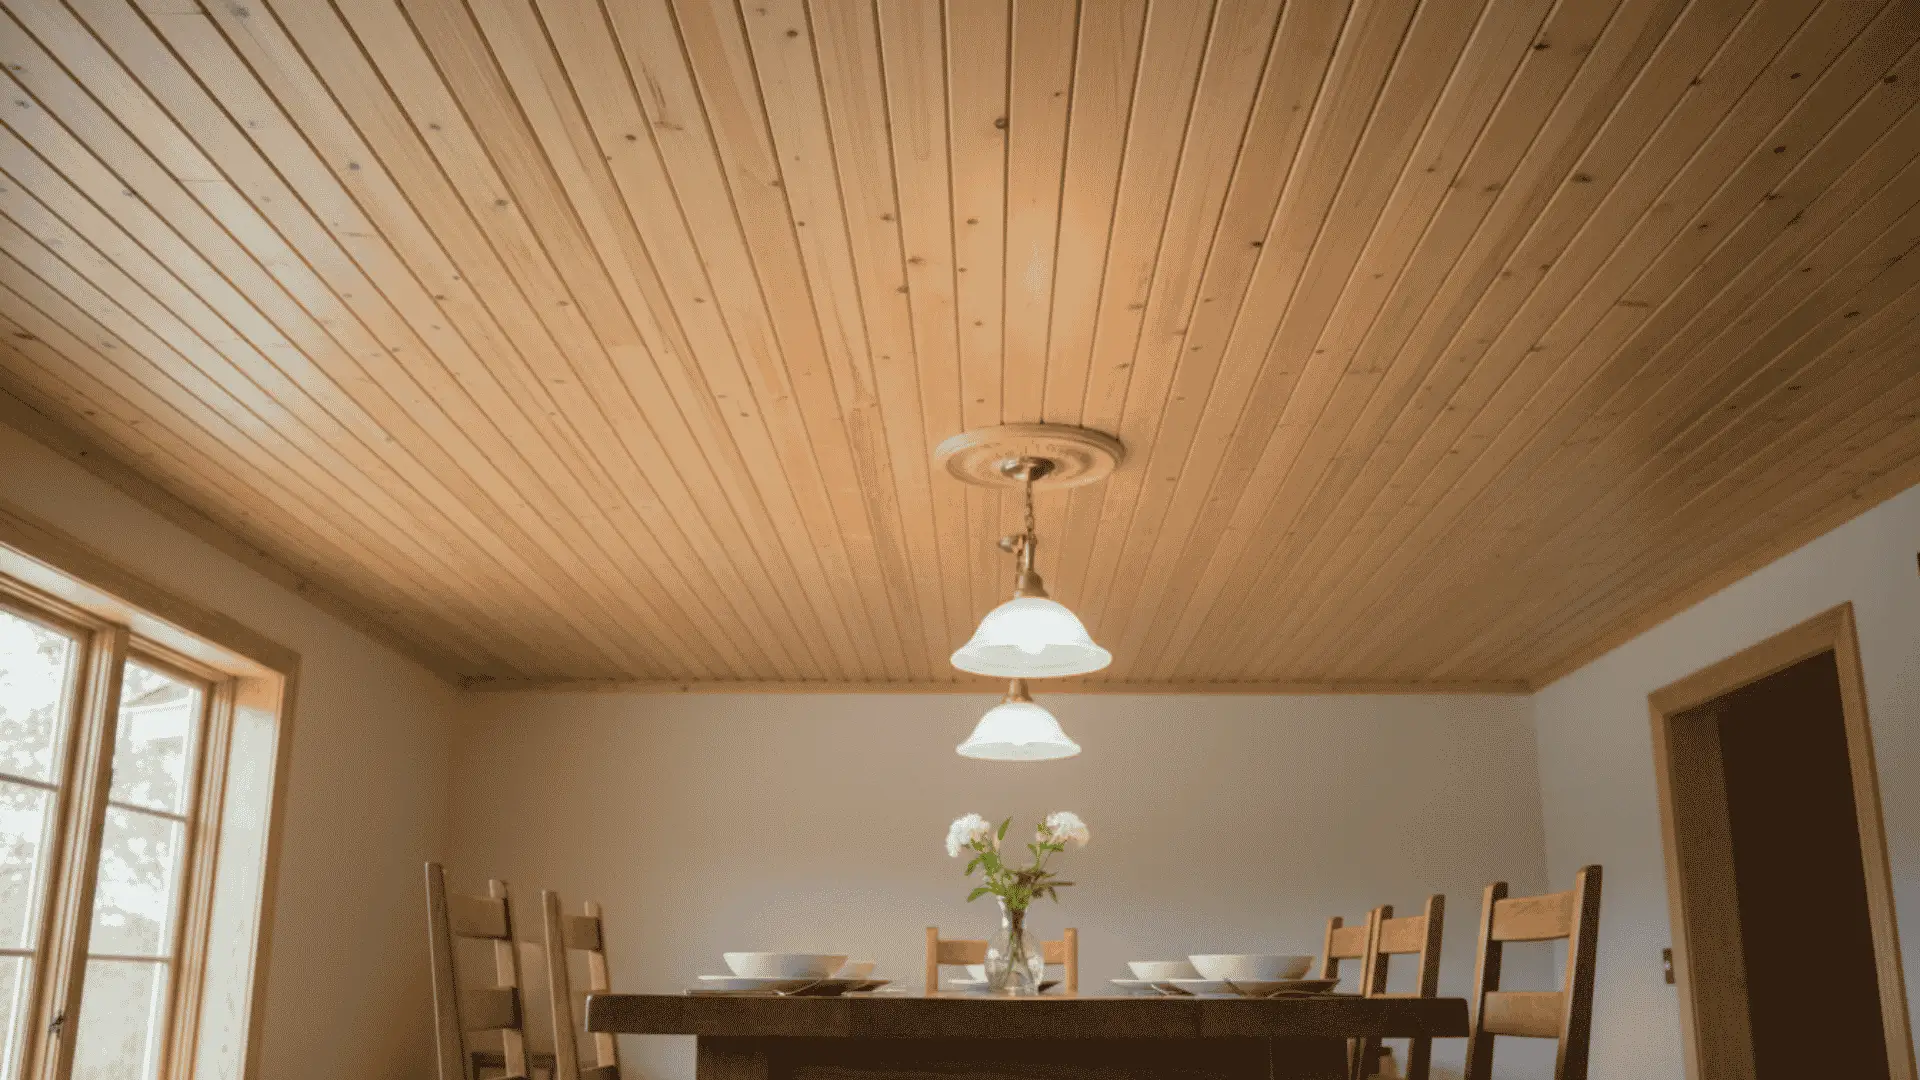
Tongue-and-groove boards have a raised tongue milled into one edge and a matching groove cut into the other side.
The boards slide together and interlock along their full length, creating a tight, flat surface across the wall, floor, or ceiling.
This interlock helps the boards support each other as you install them, which is especially important when working overhead.
Both profiles have a long history in wood construction, so it helps to know a little about where each style originated.
How Shiplap and Tongue and Groove are Installed
Installation is where shiplap and tongue-and-groove start to feel very different. Shiplap is usually quicker to place on interior walls because each board overlaps the next and is nailed into the studs.
Tongue-and-groove takes more time because each board must lock tightly into place, but that tighter fit makes it stronger for ceilings and polished finishes.
Shiplap Installation
Shiplap goes up fast because you rest each new board on the lip of the last one, check for level, and nail it.
It leans entirely on the fastener to stay put, so consistent spacing and a straight starter board matter most. Overhead use requires extra bracing because the boards do not lock together.
Tongue-and-groove locks together in a way that changes the entire installation process.
DIY Tips for Installing Shiplap
Let boards acclimate indoors for 3 to 5 days before cutting, since summer humidity can cause gaps once winter dries the wood out.
Use a nickel or a dime as a spacer between boards to create a consistent, professional-looking gap. Pre-drill near board ends and always locate studs first with a stud finder.
How To Install Shiplap Step By Step
These steps show the basic order for installing shiplap boards evenly and finishing the wall cleanly.
- Remove baseboards and mark every stud with a pencil line.
- Level and nail your first board at the bottom of the wall.
- Add a spacer, then nail the next board above it.
- Repeat up the wall, cutting boards for corners and outlets.
- Caulk gaps, fill nail holes, then paint or finish the wall.
This YouTube video comes from: The Home Depot
Tongue and Groove Installation
Tongue-and-groove boards interlock as you go, so each new board helps support the one before it while you fasten it down.
This makes ceilings much easier to handle since boards stay aligned overhead without extra hands. It typically takes a bit longer per board than shiplap does.
Knowing the basic steps helps, but a few simple tips make either installation go much smoother.
DIY Tips for Installing Tongue and Groove
Finish or stain boards before installing them, especially on ceilings, so you avoid painting over your head later.
Leave a small expansion gap near walls to handle seasonal movement, and always nail through the tongue so fasteners stay hidden. A rubber mallet helps tap boards snugly together.
How to Install Tongue and Groove: Step By Step
These steps outline the basic order for installing tongue-and-groove boards to achieve a tight, clean finish.
- Start in a square corner with the groove facing the wall.
- Face-nail the first board through its front, near the wall edge.
- Slide the next board’s groove onto the tongue and tap it snug.
- Nail through the tongue at an angle to hide the fastener.
- Repeat across the room, then trim the edges and corners.
This YouTube video comes from: Finish Carpentry TV
When to Contact a Pro
Call a professional if you notice widespread warping, soft or spongy boards, mold growth, or sagging on a ceiling installation.
Also bring in a pro for vaulted or cathedral ceilings, tricky electrical cutouts, or if you’re not comfortable working overhead. Small gaps or one loose board are usually fine to fix yourself.
Tongue-and-groove locks boards together as you go, so each new board supports the one before it during fastening.
This makes it much easier to install on ceilings, where boards must stay aligned overhead without a lot of extra bracing or a second set of hands.
Shiplap installs fast on walls but relies more heavily on nails, a level line, and steady spacing.
Installation speed matters, but most homeowners still care most about how each profile actually looks once the wall or ceiling is finished.
How Each Board Style Changes the Look of a Room
The right profile can change the whole mood of a space, from textured and cozy to smooth, clean, and custom-built.
Shiplap Appearance
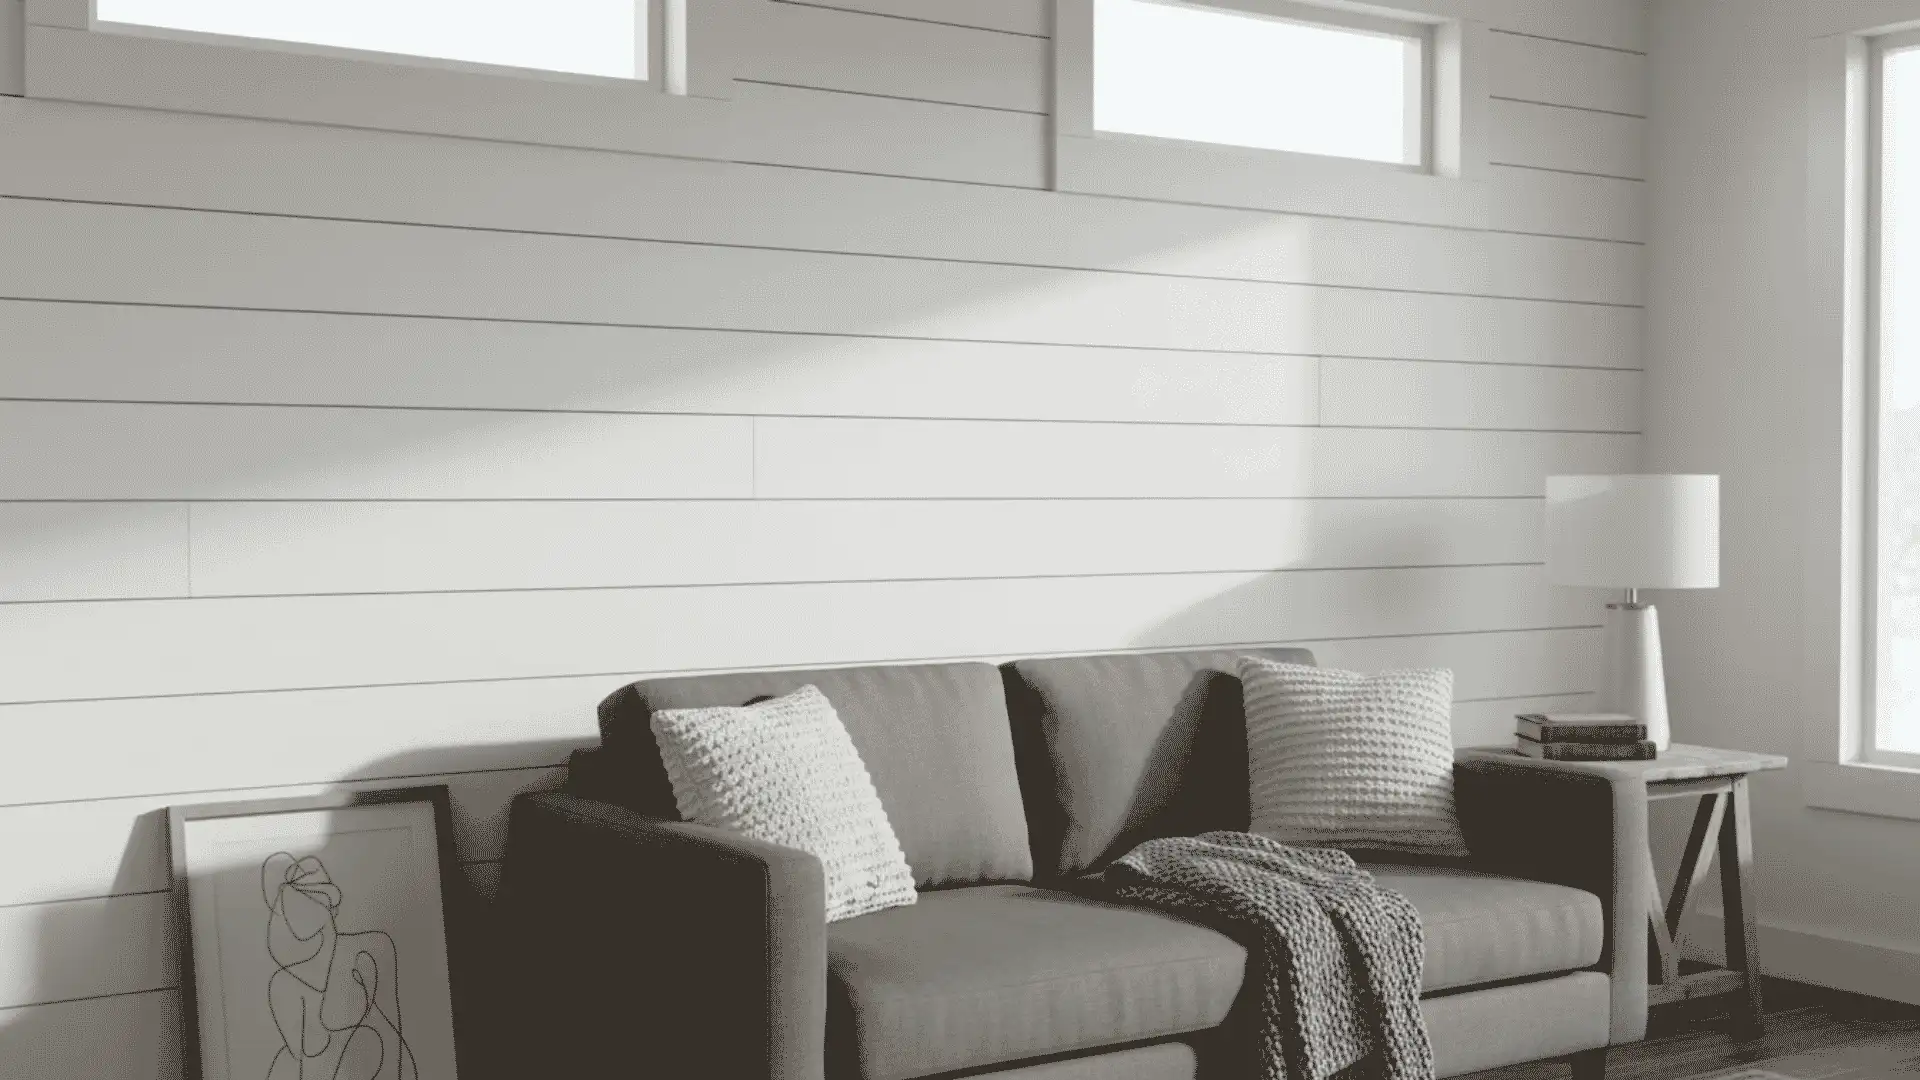
Shiplap gives a wall real depth. Every board casts a thin shadow onto the one below it, so the whole surface has a layered, almost rippled look that catches the light differently throughout the day.
That texture is exactly what gives shiplap its cozy farmhouse or coastal-cottage feel, whether you paint it a crisp white or leave the wood in its natural, warm tone.
Wide boards make that shadow line bolder and more dramatic, while narrower boards keep the same effect feeling quieter and more traditional in a smaller room.
| Shiplap | |
| Works best when | You want texture and character on a plain wall without extra trim, molding, or artwork. It also looks good in almost any color, from crisp white to a dark, moody shade. |
| Falls short when | The room is small or low-ceilinged. Repeating shadow lines can feel busy rather than cozy, especially with darker paint, making a tight space feel more closed in. |
Tongue and groove takes the opposite approach, trading that layered texture for a surface that disappears into itself.
Tongue And Groove Appearance
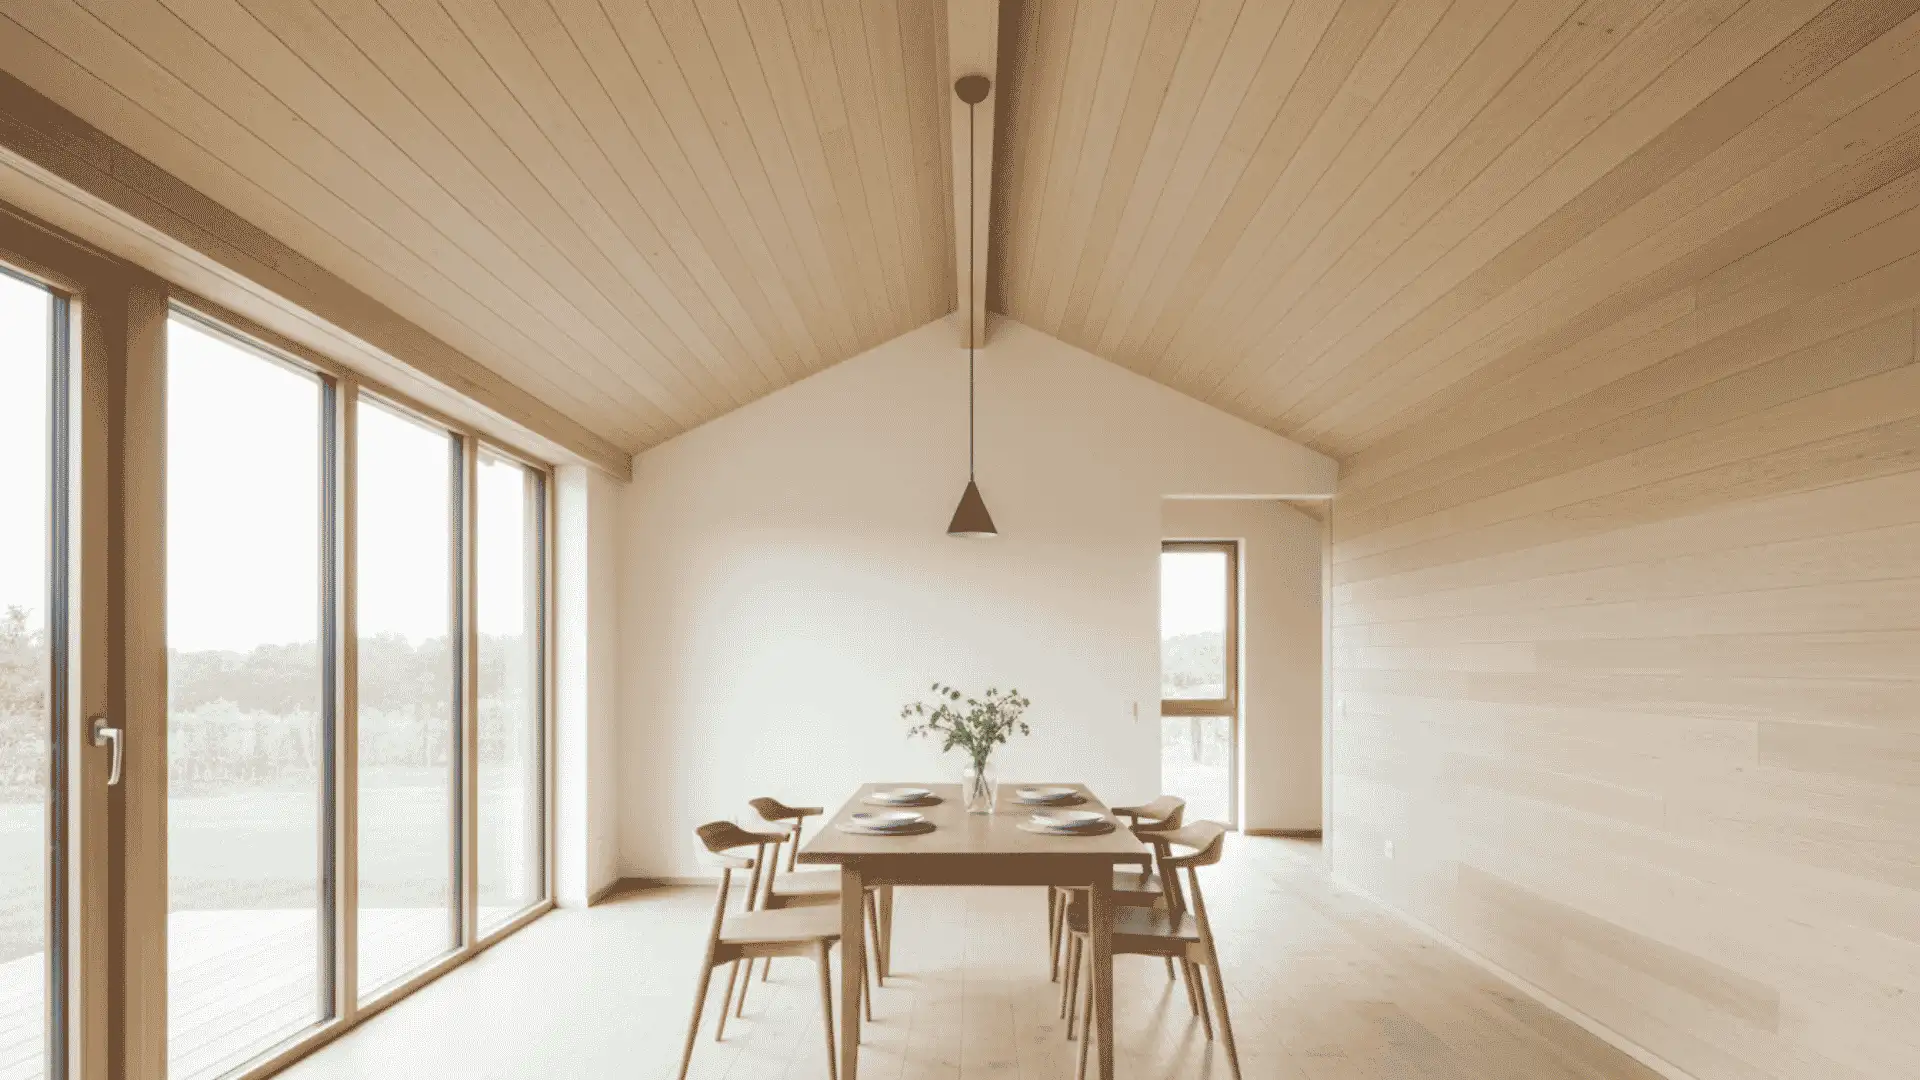
Tongue-and-groove reads as one smooth, unbroken plane rather than a stack of individual boards.
The joints are tight enough that from a few feet away, a tongue-and-groove ceiling or wall can look almost like a single continuous surface, which is part of why it feels more custom-built than a standard painted wall.
A V-groove or beaded cut adds a subtle touch of texture without breaking the clean, flat look, giving you a little more character while still keeping things understated.
| Tongue and Groove | |
|---|---|
| Works best when | You want a clean, finished look with no visual noise. It hides seams well under bright light, which is why it shows up on vaulted ceilings and in dining rooms or offices. |
| Falls short when | The room needs more personality. The flat, quiet surface can feel plain or under-designed next to plain trim and neutral furniture, unless paired with bolder lighting or accents. |
Looks matter, but performance under real weather and daily use is just as important for a long-lasting, worry-free result.
Best Uses for Shiplap and Tongue and Groove
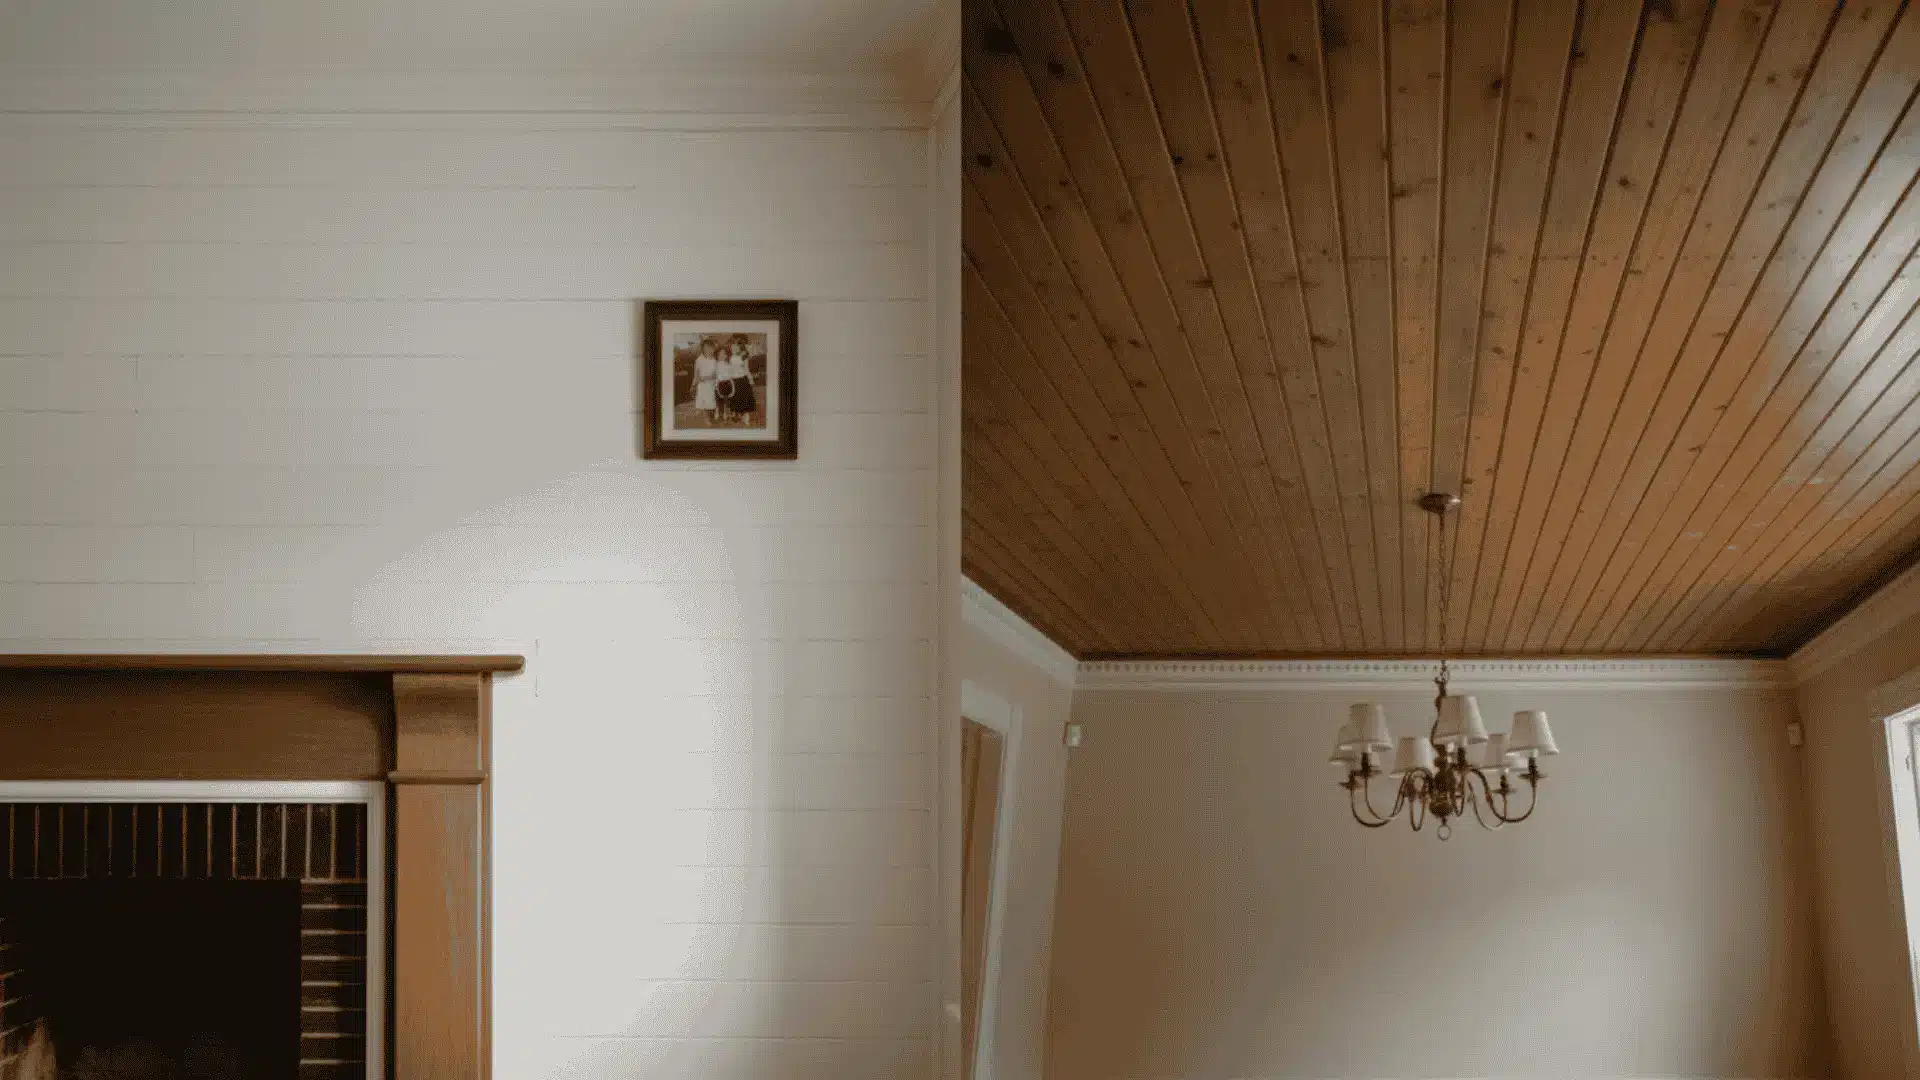
Choosing the right board style depends on where it will be installed and how much moisture support or daily wear the space will face.
Shiplap: Best for Interior Accent Walls & Focal Points
Because shiplap is prone to trapping moisture in its open horizontal gaps, it belongs in dry, climate-controlled environments where its shadow lines can take center stage.
- Living Room and Bedroom Accent Walls
Shiplap works well because its shadow lines create a clean focal point behind TVs, headboards, fireplaces, or shelves. It adds texture without making the room feel too busy. - Mudrooms and Entryways
Shiplap adds a durable, wipeable surface where coats, bags, shoes, and daily traffic can scuff plain walls. It also makes these practical spaces look more finished. - Flat Standard Ceilings
Shiplap adds texture to simple ceilings, especially in rooms that feel too plain. Installation is easier with extra help because the boards must stay straight overhead.
Tongue and Groove: Best for Ceilings, Floors & Damp Spaces
Because tongue-and-groove mechanically interlocks to create a tight structural seal, it shines in areas facing gravity, foot traffic, or humidity swings.
- High, Vaulted, or Cathedral Ceilings
Tongue-and-groove works well overhead because the interlocking joints hold boards steady during installation and help resist sagging or separation over time on larger ceiling spans. - Bathrooms and Powder Rooms
Tongue-and-groove handles frequent steam and humidity better because the tight joints help reduce moisture slipping behind the planks when the boards are sealed properly. - Covered Porch Ceilings and Patios
Tongue-and-groove suits covered outdoor spaces because the locked seams help resist wind-driven rain, moisture entry, and pests better than shiplap in exposed areas.
Performance Comparison: Shiplap vs Tongue and Groove
This performance comparison shows how each profile handles moisture, wind, board movement, and long-term upkeep in everyday spaces.
| Performance Factor | Shiplap | Tongue and Groove |
|---|---|---|
| Rain resistance | Sheds surface water well due to the overlap, but driving rain can push moisture behind the lap over time. | Resists wind-driven rain better since the interlocking joints leave almost no gap for water to enter. |
| Humidity | Can trap moisture behind the overlap in muggy climates without regular caulking and finish upkeep. | Tight seams keep humidity from settling between boards, lowering the risk of trapped dampness. |
| Drafts and wind | Allows slightly more airflow through its seams, which matters more on exposed sheds or unheated porches. | Blocks drafts far better thanks to the locked joint, ideal for windy or exposed spots. |
| Board movement | Shows seasonal movement more openly, sometimes as a shifting shadow line from season to season. | Hides movement well, though overly tight installs without an expansion gap can bow slightly |
| Upkeep needed | Needs more frequent recaulking and finish touch-ups to keep performing well long-term. | Needs less frequent caulking, but benefits from periodic refinishing to stay sealed. |
Durability and Lifespan
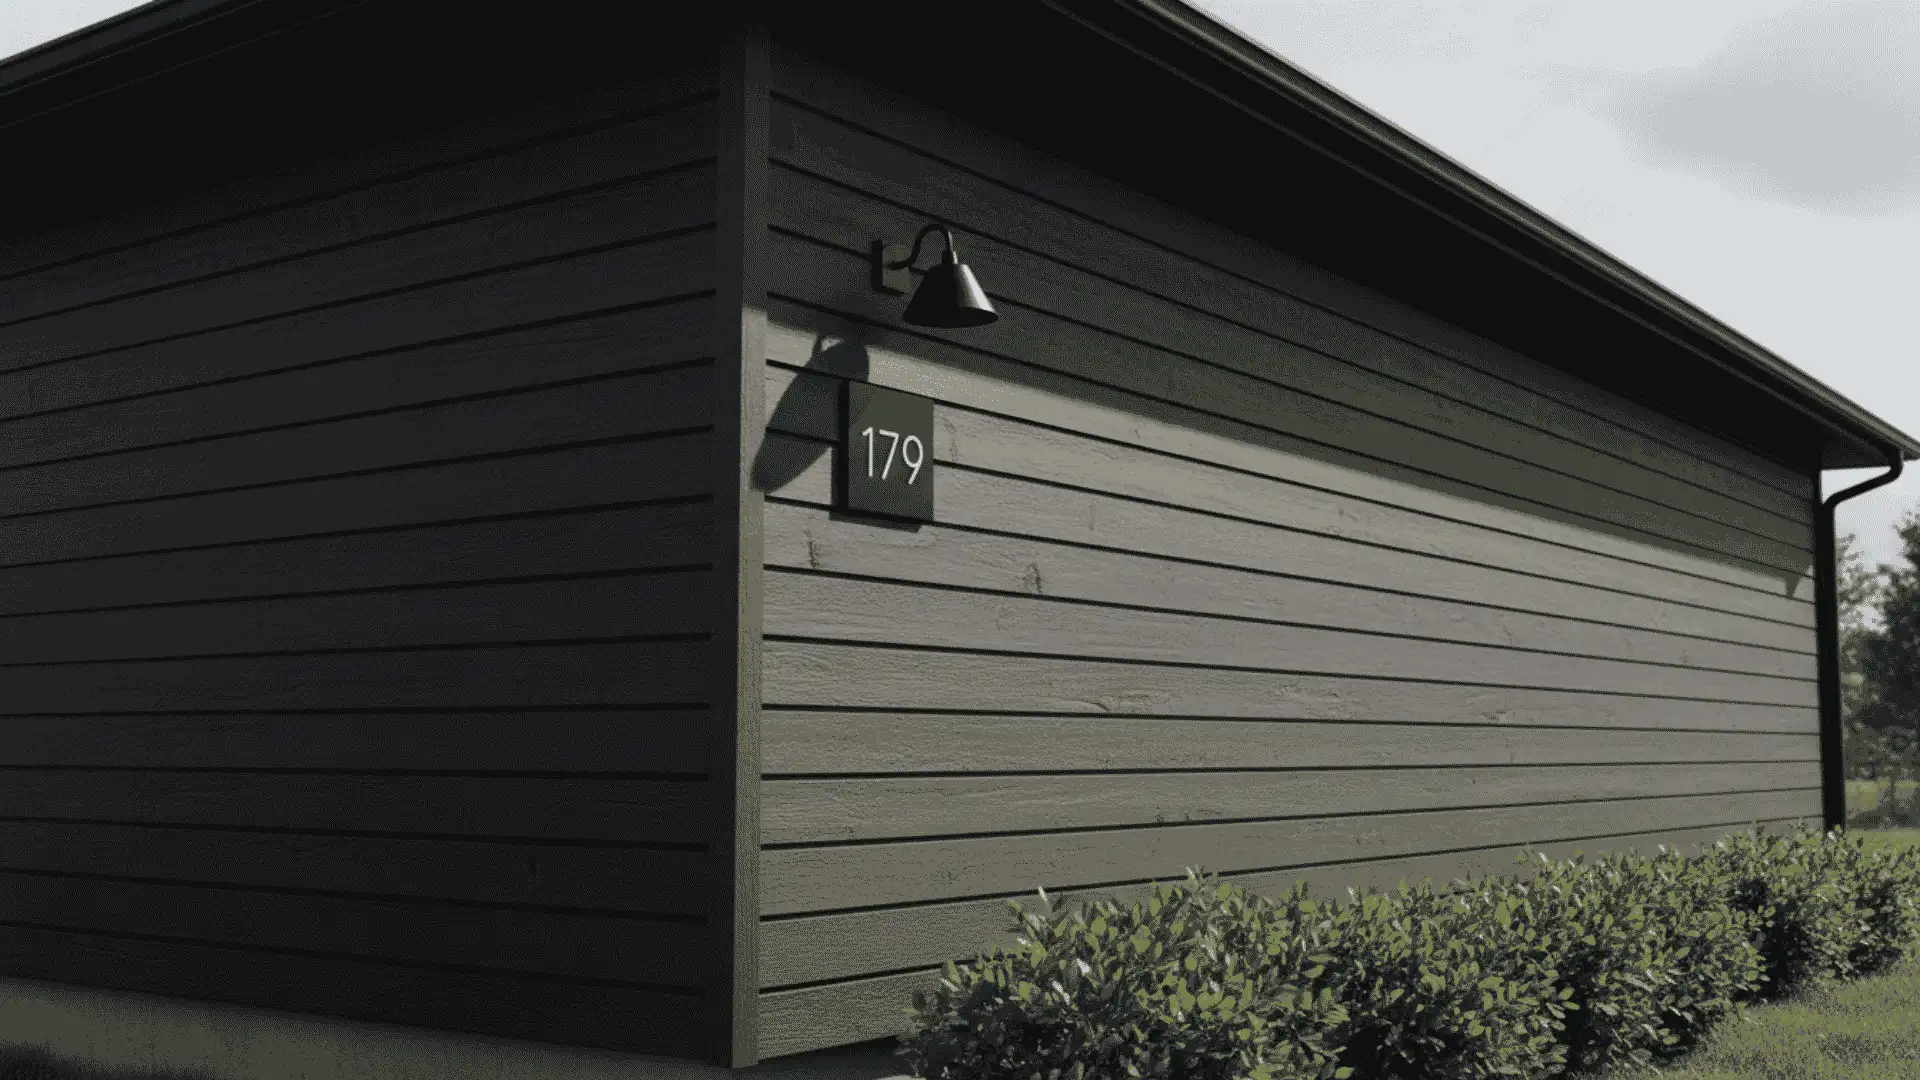
This section shows how each profile holds up over time and what helps it stay in good shape.
Shiplap Durability
Shiplap can last for many years when it is sealed, painted, and installed correctly. It works well for interior walls, accent areas, sheds, and covered spaces.
However, small gaps may appear over time because the boards can shift with humidity and temperature changes.
Regular caulking, repainting, and moisture control help it stay in good shape.
Tongue and Groove Durability
Tongue-and-groove is often the more durable choice because the boards lock tightly together. This helps reduce movement, gaps, and shifting over time.
It performs especially well on ceilings, covered porches, and areas where a tighter finish matters. With proper sealing and maintenance, it can last for decades.
Cost Considerations
These cost factors help you compare the upfront price with the long-term value of each board profile.
- Shiplap usually costs slightly less per square foot because it has a simpler board profile.
- Tongue-and-groove can cost more upfront because the boards require more detailed milling.
- Tongue-and-groove may reduce material waste when installed carefully.
- Labor costs depend on ceiling height, board length, and the amount of cutting the project requires.
- Upfront cost matters, but long-term durability also affects future repair expenses.
Maintenance Needs

Regular upkeep helps keep both profiles clean, sealed, and stable long after installation is complete.
Shiplap Maintenance
Shiplap walls need occasional recaulking at the overlapping seams, especially in humid rooms like bathrooms, laundry rooms, or mudrooms near an exterior door.
Check yearly for small gaps or peeling caulk, and touch up paint or stain as needed. Loose nails should be reset before they work their way further out.
Tongue-and-groove requires a slightly different maintenance routine since the boards lock together rather than overlap.
Tongue And Groove Maintenance
Tongue-and-groove needs less caulking overall but benefits from periodic refinishing to keep the tight seams looking sharp and freshly sealed.
Watch for squeaking floors, slightly raised boards, or hairline cracks along seams, since these often signal early movement. A yearly walk-through catches most issues early.
With maintenance covered, it helps to hear what flooring and remodeling experts actually recommend for real projects.
Which One Should You Choose
Use this quick comparison to match each board profile with the space where it performs best.
| Area | Better Choice | Why It Works |
|---|---|---|
| Interior Walls | Shiplap or Tongue and Groove | Shiplap adds texture with shadow lines, while tongue and groove gives a smoother and more finished wall look. |
| Ceilings | Tongue and Groove | The interlocking boards support each other better overhead and help reduce sagging or visible gaps over time. |
| Exterior Siding | Tongue and Groove | It often handles wind-driven rain and moisture better, especially in wetter climates or exposed areas. |
| Porches and Accent Siding | Shiplap | Shiplap gives a classic farmhouse look and works well where heavy moisture exposure is less constant. |
| Sheds and Outbuildings | Shiplap | It installs quickly, costs less in many cases, and sheds rain well with the right finish. |
| Moisture-Sensitive Storage Buildings | Tongue and Groove | A tighter seal helps protect tools, feed, or equipment that can be damaged by moisture. |
Common Mistakes to Avoid
Avoiding these mistakes helps both shiplap and tongue and groove look better last longer and perform well after installation.
- Wood boards need time to adjust to the room before installation.
- Skipping acclimation can cause gaps, warping, or movement after the boards are painted.
- Let boards sit indoors for 3 to 5 days before cutting or fastening.
- Use the right nails or screws for the profile you choose.
- Shiplap needs strong fasteners because each board depends on them for support.
- Tongue and groove often uses hidden nailing through the tongue for a cleaner finish.
- Leave small expansion gaps near walls, trim, corners, and ceilings.
- Wood expands and contracts with humidity, so tight installation can cause buckling or cracking.
- Shiplap can appeal to buyers who like farmhouse or rustic style.
- Tongue and groove often feels more polished and high-end in ceilings, porches, and living spaces.
At the End
Choosing between shiplap vs tongue and groove comes down to your project, your budget, and the look you want. Shiplap gives you a bold shadow line and a faster install for feature walls.
Tongue and groove gives you a tighter, flatter surface that holds up very well on ceilings, floors, and exposed exterior spots year-round.
Neither option is wrong, but one will fit your space better than the other. Think about where the boards will go and how much moisture they will face.
Once you match the profile to the job correctly, the whole project gets much easier. Ready to start your next paneling project?
Pick your best profile today and enjoy a finished space you will love for years.
Frequently Asked Questions
Is Shiplap Cheaper than Tongue and Groove?
Pricing depends on wood species, thickness, and finish quality. There is no single national price, so always get a local quote for your specific project.
Can You Mix Shiplap and Tongue and Groove in One Room?
Yes, many homeowners use shiplap on an accent wall and tongue and groove on the ceiling. Mixing profiles can add contrast without clashing.
Can You Install Shiplap Over Drywall?
Yes, shiplap can be installed directly over drywall using nails or construction adhesive, as long as you locate the studs first.
Do You Need to Paint Shiplap or Tongue and Groove?
No, both profiles can be left natural with a clear finish, though paint adds extra protection against moisture and daily wear.
Is Tongue and Groove More Expensive to Repair than Shiplap?
Repairs can be trickier since interlocked boards are harder to remove individually, while a single shiplap board can be replaced more easily.

Millie Anderson, a graduate of Textile Design from the Fashion Institute of Technology, has carved her name in fabric and material finishes for over 16 years. Her career took flight in a renowned textile manufacturing company, where she mastered combining textures and patterns. Millie joined our team in 2018, becoming a cornerstone for readers interested in the latest trends in textiles. Since then, she has been the lead editor for our home decor fabrics section, blending her deep knowledge of materials with a flair for contemporary design. Beyond her professional achievements, Millie is an enthusiastic quilter and often participates in community arts and crafts workshops, further nurturing her passion for fabrics and design.