Is your yard demanding more time and money than you’d like to spend? Landscaping with river rock might be the game-changing solution you’ve been looking for.
River rocks are nature’s most versatile design element: beautiful, durable, and incredibly practical.
If you’re refreshing a tired front yard, solving a drainage problem, or creating a stunning garden border, river rocks deliver lasting results with minimal effort.
In this guide, you’ll look into top design ideas, installation tips, and everything you need to transform your outdoor space with river rock.
Basics of River Rock
River rock refers to naturally smoothed river stones shaped over centuries by flowing water, giving them their signature rounded edges and polished appearance.
Unlike sharp-edged gravel or crushed stone, which are mechanically broken, river rocks are naturally formed, making them gentler on bare feet and far more attractive in decorative settings.
They’re also distinct from pea gravel, which is smaller and more uniform.
River rock sizes range from small (½”–1″) for tight ground cover, medium (1″–3″) for pathways and borders, and large (3″–5″) for dramatic focal points, to oversized boulders for structural accents.
Types of river rock come in a rich palette of colors, crisp white, cool gray, warm brown, and eye-catching multicolor blends, making them endlessly adaptable to any landscape style.
Benefits of Using River Rock in Landscaping
River rock is a simple way to upgrade outdoor spaces without adding extra work. It not only improves the look of your yard but also solves common issues and is a smart and long-lasting landscaping choice.
Have a look at what makes it beneficial:
- Low Maintenance: No mowing, watering, or fertilizing needed
- Supports Good Drainage: Helps water flow easily and prevents pooling
- Helps Control Erosion: Keeps soil in place, especially on slopes
- Reduces Weed Growth: Works well with landscape fabric to block weeds
- Long-Lasting Material: Does not break down like mulch over time
- Eco-Friendly Choice: Natural material with no need for frequent replacement
- Looks Good All Year: Keeps its appearance in every season without fading or rotting
Cost Breakdown: What to Expect
River rock landscaping costs can vary based on size, quantity, and installation method.
Understanding the basic pricing, along with hidden expenses like delivery and materials, helps you plan your budget better and avoid surprises during your project.
| Cost Factor | Average Range | What It Means |
|---|---|---|
| River Rock Per Ton | $45–$170 | Best for bulk projects and larger areas |
| River Rock Per Cubic Yard | $50–$160 | Common for garden beds, borders, and pathways |
| DIY Installation | Lower cost | You mainly pay for rock, fabric, edging, and delivery |
| Hiring A Landscaper | Higher cost | Adds labor but saves time and effort |
| Hidden Costs | Varies | Delivery, landscape fabric, edging, cleanup, and extra rock |
| Home Value Boost | Long-term benefit | Improves curb appeal with a cleaner, low-maintenance yard |
Tools and Materials Required
Having the right tools and materials makes your river rock project much easier and more efficient. A simple checklist helps you stay prepared, avoid delays, and complete the installation with a clean and well-organized result.
Here’s what you need to arrange:
- Shovel: Helps remove soil and grass easily
- Rake: Smooths and levels the surface properly
- Wheelbarrow: Makes carrying rocks easier and less tiring
- Landscape fabric: Helps block weeds from growing underneath
- Edging: Keeps the rocks neatly in place
- River rock: Creates the main landscaping layer
Step-by-Step Installation Process
A proper installation process helps your river rock landscaping look neat and last longer. With the right prep and a clear approach, it becomes easier to avoid common issues such as weeds, uneven surfaces, and poor drainage.
Here are the steps you need to follow:
Step 1: Mark and Prepare the Area
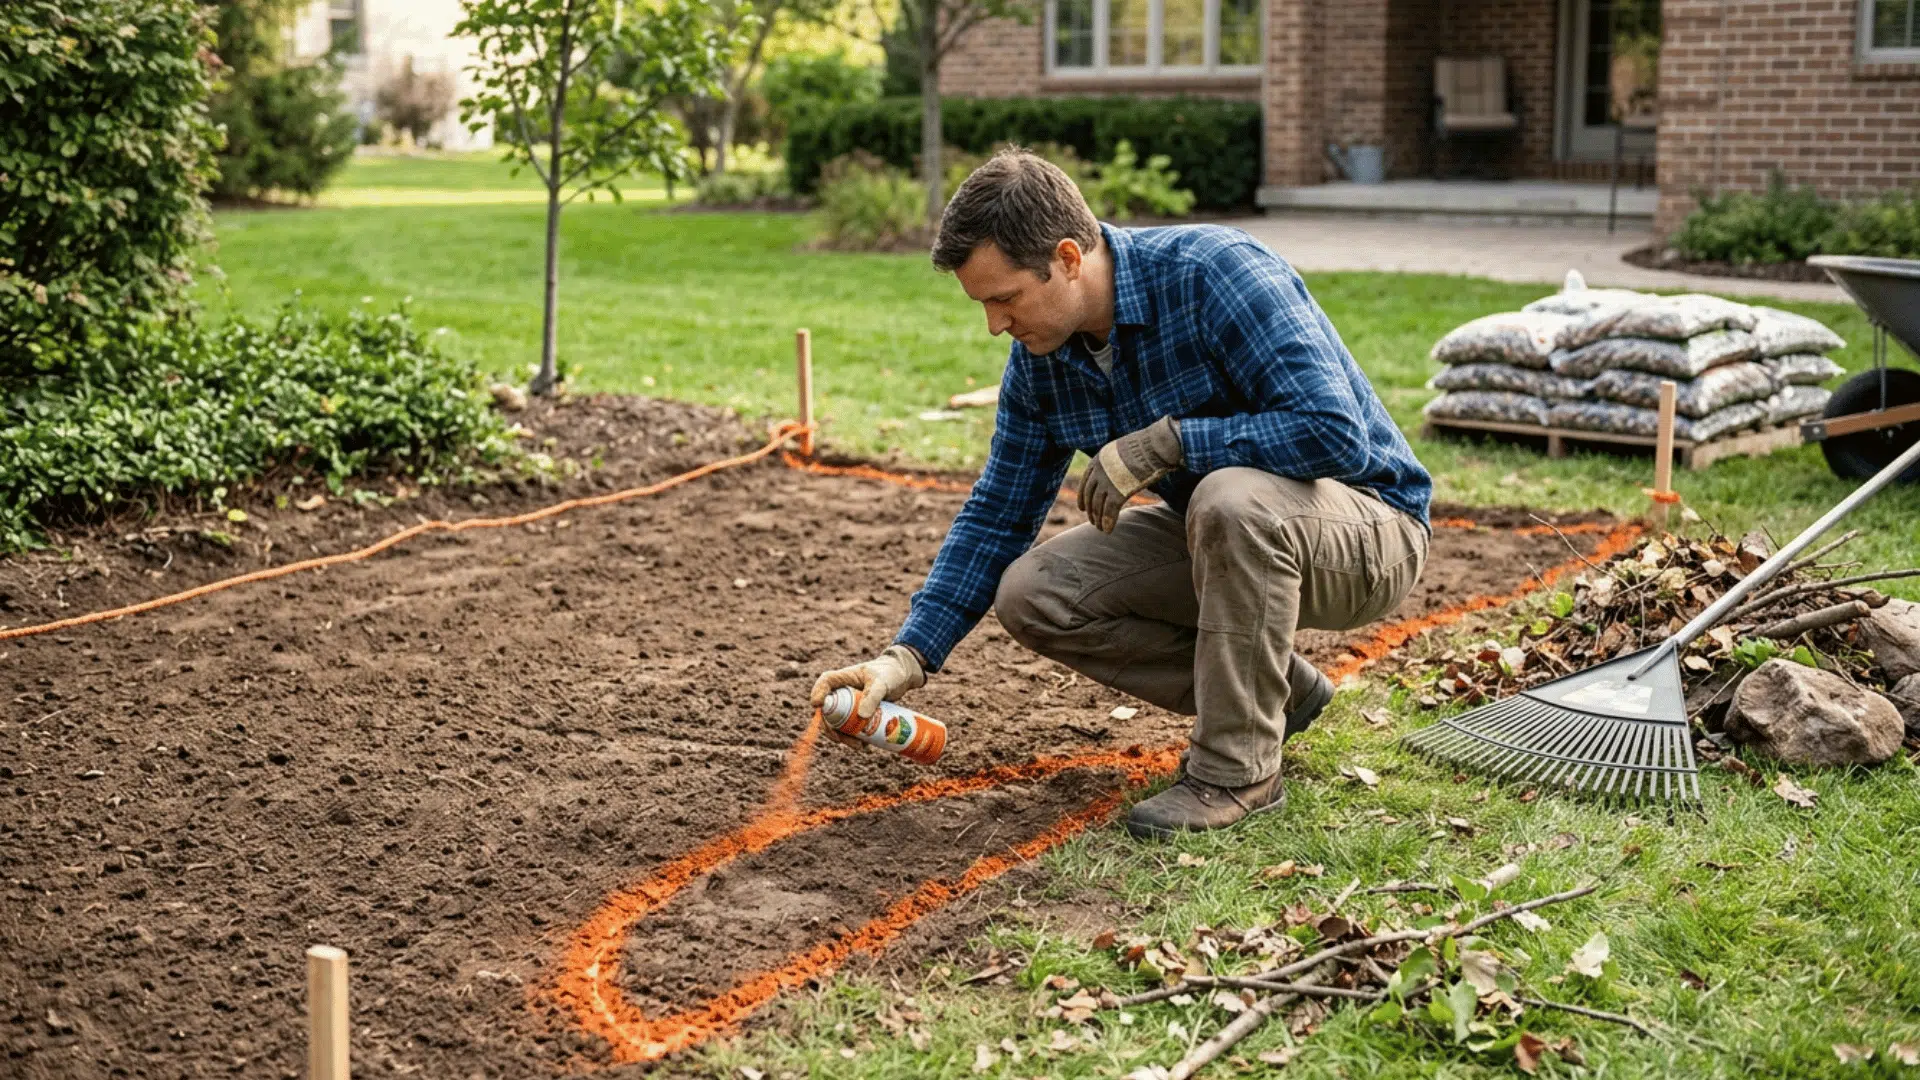
Start by outlining the space where you plan to add river rock. Use spray paint, rope, or garden stakes to mark clear boundaries. This step helps visualize the layout and keeps the design organized.
Once marked, remove any debris, such as sticks, leaves, or loose stones. A clean surface makes the next steps easier and ensures better results.
Taking time here prevents mistakes later and helps maintain a smooth, well-defined look for your landscaping project.
Step 2: Remove Existing Grass or Vegetation
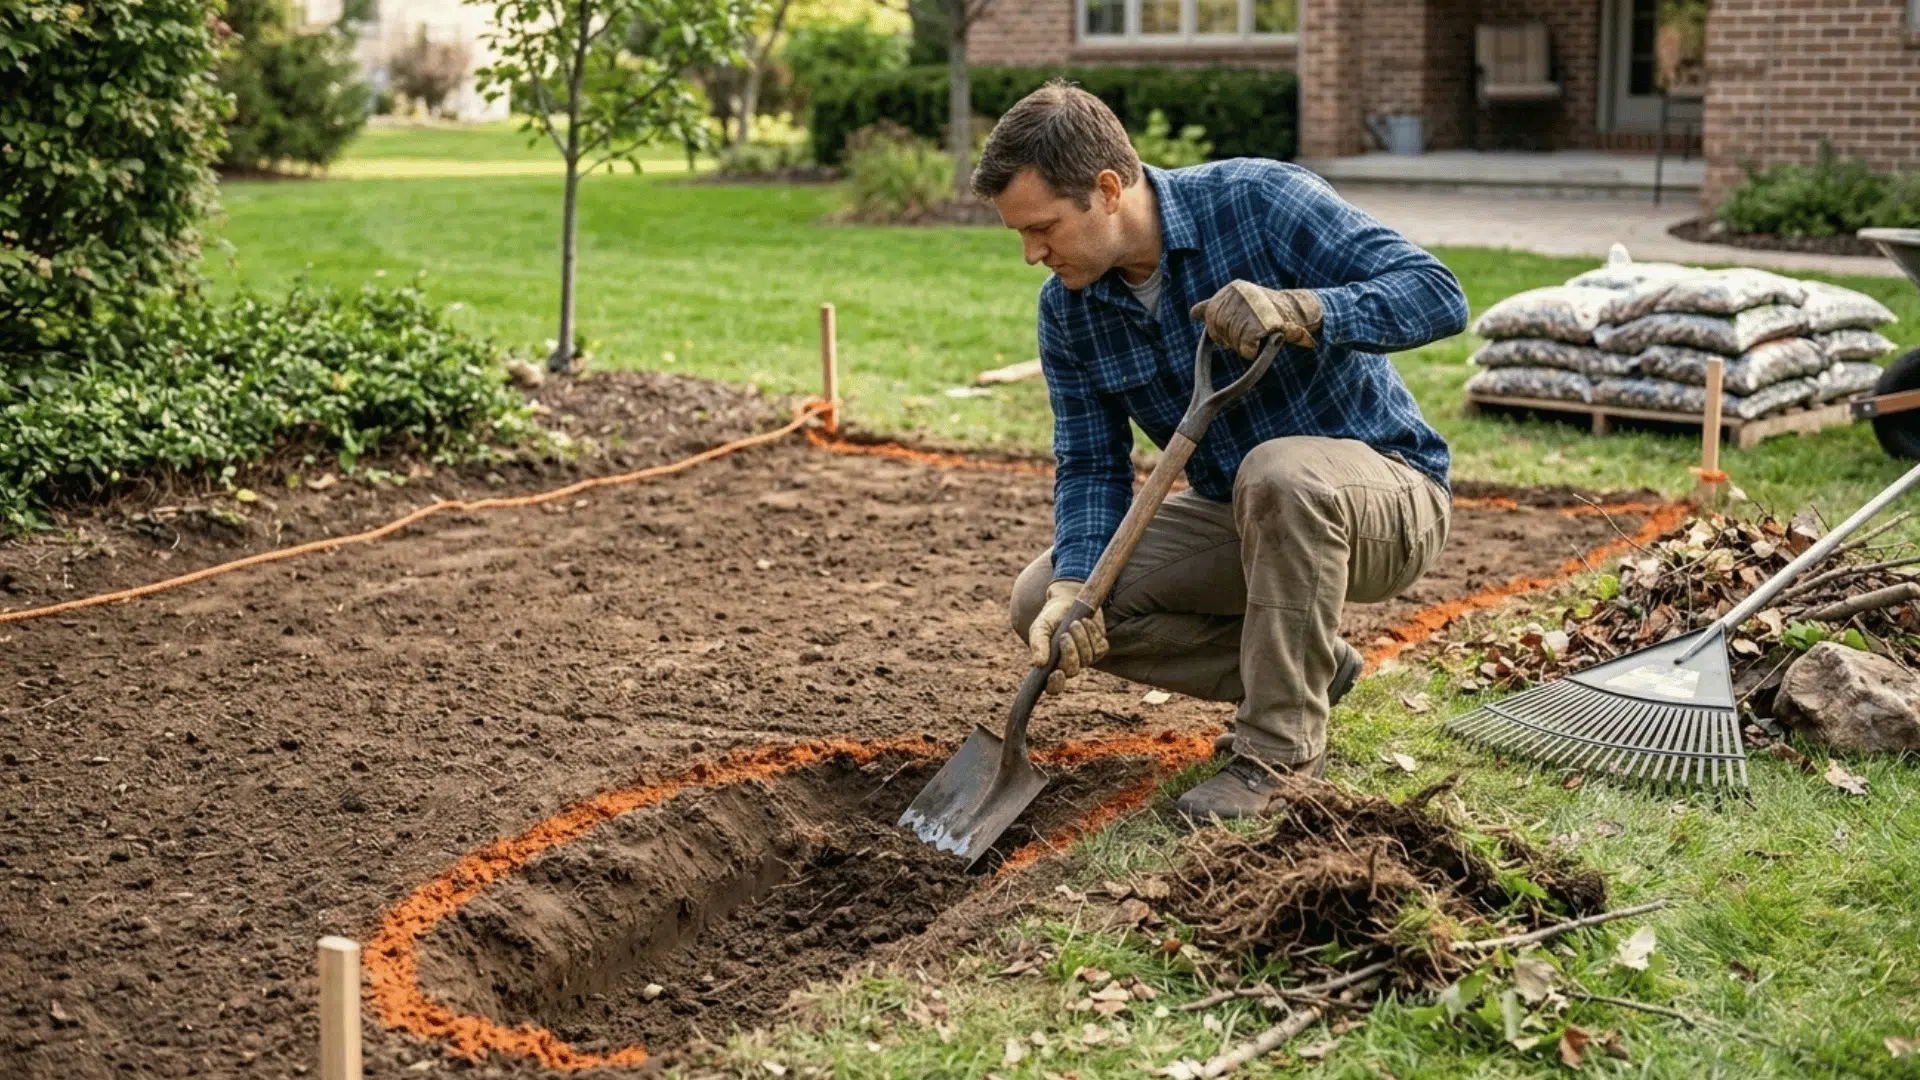
Clear the marked area of grass, weeds, and plant roots. Use a shovel or sod cutter to dig out the top layer of soil where plants are growing. Removing roots is important so they don’t grow back under the rocks.
If needed, apply a mild weed treatment before moving forward. This step creates a stable base and reduces future maintenance.
Skipping it can lead to unwanted growth that ruins the clean look of your river rock setup.
Step 3: Grade the Soil for Proper Drainage
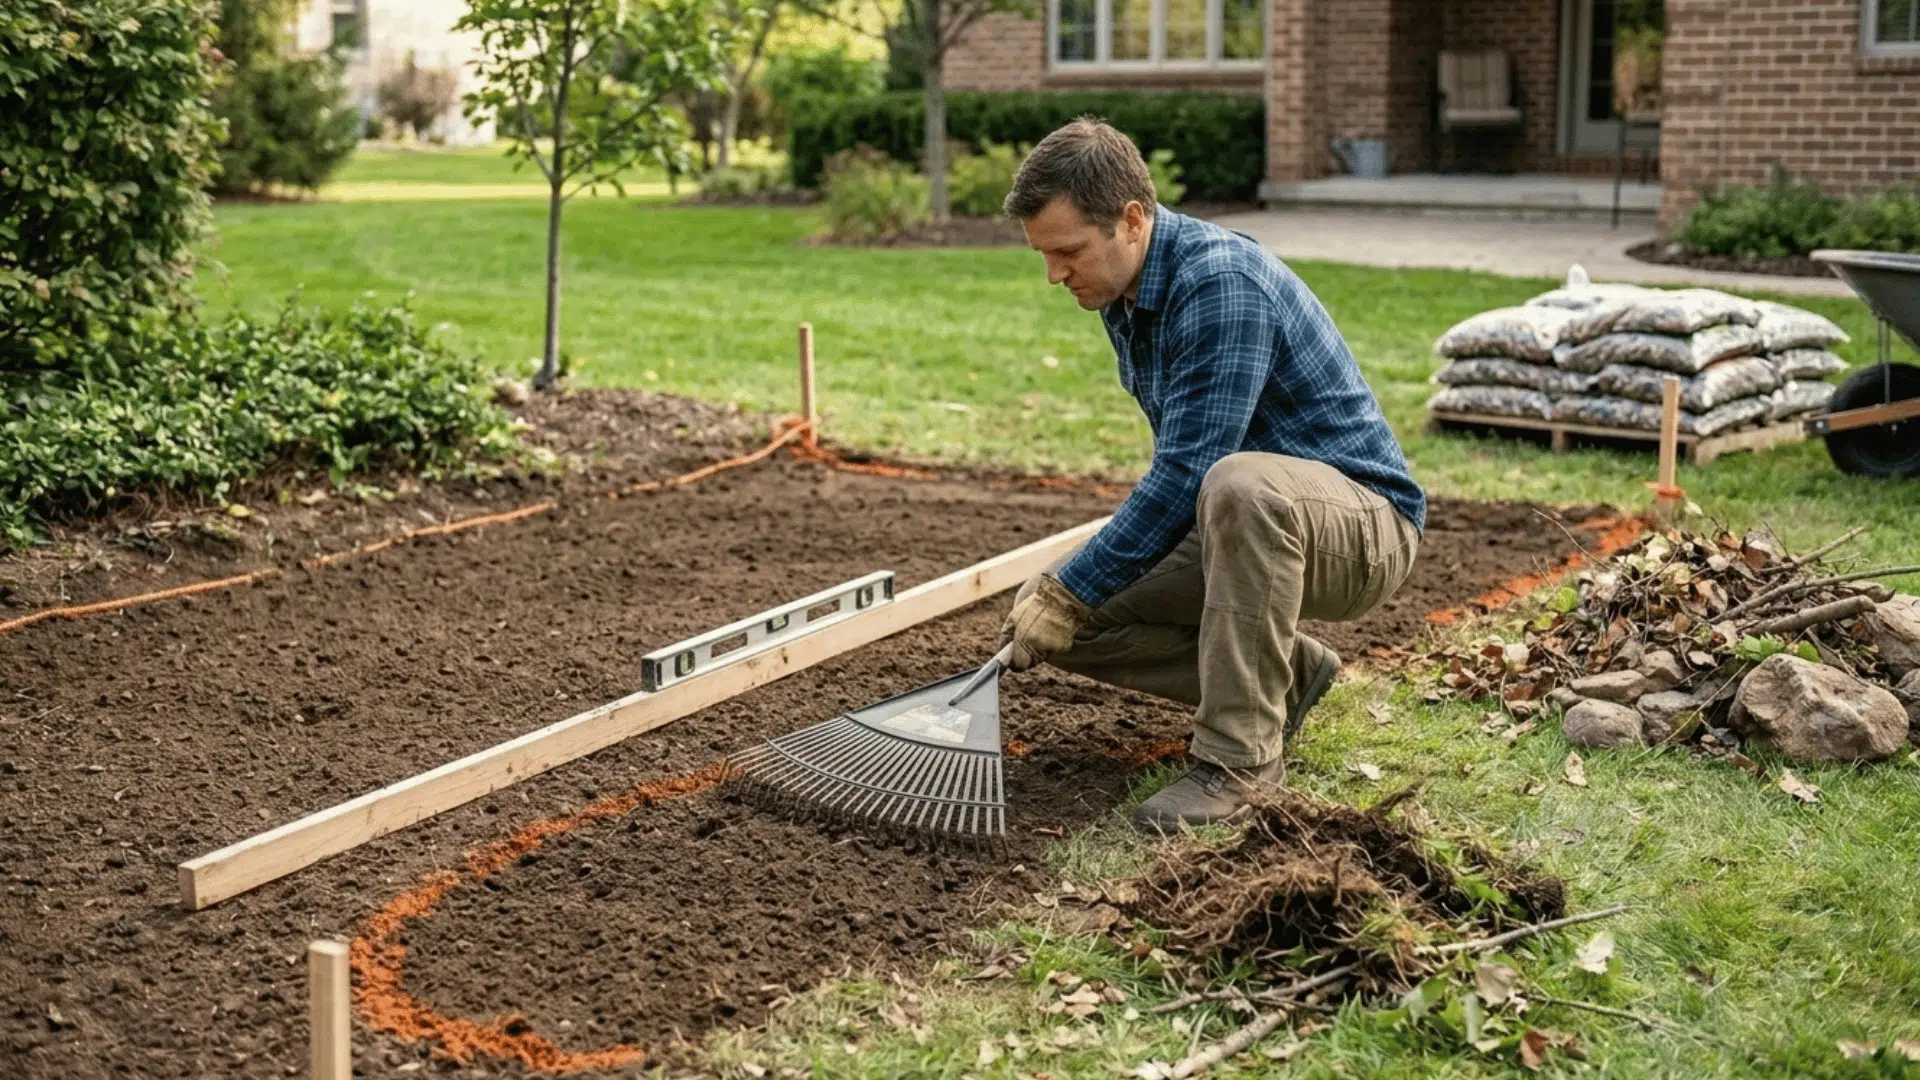
Level the soil and create a slight slope to direct water away from structures. Use a rake to smooth out the surface and remove bumps or dips. Proper grading ensures that water flows naturally instead of collecting in one spot.
This is especially important in areas prone to heavy rain. A well-graded base helps prevent erosion and keeps the rocks in place.
It also improves the overall durability of your landscaping over time.
Step 4: Lay Landscape Fabric (Weed Barrier)
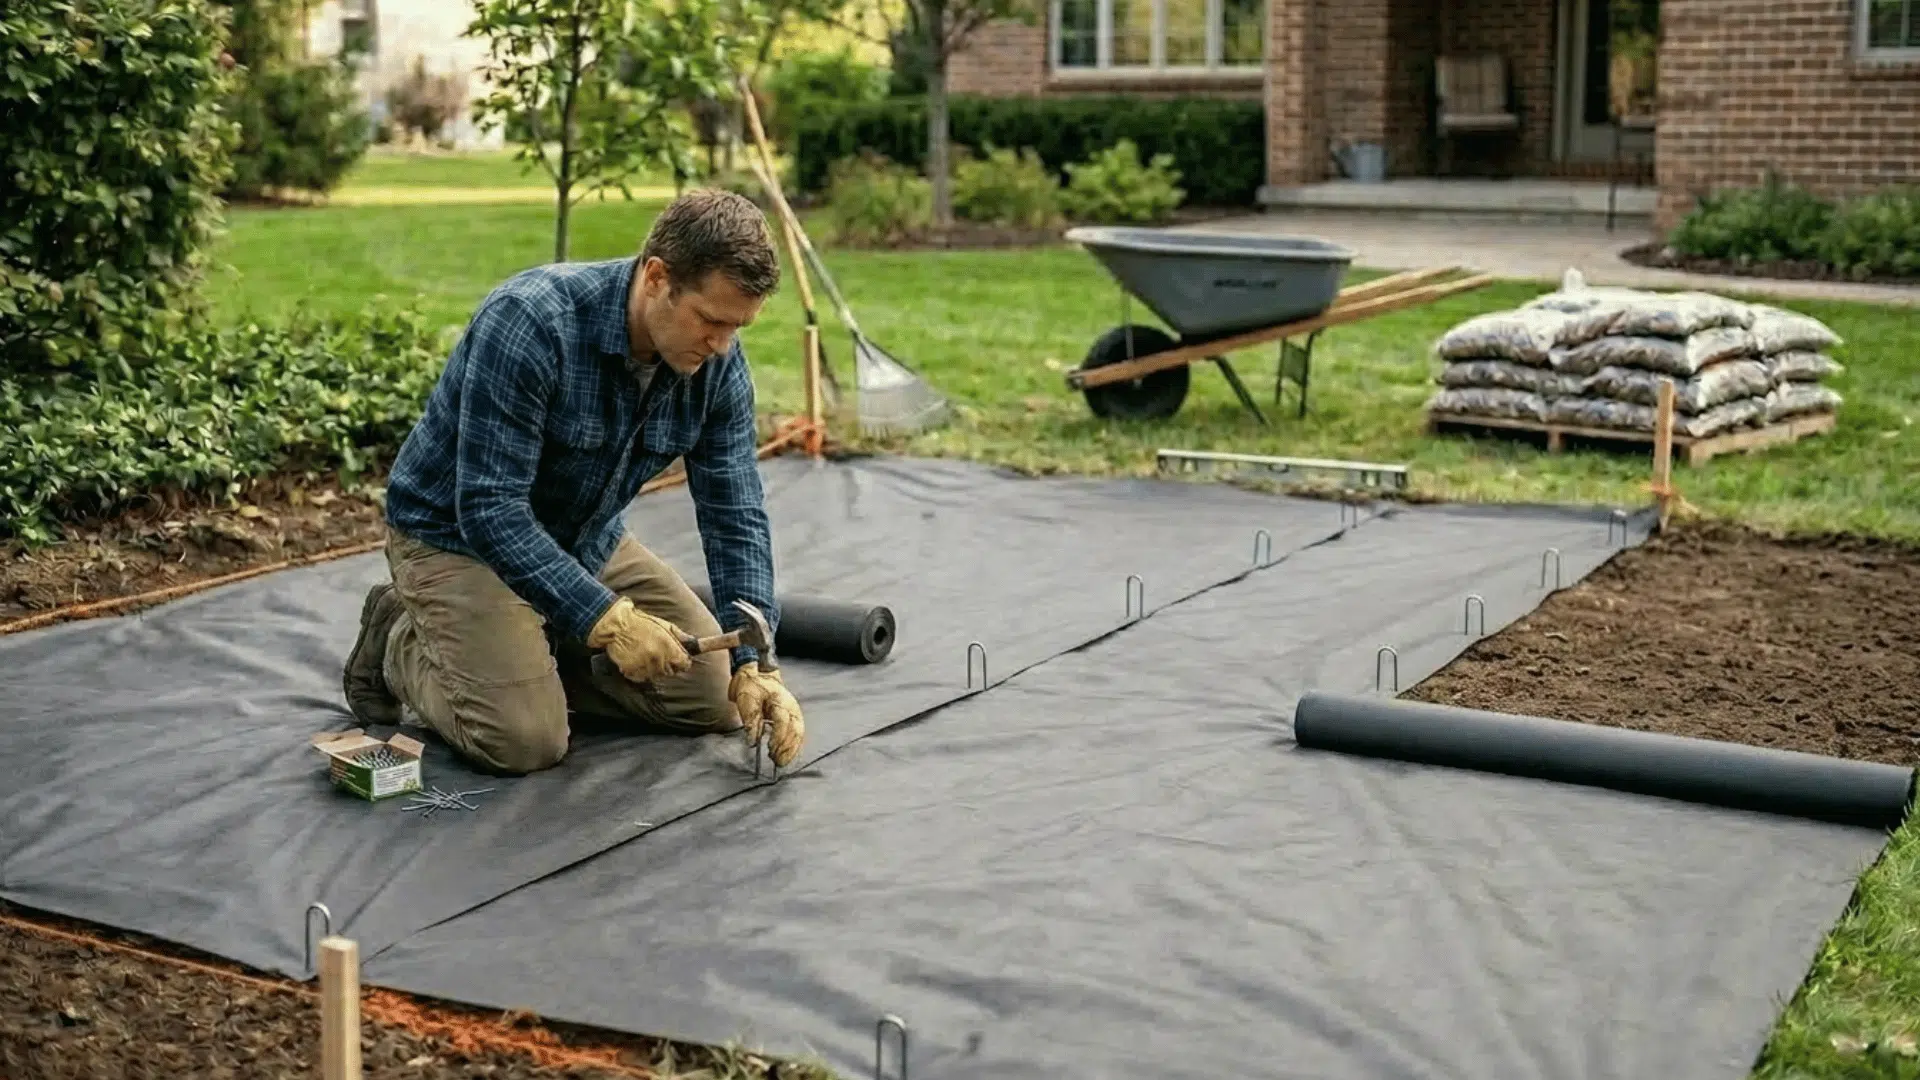
Roll out landscape fabric across the prepared area to block weed growth. Cut the fabric to fit and overlap edges slightly to avoid gaps.
This layer allows water to pass through while stopping weeds from growing up into the rocks.
Secure it with garden pins to prevent shifting. Using fabric reduces maintenance and keeps the area looking neat. It also helps separate the soil from the rocks, improving long-term stability.
Step 5: Secure Edges with Metal or Plastic Edging
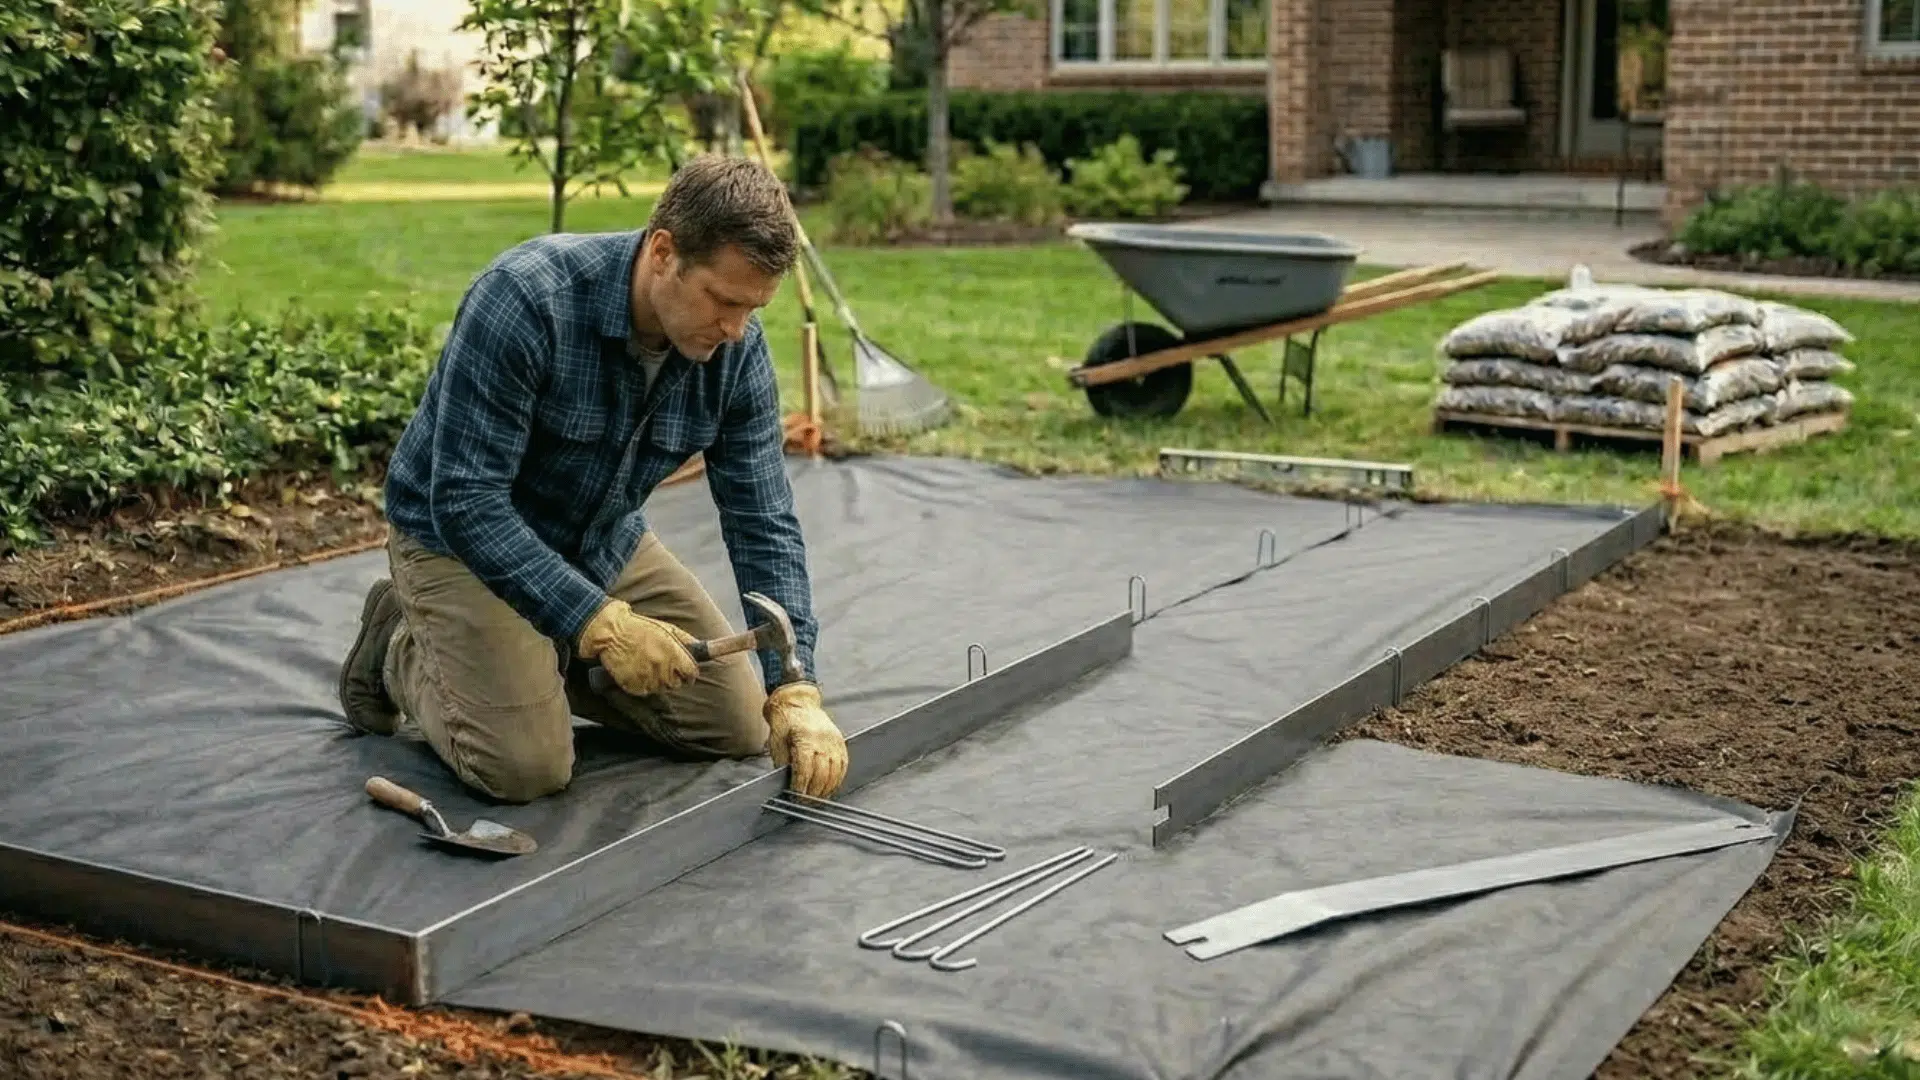
Install edging along the borders to contain the river rock. Choose metal or plastic edging based on your design and budget. Push or dig the edging slightly into the ground to keep it firm.
This step helps maintain clean lines and prevents rocks from spreading into unwanted areas, such as lawns or walkways. Strong edging also makes the design look more finished and organized.
It plays a key role in maintaining your landscaping structure.
Step 6: Spread and Arrange River Rock Evenly
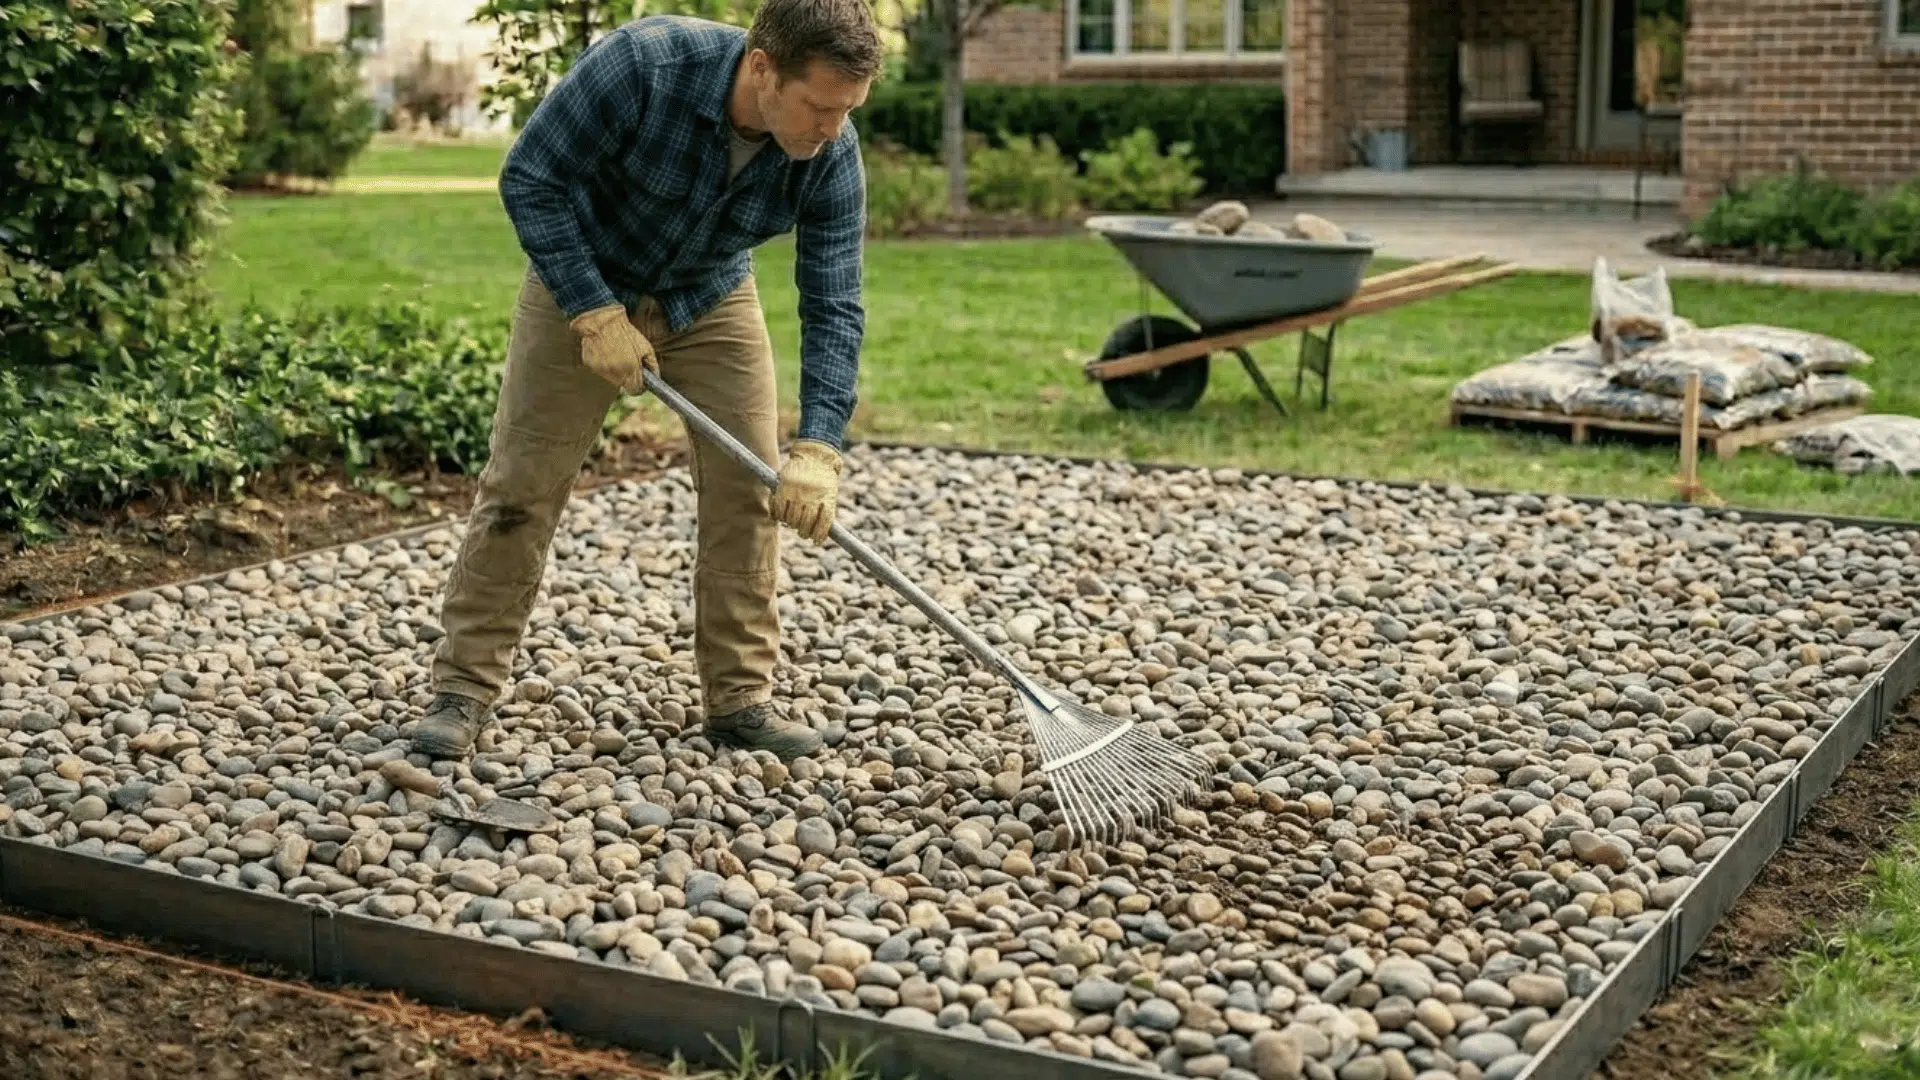
Pour the river rock over the fabric and spread it evenly using a rake or shovel. Aim for a consistent layer, usually about 2–3 inches deep. Avoid piling rocks in one spot, as this can make the area look uneven and affect drainage.
Take time to adjust and level the surface for a clean finish. Mixing rock sizes slightly can add a more natural look. Even placement ensures both visual appeal and proper function in your landscaping design.
Step 7: Final Cleanup and Settling Tips
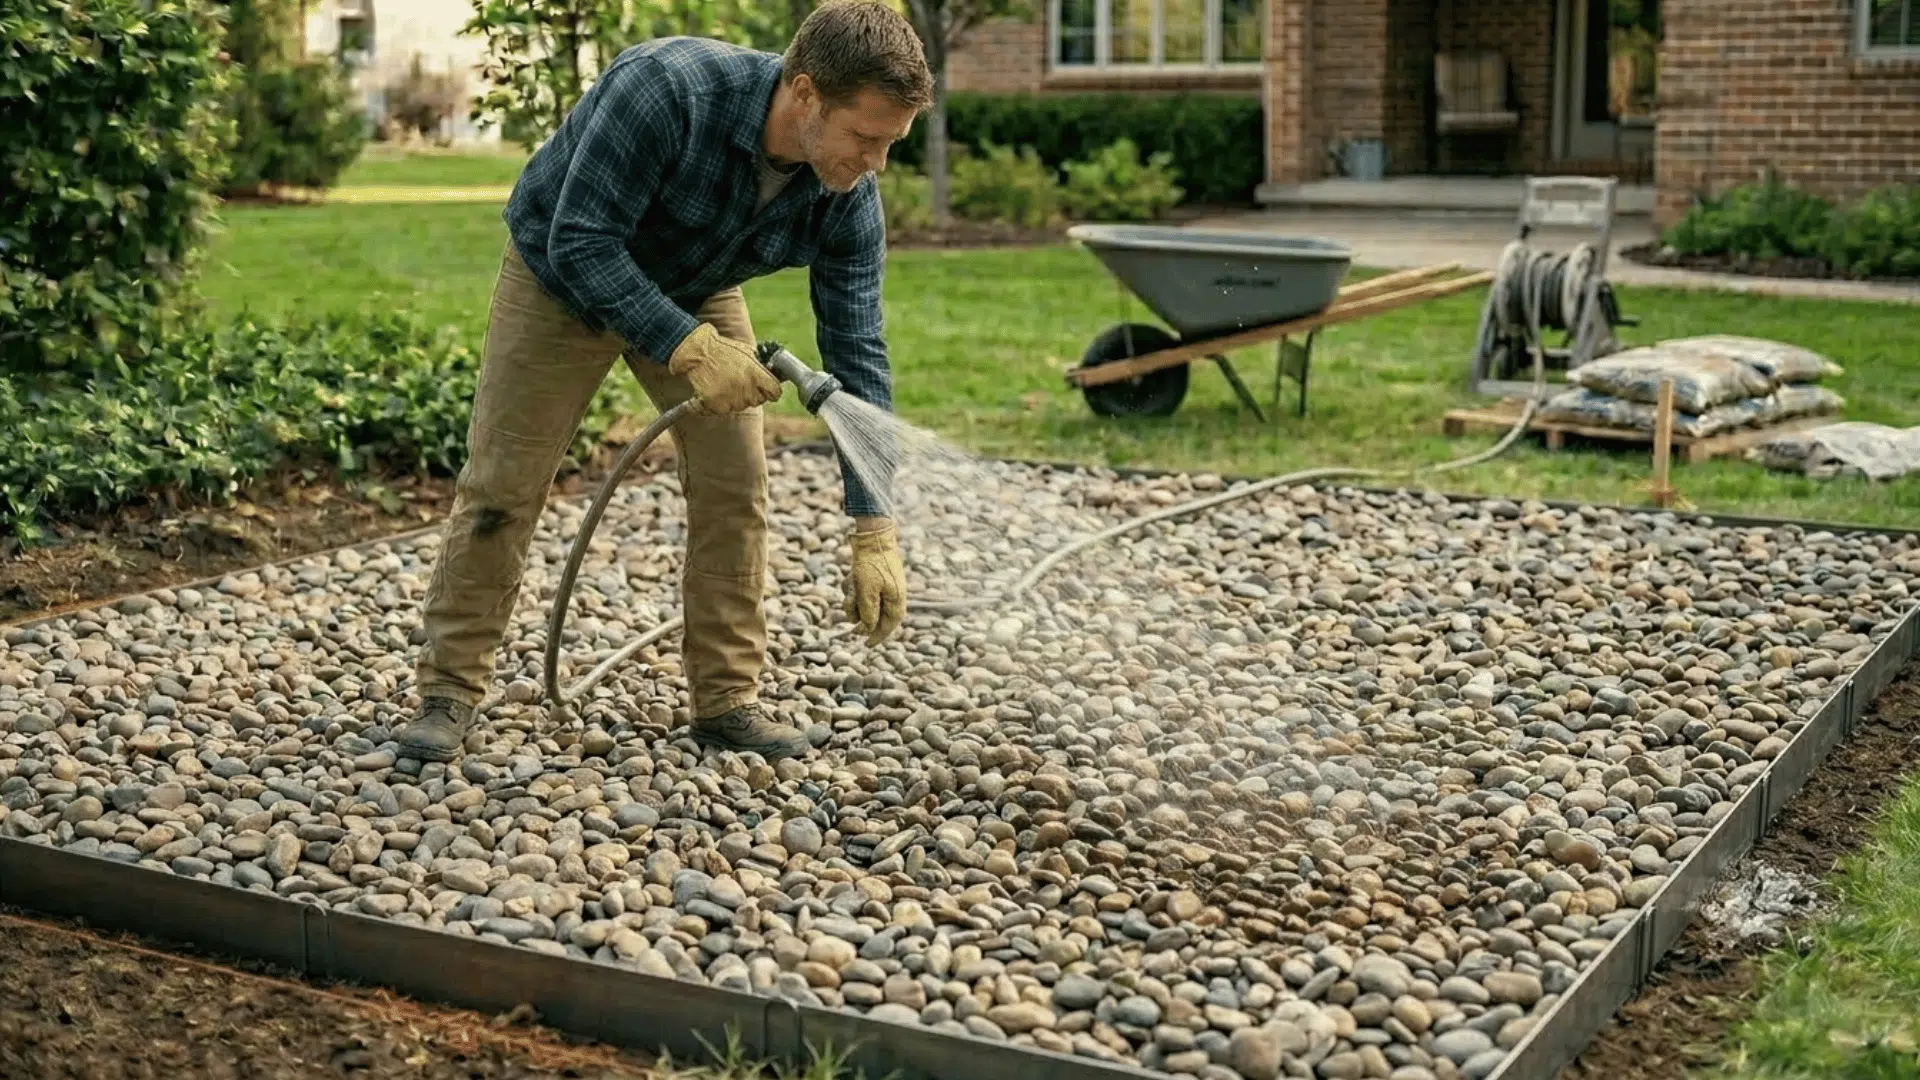
After placing the rocks, remove any debris and check for uneven spots. Lightly rinse the area with water to help the rocks settle into place. This also washes off dust and brings out their natural color.
Walk around the space and make small adjustments if needed. Over time, the rocks will settle further, so occasional touch-ups may be required.
A final cleanup gives your landscaping a polished, well-maintained appearance right from the start.
Best Ways to Use River Rock in Your Yard
River rock offers both style and function, making it a smart choice for many outdoor projects. From improving drainage to creating neat pathways and borders, here are plenty of simple ways to use it:
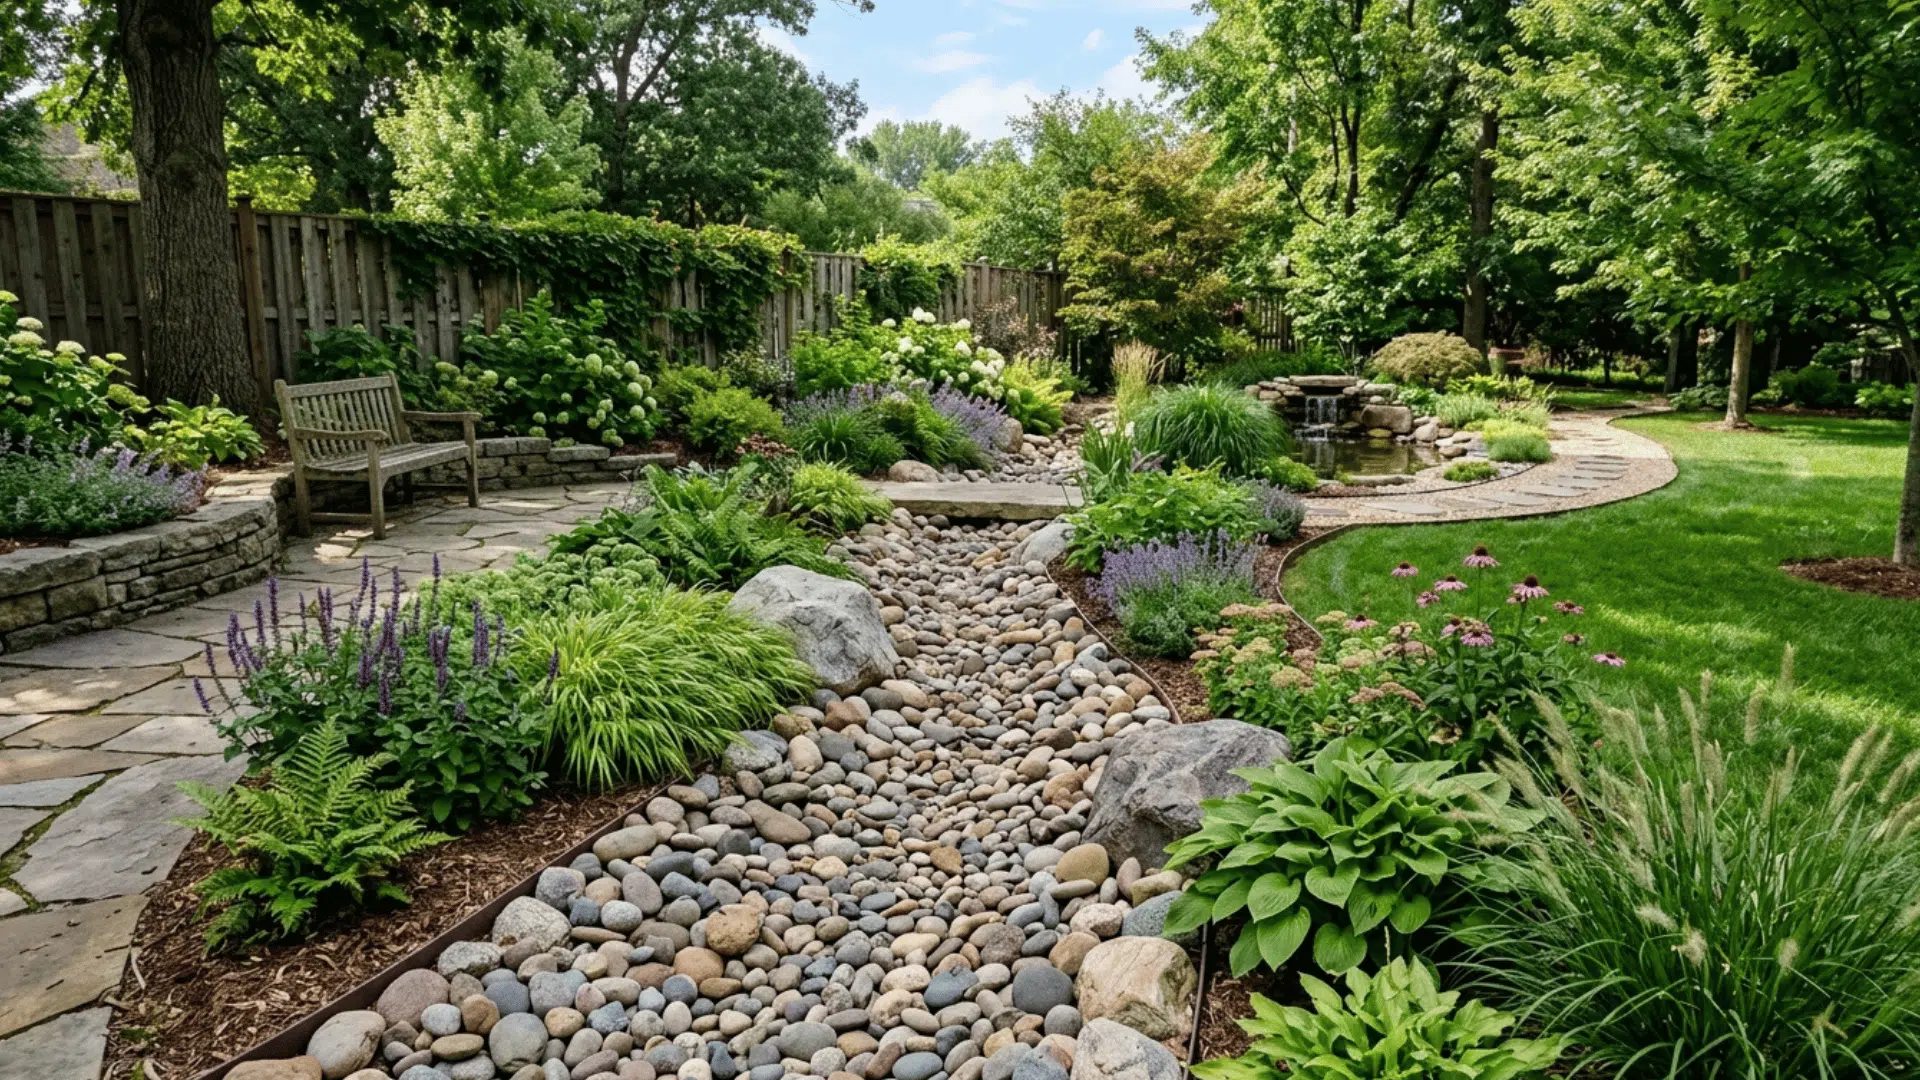
- Design Dry Creek Beds for Drainage: Create a natural-looking dry creek bed that helps manage rainwater while adding a unique visual element to your yard.
- Add Clean Borders and Edging: Use river rock to delineate garden beds, lawns, and pathways, creating a neat, defined layout for your outdoor space.
- Replace Mulch Around Plants: Spread river rock around trees and shrubs to retain moisture, reduce weed growth, and reduce maintenance.
- Build Decorative Pathways: Lay river rock along walkways or combine it with stepping stones to create paths that are both functional and visually appealing.
- Stabilize Slopes and Prevent Erosion: Use river rock on slopes or uneven areas to keep soil in place and improve the overall durability of your landscape.
Final Thoughts
Now that you know the basics of landscaping with river rock, it becomes much easier to create an outdoor space that looks clean, natural, and easy to maintain.
From garden borders to pathways and drainage areas, river rock adds both style and function without needing constant upkeep. It works well in almost any yard design and stays attractive through every season.
With the right planning and simple installation steps, the project can completely refresh the look of your outdoor space.
So, start small or go big, and enjoy a landscape that stays beautiful for years.

With a Master’s in Landscape Architecture from the University of Virginia, Sophia Stephenson has dedicated the last 20 years to creating and maintaining vibrant outdoor spaces. Her professional journey started in landscape design, where she gained a reputation for innovative and sustainable approaches. Sophia became a part of our editorial team as a freelancer in 2019, offering a fresh perspective on outdoor living. Since 2020, she has been the chief for our outdoor design content, blending aesthetic appeal with environmental stewardship. In her leisure time, Sophia is a keen photographer, capturing the beauty of natural landscapes, a hobby that complements her professional expertise.