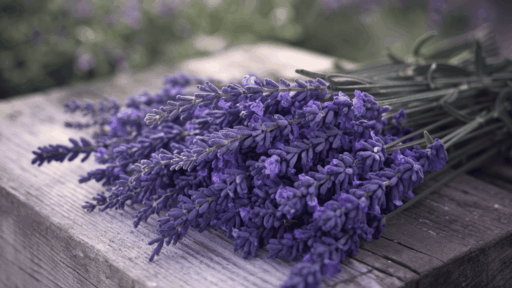

Dried lavender is one of the simplest things you can bring into your home. It smells great, looks good in a vase, and lasts for months. But dry it the wrong way, and you end up with faded buds and barely any scent.
That’s where most people go wrong. The good news is that drying lavender at home requires no special equipment: just the right timing and a little patience.
This guide walks you through the complete process, step by step, so you get the best fragrance and color every time.
Best Way to Dry Lavender at Home
When drying lavender at home, air-drying is the best method. It’s simple, requires no equipment, and most importantly, it preserves the fragrance well. That’s the whole point, right?
You can also use an oven or a food dehydrator for faster results. Both work, but there’s a trade-off. High heat can break down the essential oils in lavender flowers, which means less scent in the end.
Air drying takes longer, around 1 to 2 weeks. But the results, both in scent and color, are noticeably better. So if you have the time, stick with air drying.
It consistently gives the best results for both decorative and aromatic use. The steps below walk you through the full process of how to dry lavender flowers the right way.
How to Dry Lavender: Step-by-Step
This section covers the complete process from cutting fresh stems to storing fully dried lavender. Follow each step carefully, and you will get consistent results every time.
Step 1: Harvest Lavender at the Right Time

Timing matters more than most people realize. The best time to cut lavender is when the buds are just slightly open, not fully open.
At this stage, the essential oils are at their peak, resulting in a stronger fragrance after drying. Cut in the morning, after the dew has dried but before the afternoon heat sets in. This helps preserve the oils in the flowers.
Step 2: Cut Stems to the Right Length
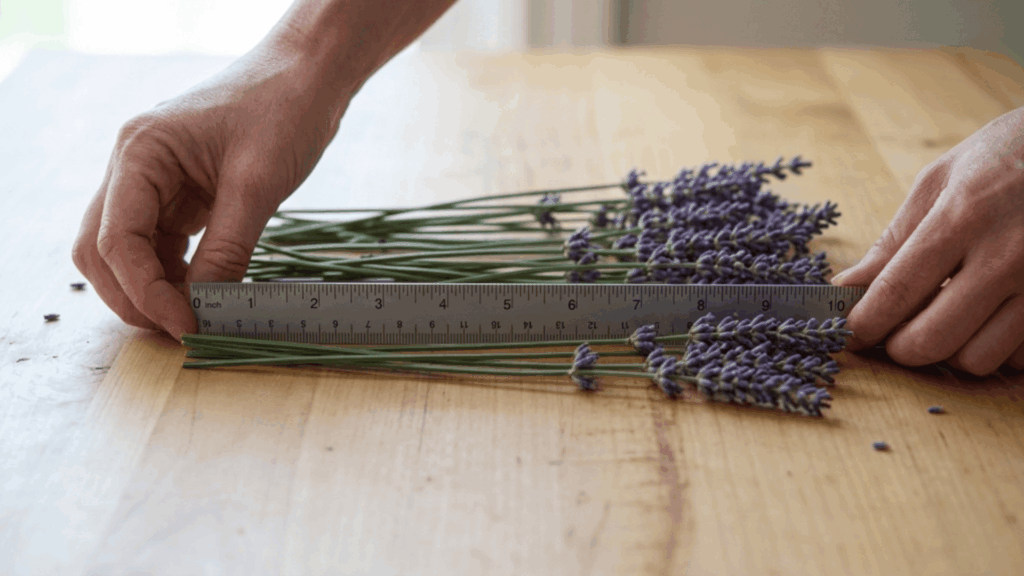
Aim for stems that are around 8 to 12 inches long. Longer stems are easier to bundle and hang. They also look better if you plan to use them for display.
Avoid cutting stems that look damaged, wilted, or discolored. These will not dry well and can affect the rest of the bundle.
Step 3: Gather and Tie Small Bundles
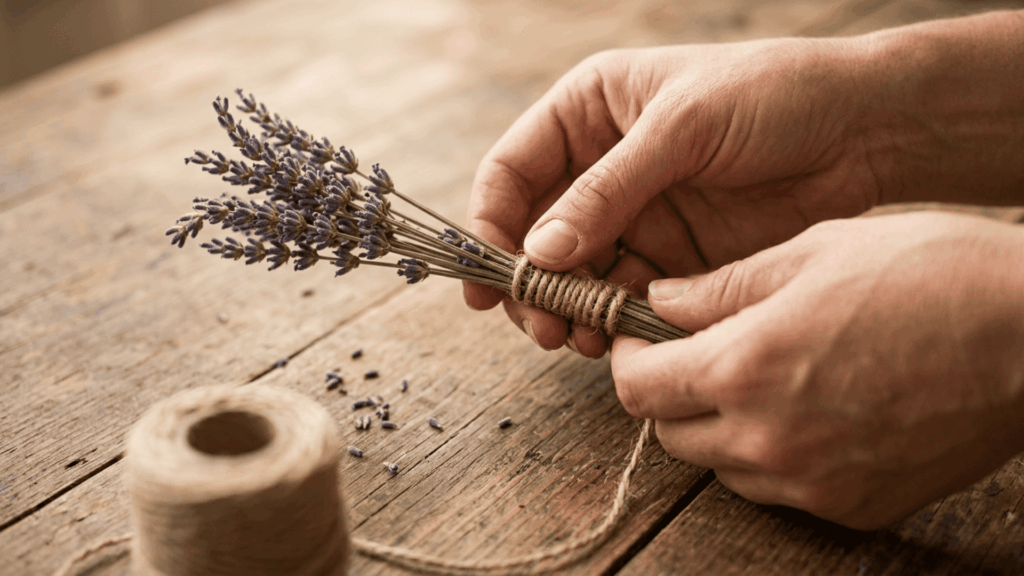
Keep each bundle small, around 8 to 10 stems. Small bundles allow air to circulate freely through the stems and flowers.
Larger bundles trap moisture, which can lead to mold before the lavender has a chance to dry. Tie the stems firmly at the base with a rubber band or twine. A rubber band works especially well because it holds tight even as the stems shrink during drying.
Step 4: Hang Bundles Upside Down in a Dry Space
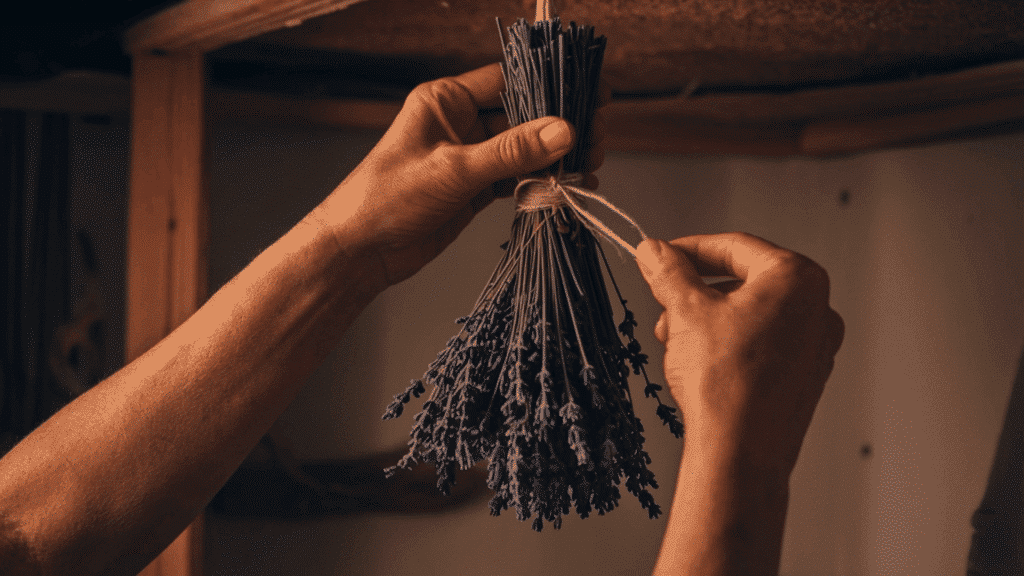
Hang your bundles upside down in a dark, dry, and well-ventilated space. A wardrobe, a dry shed, or a quiet corner of a room works well.
The key is to keep the area out of direct sunlight and away from humidity. Sunlight fades the color of lavender flowers quickly.
Humidity slows down the drying process and raises the risk of mold. Hanging them upside down also keeps the buds compact and in good shape as they dry.
Step 5: Allow Proper Drying Time
Most lavender bundles take around 7 to 14 days to dry completely. The exact time depends on a few things: how humid your space is, how thick the bundles are, and how good the airflow is.
In a warm, dry room with decent air circulation, lavender can dry closer to the 7-day mark. Check on the bundles every few days, but avoid touching them too much during this stage.
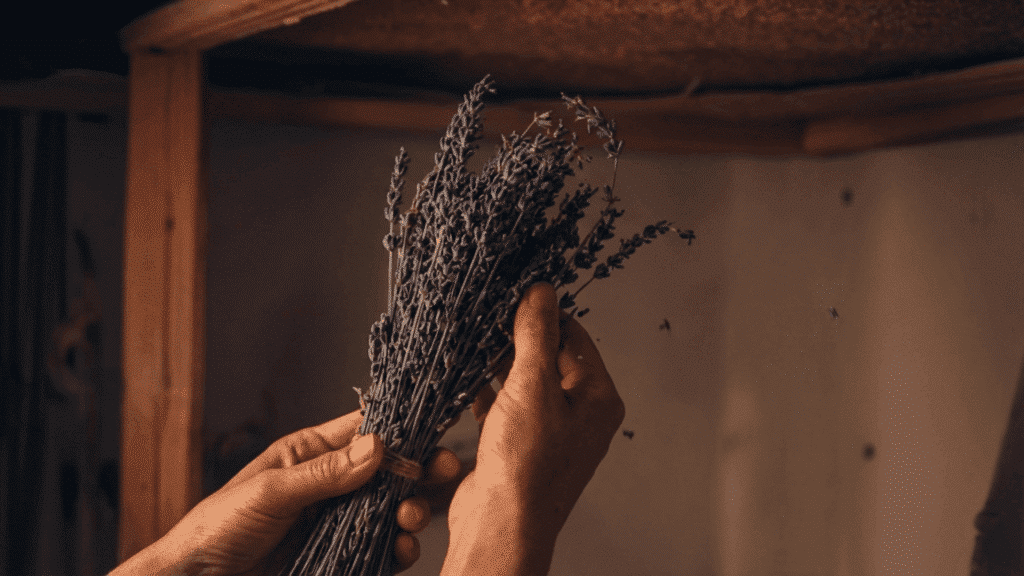
Step 6: Check if Lavender Is Fully Dried
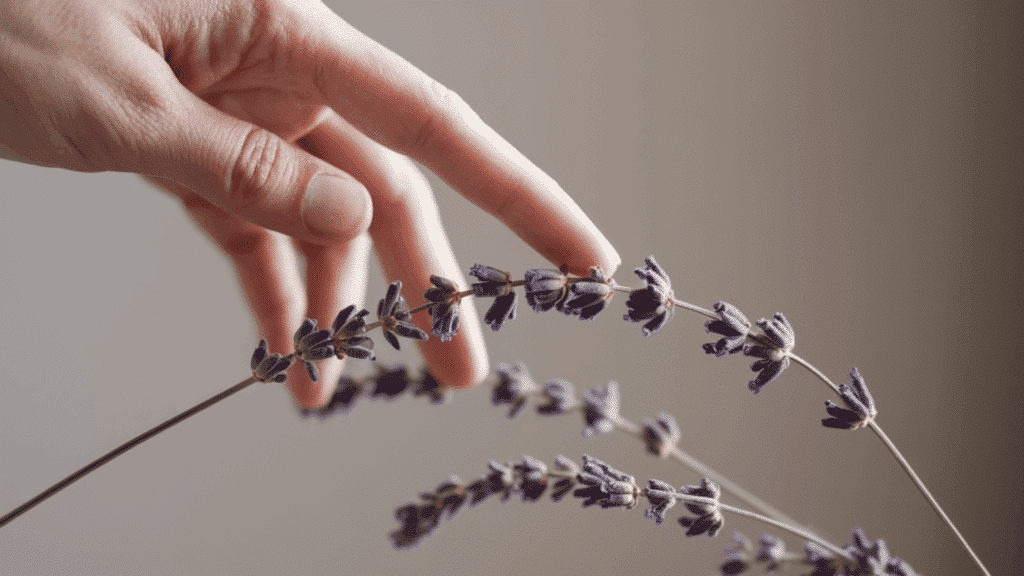
Before moving on, make sure the lavender is fully dried. The buds should feel crisp and firm when you run your fingers along the stem.
The stems themselves should snap cleanly rather than bend. One easy way to check: give a bundle a gentle smell. Fully dried lavender still holds a strong, clear fragrance.
Step 7: Remove Buds or Store as Bundles
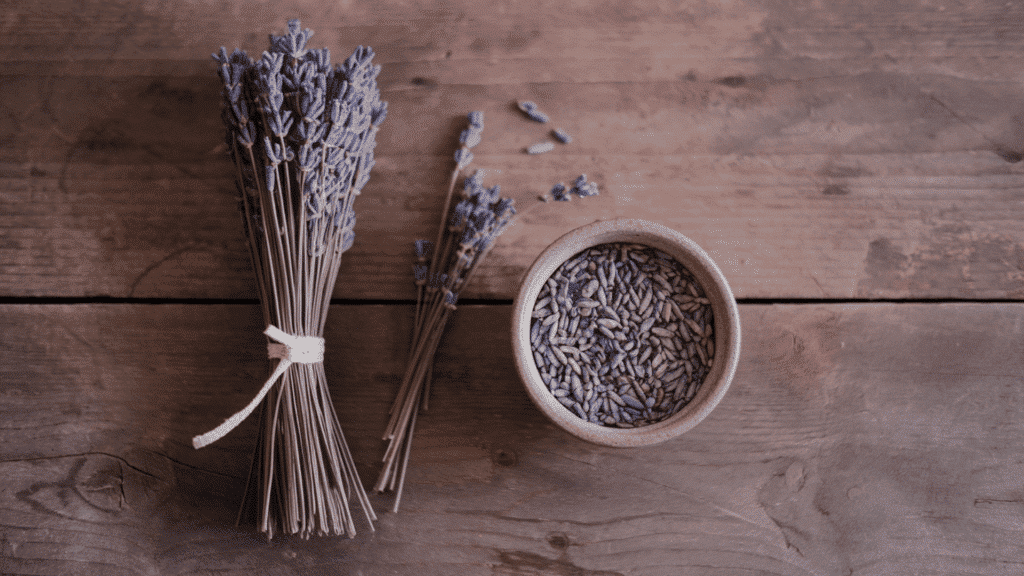
Once your lavender flowers are fully dried, you have two options. You can keep the bundles whole and use them as is for display or decoration.
Or you can strip the buds off the stems for use in sachets, pillows, or other projects. To remove the buds, hold the stem at the top and run your fingers downward.
The dried buds will fall off easily. Collect them in a bowl or jar and store them away from heat and light.
Decorative Uses of Dried Lavender
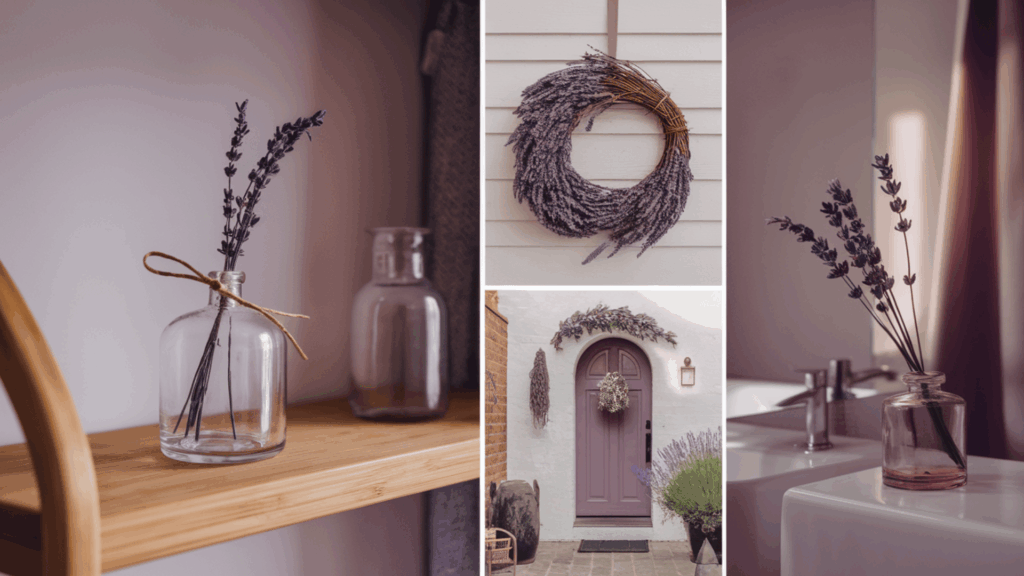
Dried lavender is an easy way to add simple, long-lasting decor without much effort. It works well in different spaces while keeping the look natural and low-maintenance.
- Bundle Display: Tie stems together and place in a vase or hang on a wall for long-lasting decor
- Wreaths & Arrangements: Combine with other dried flowers for a fuller decorative look
- Table & Shelf Styling: Small bundles add a natural touch to everyday surfaces
- Entryway Placement: Hang near doors for a subtle, welcoming feel
- Bathroom Use: Adds a clean, fresh look without needing upkeep
Aromatic Uses of Dried Lavender
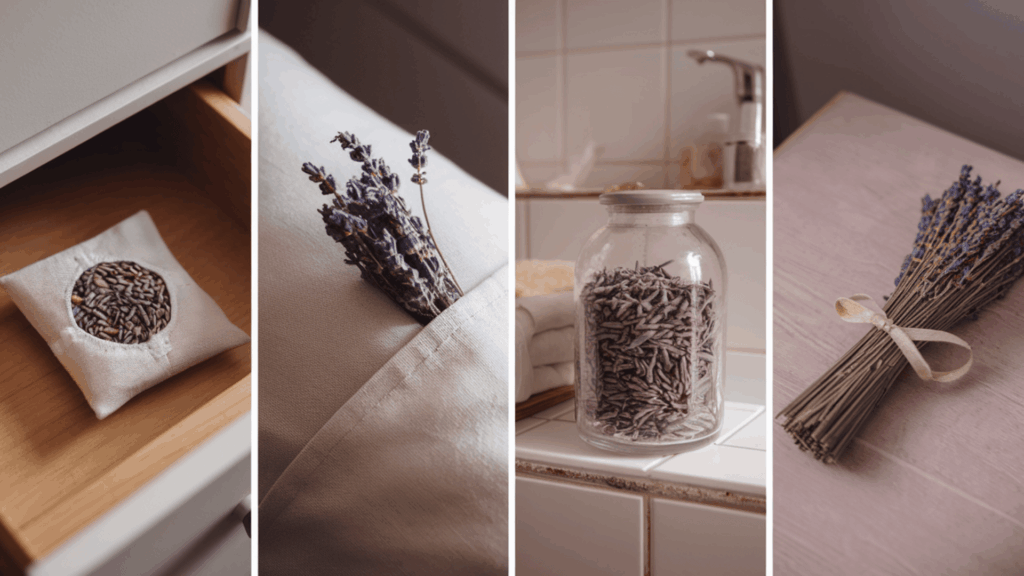
Dried lavender is one of the best natural options for keeping your home smelling fresh.
| Use Method | How To Use | Benefit | Notes |
|---|---|---|---|
| Sachets | Fill cloth pouches and place in drawers or closets | Keeps spaces fresh naturally | Works well in storage areas |
| Storage Use | Add sachets to boxes, luggage, or pillowcases | Adds a calm, subtle scent | Easy to move and reuse |
| Decorative Bundle | Place dried lavender on shelves or tables | Light room fragrance | Simple and visually neat |
| Long-Lasting Scent | Use dried buds for extended fragrance | Lasts for months | Squeeze buds to refresh scent |
Common Mistakes to Avoid When Drying Lavender
Small mistakes during the drying process can reduce scent, cause uneven drying, or ruin the batch altogether. Avoiding these will make a real difference in your results.
- Drying in direct sunlight: Sunlight fades the color of lavender flowers quickly and weakens the fragrance. Always choose a dark or shaded spot.
- Making large bundles: Big bundles trap moisture in the center, slowing drying and increasing the risk of mold. Keep bundles small for better airflow.
- Harvesting too late: Waiting until the flowers are in full bloom means the essential oils have already peaked. Late harvesting results in less fragrance in the final-dried lavender.
- Using high heat in quick methods: Too much heat burns the natural oils in the flowers. Always use the lowest heat setting when using an oven or dehydrator.
- Storing before fully dry: If stems still feel soft or buds are not crisp, let them dry for a few additional days before sealing. Sealing damp lavender leads to mold and spoilage.
Conclusion
Getting good results comes down to two things: cutting at the right time and drying the right way. If you have been looking for an answer on how to dry lavender at home, air drying is the method worth sticking with.
It takes a little longer, but the fragrance and color you get in return are worth it. If you are short on time, an oven or dehydrator works too. Just keep the heat low.
Start with a small batch and see how it goes. Once you get the process down, it becomes second nature. The results speak for themselves.

With a Master’s in Landscape Architecture from the University of Virginia, Sophia Stephenson has dedicated the last 20 years to creating and maintaining vibrant outdoor spaces. Her professional journey started in landscape design, where she gained a reputation for innovative and sustainable approaches. Sophia became a part of our editorial team as a freelancer in 2019, offering a fresh perspective on outdoor living. Since 2020, she has been the chief for our outdoor design content, blending aesthetic appeal with environmental stewardship. In her leisure time, Sophia is a keen photographer, capturing the beauty of natural landscapes, a hobby that complements her professional expertise.