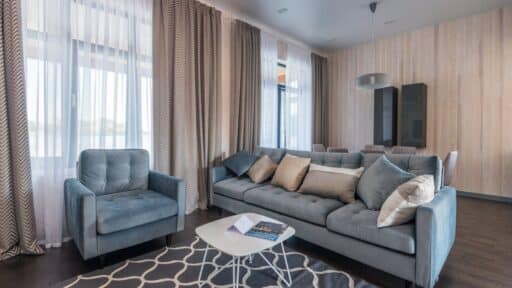
A sectional couch that fits perfectly in the store can turn your living room into an obstacle once it’s home.
That’s a frustrating Saturday nobody wants.
Wrong measurements lead to wrong purchases. A dining table that seats six looks great in the showroom, but eats up half your living space at home. Seen it happen more times than I can count.
Taking accurate room measurements before shopping saves you money and a whole lot of rearranging.
This blog walks you through the exact process of measuring room dimensions for furniture.
Why Accurate Room Dimensions Matter Before Buying Furniture
Furniture stores aren’t built like your home.
Their showrooms are massive, open spaces designed to make every piece look appropriately sized.
So that dresser or sectional naturally appears smaller there than it will sitting in your bedroom.
Getting dimensions right also affects how freely people move through a space.
Traffic flow, breathing room around a bed, clearance near cabinet doors, these details only work out when numbers are confirmed on paper first, not eyeballed in a store.
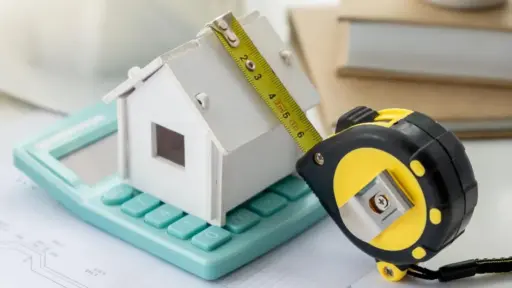
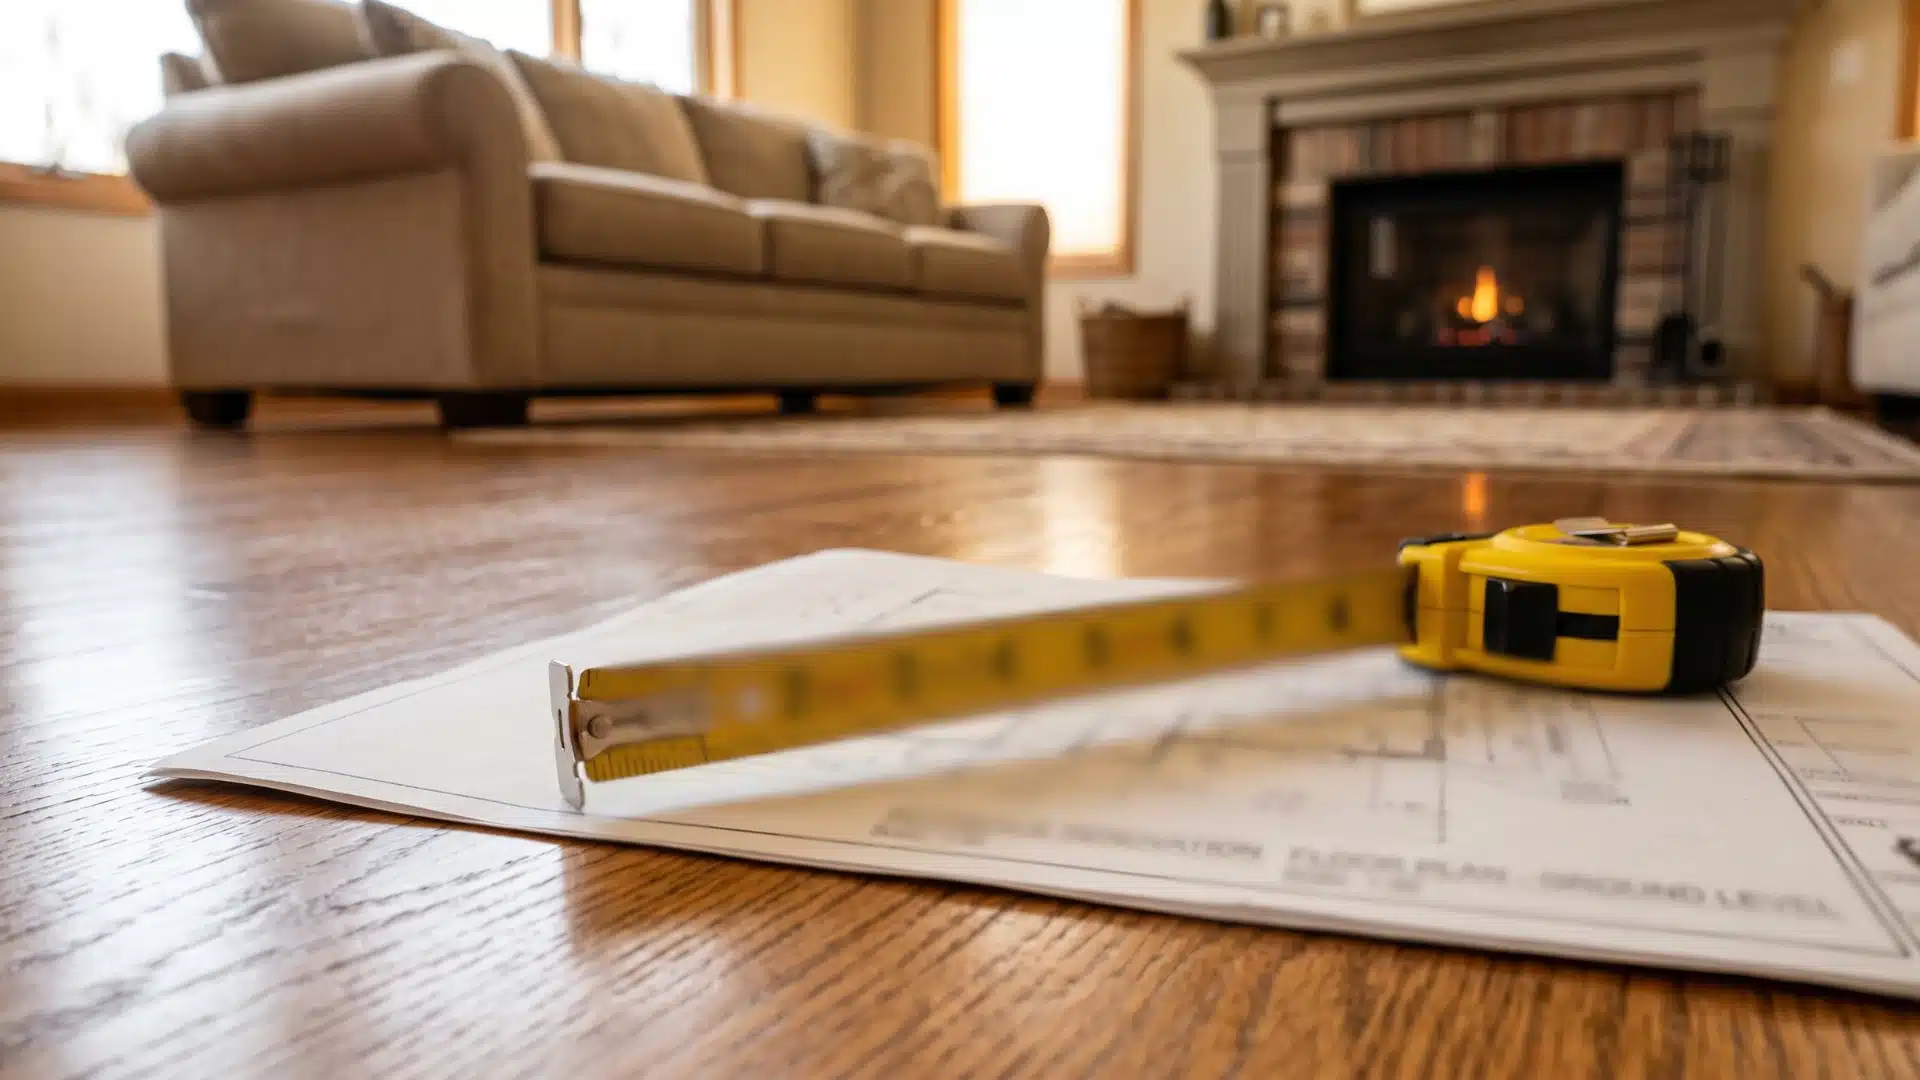
Essential Tools that Make Measuring Easier
The right measurements start with having the right tools on hand. Nothing fancy, just a few basics that keep the process clean and error-free.
| Tool | Purpose |
|---|---|
| Measuring tape (25 ft) | Captures room dimensions accurately |
| Graph paper | Sketches scaled floor plans |
| Pencil & eraser | Marks and adjusts measurements easily |
| Painter’s tape | Maps furniture outlines on the floor |
| Laser measure | Speeds up measuring in larger rooms |
| Smartphone notes/app | Records measurements on the go |
The Most Common Measuring Errors People Make
One careless measurement can throw off an entire room layout.
These slip-ups happen more often than you’d expect, even among people who consider themselves detail-oriented.
- Measuring at one point only instead of multiple spots along the same wall.
- Forgetting to account for baseboard thickness, which adds up quickly.
- Ignoring the space a drawer or cabinet door needs to open fully.
- Measuring furniture dimensions without including legs or decorative feet.
- Rounding numbers up or down instead of recording exact figures.
Small errors compound. A half-inch mistake on three separate measurements suddenly becomes a furniture piece that simply won’t fit where intended.
Why Measuring Only Wall Length is a Big Mistake
Walls show just one part of the room.
A room has windows sitting at certain heights, radiators jutting out, electrical outlets that dictate furniture placement, and door swings that eat into usable floor space.
However, skipping these details leaves you with measurements that look complete on paper but fail to hold up once furniture arrives.
Every fixed element in a room deserves its own number.
Step-by-Step Process: How to Measure Room for Furniture

Follow these steps in order to understand how to measure a room, and you’ll have every number you need before setting foot in a store.
Step 1: Clear the Room First
Move existing furniture away from walls where possible.
Clutter and obstacles throw off accurate readings. Working with open floor space lets your tape measure run clean lines without interruption.
Even shifting a few pieces temporarily makes a noticeable difference in measurement accuracy.
Step 2: Measure Room Length and Width
Run your tape measure along the floor from wall to wall.
Record both the length and width. Take each measurement twice; small discrepancies between readings are common in older homes where walls aren’t perfectly straight.
Step 3: Measure Ceiling Height
Floor-to-ceiling height determines what furniture works vertically.
Tall wardrobes, bookshelves, and bed frames all need clearance.
Measure from the floor to the ceiling at multiple points. Ceiling height can vary slightly from room to room, especially in older construction.
Step 4: Map Out Windows and Their Heights
Note each window’s width, height, and the distance from the floor. Low-sill windows restrict where tall furniture can go. A dresser or headboard placed incorrectly can block all natural light.
Step 5: Measure Every Doorway
Record door width and height, plus which direction each door swings.
Large furniture pieces need clearance to pass through during delivery.
A door that swings inward also permanently occupies floor space, affecting furniture placement.
Step 6: Account for Architectural Features
Fireplaces, built-in shelving, columns, and radiators all reduce usable space.
Measure their width and how far they protrude from the wall. These fixed elements often dictate where anchor pieces like sofas and beds can realistically sit.
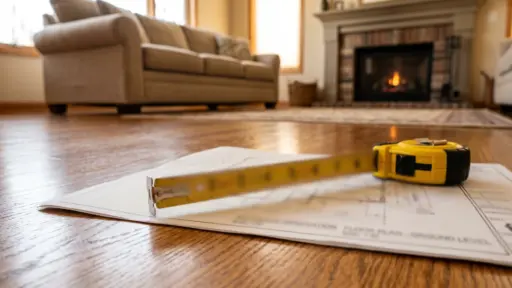
Step 7: Sketch a Rough Floor Plan
Transfer all recorded measurements onto graph paper. Assign a simple scale: one square equals one foot.
A visual layout makes it far easier to experiment with furniture arrangements before committing to anything
The Furniture Clearance Rules that Actually Matter
Clearance isn’t just about fitting furniture in; it’s about the room functioning comfortably day to day.
- Main walkways need a minimum of 36 inches to feel open and accessible.
- Besides a bed allow at least 24 inches on each side for comfortable movement.
- Dining chairs require 36 inches behind them to pull out and sit comfortably.
- Keep 18 inches between the seating and the coffee table.
- Wardrobe or dresser doors need full swing clearance before placing anything opposite.
Tight clearances make even well-furnished rooms feel cramped and difficult to live in day to day.
Painter’s Tape to Preview Furniture Placement Before Buying
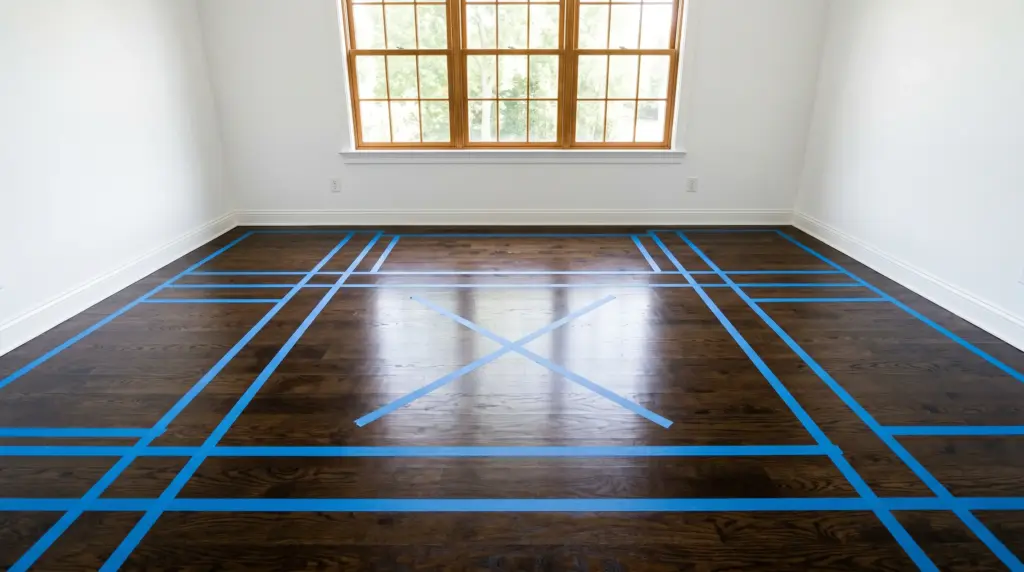
Before spending a rupee, tape out exactly where each piece will sit. It’s a simple trick that instantly reveals if a furniture size actually works in your space.
Step 1: Pull Out Your Measurements
Reference the dimensions of the furniture piece you’re considering.
Use the exact work specs for length, width, and depth. Rough estimates at this stage defeat the entire purpose.
Step 2: Mark the Outline on the Floor
Use painter’s tape to outline the furniture’s footprint directly on the floor. Press it down firmly so the edges stay clean and straight while you assess the layout.
Step 3: Include Surrounding Clearance
Tape out walking clearance around each outlined piece.
Standard comfortable clearance runs between 24 and 36 inches. This reveals whether movement through the room stays practical or becomes awkward.
Step 4: Simulate Multiple Arrangements
Tape out alternative placements before settling on one. Peeling and repositioning costs nothing.
Trying two or three configurations often reveals a layout that works much better than the obvious choice.
Step 5: Live With It Briefly
Leave the tape layout down for a day. Walk around it naturally, go about your routine.
Daily movement through the space reveals practical issues that a quick glance can’t catch.
How to Measure Delivery Path Measurements
A piece that fits your room perfectly can still fail to get inside if the delivery path hasn’t been checked beforehand.
Measure the width and height of your building’s main entrance door.
Check hallway width from wall to wall along the entire route.
Measure the width of any staircase, including handrail protrusions on both sides. Then, record the ceiling height at staircases where furniture needs to be tilted during carrying.
Measure elevator width, depth, and height if the delivery involves one.
Note: Any sharp turns or landings between the entrance and the room. Compare all measurements against the furniture’s diagonal dimension, not just its length or width.
Room-By-Room Measuring Advice from Real Home Setups
Every room has its own quirks. Here’s what actually matters when measuring each space specifically.
| Room | Key Measurement Focus | Common Oversight |
|---|---|---|
| Living Room | Sofa length vs. available wall run | Ignoring the TV viewing distance from the seating |
| Bedroom | Bed size vs. three-side clearance | Forgetting the wardrobe door swing space |
| Dining Room | Table size vs. chair pull-out space | Overlooking pendant light height above the table |
| Home Office | Desk depth vs. seating legroom | Missing cable management clearance behind the desk |
| Kids Room | Floor play area after furniture placement | Underestimating growth and future storage needs |
| Bathroom | Vanity depth vs. door swing clearance | Ignoring towel rail and fixture protrusions |
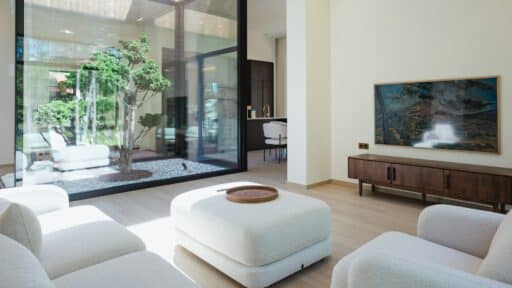
When to Size Down Instead of Trying to Make it Work
Sometimes a smaller piece is simply the smarter choice.
Forcing a large sofa into a tight living room doesn’t make the room feel fuller; it makes it feel suffocating.
Go smaller when pulling out a dining chair becomes a squeeze. Go smaller when a bed frame pushes other pieces into odd corners. Go smaller when walking through a room starts feeling like navigating an obstacle.
A right-sized room with breathing space is more comfortable than one packed with barely fitting furniture.
Wrapping It Up!
Measuring a room for furniture isn’t complicated, but skipping steps always costs more than the effort saved.
A tape measure, a rough sketch, and thirty minutes of careful work will serve you far better than guessing in a showroom. Every room has its own fixed elements, clearance demands, and delivery challenges.
Working through each one ensures furniture fits, flows, and functions as needed.
Get the numbers right first.
Everything else, the style, the finish, the perfect piece, falls into place much more easily after that.
Frequently Asked Questions (FAQ’s)
1. What is the Standard Measuring Tape Length Recommended for Measuring a Room?
A 25-foot tape measure comfortably handles most standard residential room dimensions.
2. Should I Measure the Room or the Furniture First?
Always measure the room first before researching or shopping for any furniture pieces.
3. How Much Walking Space Should I Leave Between Furniture Pieces?
A minimum of 24 to 36 inches keeps movement comfortable and practical.
4. Can I Use My Smartphone Instead of a Tape Measure?
Laser-measuring apps work reasonably well, but physical tape measures remain more reliable.
5. How do I Measure a Room with An Irregular or Odd Shape?
Divide the irregular room into smaller rectangular sections and measure each separately.

Holding a Master’s in Architecture from the University of Texas at Austin, Emily Rodriguez has dedicated more than two decades to the art and science of building renovation. Starting her journey in historic preservation, she developed a profound respect for blending old with new in building design. Emily became a vital part of our team in 2019, renowned for her insightful and innovative renovation tips. She has been leading our DIY home improvement series since ever since, where she shares her wealth of knowledge in turning outdated spaces into modern havens. When not engaged in writing or consulting, Emily is a passionate advocate for heritage conservation and enjoys exploring vintage architecture, a hobby that complements her professional expertise.