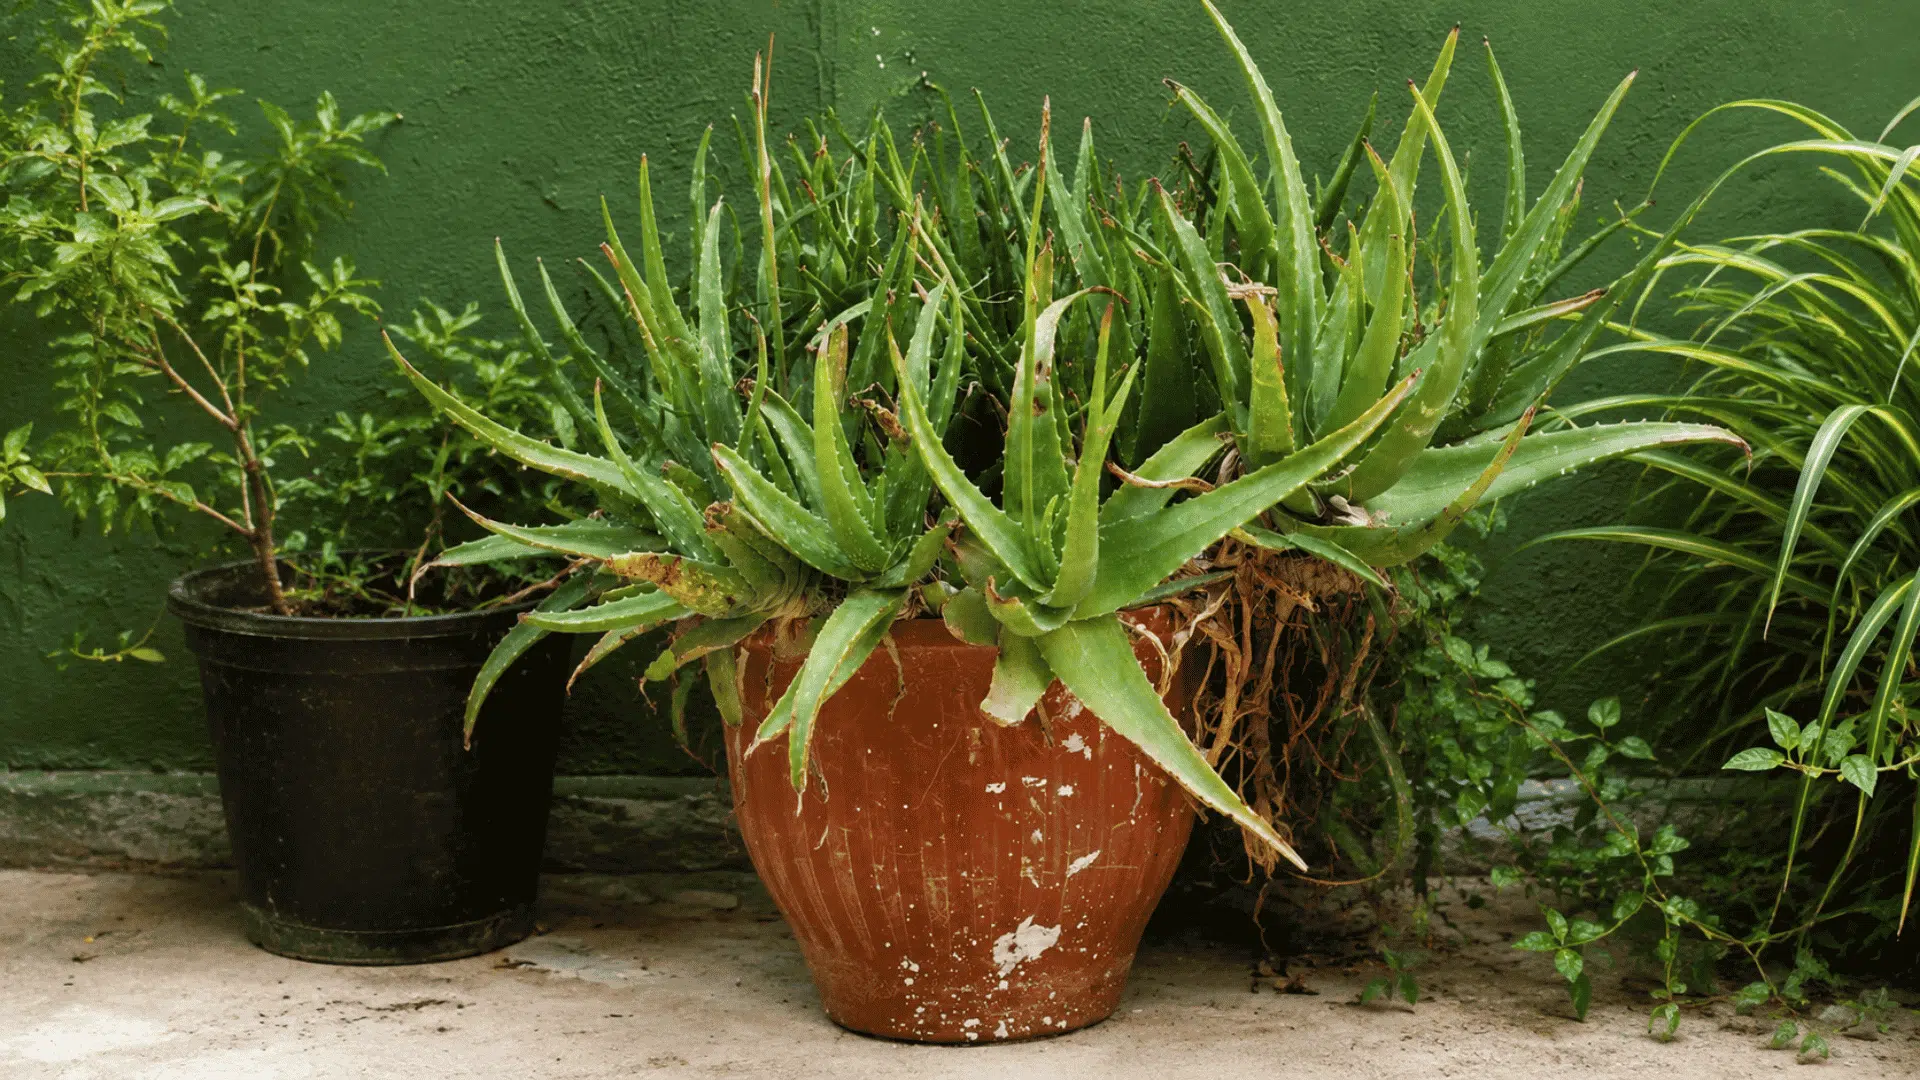

Aloe vera thrives at home as a drought-tolerant succulent, not a regular leafy plant. Its thick leaves store moisture, so overwatering can harm it more than brief dry spells.
I learned this after planting my first aloe vera in an oversized pot and watering it every week like a fern.
The roots remained wet for too long, and the entire plant rotted within a month.
According to Penn State Extension, aloe vera stores water in its leaves, stems, and roots to survive long dry periods. Understanding this changed how I cared for mine.
The steps below explain how to plant aloe vera, choose suitable soil, manage light and watering, and avoid the mistakes that damaged my first plant.
Quick Answer: Place aloe vera near a bright window, use a small pot with an open drainage hole, and check that the soil is completely dry before adding more water.
The Aloe Vera Care Chart
This is the cheat sheet I wish I’d had before growing aloe vera the first time. I built it after killing one plant and fixing every mistake on the next one.
| Factor | What Aloe Vera Needs |
| Light | Bright, indirect light, 6+ hours a day |
| Water | Deep soak only when soil is fully dry, every 2–6 weeks |
| Soil | Fast-draining cactus or succulent mix |
| Pot | Unglazed terracotta with a drainage hole |
| Temperature | 55–85°F (13–29°C) |
| Fertilizer | Rarely needed; dilute feed once in spring, if at all |
Check this table whenever your aloe starts looking off.
How do You Plant Aloe Vera: Step by Step
Planting aloe vera correctly helps the roots receive enough airflow and reduces the risk of excess moisture. I use this method for both nursery plants and rooted aloe pups.
Prepare the pot, soil, and tools before removing the aloe vera from its current container. Then complete each step in order.
Step 1: Choose a Pot With Drainage
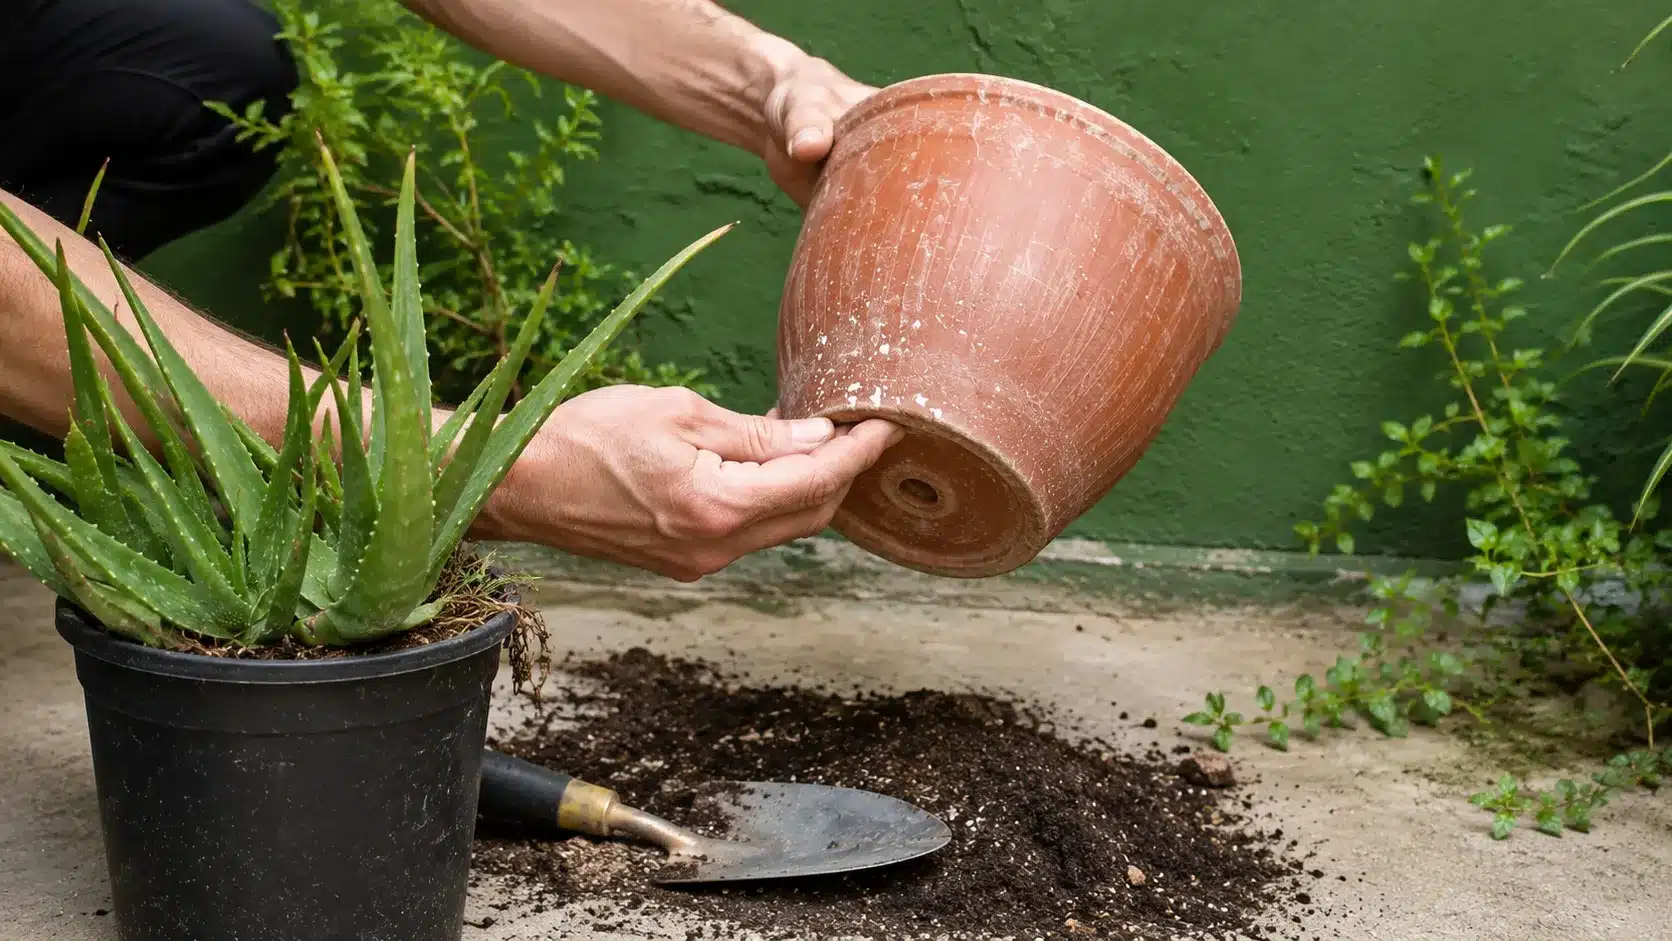
The right container allows excess water to escape before it collects around the aloe vera roots.
- Choose a pot that is one or two inches wider than the existing root ball.
- Use unglazed terracotta with at least one open drainage hole in the bottom.
Step 2: Prepare a Fast-Draining Soil Mix
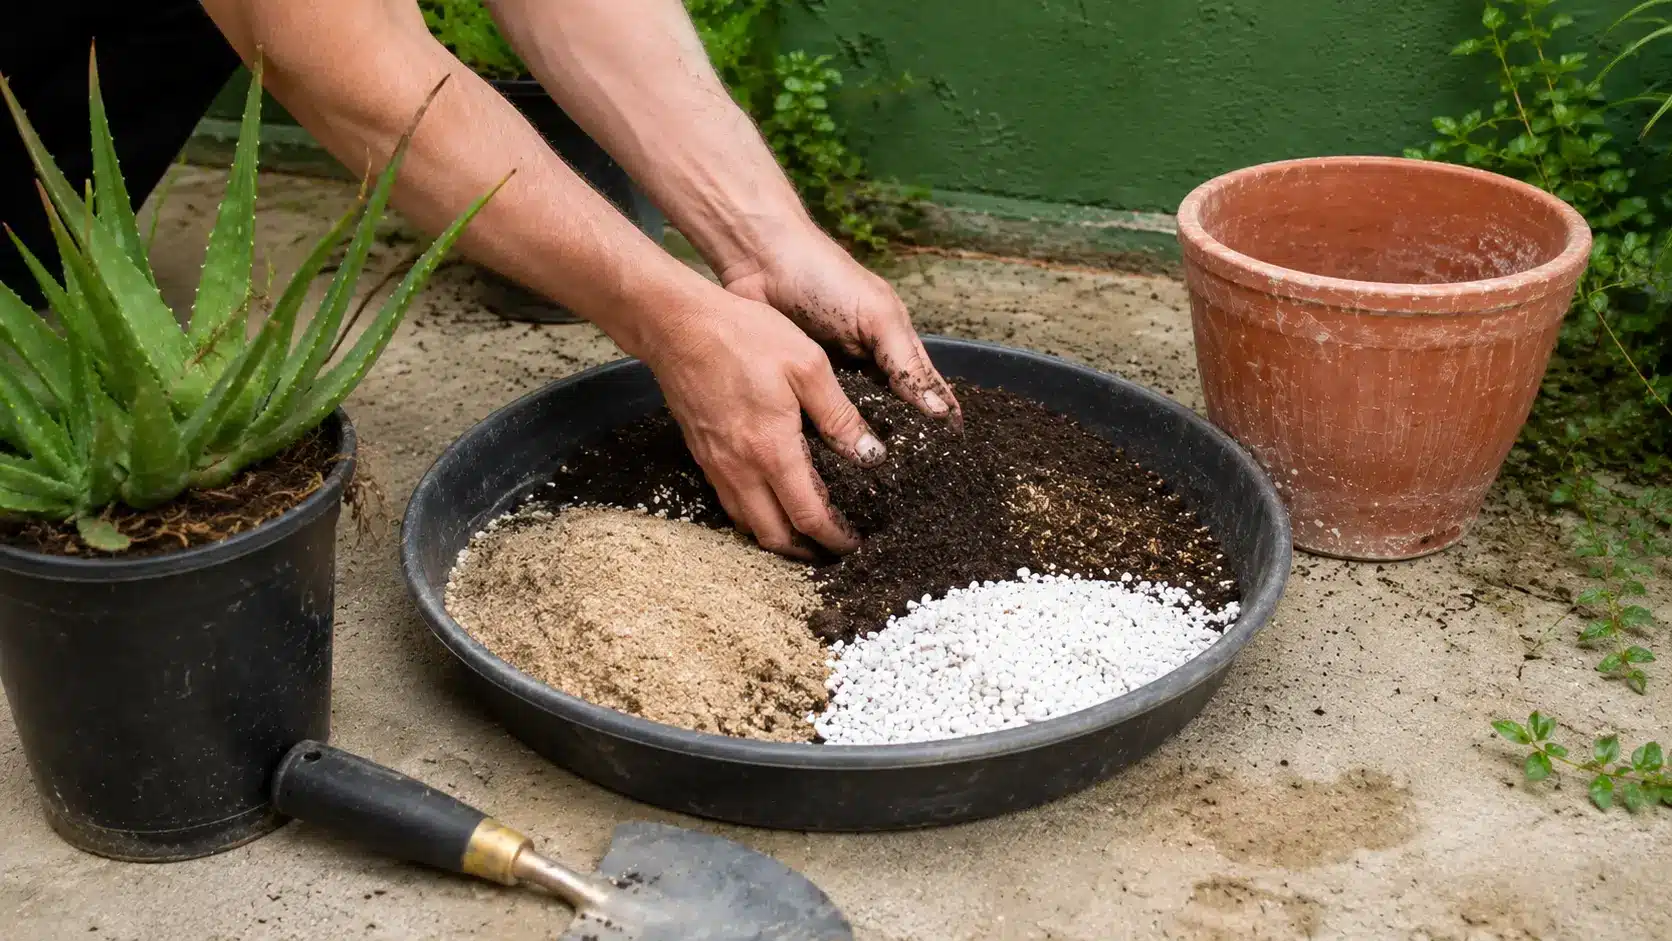
A loose soil mix prevents water from remaining around the roots for extended periods.
- Fill about one-third of the pot with a cactus or succulent potting mix.
- Alternatively, combine equal parts potting soil, coarse sand, and perlite.
Step 3: Remove and Inspect the Aloe Vera
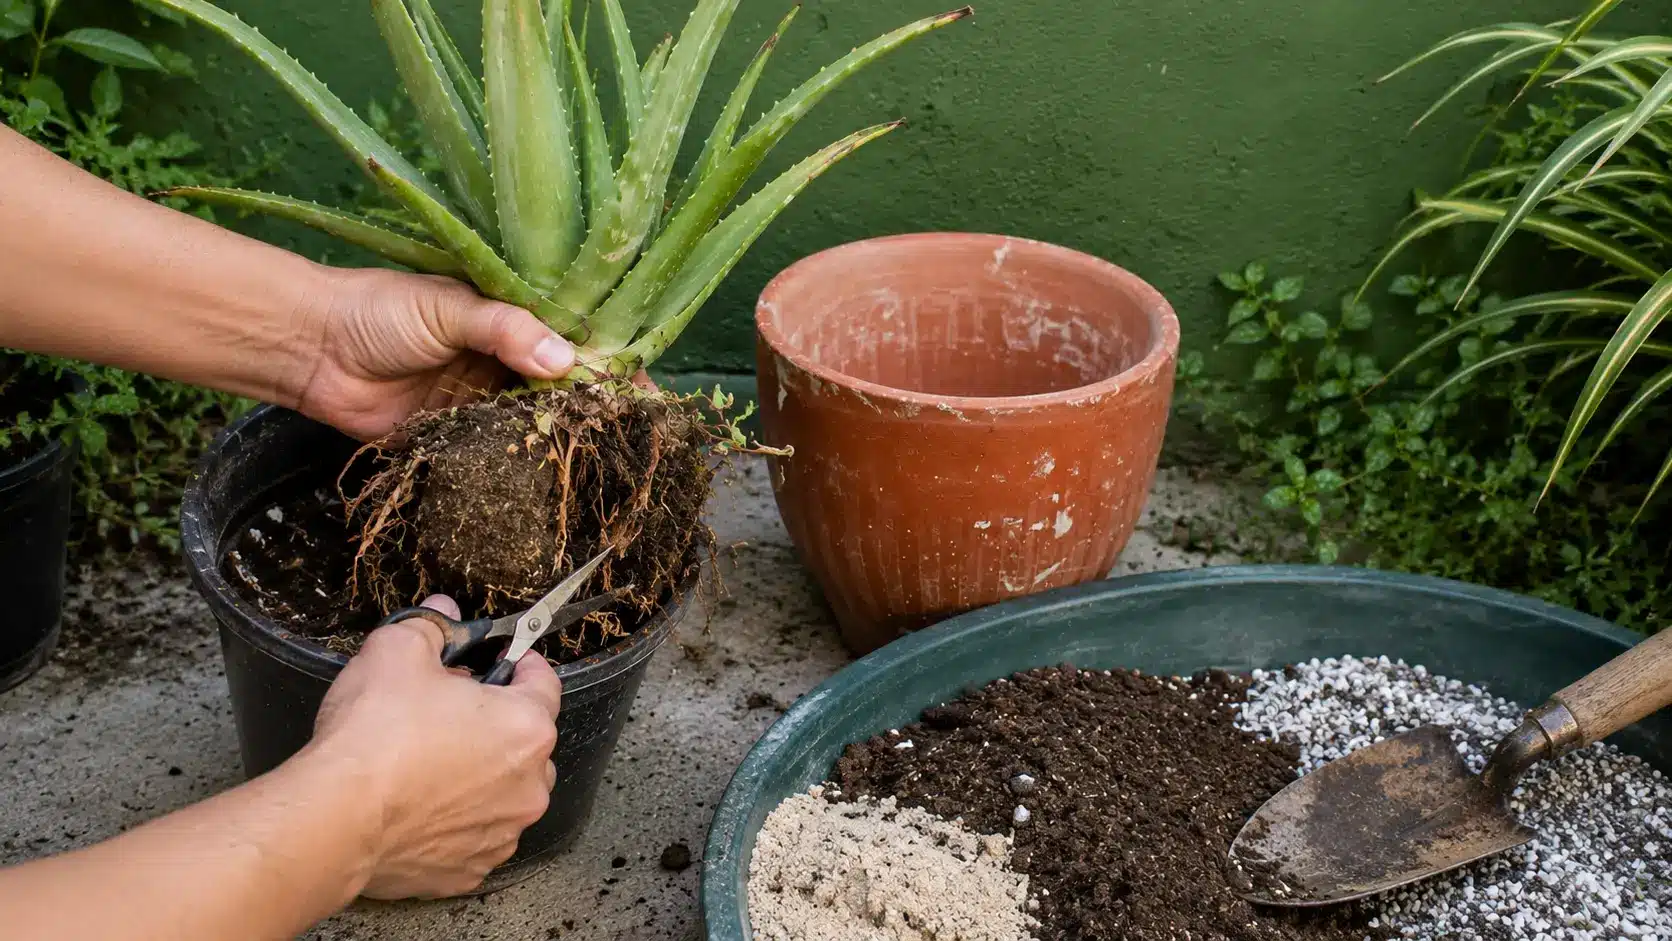
Checking the roots before planting helps you identify damage that could spread beneath the soil.
- Support the plant at its base and gently slide it out of its old container.
- Remove black, soft, or damaged roots using a clean pair of scissors.
Step 4: Position the Plant in the Pot
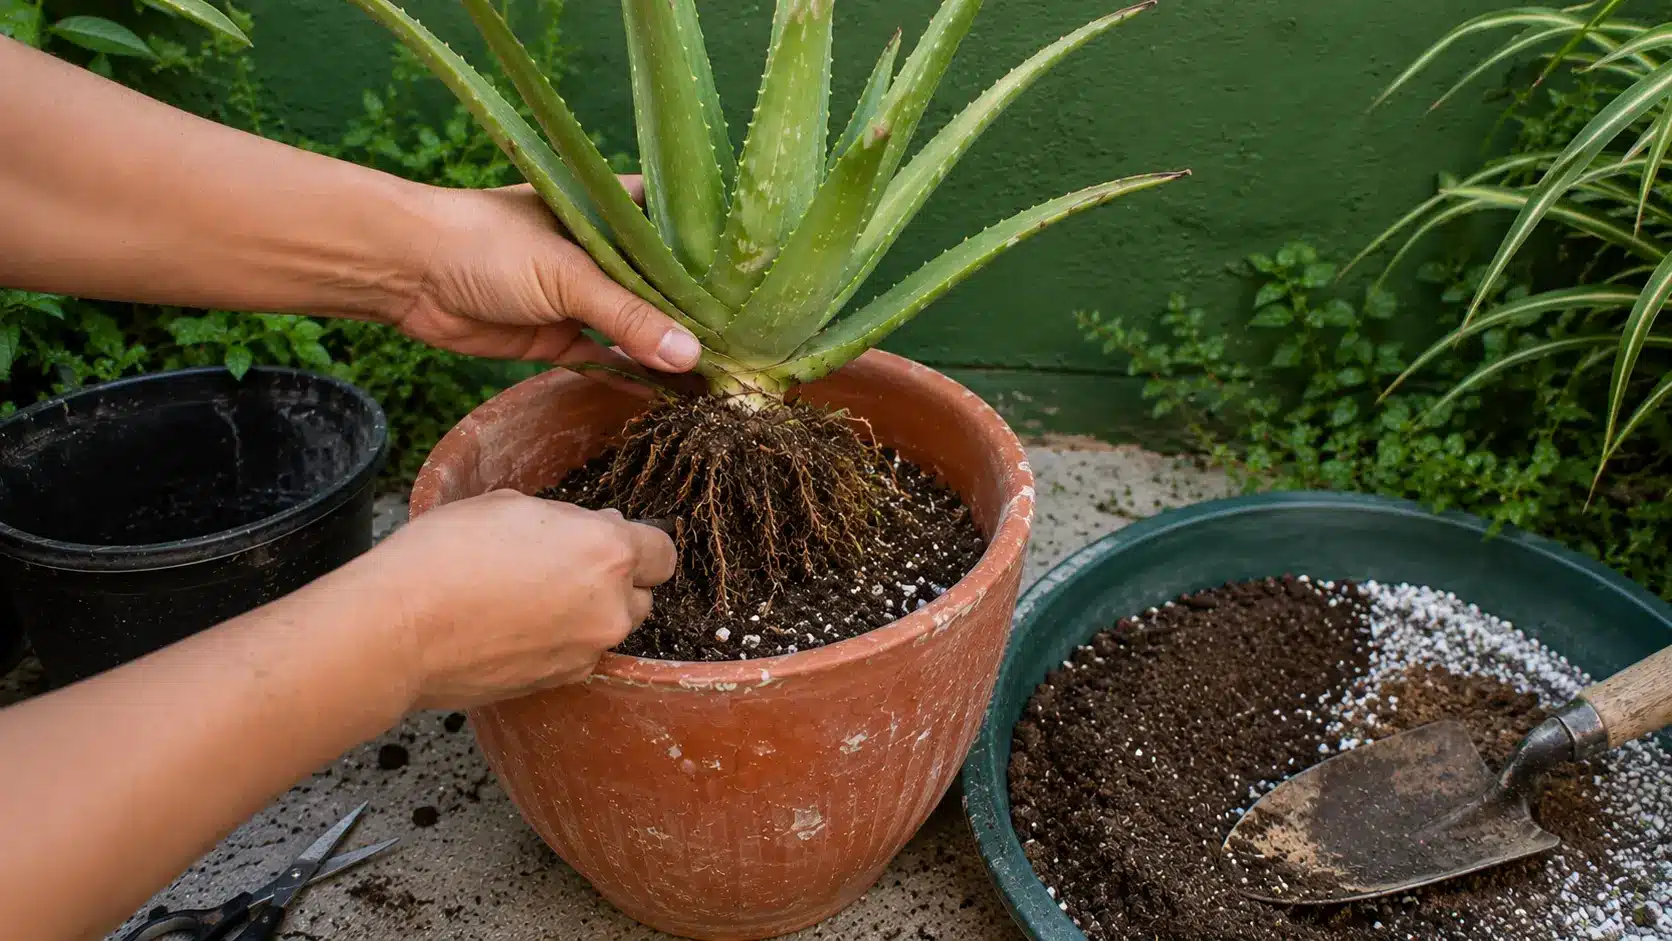
Correct positioning protects the stem and lower leaves from unnecessary contact with damp soil.
- Place the aloe vera in the center of the pot and gently spread its roots.
- Keep the base of the lowest leaves slightly above the final soil level.
Step 5: Backfill Around the Roots
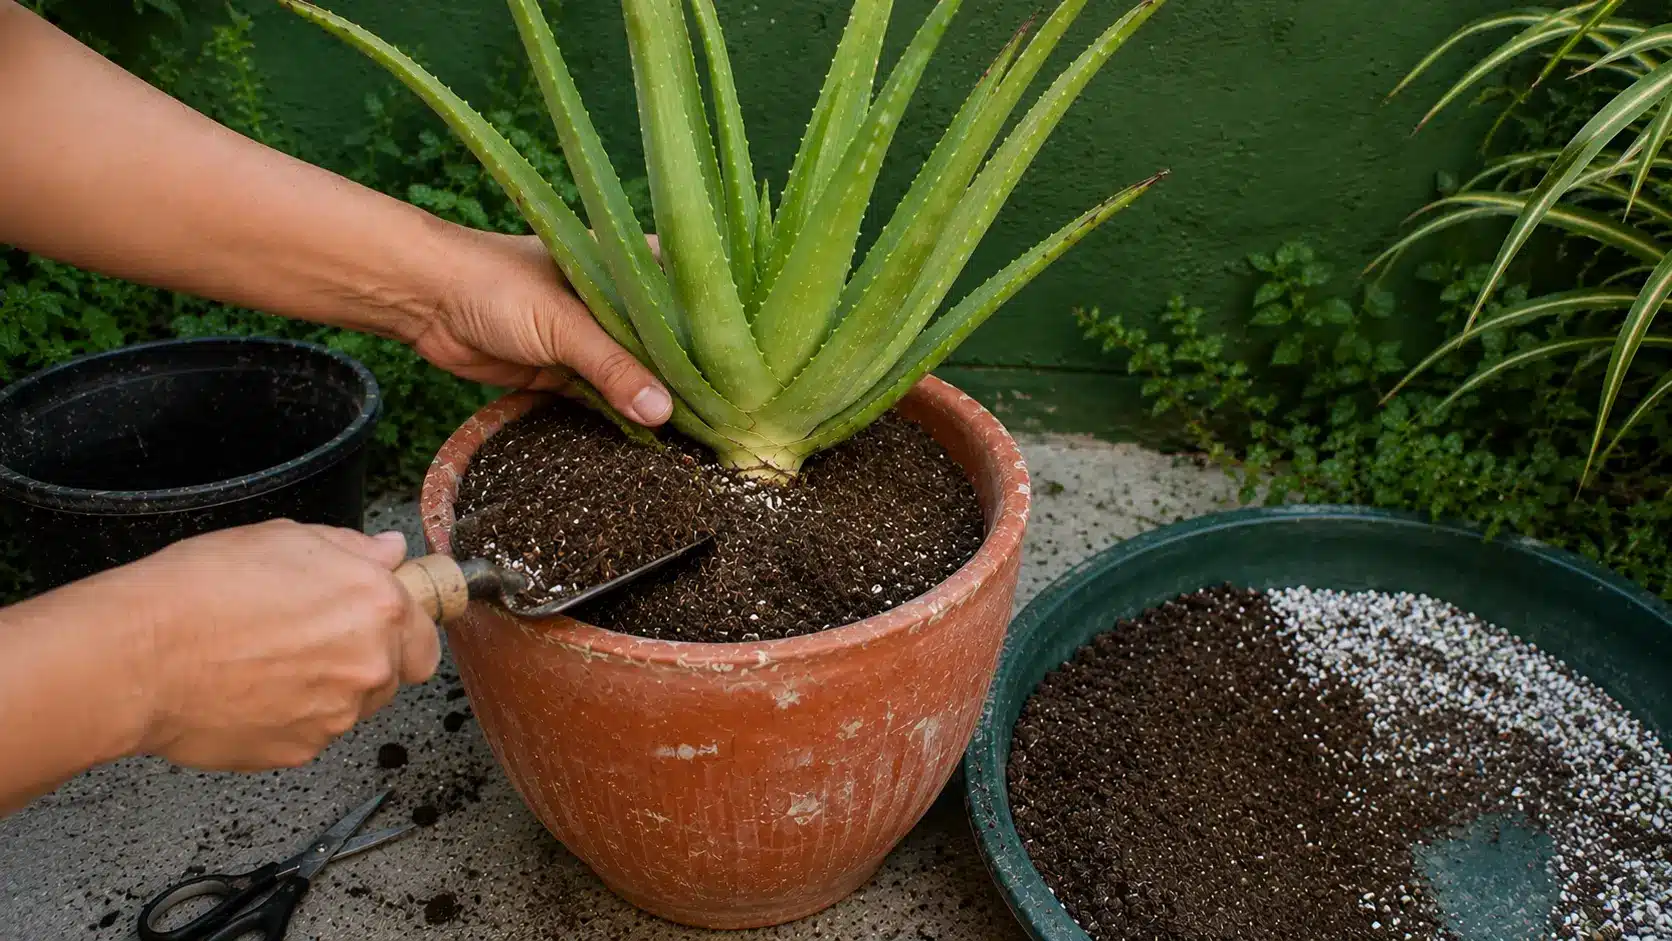
Adding the soil gradually keeps the plant stable without restricting airflow around the roots.
- Fill the spaces around the roots with soil and press it down lightly.
- Leave about three-quarters of an inch between the soil and the pot rim.
Step 6: Wait Before the First Watering
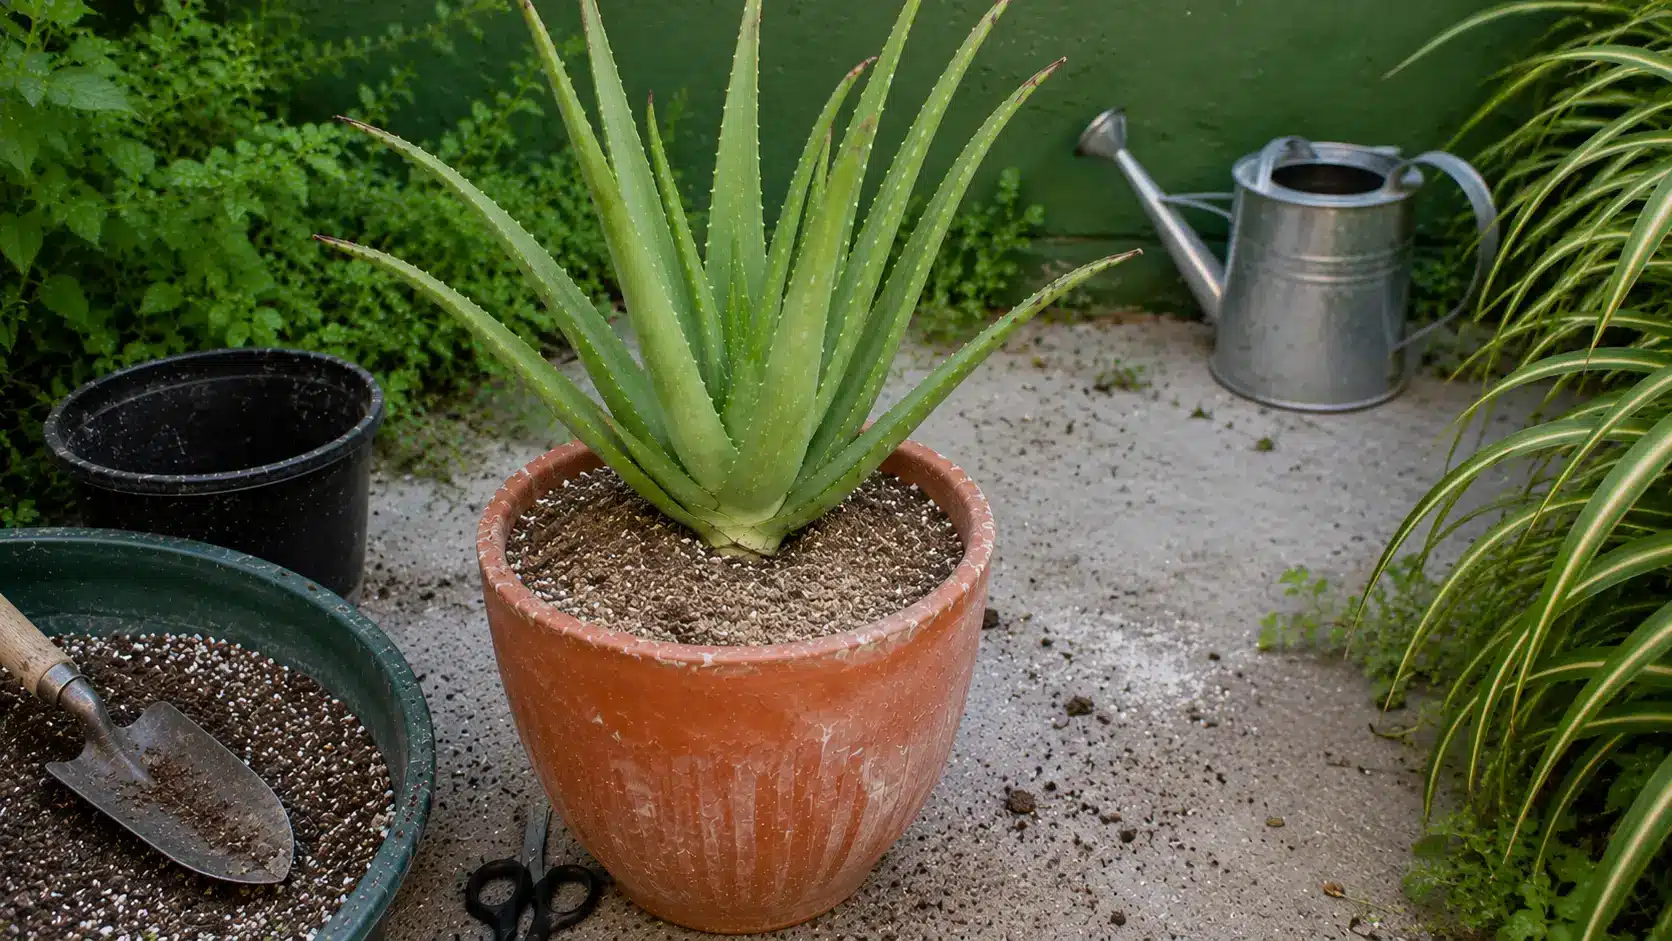
A short dry period gives any damaged roots time to heal after handling or trimming.
- Keep the newly planted aloe vera in completely dry soil for five to seven days.
- Extend the waiting period to seven days when several roots were cut or damaged.
Step 7: Water the Aloe Vera Deeply
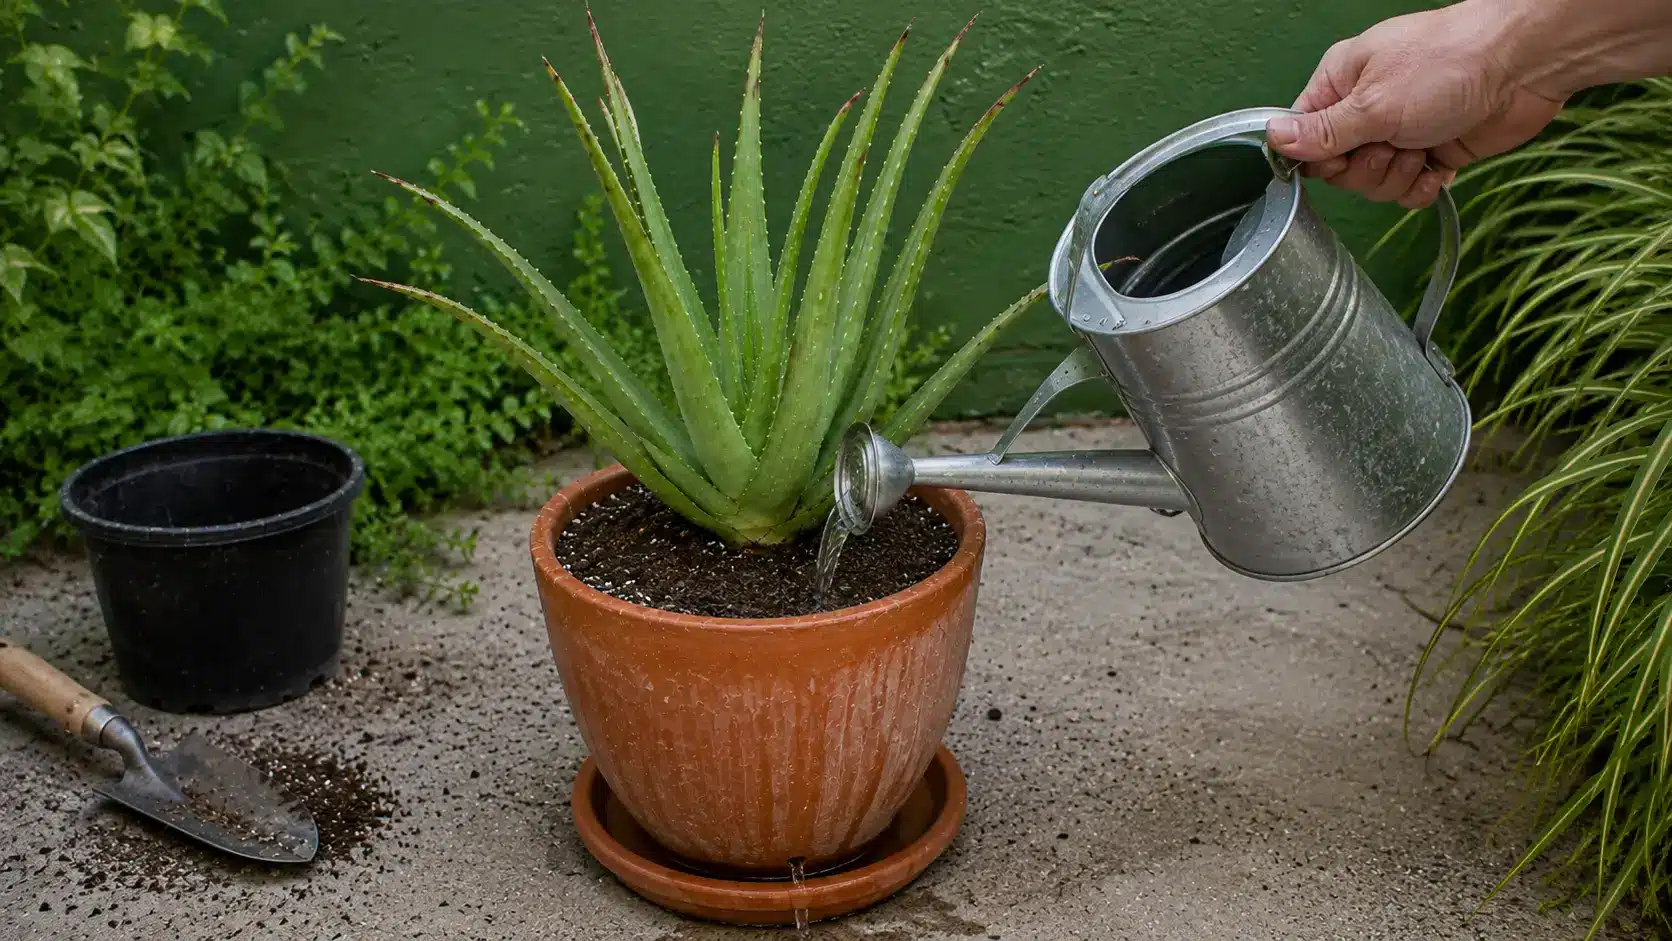
A full soak encourages the roots to grow through the pot instead of remaining near the surface.
- Pour water slowly over the soil until it flows through the drainage hole.
- Empty the saucer and wait until the soil is fully dry before watering again.
Step 8: Place It in Bright Indirect Light
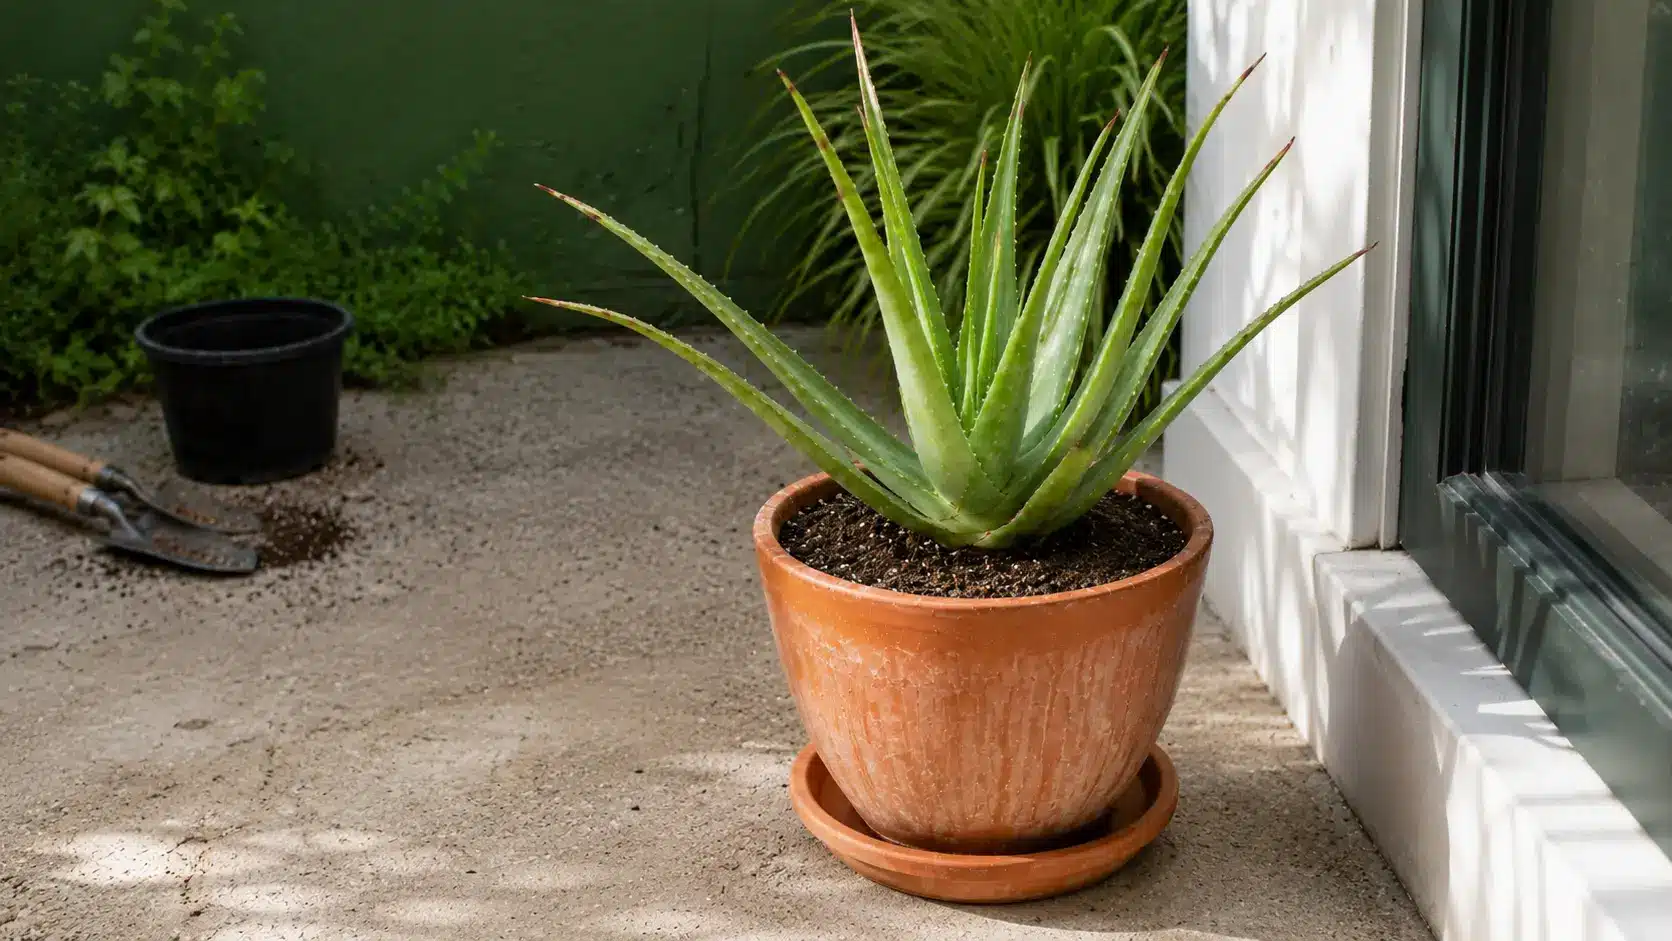
Gradual light exposure helps the newly potted plant adjust without developing scorched leaf patches.
- Place the pot near a window that receives at least six hours of bright indirect light.
- Introduce stronger morning or direct sunlight slowly over several days.
How Much Light and Warmth does Aloe Vera Need?
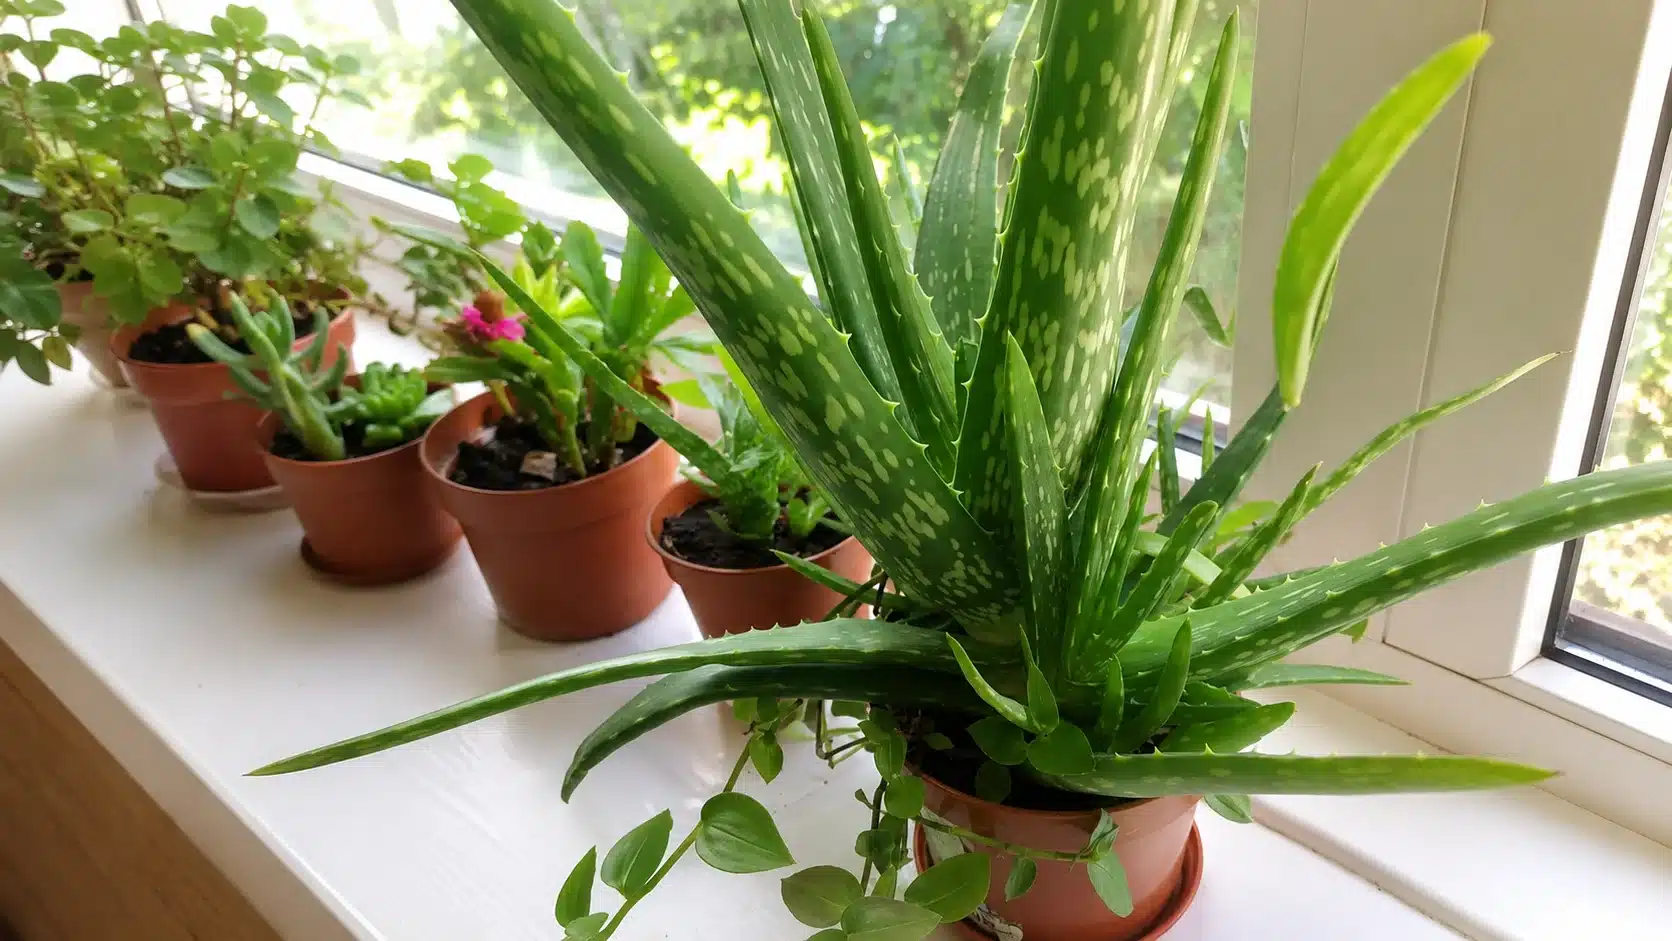
Aloe vera comes from sun-heavy, arid regions, so it needs more light than many common houseplants, but it does not always need intense direct sun.
Indoor placement matters because glass can increase heat and make strong afternoon sunlight harsher on the leaves.
Aloe vera also prefers steady indoor warmth and should be protected from cold windows, drafts, and sudden temperature changes.
Balanced light and stable temperatures help the plant maintain thick, upright leaves and steady growth throughout the year.
How Much Light does Aloe Vera Need?
I keep mine near a south-facing window where it receives at least six hours of bright, indirect light. In low light, the leaves became thin and stretched toward the window.
Strong afternoon sun caused scorching, so I now increase direct light gradually.
What Temperature is Best for Aloe Vera?
Aloe vera grows best between 55 and 85°F (13–29°C), which suits most indoor spaces. I keep mine away from cold windows and drafts.
Aloe vera cannot tolerate frost, so I bring it indoors before temperatures drop.
How Often Should You Water Aloe Vera?
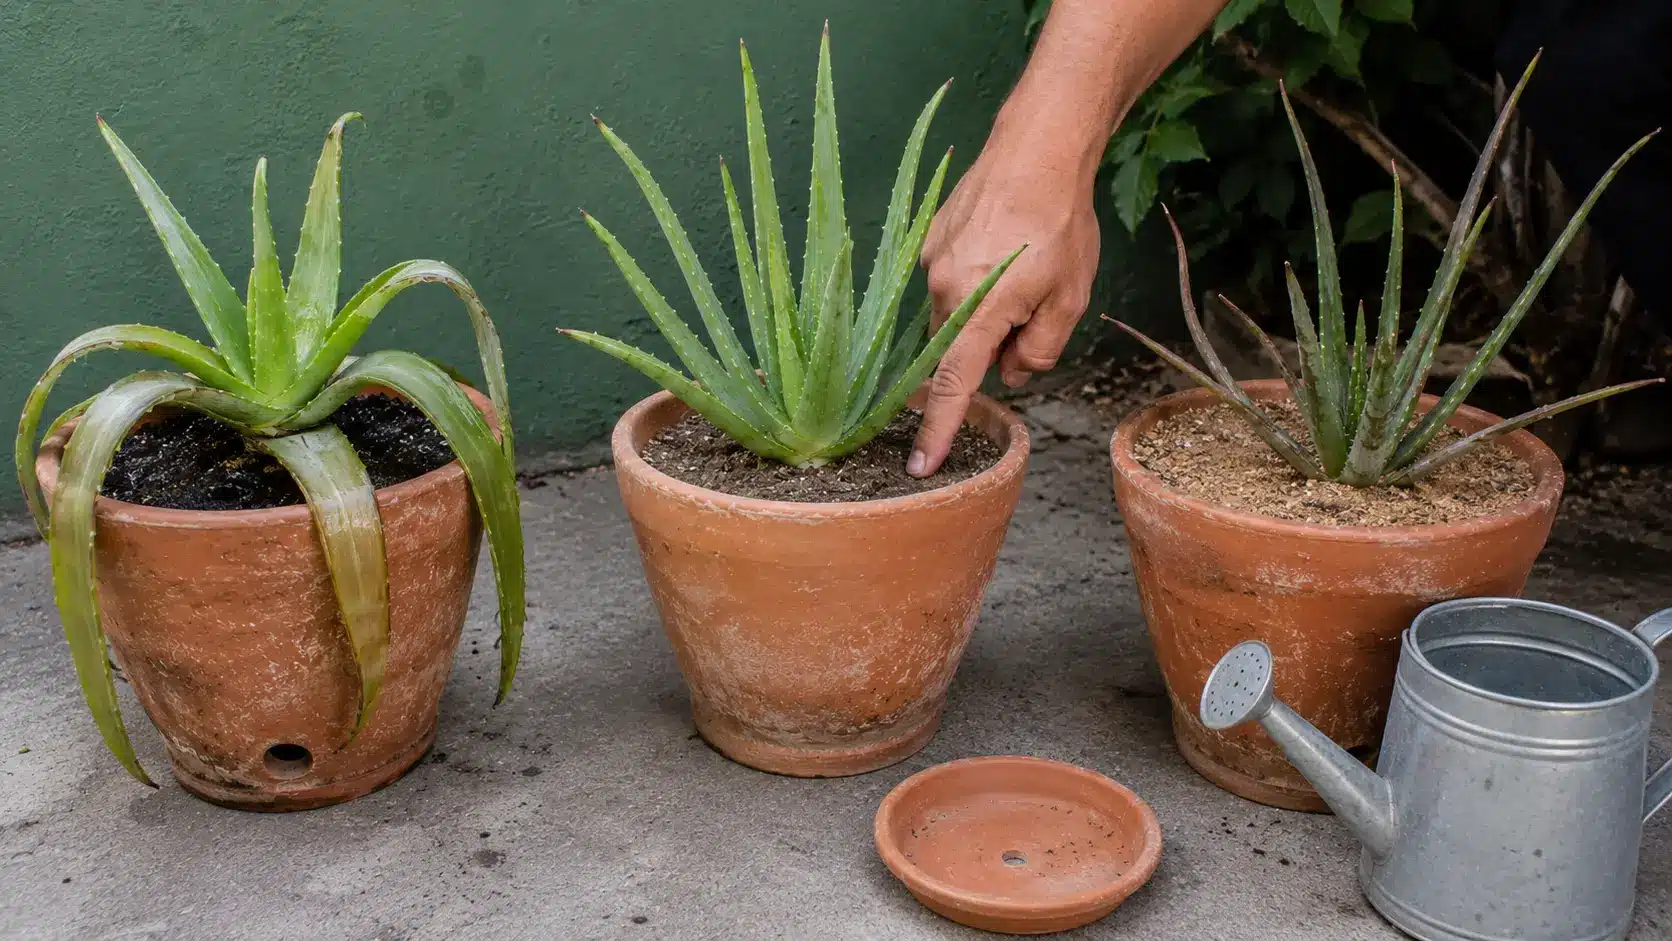
I water aloe vera far less than I used to water any other houseplant I’ve owned. The rule to follow: water only when the top two inches of soil are completely dry, checked with a finger.
In spring and summer, that’s roughly every two to three weeks.
In fall and winter, I stretch it to every four to six weeks since the plant is dormant. When I do water, I soak it until water runs from the drainage holes, then let it sit ten minutes and dump anything left in the saucer.
The mistake I made early on was watering on a fixed schedule instead of checking the soil first.
Tip: When the soil feels dry, wait another day before watering. Aloe vera handles dryness better than wet roots.
| Sign | Overwatering | Underwatering |
| Leaves | Soft, mushy, or translucent | Thin, curled, or puckered |
| Soil | Stays damp for weeks | Dries out very fast |
| Fix | Stop watering, check roots for rot | Water deeply, then resume schedule |
What Soil Mix is Best for Aloe Vera?
Regular potting soil is the single biggest reason I’ve seen aloe vera plants rot. Aloe vera’s native soil is sandy, rocky, and drains almost instantly, so the mix I use now copies that.
Either buy a cactus or succulent potting mix, or blend equal parts potting soil, coarse sand, and perlite myself. Both drain within seconds of watering, which is exactly what I want.
A 2023 study in BIO Web of Conferences grew aloe vera in sandy, clay, and fertilized soil over five weeks and found soil pH differences weren’t significant for growth. Drainage mattered more than exact pH.
That matched what I saw with my own plants. I stopped testing soil pH years ago and started paying attention to how fast the water drains instead.
How to Choose and Repot Aloe Vera Pots
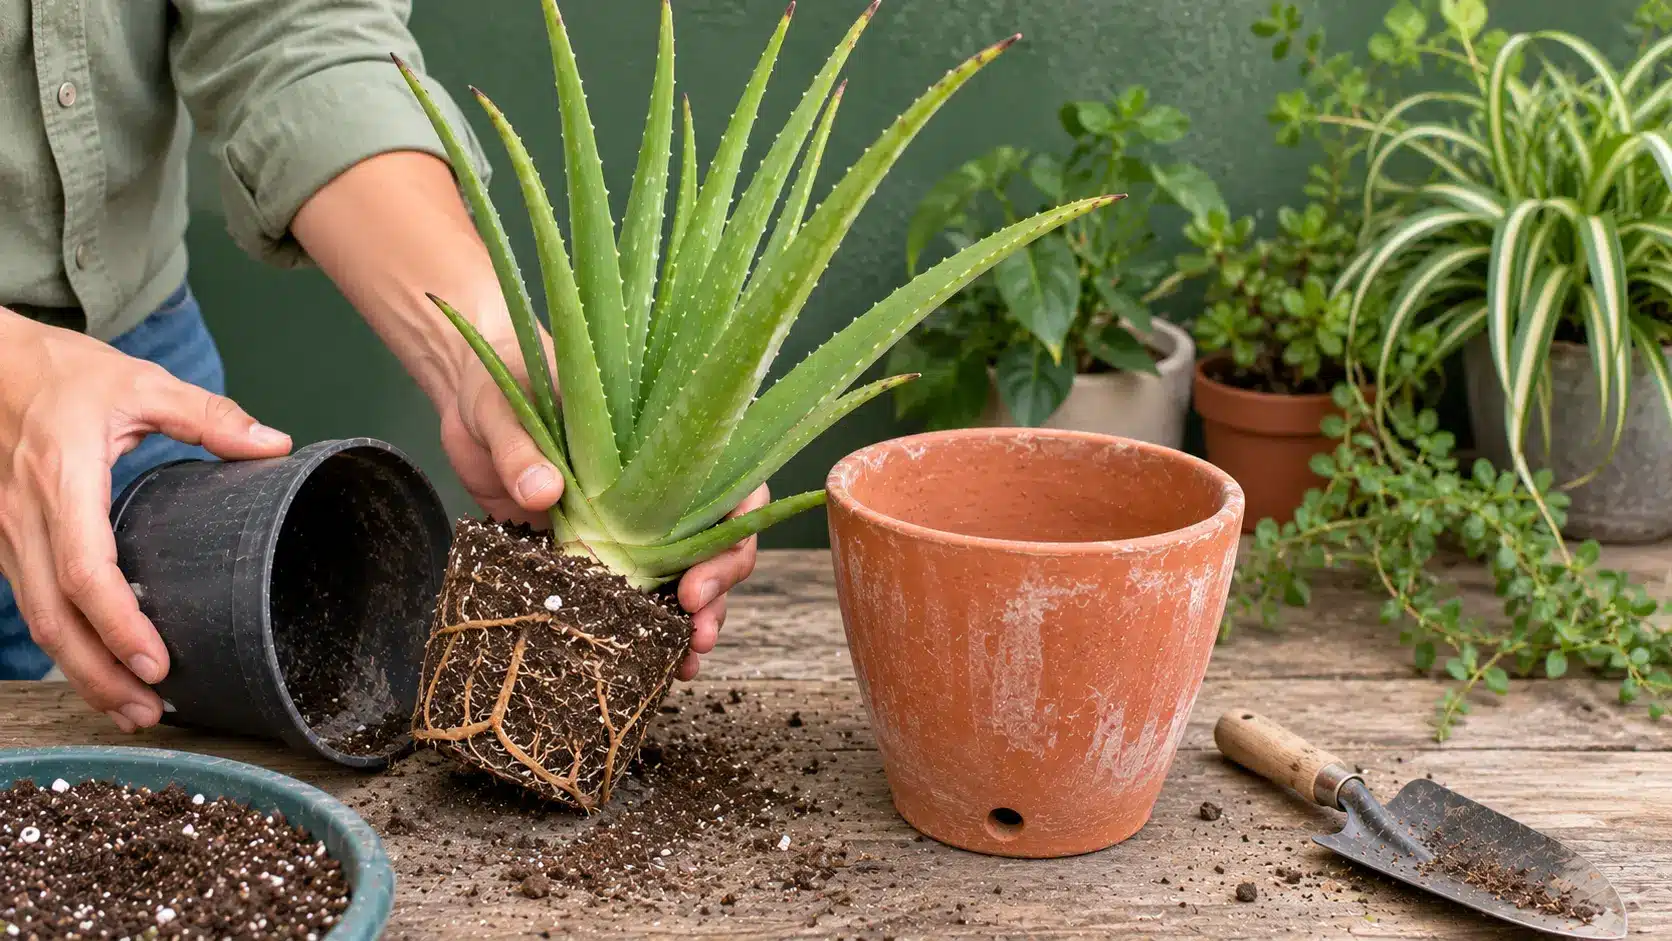
The right pot helps aloe vera roots dry properly and reduces the risk of excess moisture. Repotting is only needed when the plant becomes crowded or outgrows its current container.
Use these points to choose a suitable pot and know when to replace it:
- Material: Unglazed terracotta or clay allows moisture to evaporate through the sides.
- Size: Choose a pot only slightly larger than the root ball because oversized containers hold excess wet soil.
- Drainage: Use a pot with at least one open drainage hole, and avoid adding a gravel layer at the bottom.
- When to Repot: Repot about every two years or sooner when roots circle the pot or pups become crowded.
When repotting, move to a container about one to one and a half inches wider. Wait about a week before watering so damaged roots can heal.
How to Propagate Aloe Vera from Pups
Aloe vera is best propagated from pups, which are small offsets that grow around the base of the parent plant. Leaf cuttings often dry out or rot before developing roots.
Follow these steps to separate and replant a healthy aloe pup:
- Step 1: Wait for Roots to Develop: Allow the pup to grow a few inches tall and form its own roots before removing it.
- Step 2: Separate the Pup: Carefully unpot the parent plant or move the soil aside. Cut the pup away using a clean, sterile knife while keeping its roots attached.
- Step 3: Let the Cut Heal: Place the separated pup in a dry area away from direct sunlight for two to three days so the cut can seal.
- Step 4: Plant It in Dry Soil: Place the pup in a small pot filled with fast-draining cactus or succulent soil. Wait about one week before watering.
Final Thoughts on Growing Aloe Vera at Home
Growing aloe vera at home becomes much easier once you match its care to the way it grows naturally.
Bright light, quick-draining soil, a pot with drainage, and long gaps between watering sessions are the main requirements.
My biggest lesson was to check the soil rather than water on a fixed schedule. Aloe vera usually recovers from a short dry period, but roots left in wet soil can rot quickly.
Start with a healthy nursery plant or rooted pup, follow the planting steps carefully, and give it time to adjust before watering.
With steady care, your aloe can develop firm leaves, healthy roots, and new pups for future pots.
Have you grown aloe vera before? Share your best care tip or biggest watering mistake in the comments.
Frequently Asked Questions
Does Aloe Vera Need Direct Sunlight?
No. Bright indirect light works best indoors. A few hours of gentle morning sun is suitable, but strong afternoon sunlight can scorch the leaves.
How Often Should You Water Aloe Vera Indoors?
Water aloe vera when the soil is completely dry. This is usually every two to three weeks in summer and less often during winter.
Can Aloe Vera Survive in Low Light?
Aloe vera can survive in low light, but its leaves may become pale, thin, and stretched as the plant searches for more sunlight.
Why is My Aloe Vera Turning Brown or Mushy?
Brown or mushy leaves usually indicate overwatering or poor drainage. Stop watering, let the soil dry fully, and inspect the roots for rot.
Jordan Mathews, who has a degree in horticulture from Texas A&M University, has been a guiding force in plant health and sustainable gardening for over 16 years. His career began with a role at a renowned botanical garden, where he deepened his understanding of plant physiology and eco-friendly cultivation methods. Jordan joined our website as a freelancer in 2020, becoming a go-to expert for readers seeking advice on nurturing diverse plant species apart from offering insights grounded in scientific knowledge and practical experience. Beyond his professional achievements, Jordan is a keen nature photographer, capturing the beauty of flora in its immensely diversified forms.