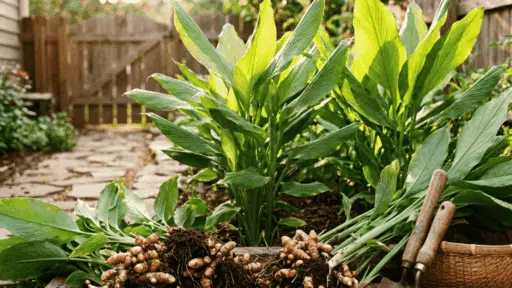
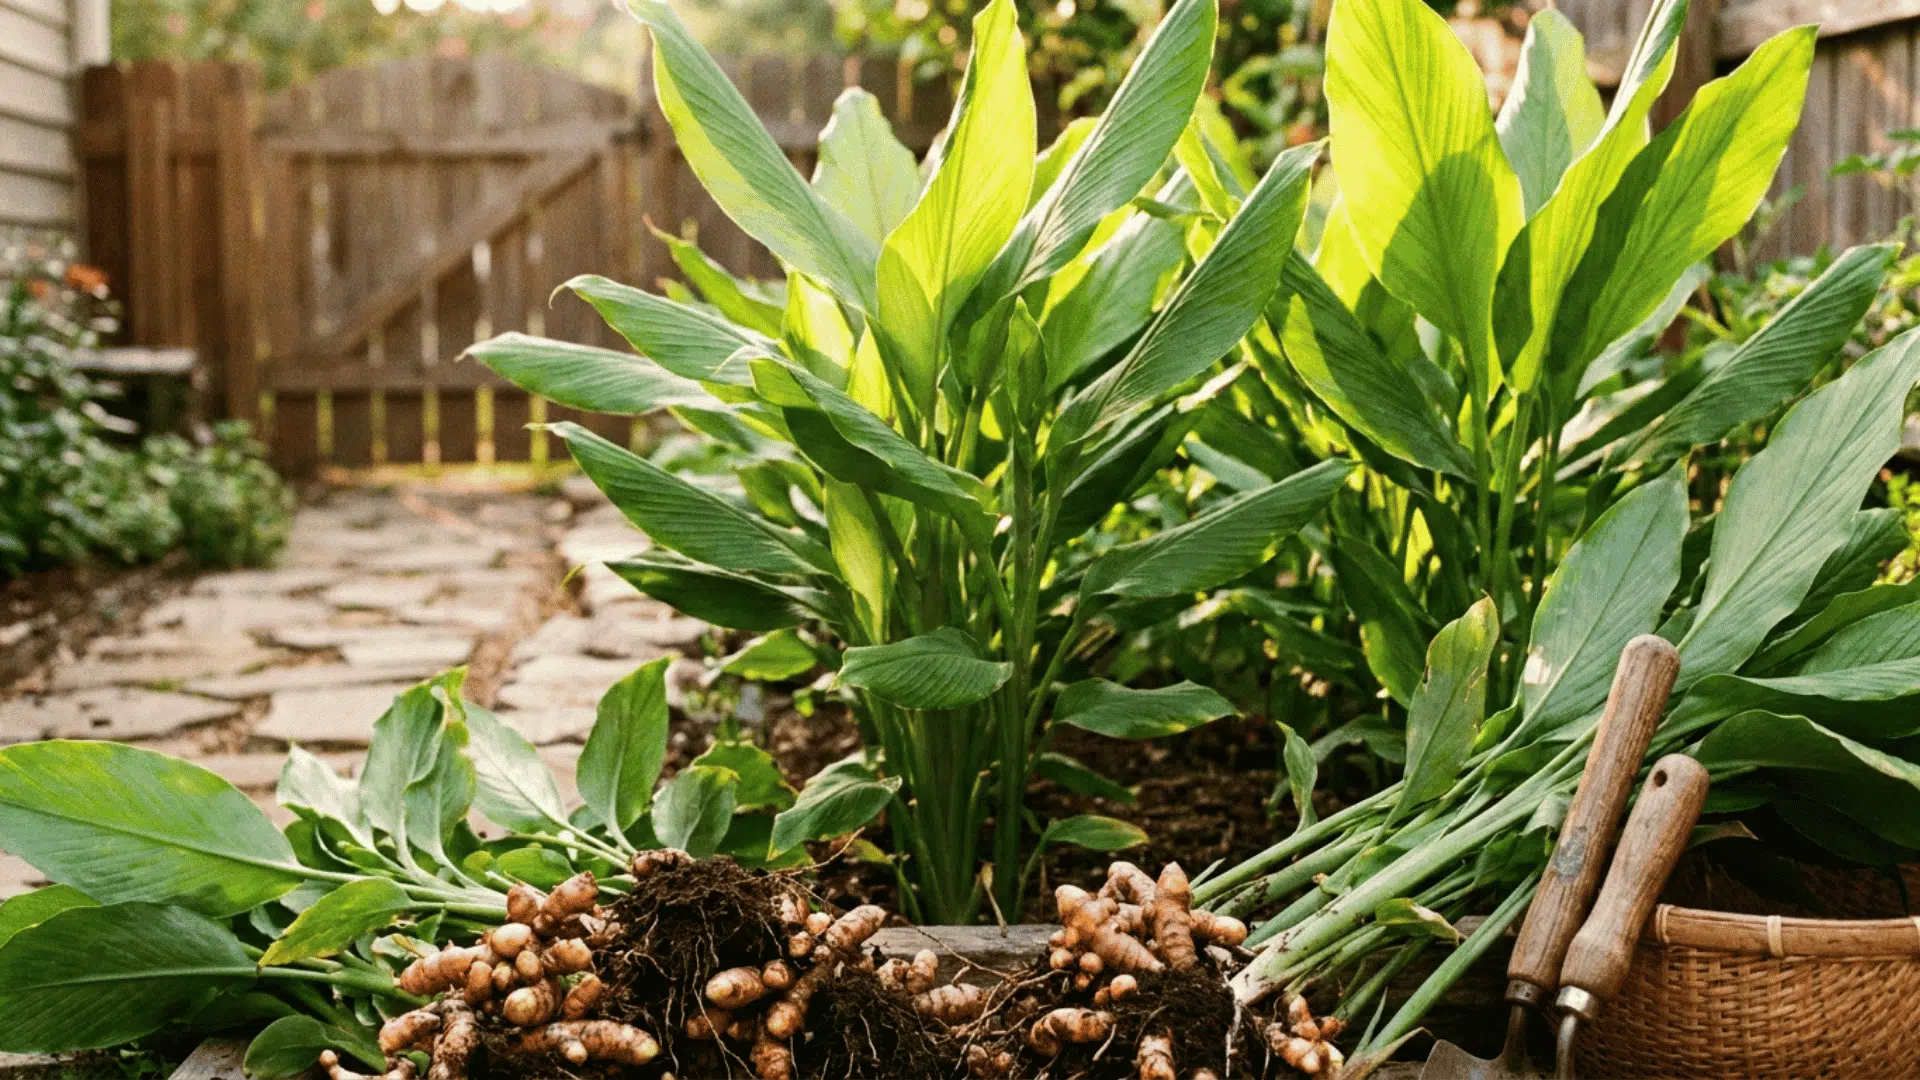

Turmeric is one of the most useful plants you can grow at home. The broad, glossy leaves are attractive enough to earn a spot in any backyard or patio.
It gives you fresh rhizomes for cooking, teas, and natural remedies, and it looks great in a garden bed or a large container on your porch.
The best part? It is easier to grow than most people expect. You start with a small piece of root, give it warm soil and steady water, and by fall, you have a full cluster of golden rhizomes ready to harvest.
This guide walks you through everything, from picking the right rhizome to storing your harvest.
All About Turmeric
Turmeric (Curcuma longa) is a tropical plant that grows from underground rhizomes with thick, knobby root pieces that look similar to ginger.
It is native to South and Southeast Asia, where it grows in warm, humid conditions with rich, well-drained soil and ample rainfall.
The plant produces tall, broad leaves that give it a lush, tropical look above ground. Below ground, it quietly builds out a cluster of rhizomes over the course of a full growing season, typically eight to ten months.
Turmeric grows well as a perennial in USDA zones 8 through 11. In cooler zones, treat it as a seasonal plant, grow it through the warm months, harvest before frost, and store the rhizomes indoors over winter.
Best Types of Turmeric to Grow at Home
Several varieties of turmeric exist, each with slightly different flavors and uses. Here are five types to know before you plant:
| Turmeric Type | Flavor | Best Use |
| Common Yellow Turmeric | Earthy, warm, mildly bitter | Cooking, golden milk, spice powder |
| White Turmeric | Mild, slightly sweet, less pungent | Pickling, salads, and traditional medicine |
| Black Turmeric | Strong, camphor-like, very pungent | Herbal remedies, not for everyday cooking |
| Mango Turmeric | Light, fresh, faintly fruity | Raw use, light cooking, fresh juice |
| Red Turmeric | Spicy, bold, more intense than yellow | Cooking, curry blends, spice mixes |
Common Yellow Turmeric is the easiest to find and the most practical choice for beginners. If this is your first time growing turmeric, start here.
How to Plant Turmeric the Right Way
Step-by-step instructions to help your turmeric grow from rhizome to harvest:
Step 1: Choose Healthy Rhizomes
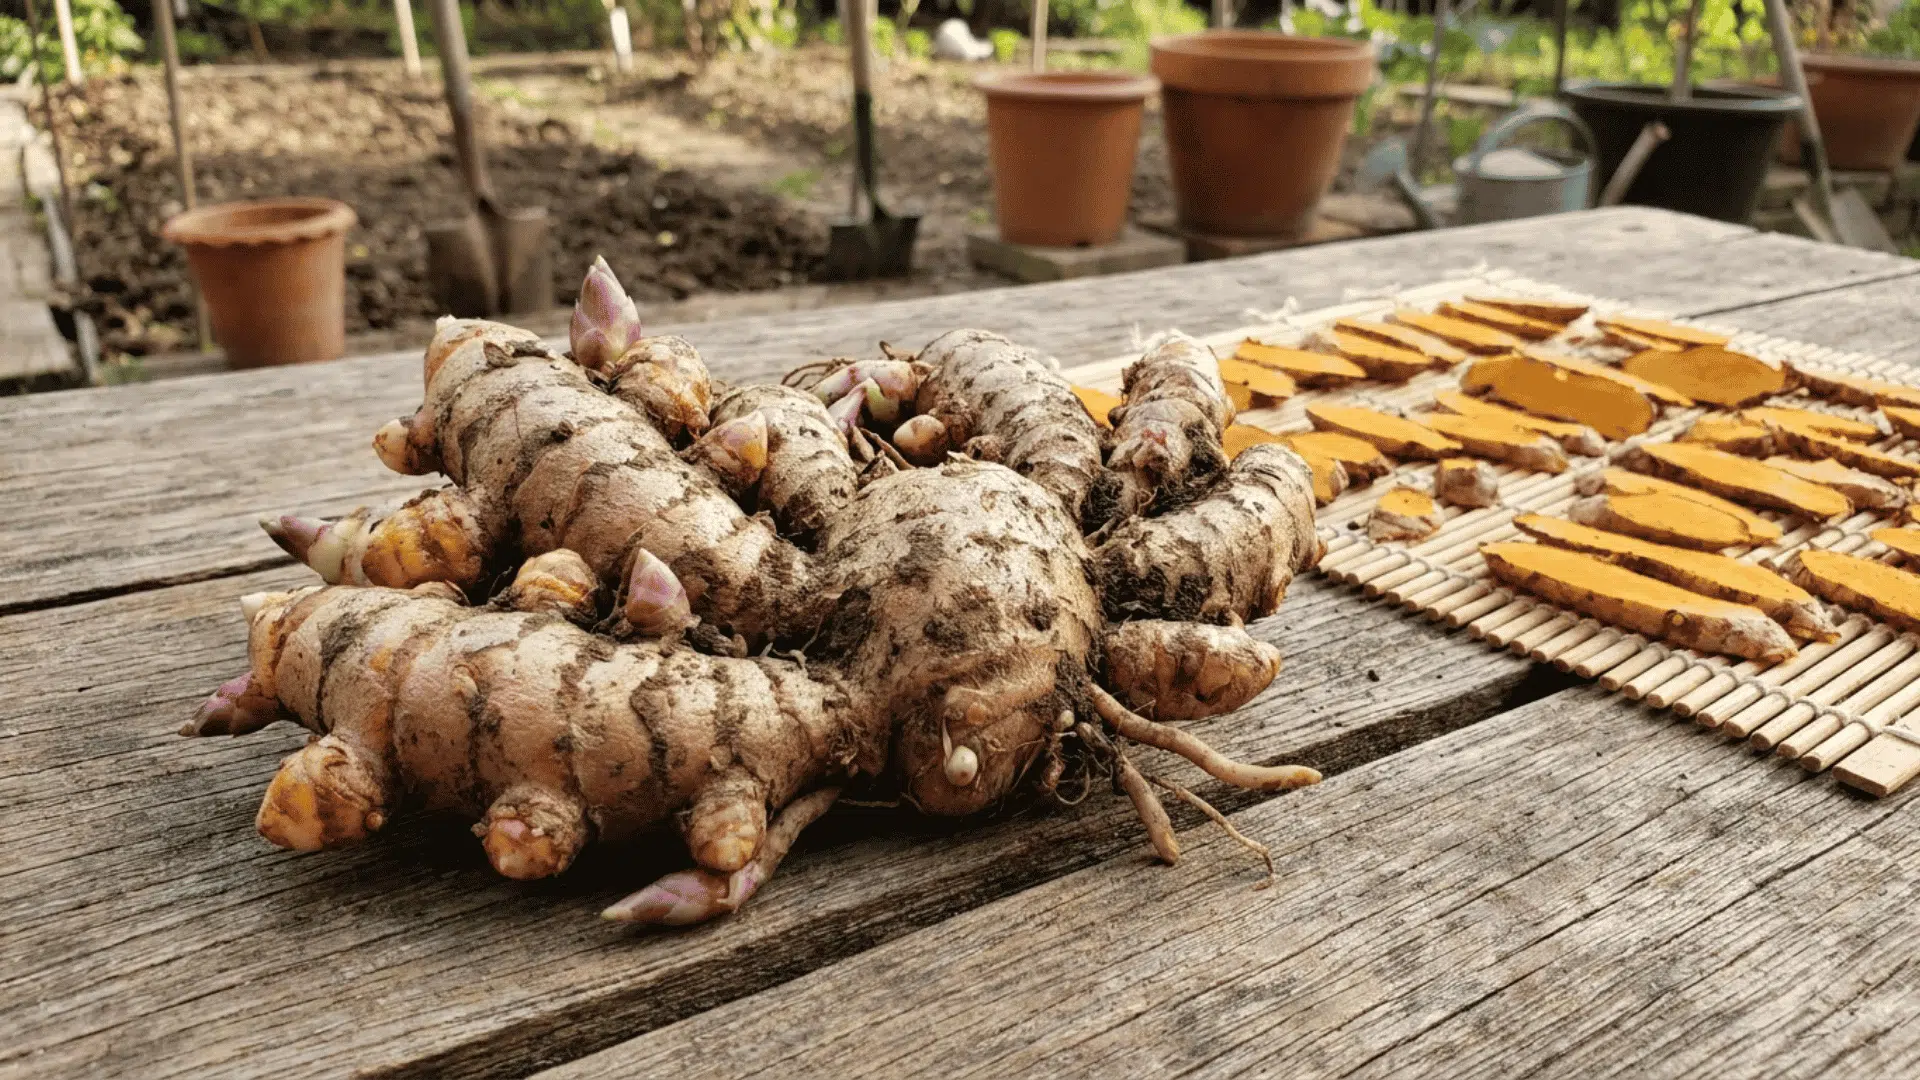
Start with fresh, firm rhizome pieces that have at least one bud with a small, rounded bump on the surface, sometimes slightly pink or purple. These buds are where the shoots will grow from, so they need to be visible and intact.
Avoid pieces that feel soft, look shriveled, or have no visible buds. Garden centers, farmers’ markets, and online seed suppliers are reliable sources.
Organic grocery store turmeric can also work as long as it has not been treated with a growth inhibitor.
If you are dividing a larger rhizome, cut it into pieces at least 1 inch long, each with one or more buds. Let the cut pieces air-dry for a day before planting so the cut end seals and is less likely to rot in the soil.
Step 2: Prepare the Soil or Container
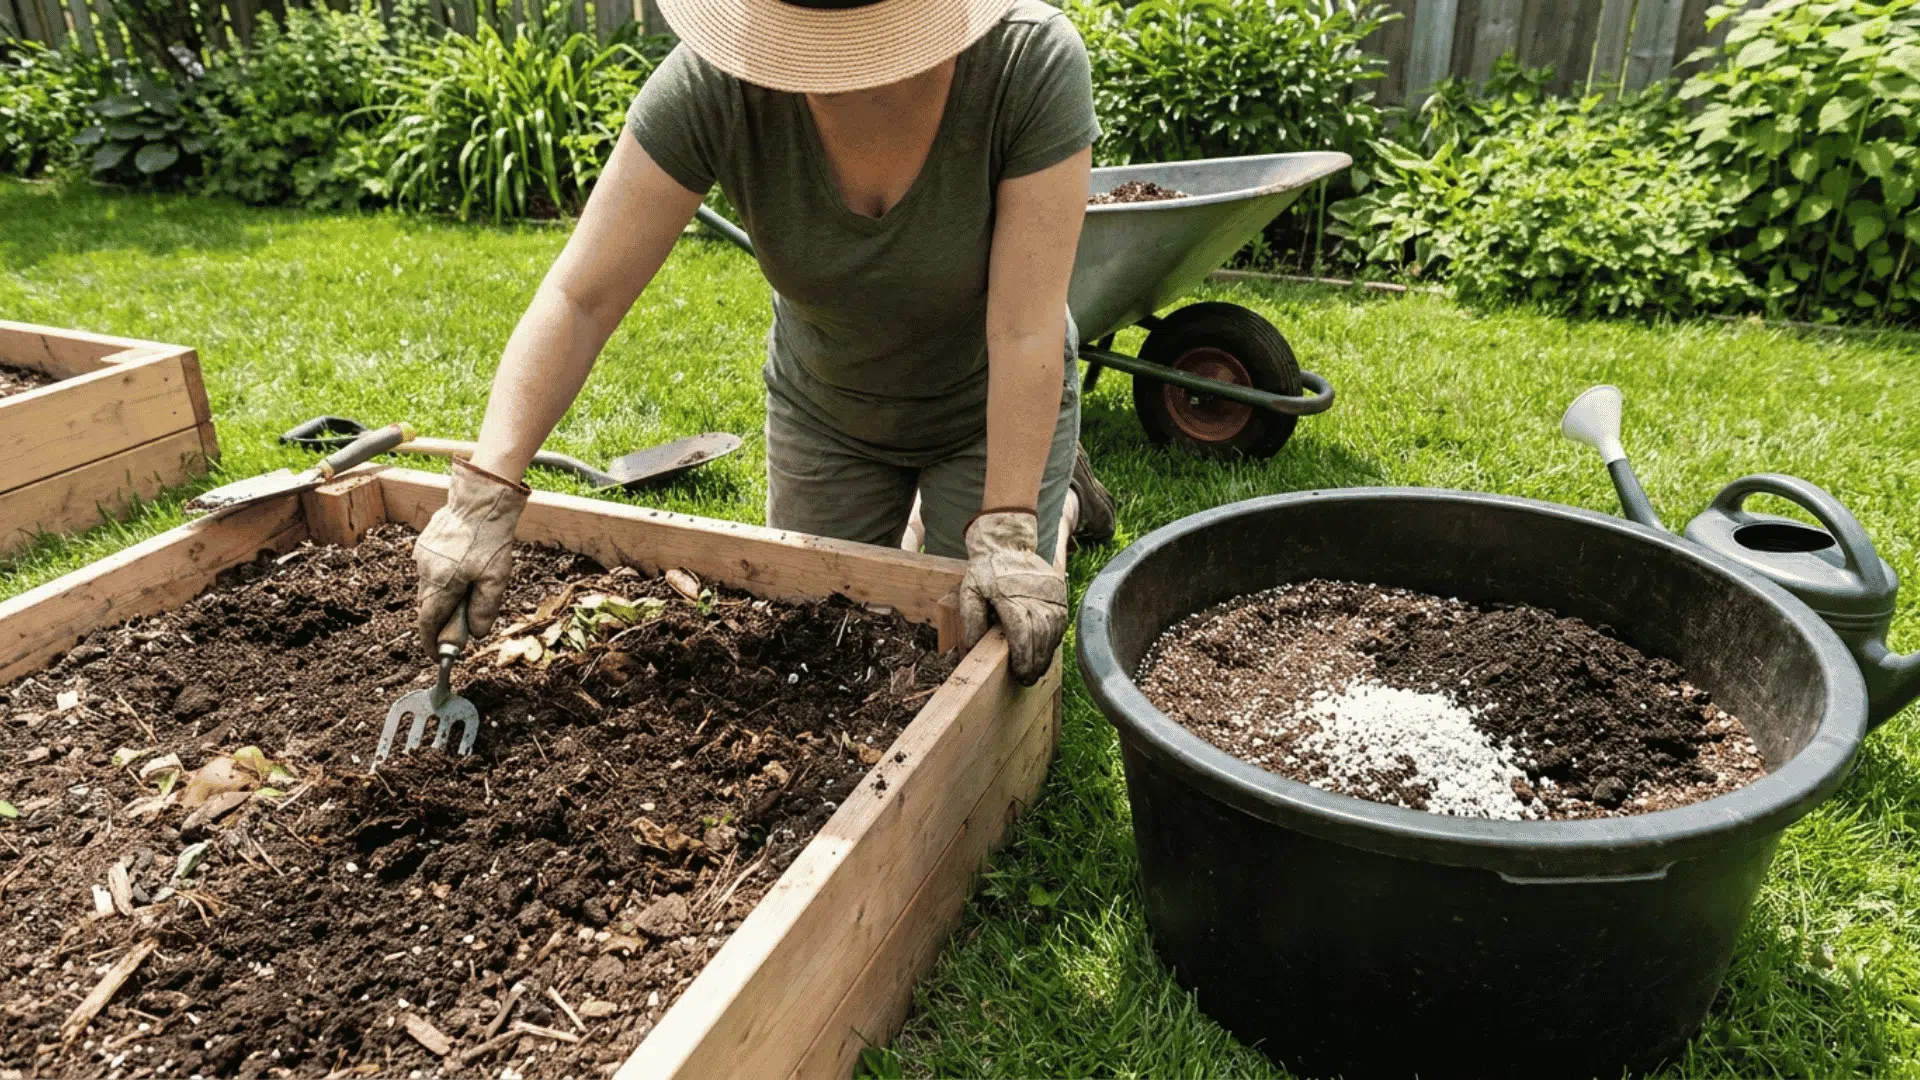
Turmeric needs loose, well-draining soil. Compact or heavy clay soil blocks root growth and holds too much water around the rhizomes.
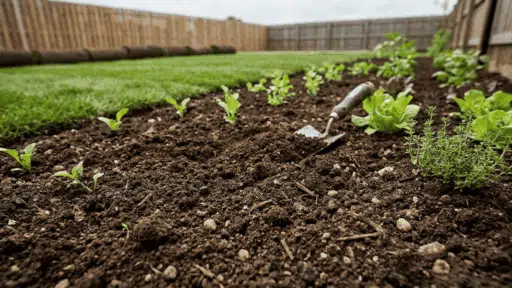
For garden beds, loosen the soil to a depth of about 12 inches and mix in 2 to 3 inches of compost. This improves both drainage and fertility before anything goes in the ground.
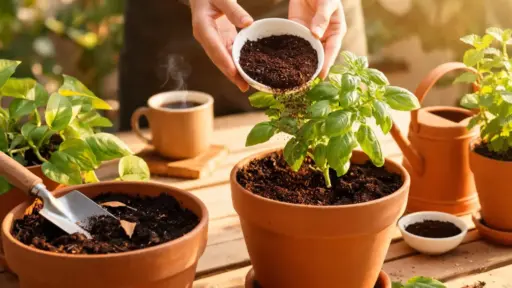
For containers, use a mix of two parts potting soil, one part compost, and a small amount of perlite or coarse sand. Every pot must have drainage holes at the bottom; without them, water builds up in the root zone, and rot sets in fast.
Step 3: Plant the Rhizomes Properly
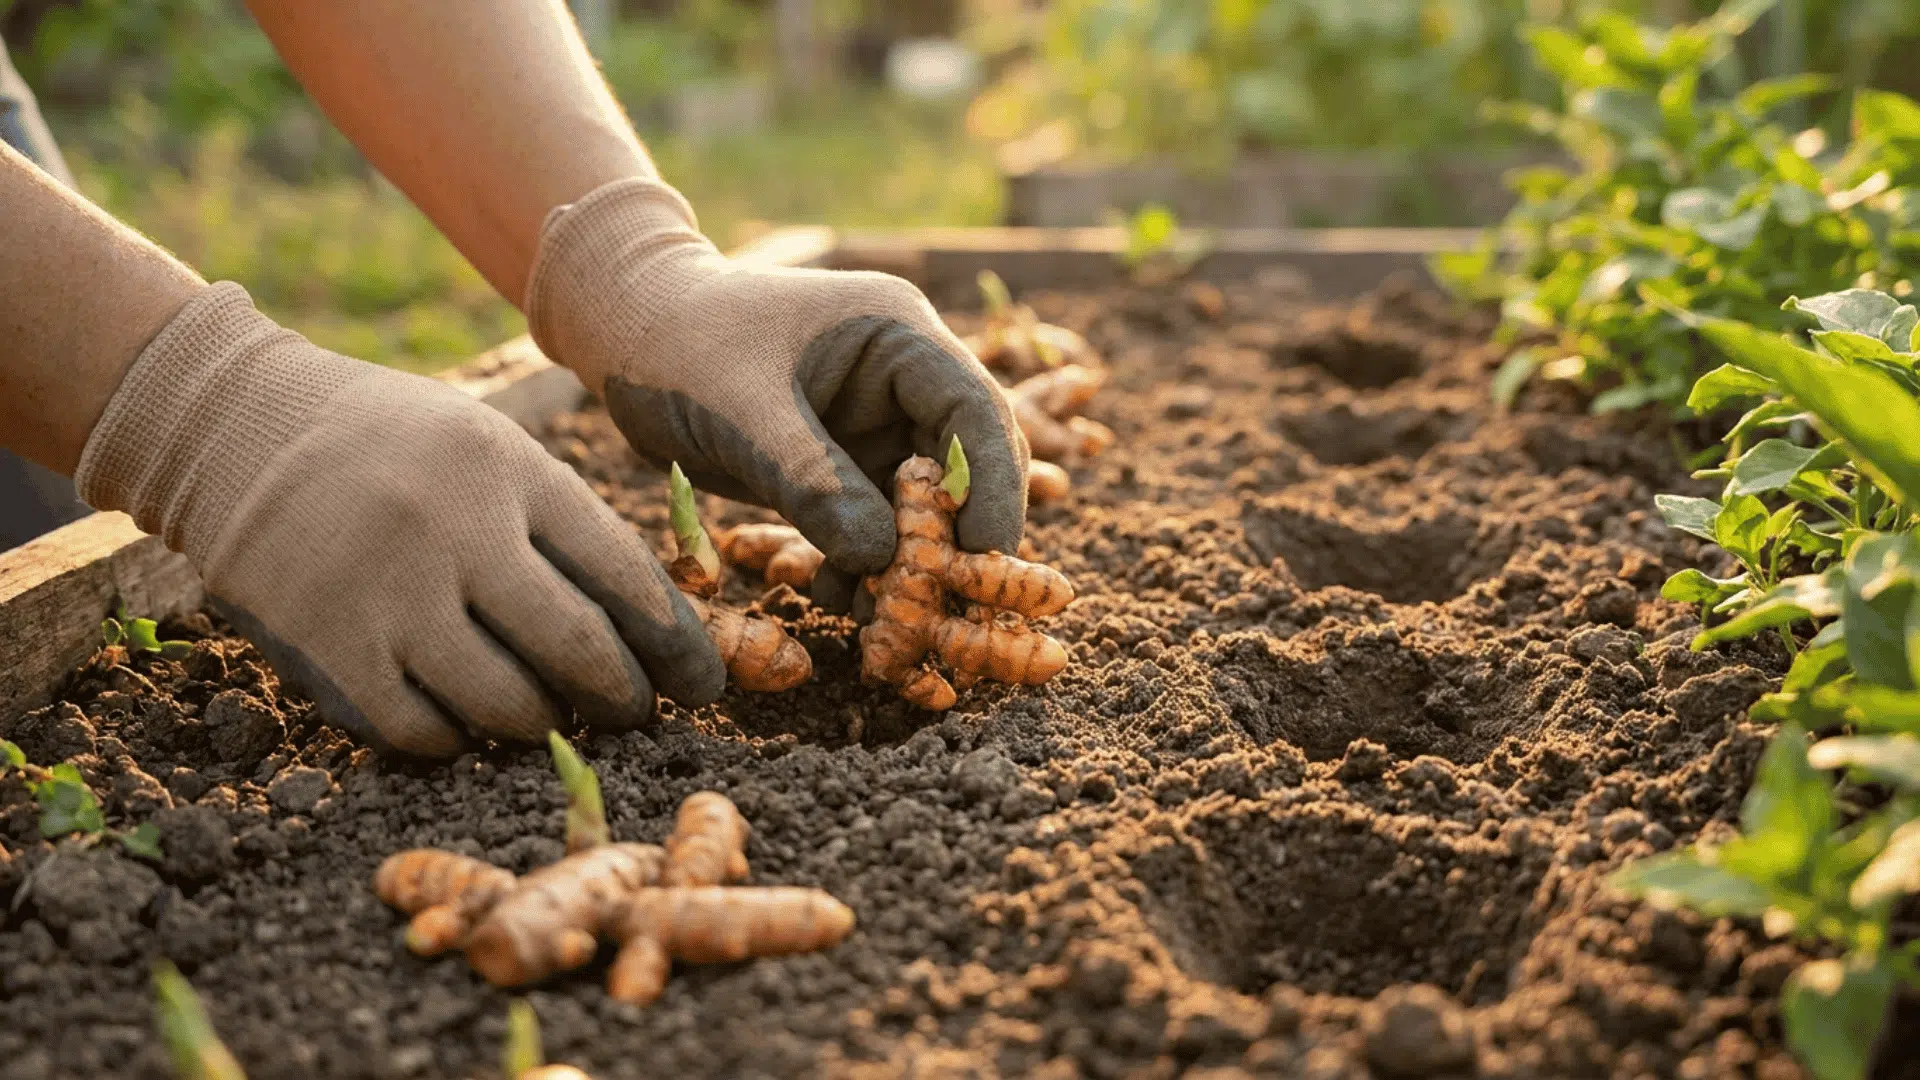
Place each rhizome piece about two to three inches below the soil surface. Shallower than two inches, and the root may dry out before sprouting.
Deeper than three inches, and it takes much longer for a shoot to reach the surface.
If you can see buds on the piece, point them upward when you set it in the hole. The shoot will find its way up either way, but buds facing up mean faster sprouting.
Space rhizomes twelve to eighteen inches apart. Turmeric spreads as it grows, and crowded planting limits the development of its underground roots.
Step 4: Water Lightly After Planting
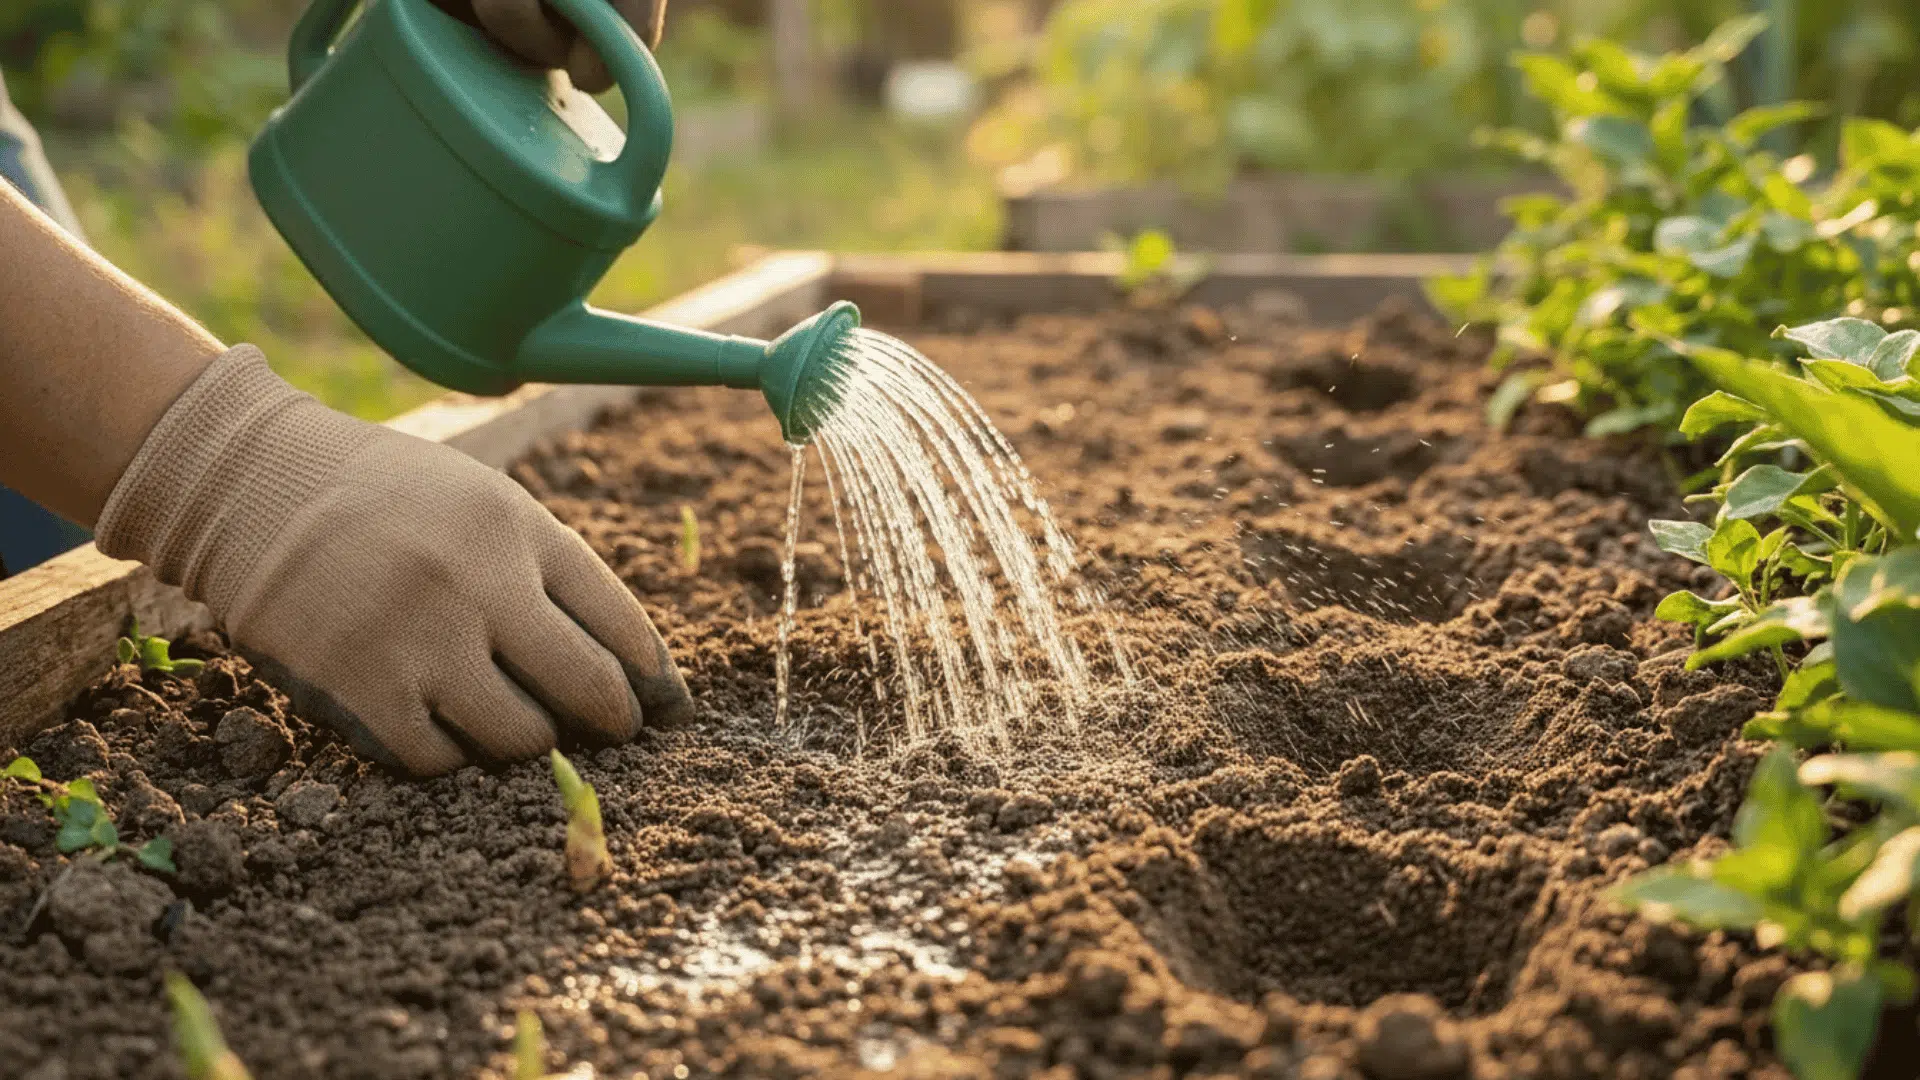
After planting, water the soil thoroughly so moisture reaches the root level. Then keep the soil consistently moist, in the future, not soaking wet, not bone dry.
A wrung-out sponge is a good way to think about it: damp all the way through, but not dripping. Soggy soil right after planting is one of the most common reasons rhizomes rot before they ever sprout.
Step 5: Place in Warm Sunlight
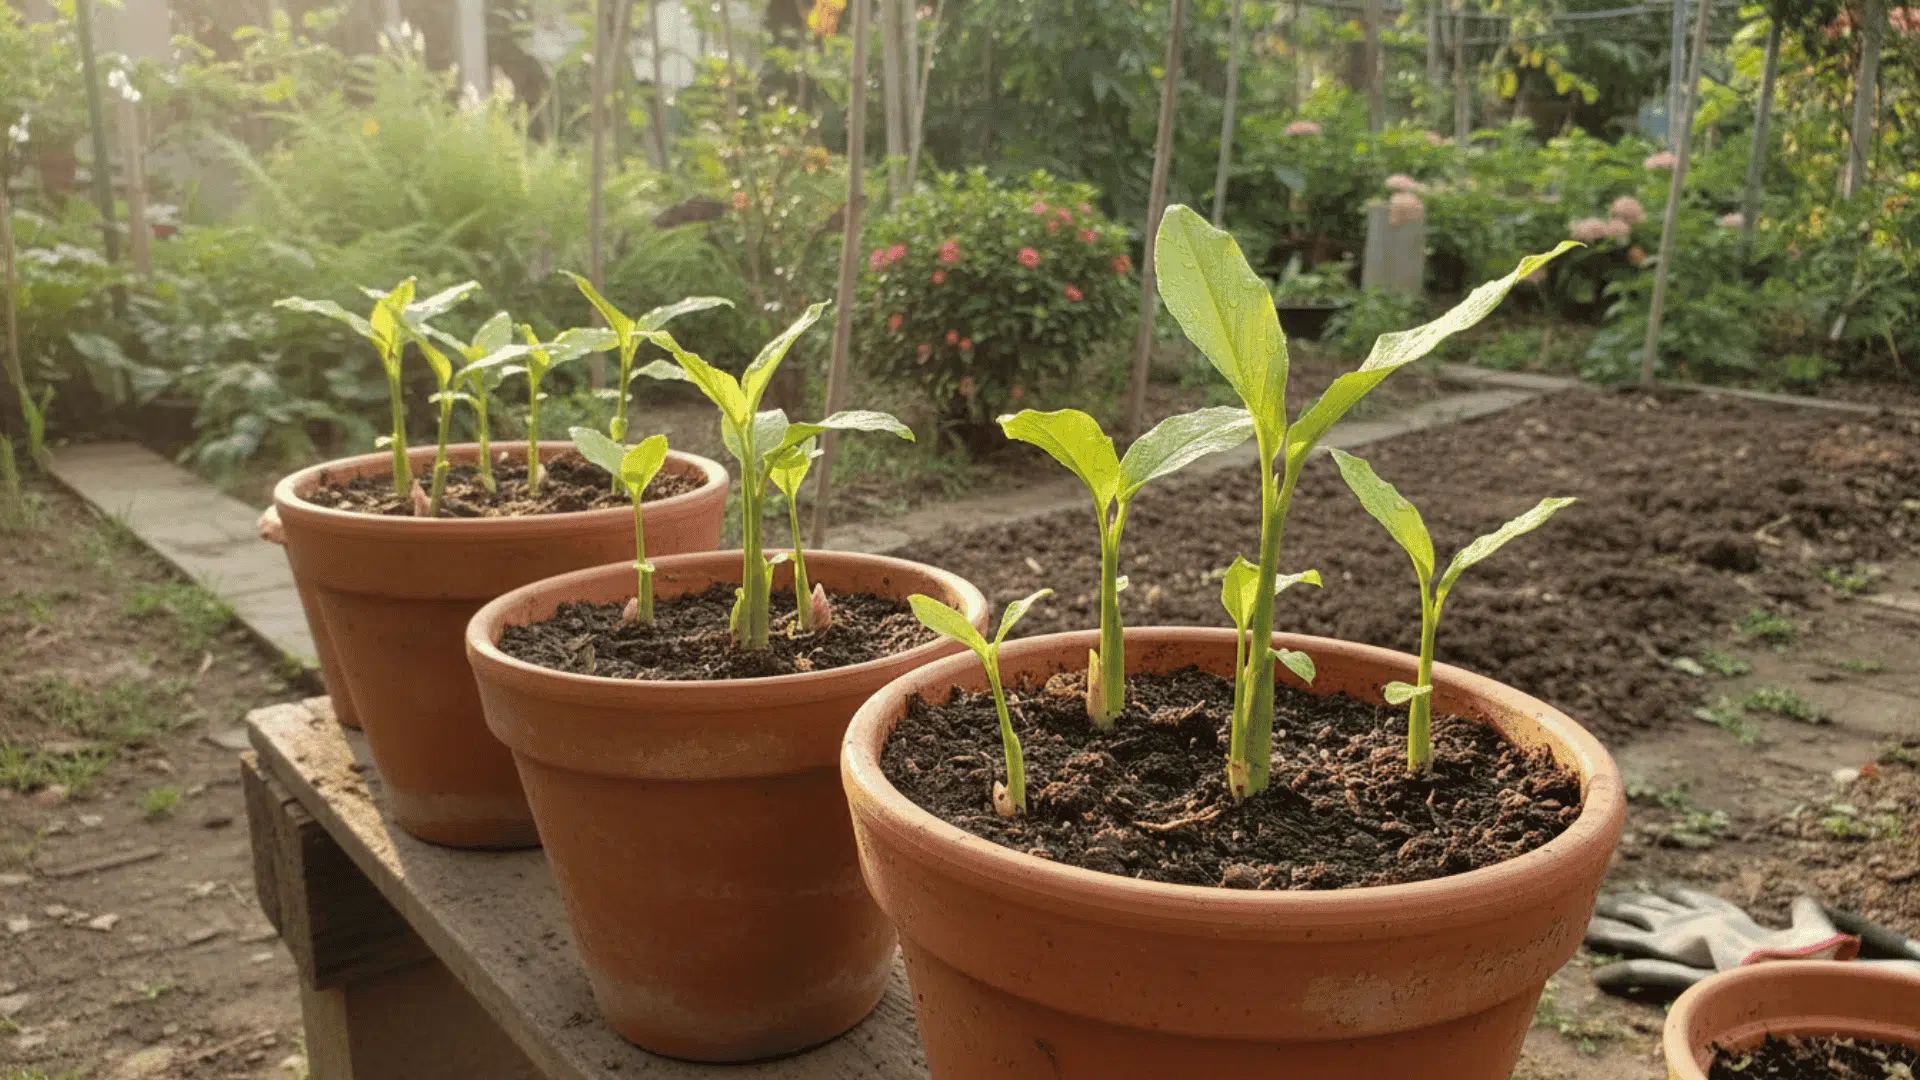
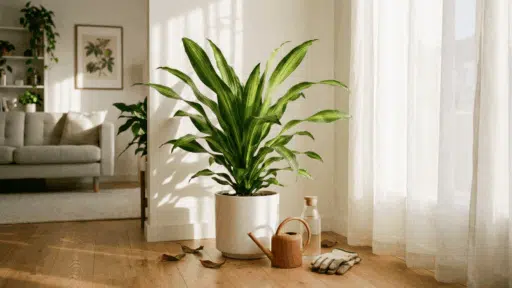
Turmeric needs warmth to get moving. Move containers to a warm, bright spot near a sunny window indoors or outside once temperatures consistently stay above 65°F. A location with morning sun and some afternoon shade works best.
If you are starting indoors before the outdoor season opens, a grow light works well. Cold conditions will significantly stall sprouting, so warmth matters more than anything else in the early weeks.
Best Conditions to Grow Turmeric
To grow healthy turmeric, you have to keep these conditions in mind:
| Condition | Requirement | Care Tip |
| Sunlight | 5–7 hours of bright light daily | Morning sun with afternoon shade is ideal: harsh midday sun can scorch leaves in hot climates. |
| Temperature | 65°F–90°F (18°C–32°C) | Wait until the soil reaches 65°F before planting outdoors: bring containers in before frost arrives. |
| Soil Type | Loose, rich, well-draining | Work compost into beds before planting; add perlite to the container mix for better drainage. |
| Watering | Evenly moist throughout the season | Check the soil with your finger before watering: cut back on water once leaves yellow in the fall. |
| Humidity | Moderate to high | Mulch around the base of plants in dry climates to hold soil moisture between waterings. |
| Container Size | At least 12 inches deep and 12 inches wide | Pots 16–20 inches wide produce better yields; always choose containers with drainage holes. |
How to Care for Turmeric Plants
Once your turmeric is in the ground and growing, the routine is simple. Keep up with these basics through the season:
1. Mulching
Spread a two-inch layer of mulch around the base of the plant. It holds moisture in the soil, moderates soil temperature, and reduces the frequency of watering during dry spells.
Use organic mulch such as straw, dry leaves, or compost so it breaks down slowly and improves the soil over time. Keep the mulch slightly away from the stem to prevent excess moisture buildup and reduce the risk of rot.
Refresh the mulch layer every few weeks if it starts thinning out, especially during dry or very hot periods.
2. Feeding
Side-dress with compost every four to six weeks through spring and summer, or apply a balanced organic fertilizer on the same schedule.
This steady feeding supports leaf growth and healthy rhizome development during the main growing season.
Stop feeding once leaves begin to yellow in late summer, the plant is winding down. Extra fertilizer at that stage usually won’t help and can even waste nutrients.
3. Removing Weeds
Pull weeds by hand close to the plant rather than hoeing. Turmeric rhizomes grow near the surface, and a hoe can slice right through them without warning.
Hand weeding keeps the root zone undisturbed and reduces the chance of accidentally damaging new rhizomes.
Check for weeds often, especially after rain or watering, because small weeds are easier to remove before they spread.
4. Pest Care
Aphids and spider mites are the most common issues: a strong blast of water quickly removes aphids.
For stubborn infestations or spider mites, apply neem oil or insecticidal soap in the evening when helpful insects are not around.
Inspect the undersides of leaves regularly, since pests often hide there before damage becomes obvious. Remove heavily infested leaves early to prevent the problem from spreading to the rest of the plant.
5. Watering During Hot Weather
Containers dry out fast in summer heat. Check the soil more often during hot stretches and water deeply when the top inch feels dry.
Shallow, frequent watering only keeps the surface moist and never reaches the roots, where it counts. Deep watering helps moisture reach the roots, while shallow, frequent watering only wets the surface and leaves the plant stressed.
6. Checking Leaf Health
Yellowing in midsummer, brown spots, or wilting in moist soil are signs of a problem. Midsummer yellowing usually points to too much water or poor drainage.
If leaves keep yellowing while the soil stays wet, reduce watering and check that the pot or bed drains properly.
Healthy leaves should stay firm and green, so any sudden change is worth checking early to prevent the problem from spreading.
Small brown spots on the leaves are often a minor fungal issue. Remove affected leaves and improve airflow around the plant.
Common Mistakes to Avoid
Here are the most common planting errors so you can protect your turmeric rhizomes, improve drainage, and get a healthier harvest:
- Overwatering from the start – More turmeric plants fail from too much water than too little. Always check the soil with your finger before watering.
- Planting into cold soil – Even after the last frost date, cold soil (below 65°F) can keep rhizomes dormant so long that they can rot. Check soil temperature before you plant.
- Using a pot with no drainage holes – This is a simple oversight that almost always ends in root rot. Every container needs a clear path for excess water to drain out.
- Planting too deeply – Three inches is the limit. Go deeper, and the rhizome struggles to push a shoot to the surface.
- Harvesting before the season ends – Turmeric needs the full eight to ten months to develop. Digging early produces small, underdeveloped rhizomes. Wait until the leaves yellow and die back naturally.
- Skipping the drainage check – Before planting anything in the ground, test how quickly water drains through your soil. Slow drainage needs to be fixed first, or move to containers.
When and How to Harvest Turmeric
Turmeric tells you when it is ready. Once the leaves turn yellow and the stems start to fall over, usually between October and December, depending on your climate, the growing season is finished, and the rhizomes are fully mature.
In frost-prone areas, watch the forecast closely. Harvest before the first hard frost, even if leaves have not fully yellowed yet.
To harvest, push a garden fork into the soil six to eight inches from the base of the plant and gently lever it upward. Work around the whole plant before lifting to loosen the root mass. Pull the clump free by hand, shake off loose soil, and separate the rhizomes.
Let the harvested rhizomes sit in a warm, dry spot with good airflow for about a week. This short curing period firms up the skin and extends the time they remain fresh after harvest.
How to Store Fresh Turmeric
Here are some storage options to keep fresh turmeric safe, dry, and ready to use:
- Refrigerator: Wrap fresh rhizomes in a dry paper towel, place them in a resealable bag, and store them in the fridge. They keep well for two to three weeks. Avoid fully airtight bags, as trapped moisture leads to mold.
Freezer: Wash and dry the rhizomes, then freeze them whole. Frozen turmeric grates straight from the freezer without thawing, which makes it easy to use for cooking. Stored this way, it keeps for up to six months.
Dried and ground: Slice rhizomes thin and dry them in a food dehydrator or a low oven at 130°F to 140°F until completely hard. Grind the dried pieces in a spice grinder. Homegrown ground turmeric is more vivid in color and sharper in flavor than the store-bought version.
Saving for replanting: Set aside your firmest, most bud-covered rhizomes for next year’s garden. Store them somewhere cool and frost-free between 50°F and 60°F, wrapped in slightly damp newspaper or nestled in barely moist peat moss. Check them every few weeks and remove any pieces that start to soften.
Final Thought
Turmeric is a low-fuss plant once you get the basics right. Warm soil, good drainage, steady moisture, and a bright spot to grow in, that is really all it takes.
By the end of the season, you will dig up fresh rhizomes that look nothing like the faded powder in a grocery store spice jar. The color is deeper, the fragrance is sharper, and the flavor is noticeably better when it comes straight from your own garden.
Start with one or two containers and a few rhizomes. Learn how the plant behaves in your conditions, adjust as needed, and scale up the following year. Most gardeners who grow turmeric once keep growing it, it is that satisfying to harvest.
Frequently Asked Questions
How Long Will It Take to Grow Turmeric?
Turmeric usually takes about 7–10 months from planting to harvest, depending on climate, variety, and growing conditions.
Is Turmeric High in Oxalates?
Turmeric is considered high in oxalates, so people prone to kidney stones should use it cautiously, especially in large amounts or in supplement form.
What Are the Challenges of Turmeric Farming?
Turmeric farming is challenged by price swings, pest and disease pressure, irrigation gaps, weather stress, uneven quality, and weak access to credit and export standards.

Jordan Mathews, who has a degree in horticulture from Texas A&M University, has been a guiding force in plant health and sustainable gardening for over 16 years. His career began with a role at a renowned botanical garden, where he deepened his understanding of plant physiology and eco-friendly cultivation methods. Jordan joined our website as a freelancer in 2020, becoming a go-to expert for readers seeking advice on nurturing diverse plant species apart from offering insights grounded in scientific knowledge and practical experience. Beyond his professional achievements, Jordan is a keen nature photographer, capturing the beauty of flora in its immensely diversified forms.