
Insulating a garage can make the space more comfortable, reduce temperature swings, and limit heat transfer between an attached garage and nearby living areas.
But a good insulation job involves more than filling wall cavities. The right approach depends on how the garage is used, its construction, your climate, and which surfaces separate it from outdoor or conditioned space.
This blog explains how to insulate a garage from start to finish, including air sealing, walls, ceilings, garage doors, windows, and access doors.
You will also learn how to choose an appropriate R-value, insulation material info, and understand the costs of insulating a garage.
Why Insulate Your Garage?
Garage insulation helps slow heat transfer, so the space stays more stable during hot and cold weather. It is especially useful if the garage is used as a workshop, gym, hobby room, or other regularly occupied space.
Air sealing is also important because research has found that leakage paths between attached garages and homes can allow garage pollutants to enter living spaces.
A well-insulated garage may also make the space more practical and appealing to future buyers, especially if it is used as a workshop or flexible utility area.
The next step is to check whether your garage actually needs insulation before choosing materials or starting installation.
Do You Need to Insulate Your Garage?
You likely need garage insulation if the space is attached to your home, used regularly, heated, or if it causes nearby rooms to become too hot or cold. Detached garages used only for storage may need much less.
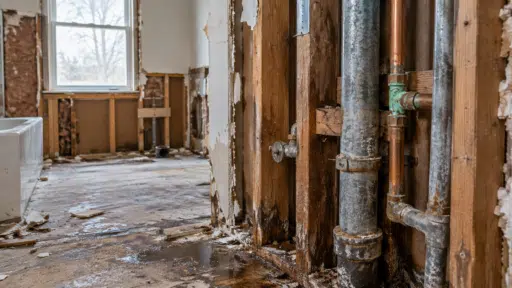
Check for large temperature swings, drafts, exposed framing without insulation, or uncomfortable rooms above or beside the garage.
If the walls or ceiling are unfinished, you can usually see whether insulation is present. For finished surfaces, check through an existing outlet or access opening where possible.
If needed, drill a small inspection hole in a concealed area, avoiding locations with wiring, plumbing, or other hidden services.
If insulation is needed, follow the step-by-step process below.
How to Insulate a Garage Step by Step
Once you know your garage needs insulation, work through one area at a time. Start with preparation and air sealing, then move to the walls, ceiling or roofline, garage door, and smaller openings.
Gather These TOOLS first!
Check the table below for the products as well as their main uses:
| Tool | Main Use |
|---|---|
| Tape measure | Measuring cavities |
| Utility knife | Cutting insulation |
| Caulk gun | Sealing gaps |
| Straightedge | Making clean cuts |
| Ladder | Ceiling work |
| Safety gear | Personal protection |
Step 1: Prepare and Air-Seal the Garage
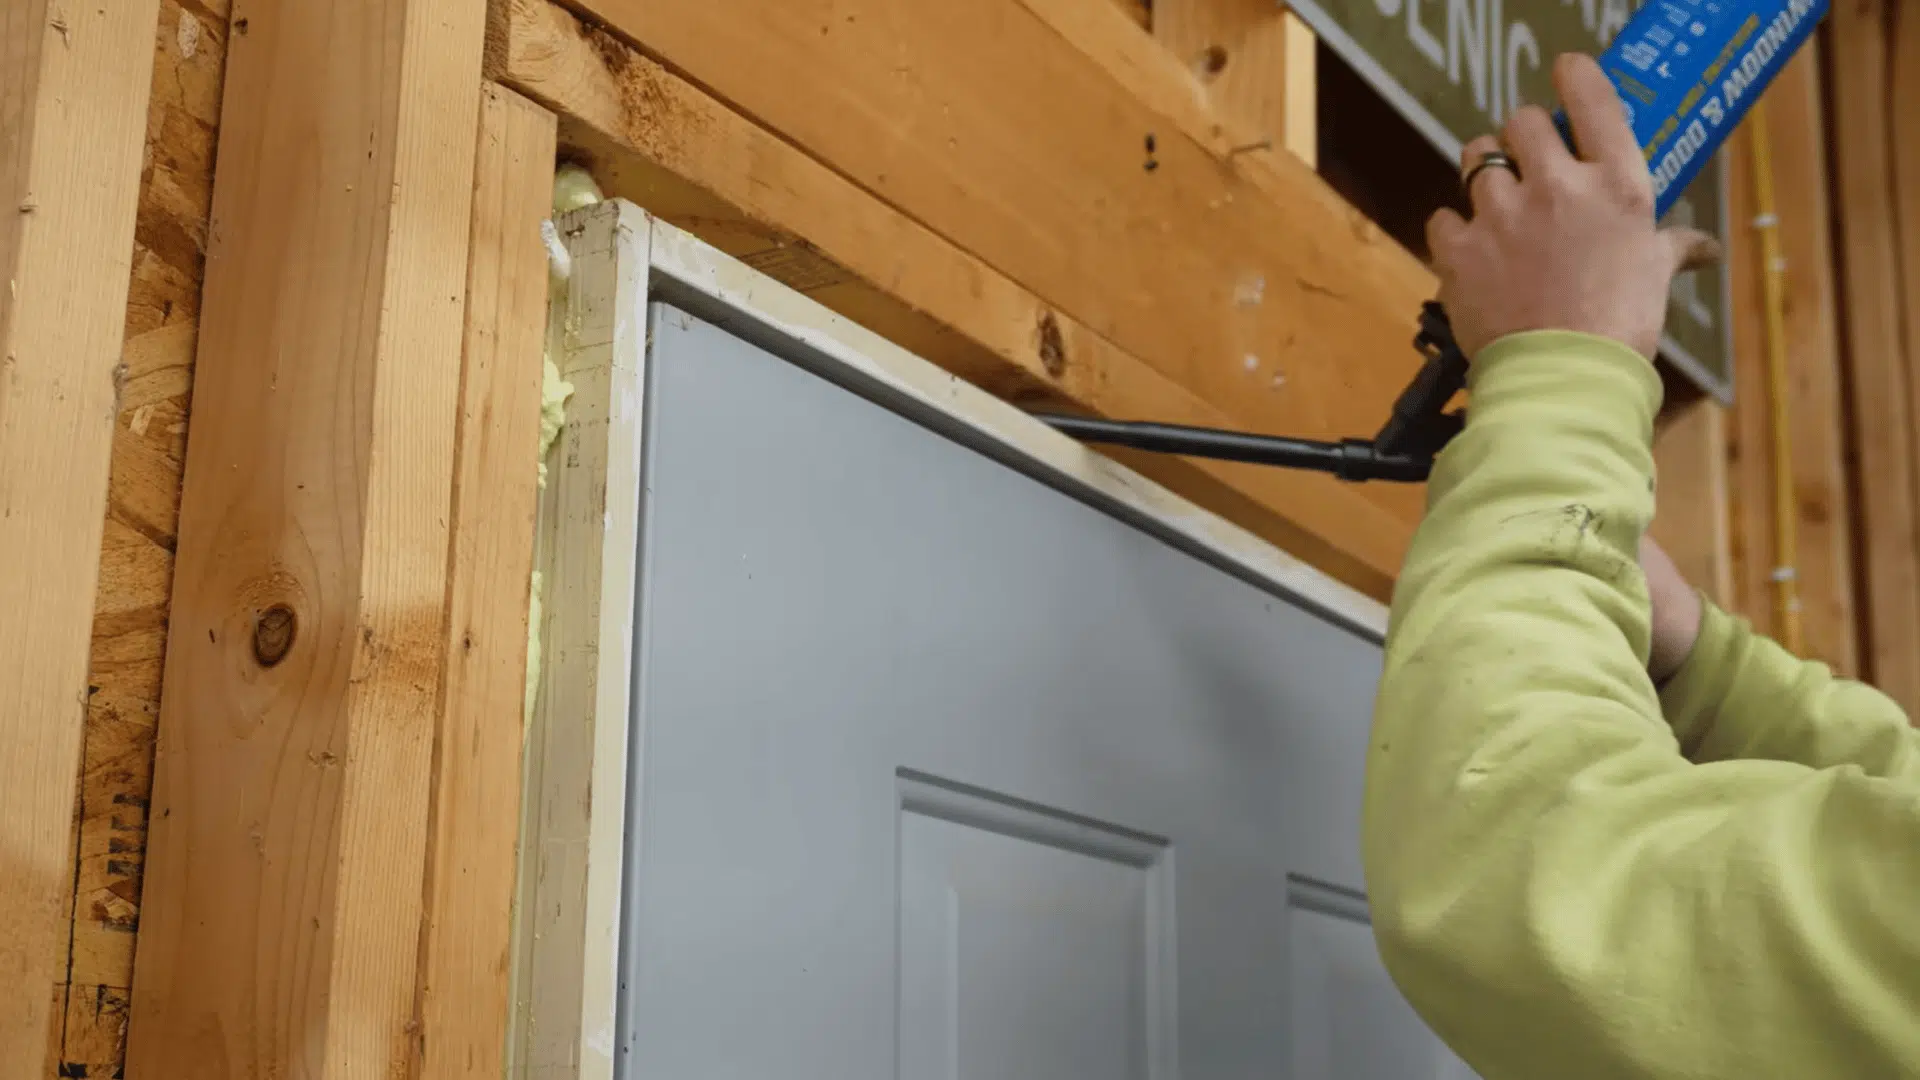
Tools: Tape measure, caulk gun, sealant, work light.
Clear enough space to reach every wall, then measure each surface separately.
Before insulating, check corners, wall plates, window frames, and wire penetrations with a work light because these are common leak points. Repair moisture or pest damage first.
Seal narrow gaps with suitable caulk and larger compatible openings with foam, while leaving required vents and heat clearances open.
Step 2: Insulate the Garage Walls
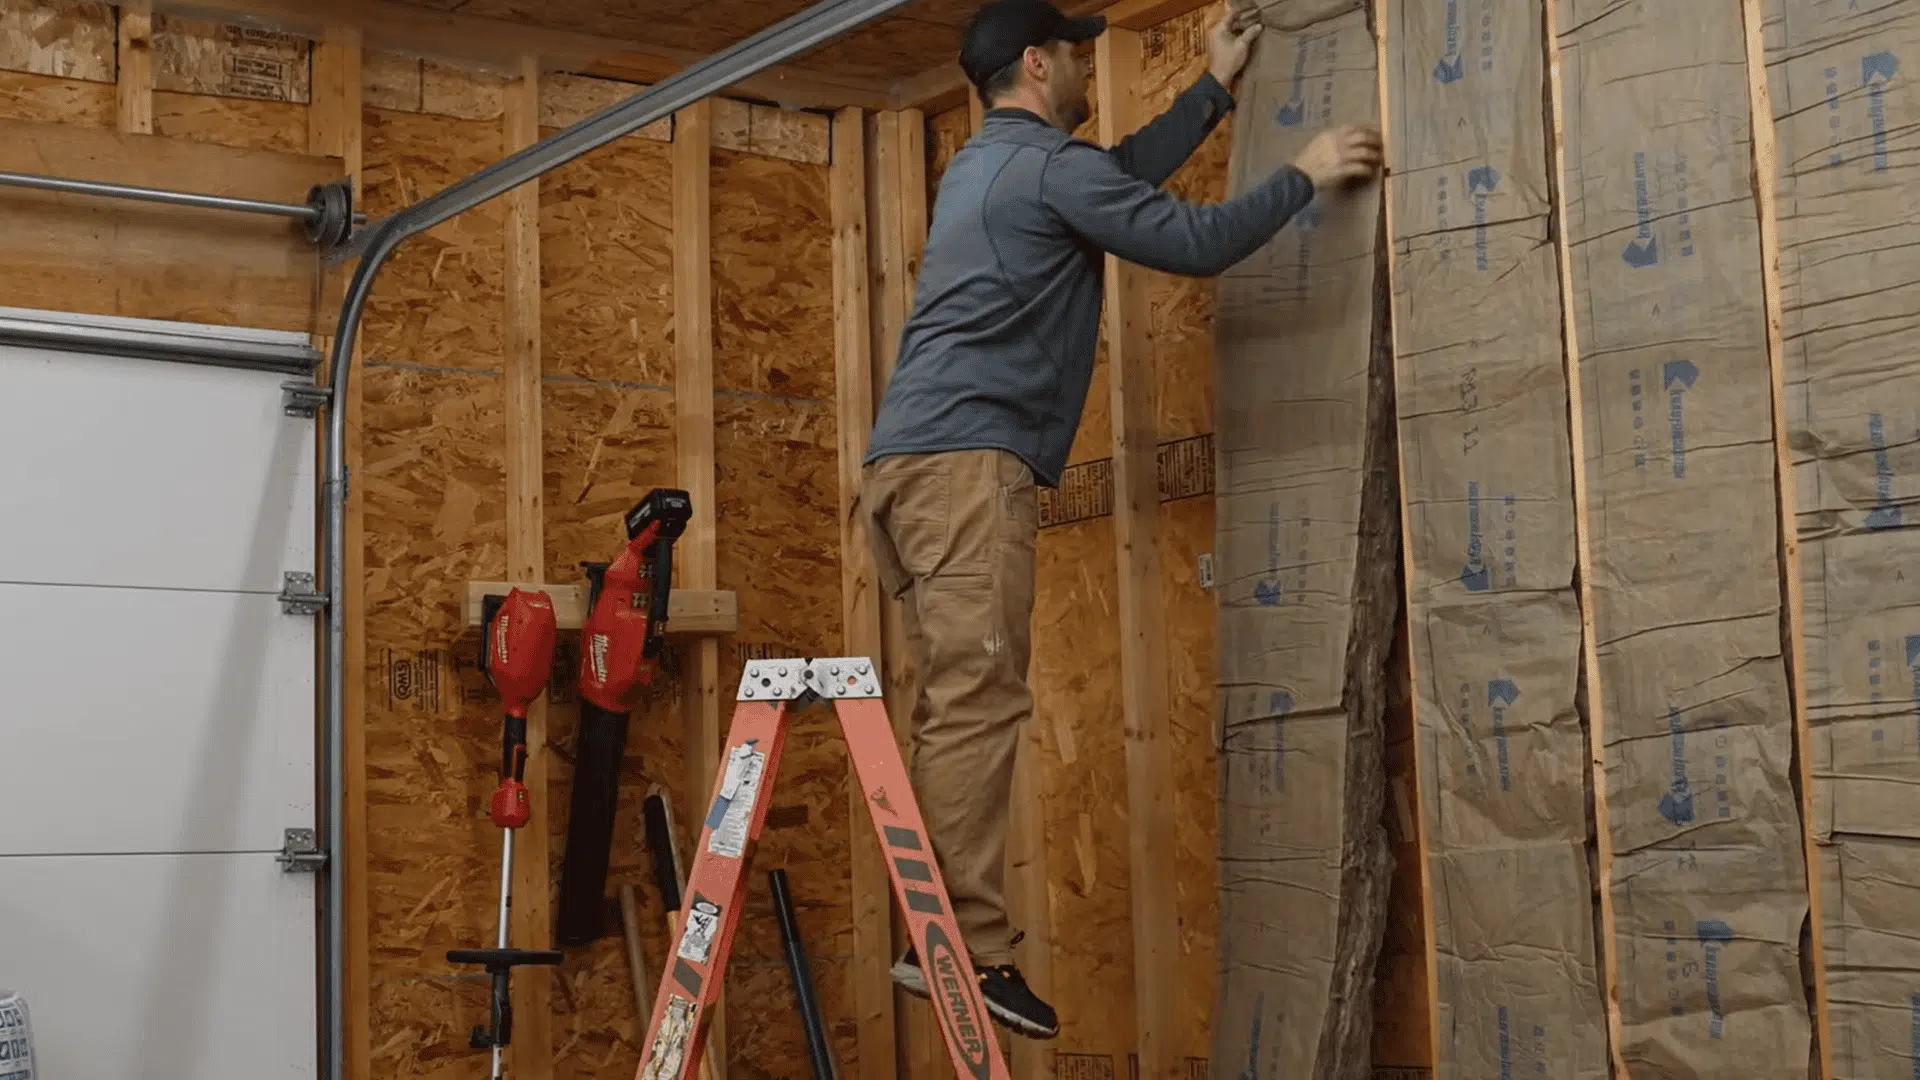
Tools: Tape measure, straightedge, insulation knife, safety gear.
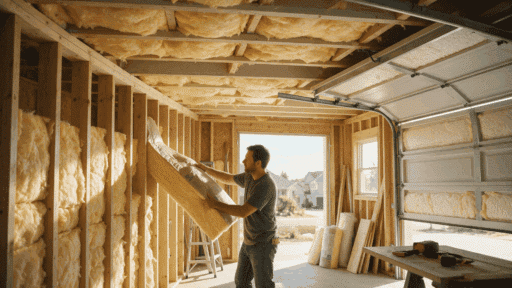
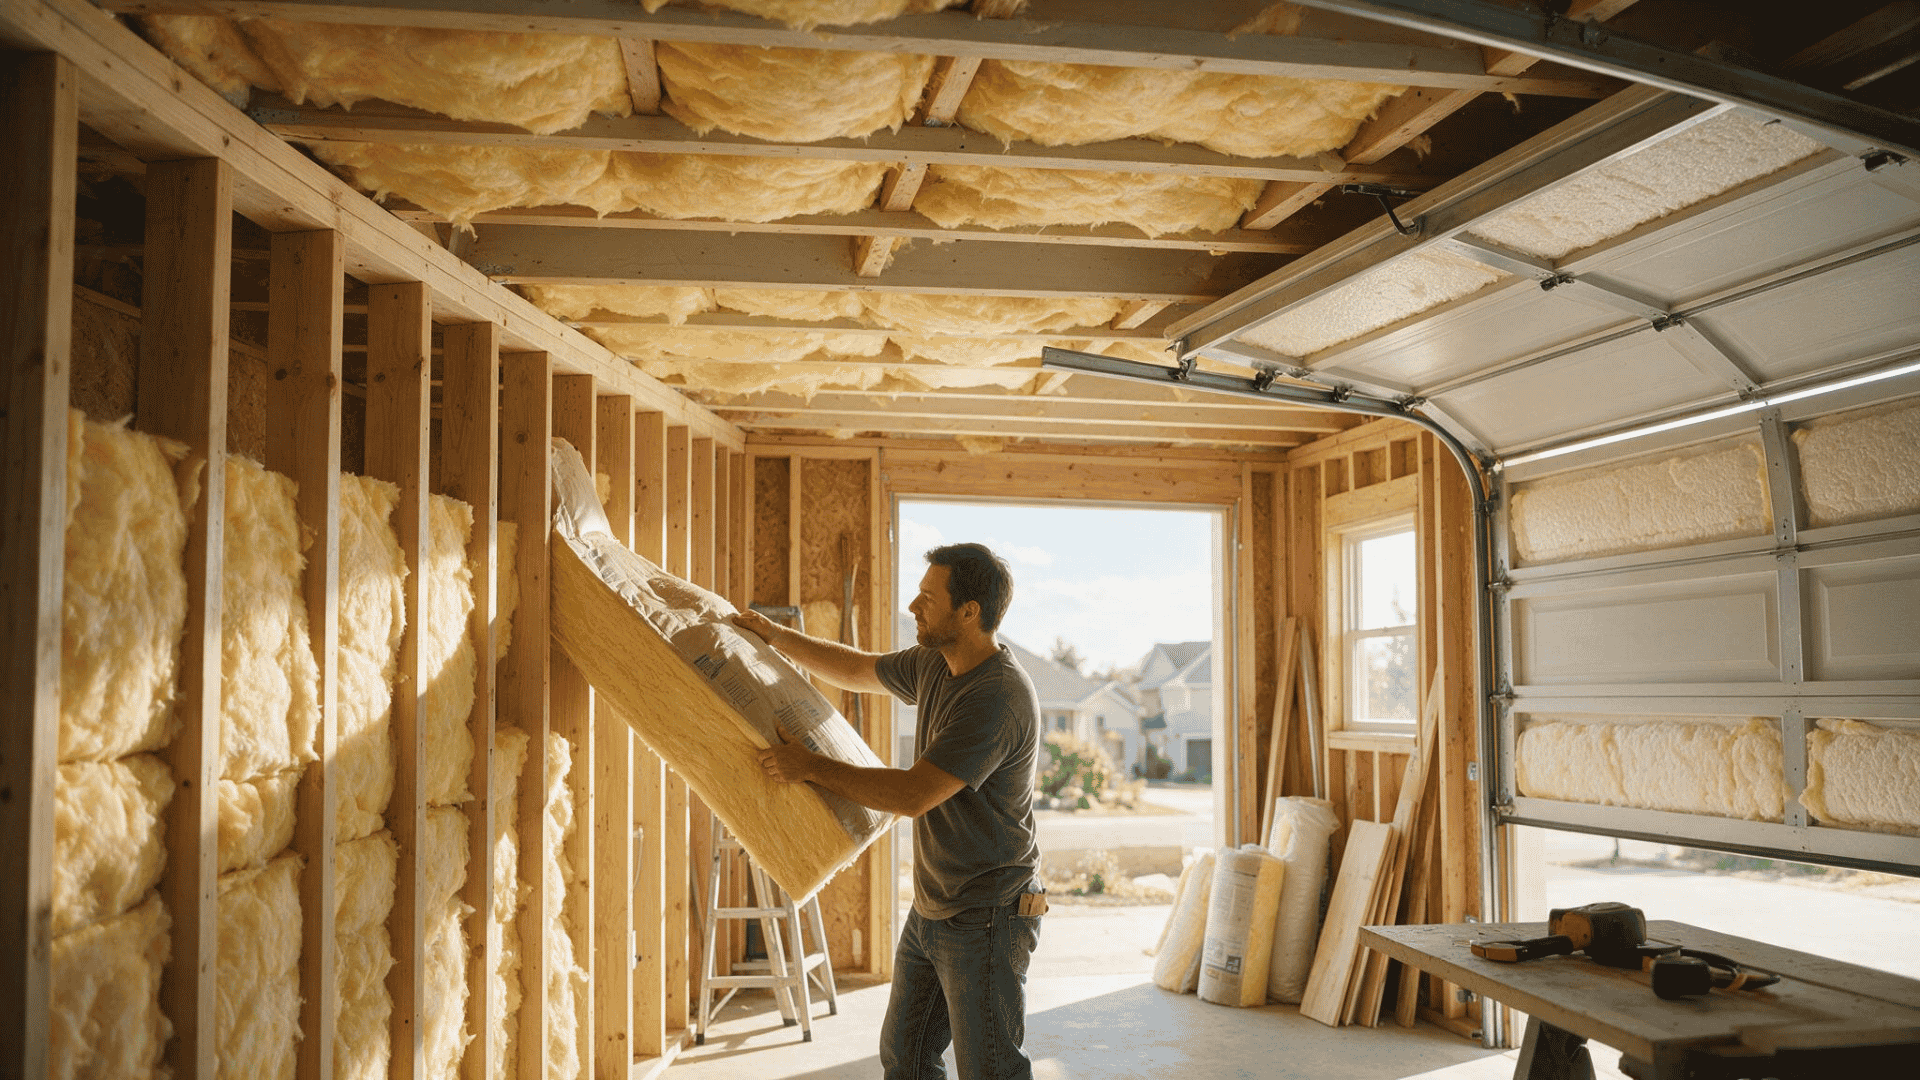
Measure each stud bay individually, then cut the batt on a flat surface rather than assuming every cavity is identical.
Cut and fit one cavity before preparing several pieces. Place the insulation against the cavity without compressing it.
Split batts around cables, cut around boxes and pipes, and use smaller pieces for narrow framing spaces instead of stuffing leftover insulation into gaps.
Step 3: Insulate the Garage Ceiling or Roofline
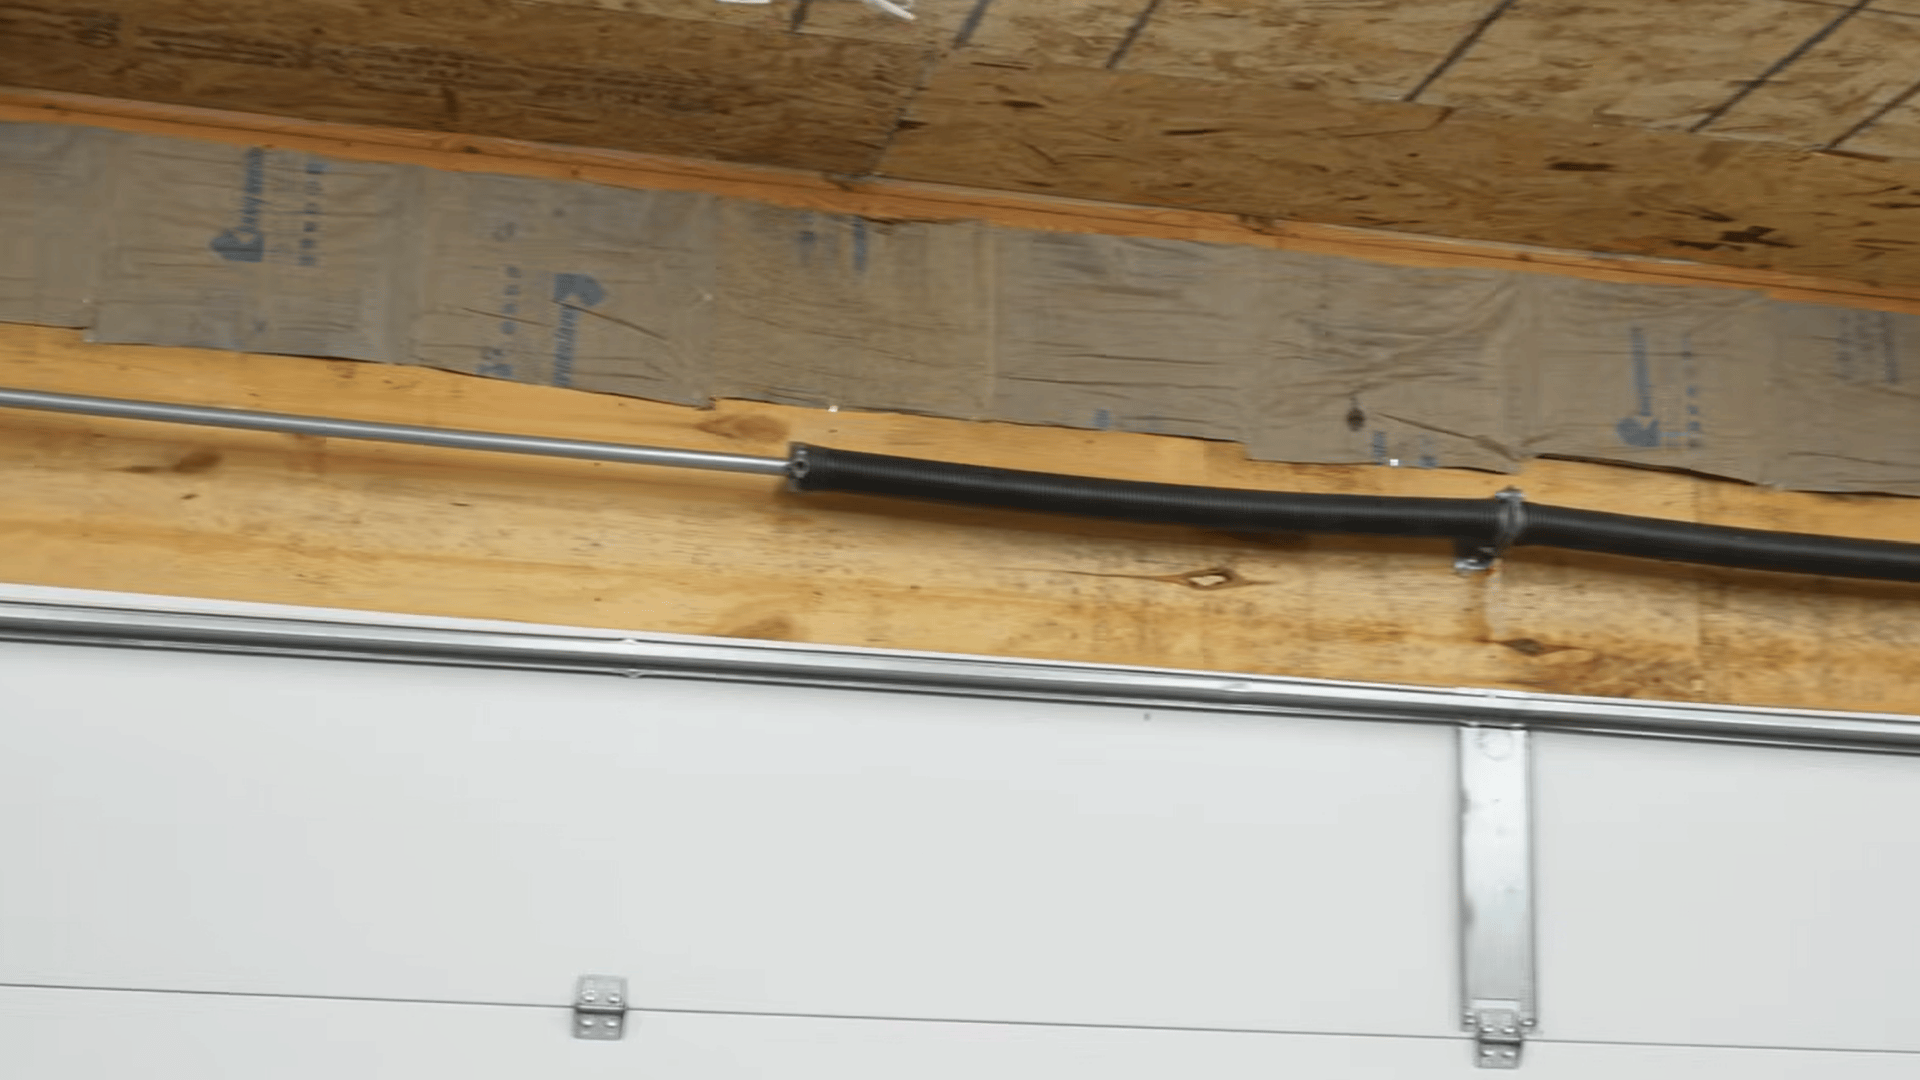
Tools: Ladder, tape measure, insulation knife, work light.
First determine whether the insulation belongs at the ceiling or along the roofline. With an attic above, fit insulation between ceiling joists and check that soffit or other ventilation paths remain open.
Inspect the edges near exterior walls carefully because insulation can easily block airflow there. Use baffles where required.
Roofline and cathedral-ceiling assemblies need the correct moisture and ventilation design before cavities are filled.
Step 4: Insulate the Garage Door
Tools: Tape measure, straightedge, utility knife, compatible door kit.
Measure each door panel separately because panel dimensions can vary slightly. Cut lightweight insulation to fit inside the panel recess without covering hinges, tracks, or reinforcement pieces.
Test the door manually after fitting a few panels before completing the entire door.
Secure the insulation only as directed by the kit manufacturer. If the added weight affects balance, have the springs checked professionally.
Step 5: Insulate Finished Garage Walls
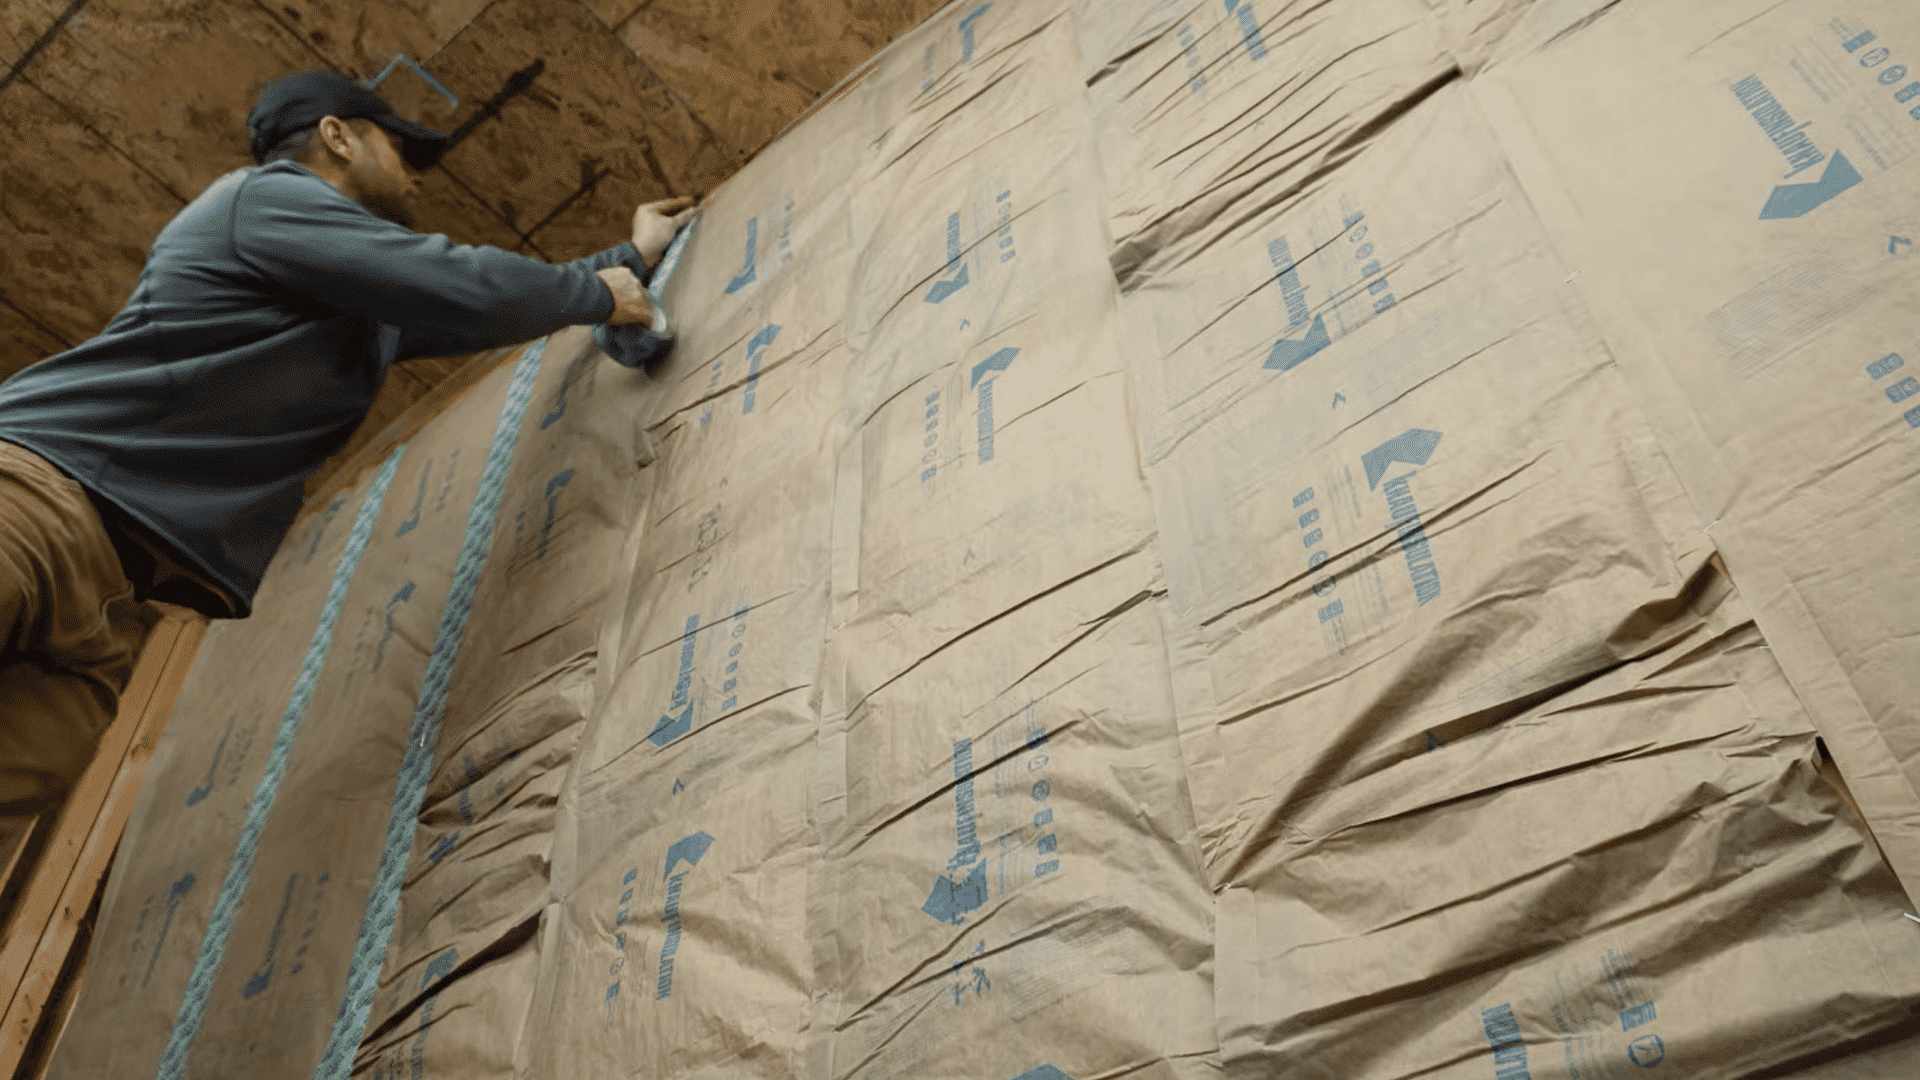
Tools: Stud finder, drill, hole saw, work light, safety gear.
For finished drywall, first locate studs, wiring, fire blocks, and other obstructions before opening the wall. I prefer checking one test cavity before drilling multiple access holes.
Where suitable, blown-in cellulose or fiberglass can be added through small openings. Confirm the cavity fills evenly, then patch the holes.
Avoid insulating over moisture damage or hidden electrical problems.
Step 6: Inspect the Finished Insulation
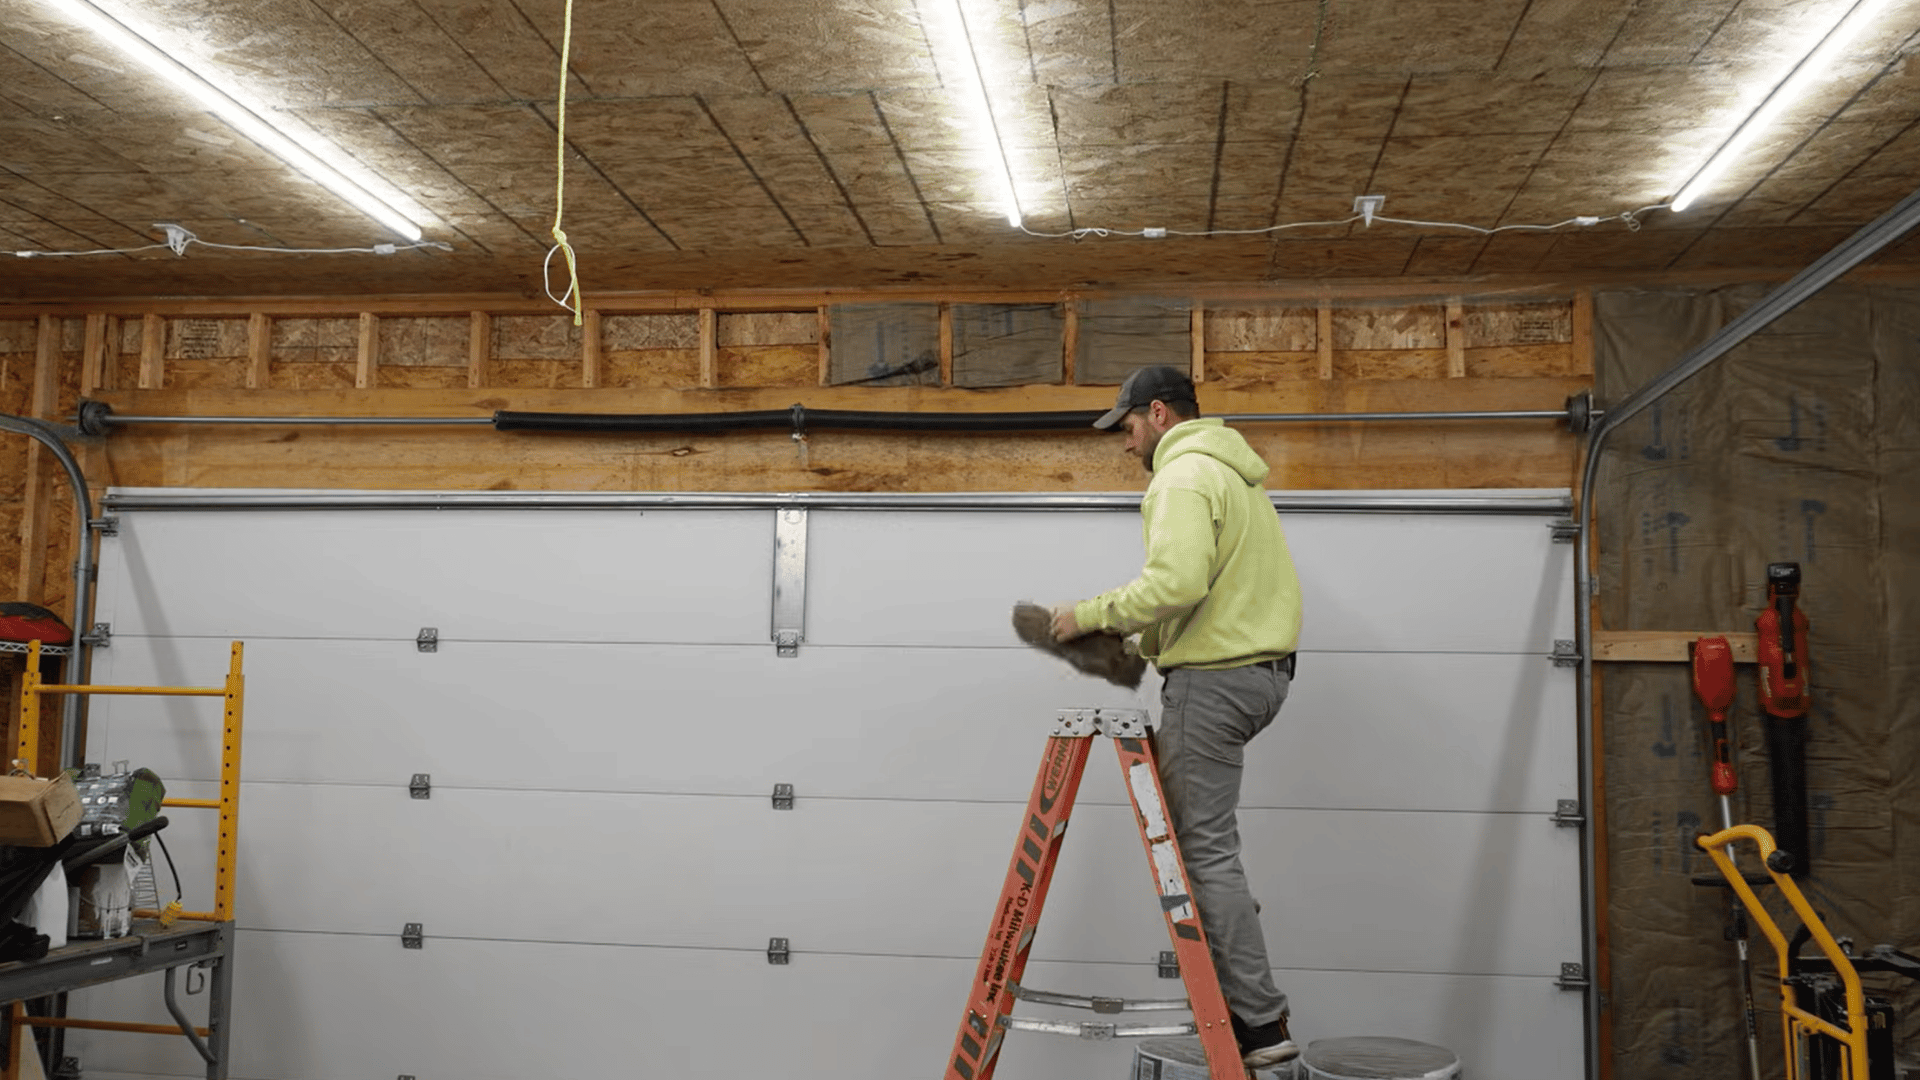
Tools: Work light, ladder, tape measure.
Before installing drywall or another finish, inspect each cavity from several angles.
Look for exposed corners, compressed batts, gaps beside framing, poorly fitted foam, and insulation covering vents or required clearances. I also recheck every electrical box and penetration because these areas are easy to miss during installation.
Finally, operate the garage door fully and correct any insulation that contacts hinges, tracks, cables, or moving parts.
Watch the DIY WISCO video below for a practical demonstration of the insulation process shown above.
Choose the Right R-Value and Garage Insulation Materials
R-value tells you how well an insulation material resists heat passing through it. A higher R-value provides greater resistance to heat flow, but the right value depends on the garage area, climate, framing depth, and how the space is used.
1. Garage Insulation R-Value Scale
Use this scale as a quick way to understand what different R-value levels represent:
| R-Value Range | General Insulation Level | Typical Garage Application |
|---|---|---|
| R-0 to R-2 | Little or no insulation | Uninsulated or single-layer garage doors |
| R-6 to R-10 | Moderate insulation | Some insulated garage doors and thin foam systems |
| R-13 to R-15 | Common wall insulation range | Many standard framed garage walls |
| R-19 to R-21 | Higher wall insulation | Deeper wall cavities such as some 2×6 framing |
| R-30 to R-38 | High insulation level | Garage ceilings, attic floors, or areas below living space |
| R-49 and above | Very high insulation level | Colder climates requiring greater ceiling |
These are general reference ranges rather than fixed requirements. The right R-value depends on your climate zone, the garage surface being insulated, available framing depth, and local building requirements.
2. Choosing the Right R-Value
Do not use the same R-value for every part of the garage. Walls, ceilings, rooflines, floors, and garage doors have different space and insulation requirements.
Start with your local climate recommendations, then check the available cavity depth and whether the garage is conditioned or connected to living space.
Ceilings and areas below occupied rooms often need greater thermal resistance than standard wall cavities.
Always choose insulation that fits the available space without being compressed. Forcing thicker insulation into a shallow cavity can reduce its intended performance.
3. Compare Garage Insulation Materials
Once you know the surface and approximate R-value needed, choose a material that suits the construction.
- Fiberglass batts: A budget-friendly option for open-framed walls and ceilings. They must fit closely without gaps or compression.
- Mineral wool: Works well in framed cavities and offers good rigidity, sound control, and fire resistance.
- Rigid foam: Useful for masonry, metal walls, continuous insulation, tight spaces, and some garage doors.
- Blown cellulose or fiberglass: Suitable for some finished wall cavities and open attic floors.
- Spray foam: Useful around irregular spaces and areas that need both insulation and air sealing. Larger applications are often better handled professionally.
Note: No single material is best for every garage.
Match the insulation to the surface, required R-value, available cavity depth, moisture conditions, budget, and required protective finish.
Best DIY Methods for Insulating a Garage
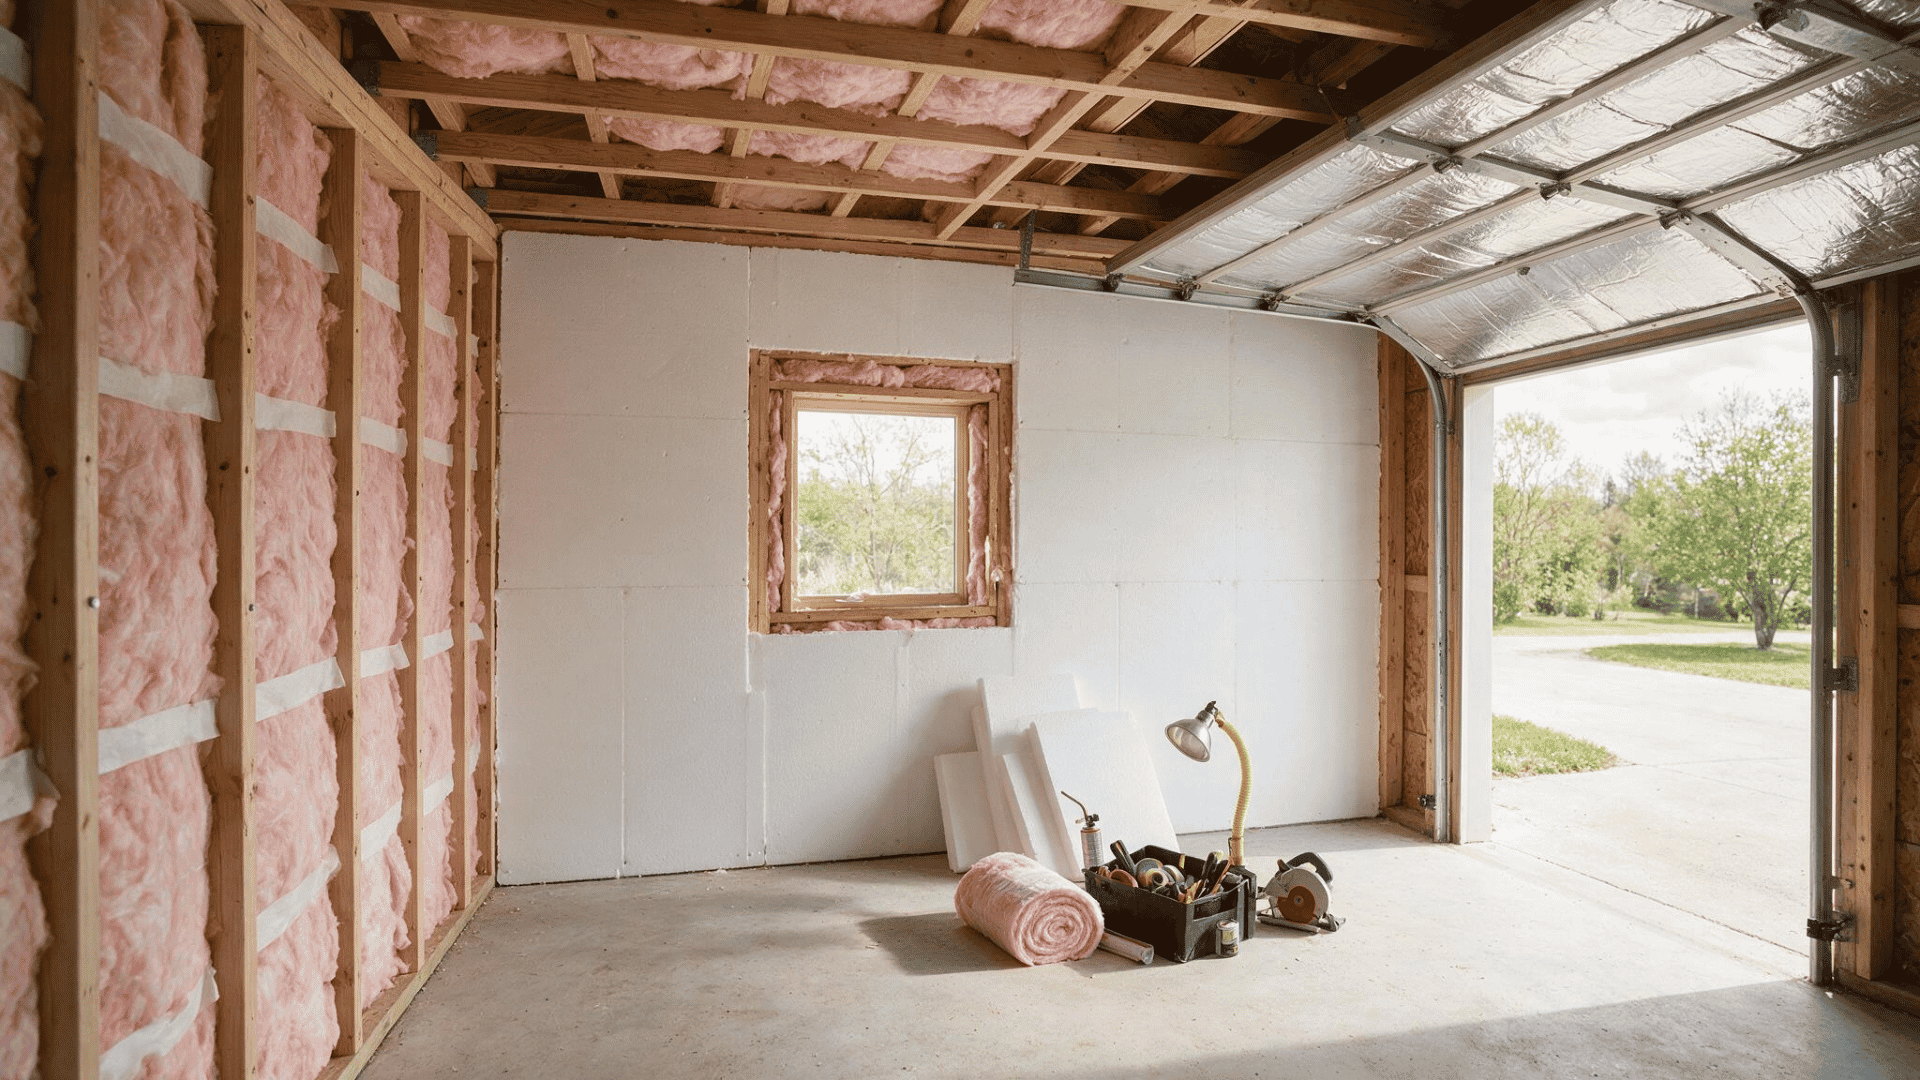
Some garage insulation projects are DIY-friendly, especially when the framing is open and easy to reach.
- Fiberglass or Mineral Wool Batts: Best for open walls and ceilings. Cut each batt to fit without gaps or compression.
- Rigid Foam Board: Useful for masonry, metal walls, garage doors, and tight spaces where batts do not fit well.
- Blown-In Insulation: Works for some finished walls and attic floors, but even coverage can be harder to confirm.
- Garage Door Insulation Kits: A simple option for compatible sectional doors. Use lightweight materials and check door movement after installation.
- Air Sealing: Seal gaps around framing, windows, doors, and penetrations before insulating to reduce drafts and heat loss.
Should You Hire a Contractor to Insulate a Garage?
You may not need a contractor if your garage has open framing and you are comfortable installing batts, rigid foam, or basic air sealing. These projects are often manageable with careful measuring, cutting, fitting, and safety precautions.
Professional help is a better choice for spray foam, finished wall cavities, complex rooflines, electrical conflicts, moisture damage, or insulation near garage-door springs and other moving parts.
For attached garages, consider hiring a professional if you are unsure about fire separation, ventilation, vapor control, or insulation around rooms above or beside the garage.
A contractor can also identify hidden issues, recommend suitable materials and R-values, and help ensure the finished installation meets local building and safety requirements.
How Much Does It Cost to Insulate a Garage?
Garage insulation generally costs about $0.50–$3.00 per square foot installed, although the total depends on garage size, insulation type, R-value, accessibility, and whether walls and ceilings are already finished.
For a typical garage, current installed estimates are:
| Garage Size | Walls Only | Walls and Ceiling | Walls, Ceiling and Door |
|---|---|---|---|
| 1-car garage | $350–$2,000 | $500–$2,900 | $600–$3,200 |
| 2-car garage | $500–$3,100 | $800–$5,100 | $900–$5,600 |
| 3-car garage | $600–$3,600 | $1,000–$6,200 | $1,100–$7,100 |
These are average installed ranges; local labor rates, required R-value, drywall work, repairs, and insulation type can move the final price considerably.
Garage Insulation Cost by Material
The material you choose can make a large difference to the total project cost.
- Batt and roll: $0.80–$2.60 per sq. ft.
- Blown-in: $1.00–$2.80 per sq. ft.
- Rigid foam board: $1.20–$3.70 per sq. ft.
- Spray foam: $1.00–$4.50 per sq. ft.
Batt insulation is generally among the least expensive options for accessible framing, while rigid foam and spray foam can cost more depending on thickness and installation requirements.
DIY vs. Professional Garage Insulation Cost
DIY can reduce labor costs when the garage has open framing, and you are comfortable measuring, cutting, fitting, and air-sealing the insulation.
For example, fiberglass batt material averages roughly $0.30–$1.50 per sq. ft., compared with installed batt-and-roll costs of approximately $0.80–$2.60 per sq. ft.
Finished garages usually cost more because contractors may need to remove drywall or drill, fill, and repair access holes. Current estimates put insulating an unfinished two-car garage at about $800–$5,100, compared with approximately $1,600–$12,800 for a finished two-car garage.
Final Takeaway
To insulate a garage properly, first confirm which areas need insulation and choose materials with an R-value suited to the garage, climate, and available space.
Air-seal gaps before insulating, then work through the walls, ceiling or roofline, garage door, windows, and access doors. Batts, rigid foam, blown-in insulation, and garage-door kits can suit different surfaces and budgets.
DIY installation works best with accessible framing, while spray foam, complex rooflines, moisture issues, and attached-garage fire separation may require professional help.
Before finishing, check for gaps, compression, blocked ventilation, and interference with doors or electrical components.
If you’ve insulated a garage before, share what worked for you in the comment section!
Frequently Asked Questions
Do You Need a Vapor Retarder in a Garage?
Not always. Whether a vapor retarder is needed depends on climate, wall or roof construction, insulation type, and local code requirements.
Should Garage Insulation Be Faced or Unfaced?
It depends on the assembly and moisture-control requirements. Faced insulation can act as a vapor retarder, so check local guidance before choosing between faced and unfaced batts.
Which Direction Should Faced Insulation Face in a Garage?
The facing generally goes toward the appropriate vapor-control side of the assembly, which varies by climate and construction. Follow local code and the insulation manufacturer’s instructions.
Does Garage Insulation Help With Condensation?
Insulation can reduce surface temperature differences that contribute to condensation, but it will not fix moisture problems alone. Air sealing, ventilation, drainage, and vapor control also matter.
Can You Insulate a Garage Without Removing Drywall?
Sometimes. Blown-in insulation can be installed through access holes in suitable finished walls, but wiring, fire blocking, moisture, and incomplete cavities can complicate installation.

Holding a Master’s in Architecture from the University of Texas at Austin, Emily Rodriguez has dedicated more than two decades to the art and science of building renovation. Starting her journey in historic preservation, she developed a profound respect for blending old with new in building design. Emily became a vital part of our team in 2019, renowned for her insightful and innovative renovation tips. She has been leading our DIY home improvement series since ever since, where she shares her wealth of knowledge in turning outdated spaces into modern havens. When not engaged in writing or consulting, Emily is a passionate advocate for heritage conservation and enjoys exploring vintage architecture, a hobby that complements her professional expertise.