
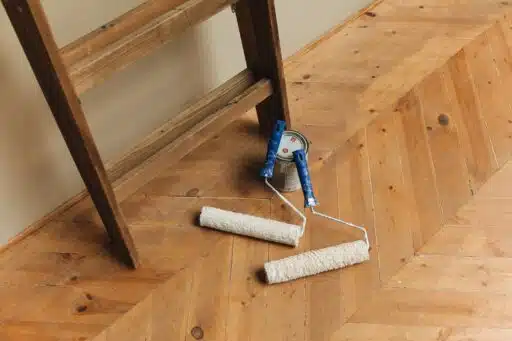
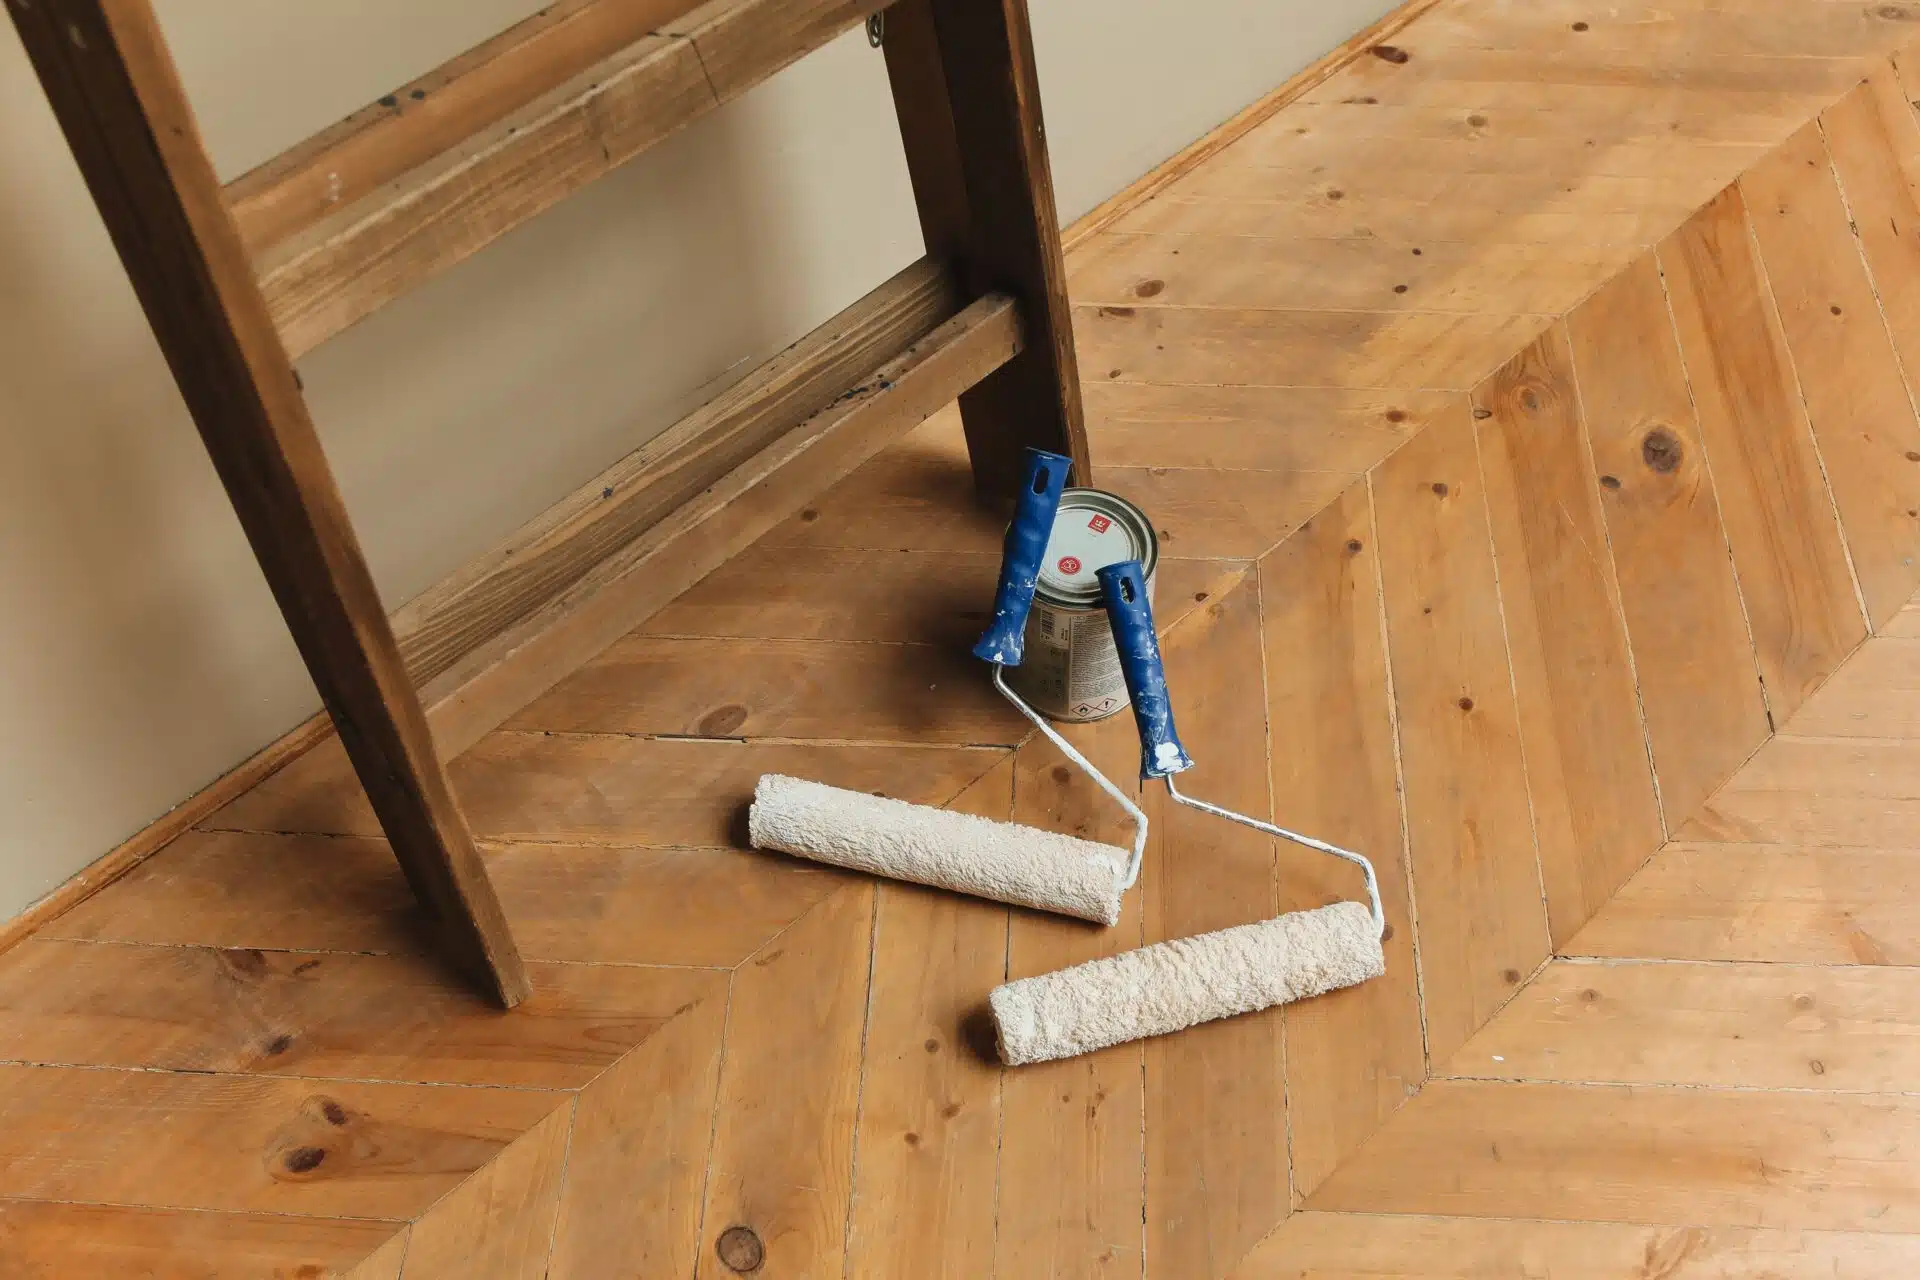

There’s something genuinely irreplaceable about original hardwood floors. The grain patterns, the aged character, the solid construction that newer flooring simply can’t replicate — these are the features that make older homes worth preserving.
But years of foot traffic, pets, furniture movement, and questionable DIY paint jobs have a way of leaving those floors looking like they’ve given up. The good news is that they almost certainly haven’t.
Restoring original hardwood floors is one of the most rewarding renovation projects a homeowner can take on, and it’s more achievable than most people think.
Whether you’re dealing with surface scratches, deep staining, or a dull and lifeless finish that hasn’t been touched in decades, the process is largely the same — it just requires patience, the right tools, and a clear plan before you start.
Start by Assessing What You’re Actually Working With
Before you rent any equipment or buy a drop of finish, spend time genuinely understanding the condition of your floors. Walk every inch of the space.
Get down on your knees with a flashlight and look across the surface at a low angle — this is the fastest way to spot uneven boards, deep scratches, cupping, and areas where the finish has worn through entirely.
Signs That Restoration Is Possible
Most solid hardwood floors in older homes can be sanded and refinished multiple times over their lifetime. The key determining factor is the thickness of the wood above the tongue-and-groove joint.
If there’s at least 3/16 of an inch of solid wood above the groove, you have enough material to work with. Tap on boards to check for hollow sounds, which can indicate subfloor issues beneath.
Minor cupping — where boards have bowed slightly due to moisture exposure — can often be corrected through proper sanding, though severe structural damage may need separate attention first.
When to Call in a Professional
If you discover boards that are split, deeply rotted, or have been patched with mismatched wood at some point in the past, address those individually before the full restoration begins.
A flooring contractor can replace individual planks or sections, and in most cases, a skilled professional can match vintage wood species well enough that the repair becomes nearly invisible after staining. Once those repairs are made, you’re free to take the rest of the project on yourself.
Prepare the Room Before Anything Else
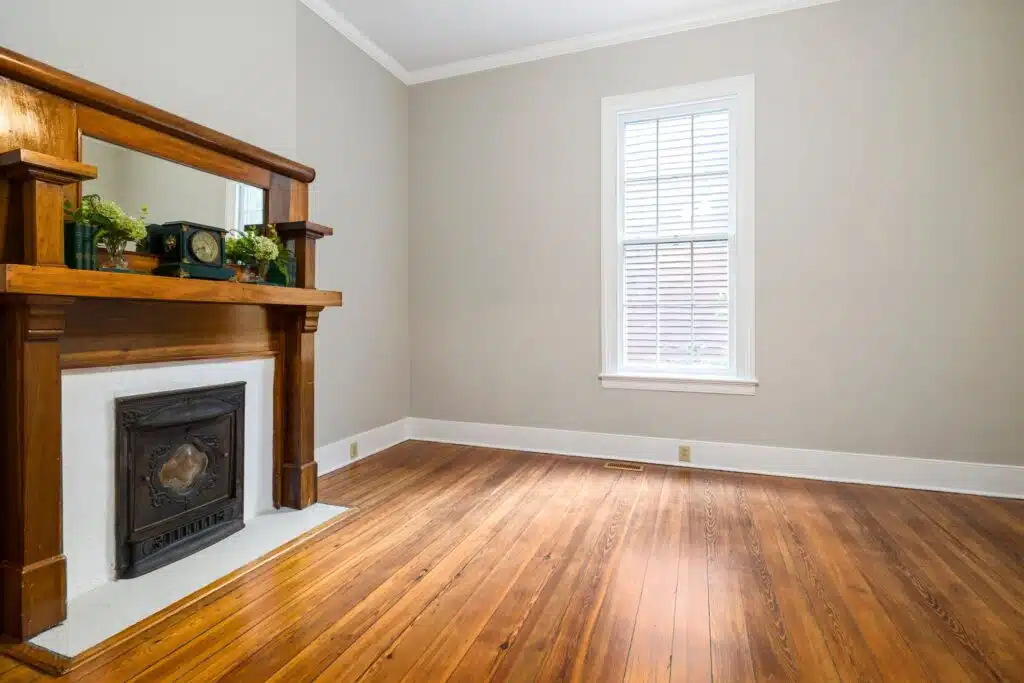
Room preparation is something a lot of homeowners rush through, and it almost always creates problems down the line. Clear everything out — furniture, rugs, and curtain rods if they sit close to the floor.
Remove any shoe moulding or baseboards that rest directly on the floor surface, taking care not to damage the wall in the process. Number or label each piece as you go so reinstallation is straightforward.
Sweep and vacuum the floor thoroughly. Drive any protruding nail heads below the surface using a nail set, since even a slightly raised nail head can tear through sandpaper in seconds and potentially damage your equipment.
Seal doorways with plastic sheeting to keep dust from migrating through the rest of the house — sanding produces a staggering amount of fine dust, and it travels further than you’d expect.
Make Structural Repairs Before You Start Sanding
Sanding over a creaky, loose, or heavily gapped floor without addressing the underlying issues first is a mistake you won’t want to repeat. Take the time now to fix what needs fixing, because once the finish goes down, correcting these problems becomes far more disruptive.
Dealing With Squeaky Boards and Movement
Squeaks happen when boards rub against each other or against the subfloor beneath them. In most cases, the fix is straightforward — drive a screw through the face of the board and into the subfloor, pulling the two surfaces tight.
Use a countersink bit so the screw head sits below the surface, then fill the hole with a colour-matched wood filler. For boards that are noticeably loose or lifting at the edges, secure them the same way before any sanding begins.
Filling Gaps and Cracks
Old homes settle, and hardwood floors move with them. Small gaps between boards are normal and, in many cases, part of the floor’s character. However, larger gaps that collect debris or pose a safety issue should be filled.
For narrow gaps, a flexible floor filler works well and moves with the wood through seasonal changes. For wider separations, thin strips of matching wood — glued and tapped carefully into place — offer a more durable and visually consistent result that holds up over time.
The Sanding Stage: Where the Real Work Happens
The most transformative step in the process is the sanding stage, and investing in quality floor sanding machines — or renting the right one — can mean the difference between a patchy result and a flawlessly smooth surface.
Sanding is where the restoration truly happens. You’re stripping away everything that has accumulated on the surface over the years — old finish, stain, surface scratches, and minor imperfections — and getting back to raw, clean wood.
The standard approach is to use a drum sander or a large orbital floor sander for the main field of the floor, always working in the direction of the grain.
Start with a coarser grit — usually 36 or 40 — to cut through old finish efficiently, then move progressively through finer grits (60, 80, and finally 100 or 120) to bring the surface to a smooth, even finish.
Don’t Neglect the Edges and Corners
The large drum or orbital machine can’t reach all the way to the walls, which means you’ll need an edge sander to work the perimeter of the room. Edge sanders are aggressive pieces of equipment and easy to leave circular marks with if you’re not careful — work in a controlled, overlapping motion and blend the edge work into the field sanding as you go.
Once both areas are done, a pole sander with the final grit paper will help tie the entire surface together. The goal is a consistently smooth floor from wall to wall, with no visible demarcation between where the two sanding methods met.
Getting the Grit Sequence Right
Skipping grits is one of the most common mistakes first-timers make. If you jump from 40 grit straight to 100, the scratches left by the coarser paper will still be visible through your final finish — they’ll just be harder to spot until the light catches them at the wrong angle.
Work through your sequence methodically, and vacuum thoroughly between each pass to keep the sandpaper cutting cleanly rather than simply dragging dust across the wood.
Choosing a Stain and Finish That Suits the Floor
This is where a lot of homeowners get stuck, because the options are genuinely vast. The right choice depends on the species of wood you’re working with, the look you’re after, and how much daily wear and tear the floor is going to take.
To Stain or Not to Stain
Not every restored floor needs to be stained. If the wood is in good condition and has a naturally warm, attractive grain — as is often the case with old-growth oak, heart pine, or Douglas fir — letting the natural colour come through with a clear finish can be the most striking result of all.
That said, staining is a powerful tool when you want to even out colour variations across the floor, disguise minor inconsistencies in the wood, or achieve a specific look that ties in with the rest of the home.
Oil-based stains offer deeper penetration and a warmer, richer tone, while water-based options dry faster and carry significantly less odour during application.
Selecting the Right Floor Finish
The finish you apply over the bare or stained wood determines how the floor actually performs over time. The most common residential hardwood floor finishes are oil-based polyurethane, water-based polyurethane, and hard wax oil.
Oil-based poly is the most durable and long-lasting of the three, with a warm amber tone that deepens slightly as it ages — it takes longer to dry and produces stronger fumes, but it stands up well in high-traffic areas.
Water-based poly dries faster and stays clearer, which is ideal for lighter wood species like maple or ash where yellowing would be visually noticeable. Hard wax oil is a more traditional, natural option that soaks into the wood rather than sitting on top of it, making it easier to spot-repair over the years but requiring more consistent maintenance overall.
Applying the Finish Without Cutting Corners
After all of that sanding, the last thing you want is to rush the finish application and compromise the result. Before you open a single can, vacuum the entire floor thoroughly and follow up with a tack cloth to capture any remaining fine dust particles. Even the smallest debris will create visible bumps in a cured finish if it’s not removed first.
Apply your first coat using a wide applicator pad or a lambswool applicator, working in long, even strokes in the direction of the grain. Avoid going back over areas you’ve already coated, as this creates lap marks and an uneven build.
Once the first coat is fully dry — check the manufacturer’s specified drying time, which varies between oil- and water-based products — lightly screen-sand the surface with a 220-grit screen to knock down any imperfections and give the next coat a proper surface to bond to.
Vacuum again, then apply your second coat using the same method. Most floors benefit from at least two coats, and three is often the smarter choice for kitchens, hallways, or any room that sees heavy daily use.
Give the Floor Time to Properly Cure
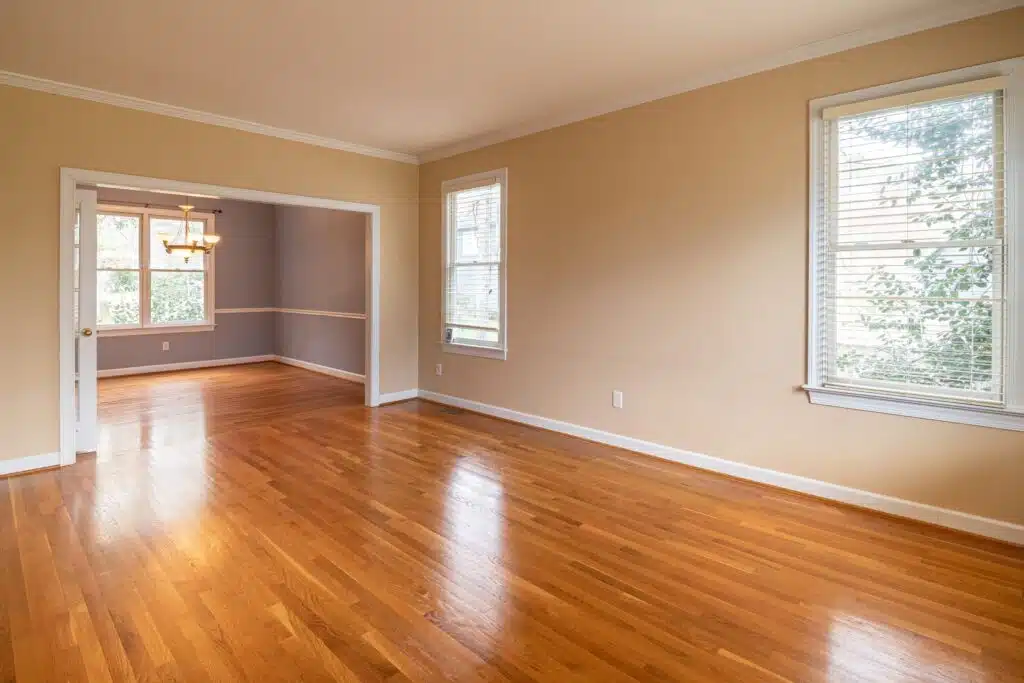
There’s an important distinction between dry and cured that catches a lot of homeowners off guard. A floor finish may feel dry to the touch within a day or two, but full curing — where the finish reaches its maximum hardness and durability — takes considerably longer. Oil-based polyurethane, for example, can take anywhere from three to seven days before it’s safe to move furniture back in, and up to 30 days to reach its full hardness.
For the first several days after finishing, avoid walking on the floor in hard-soled shoes, keep pets off the surface, and resist putting rugs down before the floor is ready. Trapping moisture or creating indentations in a partially cured finish is far easier than most people expect. Give the floor the time it needs, and it will reward you with a surface that’s genuinely built to last.
Ongoing Maintenance to Protect Your Work
Once your floors are fully restored, a little consistent care goes a long way toward keeping them looking the way they do on day one. Sweep or vacuum regularly to keep grit and debris off the surface — fine particles act like sandpaper underfoot and wear through finish faster than anything else will. Use felt pads under all furniture legs, and place mats at entry points to reduce the amount of dirt being tracked directly onto the floor.
Avoid steam mops and excessive water during cleaning. Hardwood and moisture don’t mix well, and even a well-sealed floor can develop cupping or discolouration over time if it’s routinely saturated. A barely damp mop with a hardwood-specific cleaner is all you need for regular cleaning.
When the finish eventually starts to look dull and worn — which on a well-maintained floor might be eight to ten years down the line — a light screening and a fresh coat of finish is all it takes to bring things back without going through the full sanding process again.
Original hardwood floors are one of those features that reward the effort you put into them. Take the time to do the restoration properly, and you’ll have floors that look as good as the day they were first laid — or better.

Tommy Hardy, an alumnus of the Georgia Institute of Technology with a degree in Mechanical Engineering, has been a go-to figure in residential upkeep and innovation for over 18 years. His career commenced in a leading home appliance manufacturing company, where he mastered the intricacies of household systems. Joining our platform in 2020, Tommy quickly became a reader favorite for his practical and easy-to-follow guides. He took the helm of our DIY section in 2019, consistently delivering content that empowers homeowners. Beyond his professional pursuits, Tommy is a passionate gardener and enjoys woodworking, skills enhancing his hands-on approach to home care.