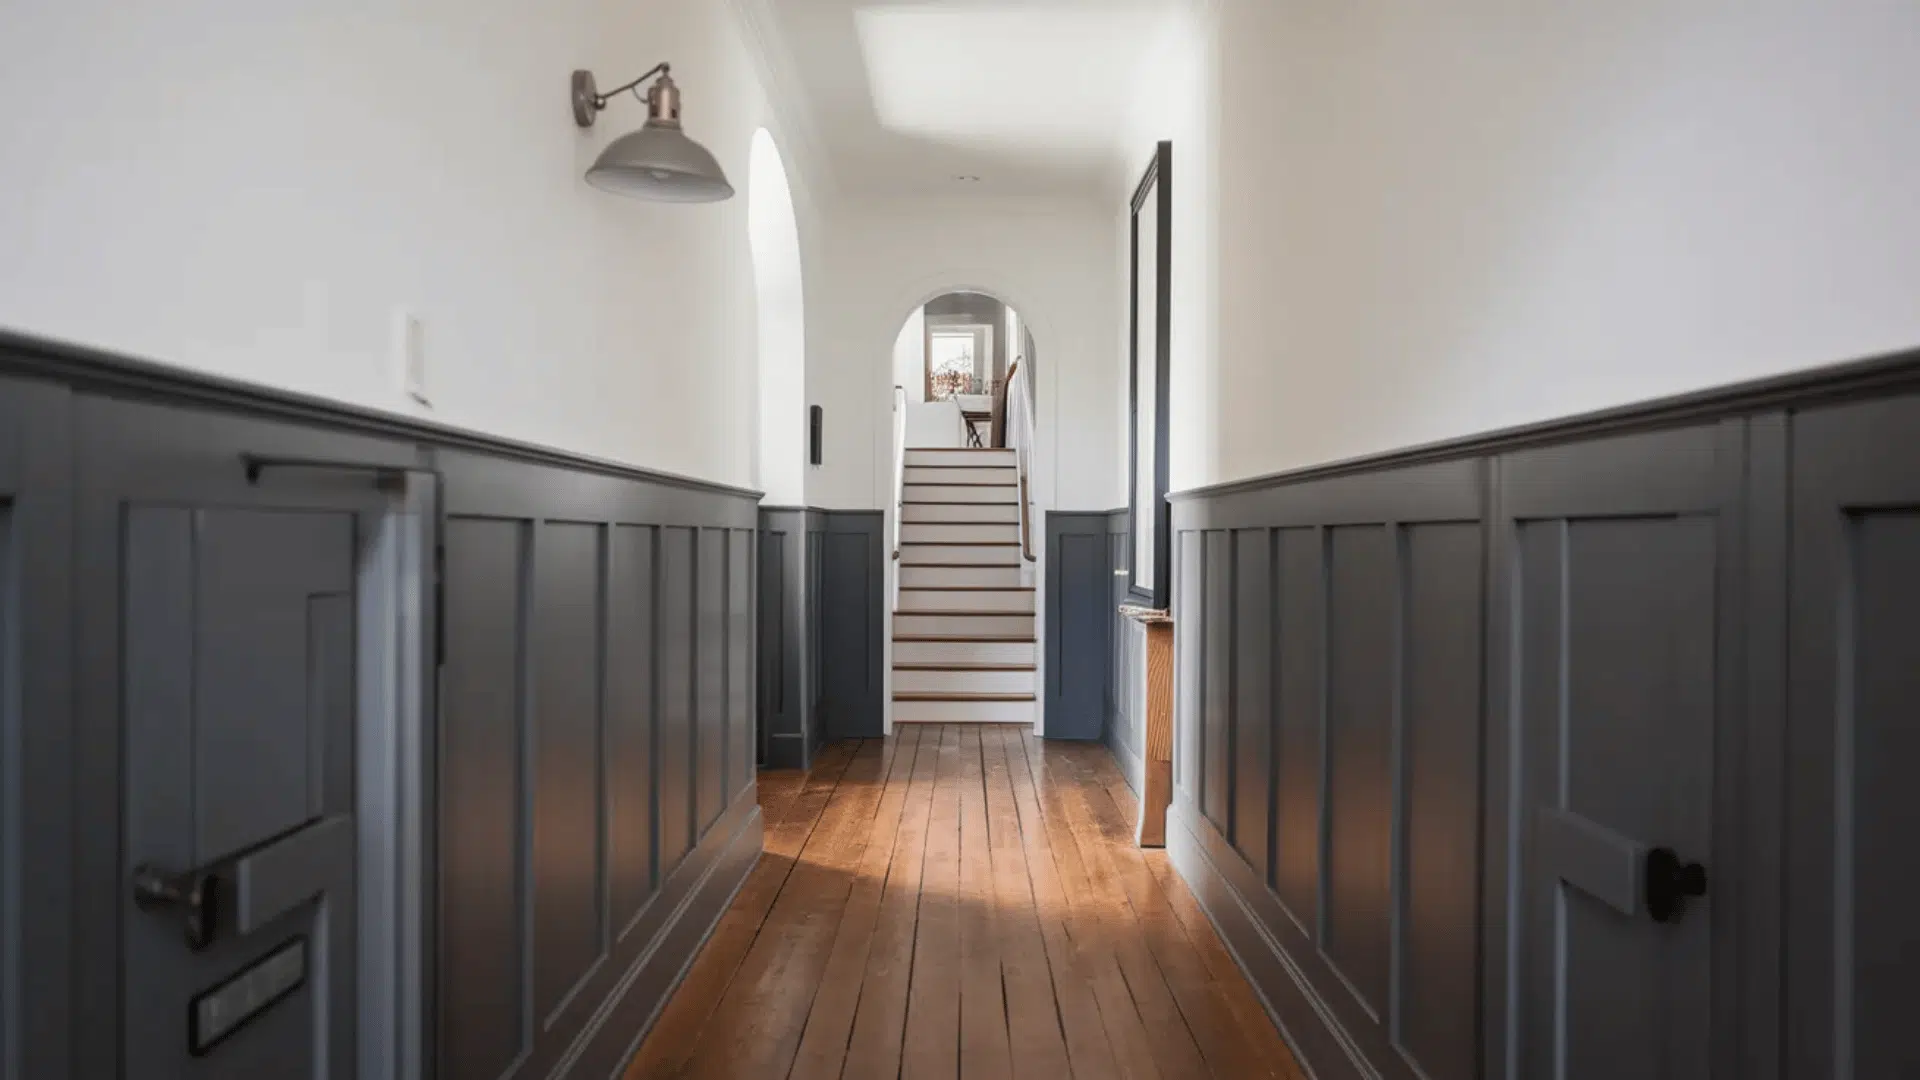
Ever walk into a home and immediately feel like something works? That’s the power of a well-designed hallway. And honestly, a board and batten hallway might be the easiest way to get that look without breaking the bank.
Plus, it works with almost any style, from farmhouse to modern traditional.
I’ve been obsessed with this trim technique for a while now, and today I’m walking you through everything you need to know.
Ready to give your hallway a serious upgrade? Let’s get into it!
What is Board and Batten?
Board and batten is a wall treatment made up of flat vertical boards fixed to the wall, with thinner strips called battens laced over the seams or evenly spaced between them.
It’s been used in home design for centuries, originally seen on the exterior of barns and farmhouses. Today, it’s one of the most popular interior wall treatments around, and for good reason.
It’s simple, clean, and works with almost any home style. Modern, traditional, farmhouse, and transitional board-and-batten fit right in without looking out of place.
Why Choose It for Your Hallway
- It adds instant character to plain, flat walls, giving them a structured, finished look that feels intentional and well-designed.
- It makes the space feel bigger, the vertical lines draw the eye upward, making narrow or low-ceiling hallways feel taller and more open.
- Its budget-friendly materials are affordable and easy to find. Most hallways can be completed for $150 to $400, including all tools and supplies.
- It holds up well once it’s painted and caulked properly. Board-and-batten is durable and easy to maintain, even in high-traffic hallways.
- It’s a DIY-friendly project; you don’t need to be a contractor. Basic tools, a free weekend, and a little patience are genuinely all it takes.
Board and Batten Hallway Design Ideas Worth Trying
Not every hallway is the same, and honestly, not every homeowner wants the same look either. The good news is that board-and-batten is one of those designs that bends to your style rather than forcing you in one direction.
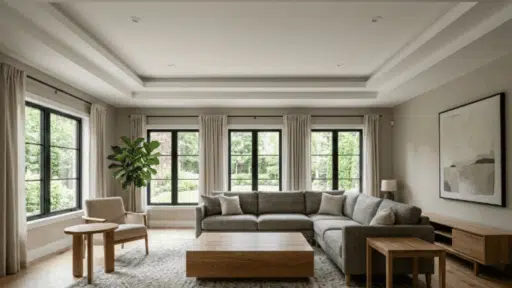
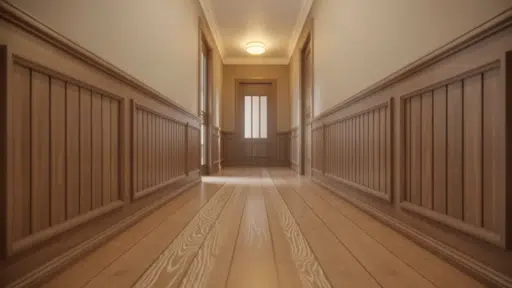
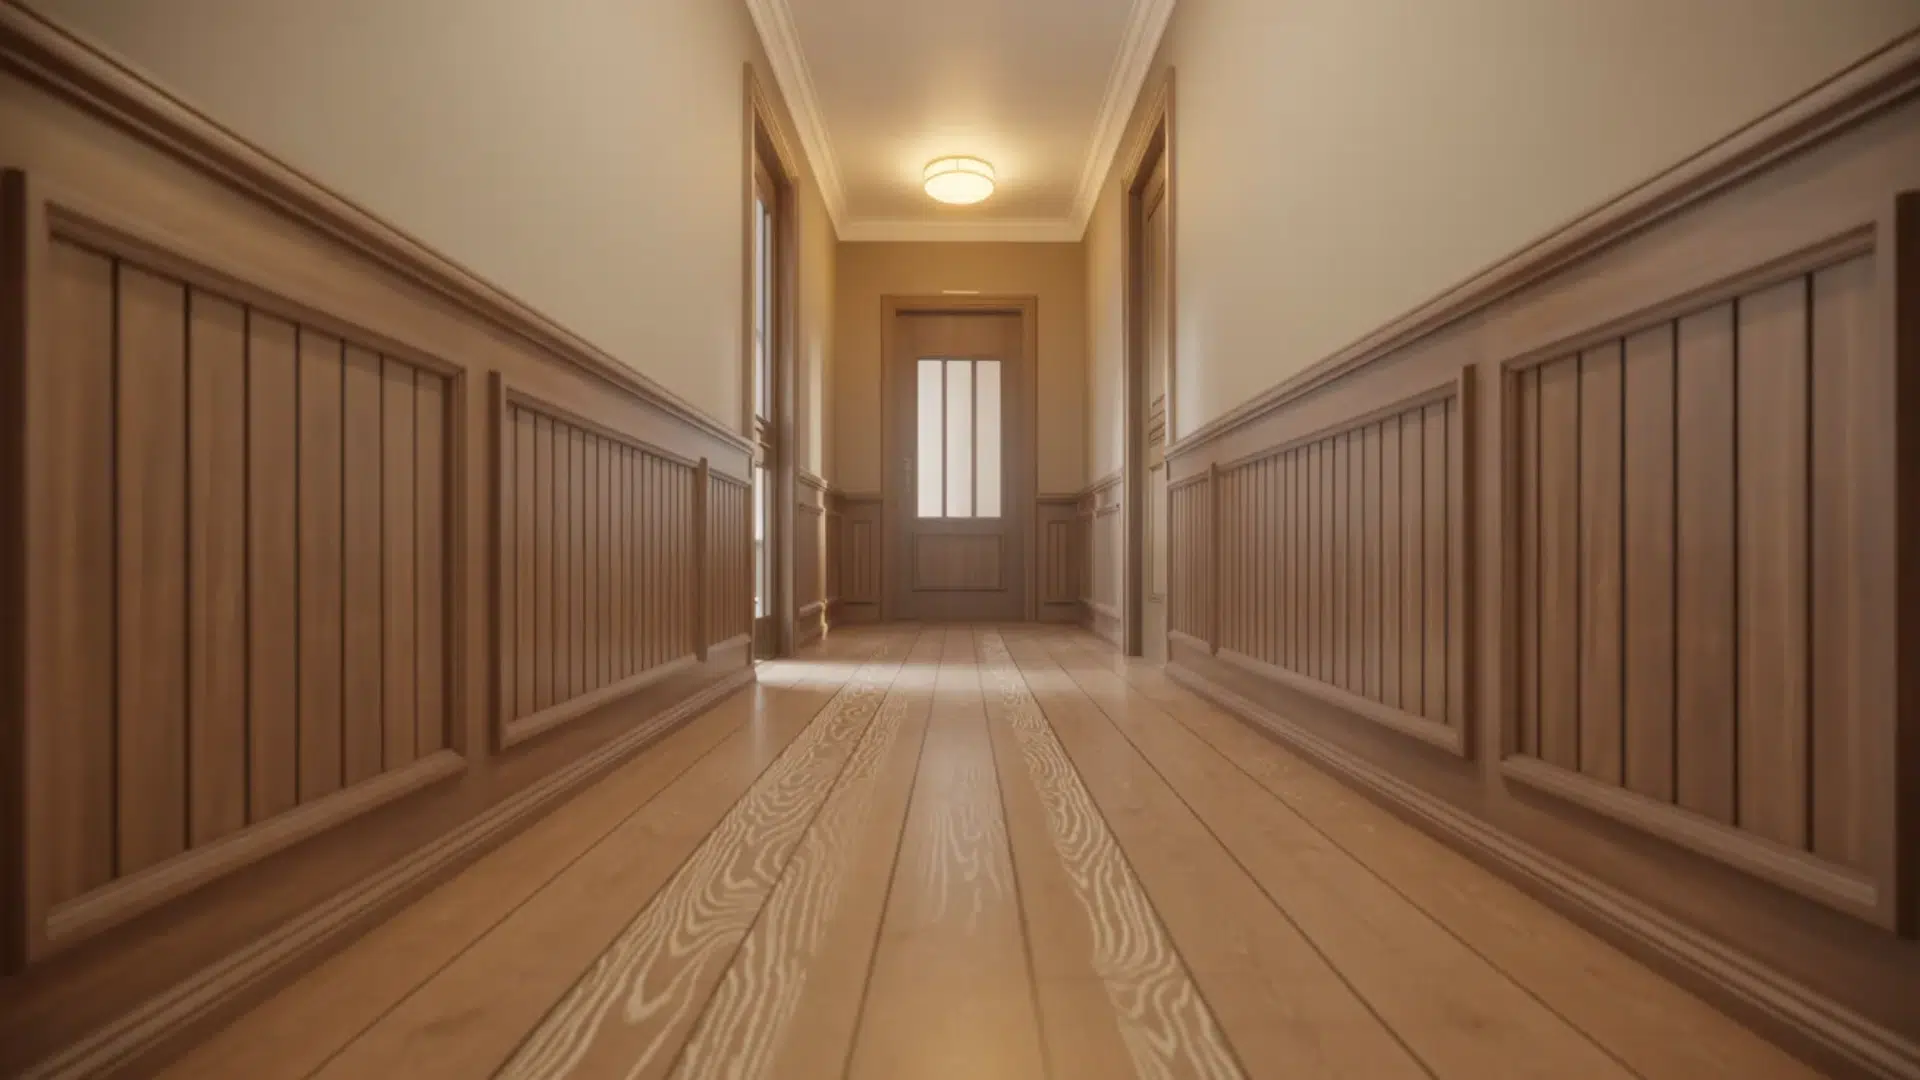
1. Modern and Sleek Styles
If your home leans more contemporary, you don’t have to skip board-and-batten; you have to approach it differently. Go for thinner battens and keep the spacing tight and consistent.
Stick to light neutral tones like soft white, warm gray, or off-white for the paint. The key with a modern look is keeping everything clean and controlled.
No rustic stain, no chunky boards. Thin lines and a smooth finish are what give it that sharp, updated feel. Pair it with simple pendant lighting and minimalist decor, and the hallway will look very intentional.
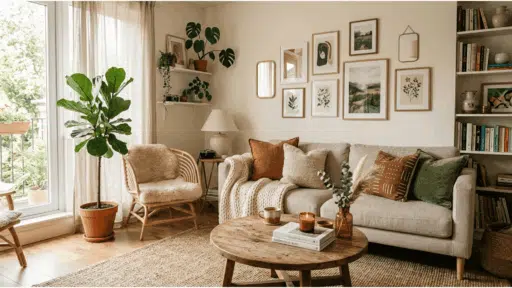
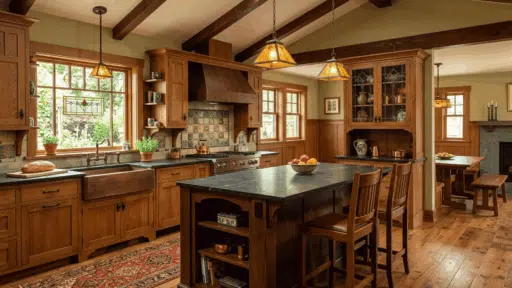
2. Traditional and Rustic Looks
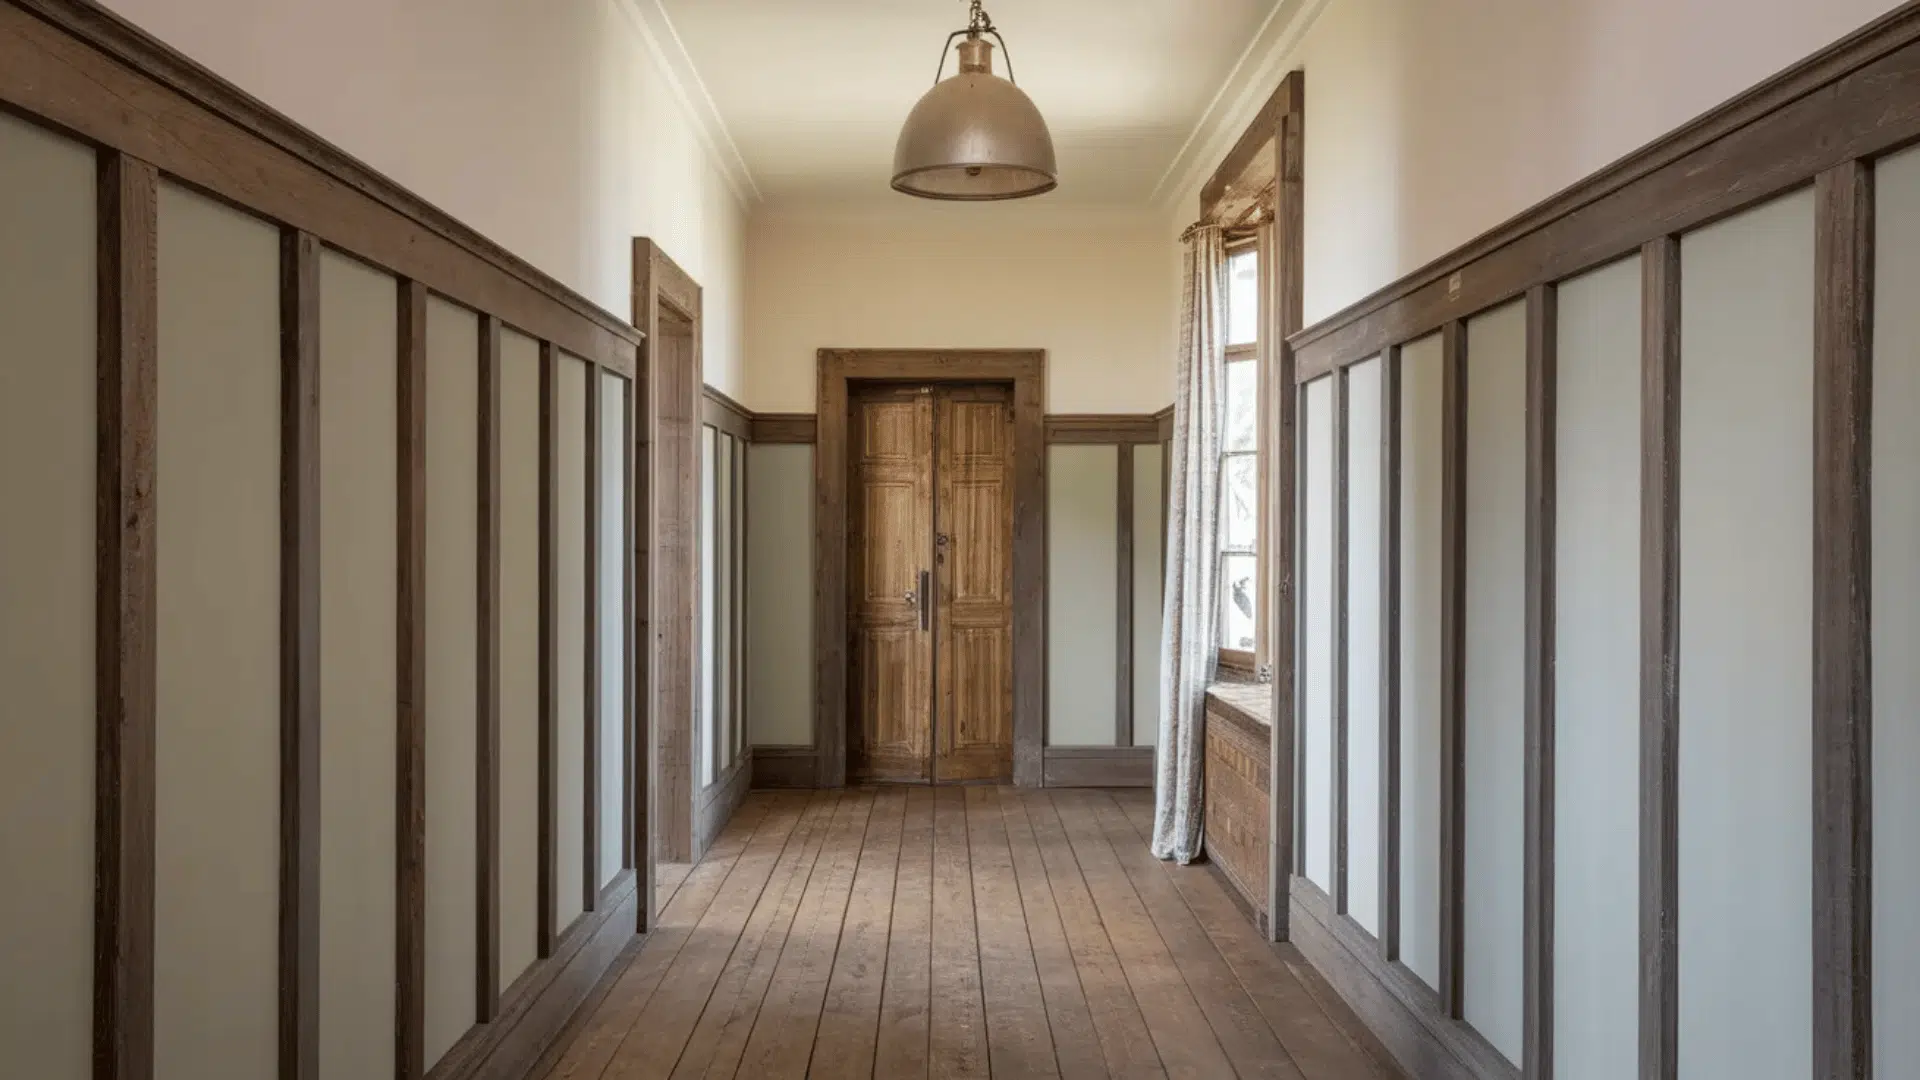
For a warmer, more lived-in feel, go wider with your boards and choose a deeper paint color or a wood stain.
The wider the boards, the more weight and character the wall carries. Pair it with vintage-style light fixtures, a wooden console table, or woven baskets, and the hallway instantly takes on a cozy, country-inspired feel.
This style also works beautifully in older homes where you want to honor the original character of the space rather than modernize it.
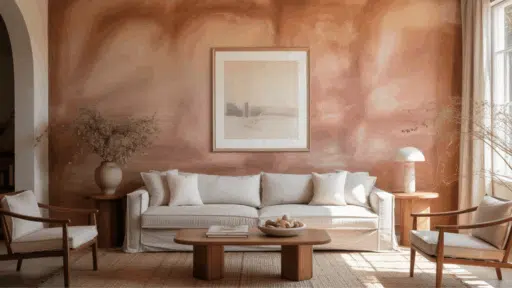
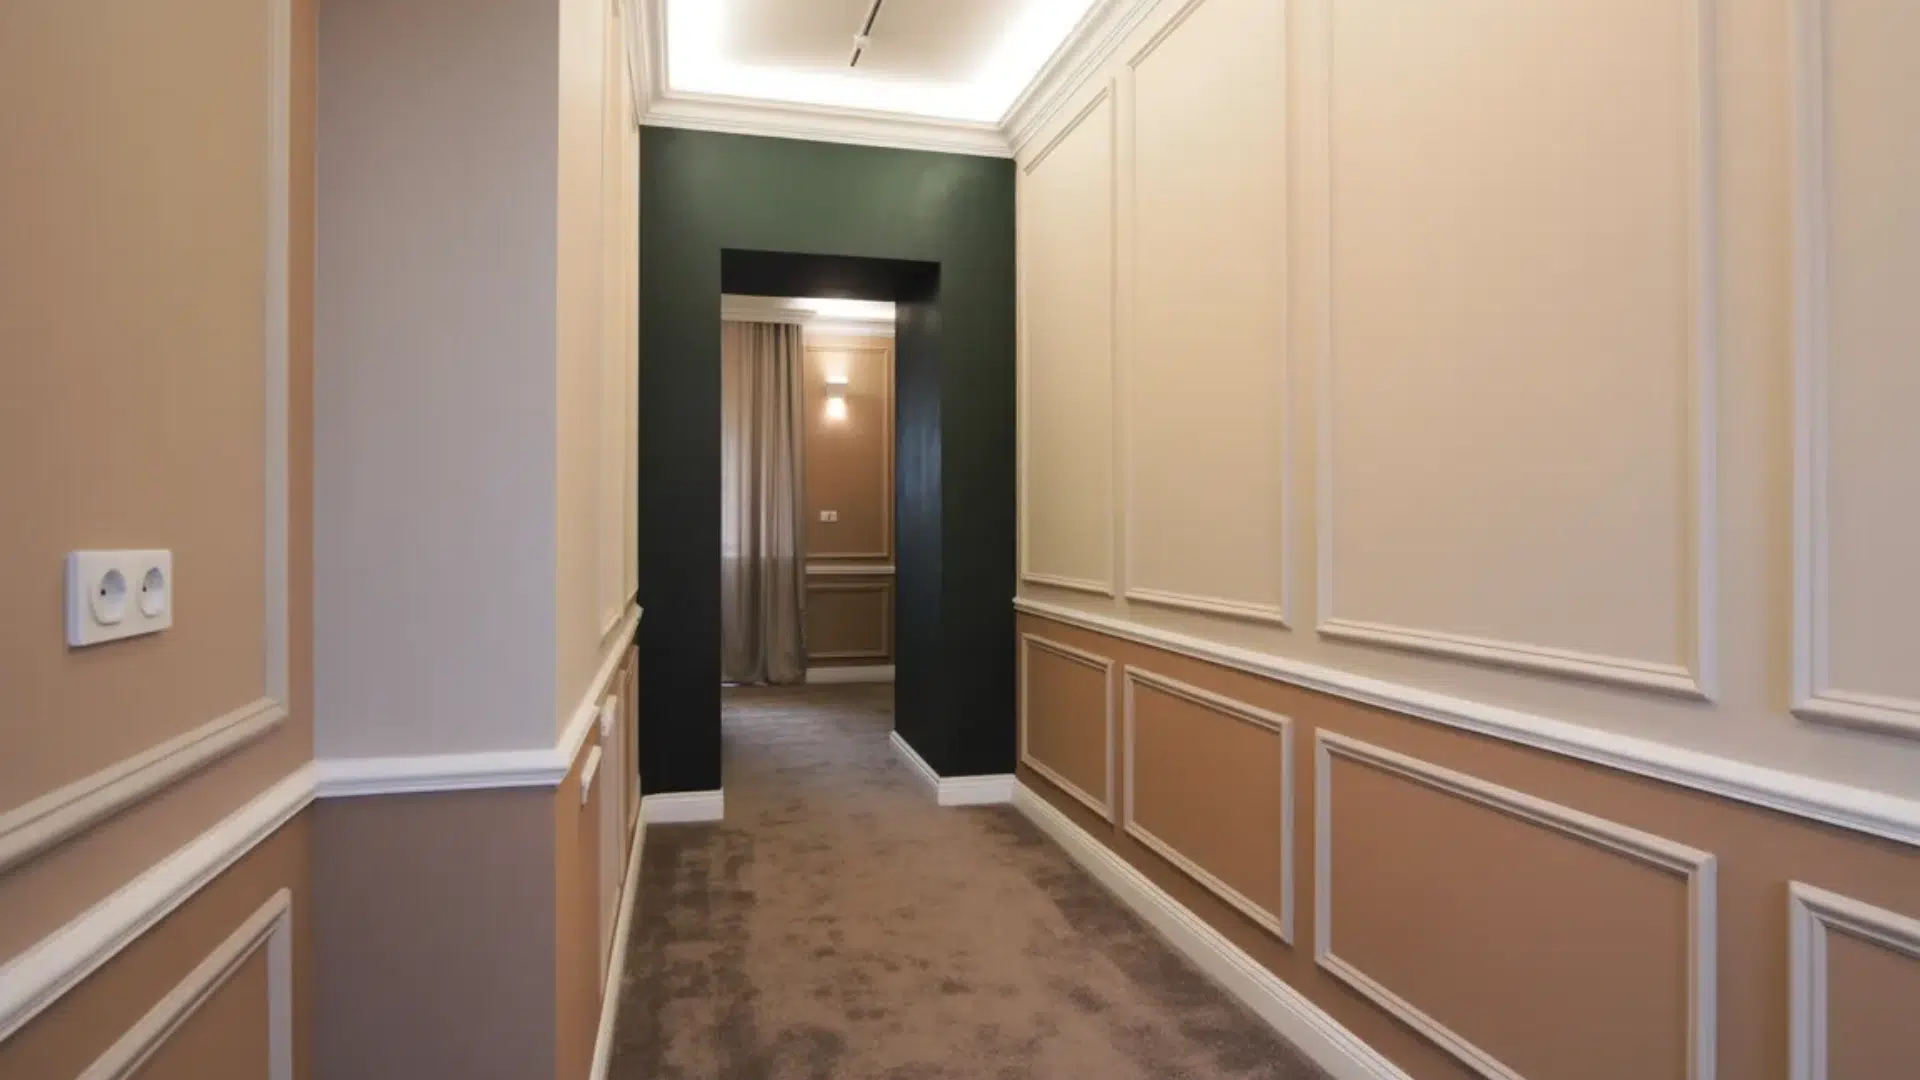
3. Color Schemes and Finishes
The color you choose does a lot of the heavy lifting here. It can make the same board-and-batten installation look completely different, depending on what you choose.
Deeper shades like navy, charcoal, or dark green make a stronger statement. They create contrast and give the hallway a bold, defined look.
These work best in wider hallways or spaces where you want the design to be the focal point. For the finish, always go with satin or semi-gloss in a hallway. Flat paint scuffs too easily in high-traffic areas and is hard to wipe clean.
4. Mixed Material Designs

This is where you can really get creative. Board and batten doesn’t have to be just wood and paint. Mixing in other materials gives the wall a more layered, custom feel.
One popular option is adding wallpaper between the boards. You install the board-and-batten frame first, then fill in the panels with a patterned or textured wallpaper.
Another option is to use a different wall treatment behind the boards, such as a subtle grasscloth texture or a painted geometric pattern. The boards frame it and give it structure while the background adds depth..
Materials & Tools Required for Installation
Now that you’ve picked your style, here’s everything you’ll need before getting started. Most of these items are easy to find at your local hardware store.
| Item | Purpose |
|---|---|
| MDF Boards / Pine Boards | Vertical and horizontal boards for the wall |
| Batten Strips | Thin strips placed over board joints |
| Wood Primer | Base coat before painting |
| Interior Wall Paint | Final finish coat |
| Spackle / Wood Filler | Filling nail holes and small gaps |
| Painter’s Caulk | Sealing seams between boards and the wall |
| Sandpaper | Smoothing filled areas |
| Painter’s Tape | Protecting edges during painting |
| Wood / Finishing Nails | Securing boards to the wall |
| Measuring Tape | Taking accurate wall and board measurements |
| Stud Finder | Locating wall studs for secure board attachment |
| Level (Bubble or Laser) | Keeping boards straight and properly aligned |
| Miter Saw / Circular Saw | Cutting boards to the correct length |
| Nail Gun / Hammer | Attaching boards to the wall |
| Caulking Gun | Applying caulk to seams and edges |
| Putty Knife | Spreading spackle over nail holes and gaps |
| Sanding Block | Smoothing dried spackle for a flush finish |
| Paintbrush / Roller | Applying primer and paint evenly |
| Pencil / Marker | Marking measurements and stud positions |
| Ladder | Reaching the upper sections of the wall |
| Spacer Board (DIY) | Maintaining consistent gaps between vertical boards |
How to Install Board and Batten in Your Hallway
Follow this step-by-step plan to achieve a clean, sharp look that will instantly improve your hallway’s appearance. Let’s get started!
Step 1: Measure and Plan Your Wall Layout
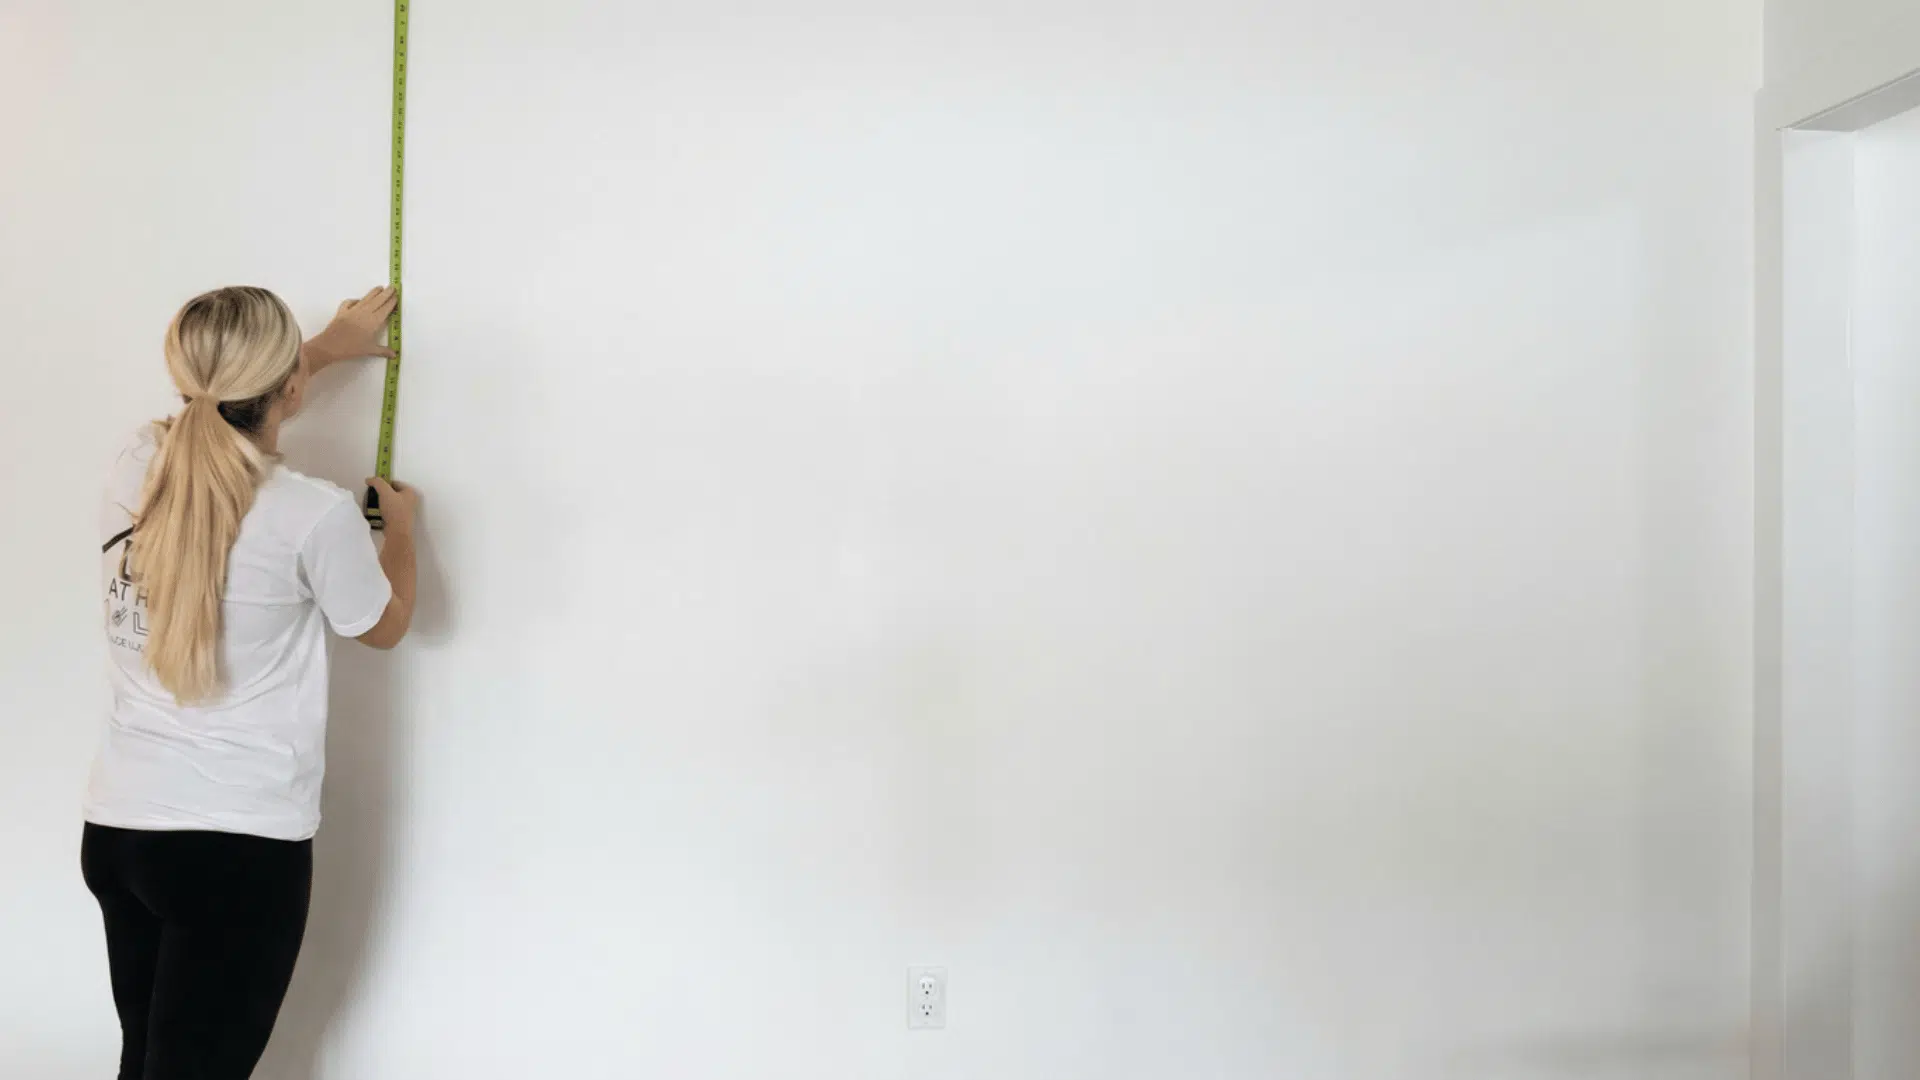
Before you start cutting or installing anything, measure the full width and height of your hallway walls. This helps you determine the size of the panels and how many you’ll need for the desired look.
Once you’ve taken your measurements, use an online calculator like InchCalculator.com to calculate the spacing between each vertical board.
By calculating the spacing correctly, you can achieve the perfect look. Adjust the number of panels to suit your style.
Step 2: Create Your Spacer Board
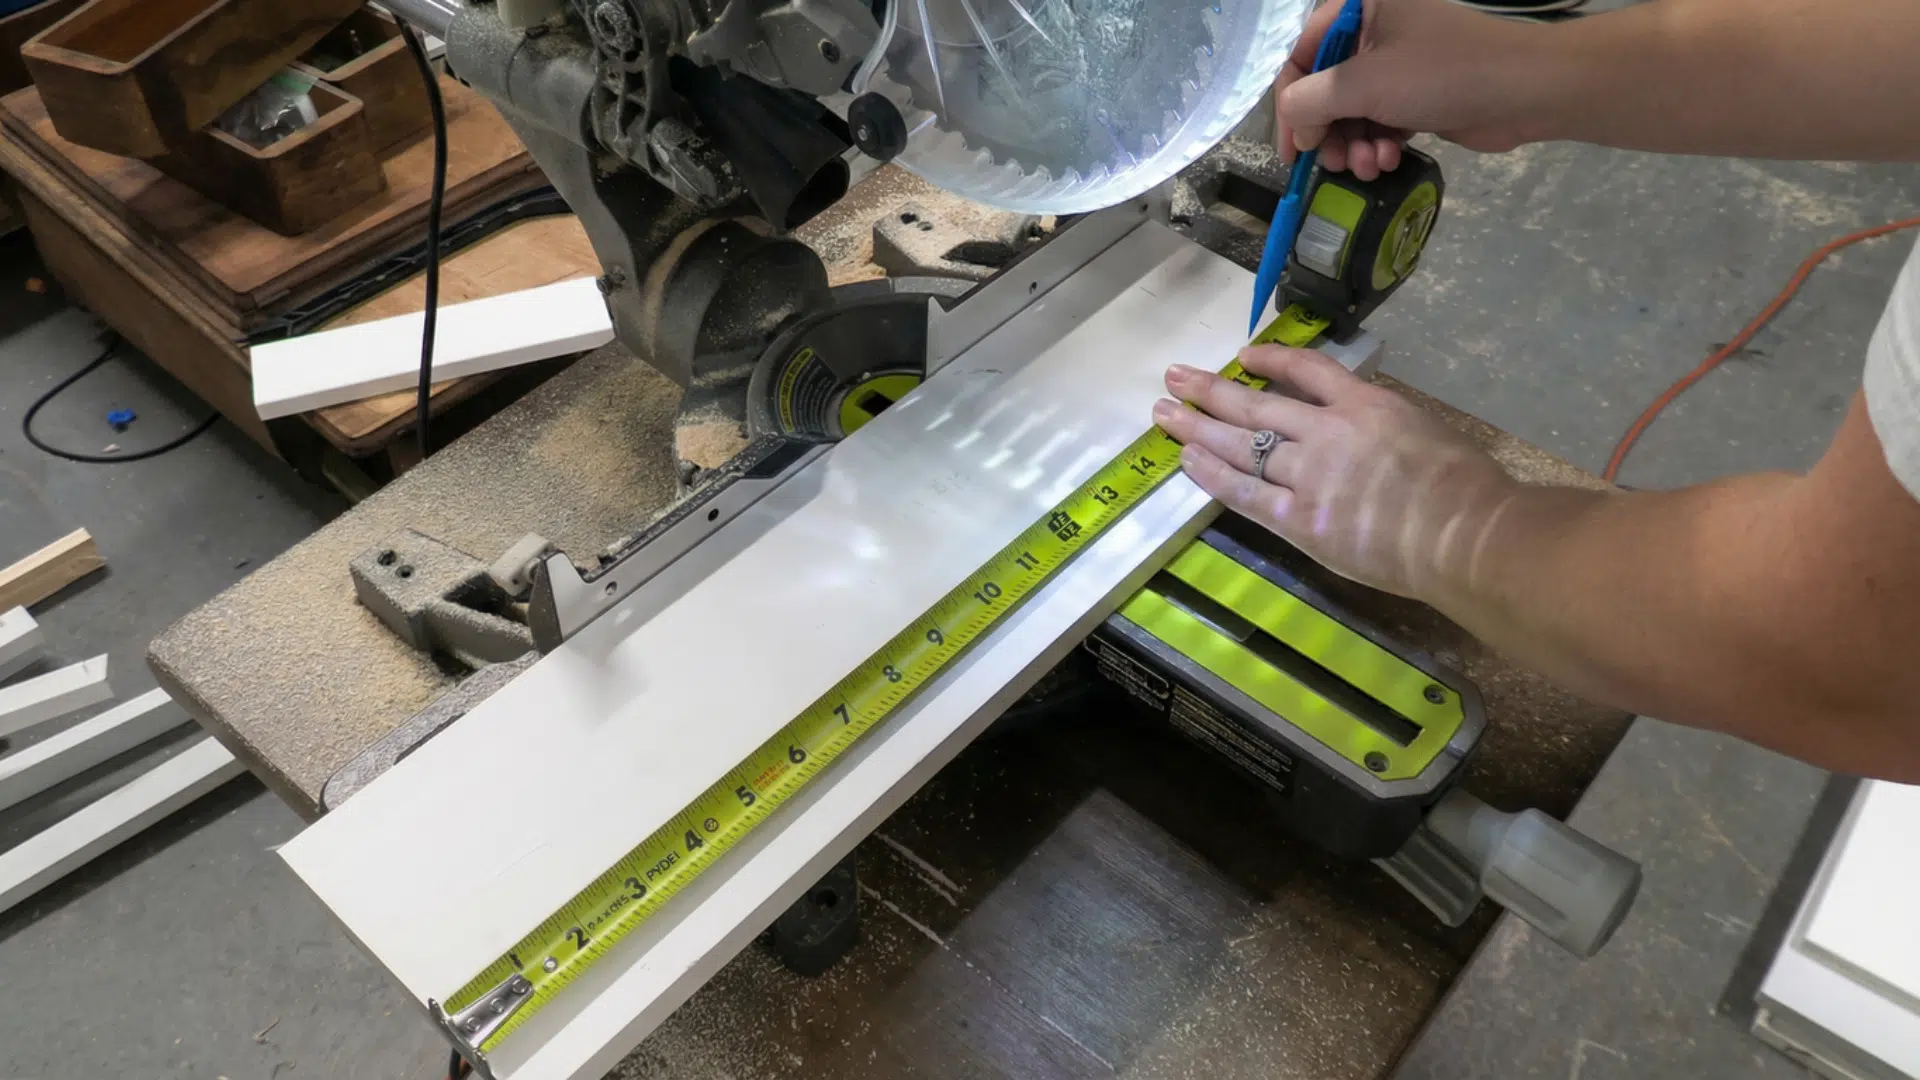
To maintain consistent gaps between the boards, create a spacer board. This spacer will help you evenly position the vertical boards.
Measure and cut the spacer to the width of the gap you want between your panels, and mark it so you can use it throughout the installation process.
The spacer board is a crucial part of the project. Using it ensures each vertical board is spaced the same, giving the entire wall a uniform, balanced appearance.
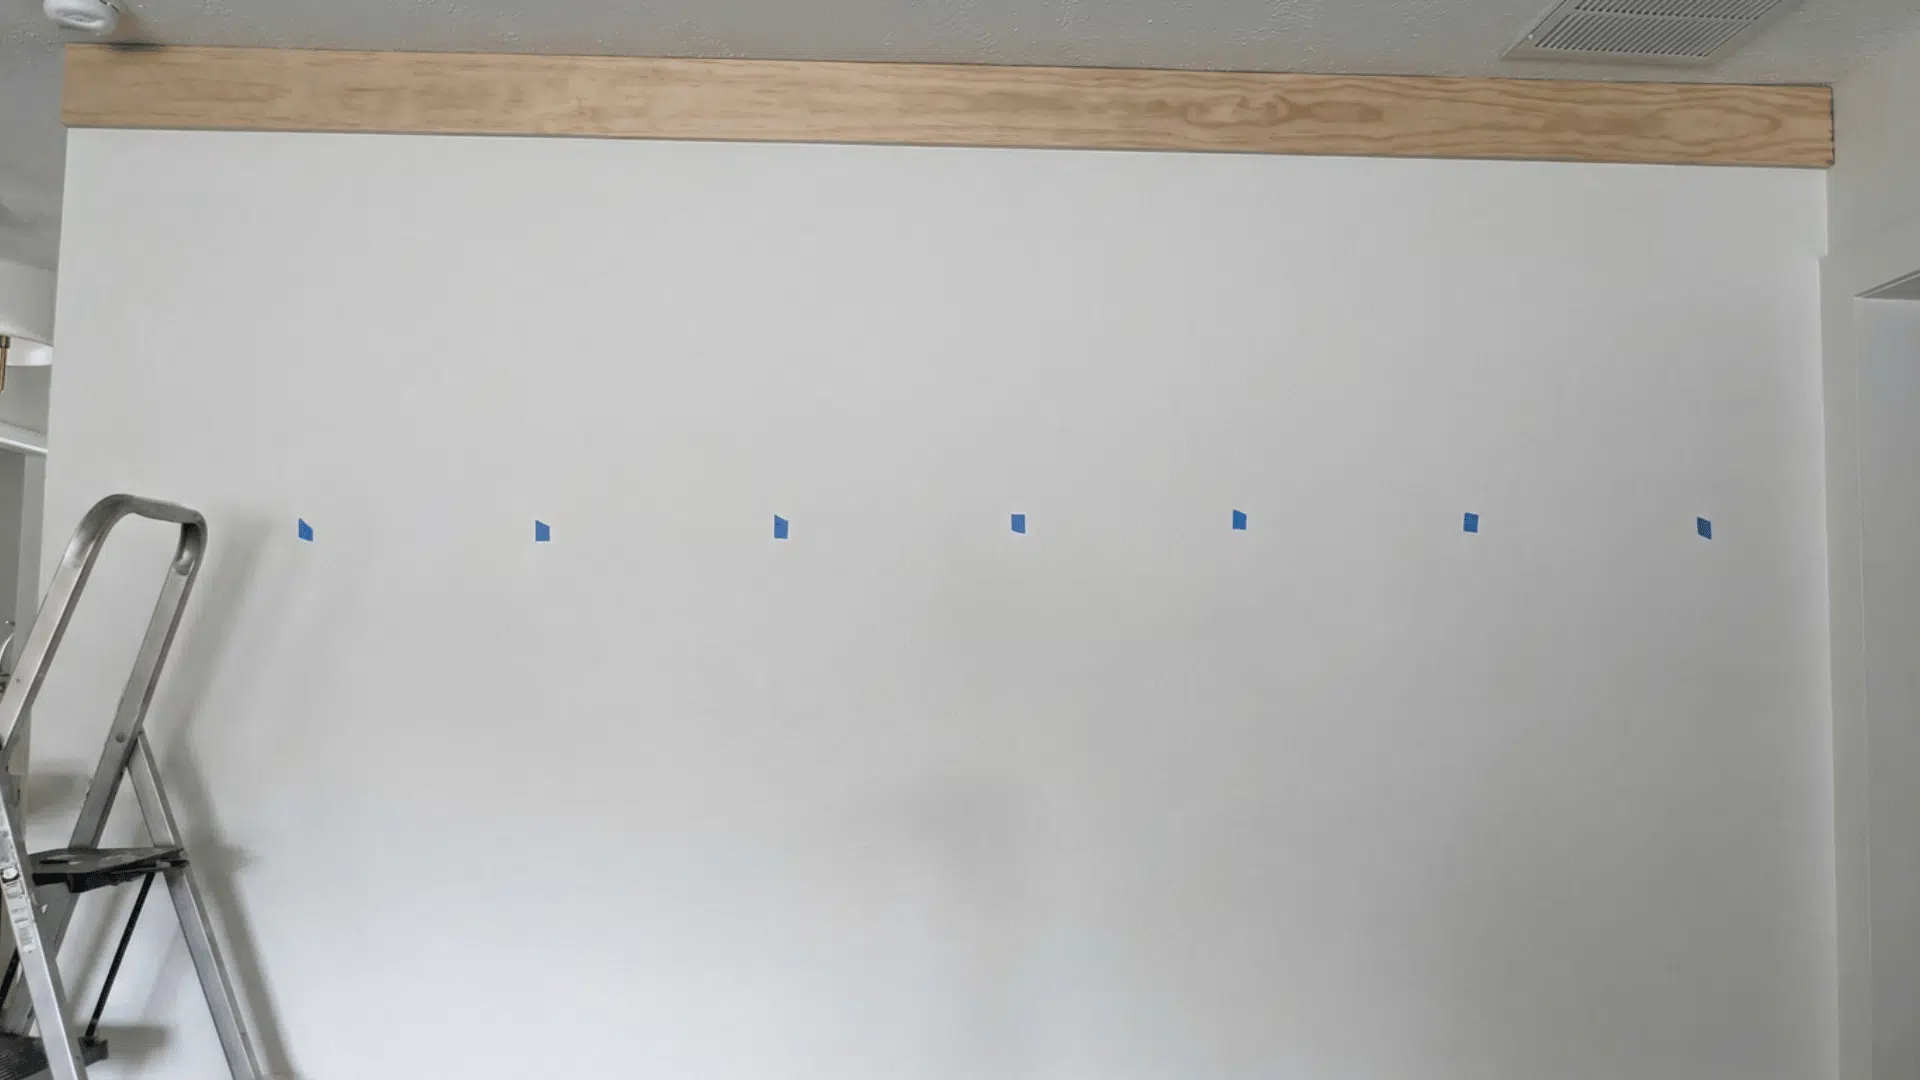
Step 3: Locate and Mark the Studs
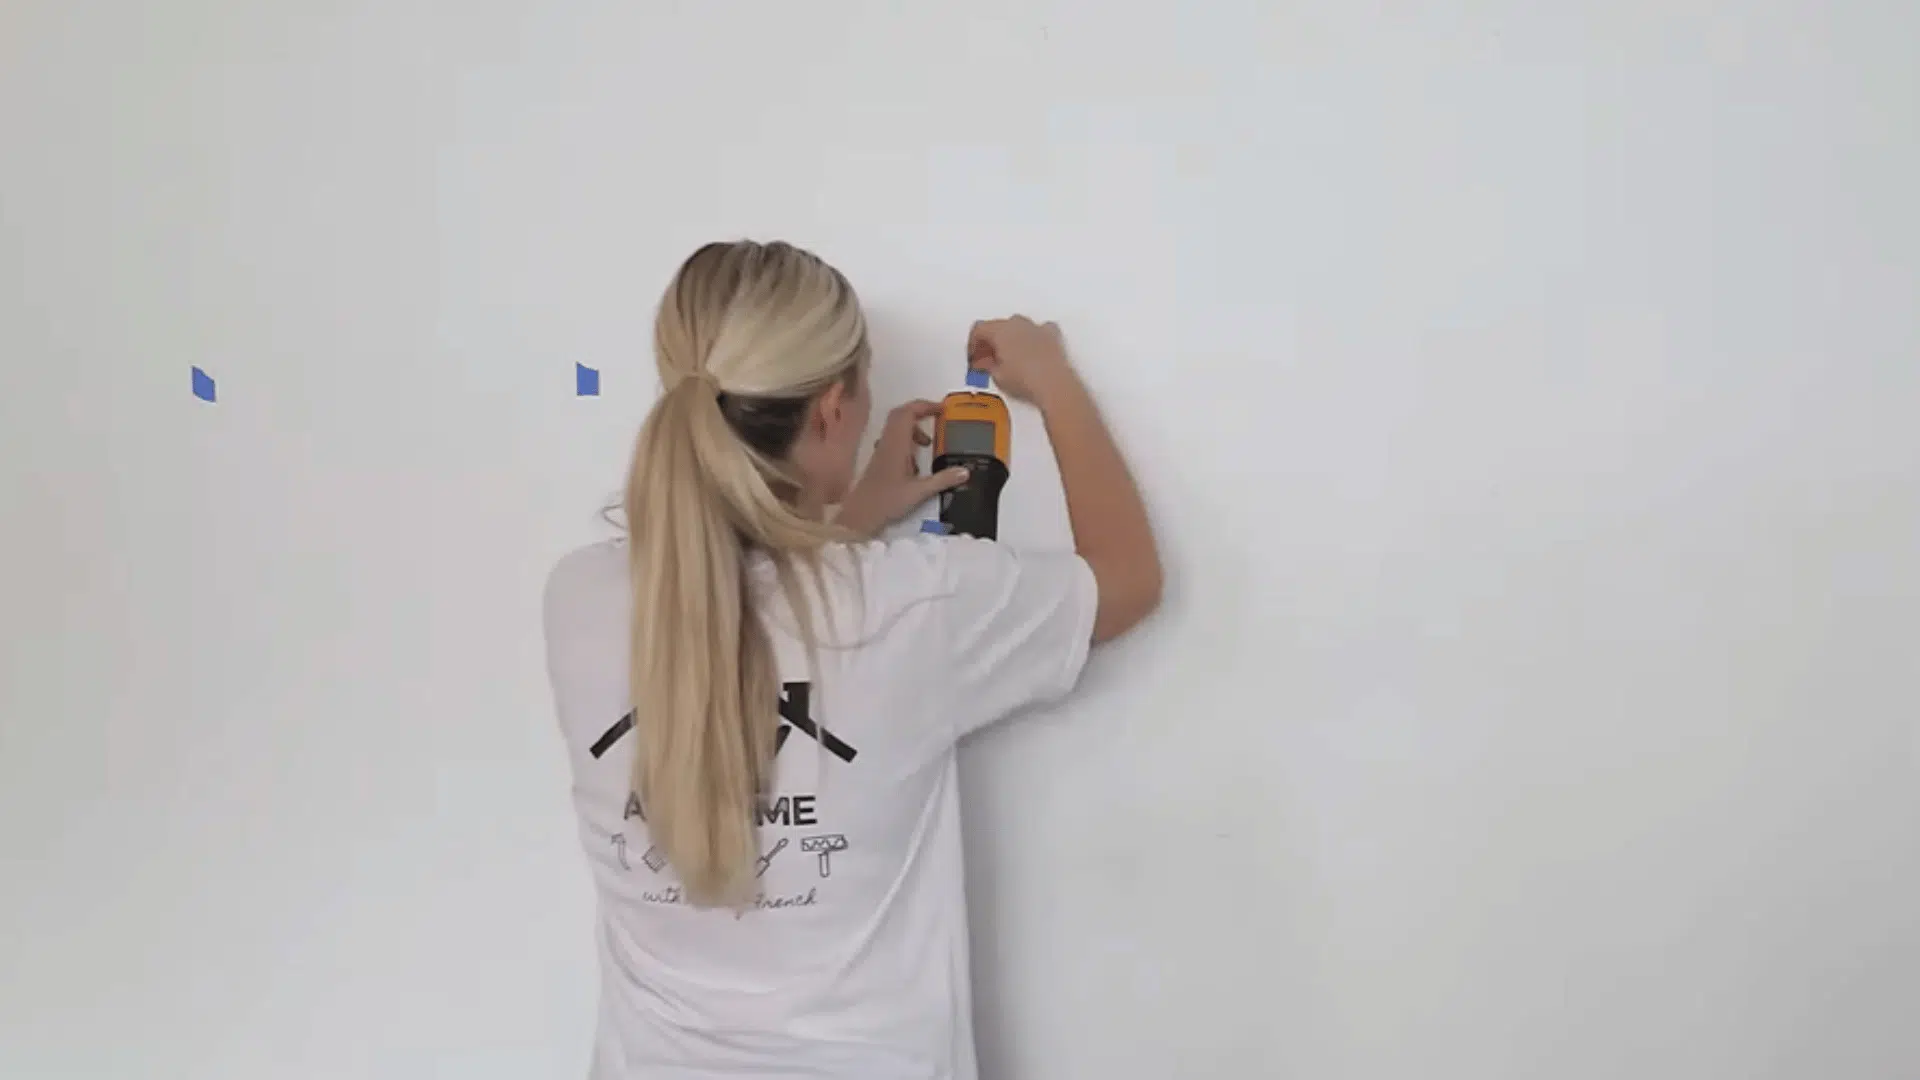
Using a stud finder, locate the studs in your wall and mark them with painter’s tape. These studs are where you attach your boards to keep them securely in place.
Nailing into the studs is crucial for long-lasting installation. Once you’ve marked the studs, check the measurements again.
Since these studs will provide the structure for your installation, it’s important to ensure your boards are properly aligned with them. Make sure your boards will overlap at least one stud when nailing them in for the best results.
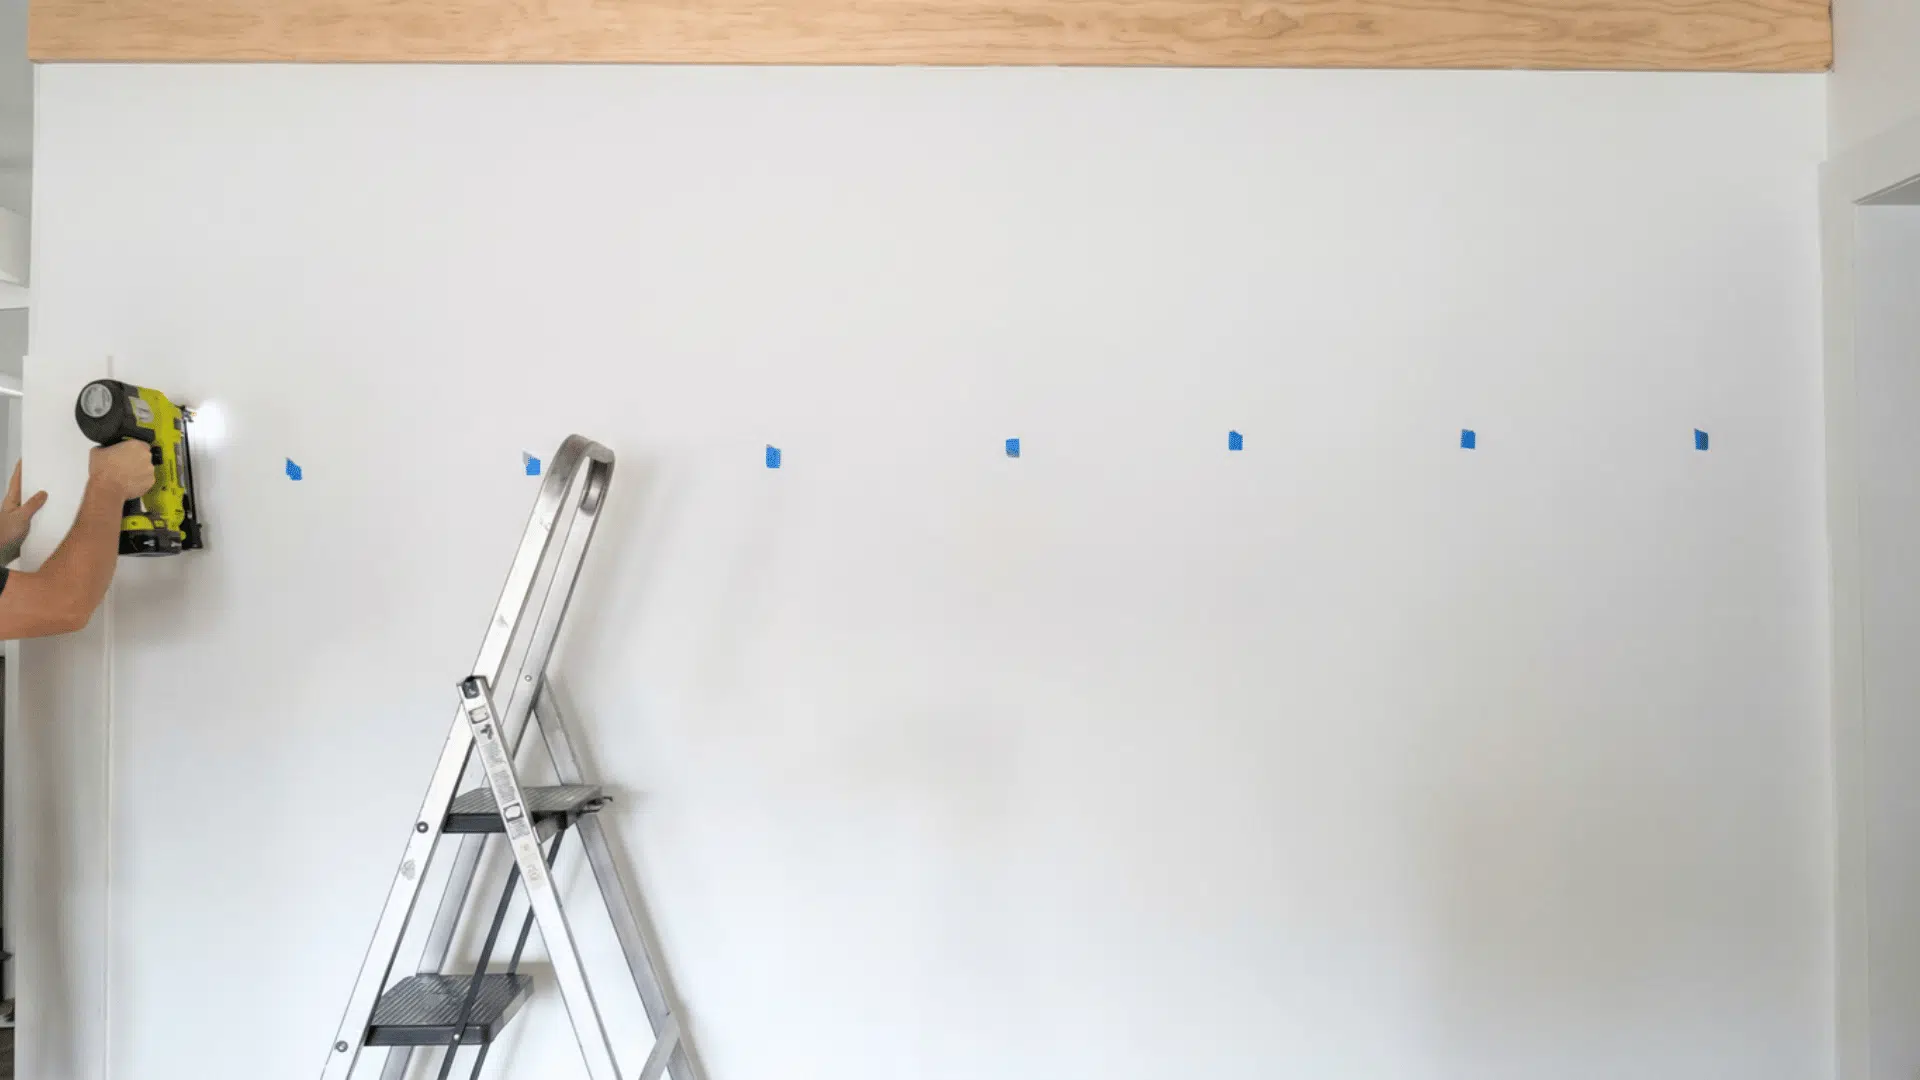
Step 4: Install the First Horizontal Board
The first board you’ll install is the top horizontal board. Position it at the top of the wall, just under the ceiling, and use a ladder to hold it in place.
Ensure it’s flush against the ceiling and centered on the wall before nailing it securely into place. Installing the top board first sets the stage for the rest of the project.
Take extra care to ensure this board is level. Once it’s nailed in, the rest of the installation will align with it, making the process smoother.
Step 5: Install the Vertical Boards
After the top board is in place, you can start installing the vertical boards. Begin with the leftmost board and make sure it’s flush against the corner of the wall.
Secure it in place by nailing it into the stud. Then continue along the wall, using your spacer to keep the gap between boards consistent.
As you move along the wall, remember to measure each vertical board to ensure it fits well. Since walls and floors can be uneven, it’s important to measure as you go rather than assume all the boards will be the same length.
Step 6: Add the Second Horizontal Board
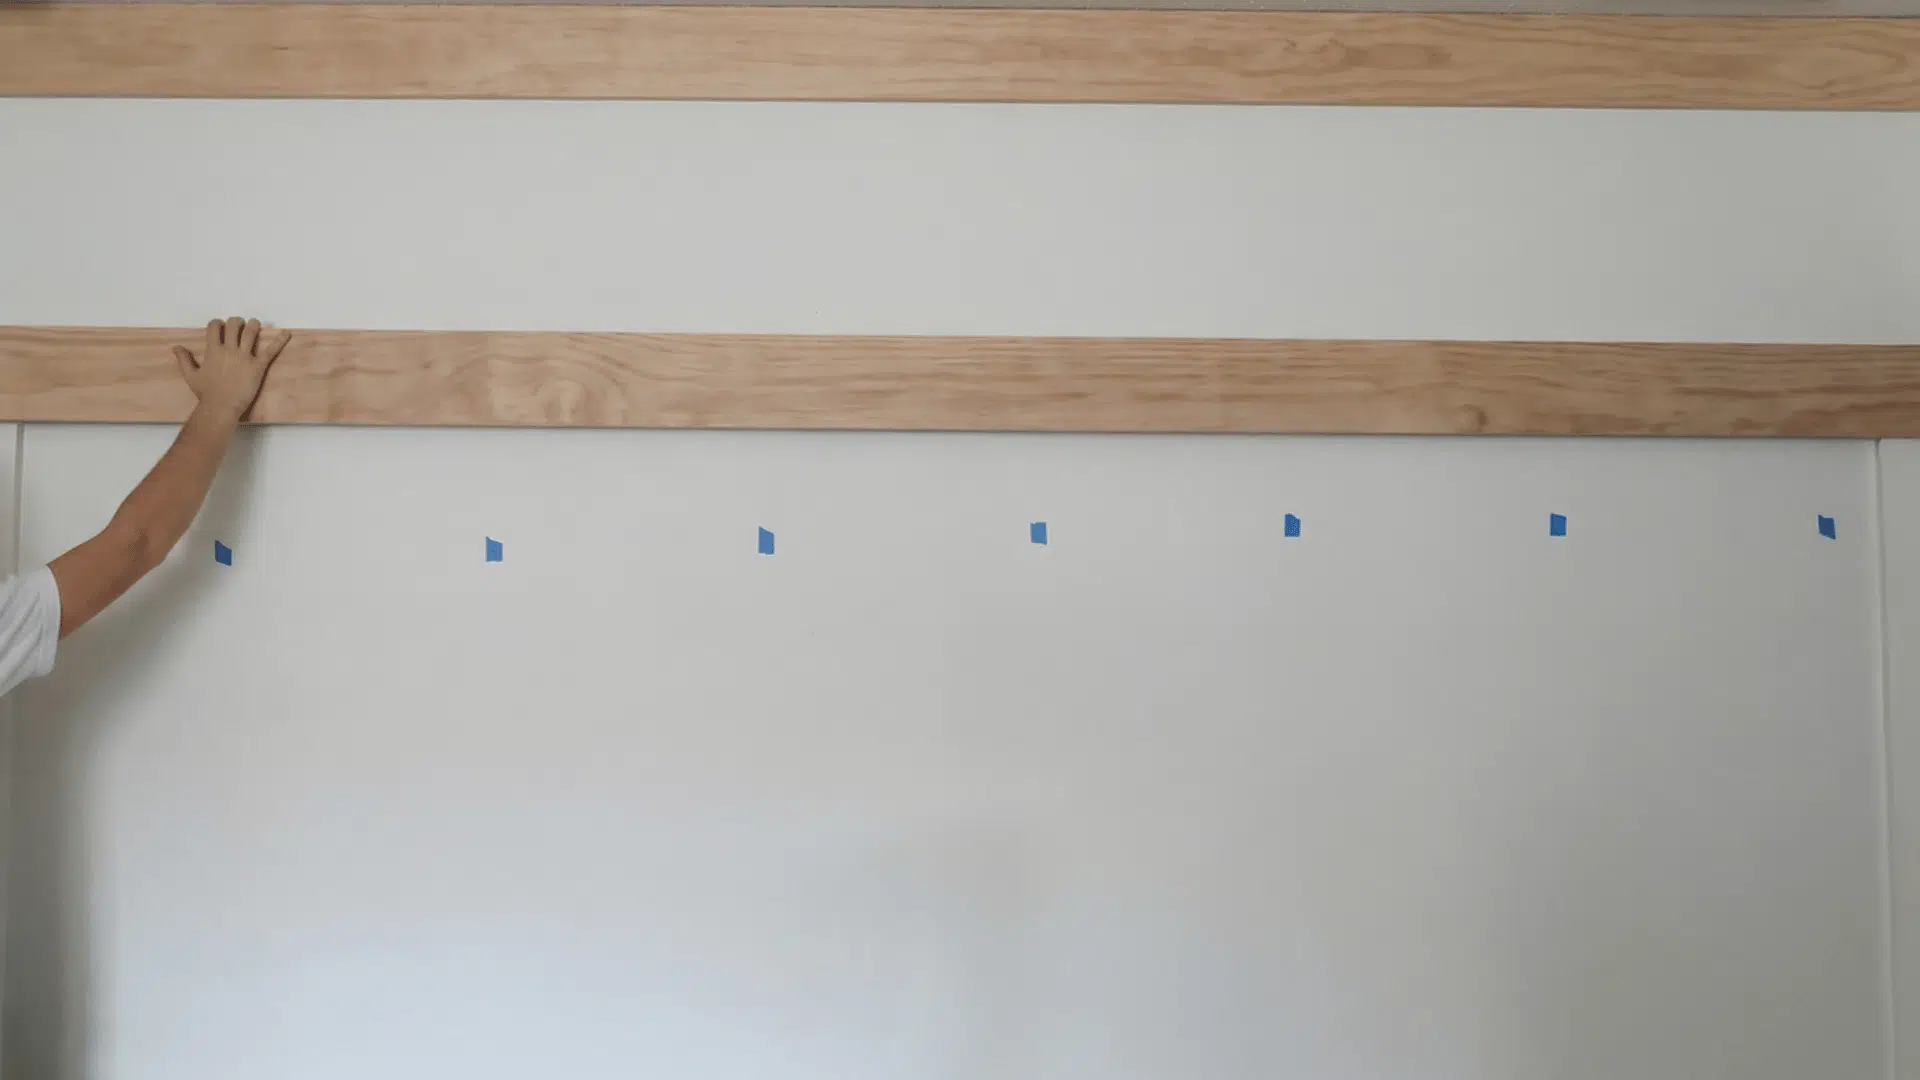
Next, it’s time to install the second horizontal board. Hold a scrap piece up to the wall and visually decide how large the gap should be between the top and bottom boards.
Mark the bottom of the second board, then measure the distance from the baseboard to the mark. This ensures the vertical boards are evenly spaced.
Make sure the second horizontal board is level before nailing it into place. This board must be straight, as any minor misalignment could make the entire installation look off.
Step 7: Nail the Vertical Boards into Place
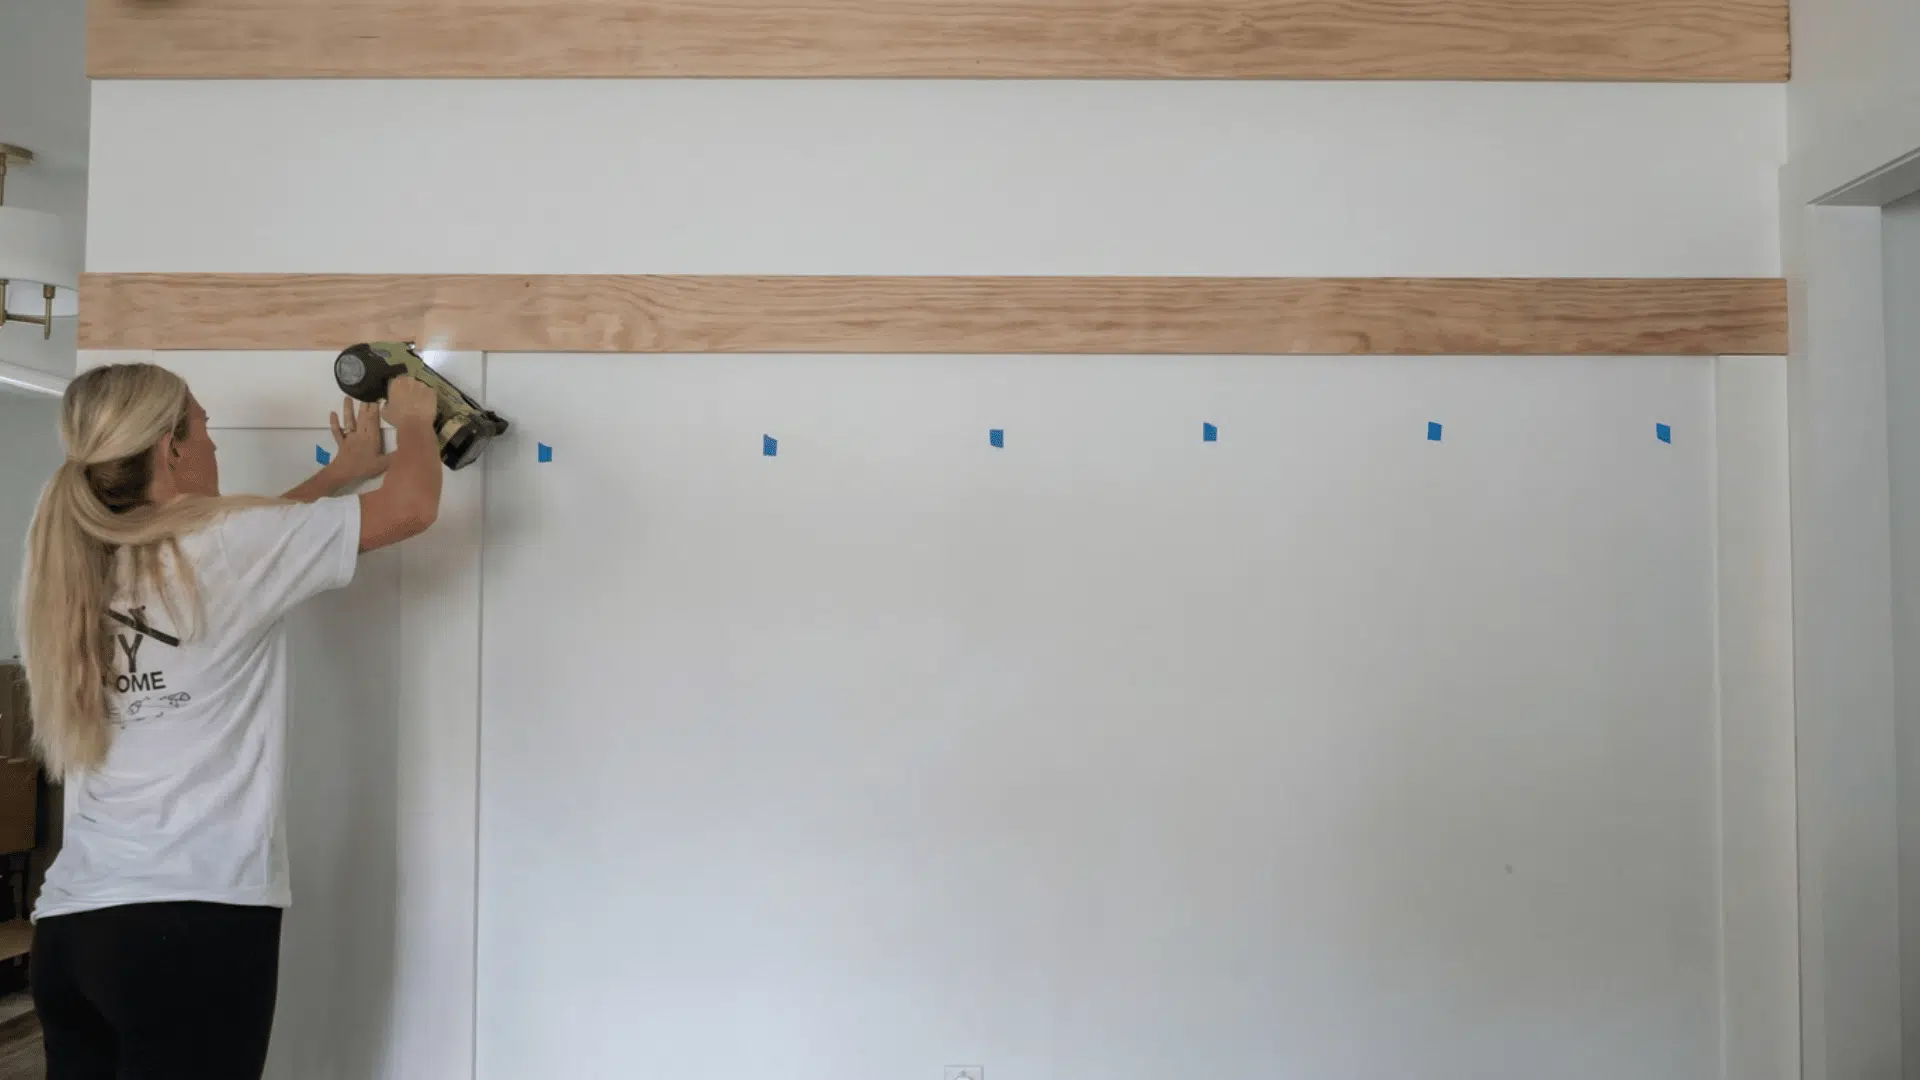
With both horizontal boards installed, focus on the remaining vertical boards. Use your spacer to maintain consistent gaps between them.
As you install each vertical board, measure it individually to ensure it fits snugly and aligns with the previous boards. Secure each board by nailing it into place.
Using the spacer for every vertical board helps you avoid uneven gaps, which can be a common issue when installing board and batten.
Step 8: Fill Gaps and Nail Holes
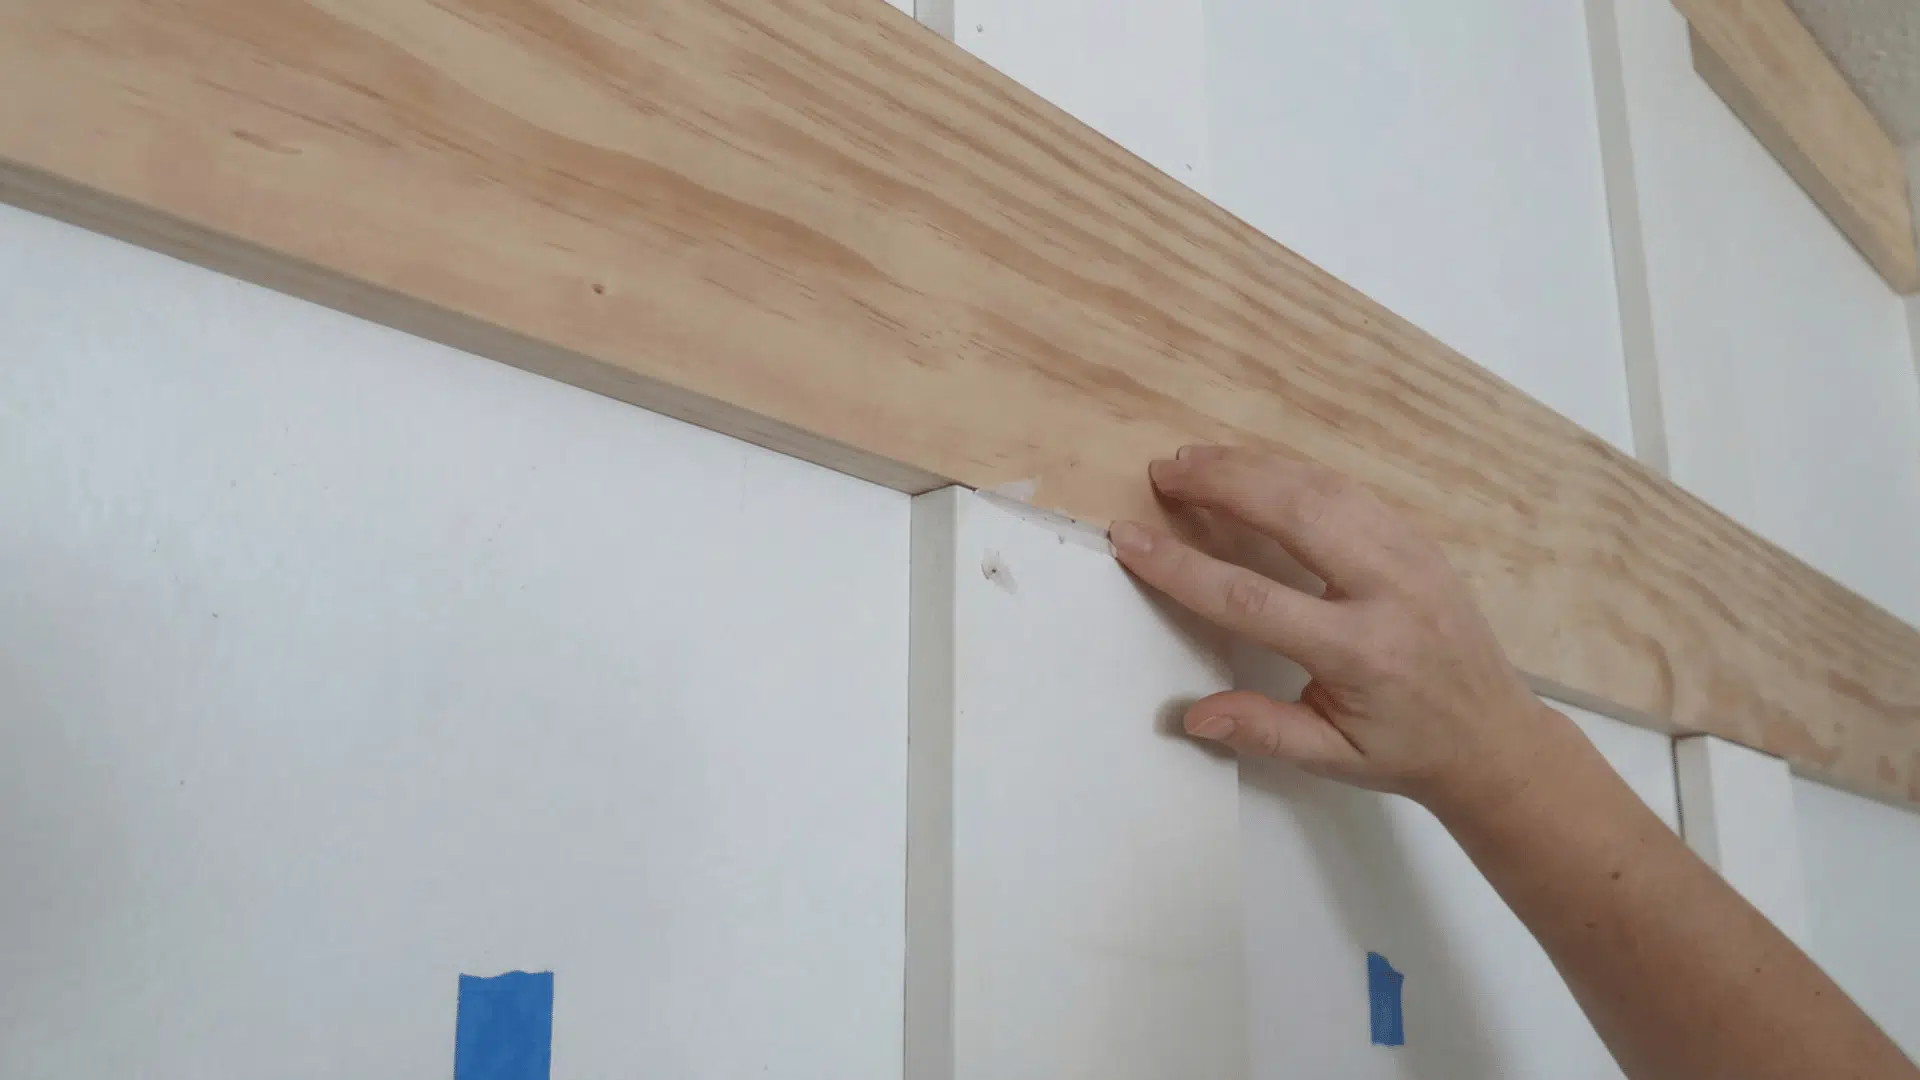
Once all the boards are installed, you might notice small gaps between some of the boards or nail holes.
Fill these gaps with spackle to ensure a smooth, polished look. Use your finger to spread the spackle evenly, and let it dry completely before sanding it down to blend with the wood.
For larger gaps, you may need to adjust the length of some of the vertical boards. If the gap is wider than ¼ inch, consider trimming the boards for a tighter fit. This step is crucial for a seamless finish.
Step 9: Apply Caulk to Seams
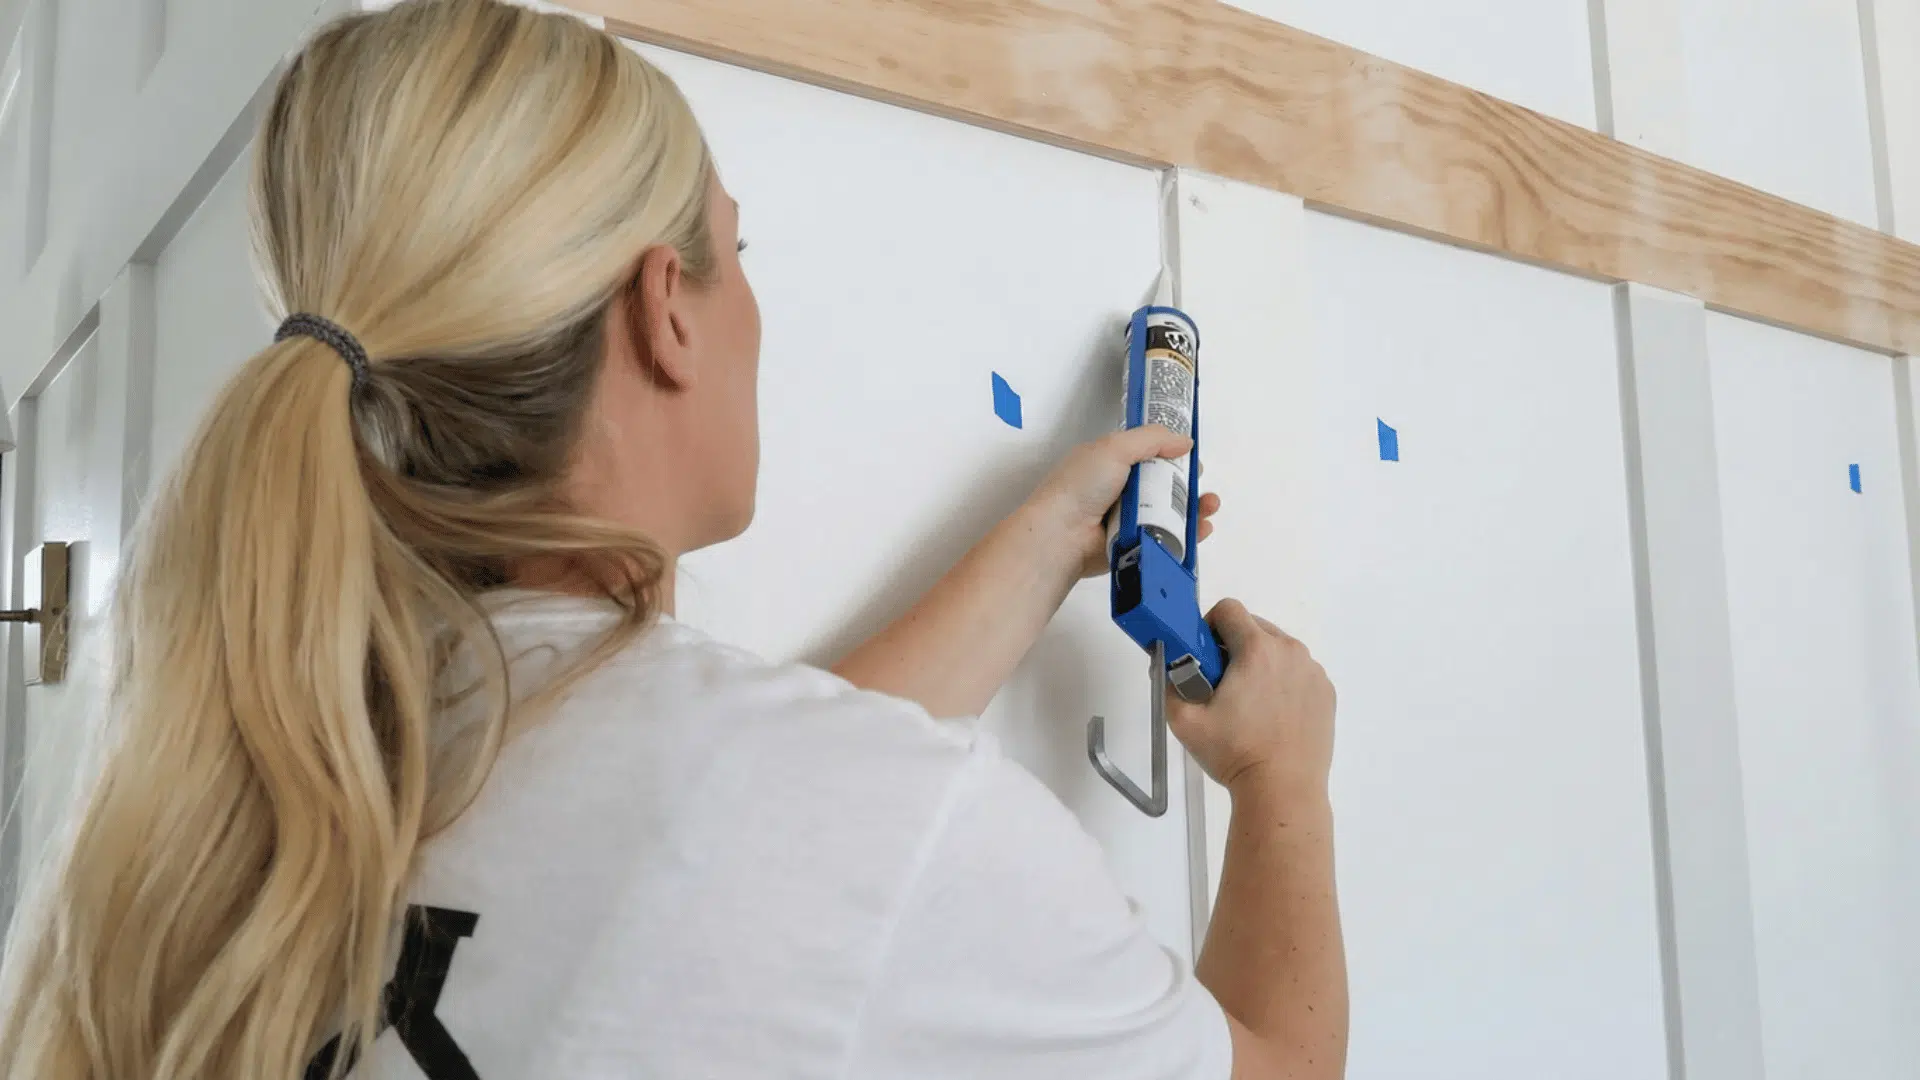
To complete your installation, apply caulking to the seams between the boards and the wall. Use a caulking gun to apply a thin bead of caulk, and then smooth it out with your finger.
This helps fill any remaining small gaps and gives the boards a seamless, finished look. For corners where a vertical board meets another wall, you may notice a slight gap.
Use your caulking method to smooth out this area, ensuring there’s no visible separation between the wall and the boards.
Step 10: Prime and Paint the Boards

Once all the gaps are filled and smoothed, it’s time to paint. If your boards weren’t pre-primed, apply a coat of primer first.
After the primer dries, apply your finish coat of paint. Choose a color that complements the rest of your hallway design, whether it’s a neutral shade or a bold accent color.
Painting your board-and-batten will finalize the project and give it a polished look. If needed, apply multiple coats to achieve a smooth, even finish.
Check out the full video here:
Common Mistakes to Avoid
A few small missteps can affect the whole finished look, so it’s worth knowing what to watch out for before you get started.
- Poor Measurement and Layout: Accurate measurements are key to a successful installation. Be sure to carefully measure both the height of the wall and the width of each board and batten before cutting.
- Skipping the Prep Work: Don’t skip the necessary wall preparation! Ensuring that your walls are clean and smooth will give your project a polished, professional look. Skipping this step could result in an uneven installation.
- Using the Wrong Materials: Choosing the wrong type of wood or paint can affect the durability and style of your board and batten hallway. Be sure to choose quality materials that will stand the test of time.
Conclusion
And just like that, your hallway goes from forgettable to the first thing guests notice. A board and batten hallway isn’t just a design trend; it’s an upgrade that adds real value to your home.
The best part? You don’t need to be a pro to pull it off. A little patience, the right materials, and a free weekend are honestly all it takes. And once it’s done, you’ll wonder why you waited so long.
So grab your measuring tape and start. Small hallways, big hallways, this works everywhere. Your dream hallway is closer than you think.

With a Master in Architectural Studies from University of Pennysylvania, Marwa Haydar has pioneered living spaces since 2005. Her expertise, initially honed in a prestigious architectural firm, is evident in her approach to creating environments. Marwa became part of our team in 2019 and has since been a driving force in our home improvement section, known for her practical yet stylish solutions. She’s been spearheading our design workshops since then, infusing her passion for teaching into her work. In her leisure time, Marwa enjoys exploring historic architecture and is an enthusiastic pottery hobbyist, further enriching her understanding of form and texture.