Creating a quiet, comfortable space at home isn’t always easy, especially when echoes and outside noise get in the way. That’s where DIY sound-absorbing panels come in.
If you’ve ever tried recording audio, working from home, or just wanted a calmer room, you’ve probably noticed how much sound can bounce around.
This blog will walk through everything in a clear, practical way, so you can avoid common mistakes and get real results without the guesswork.
What are DIY Sound Absorbing Panels?
DIY sound absorbing panels are simple panels you can make at home to improve the sound quality in a room. They are mainly used to reduce echo, background noise, and unwanted sound reflections.
These panels are a great option for home studios, offices, or even living rooms where clear sound is important.
They work by using special materials that absorb sound waves rather than letting them bounce around the room. This helps create a quieter and more comfortable space.
Common materials include mineral wool, fiberglass, foam, and fabric, which are both effective and affordable.
Benefits of Building DIY Sound Absorbing Panels
Building DIY sound-absorbing panels is a practical and affordable way to improve sound quality in any room.
- Affordable Alternative to Ready-Made Panels: Building your own delivers similar sound performance at a fraction of the cost, making it ideal for beginners and budget-conscious buyers.
- Great for Home Studio Owners: DIY panels are a popular choice among home studio owners who need effective acoustic treatment without investing in costly professional setups.
- Full Customization for Any Space: You have complete control over the size, design, and materials.
- Match Your Interior Décor: Unlike generic store-bought panels, DIY versions can be wrapped in fabrics and finishes that blend naturally with your existing interior design.
- Scalable and Budget-Friendly: You can start with just a few panels and add more over time, making the project financially manageable without compromising on results.
- Rewarding and Skill-Building: Beyond the practical benefits, building your own panels gives you a sense of accomplishment and helps you develop useful skills in carpentry, acoustics, and interior planning.
Materials Needed
These essential materials will help you build effective and durable acoustic panels that improve sound quality and reduce echo in your space.
| Material | Purpose |
|---|---|
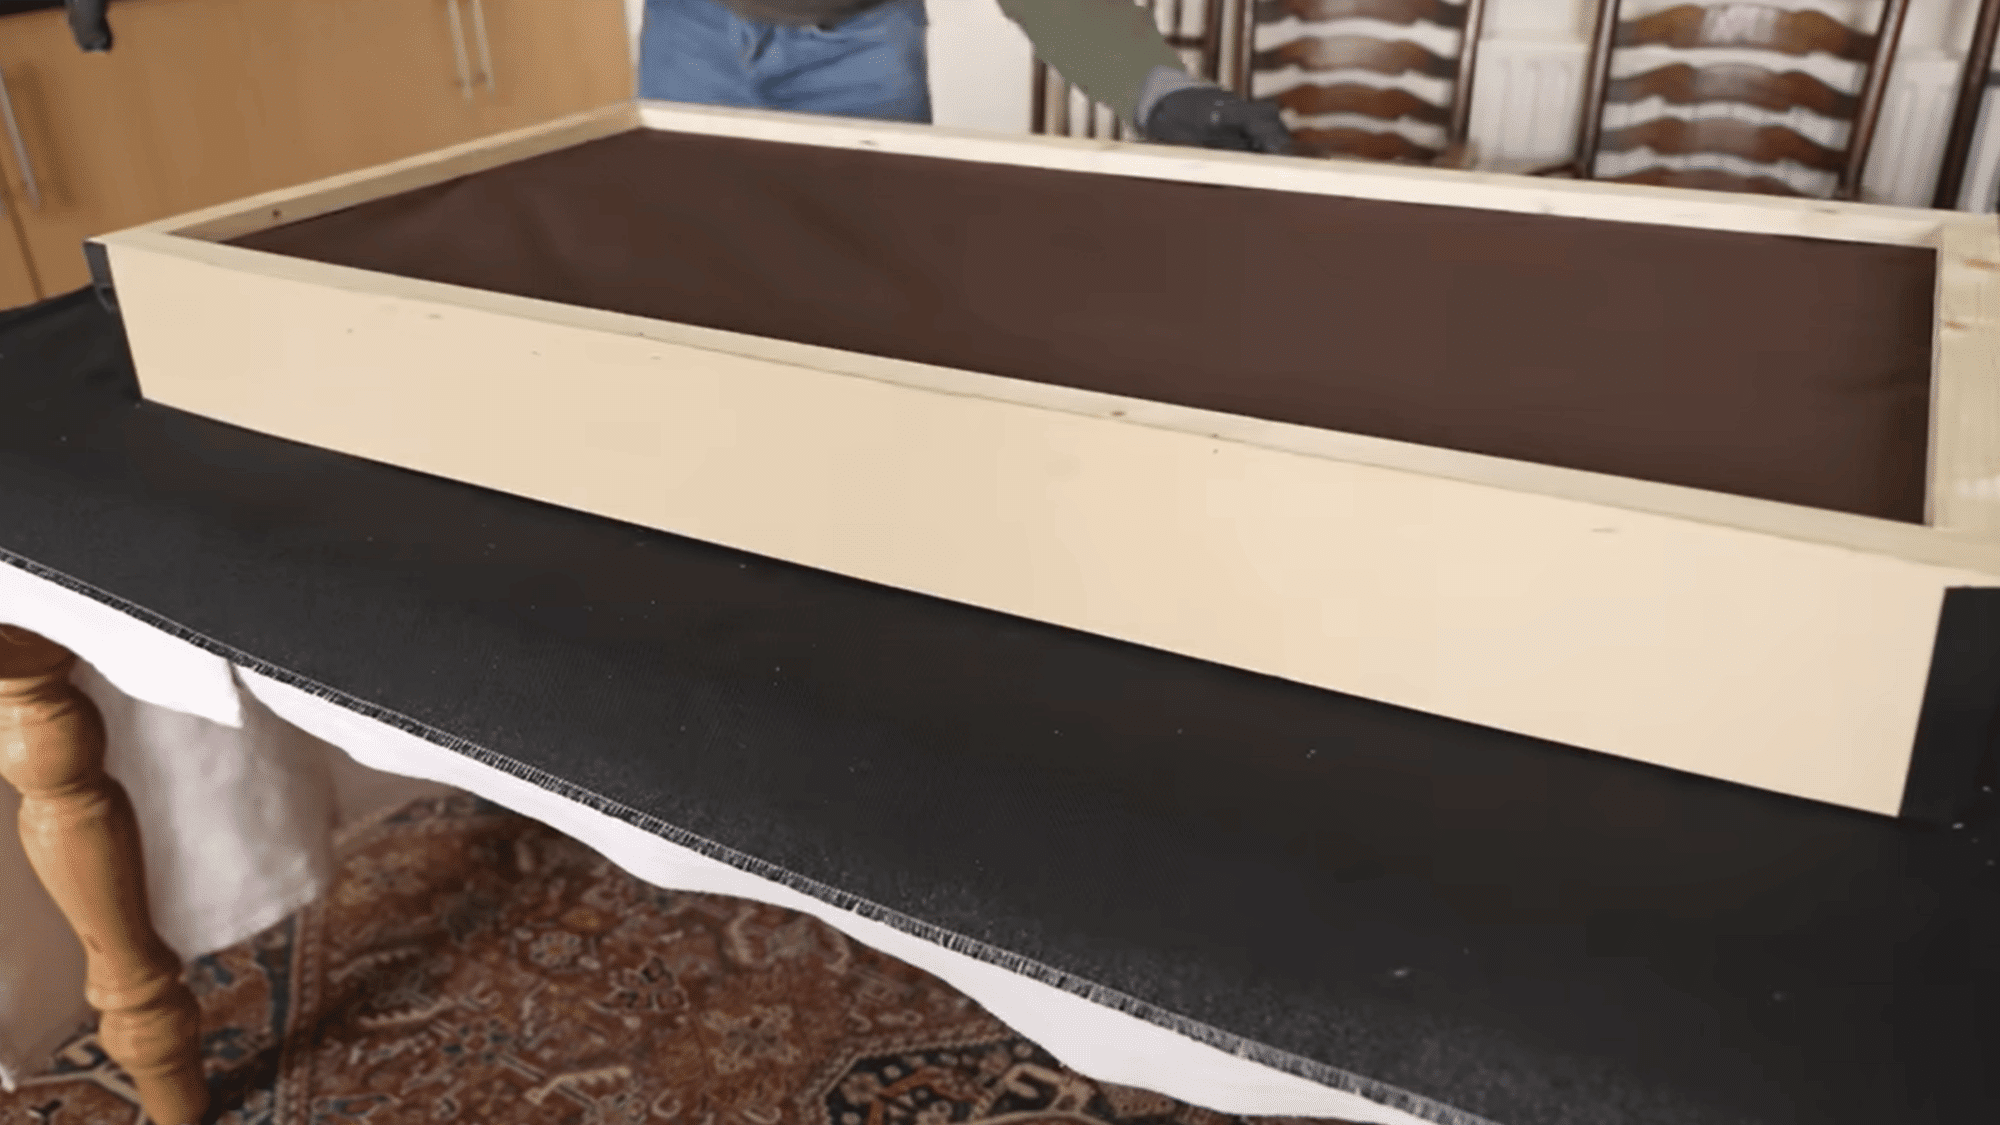
| Wooden Frame (Timber) | Used to build the structure of the panel. |
| Side Boards or Backing Board | Thin plywood or particle board provides shape and helps hold the insulation securely in place. |
| Acoustic Insulation Material | Materials such as recycled denim, foam, or fiber panels absorb sound effectively, reducing echo. |
| Breathable Fabric (Front & Back) | Wraps the panel and allows sound to pass through to the insulation. |
| Staples, Glue, or Nails | Used to assemble the frame and secure the fabric tightly around the panel. |
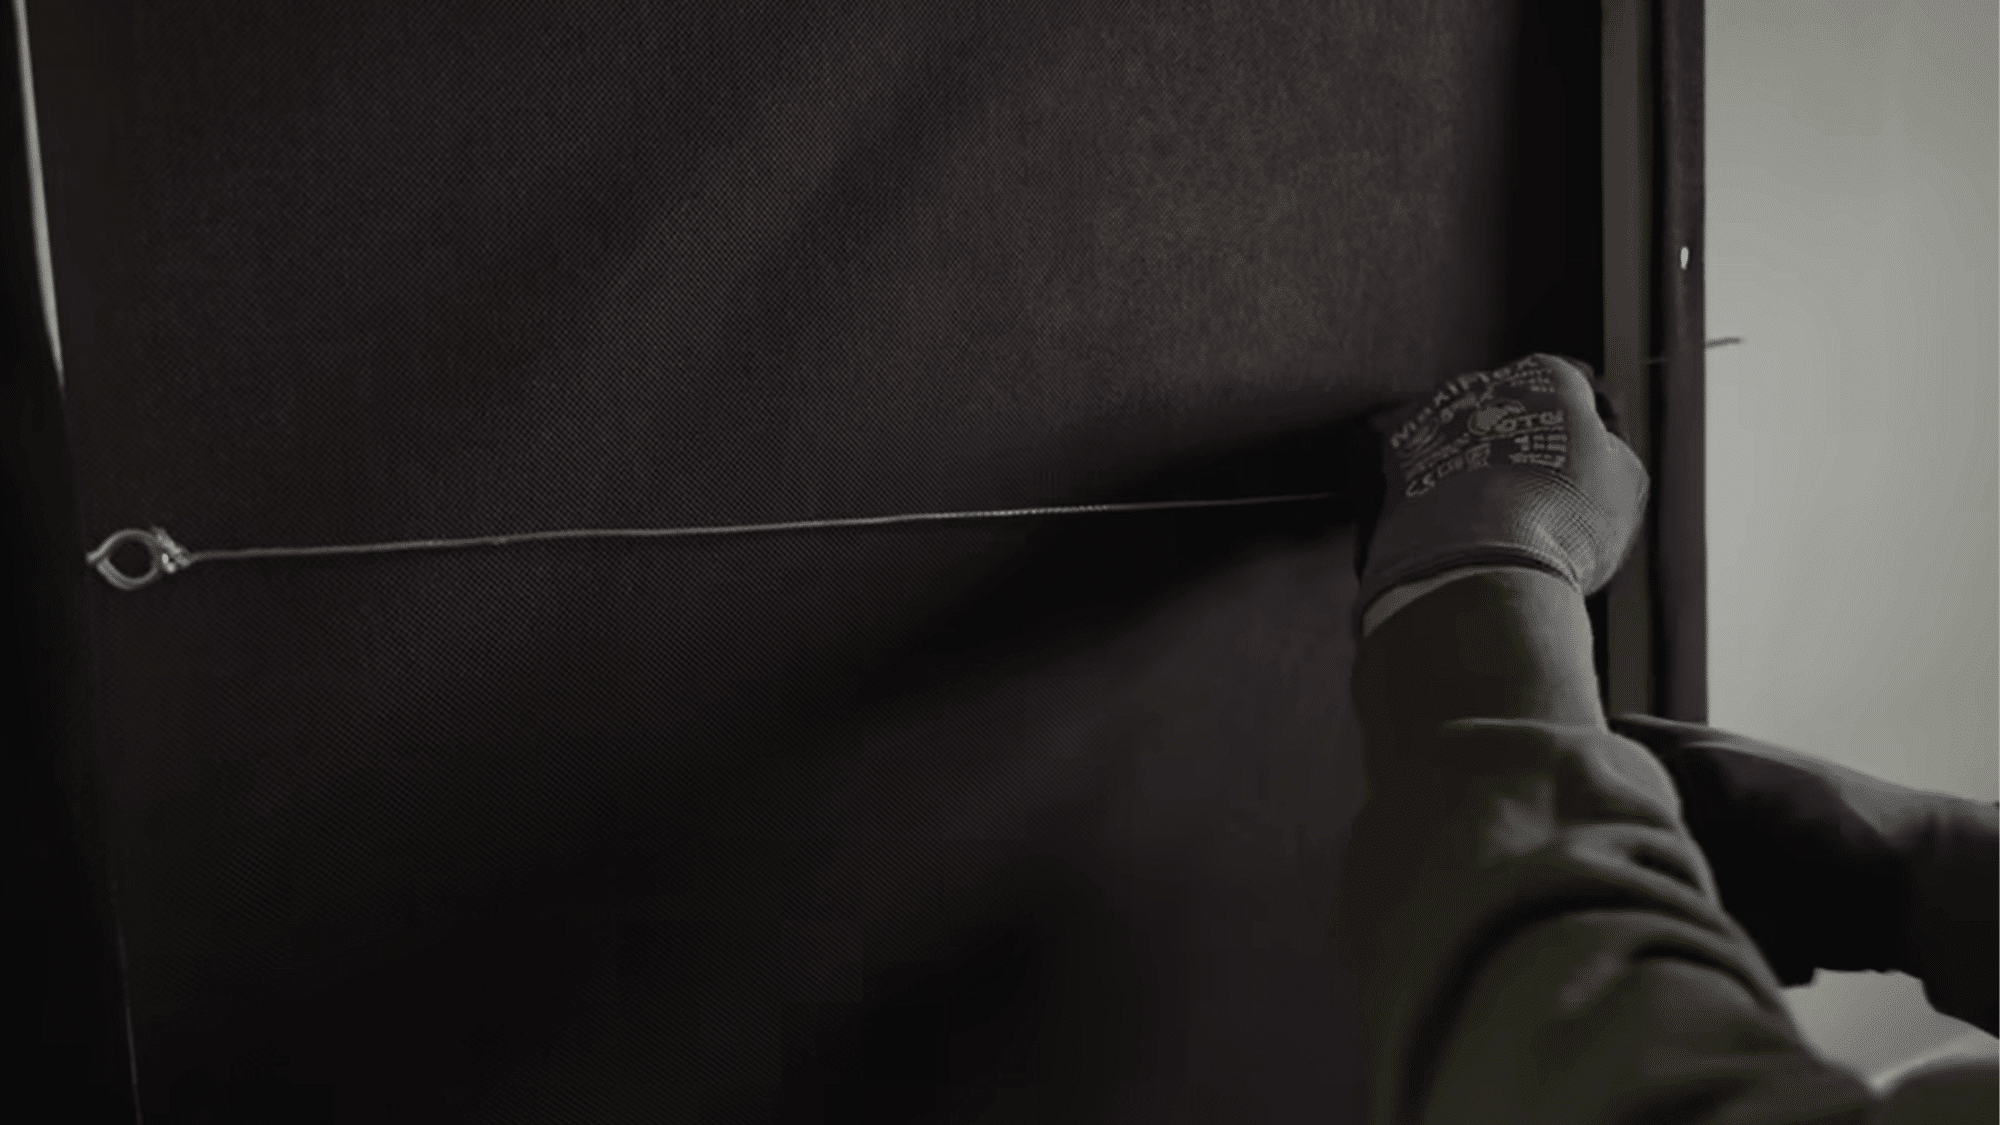
| Mounting Hardware (Hooks/Wire) | Helps hang the panel securely on walls for proper placement and sound treatment. |
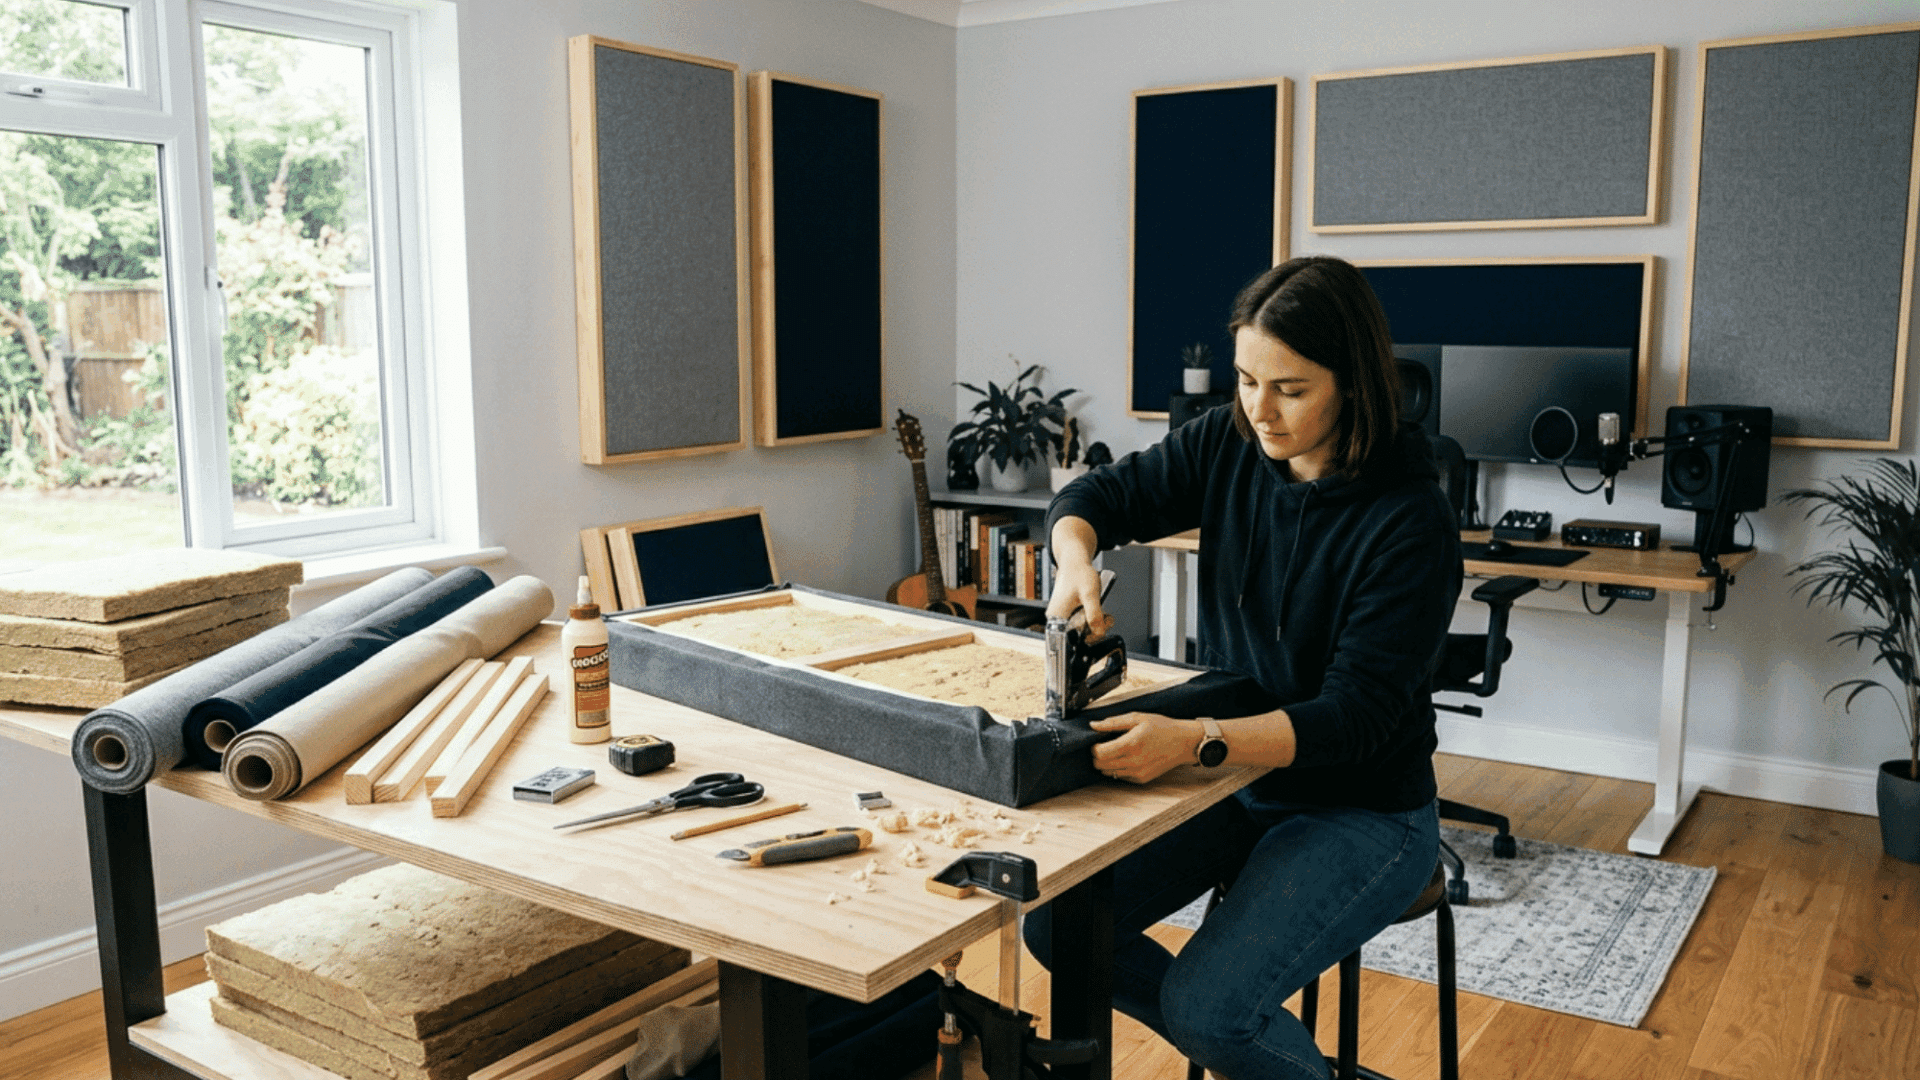
Step-by-Step Guide to Building DIY Panels
Building DIY sound-absorbing panels becomes much easier when you follow a clear, step-by-step process. It helps you avoid common mistakes, such as weak frames or poor material placement, which can reduce the panel’s effectiveness.
1. Identify the Type of Noise

External noise, such as traffic or loud neighbors, requires dense, heavy materials designed to block sound from entering through walls, windows, and doors.
Internal issues like echoes and reverb are better handled with soft, absorbent surfaces such as foam panels or fabric-wrapped boards.
Correctly identifying your noise source from the start ensures that every material you choose works to solve the right problem efficiently.
2. Choose the Right Material Type

Foam panels work well for reducing echo and improving clarity in smaller spaces, such as home studios or podcast rooms.
For blocking sound from passing through walls and ceilings, denser options like mineral wool or fiberglass insulation deliver far better performance.
Always match your material choice to your specific soundproofing goal, whether that is absorption, blocking, or both.
3. Layer Materials for Better Results
Relying on a single material is rarely enough to achieve the level of soundproofing most spaces require. Combining multiple materials is far more effective because each targets different sound frequencies and entry points.
For example, thick rugs absorb impact noise from the floor, heavy curtains reduce sound transmission through windows, and wall panels handle reflections and echoes within the room.
4. Consider Installation Ease
Lightweight options like acoustic blankets and foam panels are easy to hang, adjust, and remove, making them perfect for renters or anyone who needs a flexible setup.
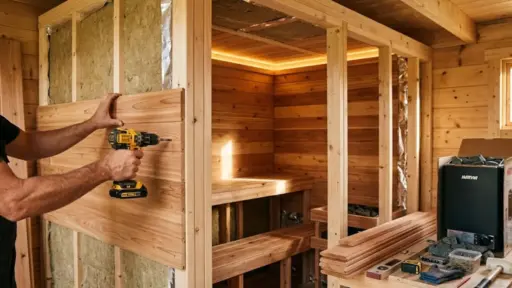
Permanent solutions, such as framed panels filled with mineral wool or fiberglass, require more effort and investment but deliver significantly better and longer-lasting results.
5. Don’t Ignore Walls and Ceilings
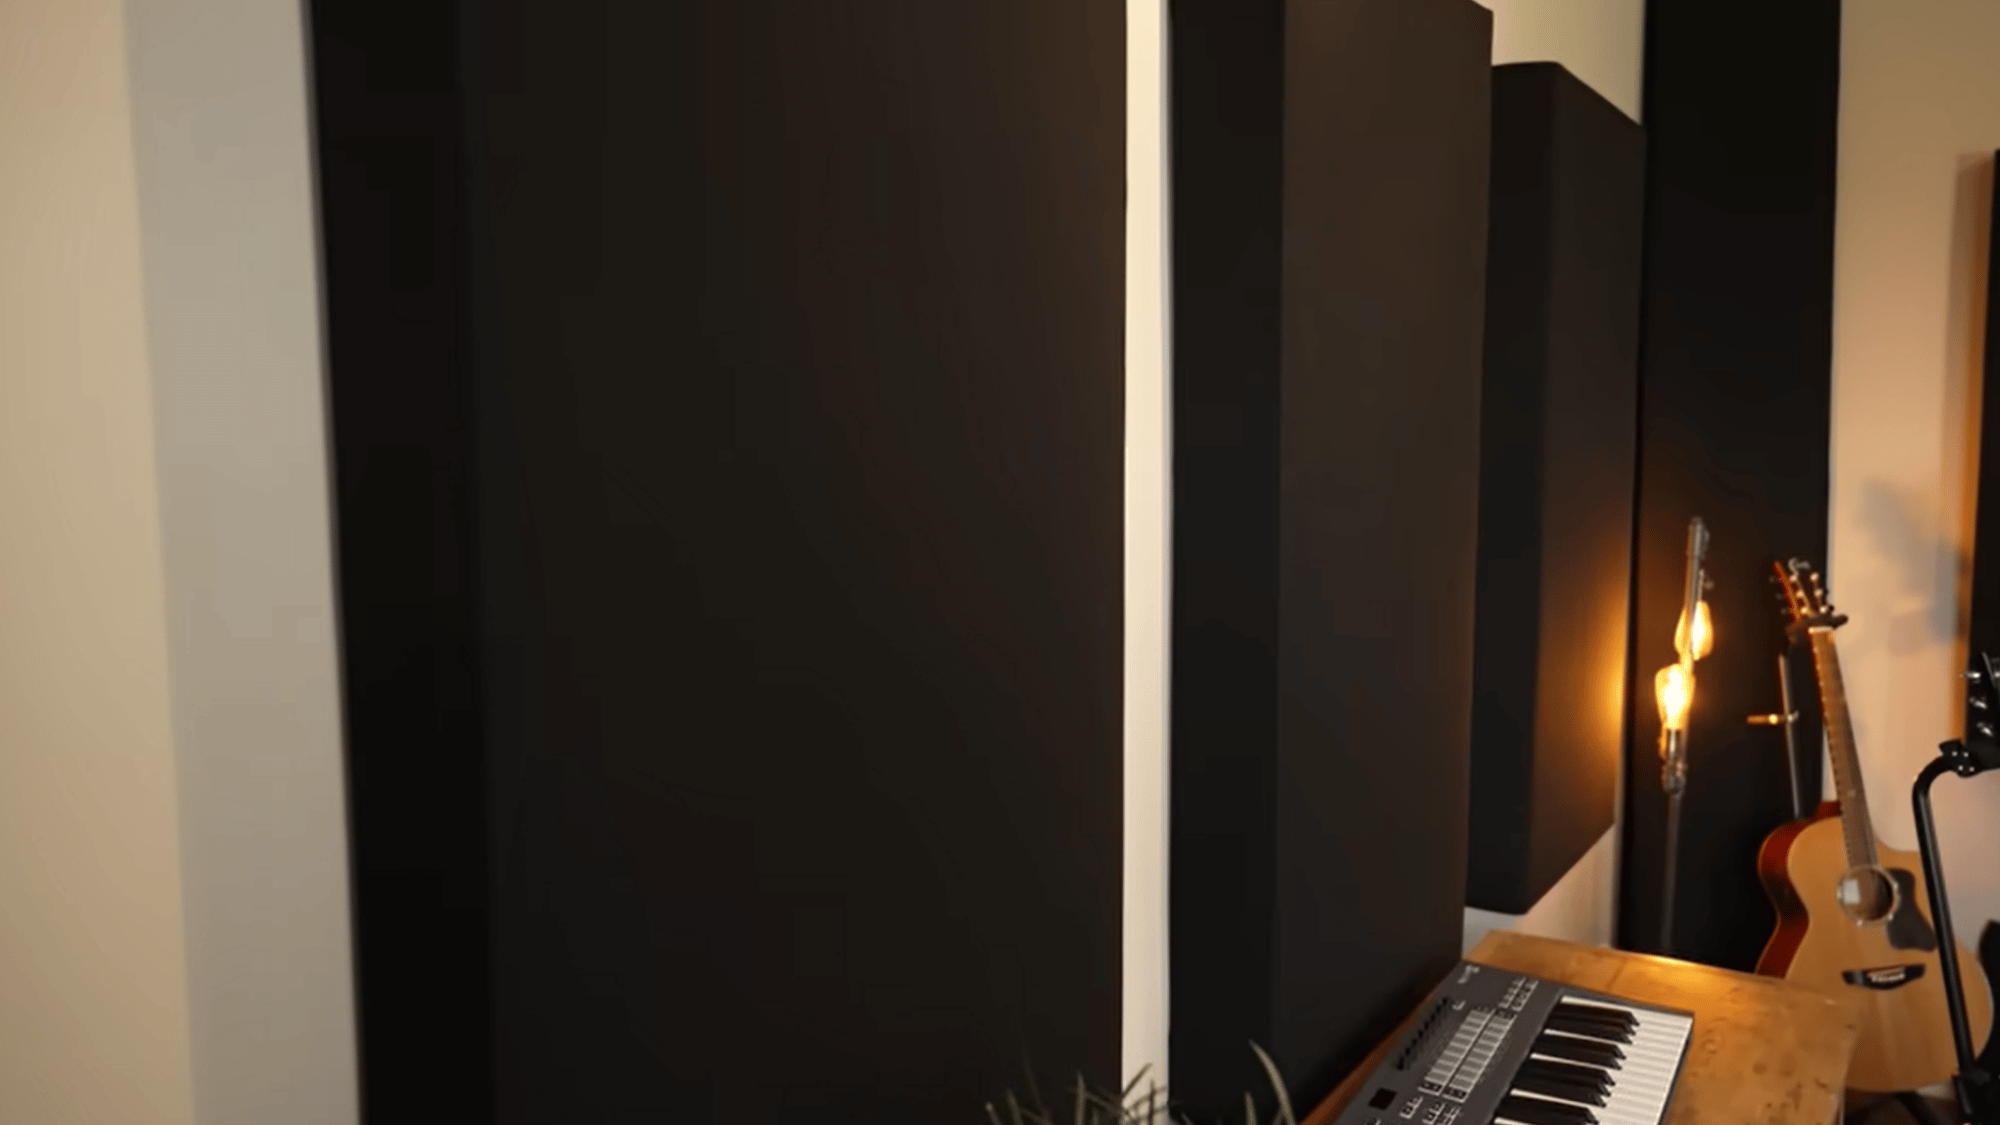
Focusing only on floors or windows while ignoring these larger surfaces will leave your room far from acoustically balanced.
Even partial treatment, such as installing panels at first-reflection points or adding absorption to the ceiling, can produce a noticeable reduction in noise levels. This is especially important in rooms with shared walls or apartments with noisy neighbors above.
Watch the video below for a clear visual guide:
Understanding Costs and Budget Planning
When planning your DIY sound-absorbing panels, it helps to have a clear idea of the costs involved. You can control your budget based on the materials you choose and the number of panels you need.
Some people start small and add more panels over time, which makes the project more manageable. Comparing this cost with something like a home energy audit cost also gives a better perspective.
| Cost Factor | DIY Sound Panels | Home Energy Audit |
| Average Cost | $20 – $100 per panel | $200 – $600 per audit |
| Type of Expense | One-time material cost | Professional service fee |
| Main Materials/Service | Insulation, wood, fabric | Expert assessment and report |
| Purpose | Improves sound quality and comfort | Identifies energy-saving opportunities |
| DIY Friendly | Yes, fully DIY | Typically requires a professional |
| Long-Term Savings | Reduces the need for costly acoustic treatments | Lowers energy bills over time |
| Budget Flexibility | High, start small and expand | Fixed cost based on home size |
Common Mistakes to Avoid
Building DIY sound-absorbing panels is rewarding, but small oversights can significantly reduce their effectiveness. Avoiding these common mistakes will save you time, money, and frustration.
- Using the Wrong Materials: Avoid using items such as cardboard or thin foam, as they don’t perform well. Instead, go for proven materials like mineral wool or fiberglass for better results.
- Incorrect Placement: Panels should be positioned where sound reflections are strongest, such as walls and corners.
- Skipping Room Measurements: Without accurate measurements, you may end up with panels that are too small or too few to make a real difference.
- Ignoring Panel Thickness: Thinner panels may look neat, but often fail to absorb lower frequencies effectively. Aim for a thickness of 2 to 4 inches to handle a wider range of sound frequencies.
- Poor Build Quality & Safety: Weak frames and uncovered insulation can cause issues. Build sturdy frames and use breathable fabric for safety.
Conclusion
DIY sound-absorbing panels are a simple and cost-effective way to improve the sound quality of any room.
The key lies in selecting the right materials, placing panels in the correct positions, and planning your budget wisely. When done right, DIY panels can deliver results that rival professional setups.
With a little effort and patience, you can create a quieter, more comfortable space perfectly suited to your needs.

James McLaren, with a rich background in architecture from the University of Manchester, has been contributing his expertise to the world of creative construction and home innovation for over 20 years. His journey began as a project manager for a leading construction firm, where he honed his skills in bringing complex designs to life. James joined our platform as a freelancer in 2019, quickly becoming a favorite for his insightful and practical advice. He has been a pivotal force to our wing ever since, bringing our readers a blend of technical know-how and creative flair. Beyond his professional life, James is an avid woodworker and enjoys restoring vintage furniture, a hobby that complements his professional insights beautifully.