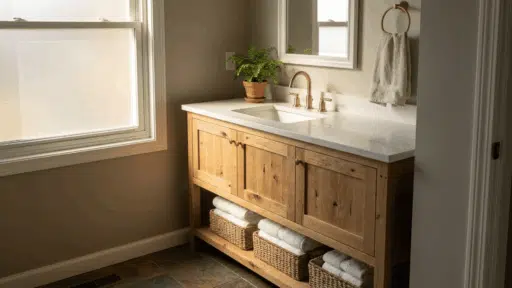
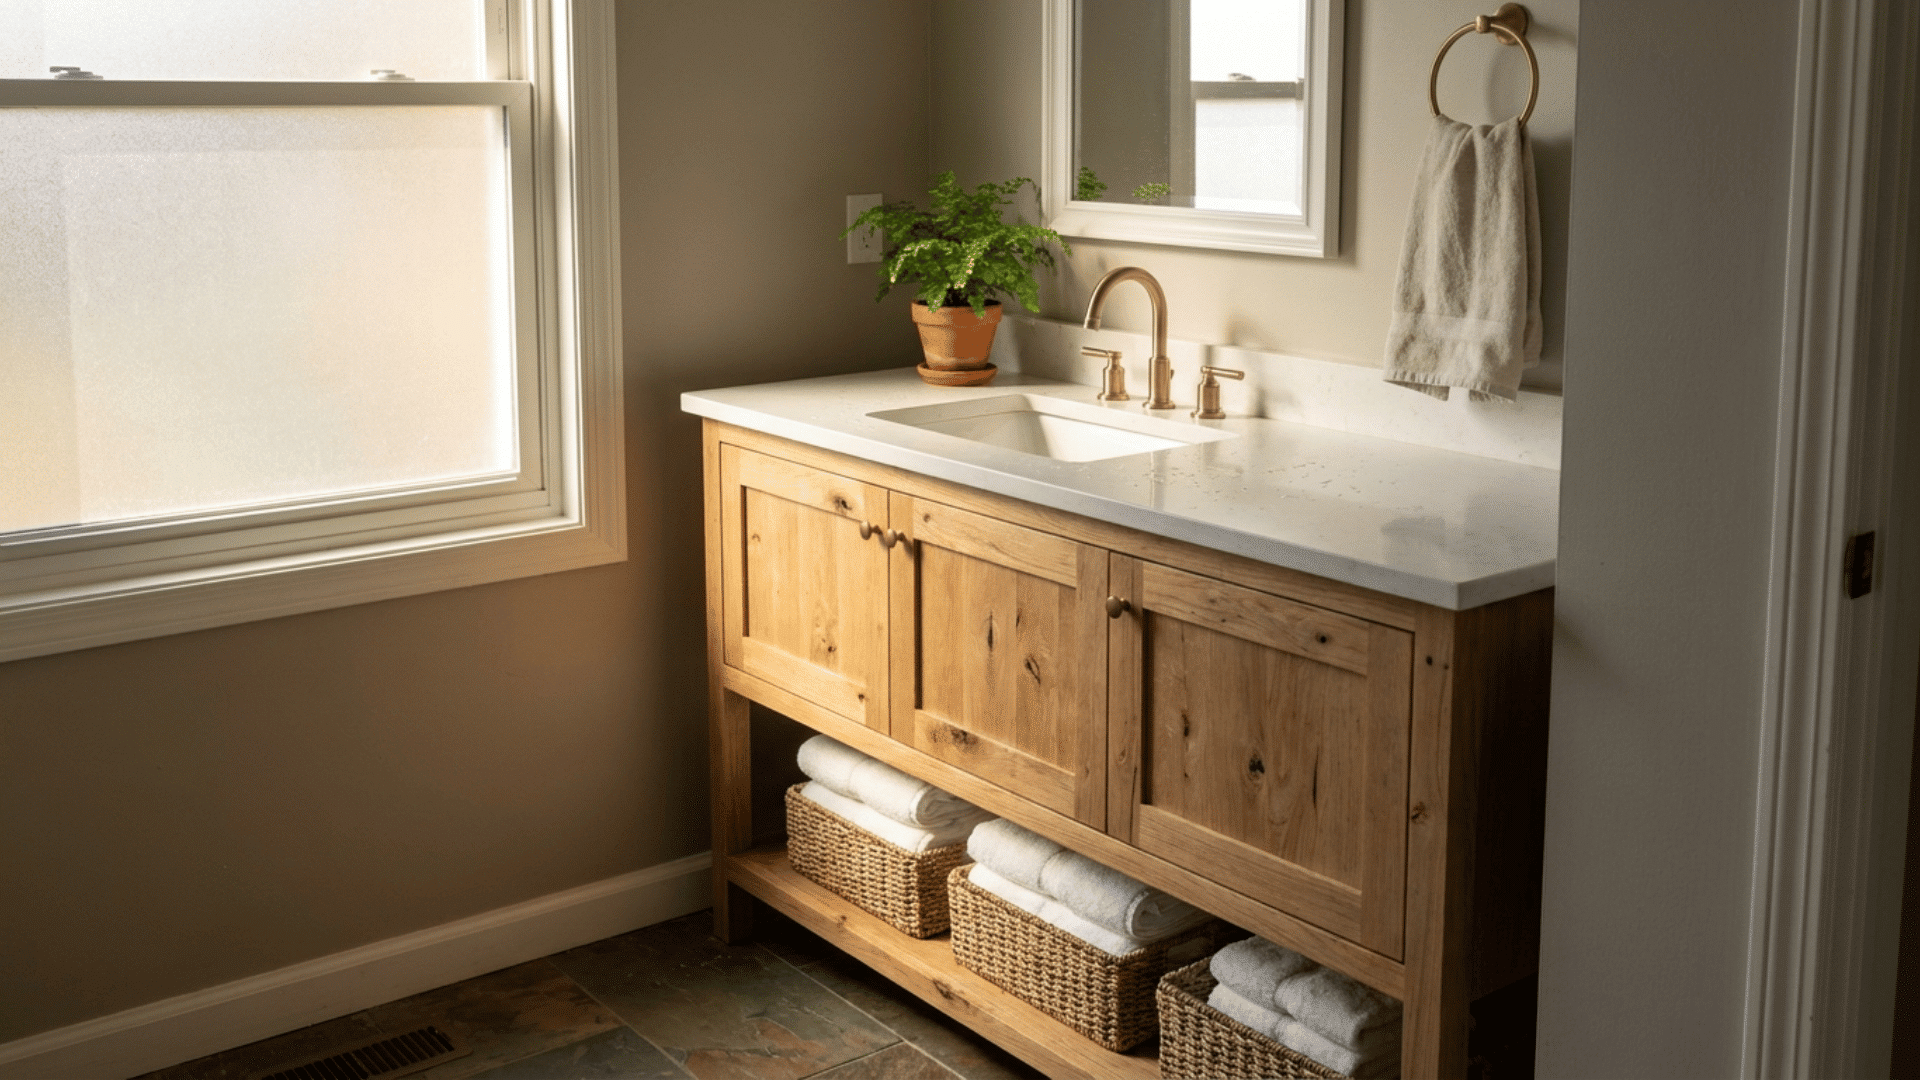
When I first looked at bathroom vanities in stores, the prices made me stop and walk away. So I decided to build my own instead. It came out looking like a custom furniture piece, and I was hooked from that point on.
If you have ever wanted to do the same, you are in the right place. Building your own vanity is easier than it sounds, and you can finish one over a weekend.
This blog will walk you through the whole thing. You will see the tools and materials you need, how to pick the right size, and the full step-by-step build for the base, door, and finish.
I will also share style ideas, small bathroom tips, and the common mistakes to avoid along the way. Let’s get started.
Why Build Your Own Vanity
I built my first one because the store prices didn’t match the quality I saw. Here’s what you actually get when you make it yourself.
- You save real money: Materials run about $110 to $190, while a store-bought vanity of the same size starts at $300 and climbs from there. The savings cover your tools on the first build.
- You get the exact size you need: Bathrooms are rarely a standard shape. Building your own lets you match an odd wall, work around a window, or fit a tight powder room instead of settling for “close enough.”
- You control the quality: I know how every joint is put together because I cut and screwed each one. A solid wood frame holds up better than the stapled particleboard in most budget vanities, and it’s easy to repair if it loosens later.
- It’s more doable than it looks: If you can measure carefully and drive a screw, you can build this. A simple single-door vanity comes together over a weekend, and the skills carry straight into your next project.
- It lasts: The vanity I built first is still square and still closing flush years later. You end up with something better than what you’d have bought, for less.
What You Need Before You Start
Gather everything before you make a single cut. Few things slow a build down more than stopping halfway to run back to the store, so lay out your tools and materials first and check them against the lists below.
Tools
You will need a few common tools for this build. Most of these you may already own, and the ones you do not have can usually be rented.
Materials and Hardware
Here is what to pick up for the cabinet itself, along with the hardware that finishes it off.
Choosing Your Dimensions
Make sure to check these factors before starting your build:
| Dimension Consideration | Details |
|---|---|
| Start With the Sink and Countertop | Size your vanity around the sink and countertop first, as these determine the final width and depth. |
| Use Standard Countertop Sizing | A 48-inch vanity base typically fits a 49-inch by 22-inch countertop, allowing for a slight overhang. |
| Plan Smaller Builds Carefully | For compact spaces, a vanity around 18.5 inches wide and 32.5 inches tall can work well. |
| Leave Room for Overhang | Include a small overhang around the countertop to improve appearance and protect cabinet edges. |
| Check Plumbing Clearance | Keep the back of the cabinet open or partially open to accommodate water supply lines and drain pipes. |
| Measure Before Cutting | Verify sink dimensions, countertop size, wall space, and plumbing locations before cutting materials or assembling the vanity. |
Step-by-Step: How to Build the Vanity Base
Now we get into the real work. This section turns each quick-answer move into clear steps with measurements. Take your time on the cuts, since accurate pieces make the rest of the assembly go together much more smoothly.
One habit that has saved me more than once: dry-fit each part before you glue it, so you catch a bad angle while it is still easy to fix.
Step 1: Make Your Cuts
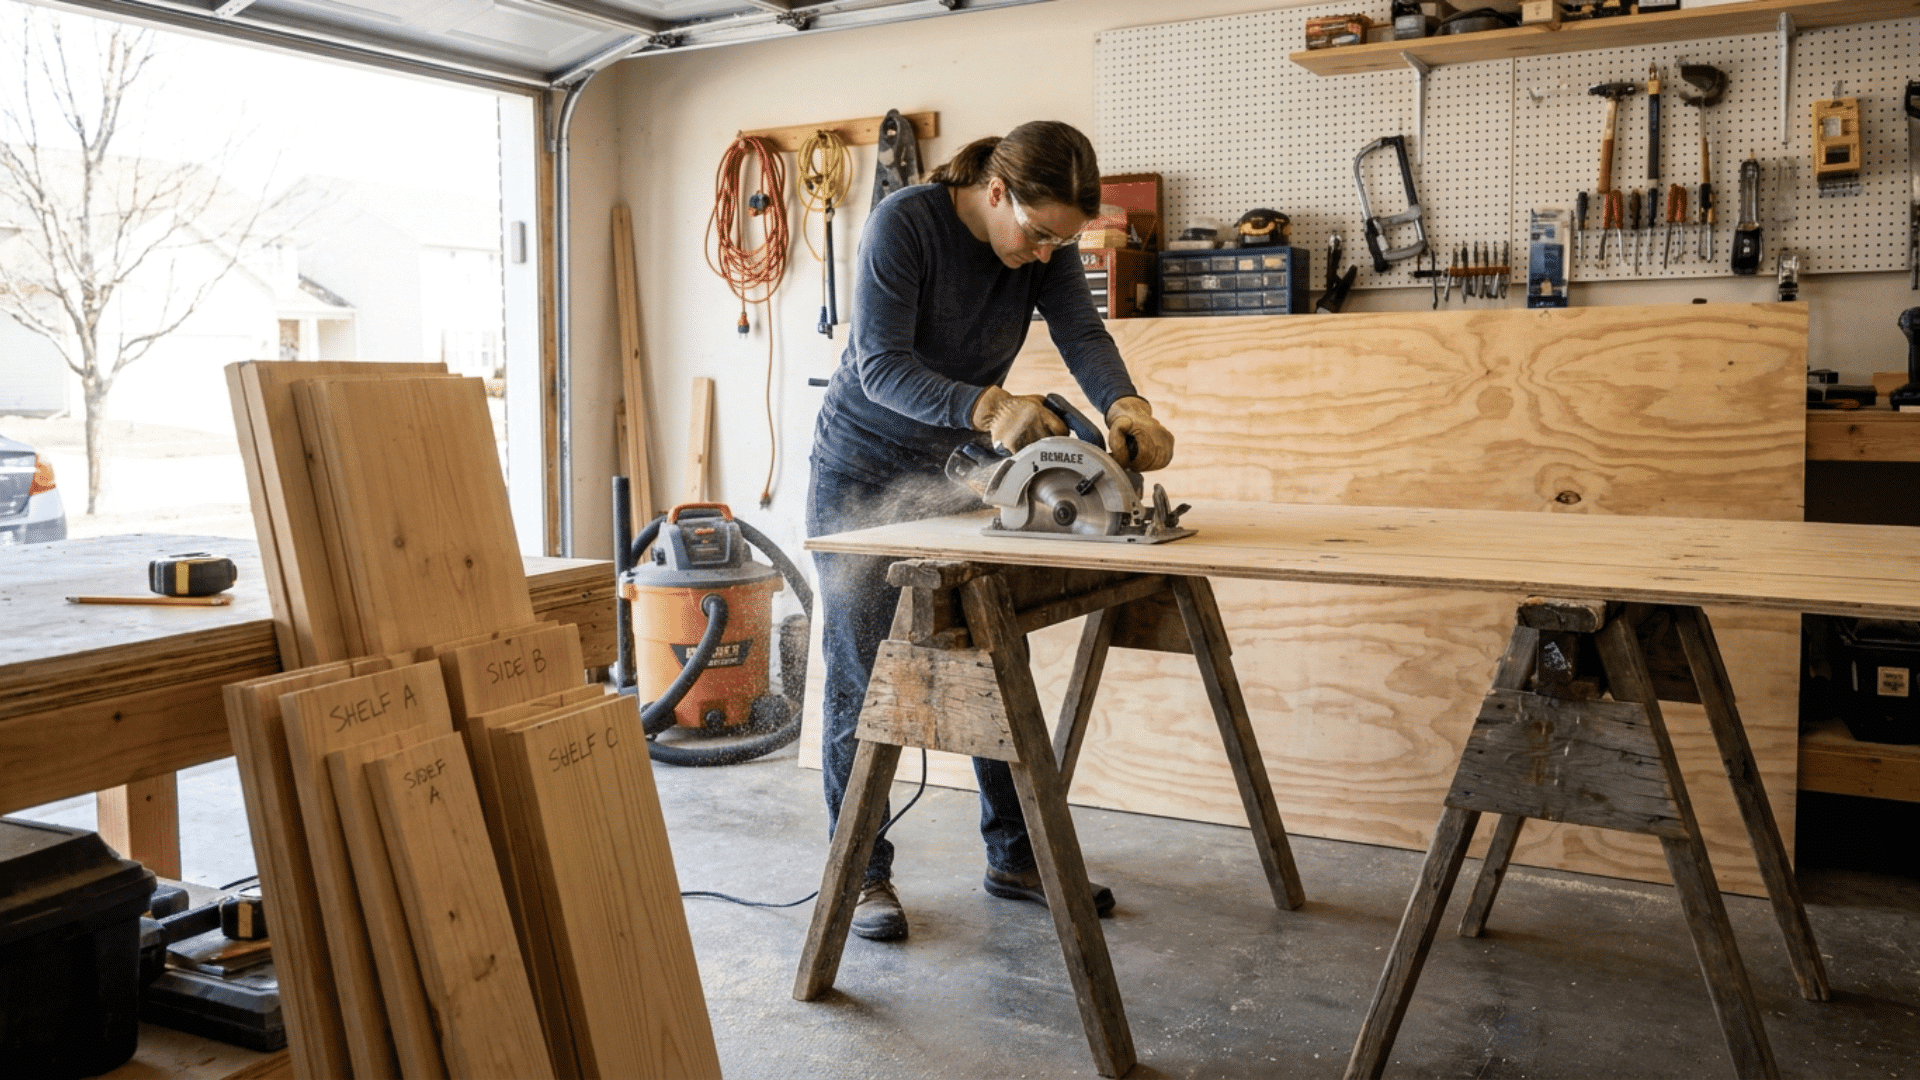
Cut all your pieces first so they are ready to go before assembly begins. Cut the legs from 2×3 boards, the trim and front rails from 1×2 boards, and the side and base panels from plywood.
Use the miter saw for framing and the circular saw for plywood. Label each piece as you cut so nothing gets mixed up later. Stacking them in order saves you time when the building starts.
Step 2: Assemble the Side Panels
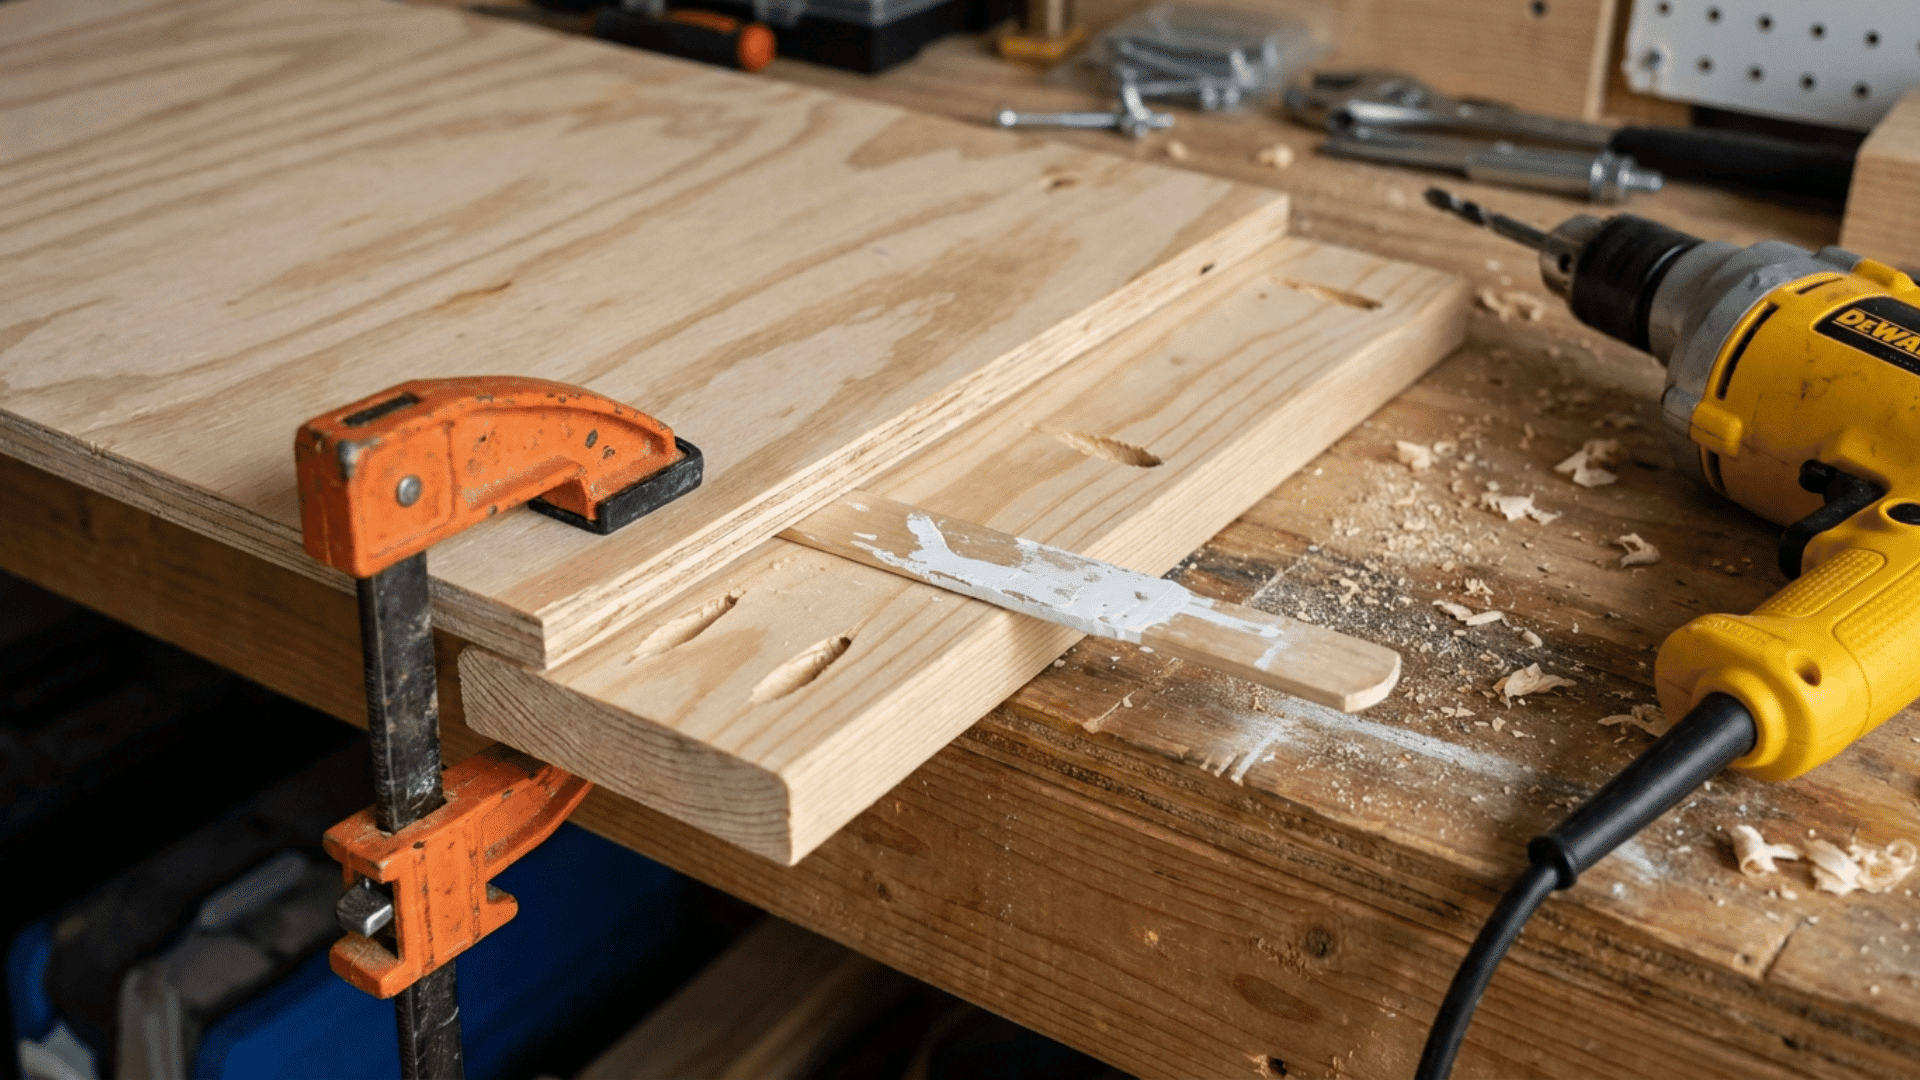
Drill pocket holes along both edges of each plywood side panel, with the jig set for half-inch material. Attach a 1×2 trim board flush with the edge using glue and pocket screws.
Clamp the boards and slide a shim underneath to hold them in line while you work. A flush edge here makes the legs sit cleaner, so take a moment to check the alignment before you drive each screw home.
Step 3: Attach the Legs
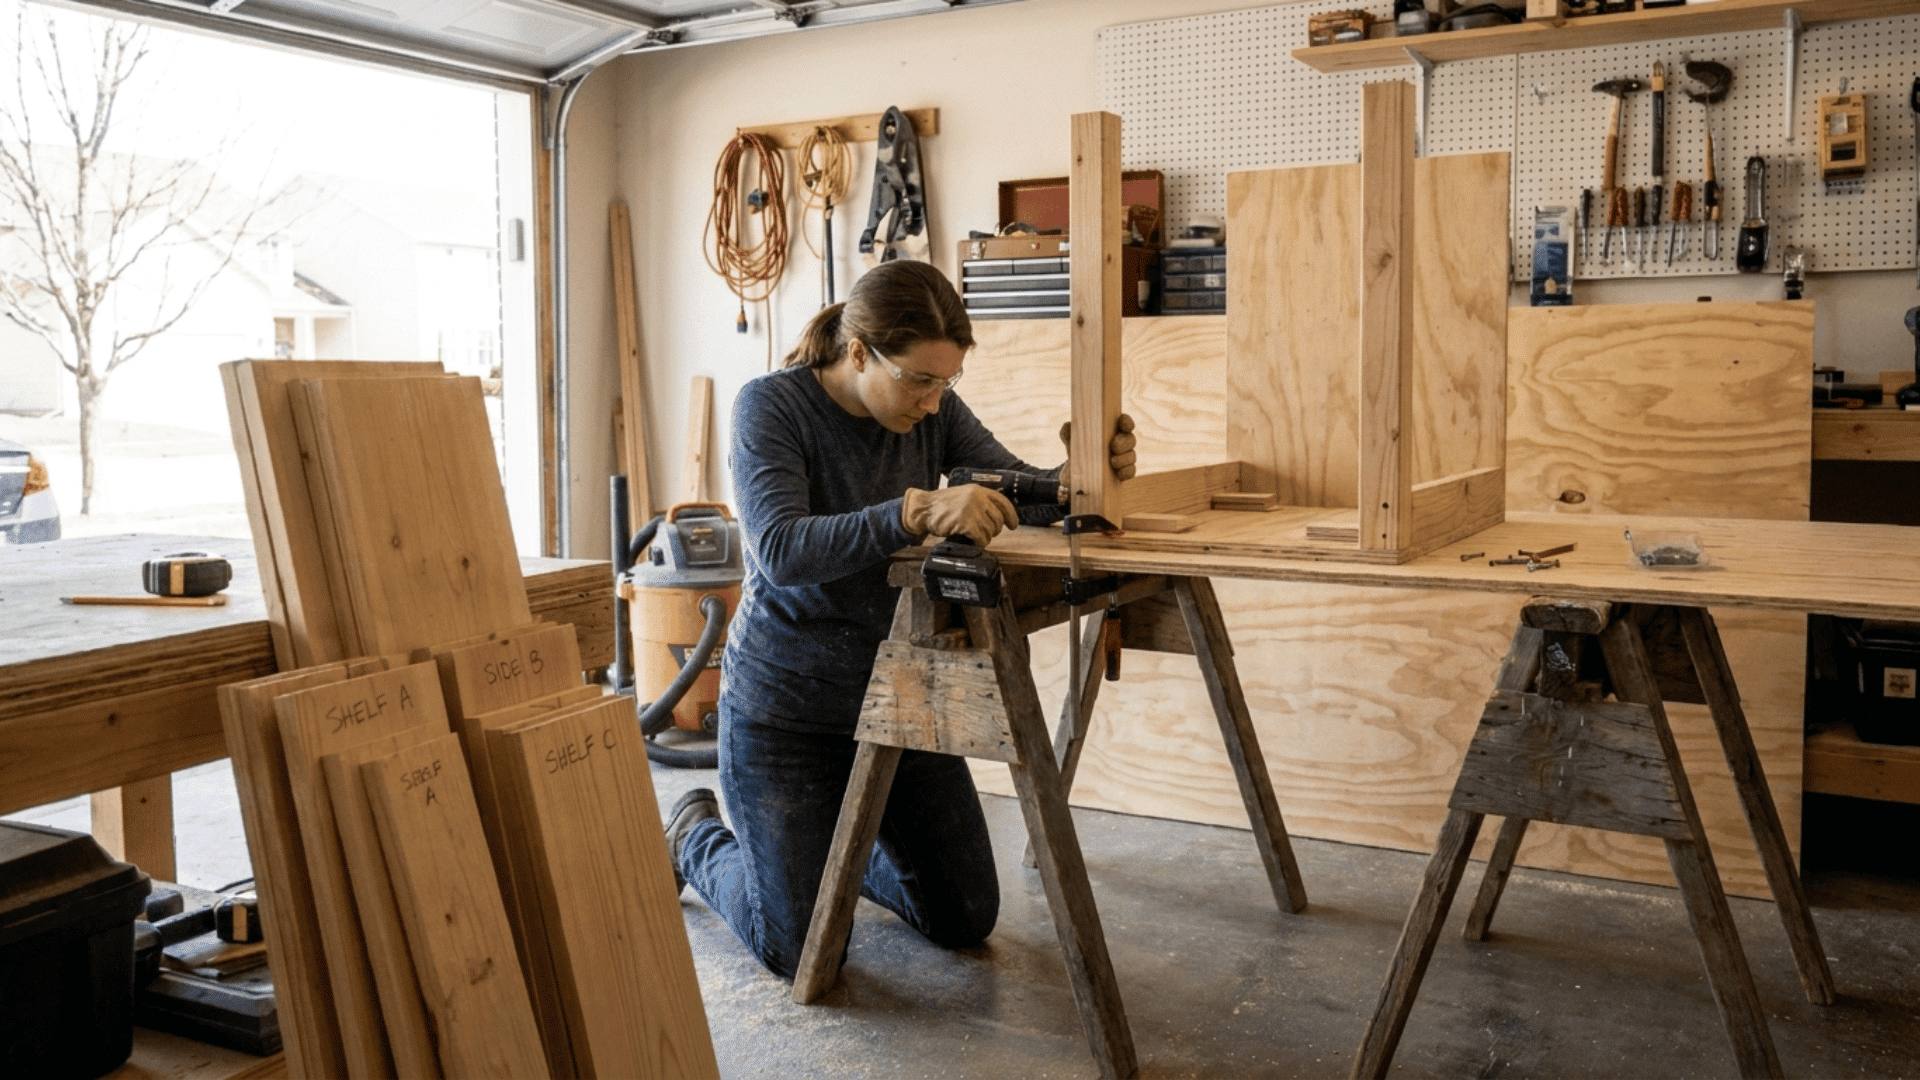
Add more pocket holes along the side panels, then clamp a 2×3 leg to each edge. Slip a shim at the top and bottom to set even spacing, then fasten with glue and pocket screws.
The clamps do most of the work, so check for square before driving each screw, not after. I learned that the hard way on my first build, when a rushed leg left the whole frame leaning slightly off true.
Step 4: Add Back Framing
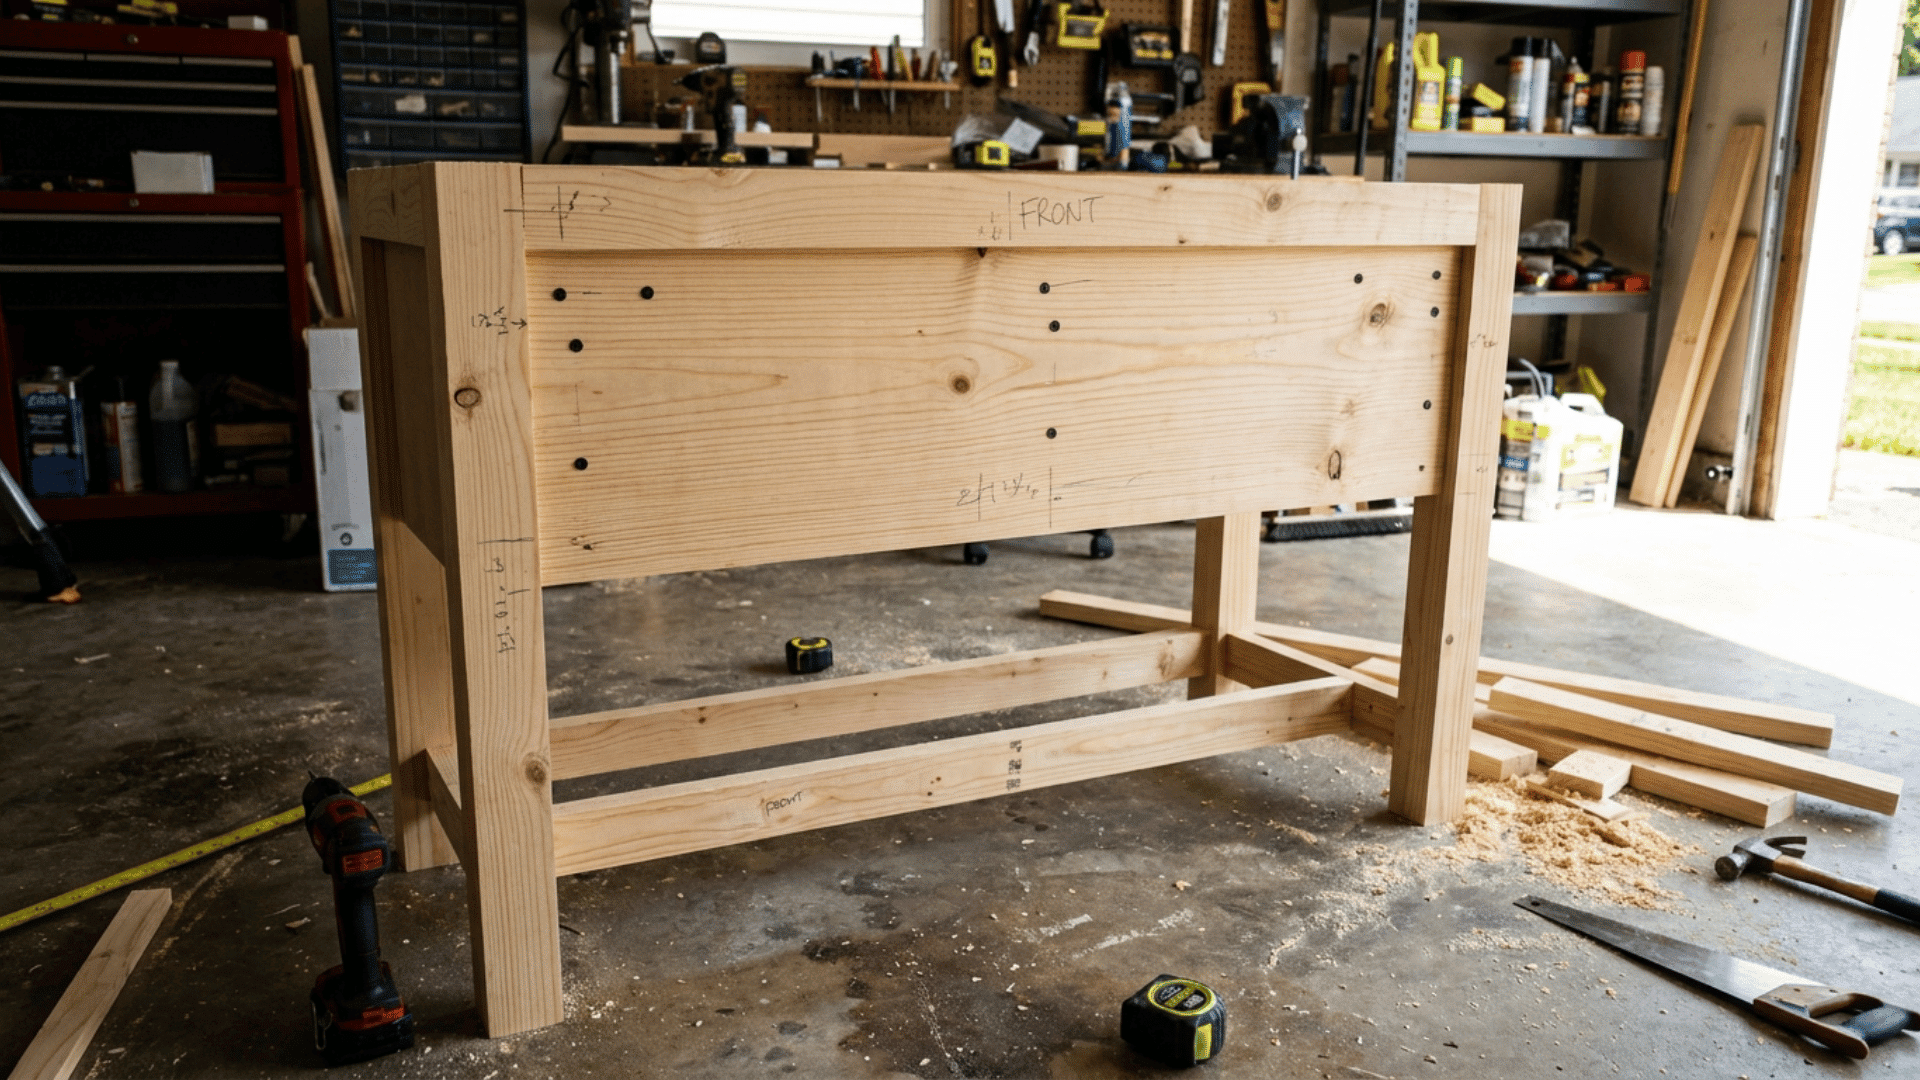
Attach a top rail and a middle rail across the back of the two side assemblies using glue and longer pocket screws. Leave the back open.
That space allows plumbing to pass through, and later you will screw these rails into the wall studs to anchor the vanity in place.
A solid back connection is what keeps the finished piece from shifting or pulling away from the wall over time.
Step 5: Add Front Framing and Base
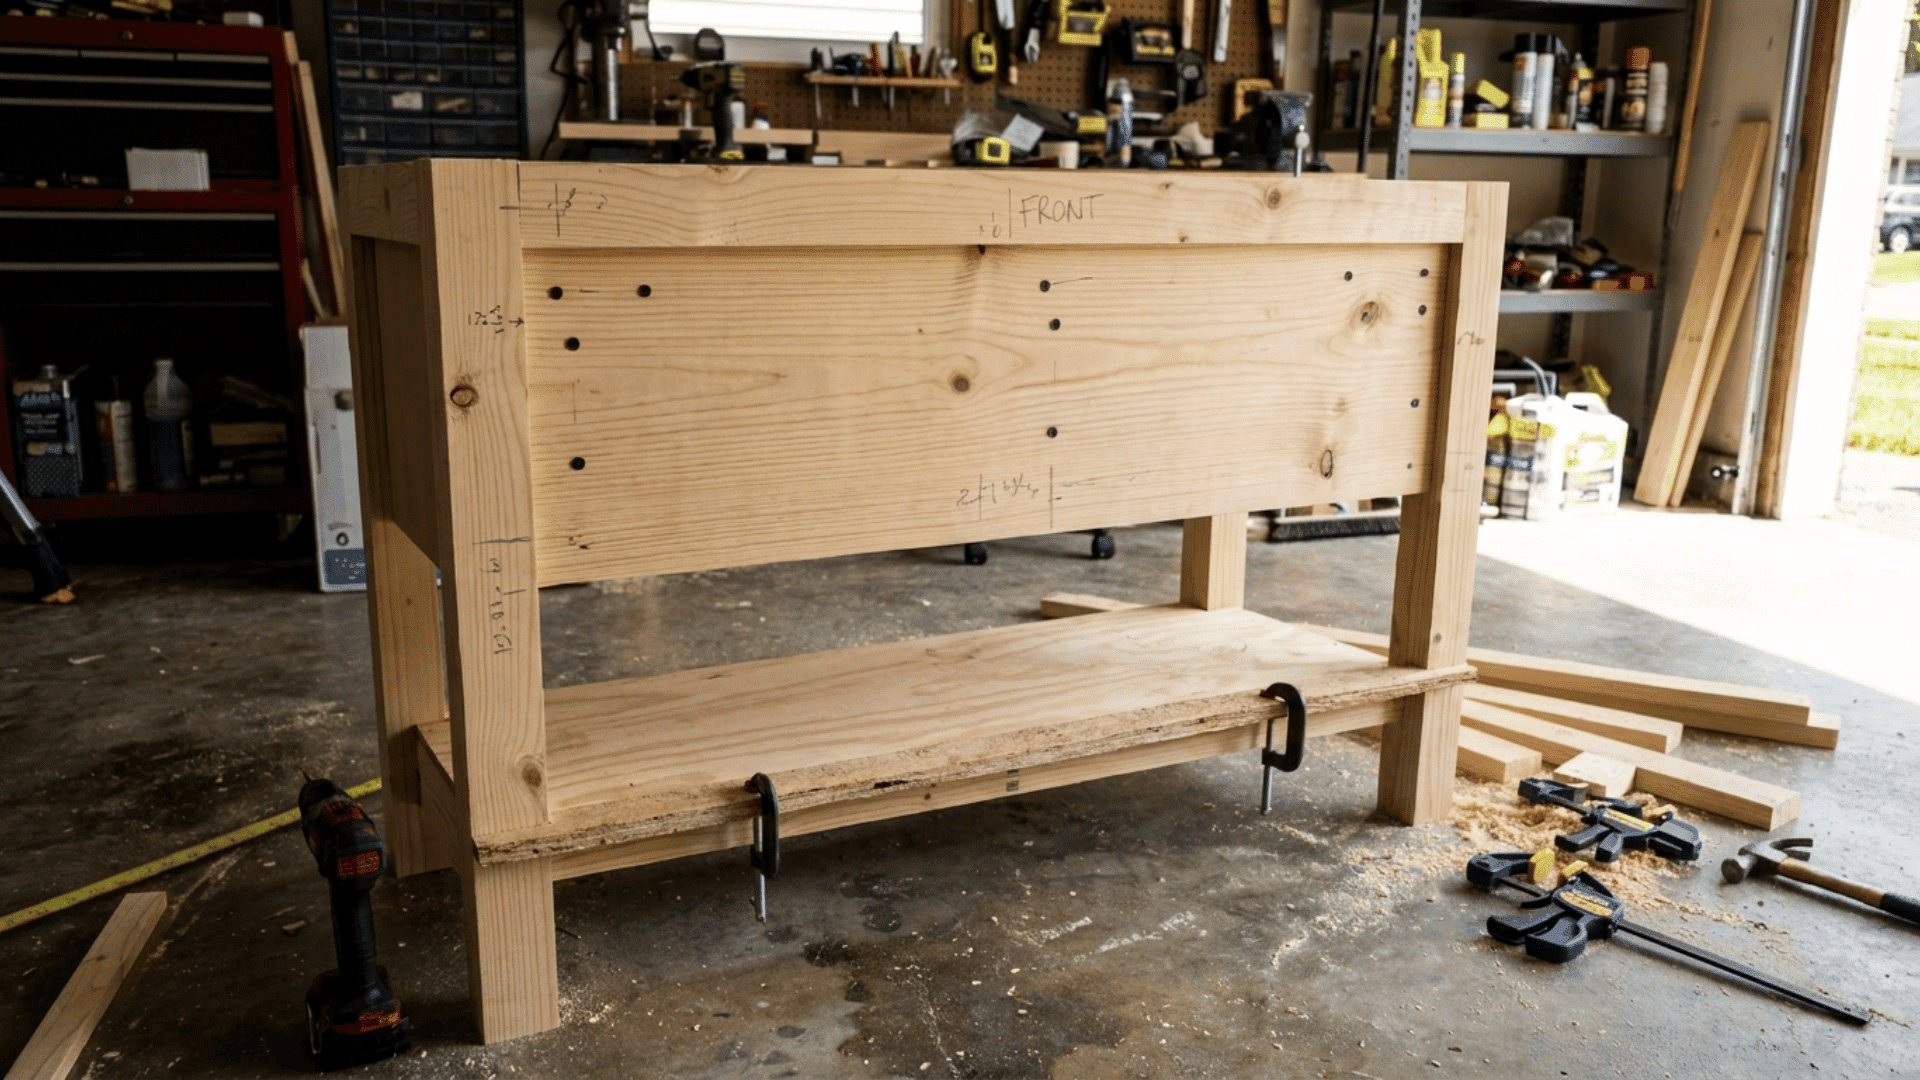
Add front rails at the top and middle to match the back framing you just installed. Set the plywood base panel inside and secure it with pocket screws.
A small gap usually shows at the front edge, so cover it with a thin scrap strip. That little step keeps the finished cabinet looking clean and intentional rather than unfinished.
Run your hand along the front to confirm everything sits flush before moving on.
Step 6: Building the Door
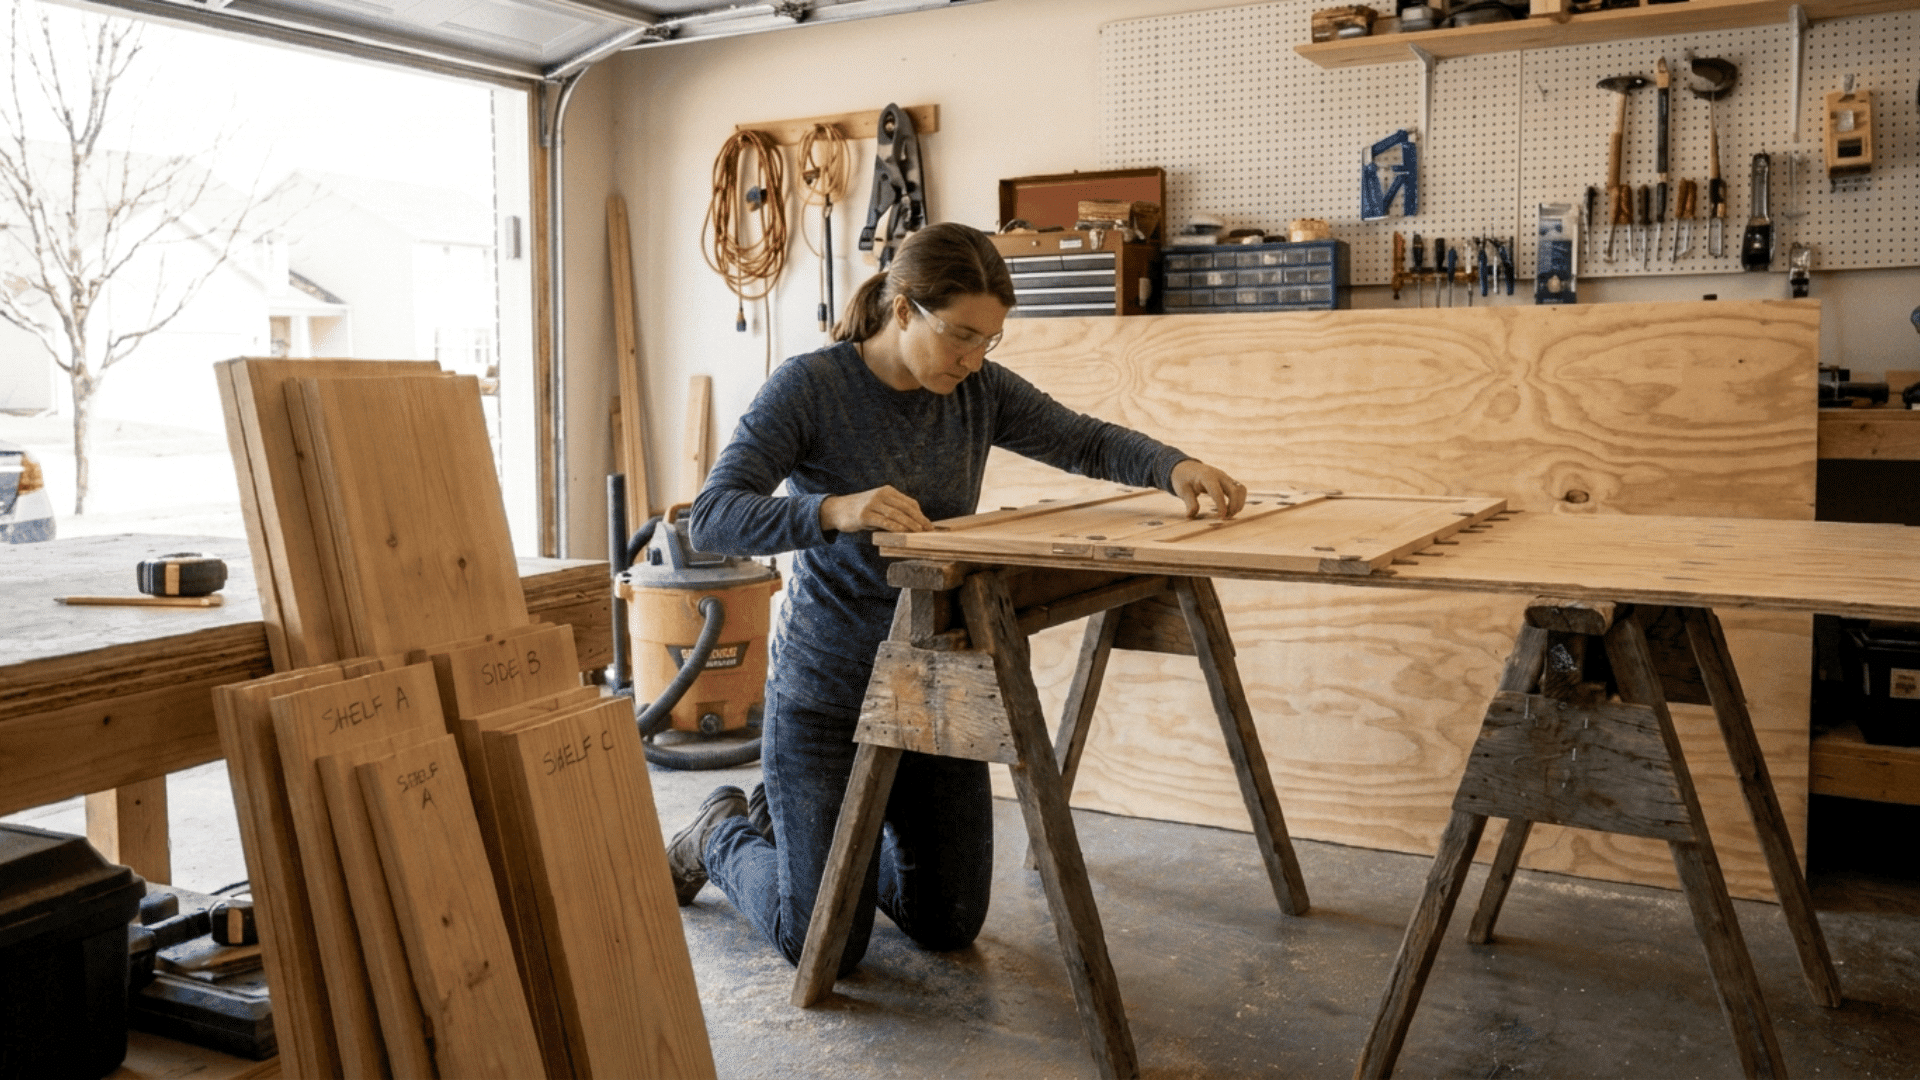
Cut your door panel to fit the front opening, then subtract a quarter inch so you get a 1/8-inch gap on each side.
For a faux-drawer look, lay your face boards over a plywood backer and space them with coins before fastening. Those small gaps create the drawer-line illusion without you having to build any real drawers.
Step 7: Hanging the Door
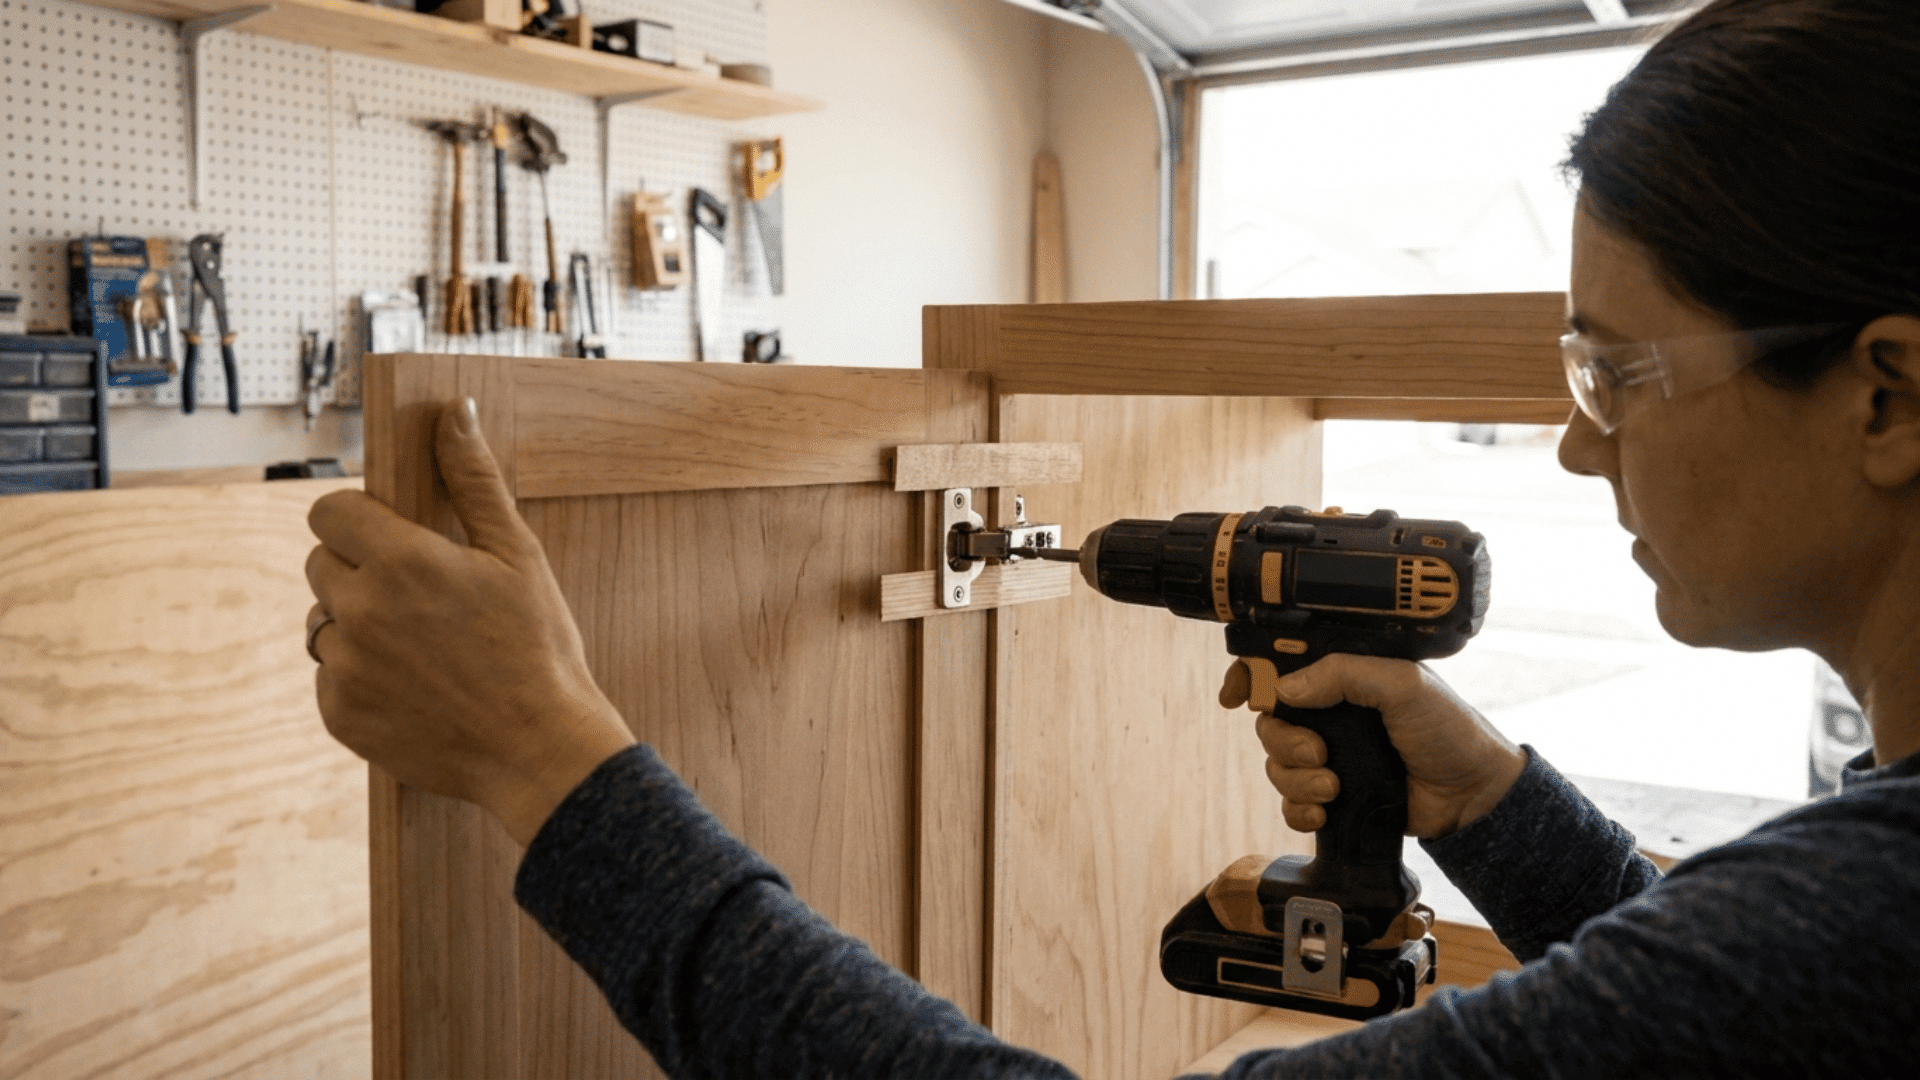
Add a wood mounting block flush with the leg where the hinges attach. Line the hinges up with the door edges first, then mount them using shims to hold the gap even on every side.
I prefer inset European hinges for a cleaner finish.
Hanging doors used to frustrate me, so I now set the gap with shims before driving a single screw. Finish with a magnetic catch so the door closes flush and stays shut.
Step 8: Sand, Stain, Paint, and Seal
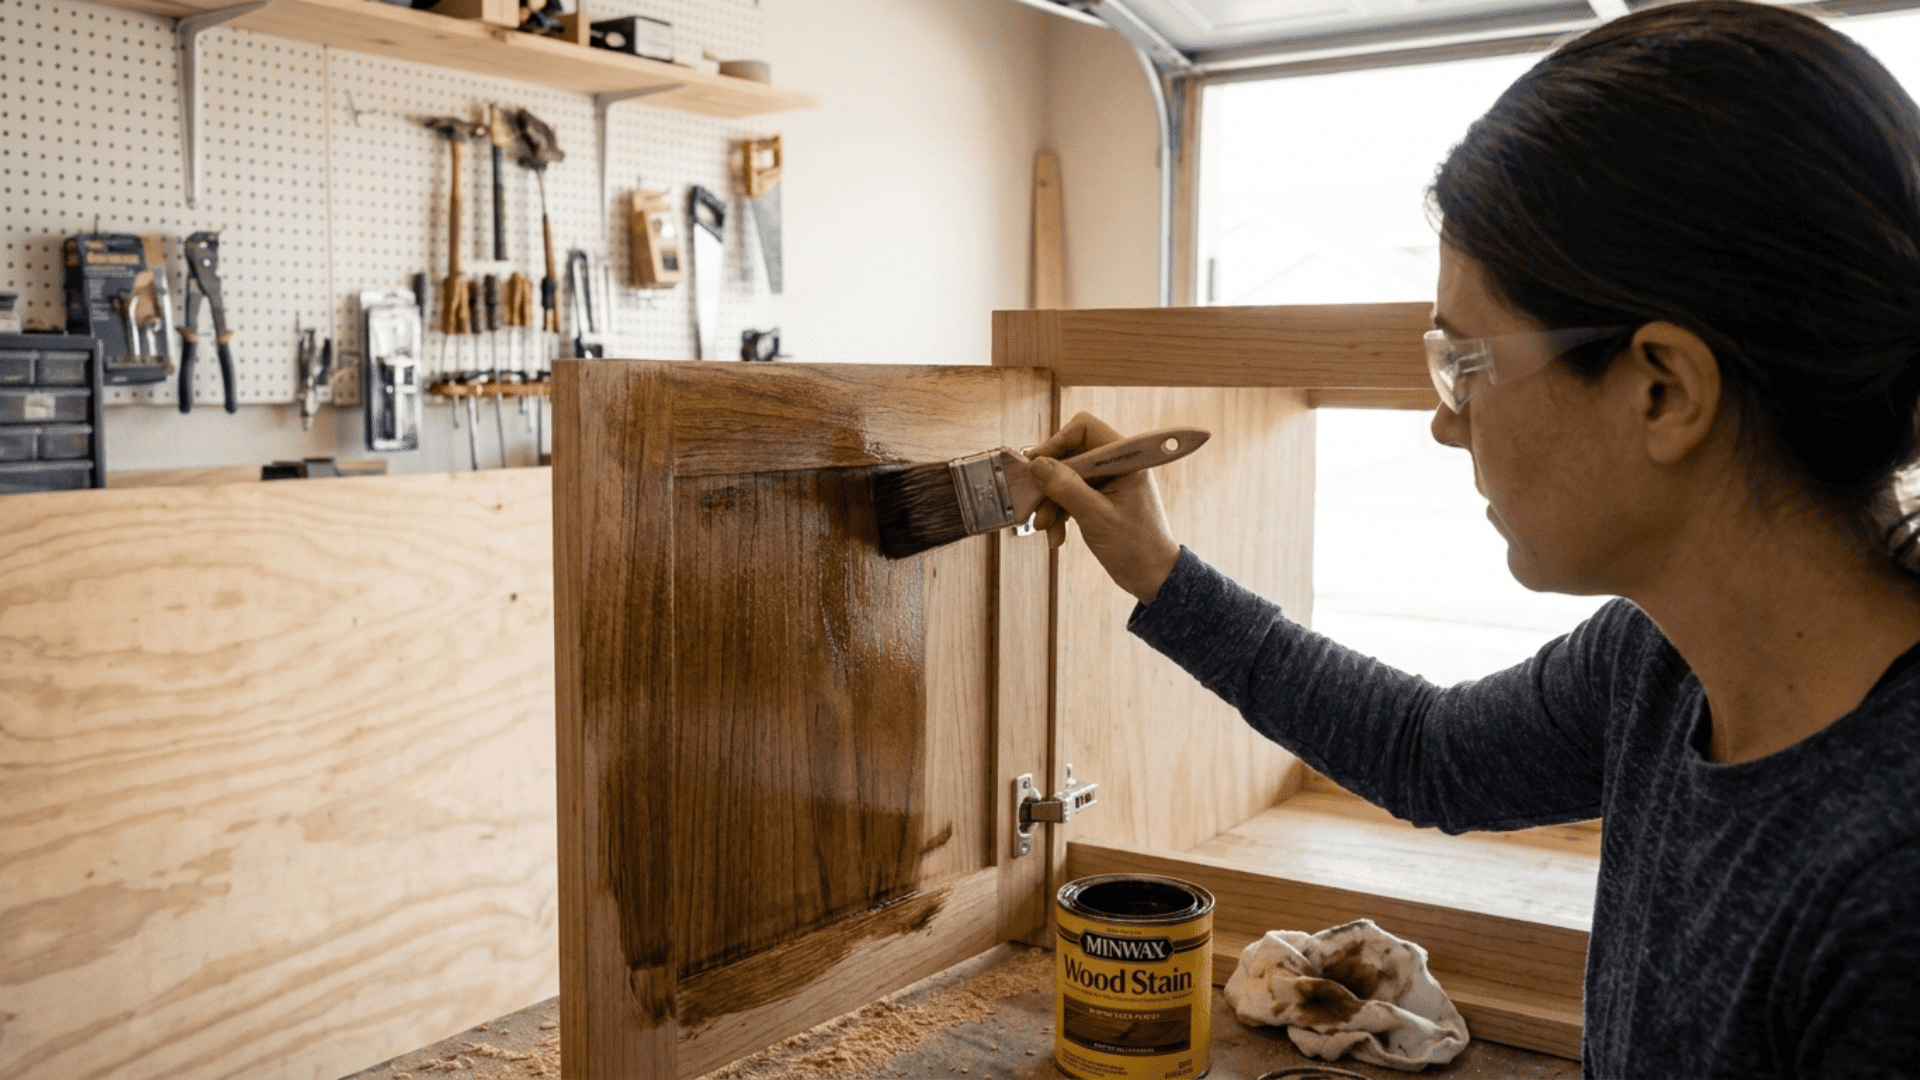
Sand with progressively finer grits until the surface feels smooth, then apply stain for a wood look or paint for a bold finish.
Seal everything with two or three coats of polyurethane, since a bathroom has steam and splashes that bare wood will not withstand over the long term.
Step 9: Installing the Top, Sink, and Pulls
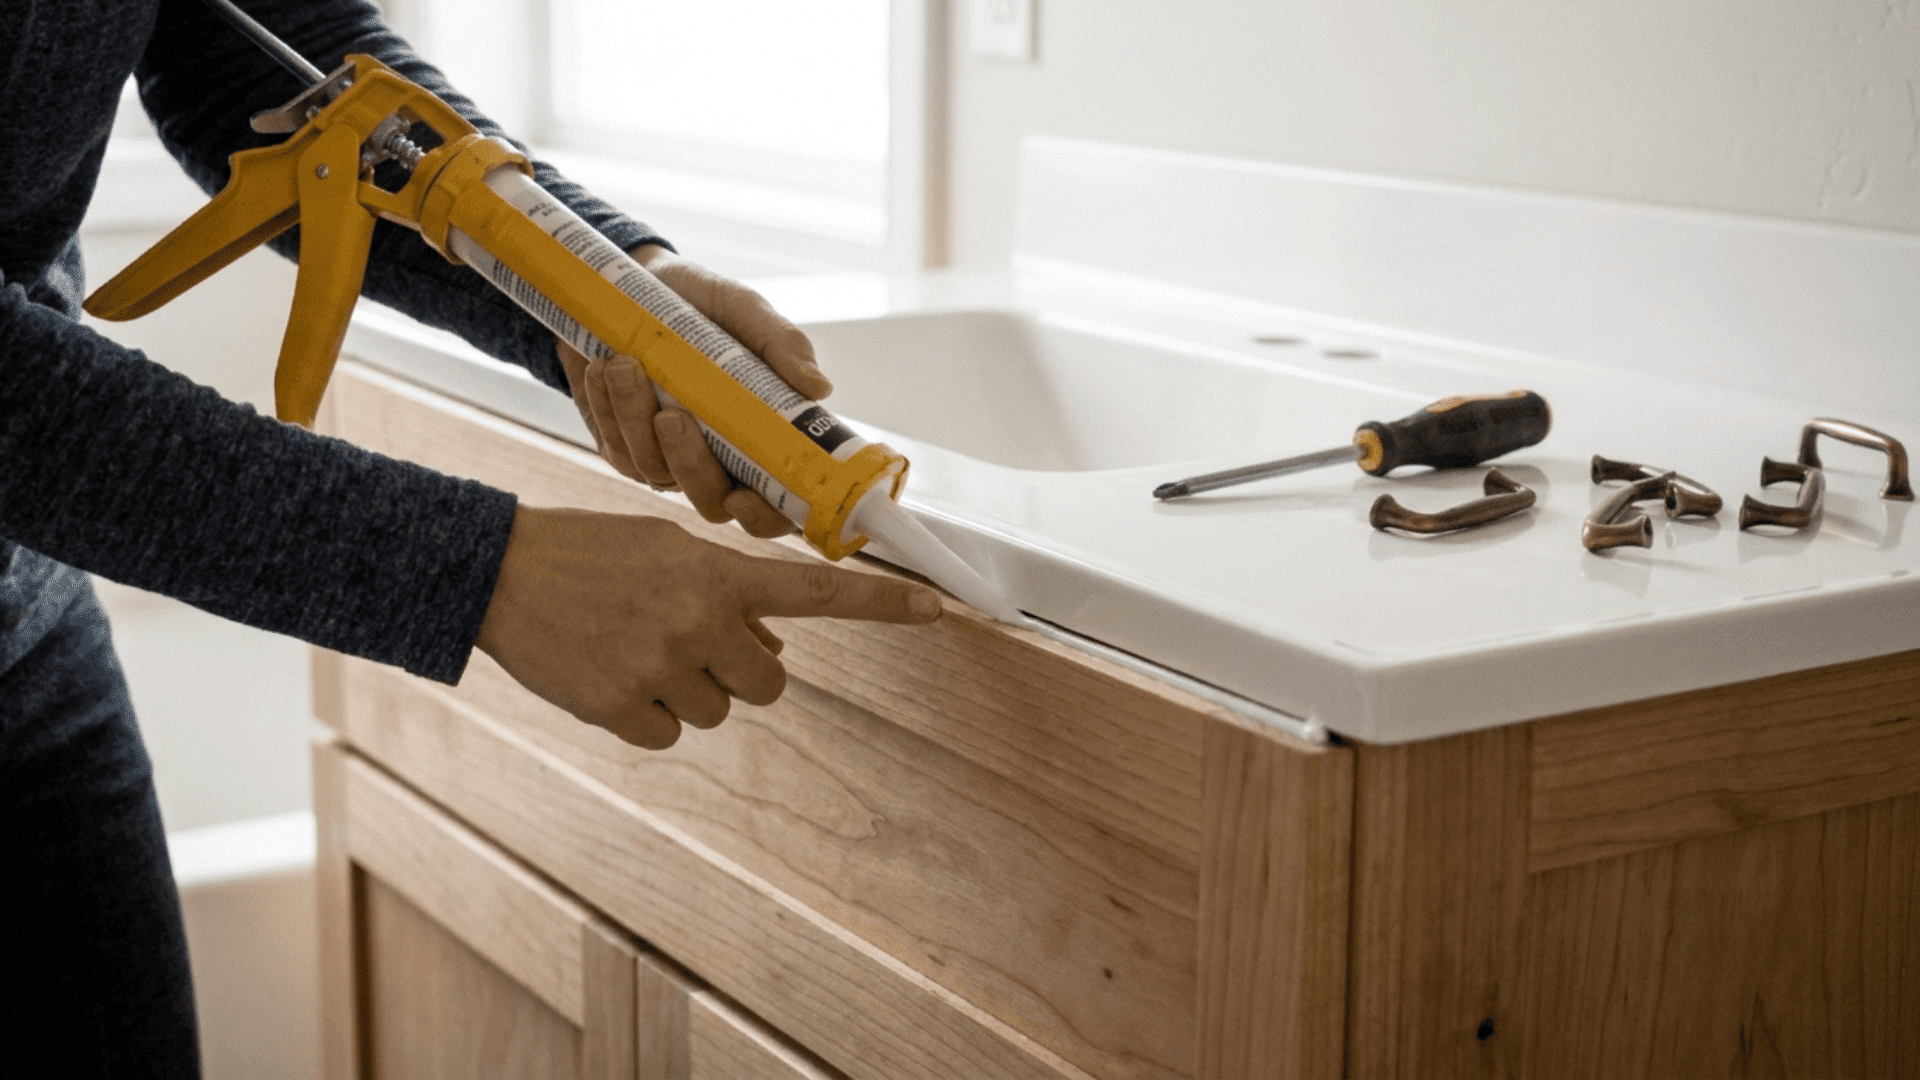
Set your countertop on the base and bond it with a bead of silicone adhesive around the top edge. Mount your sink, attach the cabinet pulls, and reconnect the plumbing.
When I installed my first top, the silicone held it solid with no brackets needed, which kept the build simple.
Finish by running a thin bead of caulk where the top meets the wall to block water and give the whole vanity a clean, sealed look.
Vanity Styles and Design Ideas
Once you have the basic build down, you can adapt it to almost any look you want for your space. The frame and joinery stay the same, so changing the style is mostly about the door fronts, the storage, and the finish.
Think about how much storage you need, how much floor space you have, and the overall feel of the room, and then pick the version that best fits your daily routine.
Here are a few considerations before you settle on a design for your bathroom.
1. Rustic or Farmhouse Vanity with an Open Bottom Shelf
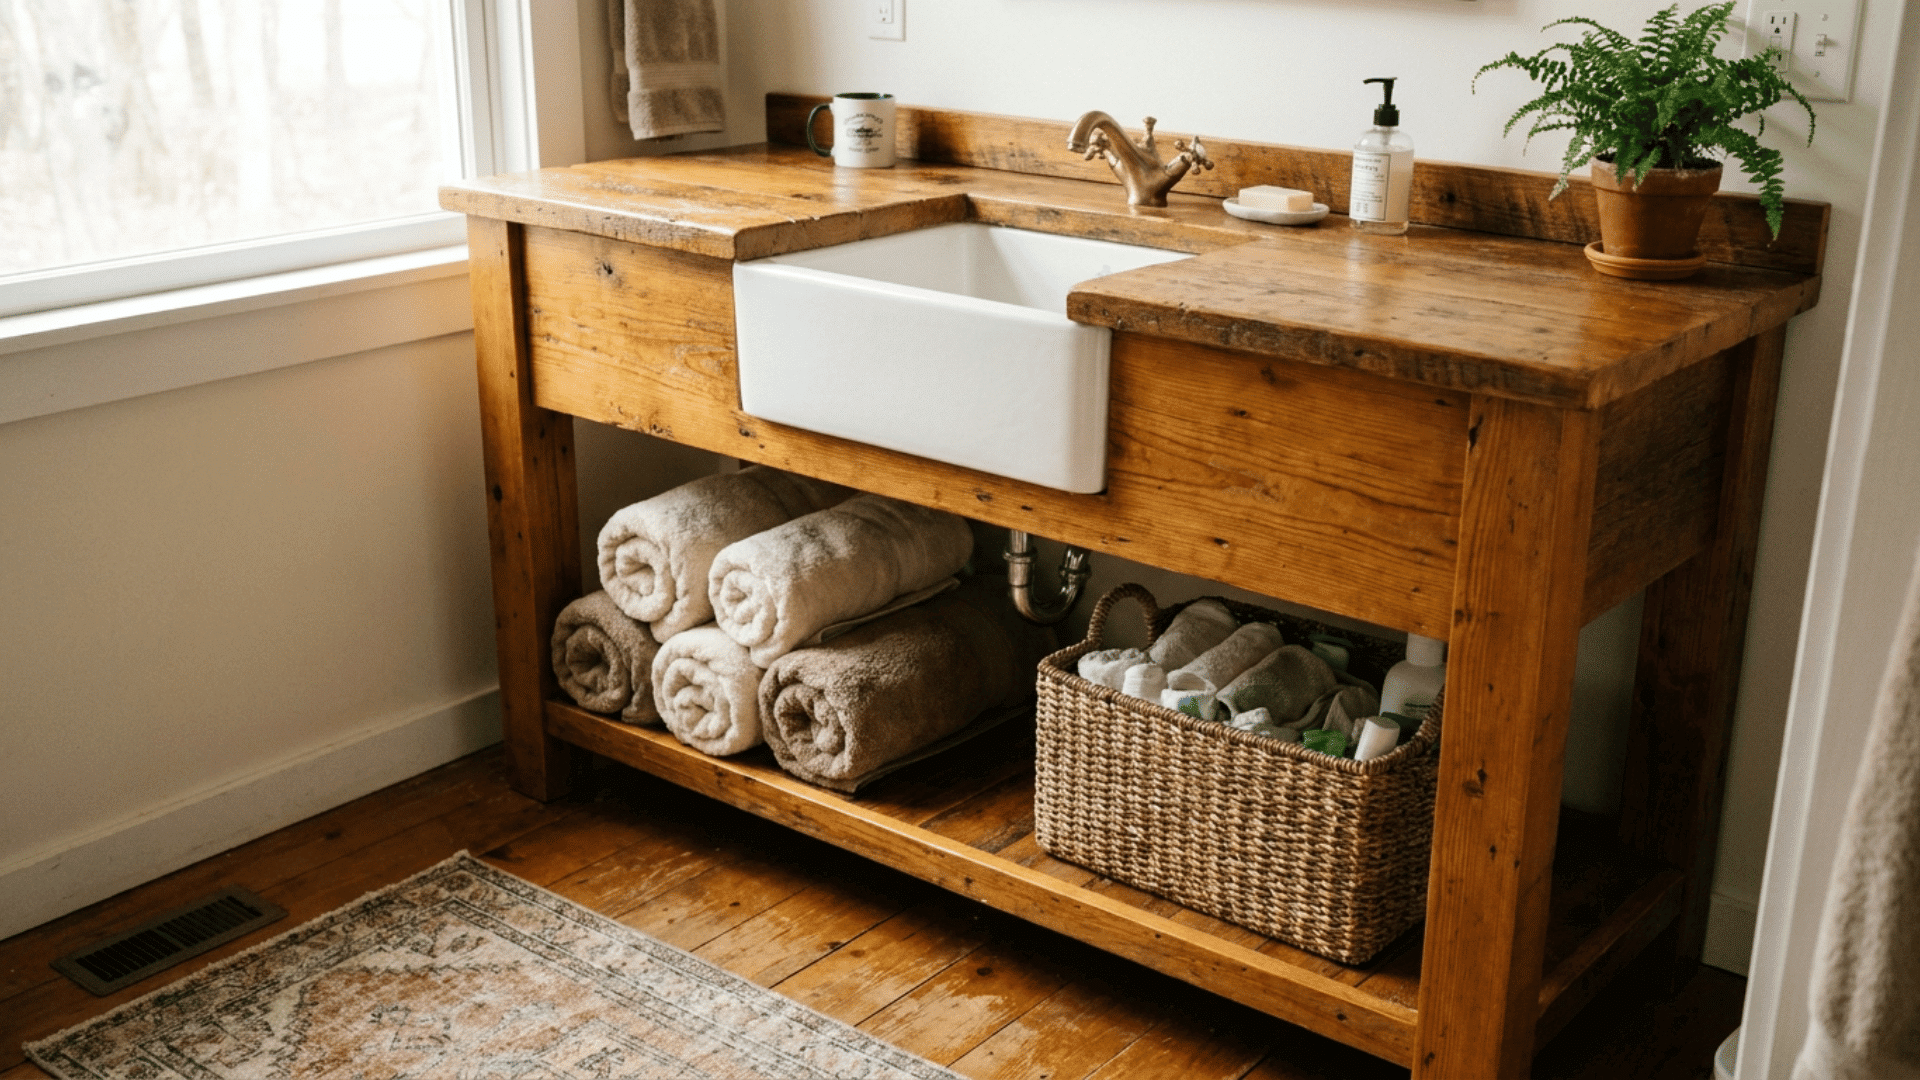
This is the build we walked through, and it suits a relaxed, lived-in bathroom. The open shelf keeps rolled towels and baskets within easy reach while showing off the wood grain.
Stain it in a warm tone for that classic farmhouse feel. It is forgiving for beginners since small flaws read as character rather than mistakes.
2. Modern Vanity with Bottom Drawers
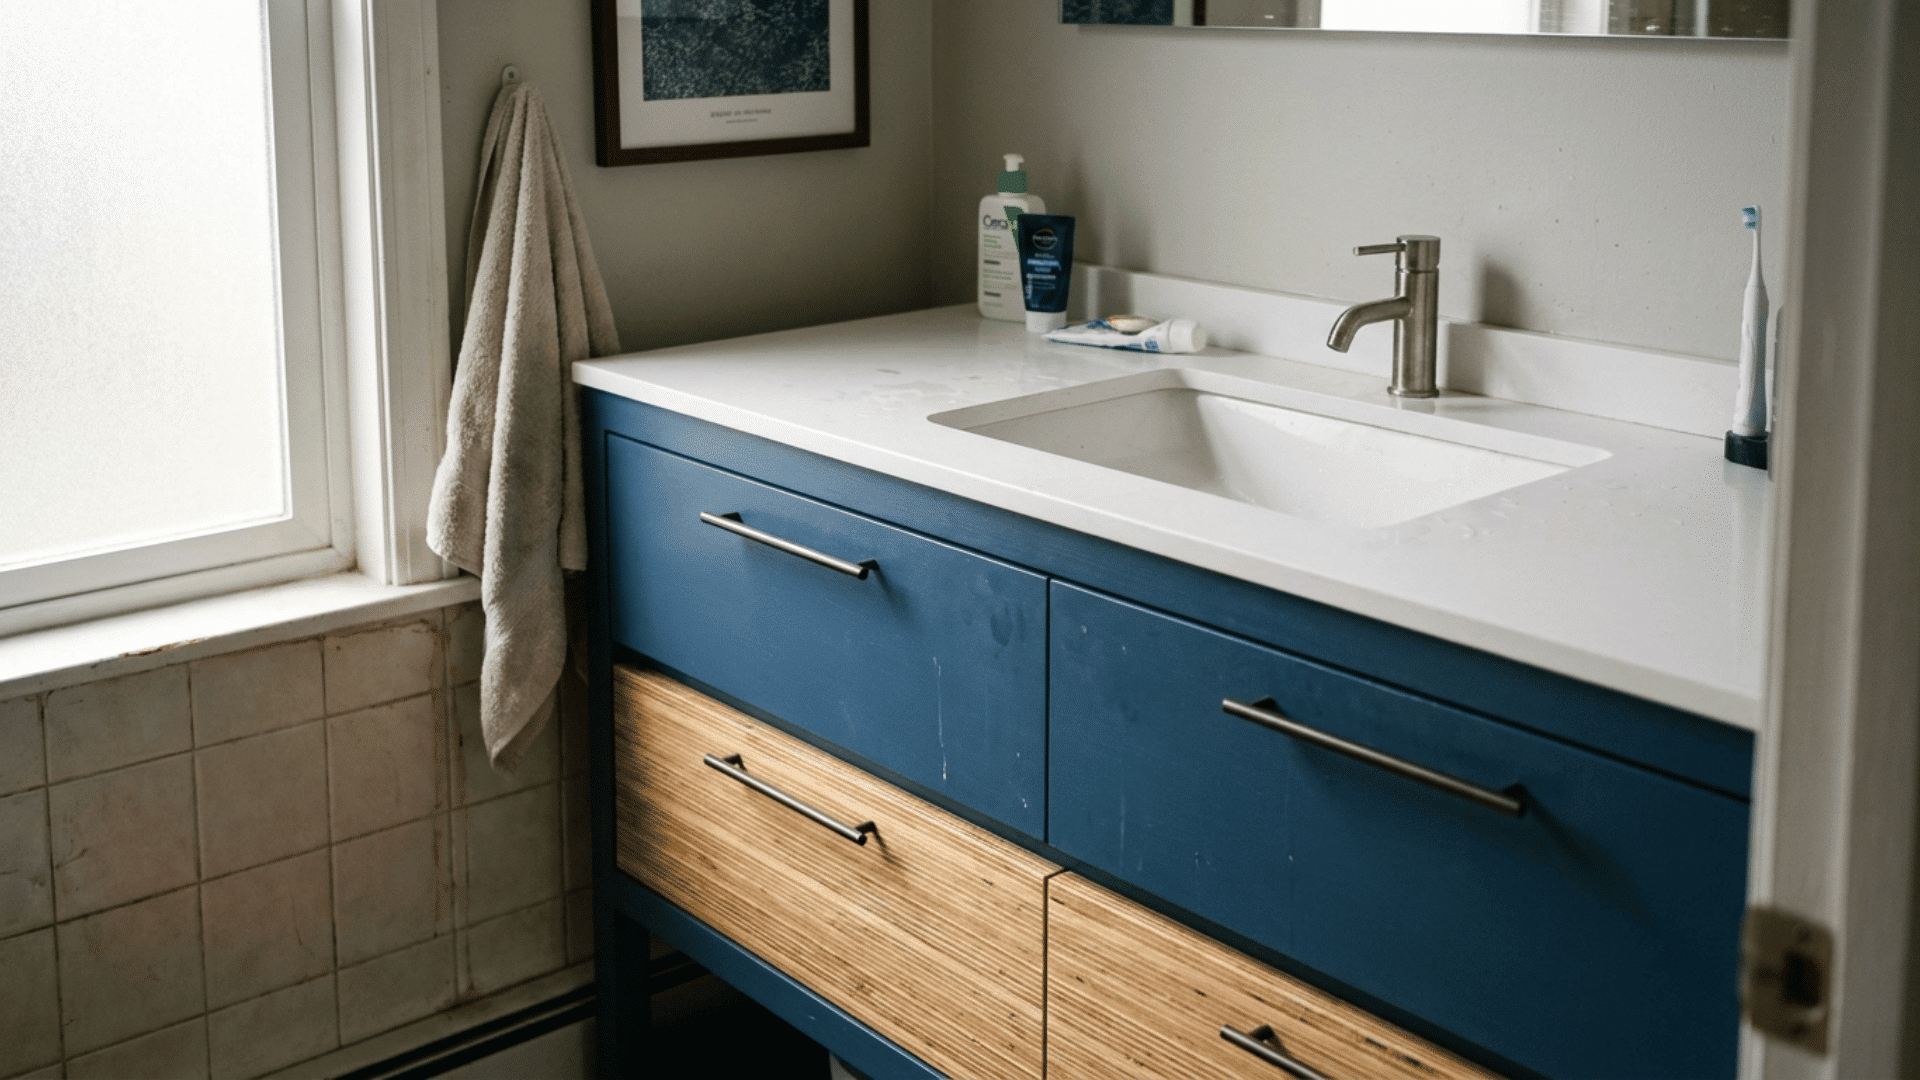
Swap the open shelf and single door for stacked drawers to get a clean, built-in look with hidden storage. Drawers take more time and careful measuring, since the glides need room on each side.
Paint the fronts in a flat, bold color and add slim pulls. This style hides clutter well, which makes mornings feel calmer.
3. Fluted-Front Vanity for Added Texture
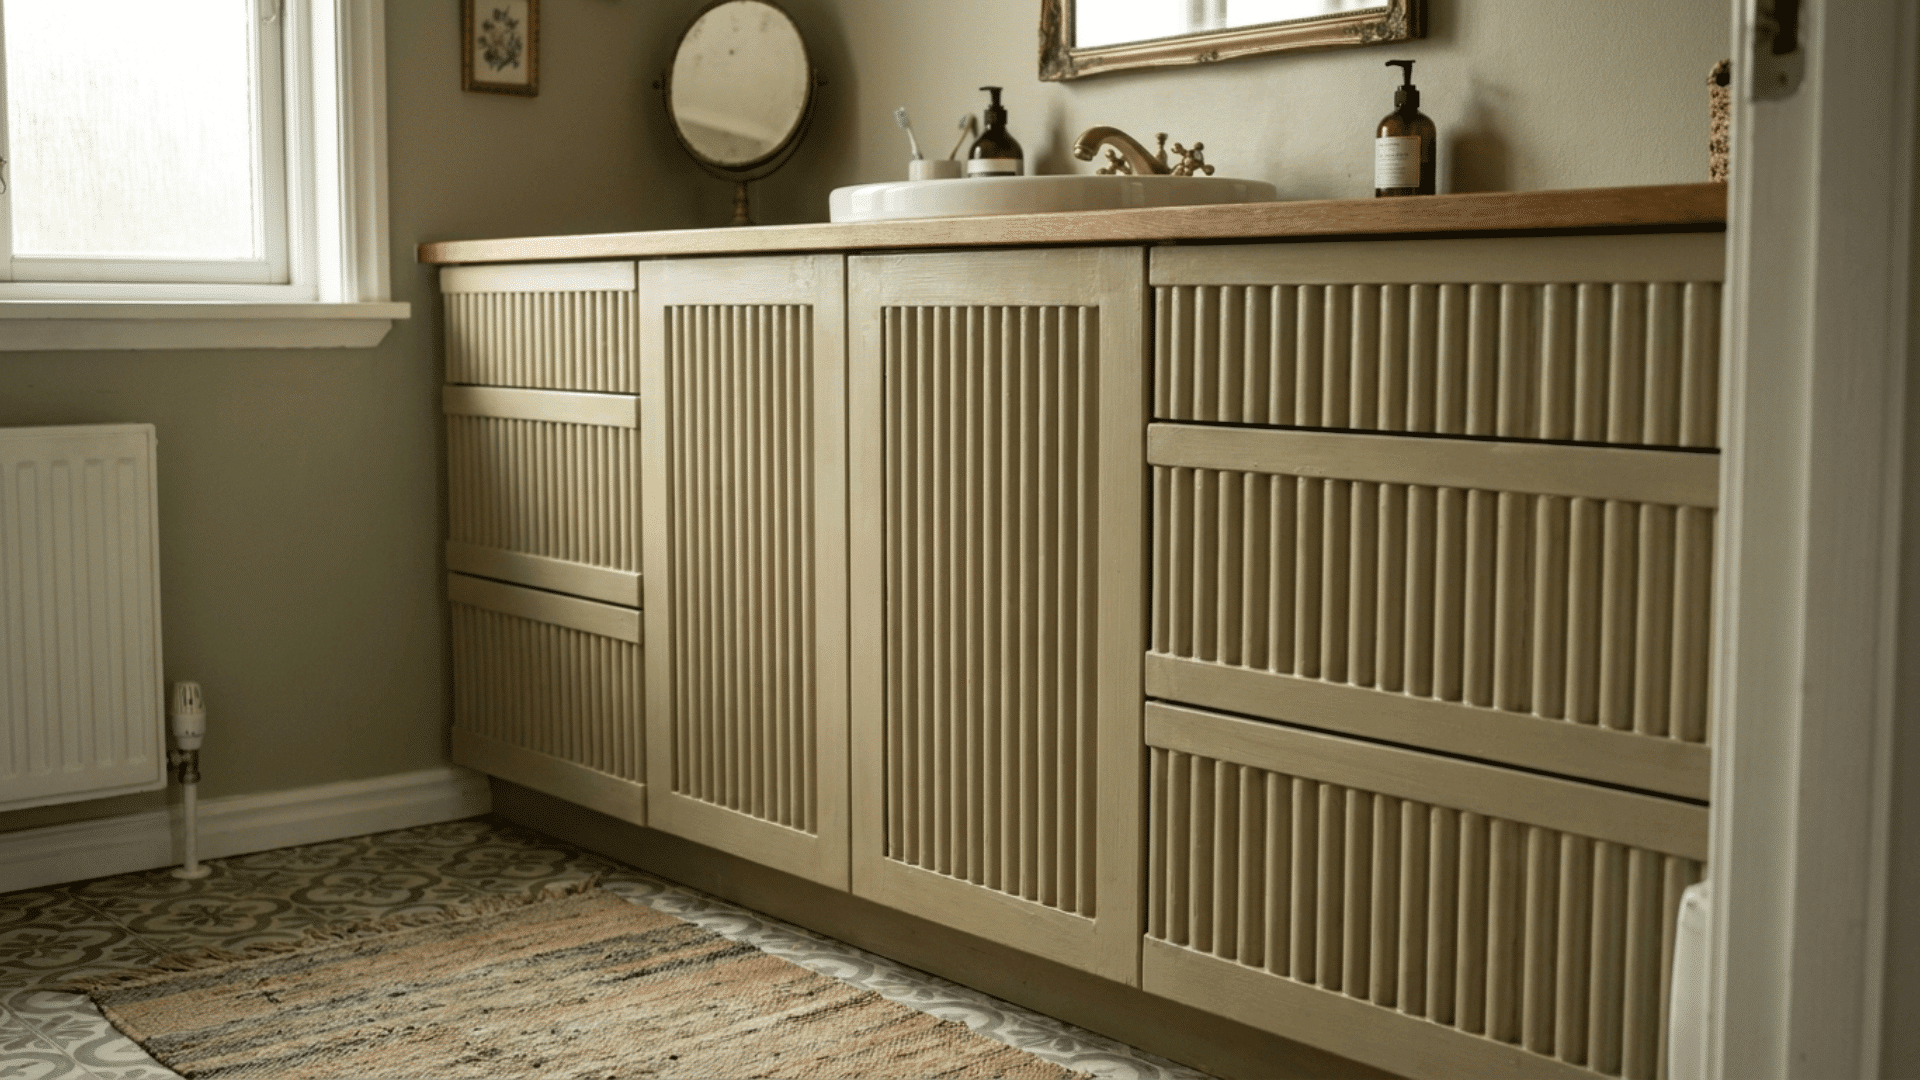
A fluted face adds depth without any busy detail, and it has become a popular modern touch. You create the look by attaching thin half-round trim or fluted panels across the door fronts.
It takes patience to space the grooves evenly, so mark your lines first. The texture catches light nicely and makes a plain cabinet feel custom.
4. Floating, Wall-Mounted Vanity for Tight Spaces
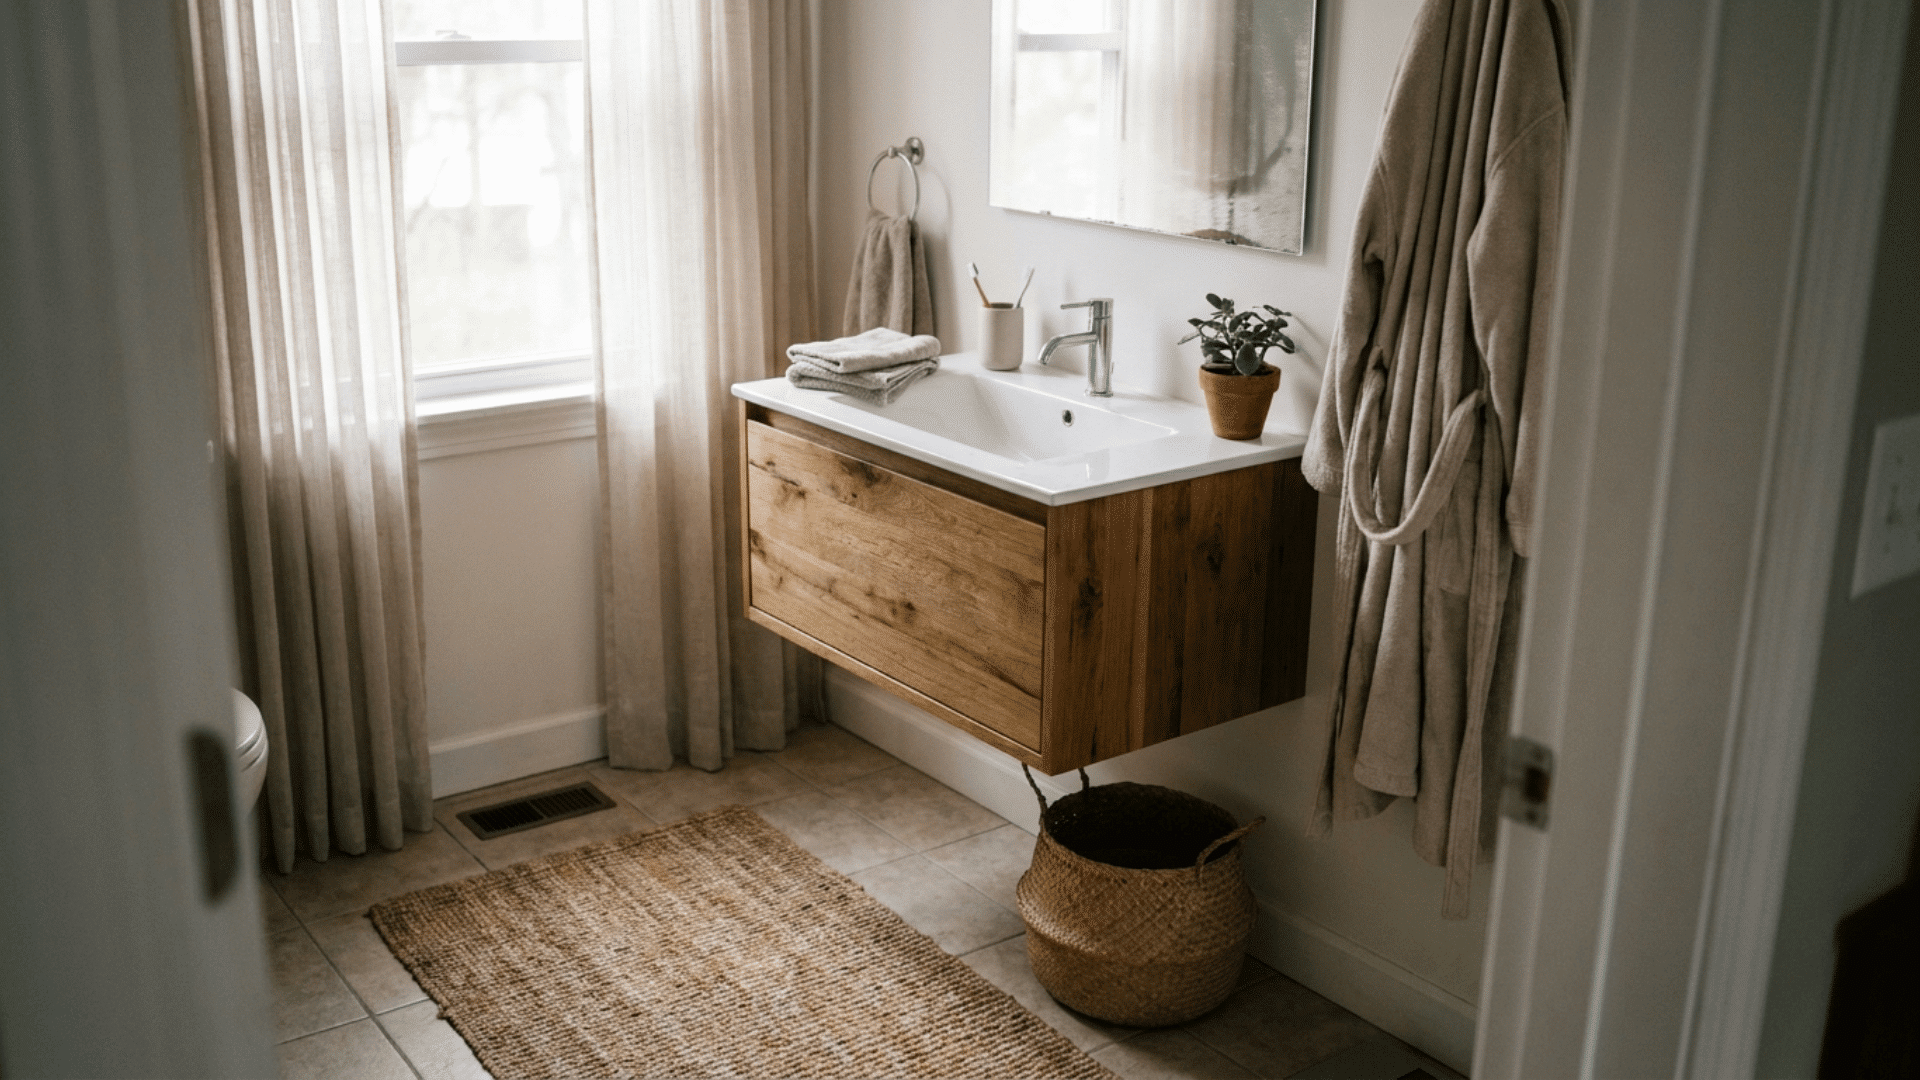
Mounting the vanity on the wall frees up the floor and makes a small room feel more open. The key is to anchor it to solid studs or add blocking, since the wall carries all the weight.
Skip the legs and bottom shelf for this one. I like how easy the open floor makes it to clean underneath.
5. Faux-Vintage Dresser Converted into a Sink Base
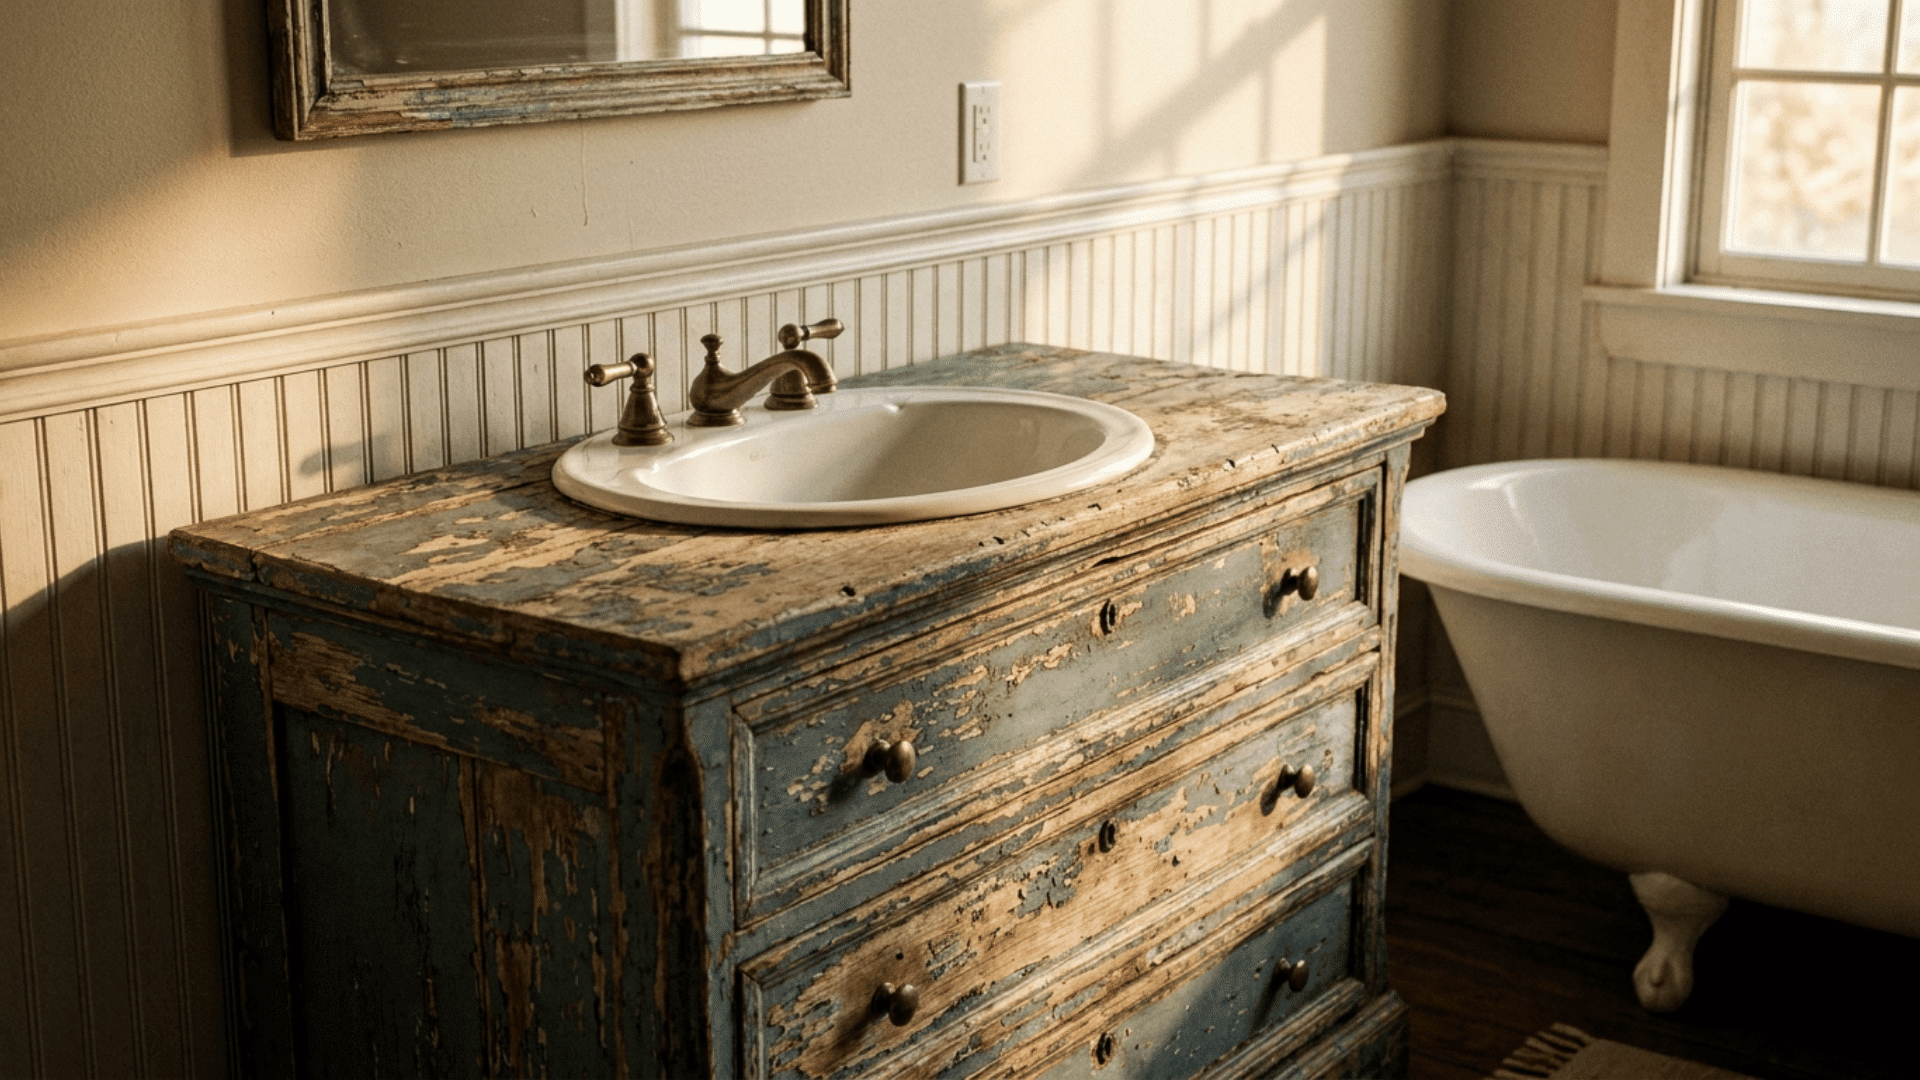
Turning an old dresser into a vanity is a budget route with real character. You cut a hole in the top for the sink and notch the drawers to fit the plumbing.
Seal the wood well, since older pieces are not built for bathroom moisture. Thrift stores and yard sales are the best hunting grounds for a solid one.
6. Double-Sink Vanity for Larger Bathrooms
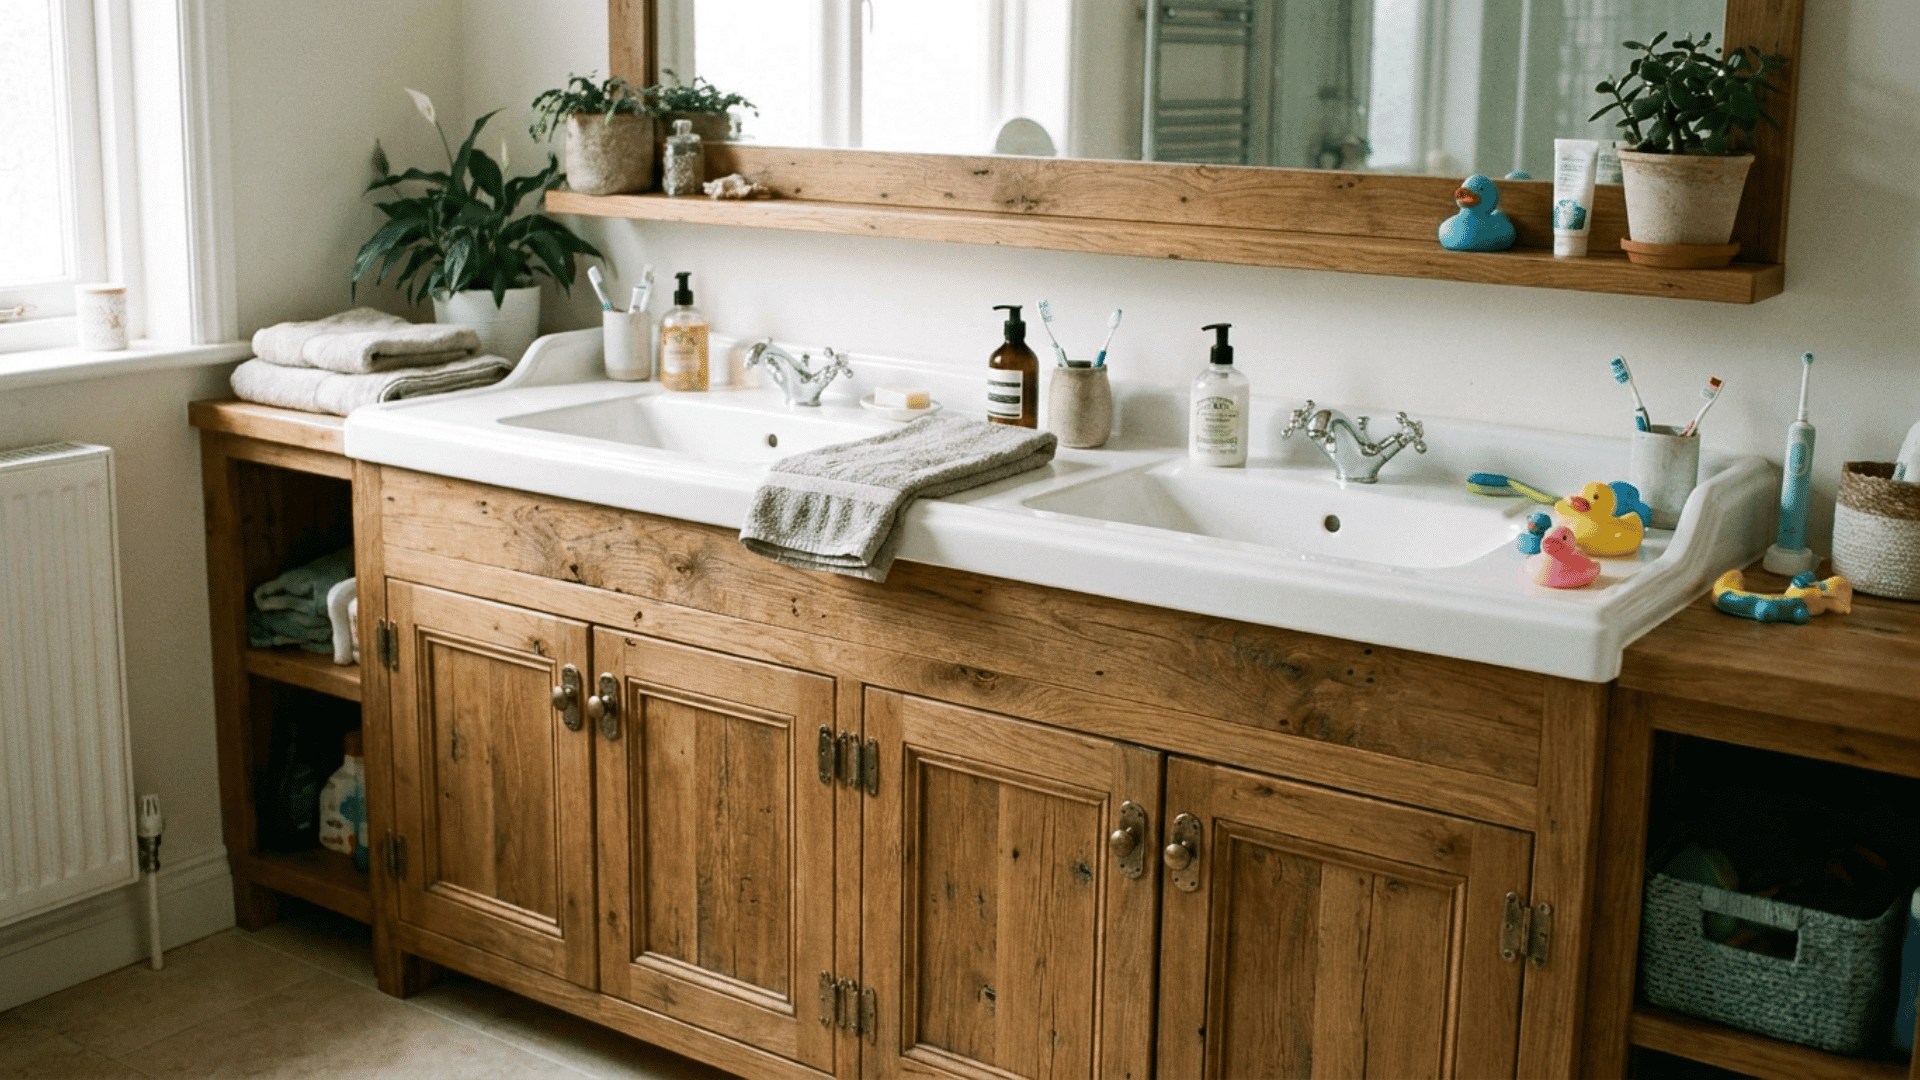
If you have the wall space, a double-sink vanity gives two people room during the morning rush. You are basically building a longer cabinet with two door or drawer sections and two sink cutouts.
Plan your plumbing early, since two sinks mean two sets of lines. It is a bigger project, so tackle it after a single build.
Common Mistakes to Avoid
A few small slip-ups cause most of the headaches on a vanity build, and the good news is that they’re easy to dodge once you know to watch for them.
| Mistake | Why It Matters |
|---|---|
| Skipping the moisture sealing | Bare wood will not survive bathroom steam and splashes for long |
| Forgetting plumbing clearance | Leave the back open so your lines have room to connect |
| Using warped lumber | Bent boards throw your whole assembly out of square |
| Measuring the door gap | Aim for an even 1/8-inch gap on each side |
| Forgetting the countertop overhang | Account for it so the top sits right over the base |
Tips for a Cleaner Build
A couple of extra habits will save you time and frustration as you go.
- Check for Square Constantly: Measure corner to corner as you assemble each section. If the two diagonal measurements match, you are square. If they don’t, adjust before the glue sets.
- Seal Before You Assemble: It is much easier to apply your moisture sealant to flat panels before they are joined than to try reaching inside corners and tight spots after the cabinet is built.
- Buy a Spare Board or Two: Lumber is cheap compared to a wasted trip back to the store. Having a backup piece on hand means a bad cut doesn’t stall your whole day.
- Dry Fit Everything First: Put the whole cabinet together without glue or screws once before you commit. It takes an extra twenty minutes and catches problems that are very hard to fix once everything is fastened.
Final Thoughts
Building a vanity is one of those projects that looks hard from the outside but breaks down into simple, doable steps.
You plan your size, cut your boards, assemble the base, hang the door, and finish it off. None of it takes special skill, just patience and a willingness to measure twice.
If this is your first build, start with a basic single-door version before you try drawers or a double sink. Get comfortable with the cuts and the pocket holes, and the next one will go even faster.
I still get compliments on my first vanity, and it taught me more than any guide could.
Now it is your turn. Pick your design, grab your tape measure, and start planning your build. If you make one, drop a comment and tell me how it turned out.
Frequently Asked Questions
Is it Cheaper to Build or Buy a Bathroom Vanity?
Building is usually cheaper because you skip the markup for labor and branding. Your savings depend on lumber prices and if you reuse any materials.
Can a Total Beginner Build a Bathroom Vanity?
Yes. A simple single-door vanity uses basic cuts and pocket-hole joints. Start small, measure carefully, and you can finish your first build over a weekend.
What Wood Holds Up Best in a Bathroom?
Plywood for panels and pine or poplar for framing work well. The real key is sealing everything with polyurethane so that moisture cannot reach the wood.
How Long does the Whole Project Take?
Most beginners finish a basic vanity over a weekend, including drying time. Drawers, double sinks, or detailed fronts will add a day or more.

NKBA-certified designer Harper Williams holds a degree in Interior Architecture from Auburn University and has specialized in high-function kitchens and spa-inspired baths since 2011. She joined us in 2024 to simplify layout planning, fixture selection, and budget tricks for remodelers. Away from CAD files, Harper restores vintage cookstoves and crafts small-batch soaps.