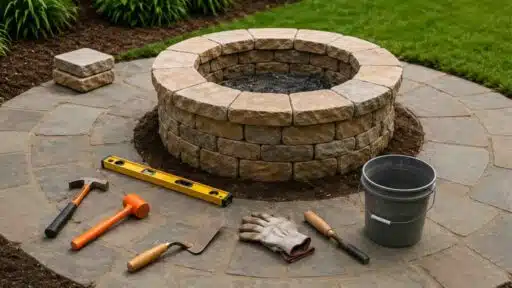
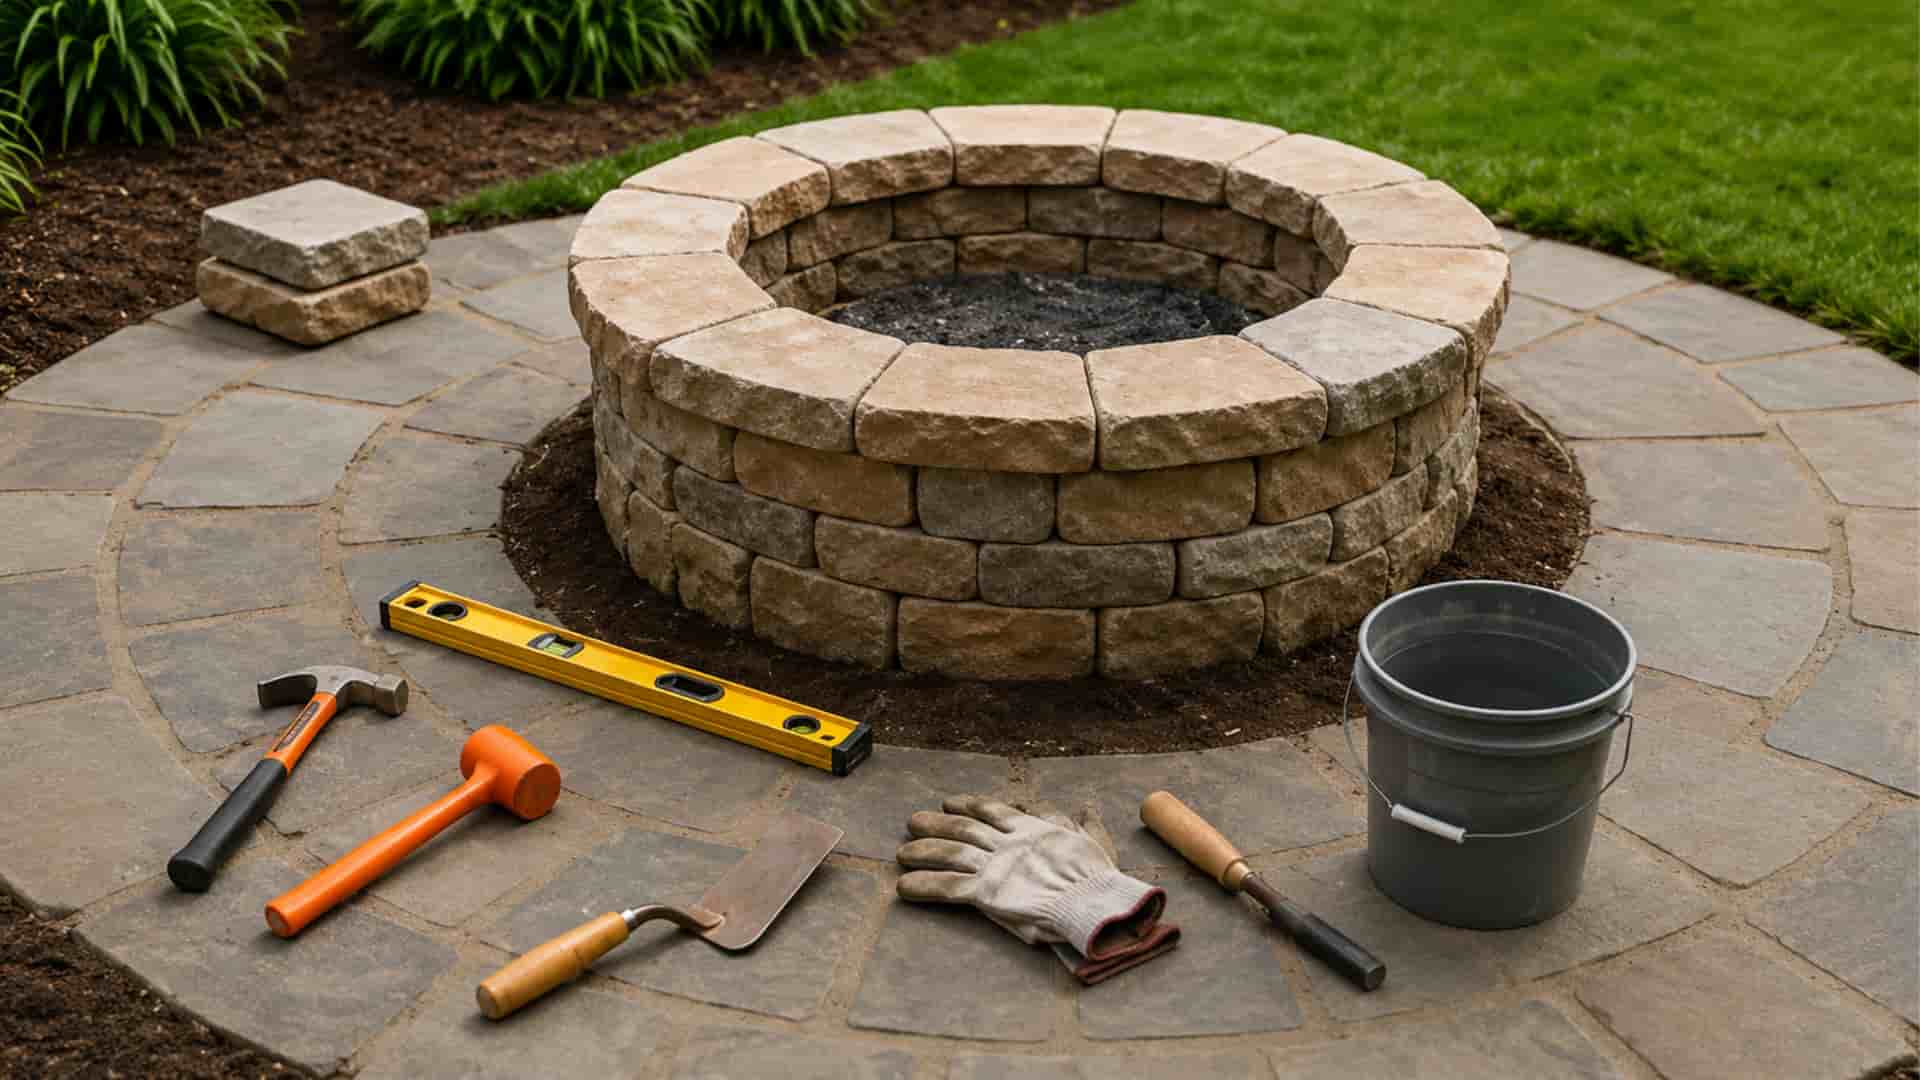

A DIY fire pit is one of those backyard additions that genuinely changes how a space gets used.
Outdoor living has become a serious priority for homeowners, and a custom-built fire pit sits right at the center of that shift, offering warmth, a natural gathering point, and a weekend project that actually delivers visible results.
Building one from scratch puts full control over size, shape, material, and budget in your hands.
More often than not, the finished result looks far better than anything a pre-made model could offer at twice the price.
Different Types of DIY Fire Pits
DIY fire pits come in many styles, making it easy to find one that fits your backyard space, budget, and outdoor needs.
Here is a quick comparison to help you choose the right style:
| Fire Pit Type | Best For | Skill Level | Cost Range | Permanent/Portable |
|---|---|---|---|---|
| In-Ground Fire Pit | Large open yards, rustic look | Beginner | Low | Permanent |
| Stone or Brick Fire Pit | Polished, classic backyard setup | Intermediate | Medium | Permanent |
| Metal Ring Fire Pit | Small patios, flexible setups | Beginner | Low | Portable |
| Concrete Block Fire Pit | Durable, budget-friendly builds | Beginner | Low–Medium | Permanent |
| Smokeless or Gas-Insert Fire Pit | Clean, modern outdoor experience | Intermediate | Medium–High | Both |
Before You Start: Safety Rules, Permits & Site Selection
Before you dig a single hole or lay a single block, understanding the essential safety rules, permit requirements, and site selection criteria protects you, your family, and your property for years to come.
Covering these five critical areas before starting saves you from costly mistakes, legal issues, and serious safety hazards down the road.
- Location Rules
- Permits: Do You Need One?
- Underground Utility Check
- Wind Direction & Surface Materials
- Safety Gear & Fire Extinguisher Placement
Taking thirty minutes to cover these essentials before breaking ground is the smartest investment you can make in your entire DIY fire pit project.
Materials & Tools List for Your DIY Fire Pit
Before you break ground, having the right materials and tools in hand makes the entire build smoother, faster, and safer. Experienced DIY builders always prepare their supply list before touching a single brick.
- Materials You Will Need: Retaining wall blocks or fire bricks, gravel, sand, a metal fire ring (optional), and landscape adhesive.
- Tools You Will Need: Shovel, tamper, rubber mallet, level, tape measure, safety glasses, and gloves.
- Budget Options: Range from affordable to premium, depending on your chosen materials and design style.
- Where to Buy: Home Depot, Lowe’s, and local stone yards offer the best selection and most competitive pricing for all your DIY fire pit materials and supplies.
Having everything ready before you start saves multiple trips to the hardware store and keeps your project moving without unnecessary delays. A well-prepared builder is always a successful builder.
Step-by-Step: How to Build a DIY Fire Pit?
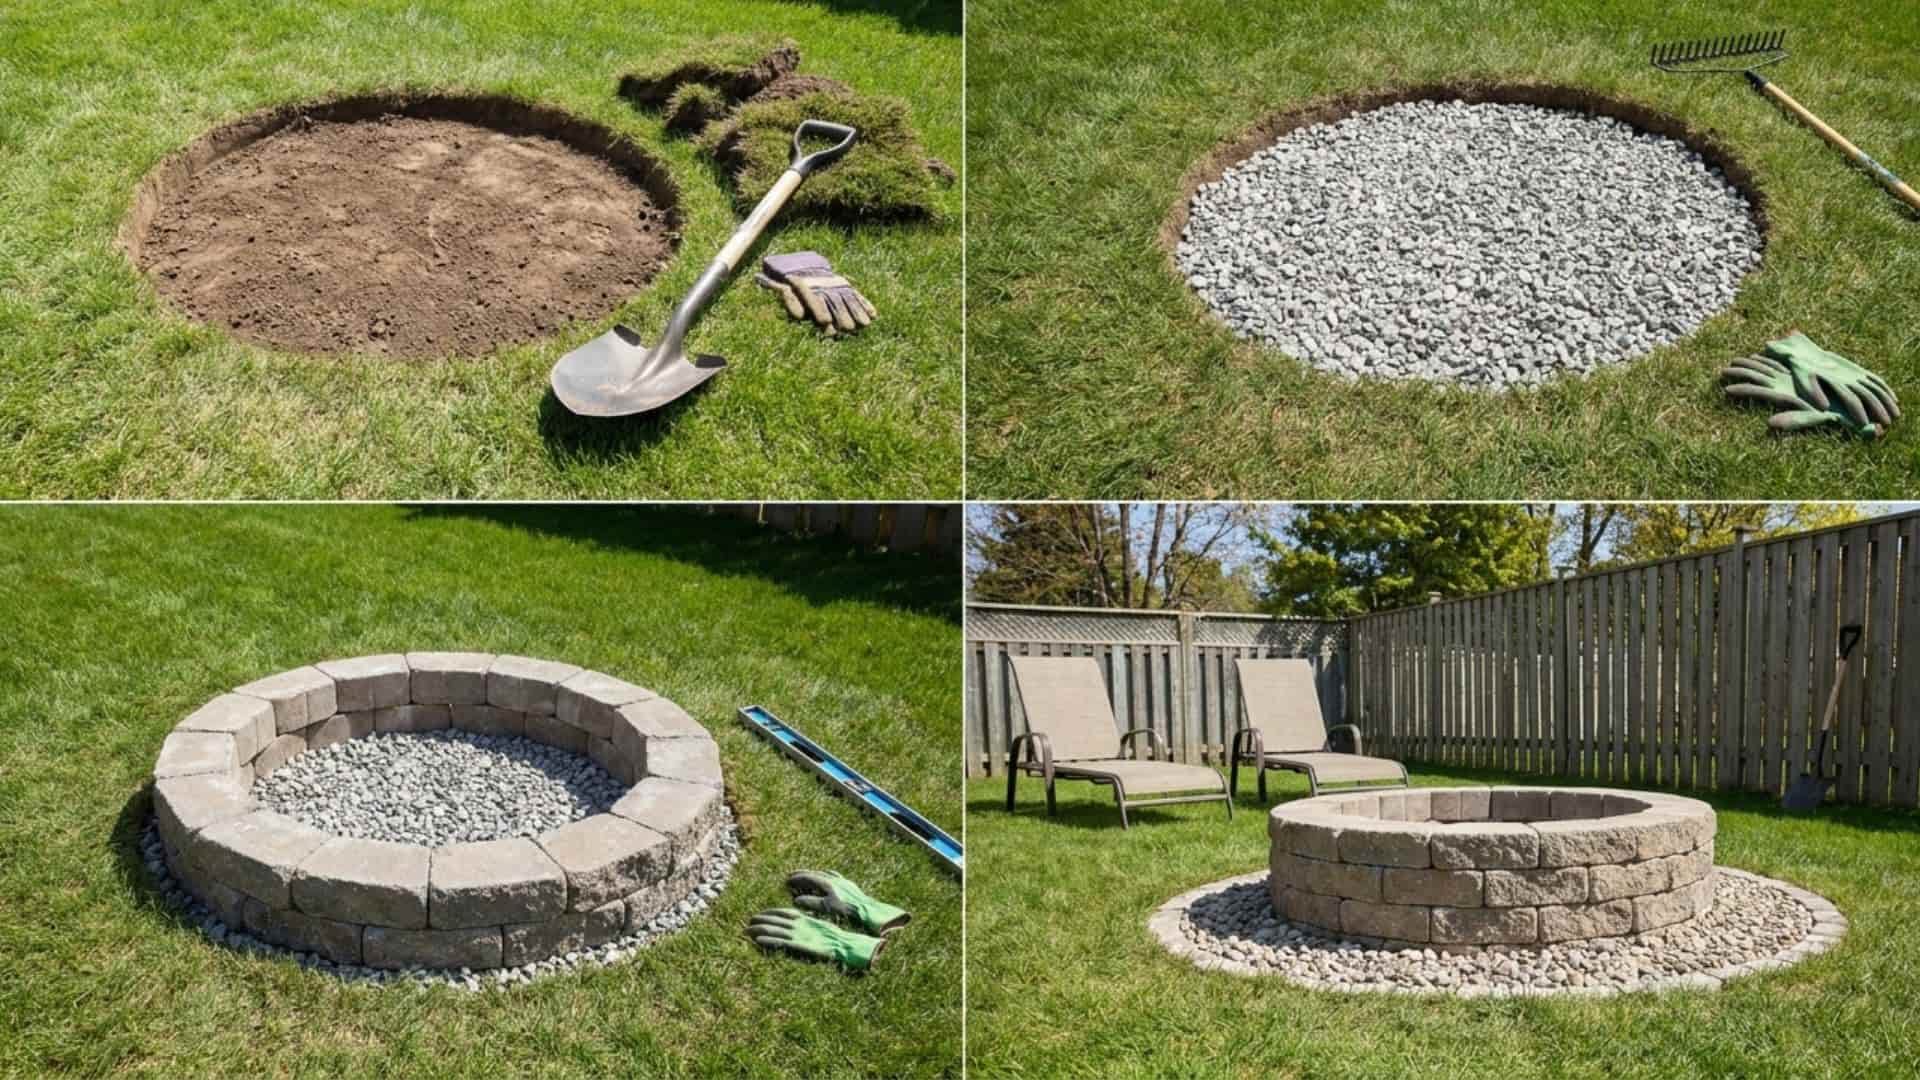
Building a DIY fire pit from scratch is far more straightforward than most homeowners expect. Follow these steps in order, and a solid, functional fire pit is well within a weekend’s reach.
Step 1: Mark and Measure Your Fire Pit Area
Pick a spot that sits at least ten feet away from any structure, fence, or overhanging tree. Push a wooden stake into the center of your chosen spot, tie a string to it, and pull it taut to your desired radius.
Use spray paint to trace the outer edge as you walk the circle. A three- to five-foot diameter gives enough room for a good fire without overwhelming a standard backyard space.
If a propane setup feels more appealing than a wood-burning build, a DIY propane fire pit is equally beginner-friendly and worth considering before committing to either option.
Step 2: Excavate and Level the Base
Dig inside your marked circle to a depth of 6 to 8 inches, removing all grass, roots, and loose debris as you go. A clean, clear base is what keeps the structure stable in the long term.
Once dug, compact the exposed soil firmly using a hand tamper or plate compactor. Check the base with a level before moving on, as any unevenness here will carry through every course of blocks above it.
Step 3: Add a Gravel Drainage Layer
Pour a generous layer of crushed gravel into the excavated hole, aiming for at least two to three inches of coverage across the entire base. Spread it evenly with a rake, then compact it firmly with your tamper.
This drainage layer is more important than it looks. Without it, rainwater pools beneath the structure, softens the base over time, and gradually destabilizes the whole fire pit from the ground up.
Step 4: Lay the First Course of Blocks
Place your retaining wall blocks or fire bricks one by one along the inside edge of your circle, positioning them side by side with their faces pointing inward. Work steadily all the way around until the first course is complete.
No mortar is needed at this stage as the weight of the blocks and the compacted soil beneath them holds everything firmly in place. Take time here to get the alignment right before building upward.
Step 5: Stack and Stagger Additional Courses
With the first course in place, begin stacking additional rows on top. The most important thing at this stage is the staggered pattern, where each block sits centered directly over the joint between the two blocks below it.
This offset arrangement distributes weight evenly and keeps the walls structurally sound. Once you reach the top two courses, apply a bead of heat-resistant landscape adhesive between the layers to secure everything.
Step 6: Final Leveling and Capstone Layer
Run a level across the top ring of blocks, making any small adjustments needed before finishing. Brush away any loose debris or adhesive residue from the surface.
Lay flat capstone blocks across the top course, pressing them firmly into place for a clean, polished finish.
The capstones do more than look good; they create a stable resting ledge for drinks, tools, or a grill grate, making the fire pit genuinely functional as well as visually complete.
DIY Fire Pit Ideas: Creative Designs for Every Budget
Whether you are working with a tight budget or ready to invest in a showstopper backyard centerpiece, there is aDIY fire pit idea perfect for every homeowner.
Here are 8 of the most popular and creative backyard fire pitideas to inspire your next build.
1. Cinder Block Fire Pit
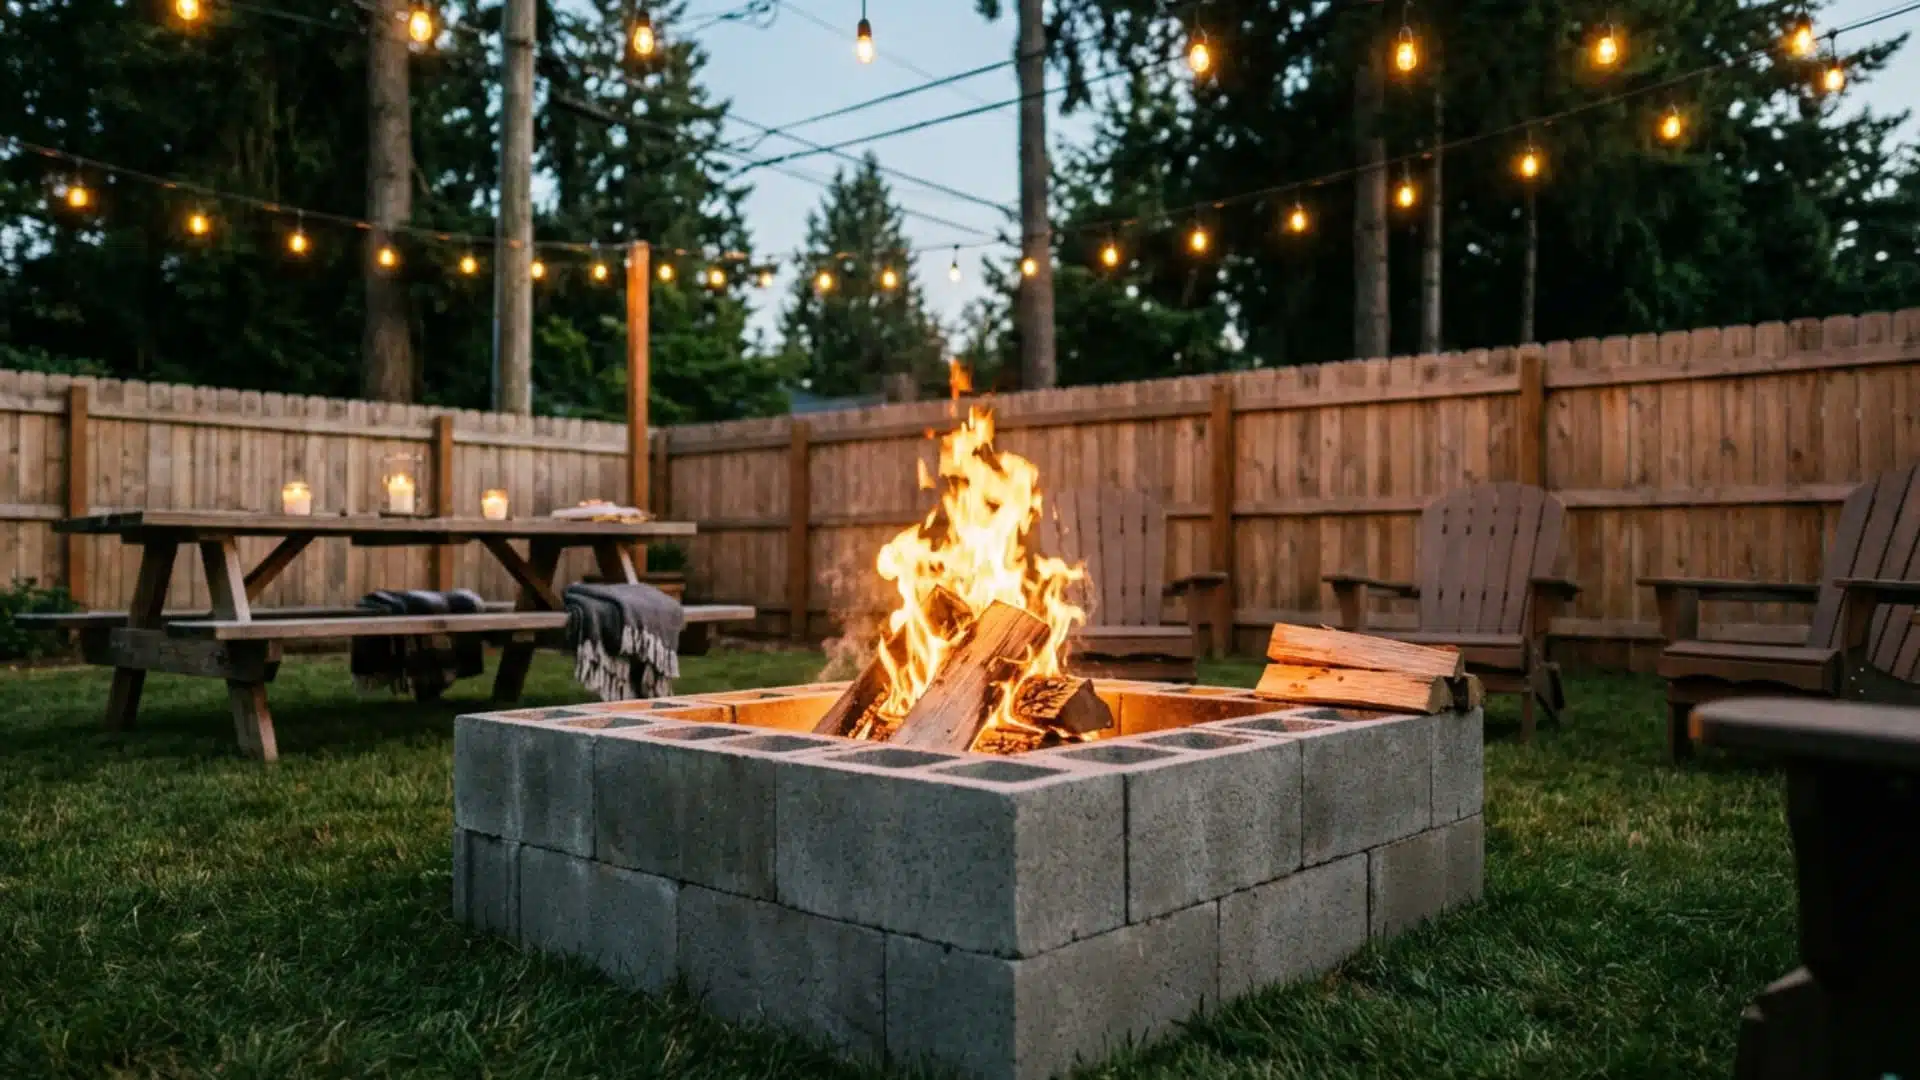
A cinder block fire pit is one of the best low-cost backyard fire pit ideas for homeowners on a budget.
The simple design is easy to build, highly durable, and requires only basic materials from a local hardware store. Despite the affordable price, cinder blocks can create a clean and functional outdoor fire area that lasts for years.
This beginner-friendly project is perfect for anyone looking for a quick, simple weekend DIY fire pit build without spending too much money.
2. Circular Retaining Wall Block Fire Pit
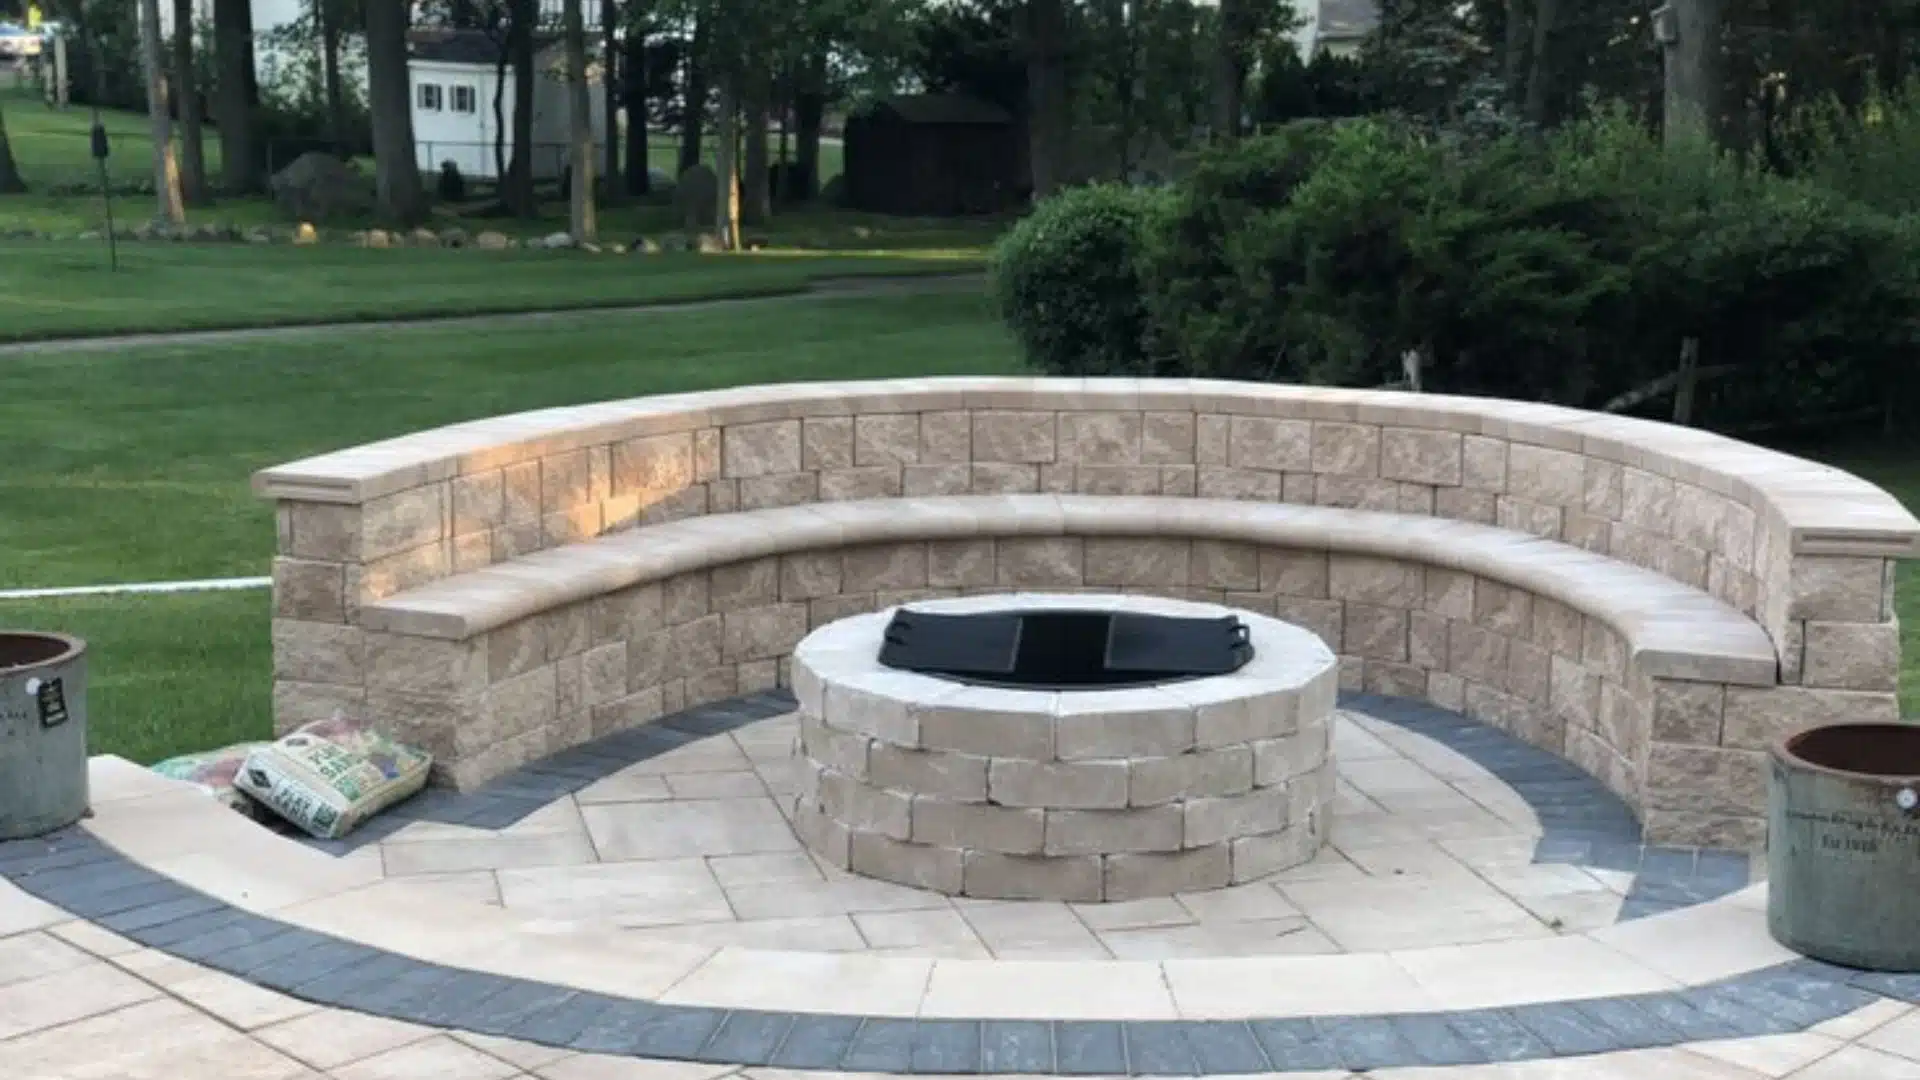
One of the most popular DIY fire pit designs in America remains the classic retaining wall block setup.
These blocks are affordable, easy to find, and simple to stack, making them perfect for first-time backyard projects. The circular shape creates a balanced, timeless look that complements nearly any outdoor patio or garden layout.
This beginner-friendly fire pit design offers durability, simple installation, and a clean appearance that remains popular year after year.
3. Modern Square Fire Pit with Seating Ledge
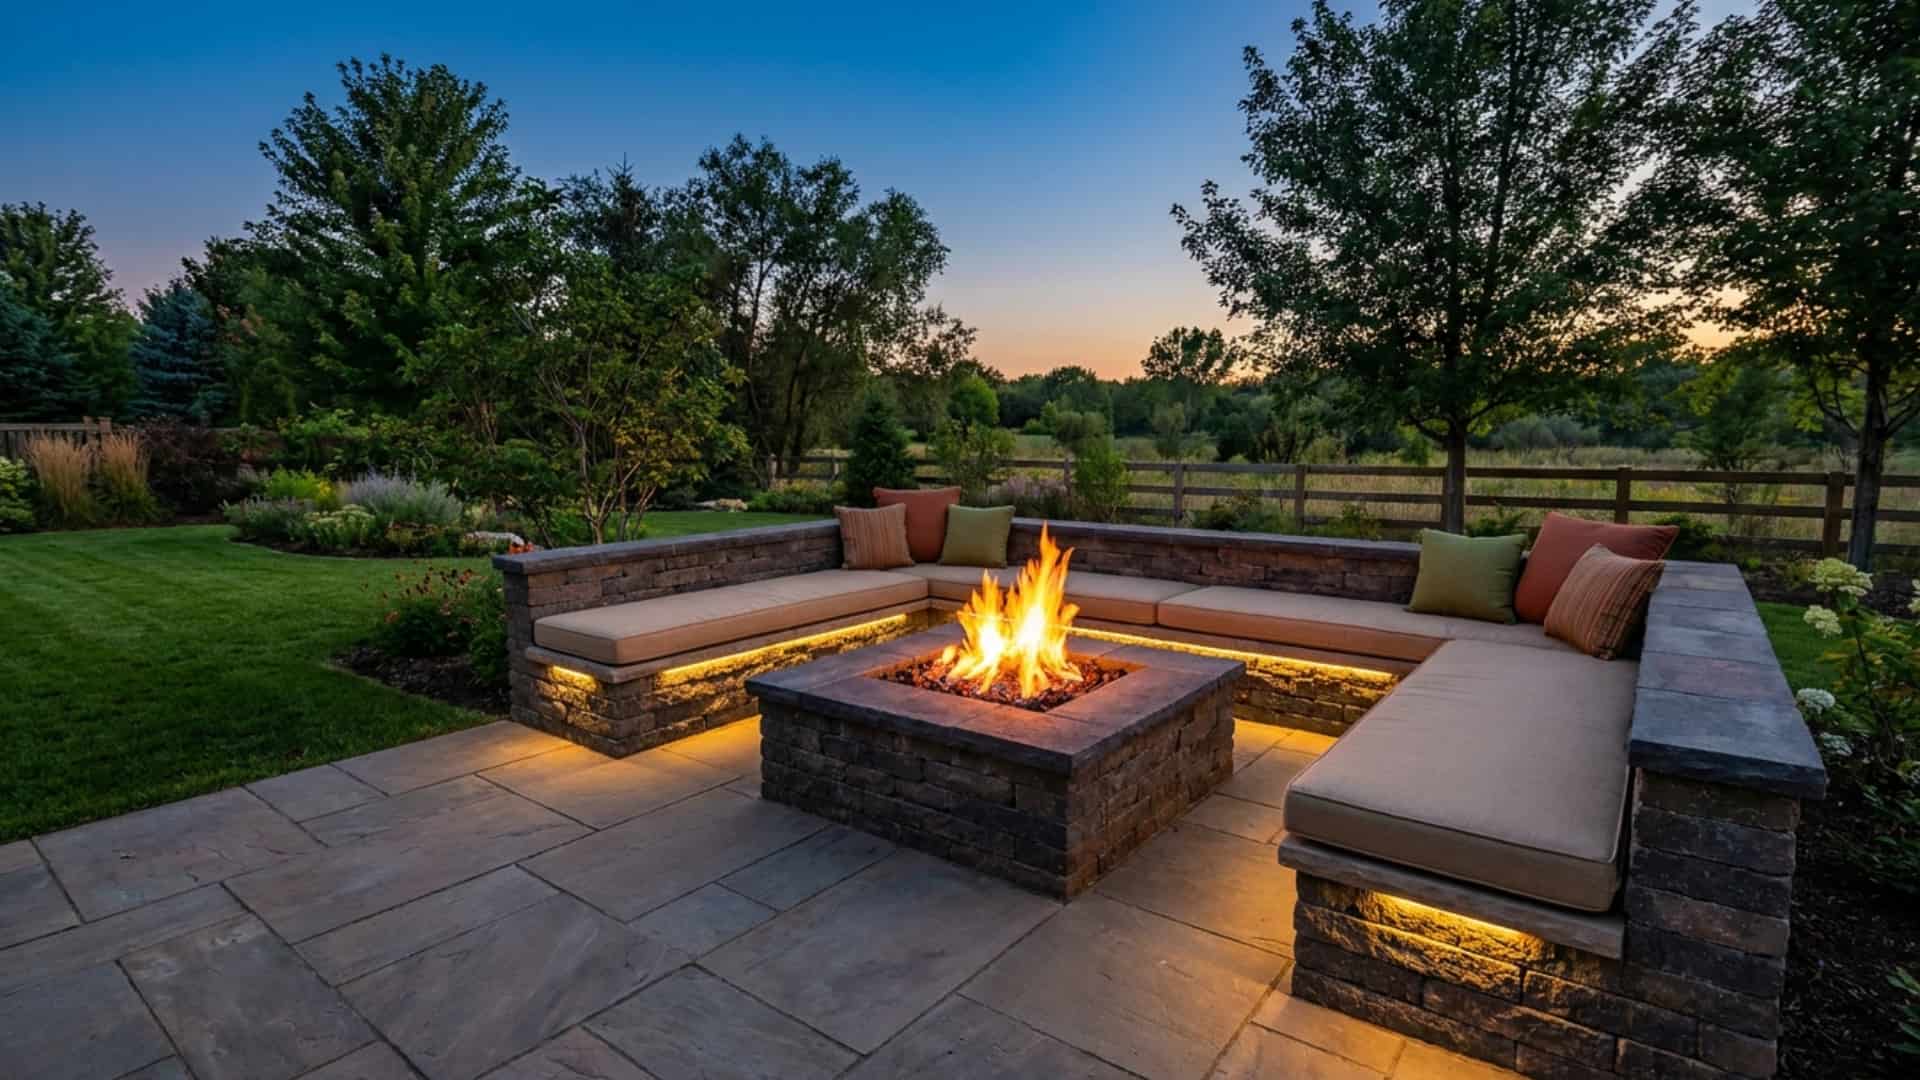
A square fire pit with a built-in seating ledge is a great option for homeowners who prefer modern backyard designs with clean lines and a simple layout.
The wide flat ledge adds both style and function by providing extra seating space and a convenient spot for drinks, snacks, or outdoor decor.
This type of fire pit creates a sleek gathering area that works well for entertaining guests while giving the patio a polished, updated look.
4. Rustic River Rock Fire Pit

A river rock fire pit adds a natural, relaxing feel to any backyard. The smooth, rounded stones create a soft, organic appearance that blends beautifully with gardens, trees, and natural landscaping.
This style works especially well for rustic, coastal, and woodland-inspired patios while adding texture and visual interest to the yard.
A river rock setup also gives homeowners a unique fire pit design that feels more custom and visually different from standard brick or concrete fire pits.
5. Raised Patio Fire Pit with Flagstone Cap
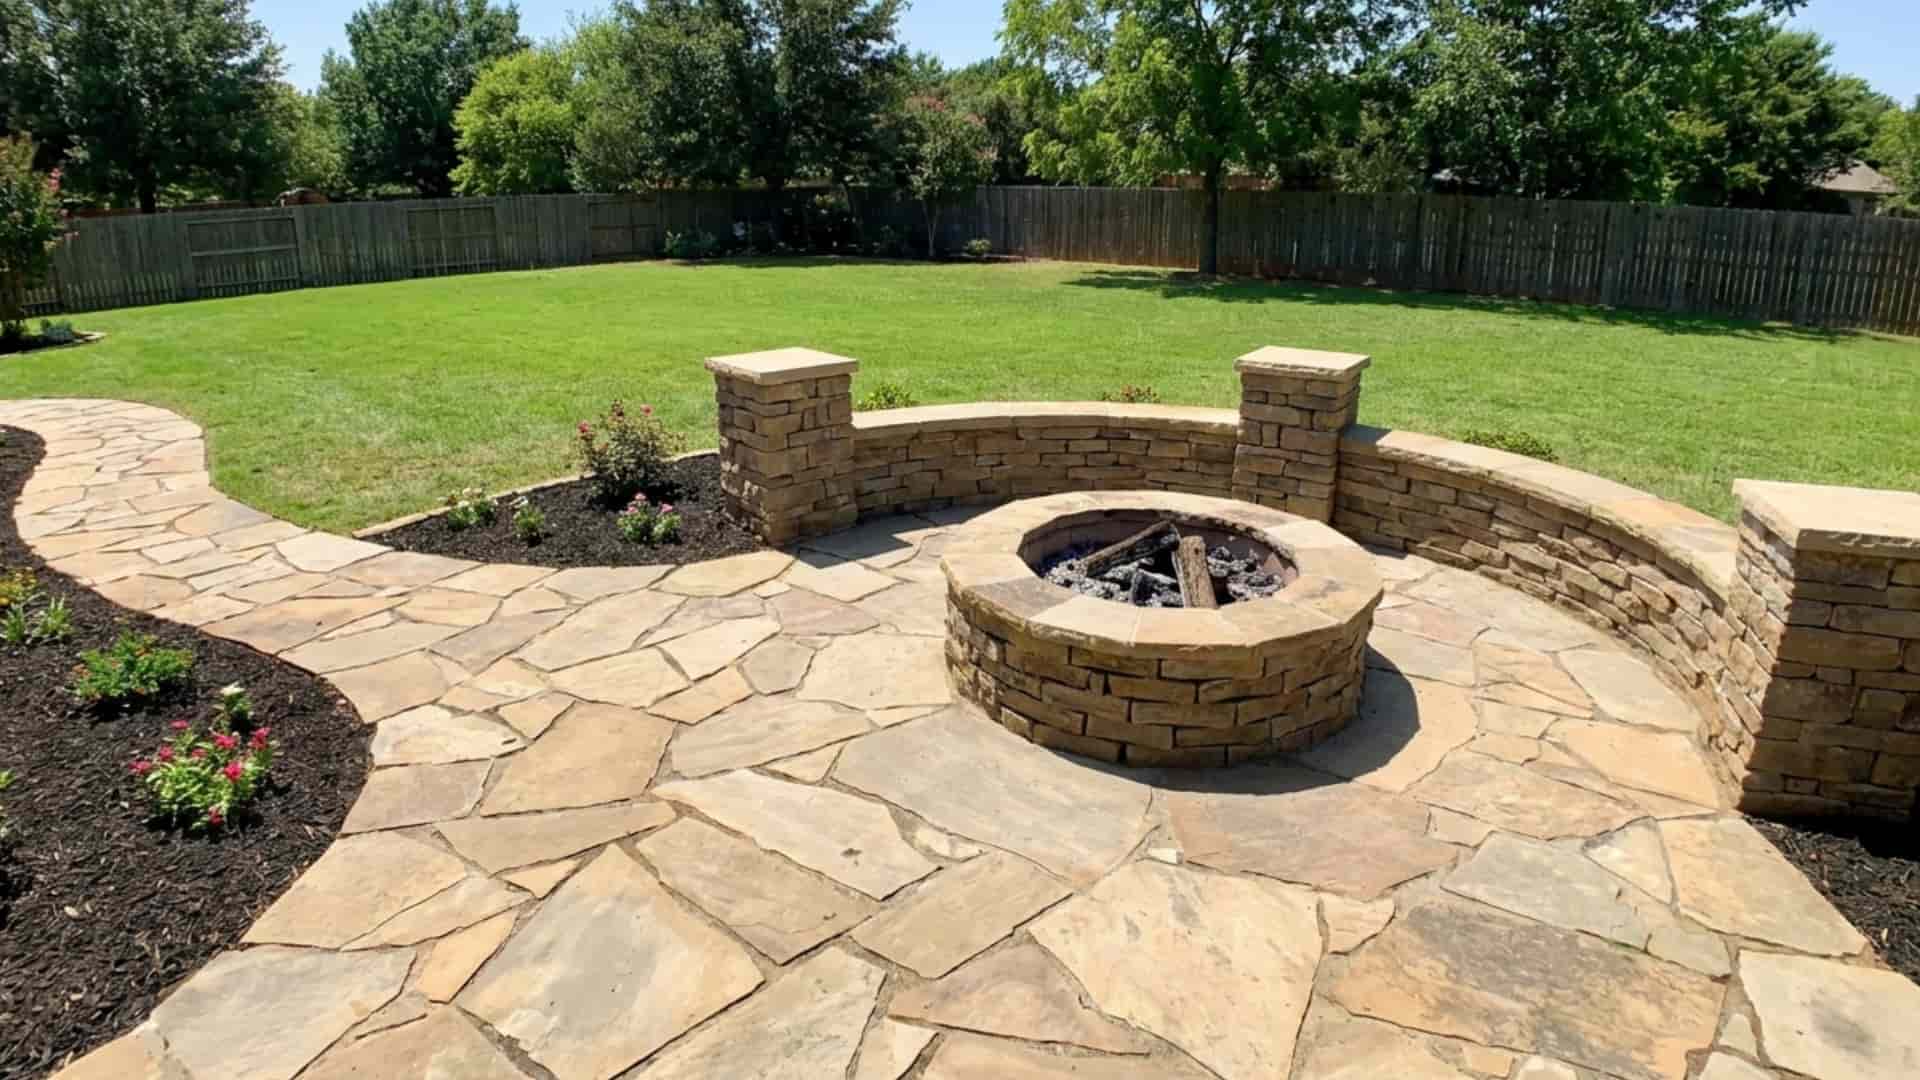
A raised fire pit with flat flagstone capstones gives any backyard patio a more refined and high-end appearance.
The refined design creates a strong focal point while making the fire feature stand out beautifully in the outdoor space.
Smooth flagstone caps add a clean and finished look that feels custom-built and professionally installed.
This style works well for modern patios and creates a comfortable gathering area for relaxing outdoors year-round
6. Farmhouse Brick Fire Pit with Seating Wall
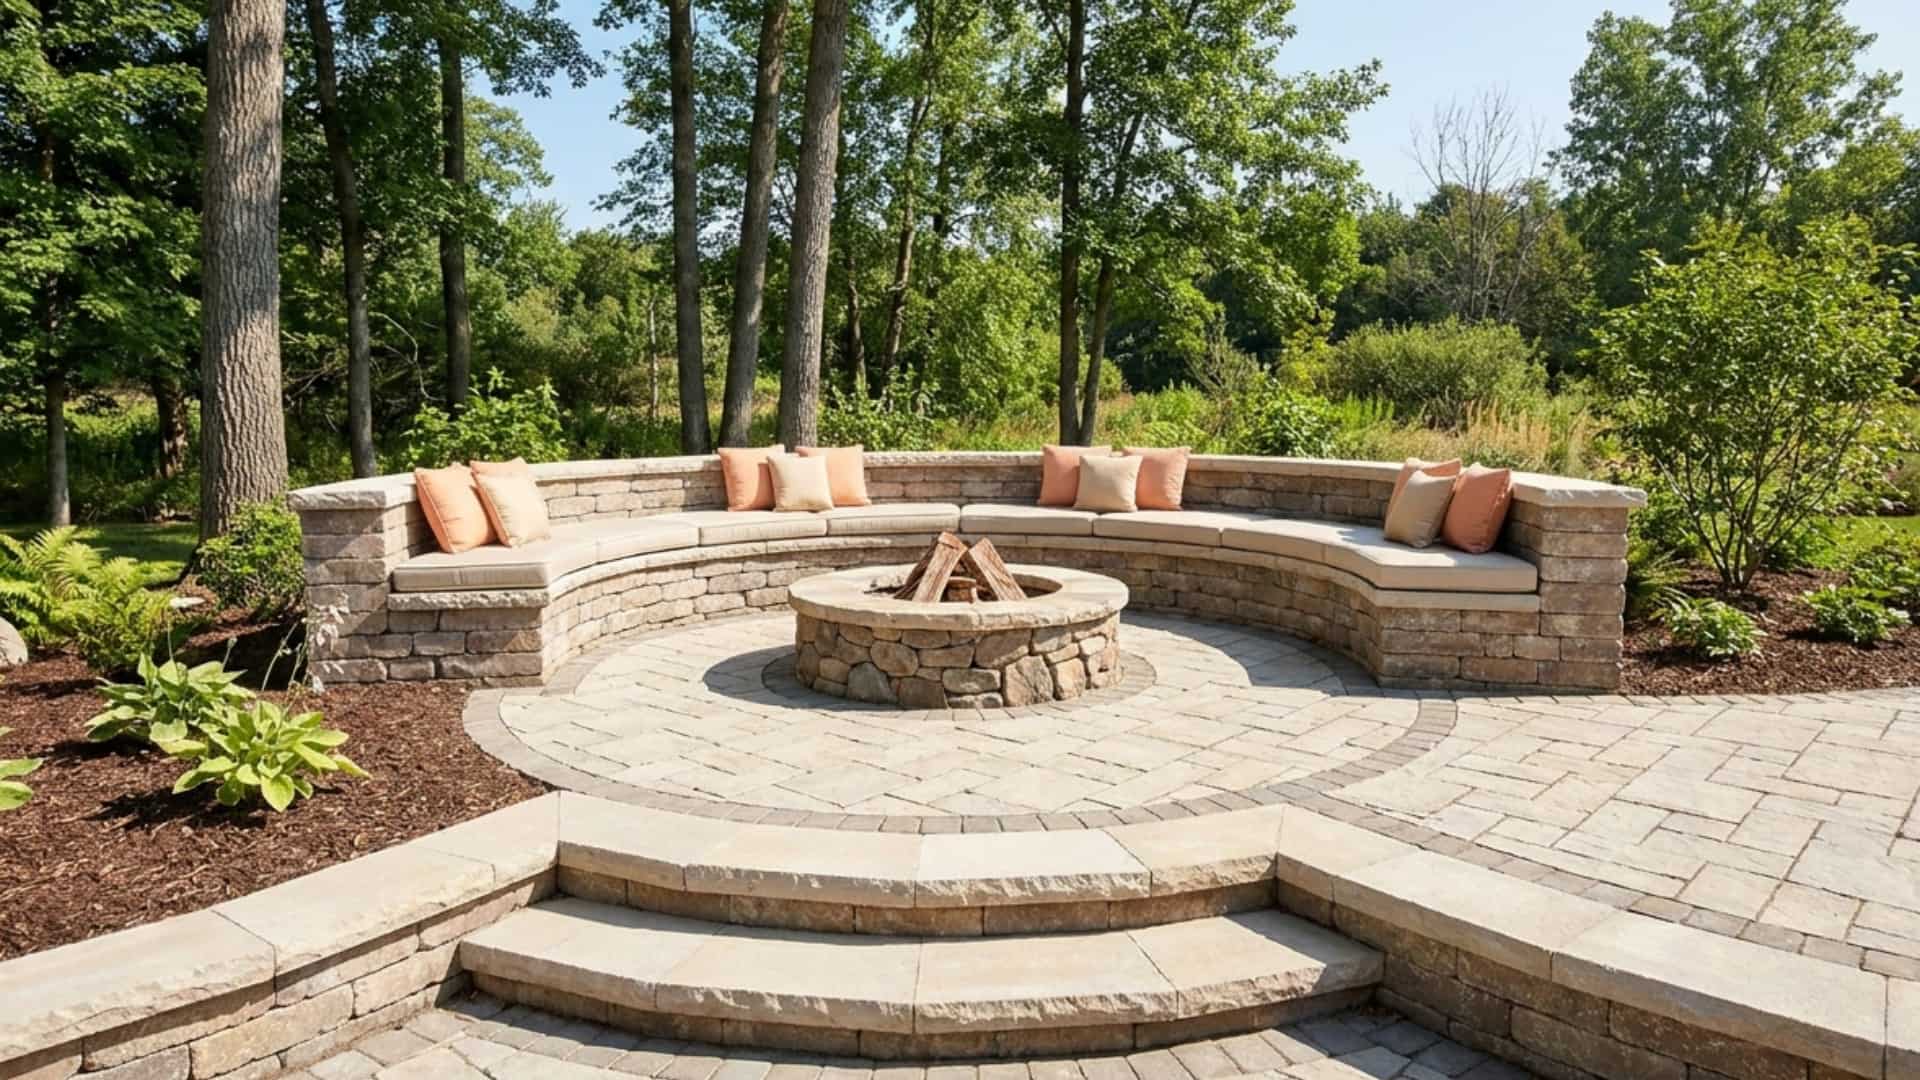
Classic red or tan brick paired with a built-in seating wall creates a cozy and welcoming backyard gathering space.
The timeless brick design adds warmth and charm while giving the patio a comfortable farmhouse-style look. Built-in seating makes the area more functional for hosting family and friends around the fire pit.
This setup works especially well for homeowners who enjoy traditional outdoor spaces with a relaxed and inviting atmosphere throughout the year.
7. Smokeless Fire Pit DIY Build
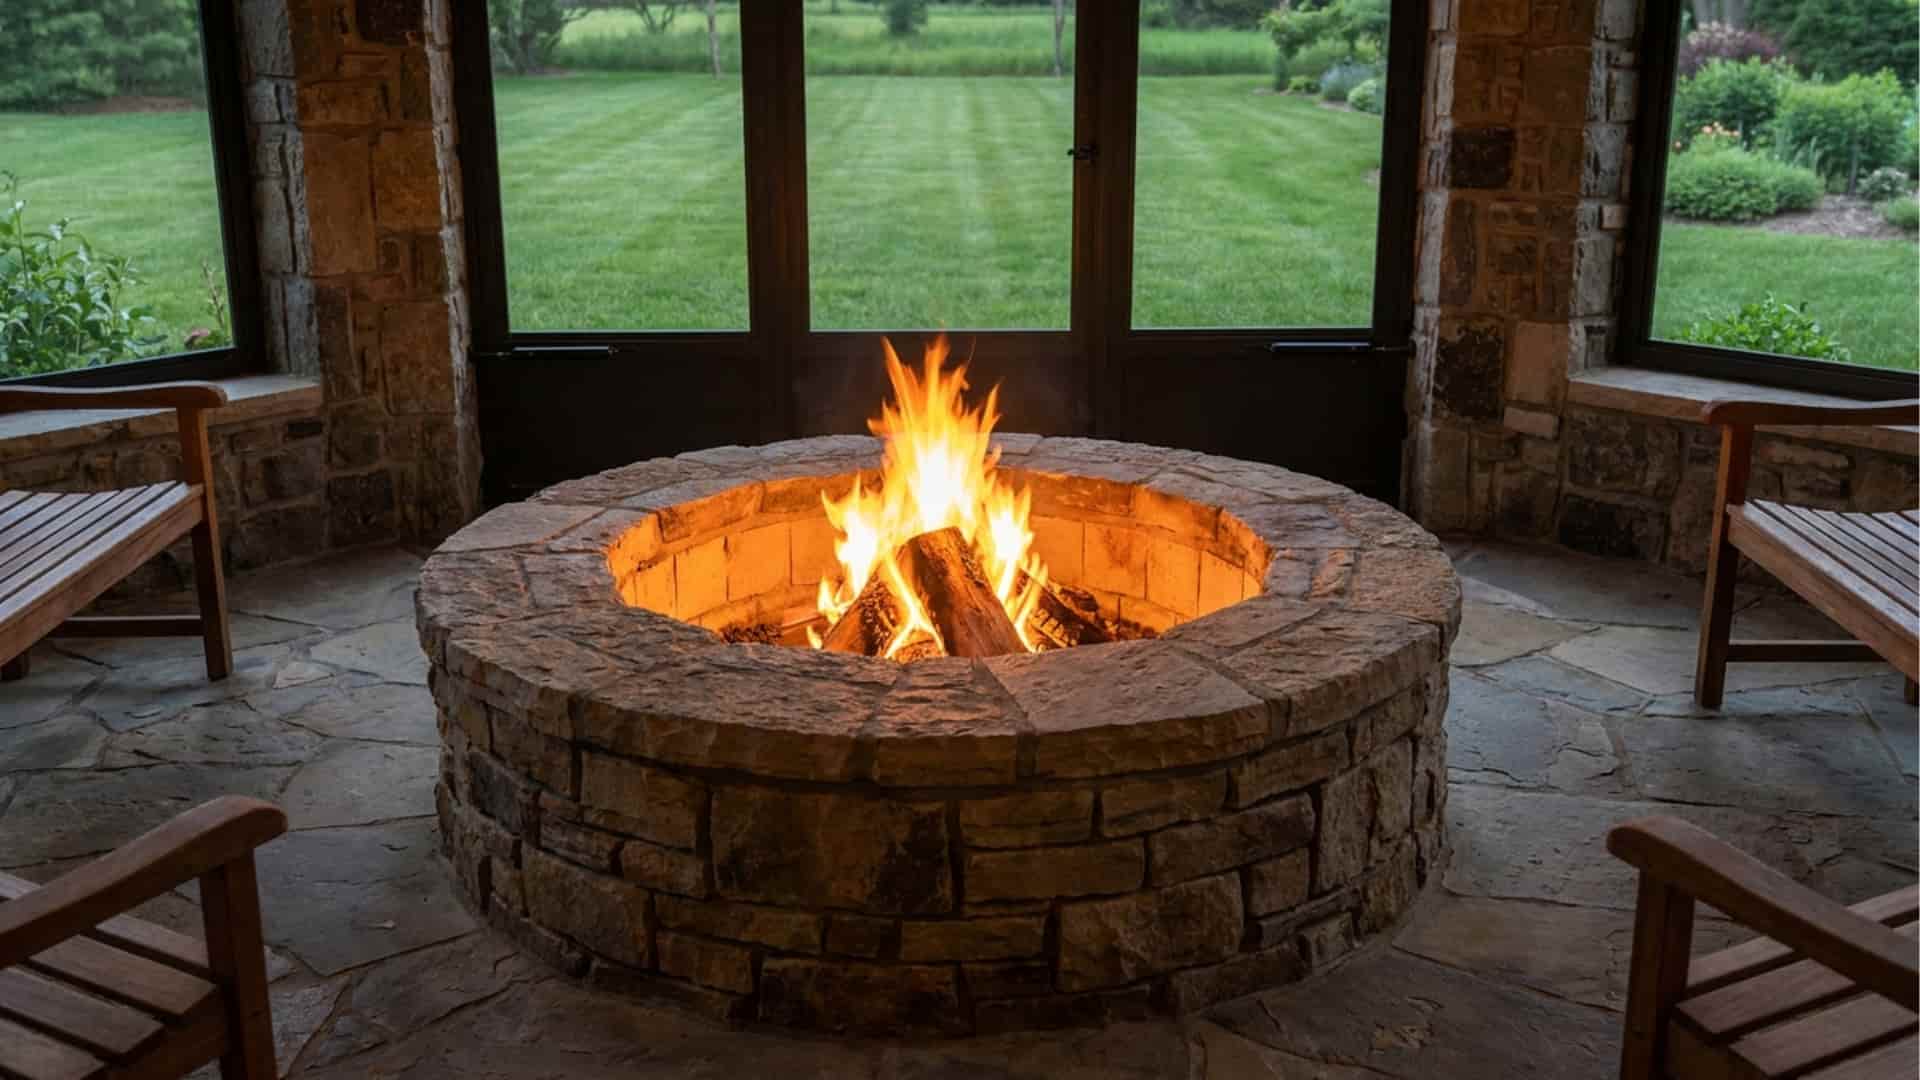
Smokeless fire pits have become one of the most popular modern backyard fire pit ideas for homeowners today. These use a double-wall airflow system that improves burning efficiency and greatly reduces smoke.
The cleaner burn creates a more comfortable outdoor experience for guests while helping keep clothes and seating areas free from heavy smoke odors.
Smokeless fire pits work especially well in smaller backyards and neighborhoods where excess smoke can become a problem.
8. Upcycled and Sustainable Material Fire Pit: Eco Trend
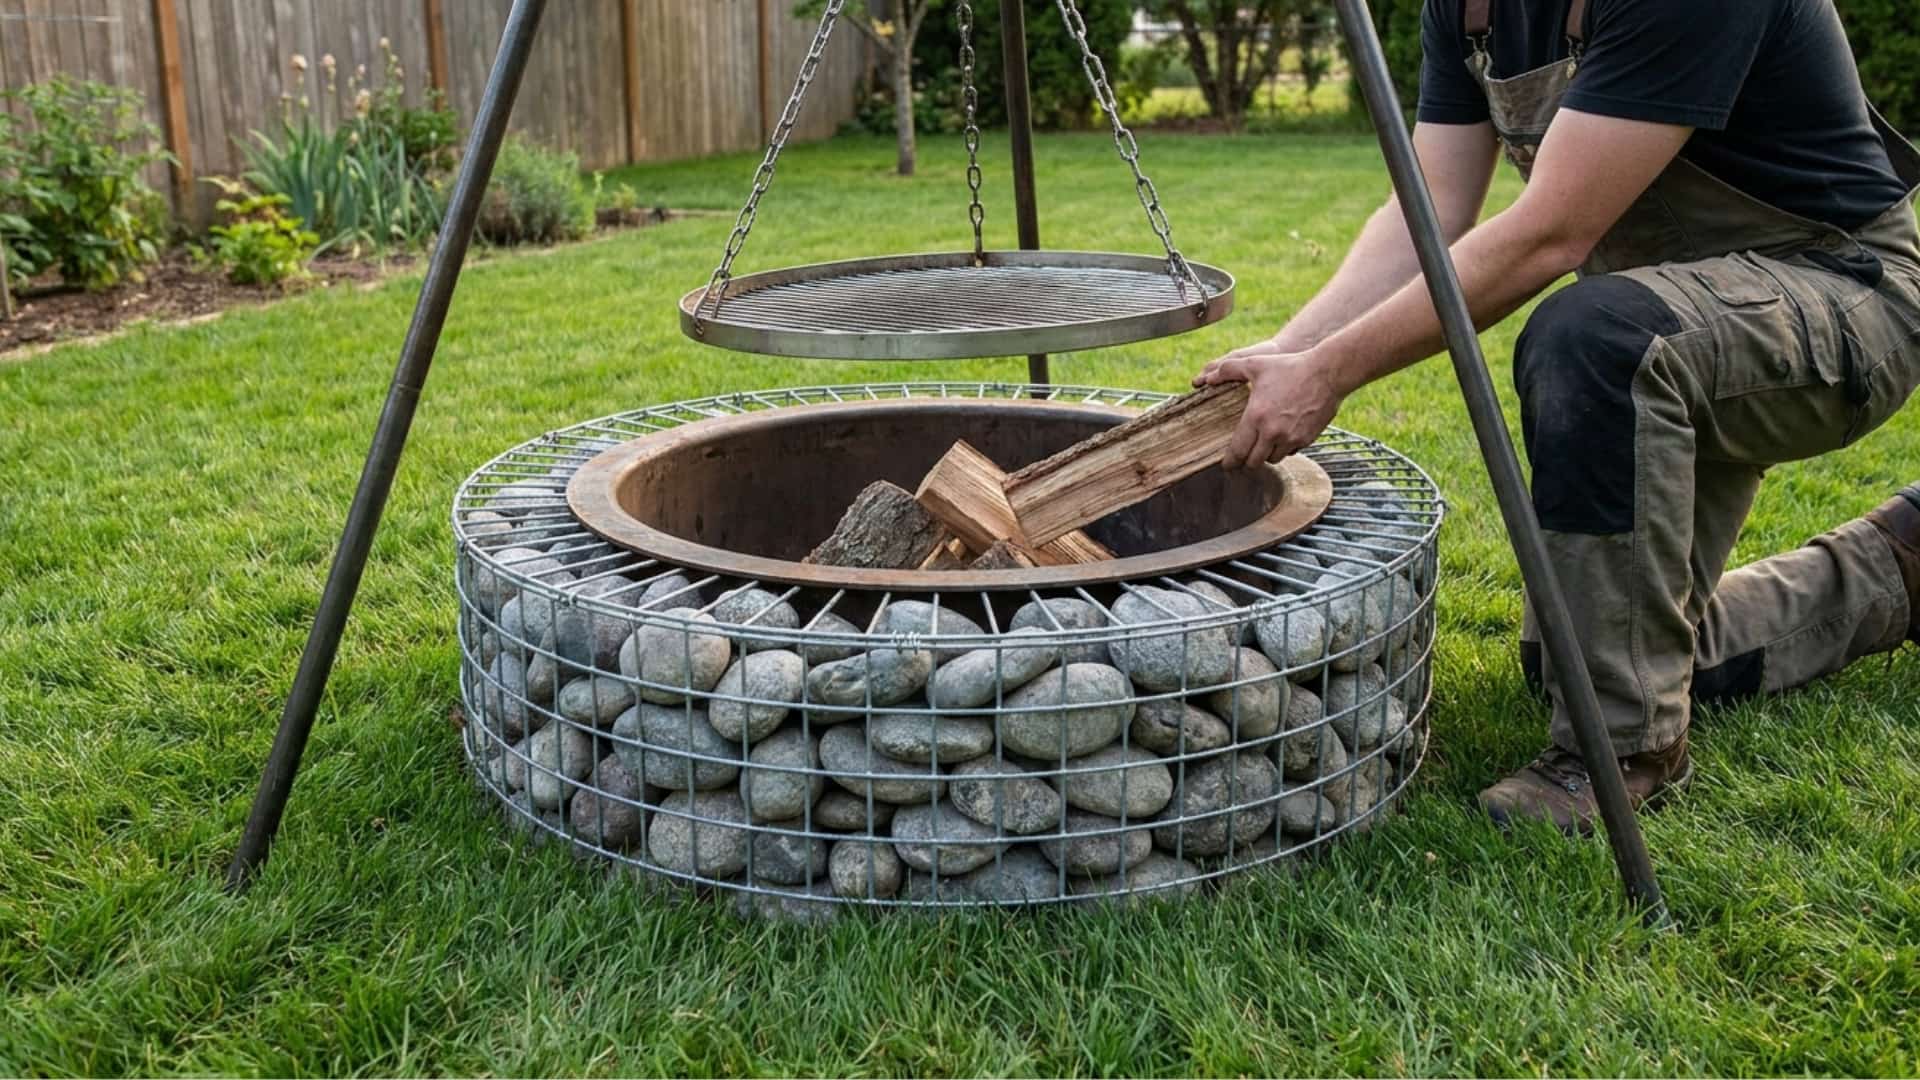
Reclaimed bricks, salvaged stone, and recycled metal are all being used to create stunning, eco-consciousbackyard fire pit ideas. This approach is not only budget-friendly but also gives your fire pit a one-of-a-kind character.
No matter your budget, style, or yard size, one of these DIY fire pit ideas is guaranteed to convert your outdoor space into the ultimate backyard retreat.
Pick your favorite design, gather your materials, and start building this weekend.
How to Build a DIY Fire Pit with a Seating Area?
Adding a well-planned seating area around your backyard fire pit turns a simple build into a complete outdoor living space that your family and friends will never want to leave.
Here is everything you need to know to get it right.
Planning the Seating Radius
Getting the seating distance right is the first and most important step. Position all seating at least 5 feet and no more than 7 feet from the edge of the fire pit. Too close and your guests will feel the heat uncomfortably.
Too far, and the warmth and ambiance of the fire get lost. This sweet spot creates the perfect balance of warmth, comfort, and safety for everyone sitting around your fire pit with a seating area.
DIY Bench Options for Your Seating Area
The good news is that building seating around your fire pit does not require professional skills or a big budget. Here are the three most popular DIY fire pit seating options:
- Retaining Wall Cap Benches are the easiest option. Simply stack retaining wall cap blocks to the desired height to create a clean, sturdy, low-maintenance bench that perfectly matches your fire pit.
- Timber Benches bring a warm, natural feel to your seating area. Cut and sand thick timber planks, attach them to simple wooden or metal legs, and you have a beautiful rustic bench ready in just a few hours.
- Built-in Block Benches are the most permanent and impressive option. Using the same blocks as your fire pit, build a low wall around the seating perimeter and top it with flat cap stones for a seamless, professional finish.
All three options are budget-friendly, beginner-approved, and guaranteed to make your seating area a backyard favorite for years to come.
Ground Cover Ideas for Your Backyard Fire Pit Area
The finishing details around a fire pit area matter just as much as the structure itself.
The right ground cover keeps the space safe and low-maintenance, while thoughtful lighting turns an ordinary backyard corner into somewhere people actually want to gather after dark.
| Feature | Option | Approx. Cost | Maintenance | Best For |
|---|---|---|---|---|
| Ground Cover | Crushed Gravel | $30 to $60 per bag | Low | All-round safety and visual appeal |
| Natural Stone Pavers | $3 to $10 per sq. ft. | Low | Clean, polished finish | |
| Decomposed Granite | $25 to $50 per bag | Low | Natural, rustic aesthetic | |
| Wood Chips or Mulch | $20 to $40 per bag | Medium | Avoid near fire pit areas | |
| Dry Grass | No cost | High | Avoid entirely | |
| Lighting | Solar String Lights | $15 to $50 per strand | Low | Overhead ambiance |
| Smart Outdoor Lanterns | $40 to $120 per unit | Low | Ground-level glow | |
| Pathway Lighting | $20 to $80 per set | Low | Safety and style | |
| Torch Lights | $15 to $60 per unit | Low | Rustic atmosphere | |
| LED Fire Pit Rings | $50 to $150 per unit | Low | Modern, contemporary look |
Fire Pit Maintenance and Troubleshooting Tips
Building your DIY fire pit is only half the job. Keeping it in great shape year after year requires a little regular maintenance and awareness of the most common homeowner mistakes.
Follow these simple tips and your fire pit will look and perform beautifully for many seasons to come.
- Cover your fire pit after every rainfall to prevent water pooling and block cracking.
- Always use a metal scoop and a metal bucket to safely remove and dispose of cooled ash.
- Burn seasoned hardwoods like oak, hickory, and maple for the cleanest and hottest fires.
- Never use regular concrete blocks, as they can crack and explode under extreme heat.
- Always include a gravel drainage layer to avoid early structural damage.
- Cooled wood ash makes an excellent natural fertilizer and eco-friendly compost additive.
A little care and attention after every use goes a long way. Follow these simple habits and your fire pit will stay strong, safe, and beautiful season after season.
Frequently Asked Questions (FAQs)
How Deep Should a DIY Fire Pit Be?
A DIY fire pit should be six to eight inches deep. This depth provides proper airflow, drainage, and a safe, stable burning environment.
Do I Need a Metal Ring Inside a Fire Pit?
A Metal Ring is Optional but Highly Recommended. It Protects Your Blocks from Direct Heat Damage and Significantly Extends the overall lifespan of Your Fire Pit.
How Far Does a Fire Pit Need to Be from The House?
Always position your fire pit at least ten to twenty-five feet away from your house, fence, garage, or any other structure for maximum safety.
Final Thoughts
A well-built fire pit does not require professional skills or an expensive contractor.
Every step covered here, from marking the ground and laying the first course of blocks to adding the finishing capstones, is genuinely manageable for a first-time builder with a free weekend and the right materials.
The hardest part is usually just deciding on the style and getting started. Pick the design that suits the space, gather what is needed, and build something worth gathering around.
Already built yours? Drop your photos and experience in the comments below and show others what is possible.

James McLaren, with a rich background in architecture from the University of Manchester, has been contributing his expertise to the world of creative construction and home innovation for over 20 years. His journey began as a project manager for a leading construction firm, where he honed his skills in bringing complex designs to life. James joined our platform as a freelancer in 2019, quickly becoming a favorite for his insightful and practical advice. He has been a pivotal force to our wing ever since, bringing our readers a blend of technical know-how and creative flair. Beyond his professional life, James is an avid woodworker and enjoys restoring vintage furniture, a hobby that complements his professional insights beautifully.