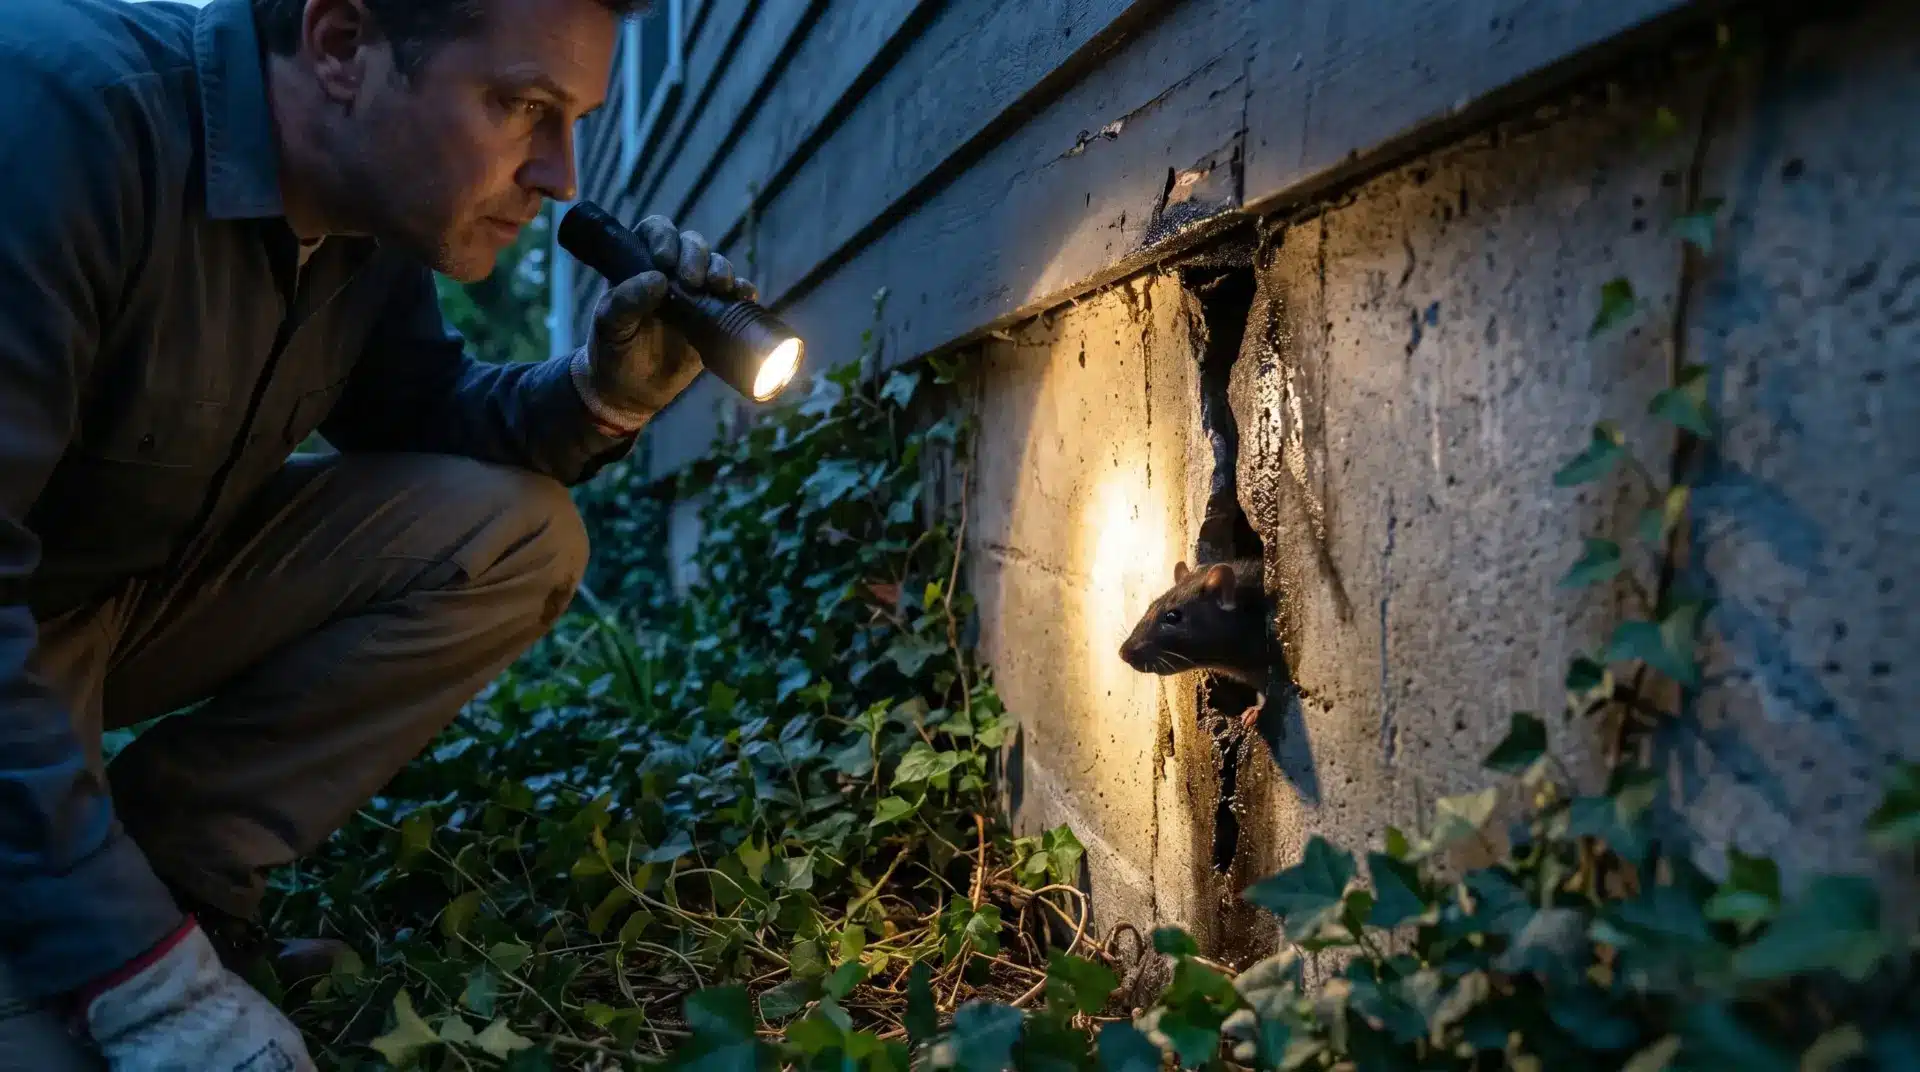

Most homeowners spend money on traps and bait, clear the problem, and then wonder why rats are back three months later. The infestation never really ended, the door they walked through was never closed.
| Inspection Zone | What to Look For | Tools Needed |
|---|---|---|
| Foundation & Ground Level | Cracks, gaps, burrow holes | Torch, screwdriver |
| Pipes & Utilities | Gaps around entry points | Torch, gloves |
| Roof, Eaves & Soffits | Loose panels, rot, open gaps | Ladder, binoculars |
| Doors, Windows & Garage | Worn seals, frame gaps | Torch, card strip |
| Vents & Drains | Cracked covers, missing mesh | Torch, gloves |
Why One Day Is All You Need to Inspect Your Entire Home
1. The Reason Most Rat Inspections Miss the Entry Points That Matter
Most people inspect their home for rat entry points the wrong way. They walk around, spot an obvious crack, fill it with foam, and consider the job done. Three weeks later, the rats are back through a gap two feet away that never got checked.
A proper inspection isn’t about finding one entry point. It’s about finding every single one, because rats will find the next gap on the list the moment you close the first. You need a systematic approach that covers the whole structure in order, not a random walk around the perimeter.
One day is enough time to do this properly. The key is to work in zones from ground level up, so nothing gets skipped and no area is inspected twice.
2. What Rats Leave Behind Tells You Exactly Where They’ve Been
Rats leave physical evidence at every entry point they use regularly. Knowing what to look for cuts inspection time significantly and removes the guesswork entirely.
Grease rub marks are the most reliable sign. Rats have oily fur, and they press against surfaces as they move. The resulting dark smear along a wall edge or a gap opening confirms regular, active use. Fresh droppings near a gap tell the same story.
Gnaw marks on wood or sealant around a gap indicate a rat has been working to widen it. Undisturbed spider webs across a gap suggest it hasn’t been used recently. Clean, debris-free openings with no webs are the ones worth prioritizing.
1. The Foundation and Ground-Level Perimeter
How to Walk the Foundation Line Without Missing Anything
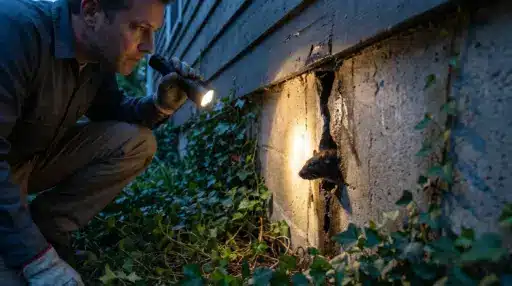
Start outside at ground level. Walk the full perimeter of your home slowly. This is not a job to rush. Take a torch, even in daylight, because ground-level gaps in the shadows are easy to miss with the naked eye.
Look specifically at points where two different materials meet. The gap between your foundation and the bottom of your siding is one of the most common entry points on any home. The junction where a concrete path meets the house wall is another. Rats don’t push through solid material.
Mark every gap you find with a piece of chalk or a small flag so you can return to seal them all at once after the inspection is complete.
The Ground-Level Signs That Confirm Rats Are Using a Specific Spot
A gap alone doesn’t confirm rat activity. Look for signs indicating whether that gap is actively being used. Smeared grease marks around the edges of a hole mean a rat’s body has been passing through it repeatedly.
Burrow holes in the soil near the foundation are a clear sign of rat activity. Norway rats, the most common species found in homes, dig burrows that typically run alongside foundations and extend beneath them.
Any vegetation growing close to the foundation wall gives rats both cover and a route. Dense shrubs and ground-covering plants pressed against the house make the base of the wall almost impossible to inspect and provide ideal concealment for active entry points.
2. Pipes, Cables, and Utility Entry Points
Where to Look on Every Wall Where Utilities Enter the Building
Every pipe, cable, and wire that enters your home from outside passes through a hole. That hole is almost always slightly larger than the pipe itself, because it was cut that way during installation and never sealed to a standard that excludes rodents.
Check every point on the exterior walls where utilities enter. Gas pipes, water pipes, electrical conduit, cable TV lines, and internet cables. Each one is a potential gap.
Run a screwdriver around the edge of each pipe where it enters the wall. If the screwdriver tip goes in more than half an inch in any direction, the gap is large enough to be worth sealing.
The Interior Check That Most Homeowners Skip Entirely
Pull every large appliance away from the wall, fridge, washing machine, dishwasher, and cooker. The gaps behind and beneath these appliances are almost never inspected and are among the most active rat routes in any infested kitchen.
Check inside every cabinet under a sink. Look at the floor of the cabinet where the waste pipe and water supply pipes disappear through the base, the holes cut for these pipes are almost always oversized and rarely sealed.
Look at the area around the boiler, water heater, and any utility cupboard where pipes concentrate. Multiple pipes entering through the same wall section create multiple gaps in close proximity.
3. The Roof Line, Eaves, and Soffits
How to Inspect the Upper Structure Without Missing Active Entry Points
Work from the ground first using binoculars. Scan along the roofline, gutter line, and soffit panels looking for anything that’s visibly out of place, gaps at roof junctions, lifted soffit panels, missing sections, or discoloration that might indicate rot.
Follow up with a ladder inspection of anything that looked questionable from the ground. Get close enough to check soffit panels by pressing gently on them, a panel that flexes or gives when pressed has likely started to rot behind the surface.
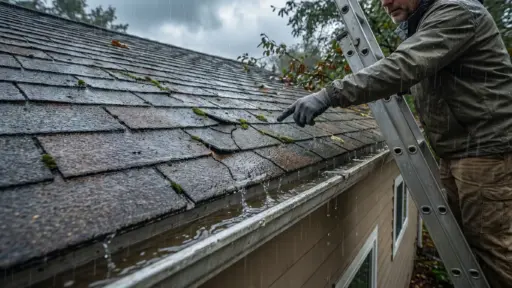
Check the point where the roof meets the gutter and the gutter meets the fascia board. Rats climbing drain pipes reach this junction first and test it for gaps before moving along the roofline.
What Active Roof-Level Entry Looks Like
A rat using a roof-level entry point leaves the same evidence as ground-level use, grease marks, droppings, and gnaw marks, but in a location most homeowners never think to check.
Look for dark smearing along the top edge of soffit panels or around the lip of the gutter. Check the corners where two soffit sections meet.
Any section of fascia board that has begun to soften, discolor, or separate from the roof board is a priority. Wood rot at the roofline is both a structural issue and a rat entry point.
4. Doors, Windows, and the Garage
The Frame and Threshold Gaps That Are Easier to Miss Than You’d Think
Close every exterior door fully and get down low. Look along the bottom edge of the door where the sweep meets the threshold, hold a torch on one side, and check for light coming through on the other.
Check the corners of door frames where the frame meets the wall. This junction compresses and separates over the years of use and temperature cycling. Run your finger along it.
Windows with intact glass and functioning latches are rarely a problem. The issue is the frame seal, particularly older timber frames that have shrunk away from the surrounding wall.
Garage Doors and Why They Deserve a Separate Check
Garage doors are one of the most underestimated entry points on a residential property. The rubber seal along the bottom deteriorates from repeated contact with the concrete floor and compresses unevenly over time.
Check the bottom seal by closing the door fully and looking for light under the door. Check the two bottom corners specifically. These are the points where the seal wears fastest and where rats enter first.
The side gaps where the door panel meets the frame are worth checking, too. On older garage doors, the top or bottom corners may be wide enough to allow entry.
5. Vents, Drains, and External Openings
Every Vent on the Exterior That Needs a Physical Check
Make a list of every exterior vent on your home before you start this part of the inspection. Attic vents, soffit vents, dryer vents, bathroom extractor vents, crawl space vents, and any HVAC openings all need to be checked individually.
For each one, check that the cover is physically intact with no cracks, missing sections, or loose fixings. Press on it lightly. A cover that moves when pressed is not properly secured and can be pushed open.
Dryer vents deserve particular attention. The warm air they push out is a direct signal to rats that warmth is on the other side. The flap mechanism that opens when the dryer runs and closes when it doesn’t is often the only barrier.
Drain Checks That Take Five Minutes but Matter Significantly
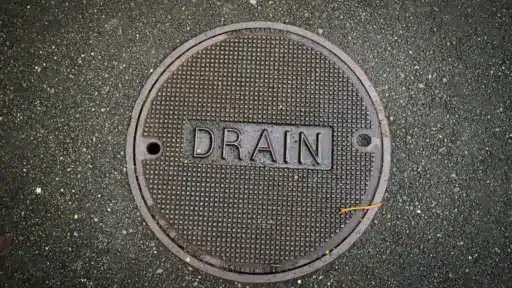
Check every external drain on the property, yard drains, gutter downpipe outlets, and any visible drain grates at ground level. Look for missing or damaged covers and for signs of disturbance in the soil immediately around the drain opening.
Rats entering through drainage systems are more common in urban properties where older sewer infrastructure connects closely to residential foundations.
If your property has a crawl space, check the crawl space vents as a priority. These low-level openings are among the easiest entry points on any home with a raised foundation.
How to Use Your Findings to Clear and Close Every Entry Point
Why You Seal After You Clear, and Not the Other Way Around
Once the inspection is complete, you have a full map of every gap and potential entry point on your property. Before sealing any of them, confirm whether rats are currently active inside the structure.
Sealing entry points while rats are active inside traps them in the walls. A trapped rat creates a different and harder problem, it dies in the wall cavity, causes a significant odor, and can attract secondary infestations.
Check for fresh droppings, active grease marks, and sounds of movement at night before deciding to seal. If there’s any sign of current activity, clear it first.
Getting the Infestation Under Control Before You Lock Them Out
For attic activity specifically, one of the hardest areas to monitor and clear without the right equipment is the best way to catch rats in the attic, which is with a purpose-built trap system designed for that environment.
Attic spaces have low clearance, insulation that conceals movement, and multiple potential nesting sites. A trap setup built for that specific space clears the problem faster and more reliably than standard floor-level traps repositioned upstairs.
Once the infestation is cleared and confirmed gone, seal every point on your inspection list in zone order, foundation first, roof last. Use steel wool and caulk for pipe gaps, hardware cloth for vents, mortar for foundation cracks, and metal flashing for roof line gaps.
Frequently Asked Questions
1. How long does a full home rat inspection take?
A thorough inspection covering all five zones, foundation, utilities, roofline, doors and windows, and vents, takes between three and five hours for an average-sized home. Working in zone order without stopping to seal as you go keeps the process efficient and ensures nothing gets missed.
2. What is the most commonly missed rat entry point?
The gap around pipes under kitchen sinks is the entry point most homeowners miss. It’s inside a cabinet, rarely inspected, and almost always larger than it looks. Gaps at the gutter and fascia line are the second most commonly overlooked.
3. Can I do this inspection myself, or do I need a professional?
The full inspection is manageable without professional help on most residential properties. A professional adds value in two situations. Active infestations where the nest location needs to be identified and older properties where structural gaps are extensive enough that a systematic seal requires specialist materials and access equipment.

Tommy Hardy, an alumnus of the Georgia Institute of Technology with a degree in Mechanical Engineering, has been a go-to figure in residential upkeep and innovation for over 18 years. His career commenced in a leading home appliance manufacturing company, where he mastered the intricacies of household systems. Joining our platform in 2020, Tommy quickly became a reader favorite for his practical and easy-to-follow guides. He took the helm of our DIY section in 2019, consistently delivering content that empowers homeowners. Beyond his professional pursuits, Tommy is a passionate gardener and enjoys woodworking, skills enhancing his hands-on approach to home care.