Crafting at home has become a simple way to turn free time into something creative and relaxing.
When boredom hits, easy crafts to do at home can bring a sense of fun without expensive supplies. Most projects use materials like paper, jars, and fabric that are available in the house.
This blog includes a mix of ideas suitable for kids, adults, and beginners, making it easy to pick something that fits your interest and skill level.
Why Easy Crafts at Home are Popular
Easy crafts have gained attention because they make creativity feel simple and accessible without needing special skills. Many people enjoy them because they offer a sense of accomplishment, even with small projects that can be finished quickly.
Working on crafts also helps improve focus and patience, especially when following patterns or assembling materials step by step.
Another reason behind their popularity is flexibility. You can start a project anytime, pause it, and come back later without pressure.
Easy crafts you can do at home also let you personalize items to your taste, making each result feel unique.
Best Easy Crafts to Do at Home
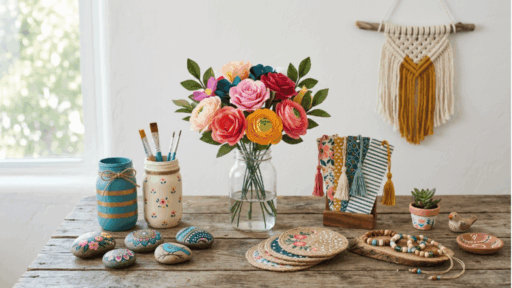
Creating something at home doesn’t have to be complicated or expensive. These easy crafts to do at home are simple, fun, and perfect for adding a creative touch to your daily routine.
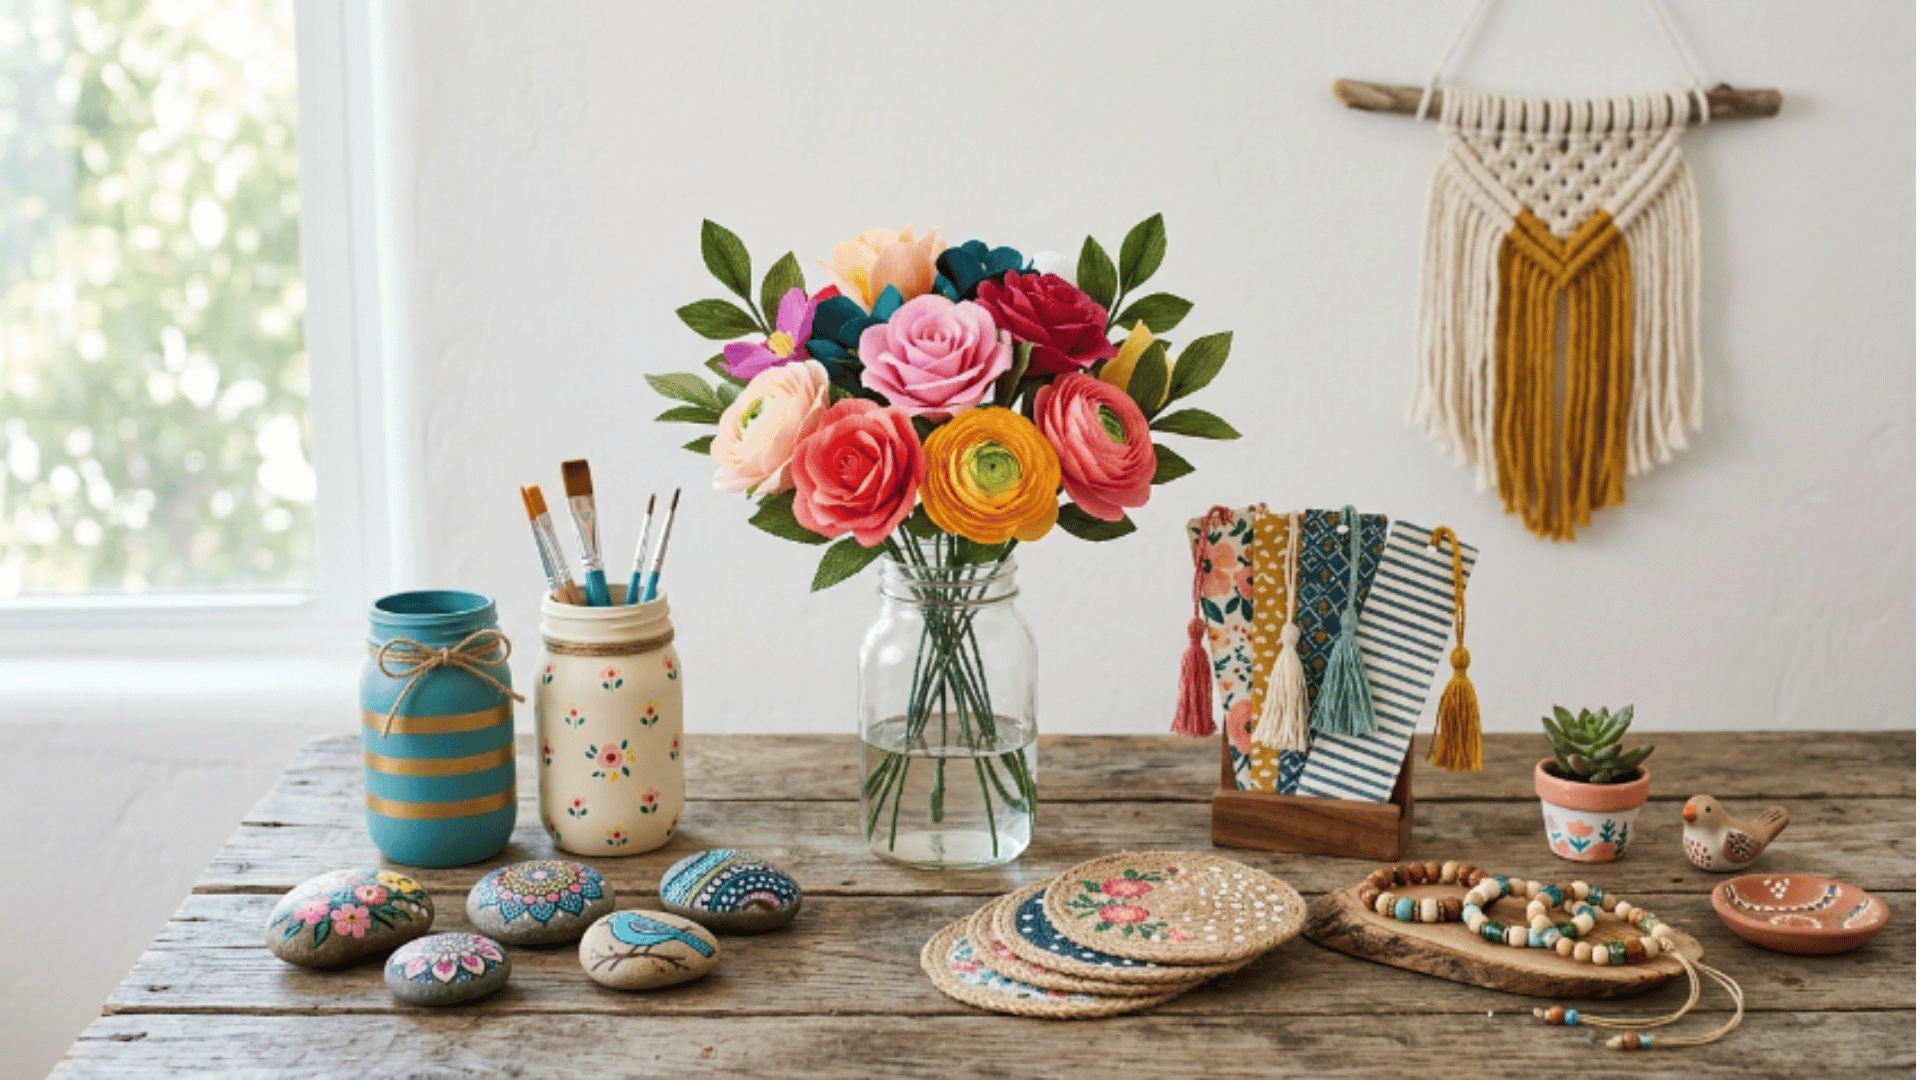
1. Paper Flower Bouquet Using Colored Paper

Paper flower bouquets are a simple and creative way to add color to any space without using real flowers. They last long, require minimal materials, and can be customized to match any style or theme.
How to make:
- Cut colored paper into different petal shapes and sizes to create variety and depth.
- Stack the petals from largest to smallest to form a full, natural-looking flower.
- Roll the paper tightly to form stems, then secure them with glue or tape.
- Fix each flower to the stem with glue to keep it stable.
- Use green paper for leaves and mix soft and bold colors for a balanced look.
- Group the flowers together and adjust spacing for a neat arrangement.
- Place in a jar or wrap like a bouquet for decor or gifting.
2. DIY Painted Mason Jar Vase
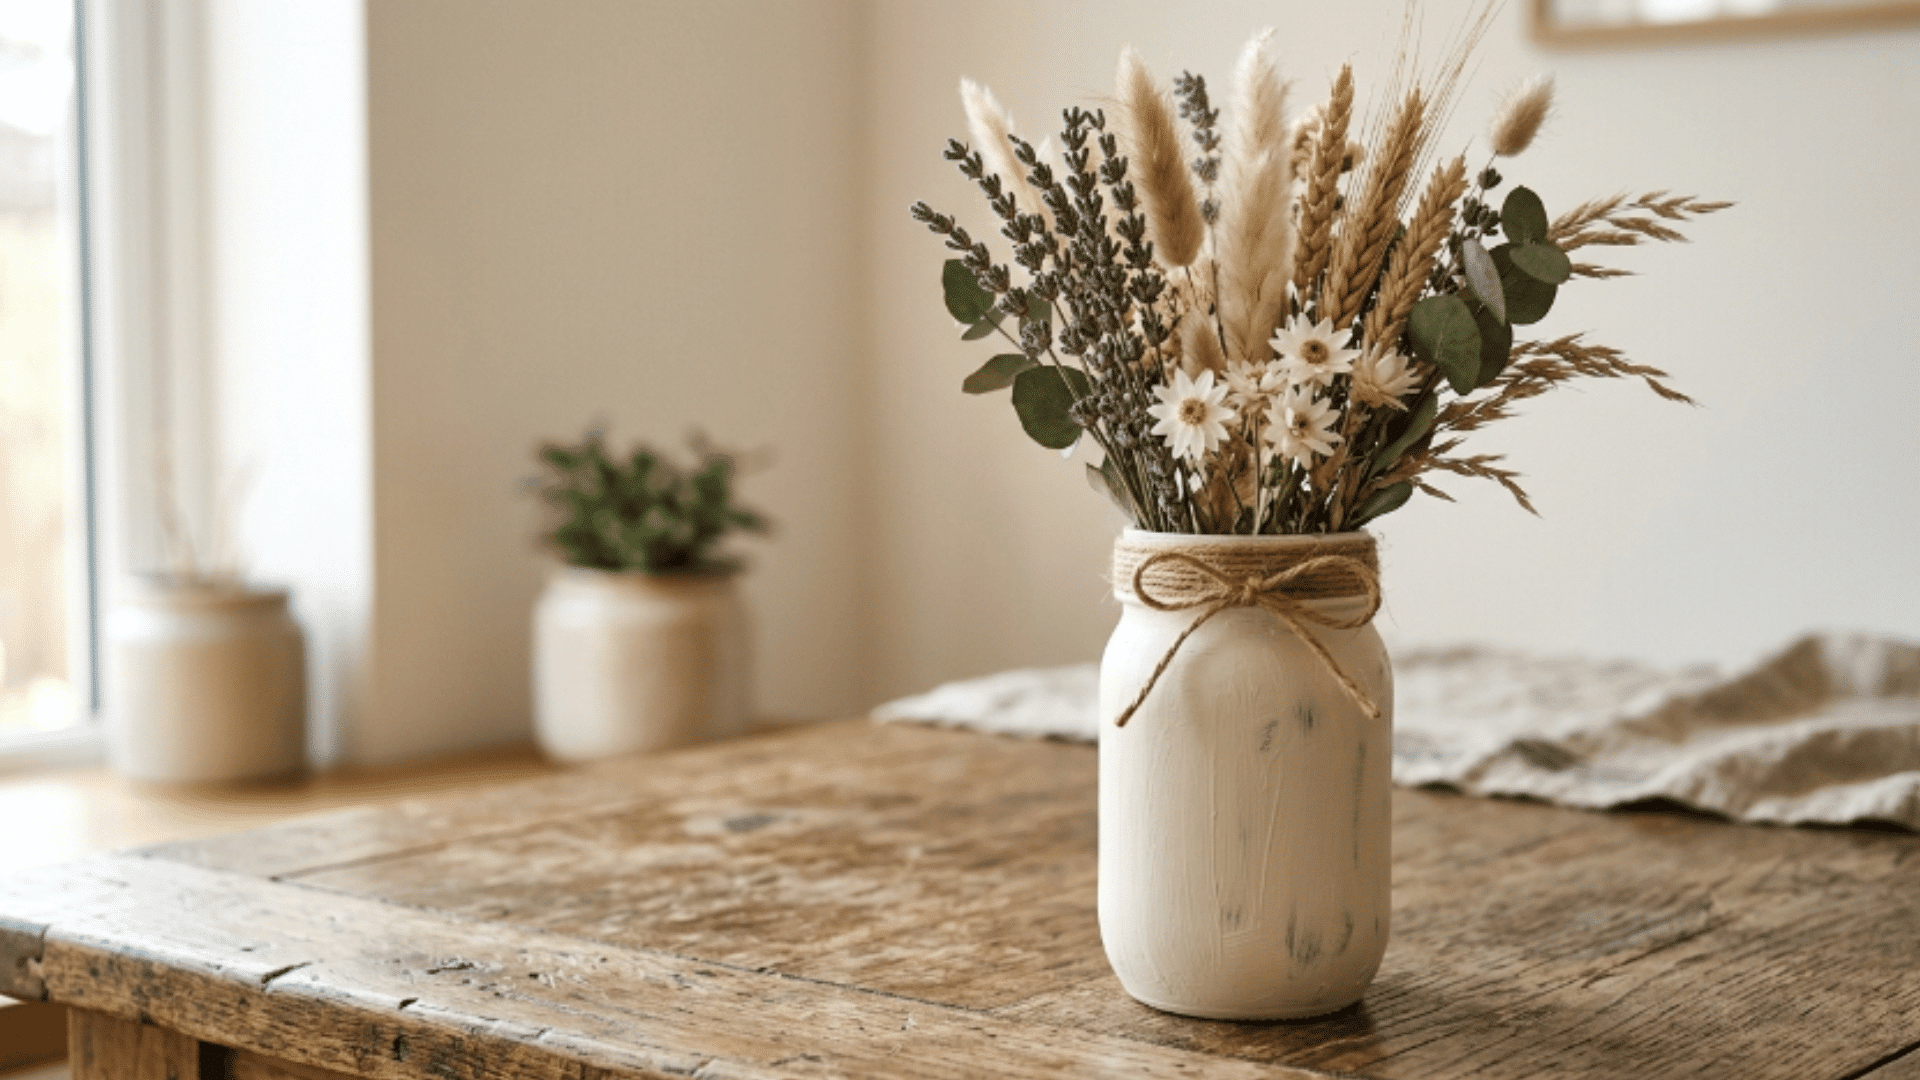
A painted mason jar vase is an easy way to turn a simple glass jar into a decorative piece. It adds color and style while using basic materials.
How to Make:
- Wash the mason jar thoroughly with soap and water, removing labels and residue for a clean surface.
- Apply acrylic paint evenly to create patterns, stripes, or a matte finish, depending on your design.
- Let the paint dry completely before adding layers to avoid smudging or uneven texture.
- Lightly sand certain areas to create a soft, distressed look for a subtle rustic effect.
- Wrap twine, lace, or ribbon around the neck to add a simple decorative detail.
- Place fresh flowers or dried stems inside to complete the vase look.
- Group multiple jars to create a balanced, coordinated display.
3. Salt Dough Handprint Keepsake
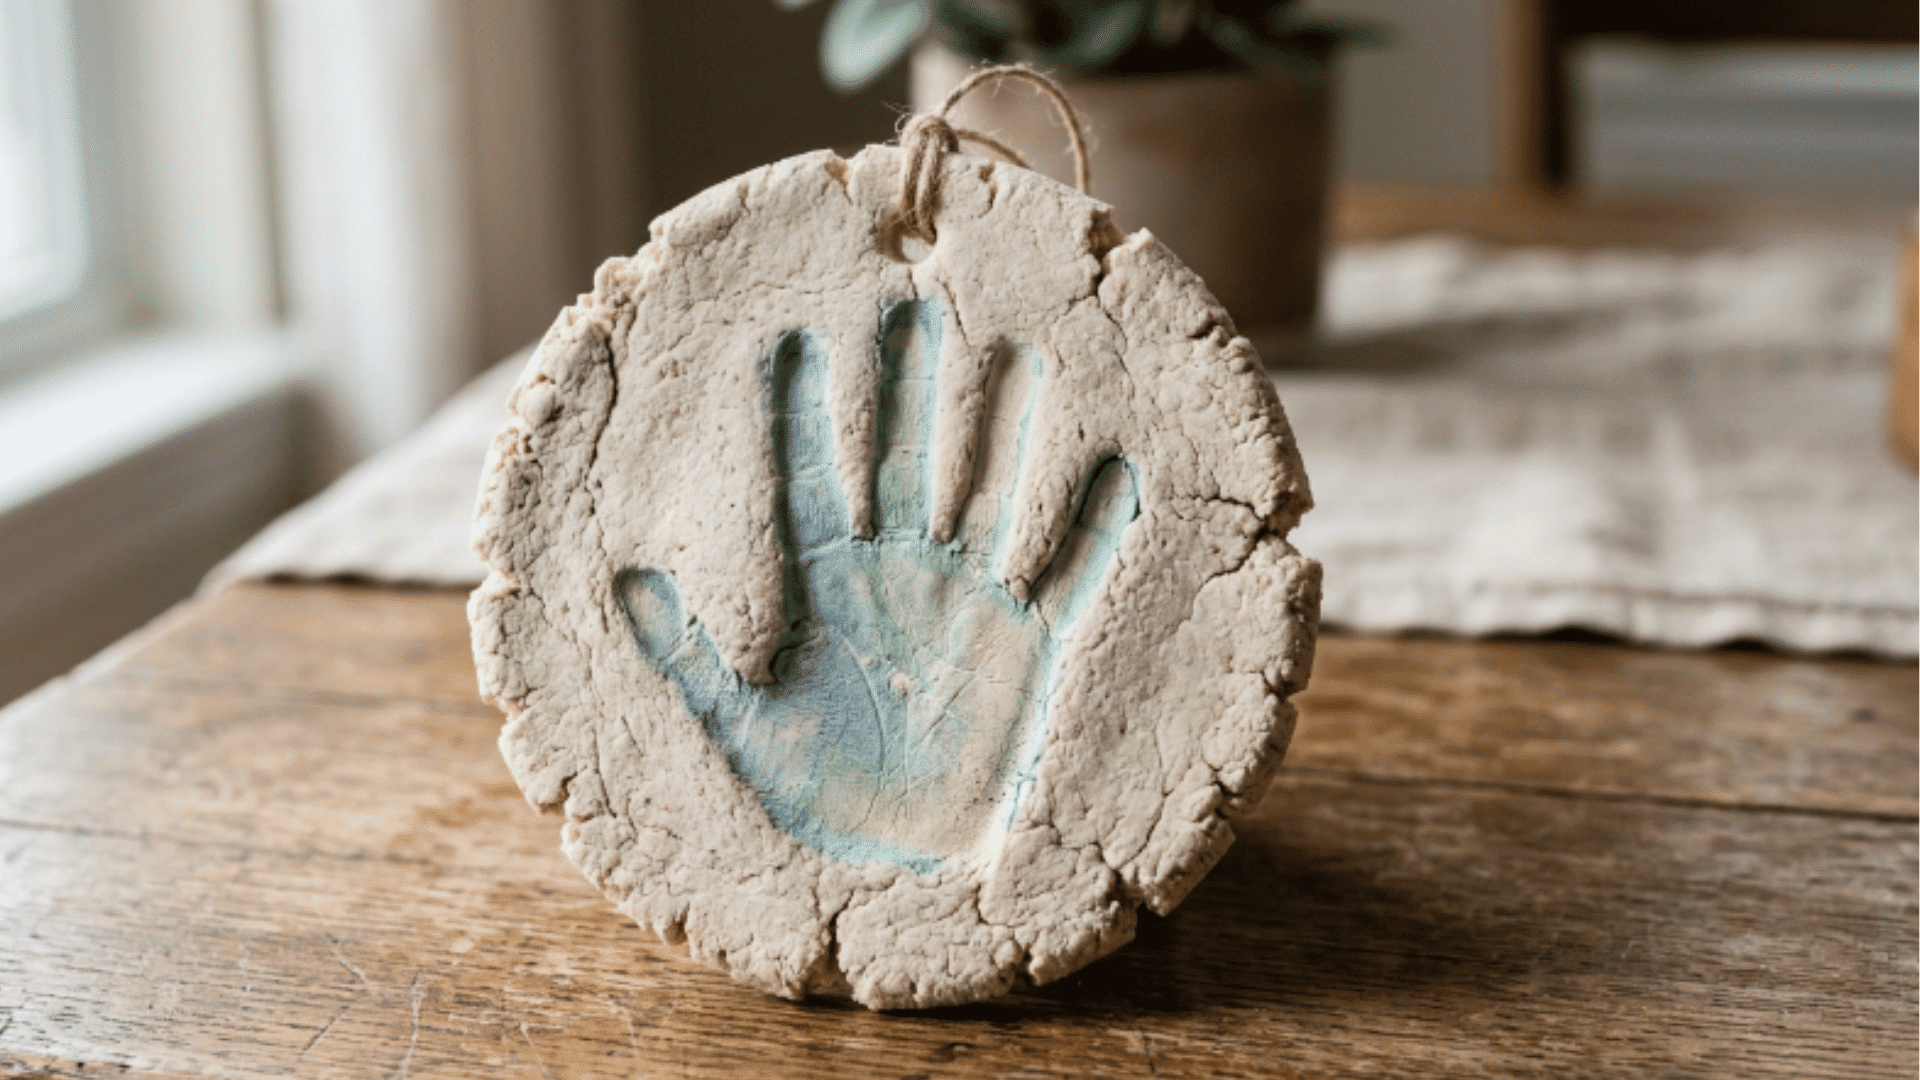
A salt-dough handprint keepsake is a simple way to create a meaningful and personal craft. It captures a memory that can be preserved for years.
How to Make:
- Mix flour, salt, and water together until a soft, smooth dough forms that is easy to shape.
- Flatten the dough evenly on a clean surface, keeping enough thickness for a clear imprint.
- Gently press a hand into the dough to create a defined and detailed handprint.
- Bake the dough until firm so it holds its shape without cracking or breaking.
- Let the piece cool completely before handling or decorating the surface.
- Paint the surface with colors and add small details to highlight the handprint.
- Attach a ribbon or store it safely as a long-lasting keepsake item.
4. Decorative Photo Frame with Buttons

Take a basic photo frame and give it a colorful upgrade. It brings new life to old or plain frames. Among easy crafts to do at home, this one adds charm quickly.
How to Make:
- Glue buttons of different sizes and colors along the border to create a colorful, textured look.
- Arrange them in patterns or scatter them randomly for a unique design effect.
- Match the button colors to the photo for a more coordinated finish.
- Layer buttons slightly to create more depth and texture across the frame surface.
- Use contrasting colors to make the frame stand out more against any background.
- Add small beads between buttons for extra detail and a polished final look.
5. Painted Rocks with Cute Designs
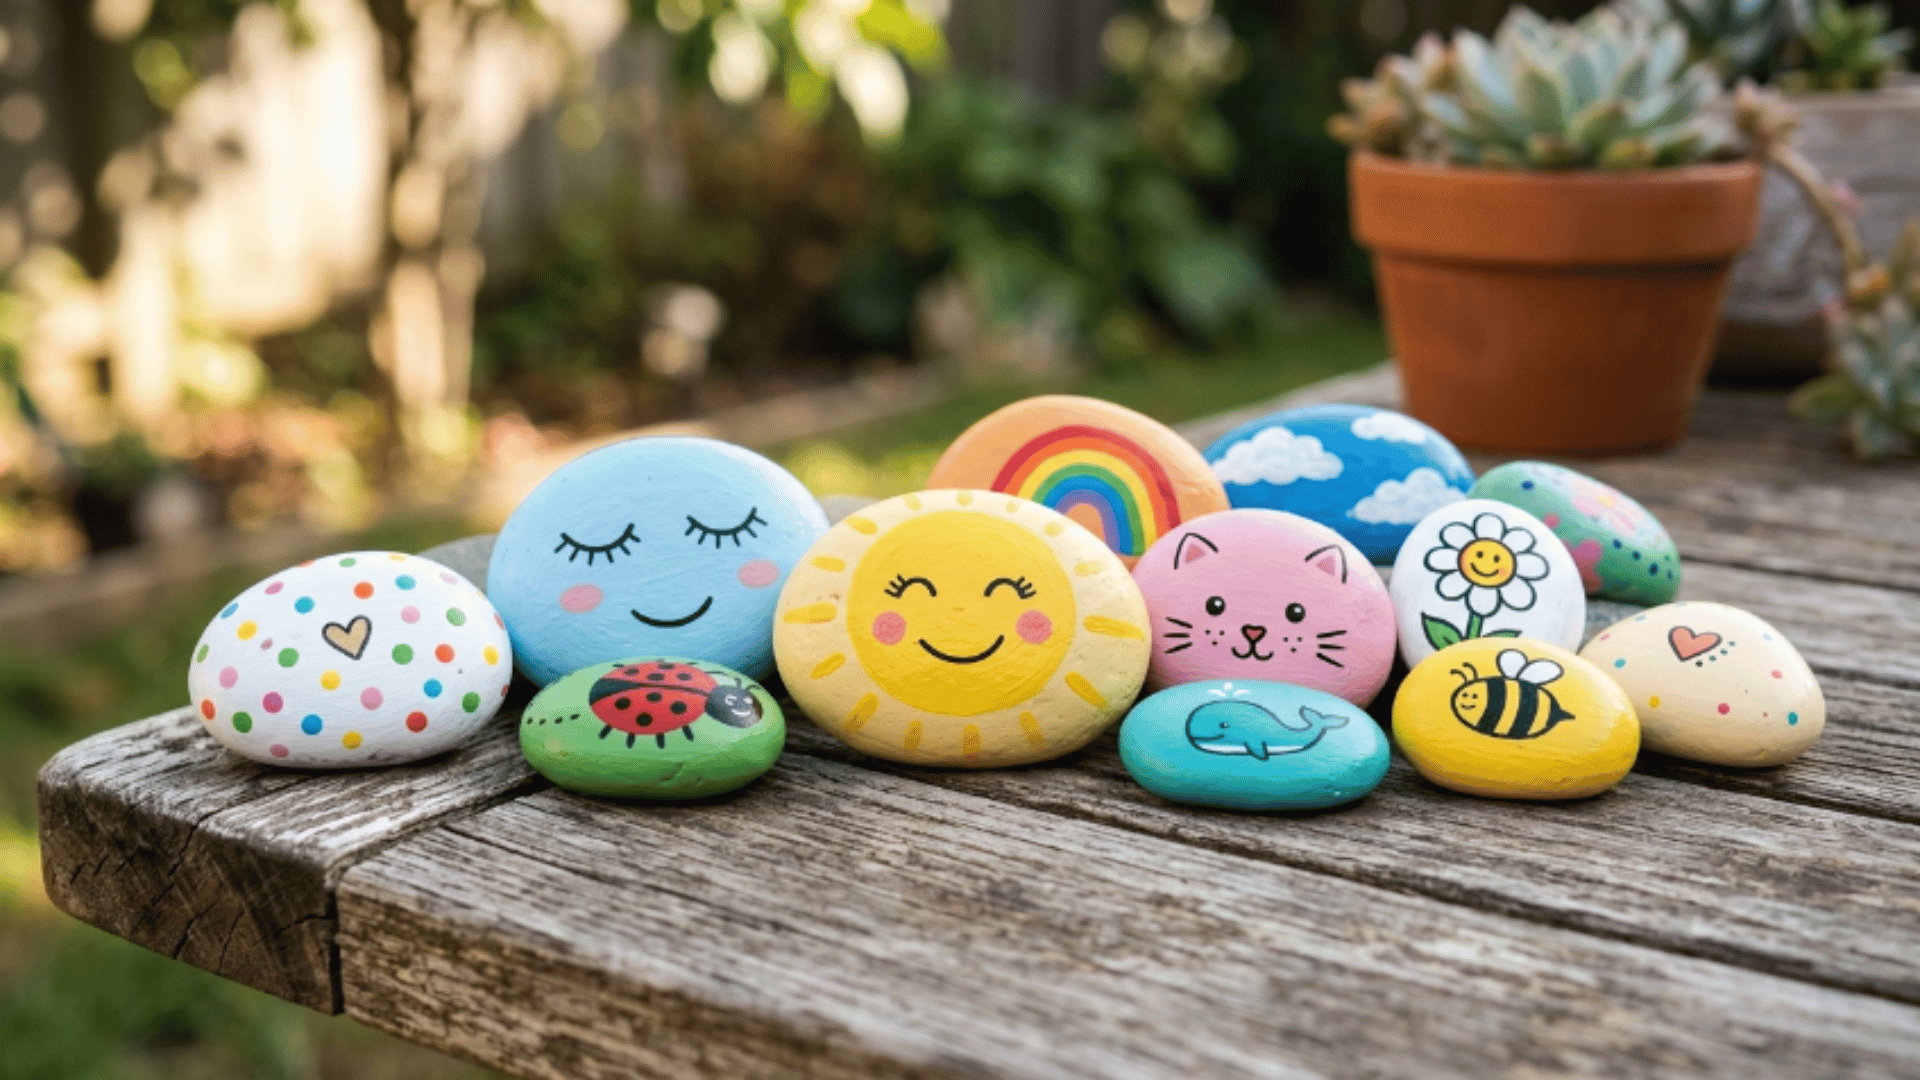
Pick smooth stones and clean them before starting. These can be used as decor pieces or paperweights. A small project that feels relaxing and creative.
How to Make:
- Pick smooth stones and clean them thoroughly before starting to ensure the paint sticks well.
- Use paint to draw small faces, animals, or simple patterns for a fun and personal touch.
- Use bright colors to help the designs stand out clearly on the rock surface.
- Seal the surface to keep the paint intact longer and resist wear over time.
- Try creating themed sets like animals or emojis for a more coordinated collection.
6. Origami Paper Animals

Use square paper to fold different animal shapes. It improves focus and patience over time. You can display them together as a small collection.
How to Make:
- Use square paper to fold different animal shapes for a simple and satisfying craft activity.
- Start with simple designs like cranes or frogs to build confidence with basic techniques.
- Follow basic folds to slowly build the structure without rushing the process.
- Try patterned paper to make each piece look different and more visually interesting.
- Use different paper sizes for variety and to add dimension to your collection.
- Arrange them on shelves as simple decorative pieces for a neat display.
7. Handmade Greeting Cards with Stamps
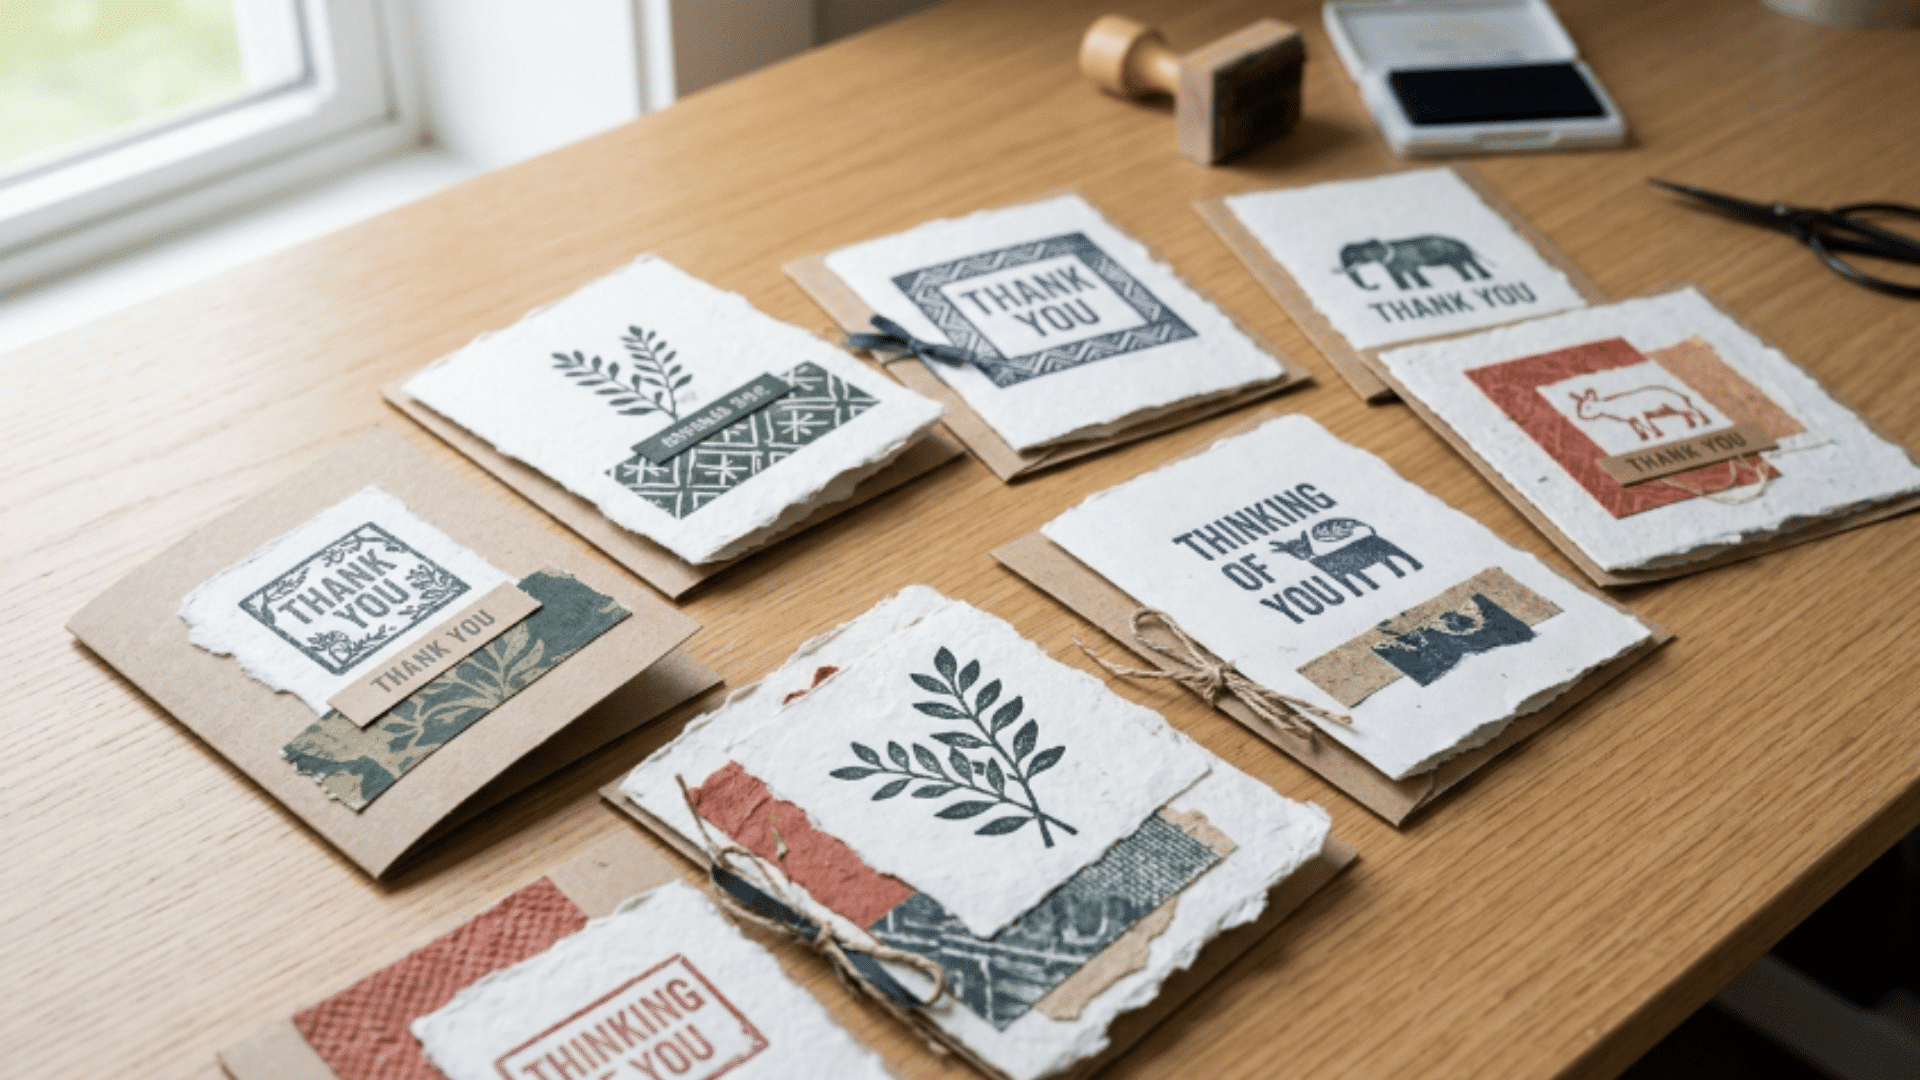
Create custom cards using stamps, ink, and paper. These cards feel more meaningful than store-bought ones. Great for birthdays, holidays, or quick notes.
How to Make:
- Create custom cards with stamps, ink, and paper for a simple, personal crafting activity.
- Add simple messages or designs for a personal touch that suits any occasion or recipient.
- Layer different papers to add more detail and structure to the card design.
- Use colors that match the occasion or theme for a more thoughtful and coordinated look.
- Try adding textured paper for a richer look and a more polished finished card.
8. Tin Can Pencil Holder Wrapped in Twine
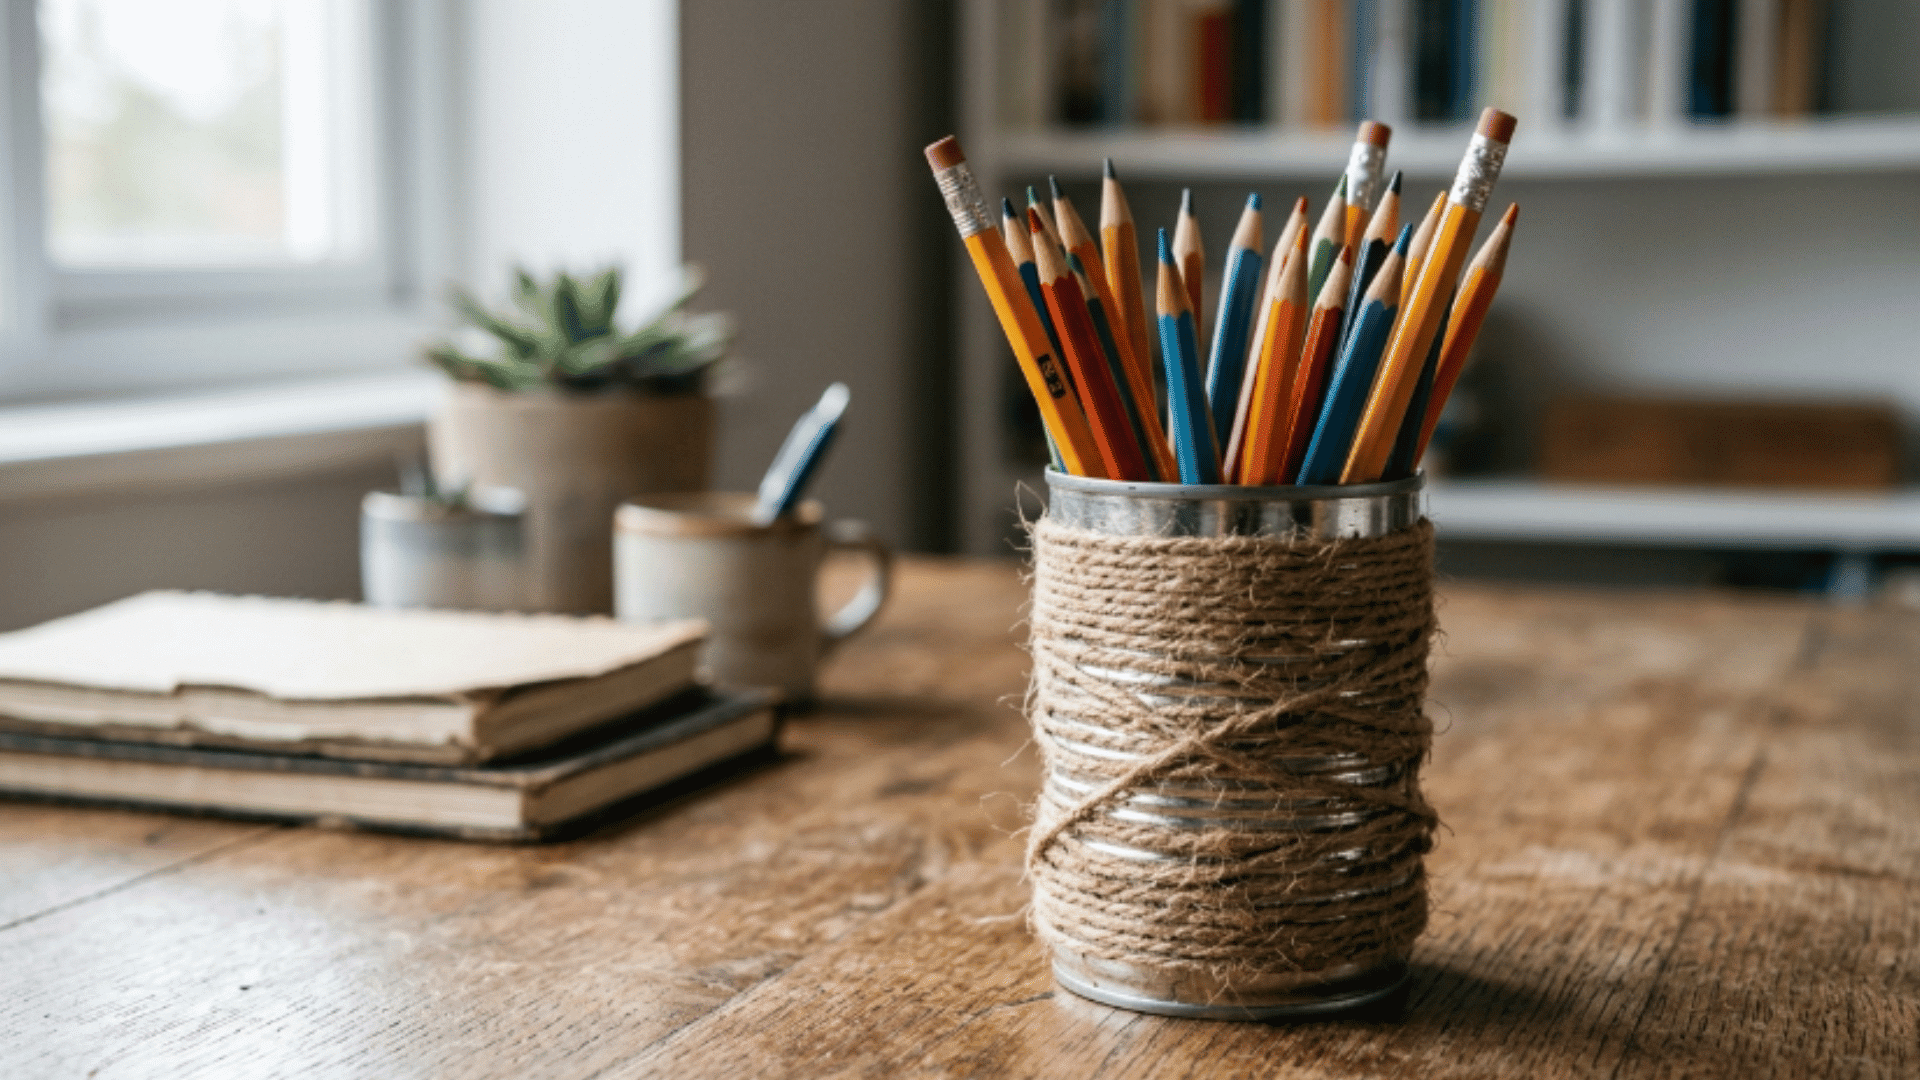
Reuse an empty tin can to make a useful desk organizer. It helps keep your workspace clean and organized. It is one of the easiest crafts to do at home.
How to Make:
- Reuse an empty tin can and clean it thoroughly to create a smooth, safe base surface.
- Paint the base before wrapping for added color and a more finished background look.
- Wrap twine tightly around the surface and apply glue to create a clean, even texture.
- Add small labels or tags for a neat finish and easy identification of stored items.
- Line the inside with paper or fabric, if needed, for a cleaner, more polished interior.
9. DIY Candle in A Glass Jar
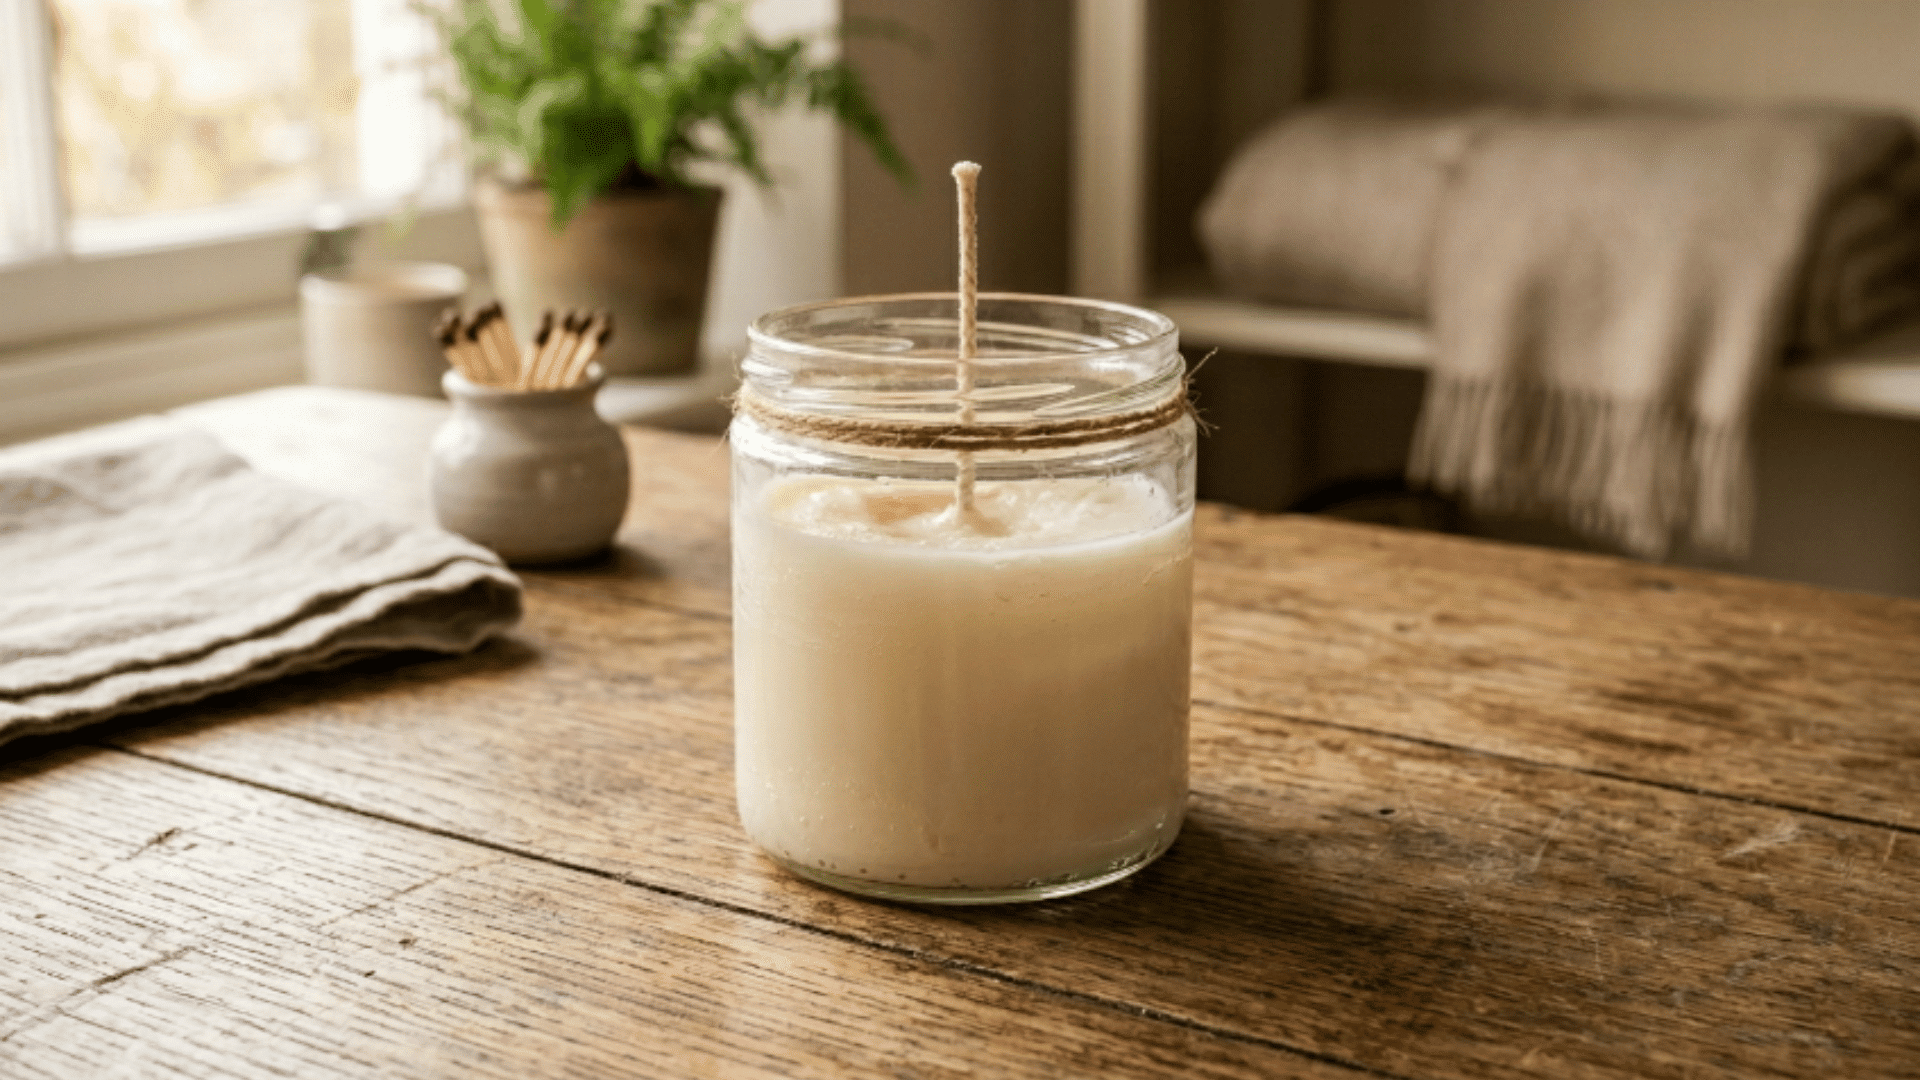
Melt wax and pour it carefully into a glass jar. It creates a calm and cozy atmosphere. Decorate the jar to match your room style.
How to Make:
- Melt the wax carefully and pour it into a clean glass jar to create a smooth, even base.
- Place a wick in the center before the wax sets to ensure a clean and steady burn.
- Add fragrance oils for a pleasant scent that suits your preference or space.
- Mix colors to create a layered effect and make each candle look more visually appealing.
- Try using essential oils for a stronger scent and a more natural aromatic experience.
10. Fabric Scrap Bookmarks
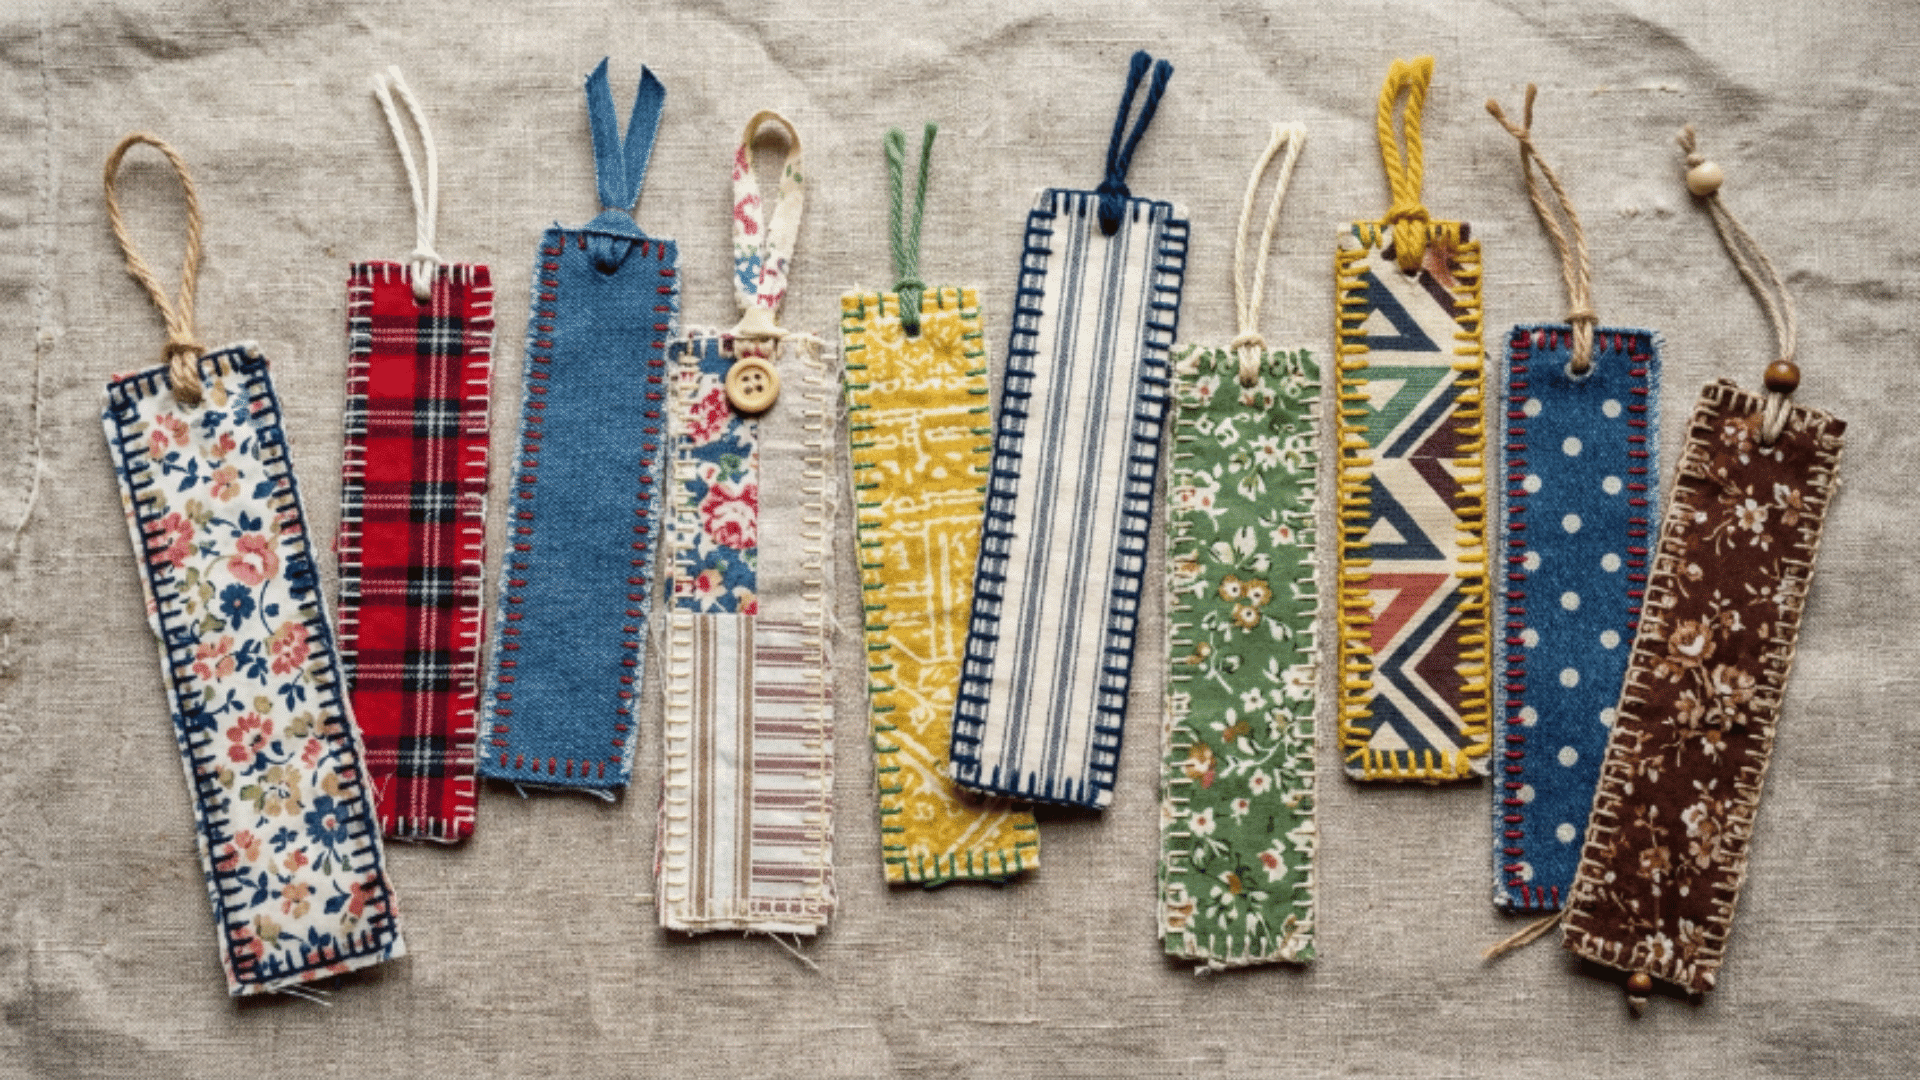
Use leftover fabric pieces to create soft bookmarks. This is one of the easiest crafts to do at home with scraps. A simple and useful item for everyday reading.
How to Make:
- Use leftover fabric pieces and cut them into neat strips to create a clean and even base.
- Layer the strips for strength and stitch or glue the edges to hold them together securely.
- Mix different textures to make each bookmark look and feel unique.
- Add ribbons, beads, or small tags for detail and a more finished decorative touch.
- Use bright patterns to make them more noticeable and easy to spot between book pages.
- Create sets to gift or keep for personal use, as thoughtful, practical handmade items.
11. Painted Glass Bottles for Decor
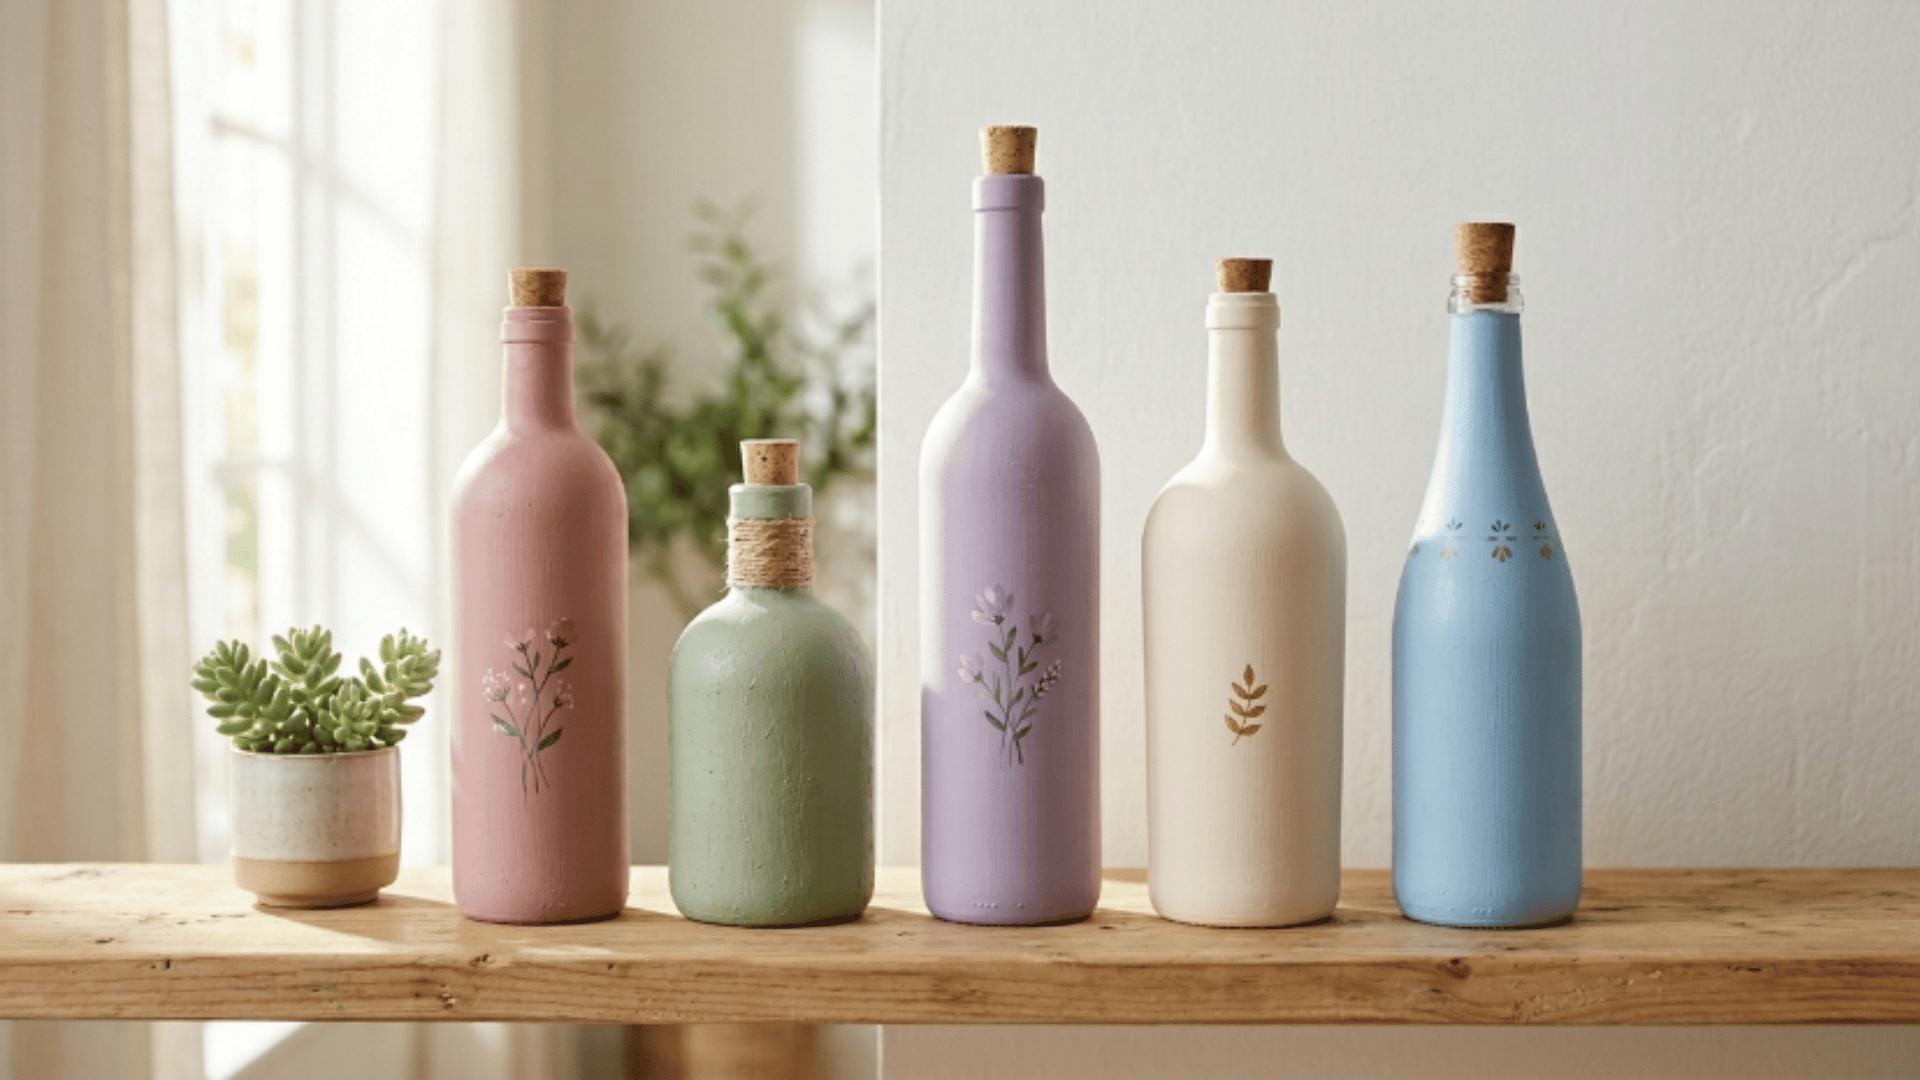
Reuse empty glass bottles and clean them properly before painting. It is a simple way to reuse glass items creatively. This idea adds a subtle decorative touch without much effort.
How to Make:
- Reuse empty glass bottles and clean them properly before painting to ensure a smooth surface.
- Apply acrylic paint in solid colors or soft gradients for a clean and consistent base coat.
- Create patterns like dots, lines, or abstract designs to add more character to each bottle.
- Let each coat dry fully to avoid smudging and to ensure an even, polished finish.
- Add fairy lights inside for a glowing effect that creates a warm and decorative look.
- Group items by size for a better display and a more layered visual arrangement.
- Place them on shelves or tables as simple decor pieces that complement any room setting.
12. Paper Plate Animal Masks
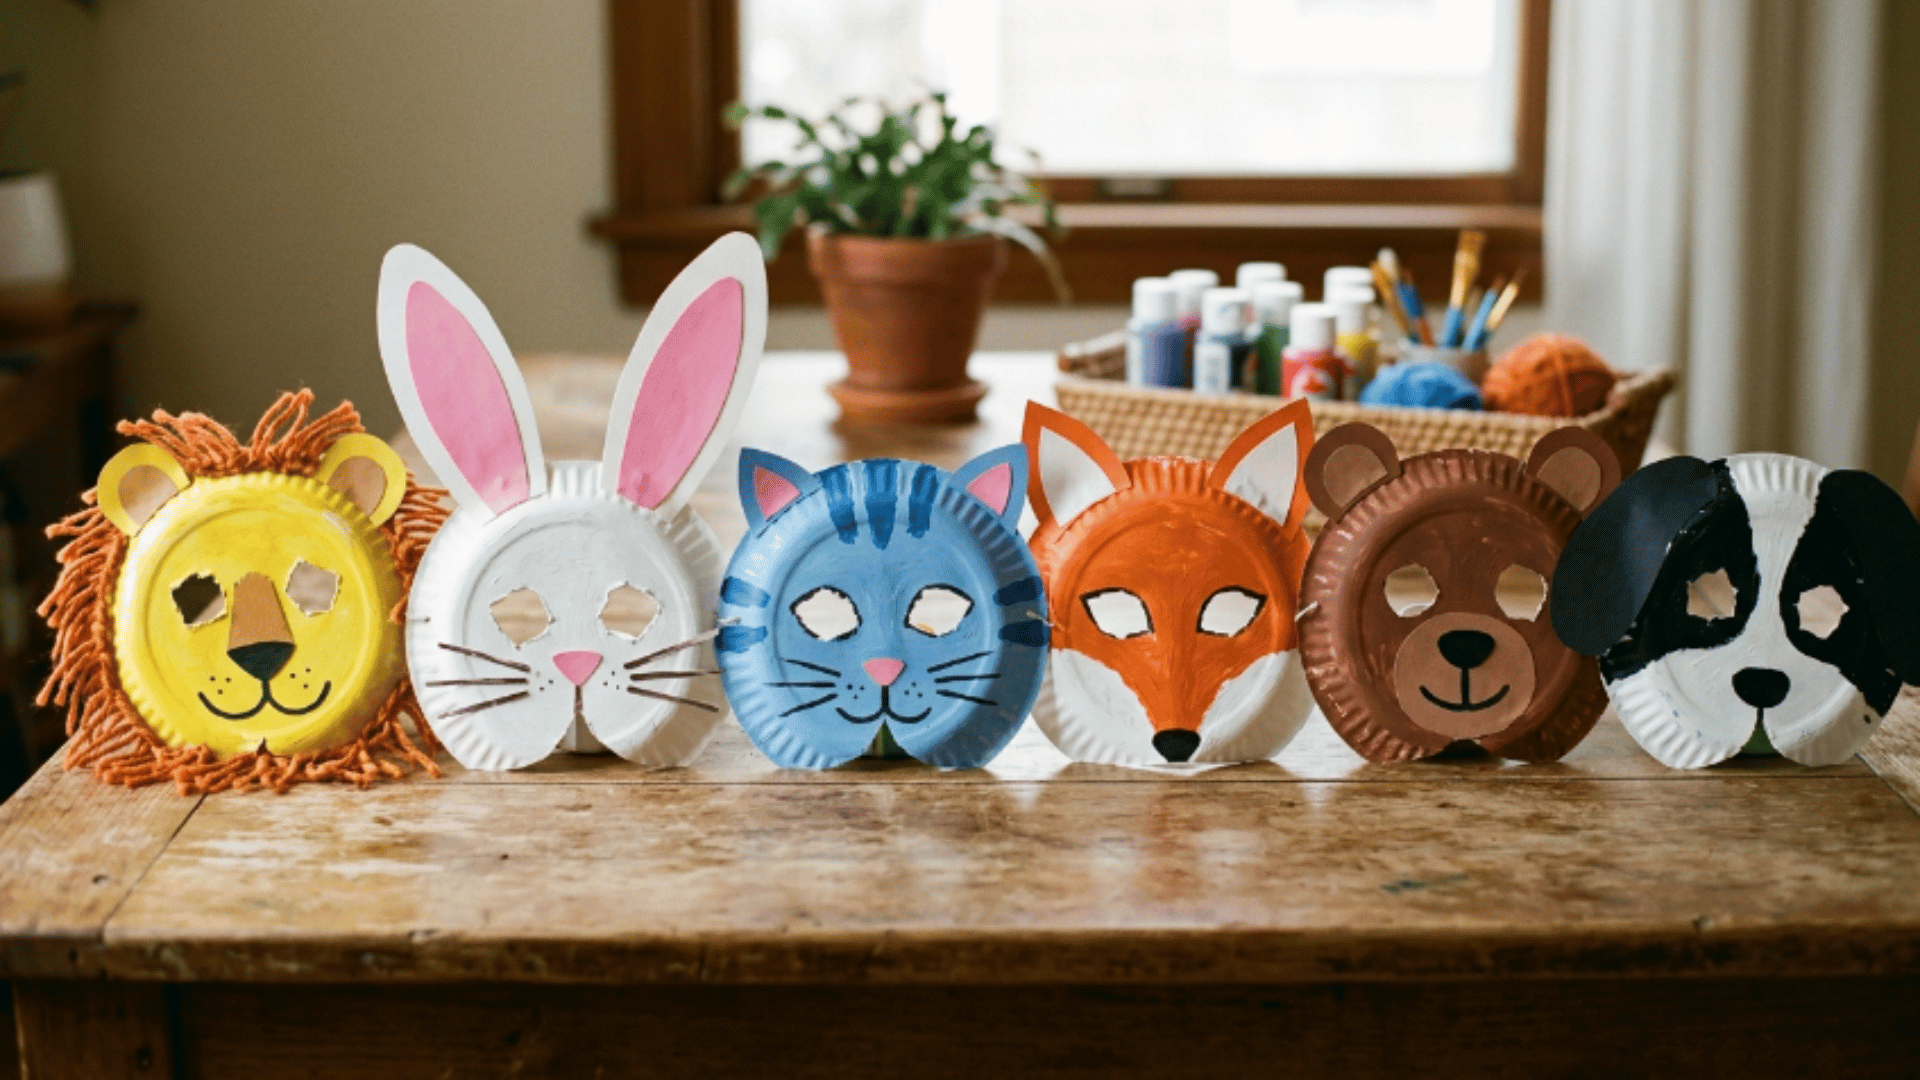
Use paper plates as the base to create fun animal faces. This is one of the most playful, easy crafts for kids to do at home. It encourages imagination and role play.
How to Make:
- Use paper plates as the base and cut out eye holes to start shaping the mask structure.
- Shape the plate as needed and add ears, whiskers, or horns using colored paper for detail.
- Use crayons, paint, or markers to add details and bring each animal’s face to life.
- Attach a stick or string to hold the mask easily and make it comfortable to wear or carry.
- Create different animals like lions, cats, or bears for a fun and varied collection of masks.
- Great for small activities or themed parties as a simple and engaging creative project.
13. DIY Fridge Magnets Using Clay
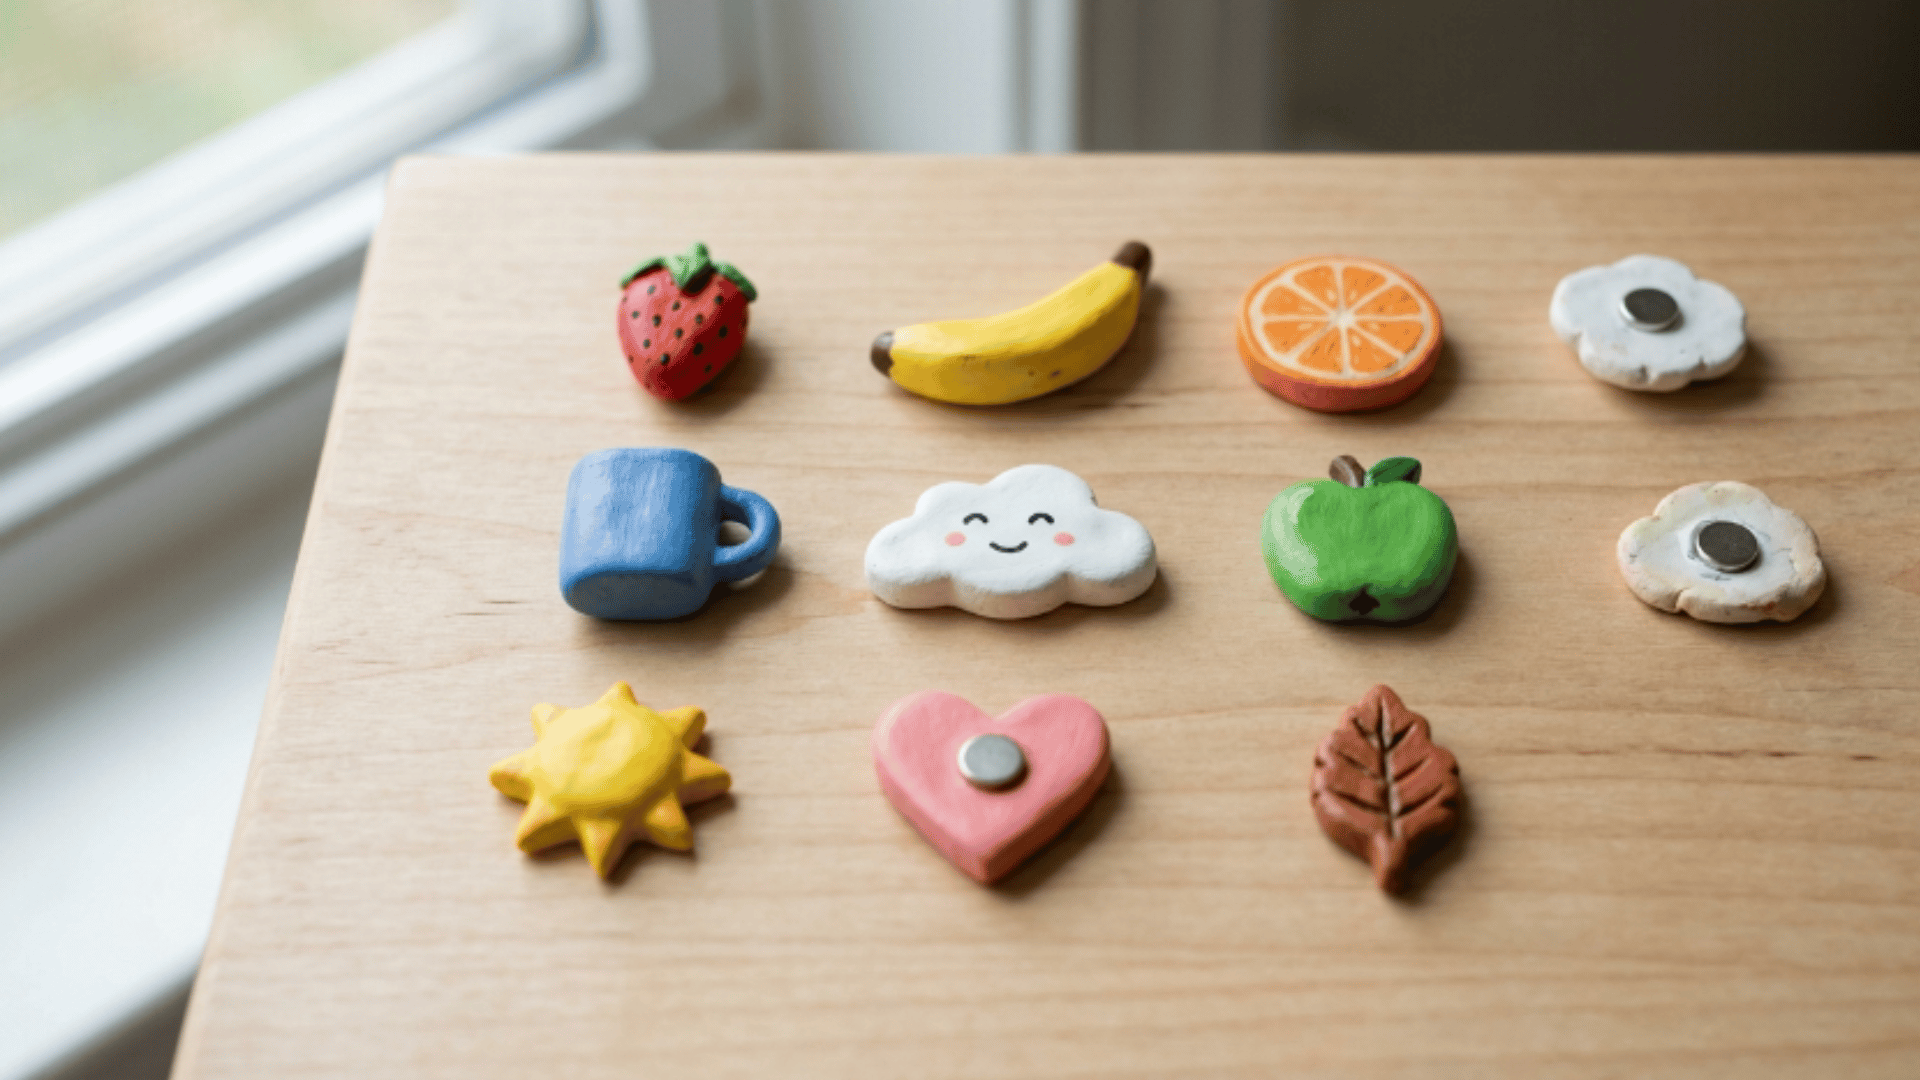
Use soft, air-dry clay to shape small designs. They are small but very eye-catching. A fun project that also feels useful.
How to Make:
- Use soft, air-dry clay to shape small designs like fruits, letters, or tiny objects.
- Let the shapes dry completely before painting to ensure a clean, solid surface.
- Use bright colors to make them stand out on the fridge and create a bold visual effect.
- Attach a magnet piece at the back with strong glue to secure it firmly in place.
- Customize them with names or patterns for a more personal and unique finishing touch.
- Create a full matching set for your kitchen to keep the display neat and coordinated.
14. Beaded Friendship Bracelets
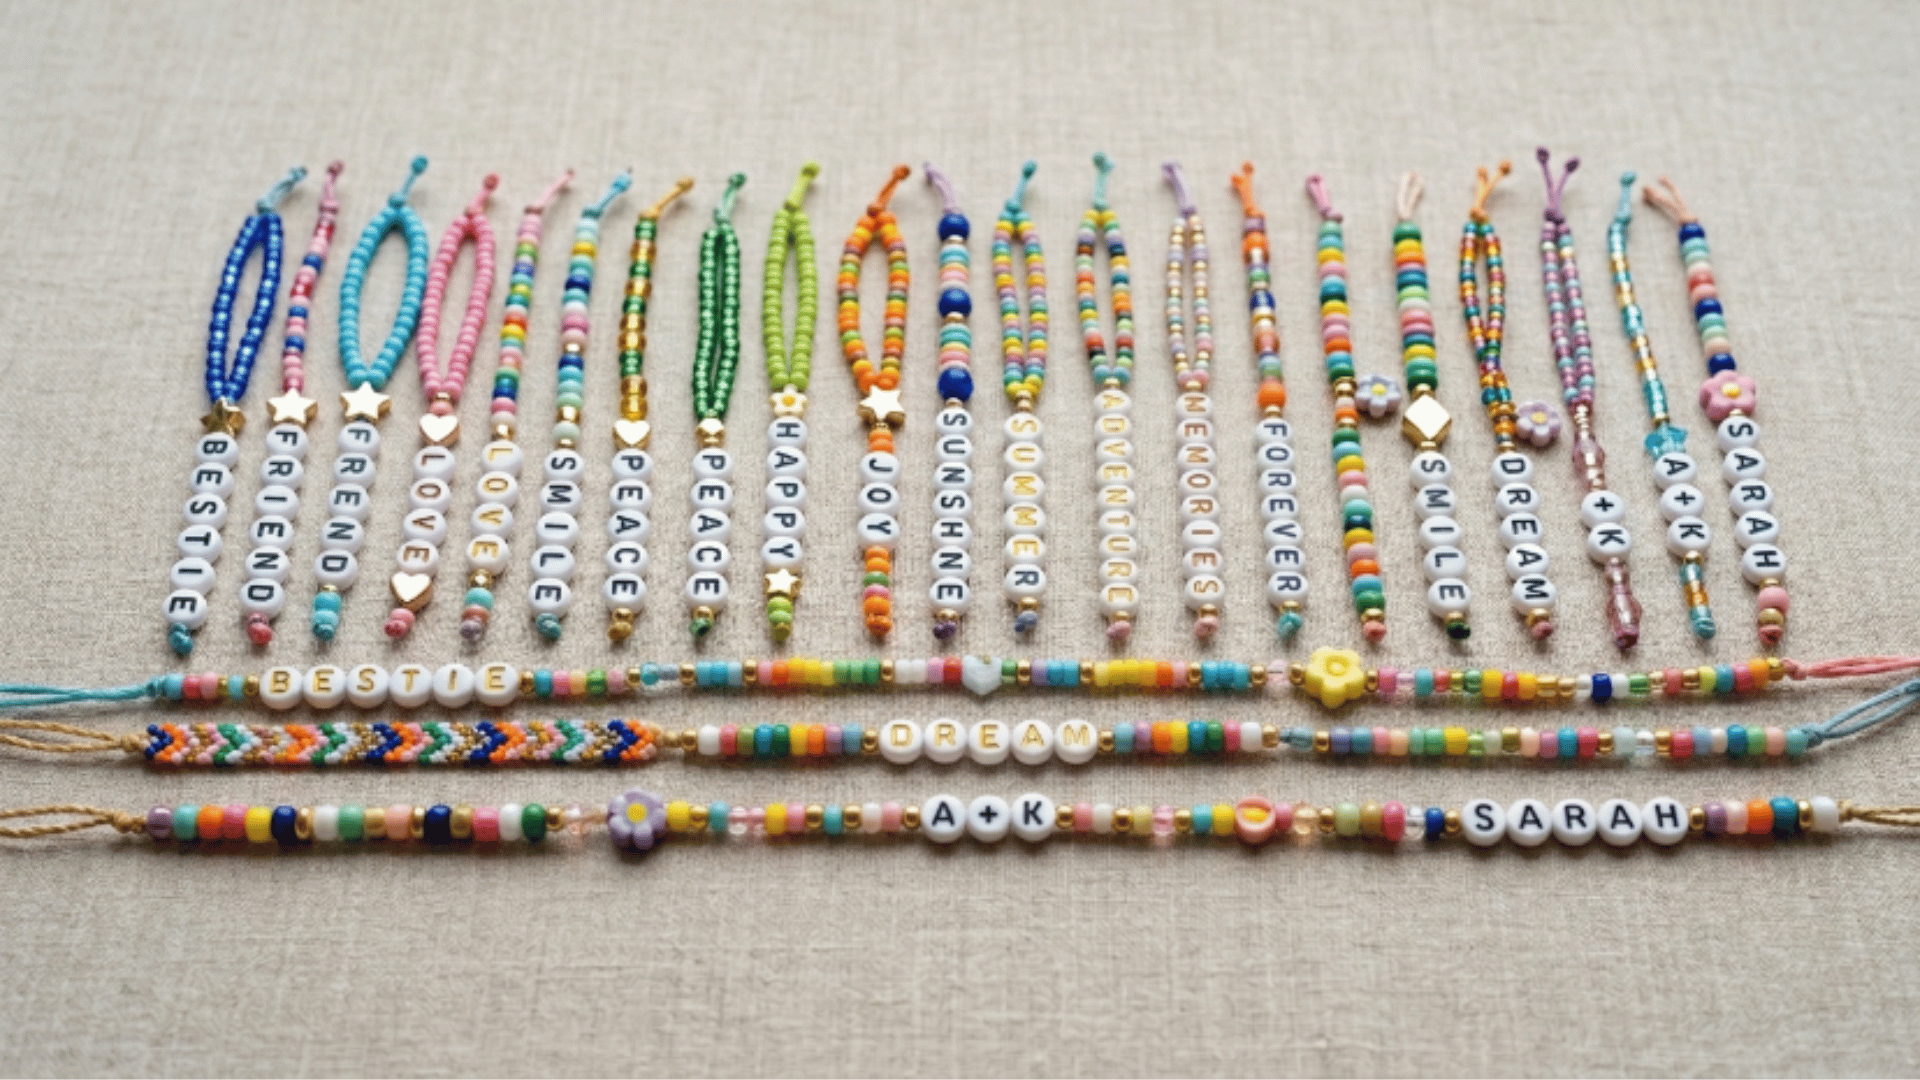
Use colorful beads and thread to create simple bracelets. This is one of the most loved easy crafts to do at home for all ages. A small craft that feels meaningful and personal.
How to Make:
- Use colorful beads and thread to create simple bracelets with patterns or random color mixes.
- Tie secure knots at both ends to keep the beads in place and the bracelet intact.
- Spell names or words with letter beads for a more personal, thoughtful design.
- Try mixing bead sizes for a different look and added texture across the bracelet.
- These bracelets are great gifts for friends as quick, easy handmade presents.
- They are quick to make and easy to customize based on any preference or occasion.
15. Simple Wall Hanging Using Yarn
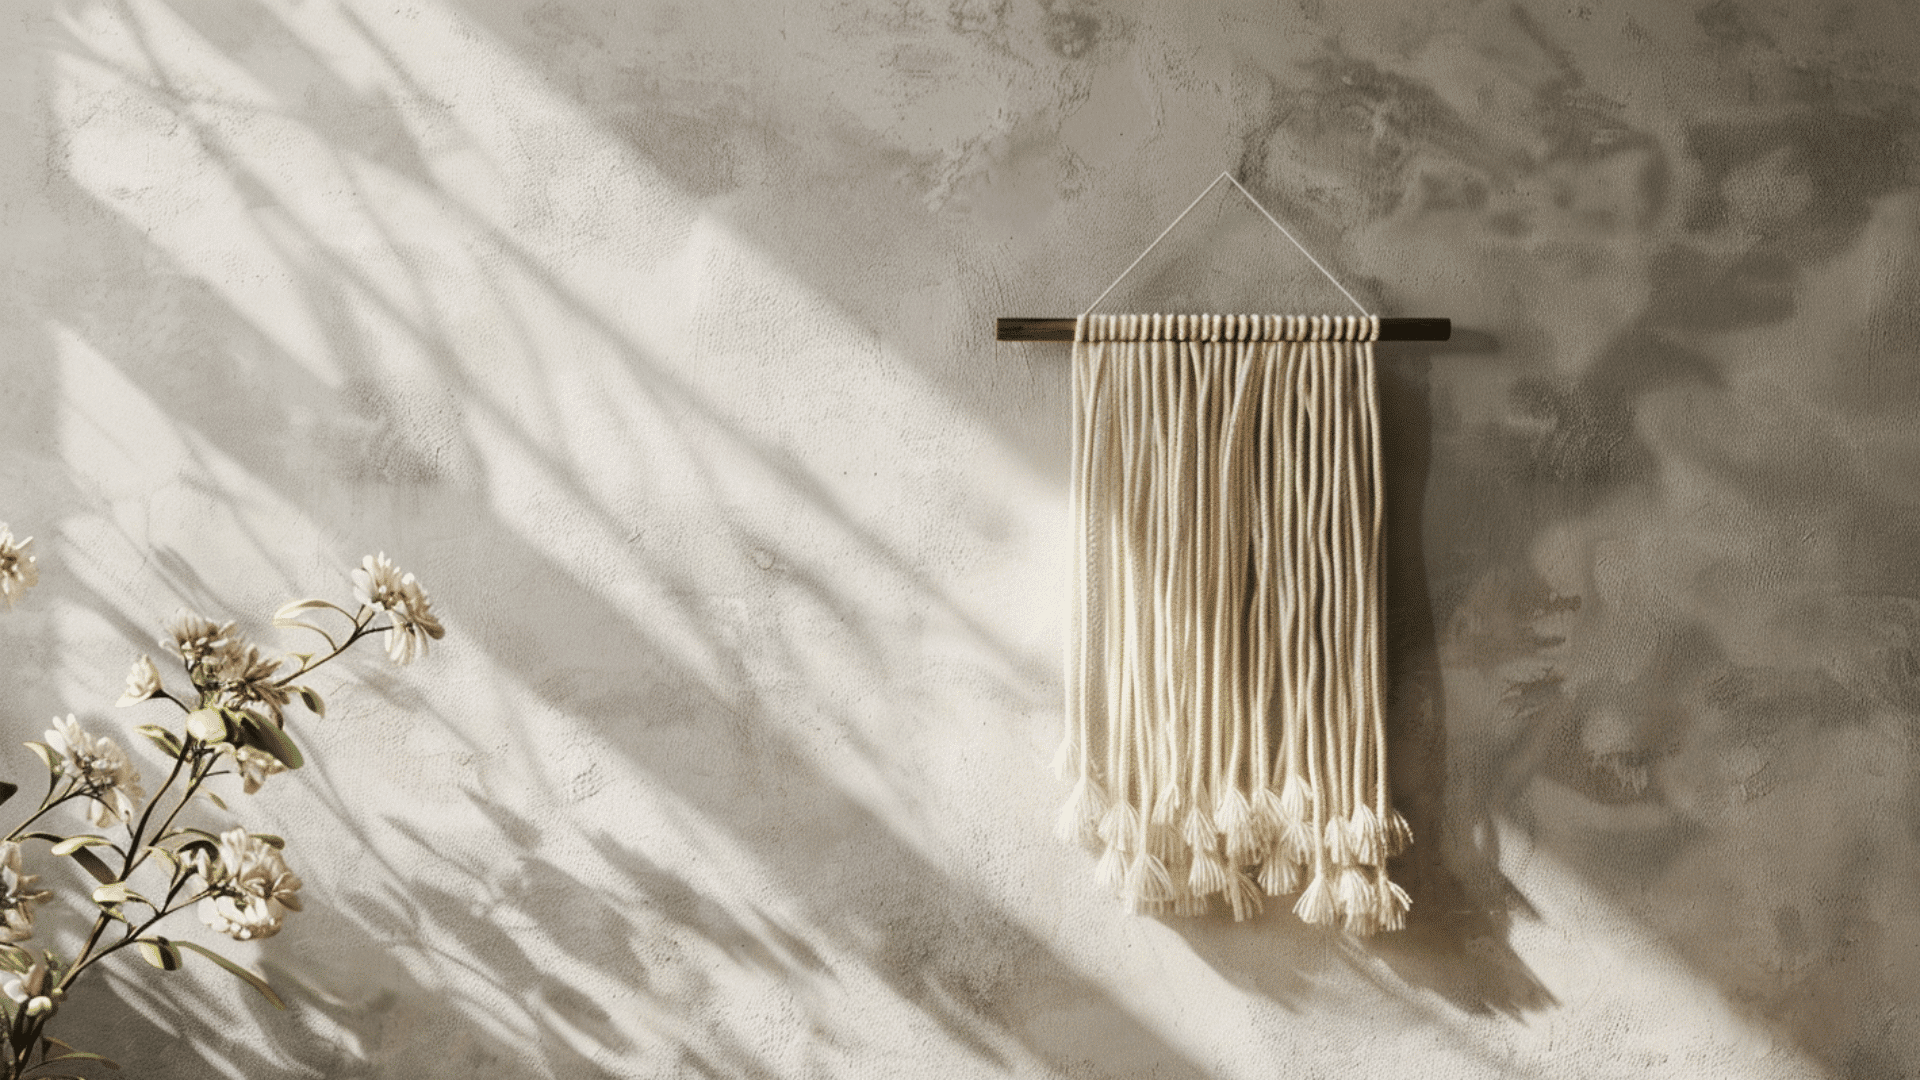
Use yarn to create a soft and textured wall piece. It creates a cozy feel with few materials. A great way to try basic craft techniques.
How to Make:
- Wrap or knot the yarn around a stick or small rod to form a clean, sturdy base structure.
- Mix different colors to create patterns or layers, adding visual interest to the piece.
- Trim the ends to create shapes and give the wall hanging a neat, finished look.
- Add beads or small details for extra design and a more decorative overall appearance.
- Make it as simple or detailed as you like based on your skill level and preference.
- Place it in a bedroom or workspace for a cozy and creative decorative touch.
16. Customized Tote Bag with Fabric Paint
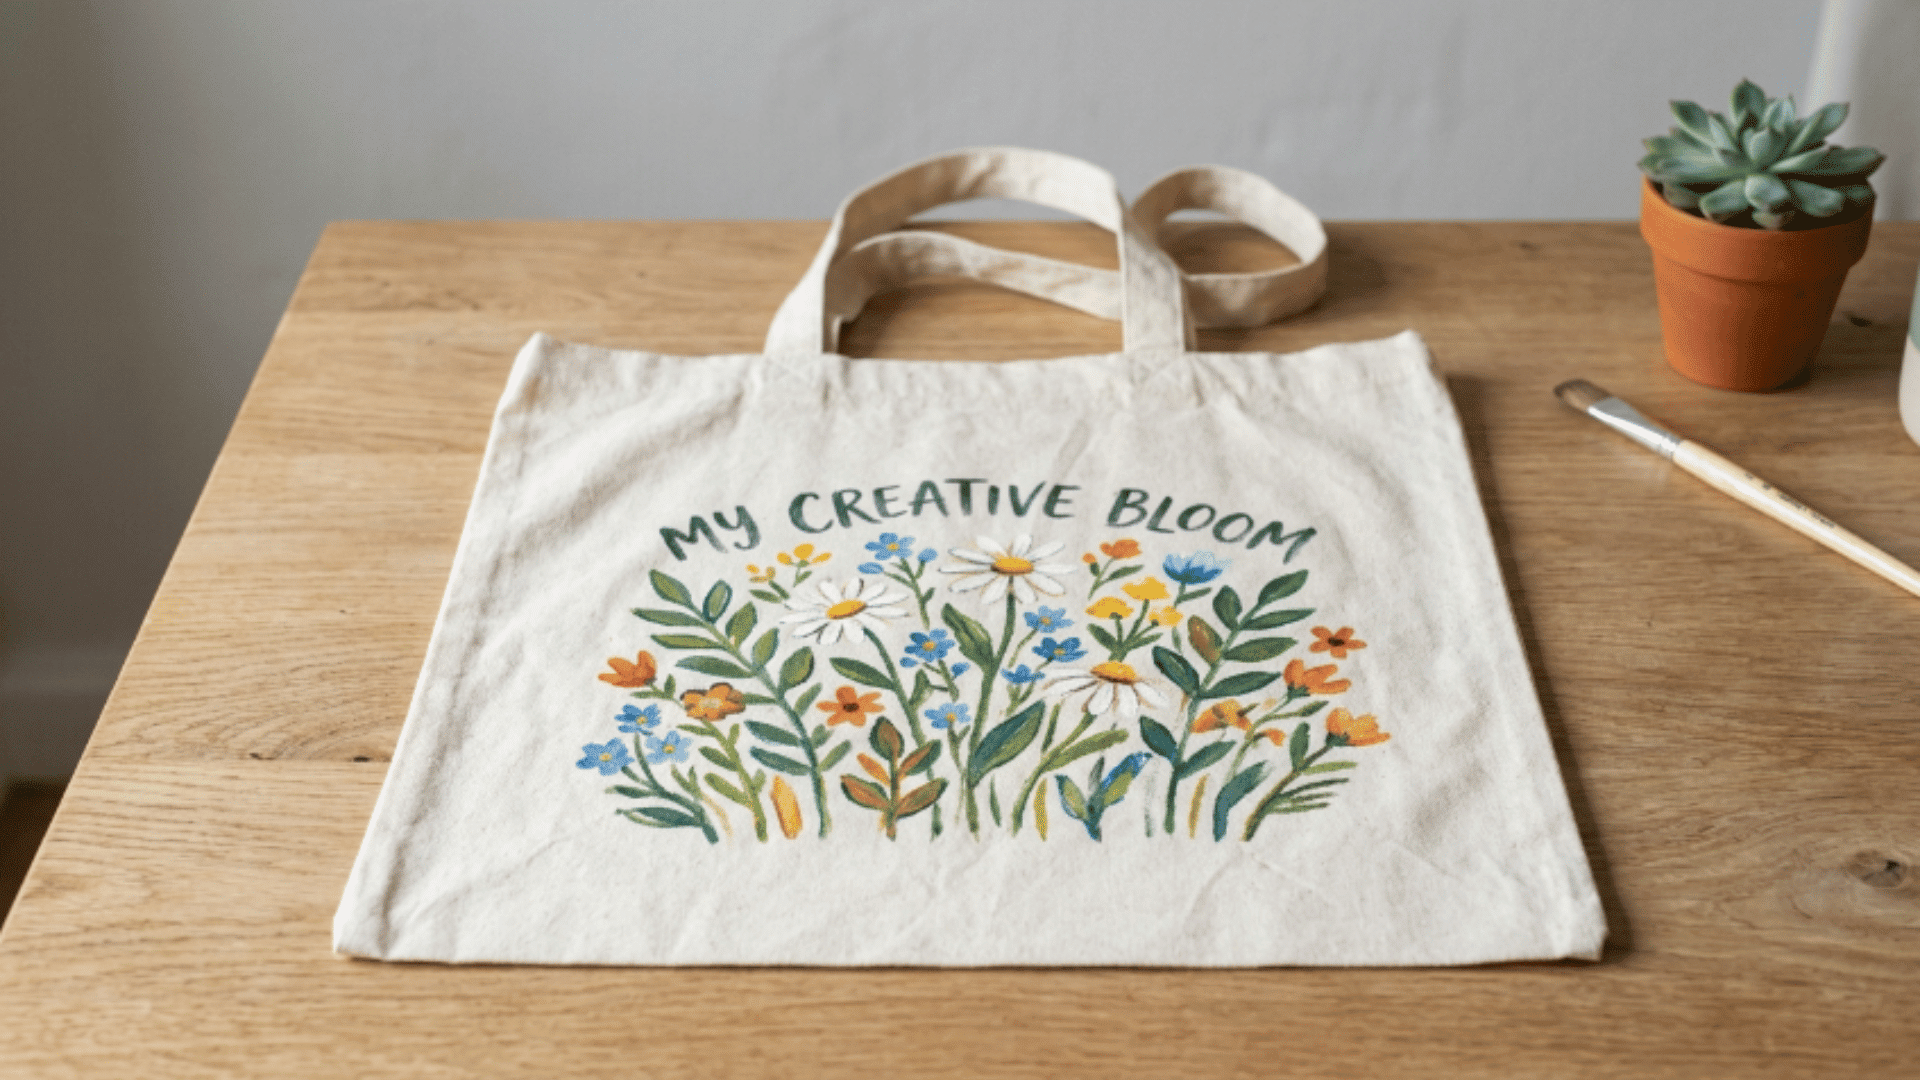
Take a plain tote bag and design it using fabric paint. This turns a basic bag into something unique. Perfect for daily use or as a handmade gift.
How to Make:
- Take a plain tote bag and draw simple patterns, quotes, or shapes on the surface using fabric paint.
- Use stencils for cleaner and sharper designs that look more precise and well-defined.
- Let the paint dry fully before using the bag to avoid smudging or transferring the design.
- Match the design to your personal style for a more customized, meaningful result.
- Add small details, such as dots or outlines, to add depth and refine the design.
- It is one of those easy crafts to do at home that also serve as practical everyday items.
17. Pressed Flower Art
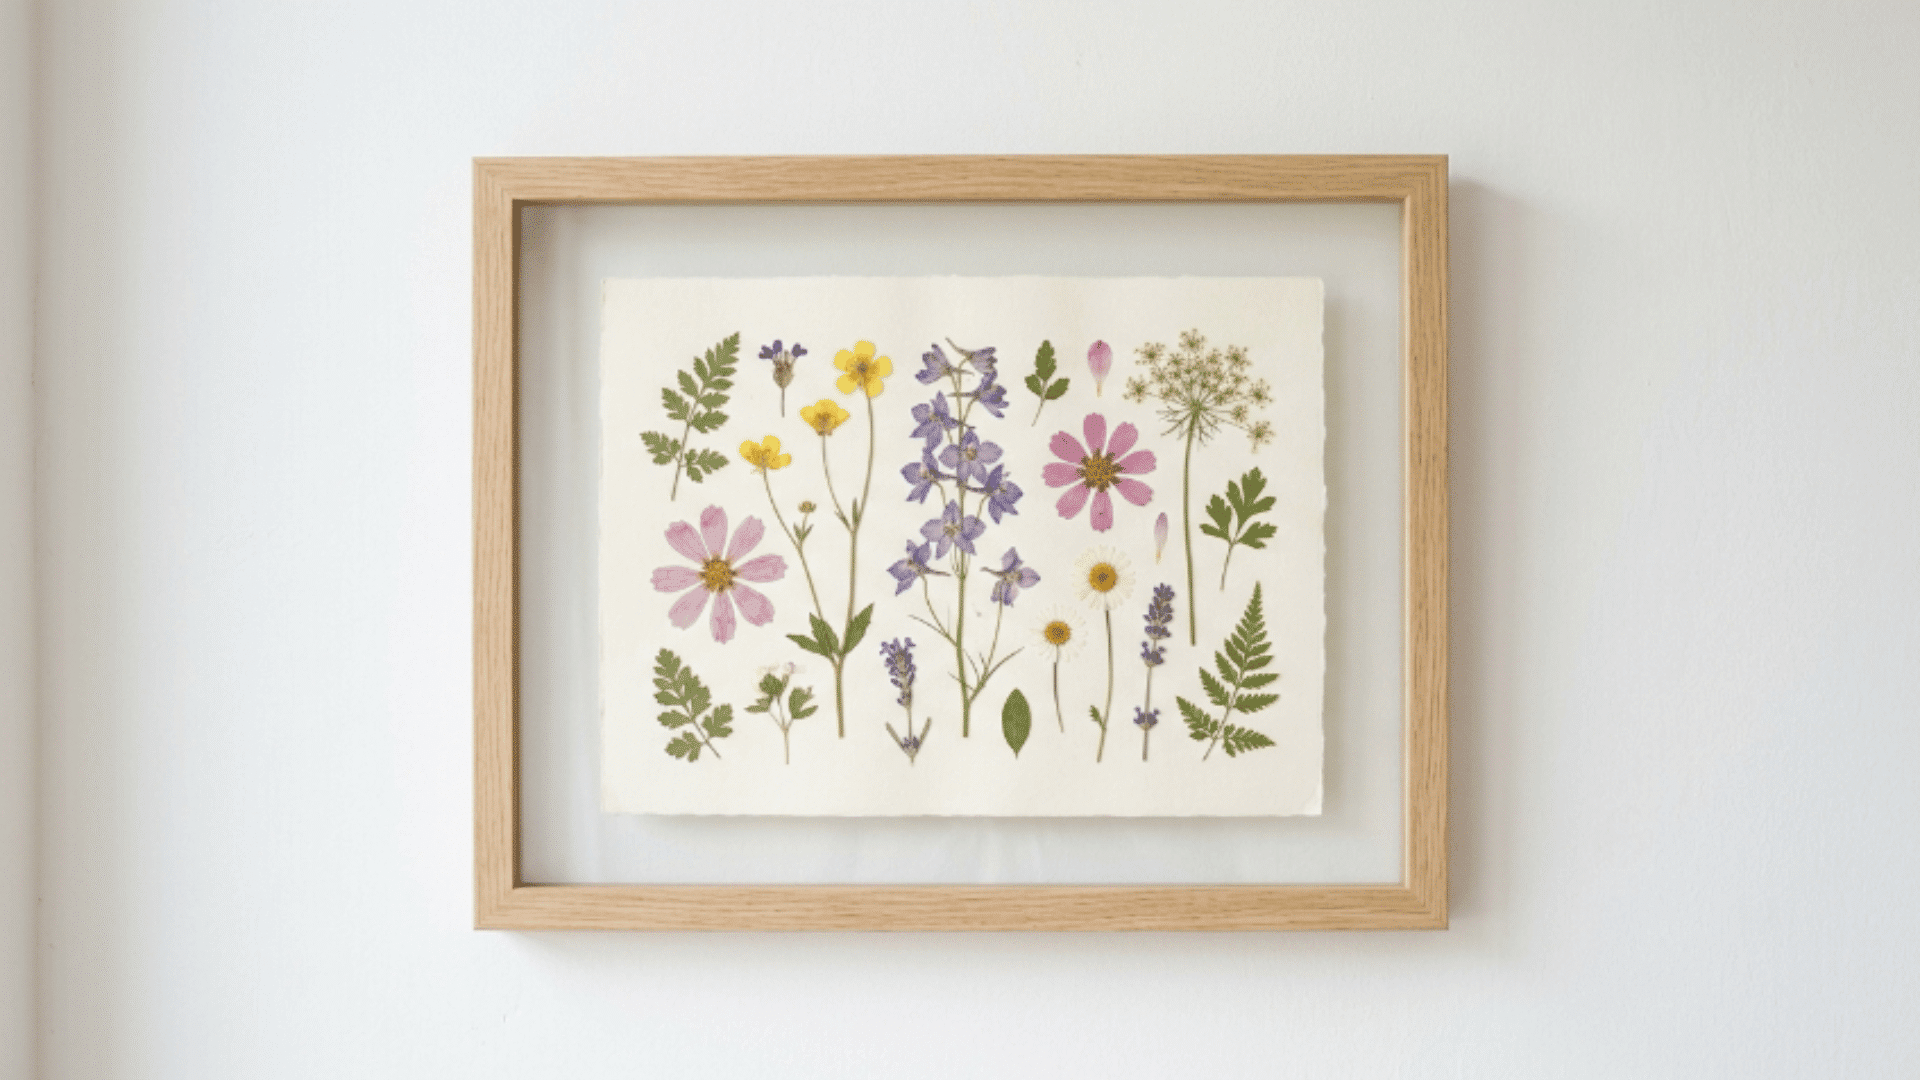
Collect small flowers and press them between the pages of a book. This craft brings a natural touch indoors. A calm and creative activity using natural elements.
How to Make:
- Collect small flowers and press them between book pages to begin the drying process.
- Leave them for a few days until they dry completely and hold a flat and defined shape.
- Arrange them on paper to create simple designs or keep the layout minimal and clean.
- Carefully place the arrangement inside a frame to preserve and display it properly.
- Create patterns or keep it simple, depending on the available flowers and your preferred style.
18. DIY Coasters Using Cardboard and Paper
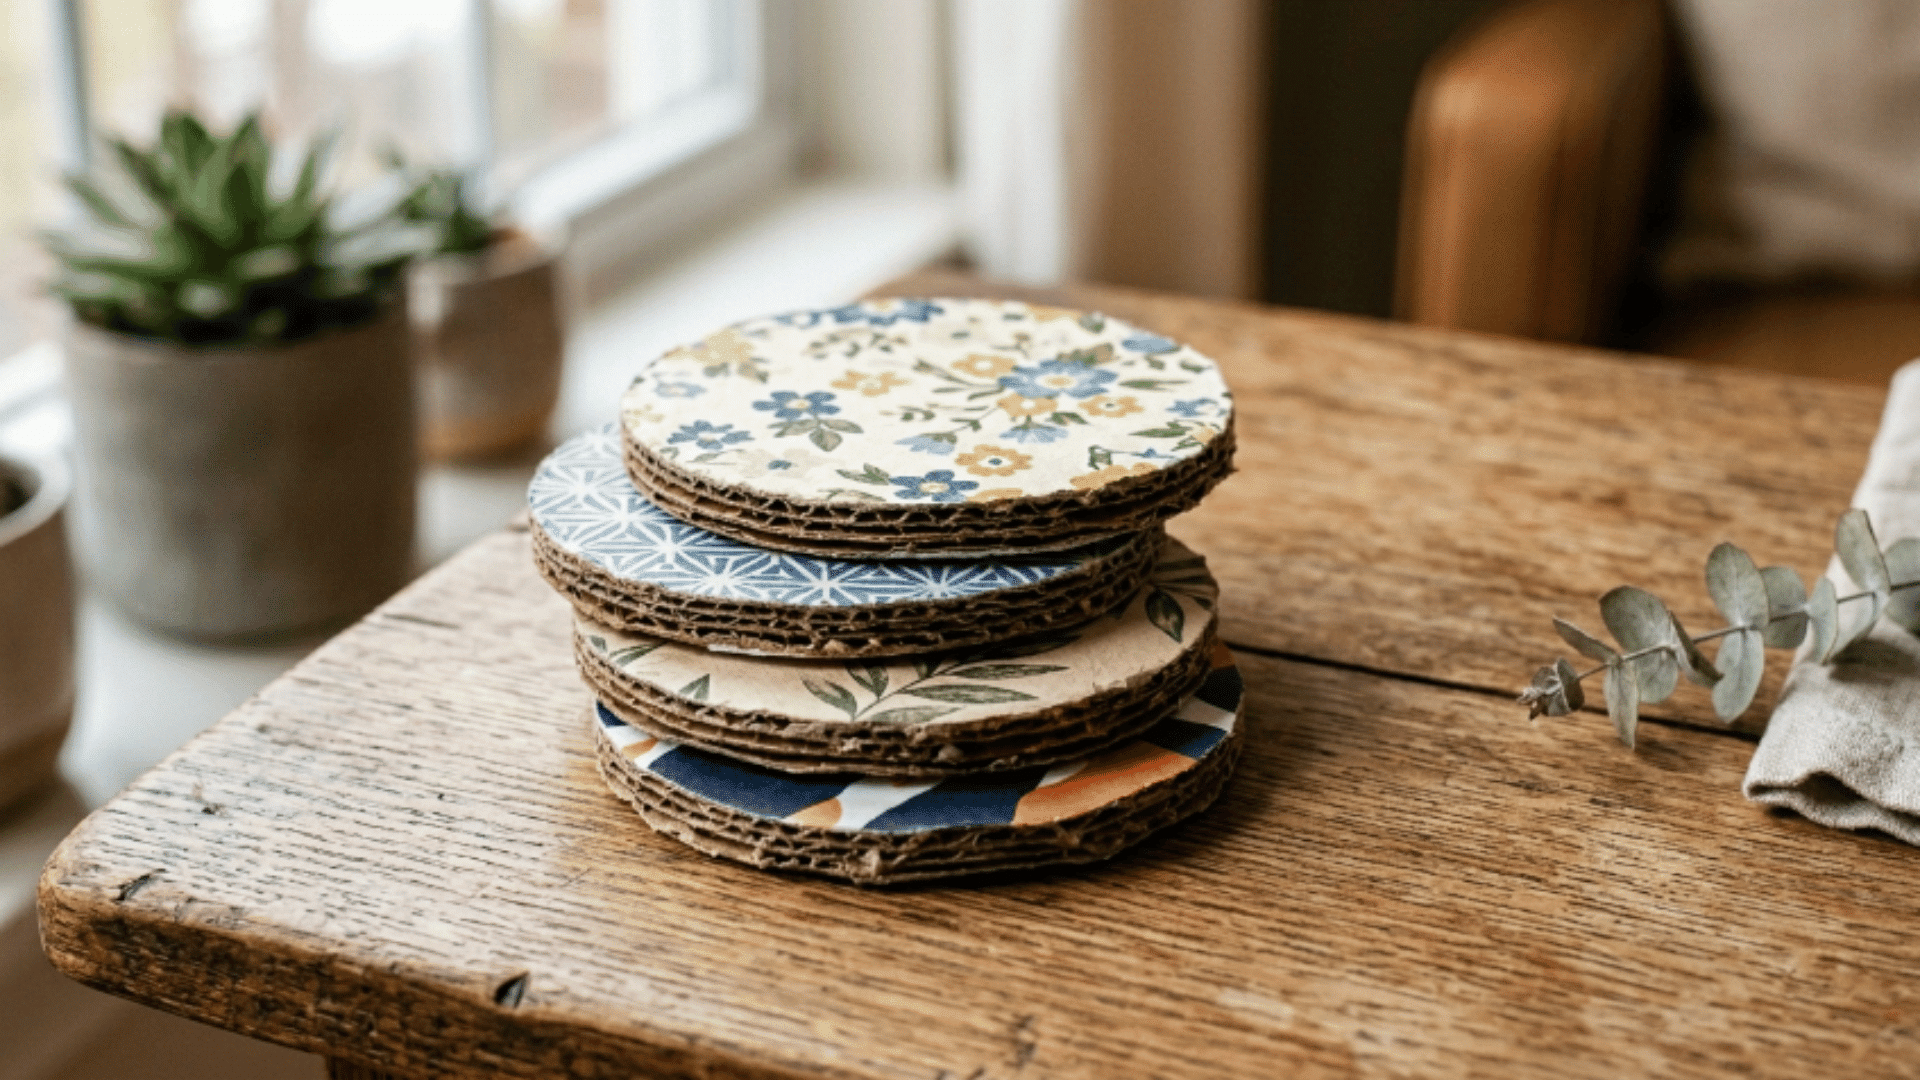
Cut cardboard into even shapes, such as circles or squares. They are simple but very useful daily items. A great way to reuse leftover materials.
How to Make:
- Cut cardboard into uniform shapes, such as circles or squares, to create a clean, sturdy base.
- Cover them with decorative paper or printed designs for a more polished and finished look.
- Seal the surface using glue or a protective layer to keep the design intact over time.
- Add a waterproof layer for longer use and to protect them from spills and moisture.
- Match the design to your table setup for a more coordinated, intentional display.
19. Glitter Jars for Decoration
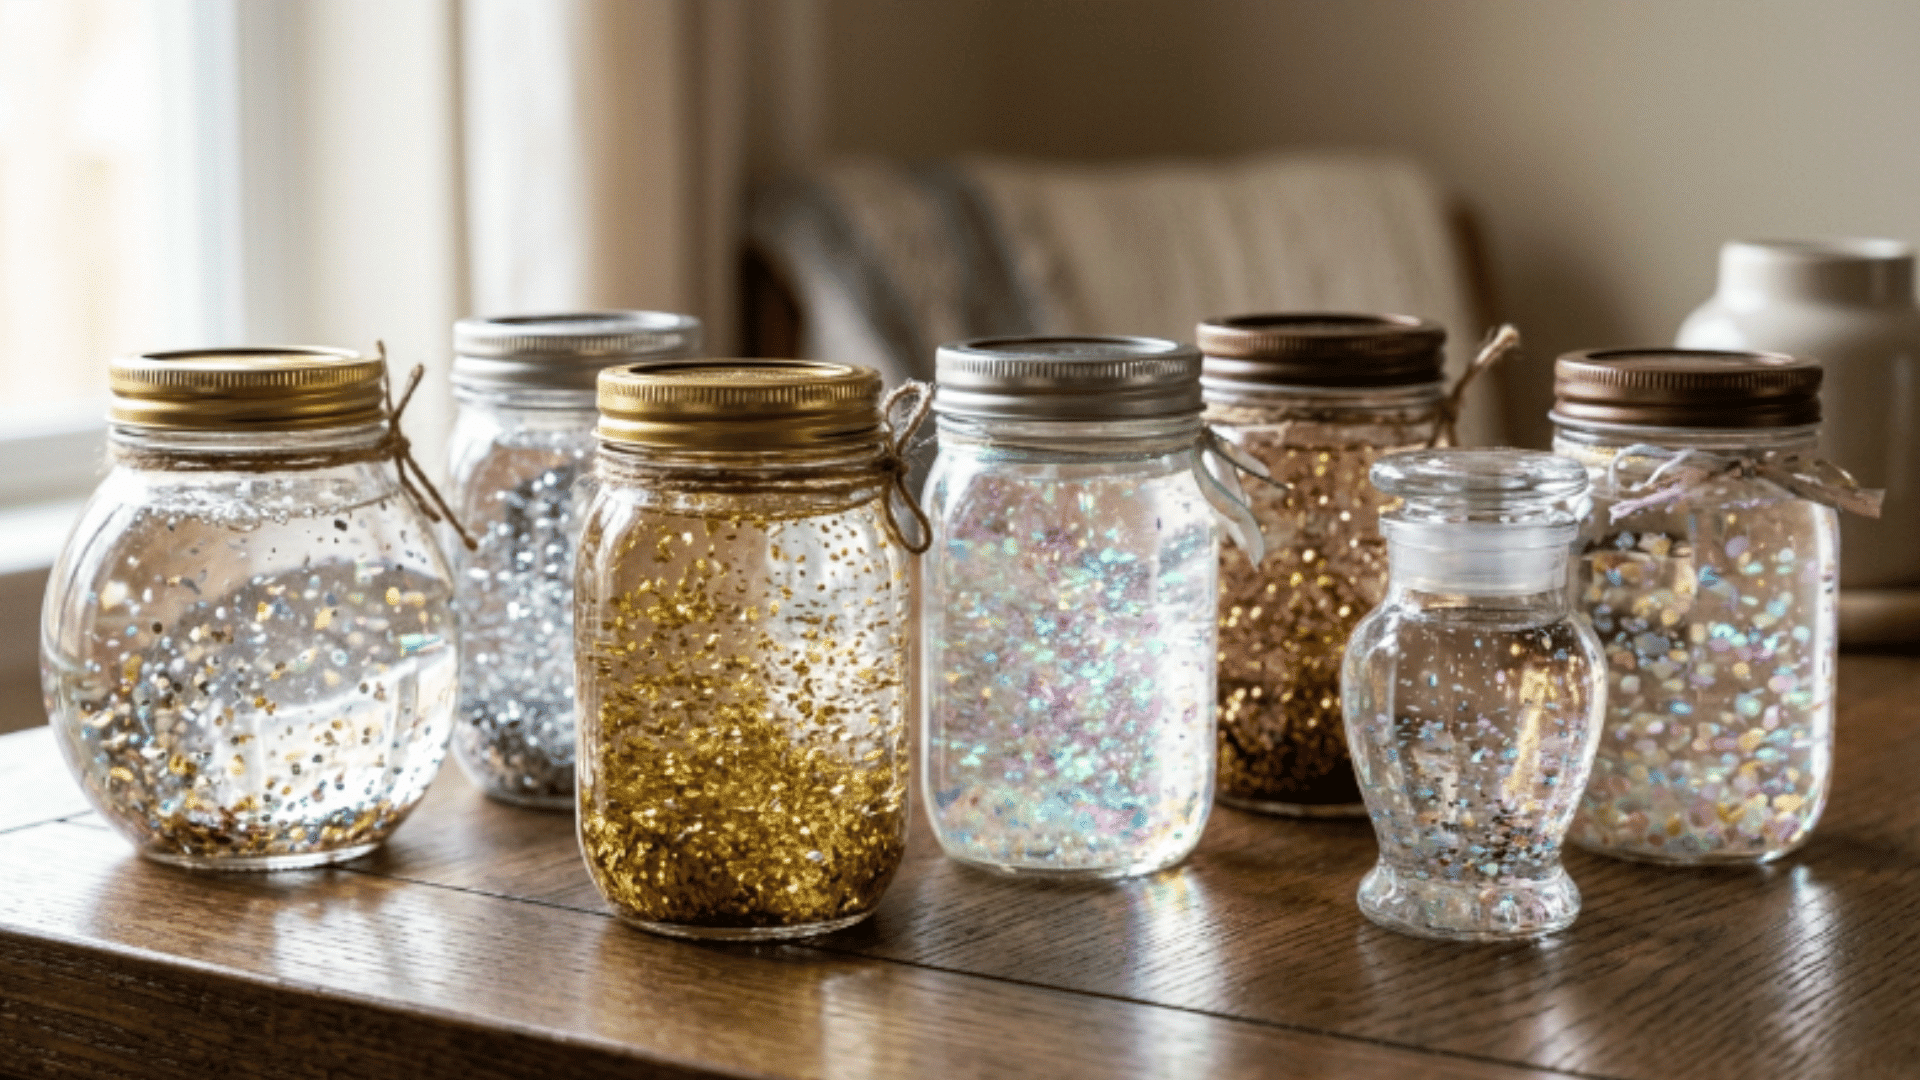
Fill a jar with water, glue, and glitter. It looks especially nice under light. A simple craft with a fun result.
How to Make:
- Fill a jar with water, glue, and glitter, then mix well so the glitter floats evenly.
- Add small decorative items inside to create a more detailed and layered visual effect.
- Close the lid tightly and secure it with glue to avoid spills and keep the contents safe.
- Use different glitter colors for variety and to make each jar look distinct and colorful.
- Shake the jar to create a sparkling effect that makes a calming visual piece.
20. Upcycled Jar Organizer for Desk
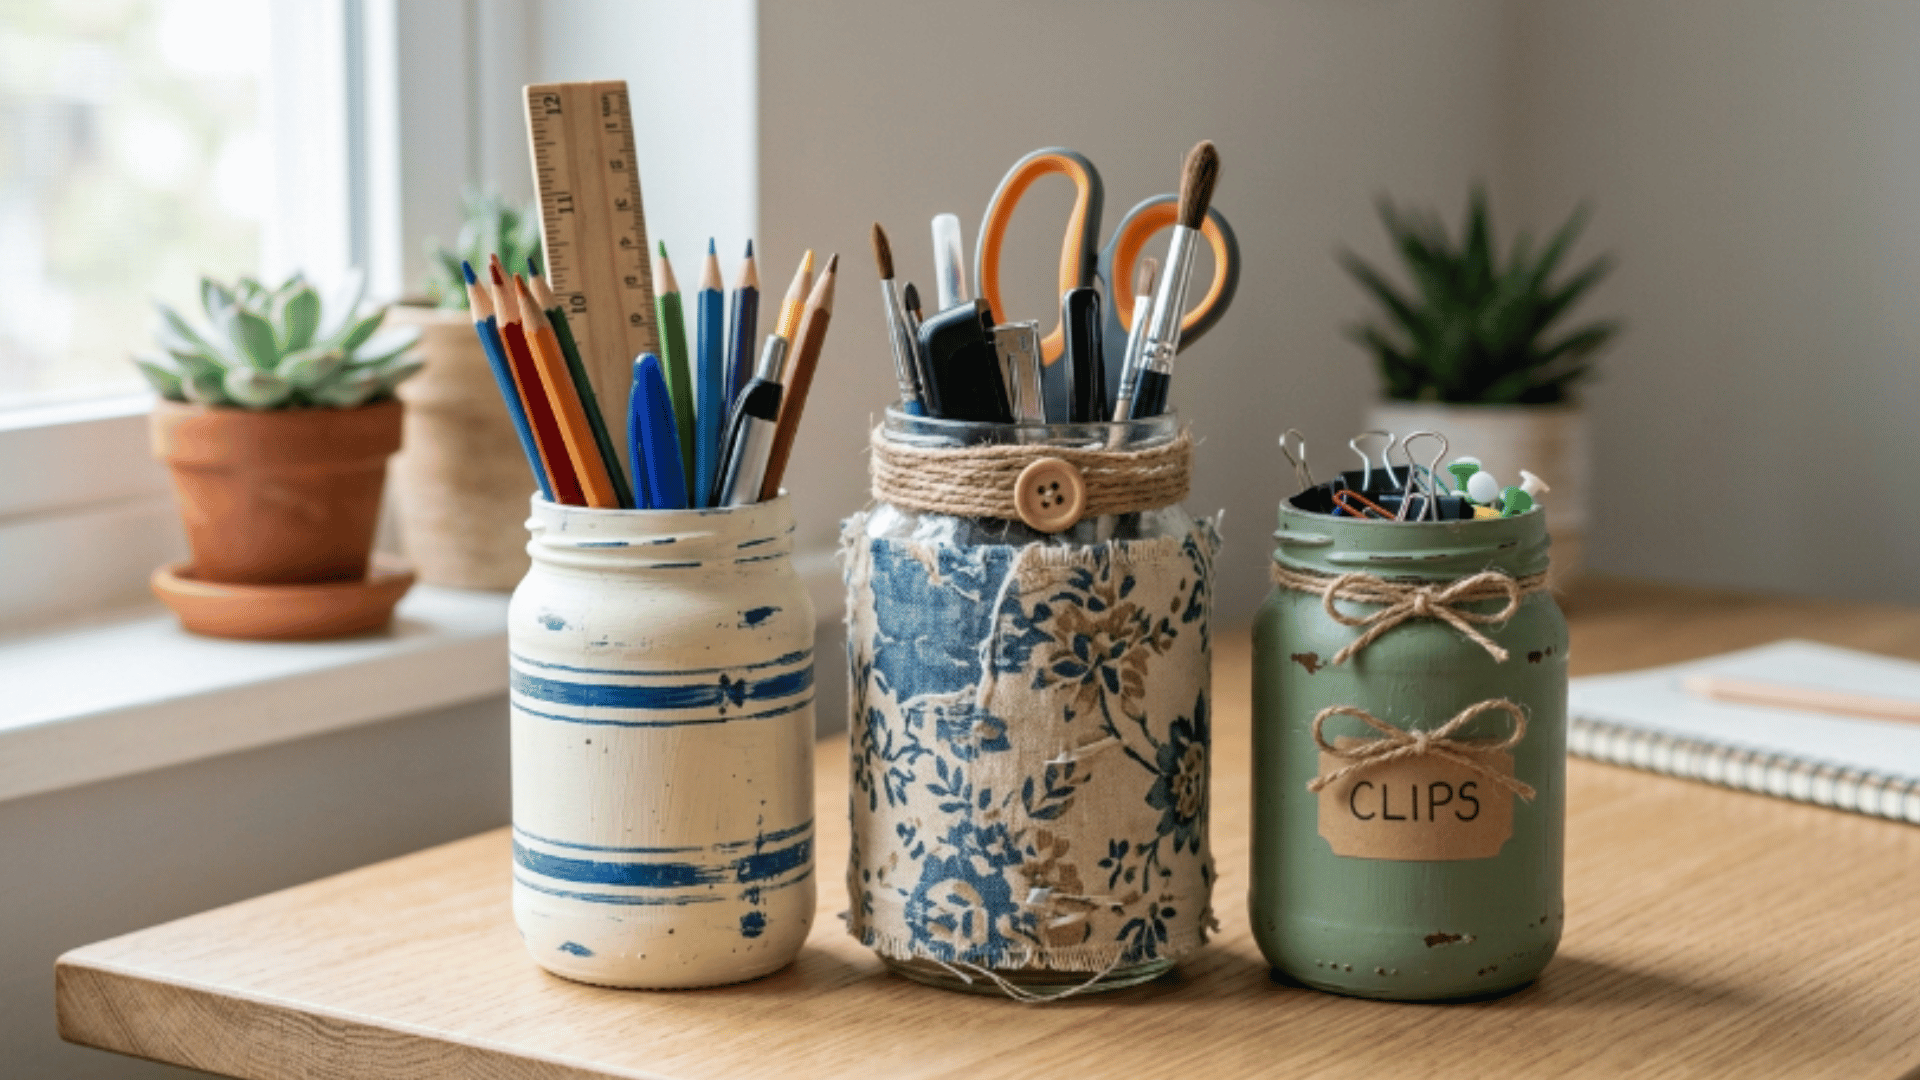
Reuse glass or plastic jars to organize your desk items. This helps reduce clutter on your desk. A useful craft that also improves your workspace.
How to Make:
- Reuse glass or plastic jars and clean them thoroughly before starting the decoration.
- Paint, wrap, or label each jar to give it a more personalized and finished appearance.
- Use them to store pens, brushes, or small tools for a practical and organized desk setup.
- Color-code them for better organization and easy identification of stored items.
- Arrange multiple jars together for a neat setup that keeps everything within easy reach.
- It is one of the most practical, easy crafts to do at home that also improves your workspace.
21. Paper Wreath for Wall Decor
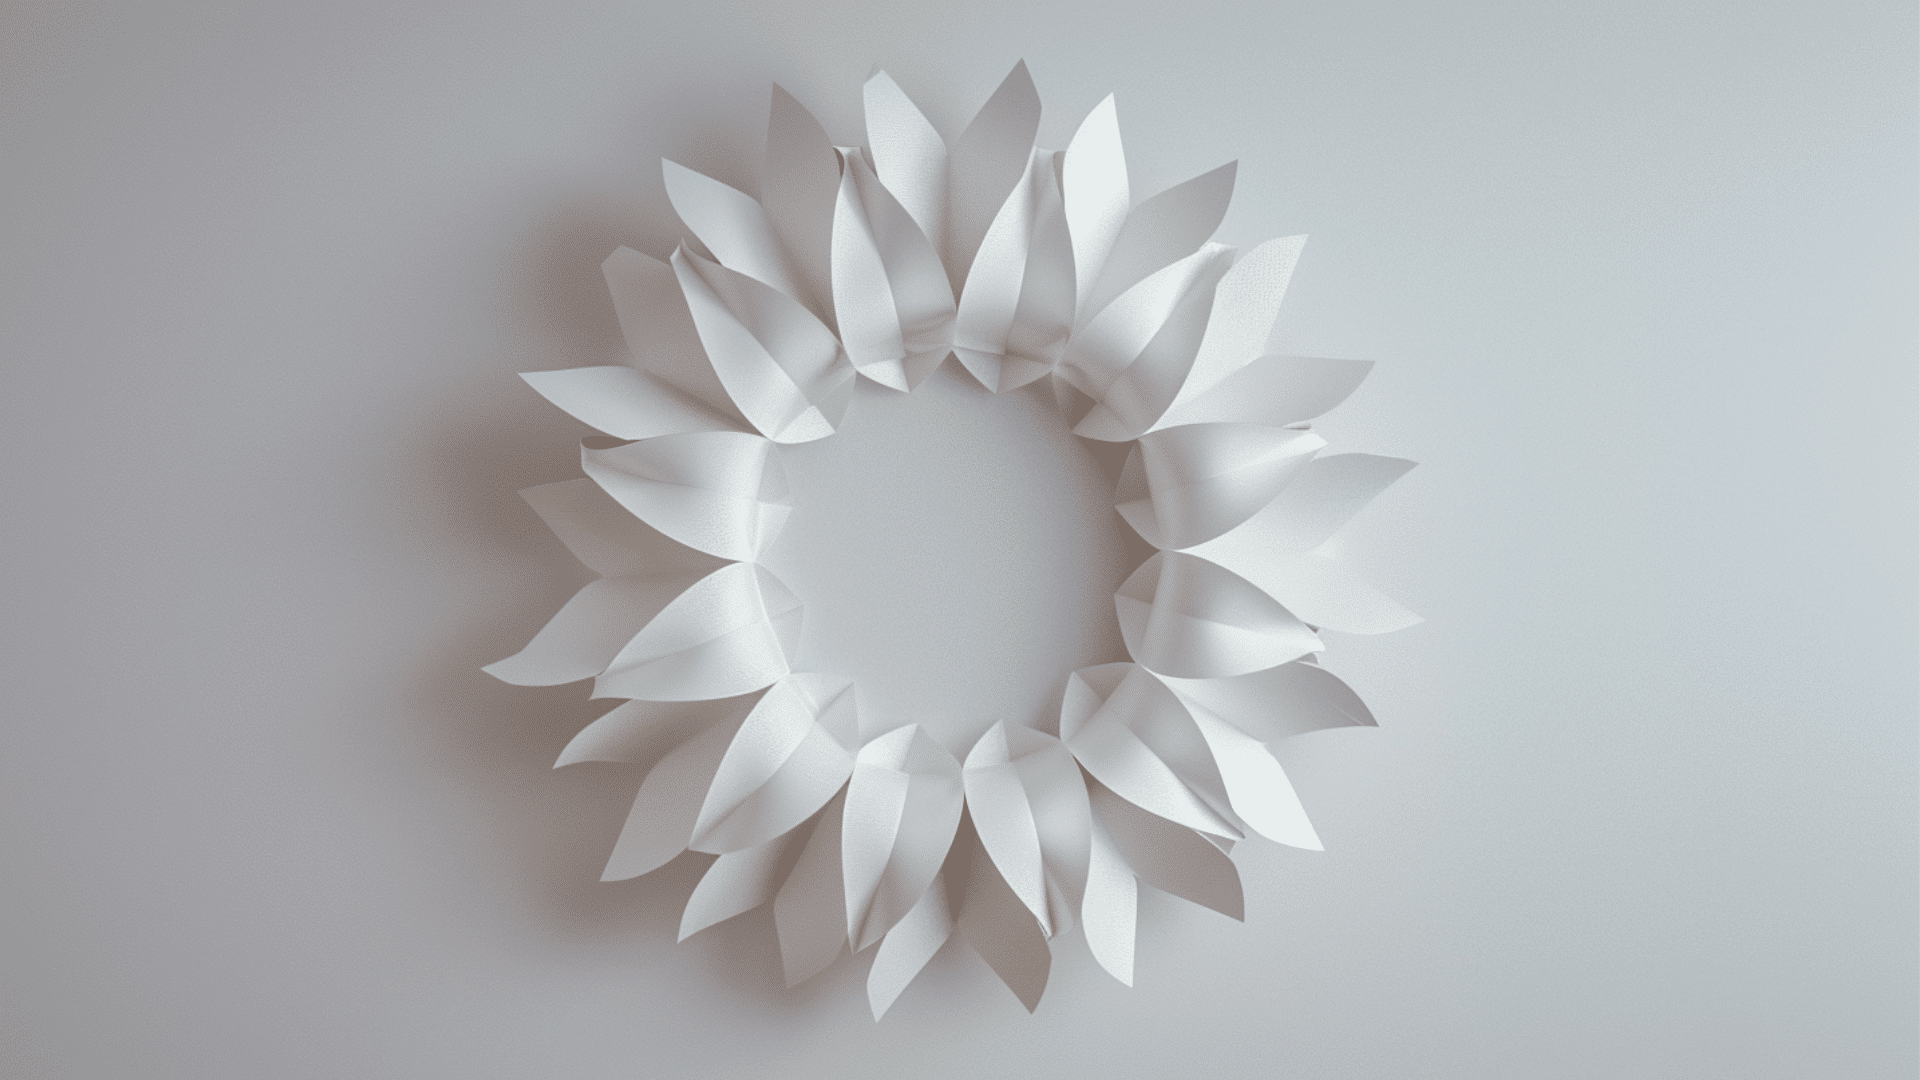
Create a circular base using cardboard or thick paper. This works well for doors or empty wall spaces. A simple craft that adds a cheerful touch.
How to Make:
- Create a circular base from cardboard or thick paper to form a sturdy, even structure.
- Cut out leaves, flowers, or shapes from colored paper, and glue them evenly around the base.
- Mix colors to match the seasons or themes, and give the wreath a more intentional, festive look.
- Layer elements to give it a fuller look and add more depth across the surface of the wreath.
- Add a ribbon at the top for easy hanging and a simple decorative finishing detail.
22. Handmade Mini Scrapbook
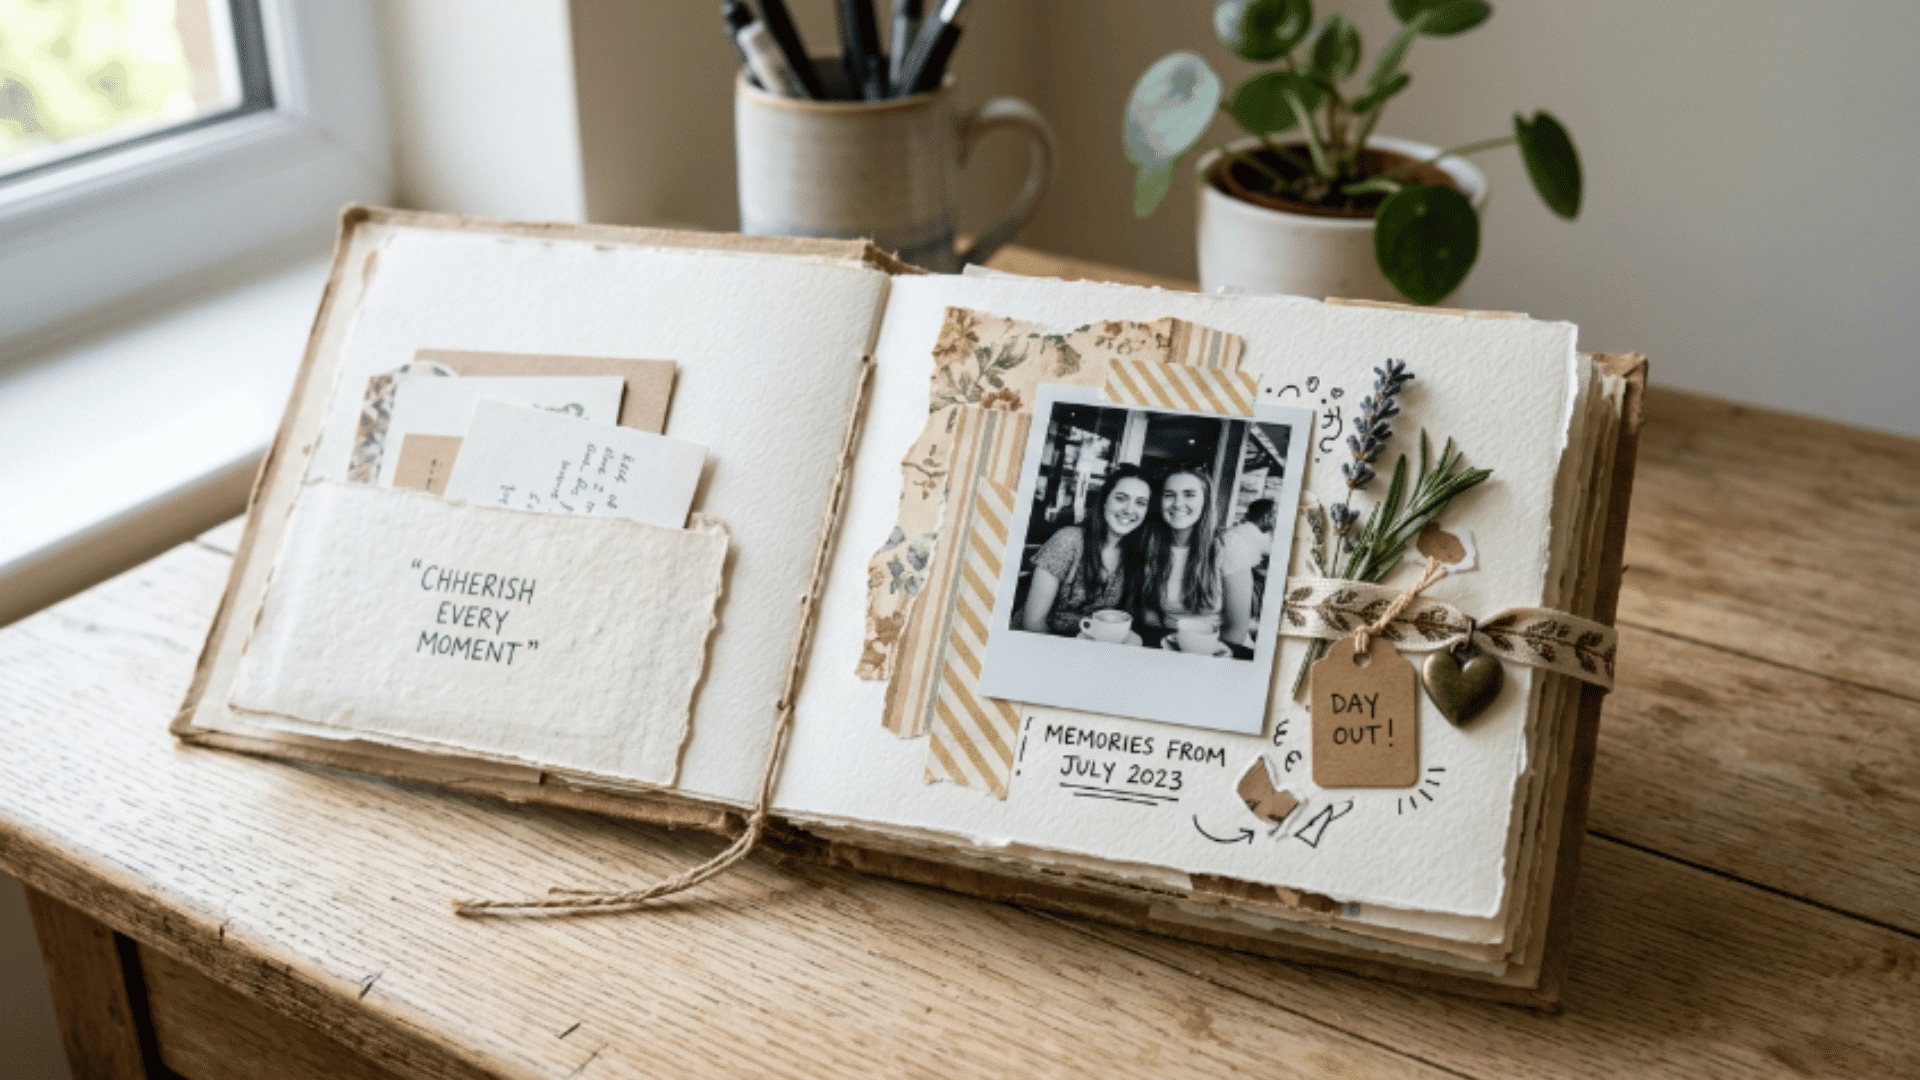
Use small sheets of paper to create a compact scrapbook. This makes memories feel more personal and fun. A small project with lasting value.
How to Make:
- Use small sheets of paper and bind them together using thread, rings, or glue for a secure hold.
- Decorate each page with photos, stickers, or notes to make every spread feel unique and personal.
- Add pockets or foldable sections inside for storing small keepsakes or extra notes safely.
- Use different colors and textures for each page to add variety and visual interest throughout.
- It is one of the most creative and easy crafts to do at home for preserving special memories.
- Perfect for gifting or keeping as a personal record of moments that hold special meaning.
23. DIY Dreamcatcher with Thread and Beads
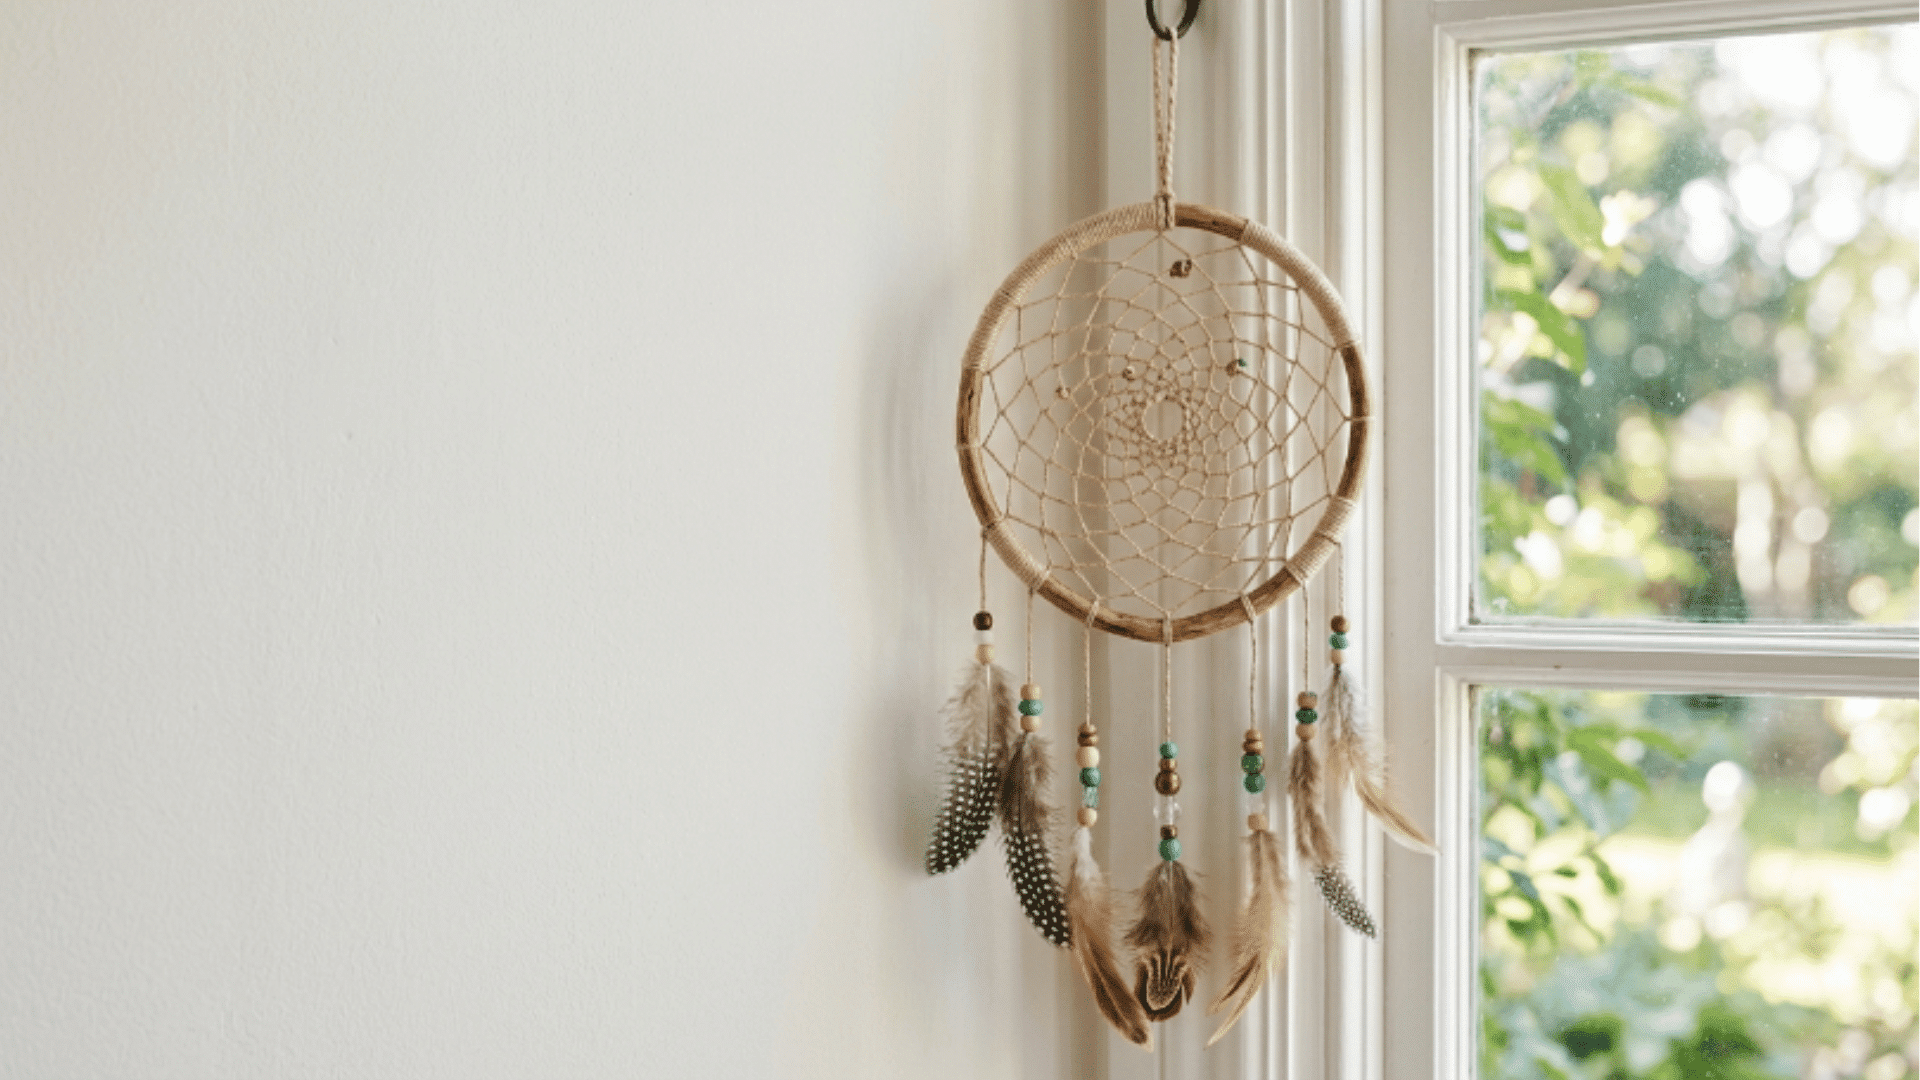
Start with a circular ring made of metal or cardboard. A relaxing craft that looks beautiful when finished. Each design can be made slightly different.
How to Make:
- Start with a circular ring made of metal or cardboard and wrap thread around it to cover the base.
- Create a web pattern inside using a string to form the traditional dreamcatcher structure.
- Add beads at different points for extra detail and a more decorative finish across the web.
- Use soft colors to give it a calm and soothing appearance that suits any quiet space.
- Hang it near a window or bed as a decorative piece that also adds a personal, creative touch.
24. Painted Wooden Spoons for Kitchen Decor
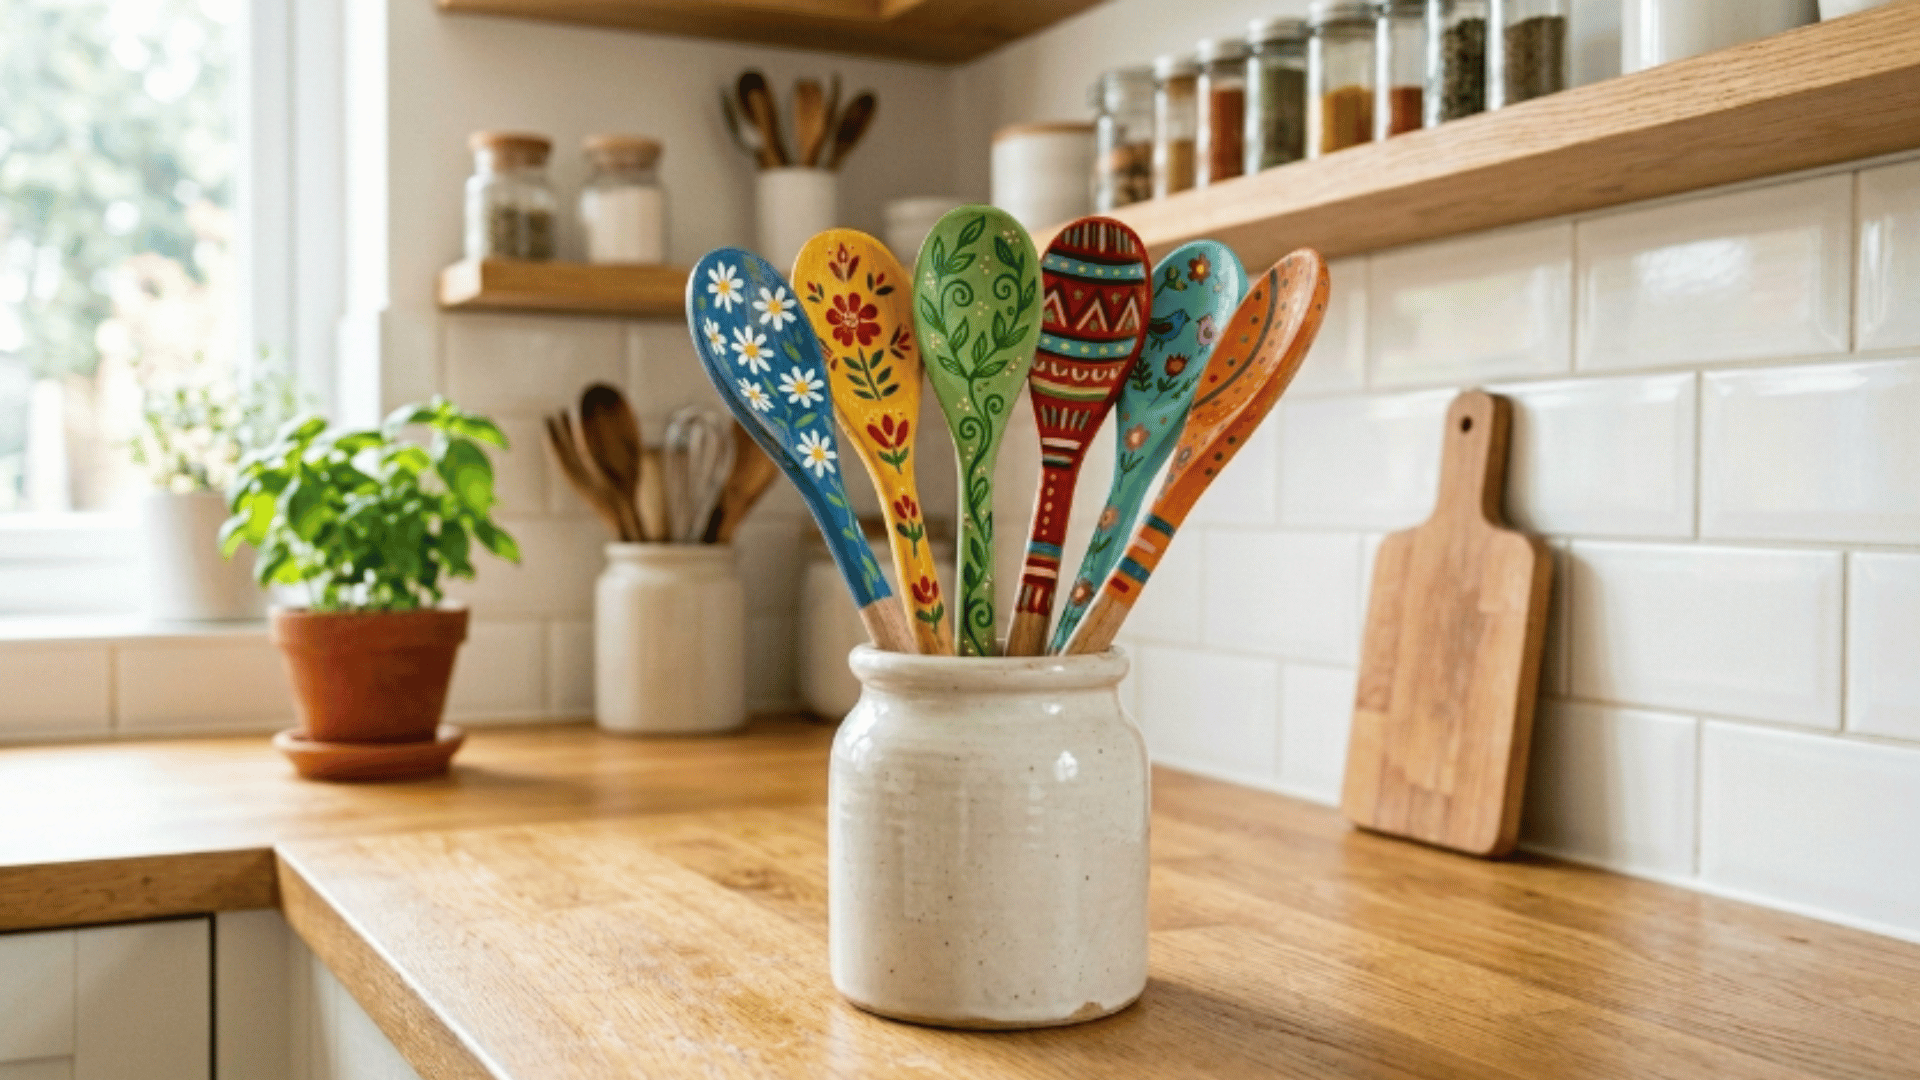
Clean wooden spoons before painting and use acrylic paint to add patterns or color blocks. They add a small decorative touch to your space. A simple idea that blends creativity with everyday items.
How to Make:
- Clean wooden spoons thoroughly before painting to ensure the surface is smooth and ready.
- Use acrylic paint to add patterns or color blocks, and focus on painting only the handles neatly.
- Match the colors to your kitchen theme for a more coordinated, intentional display.
- Seal the paint if you want it to last longer and stay intact through regular handling.
- Display them in a jar or holder on the counter for a simple and functional decorative setup.
25. Decorative Candle Holder with Tissue Paper
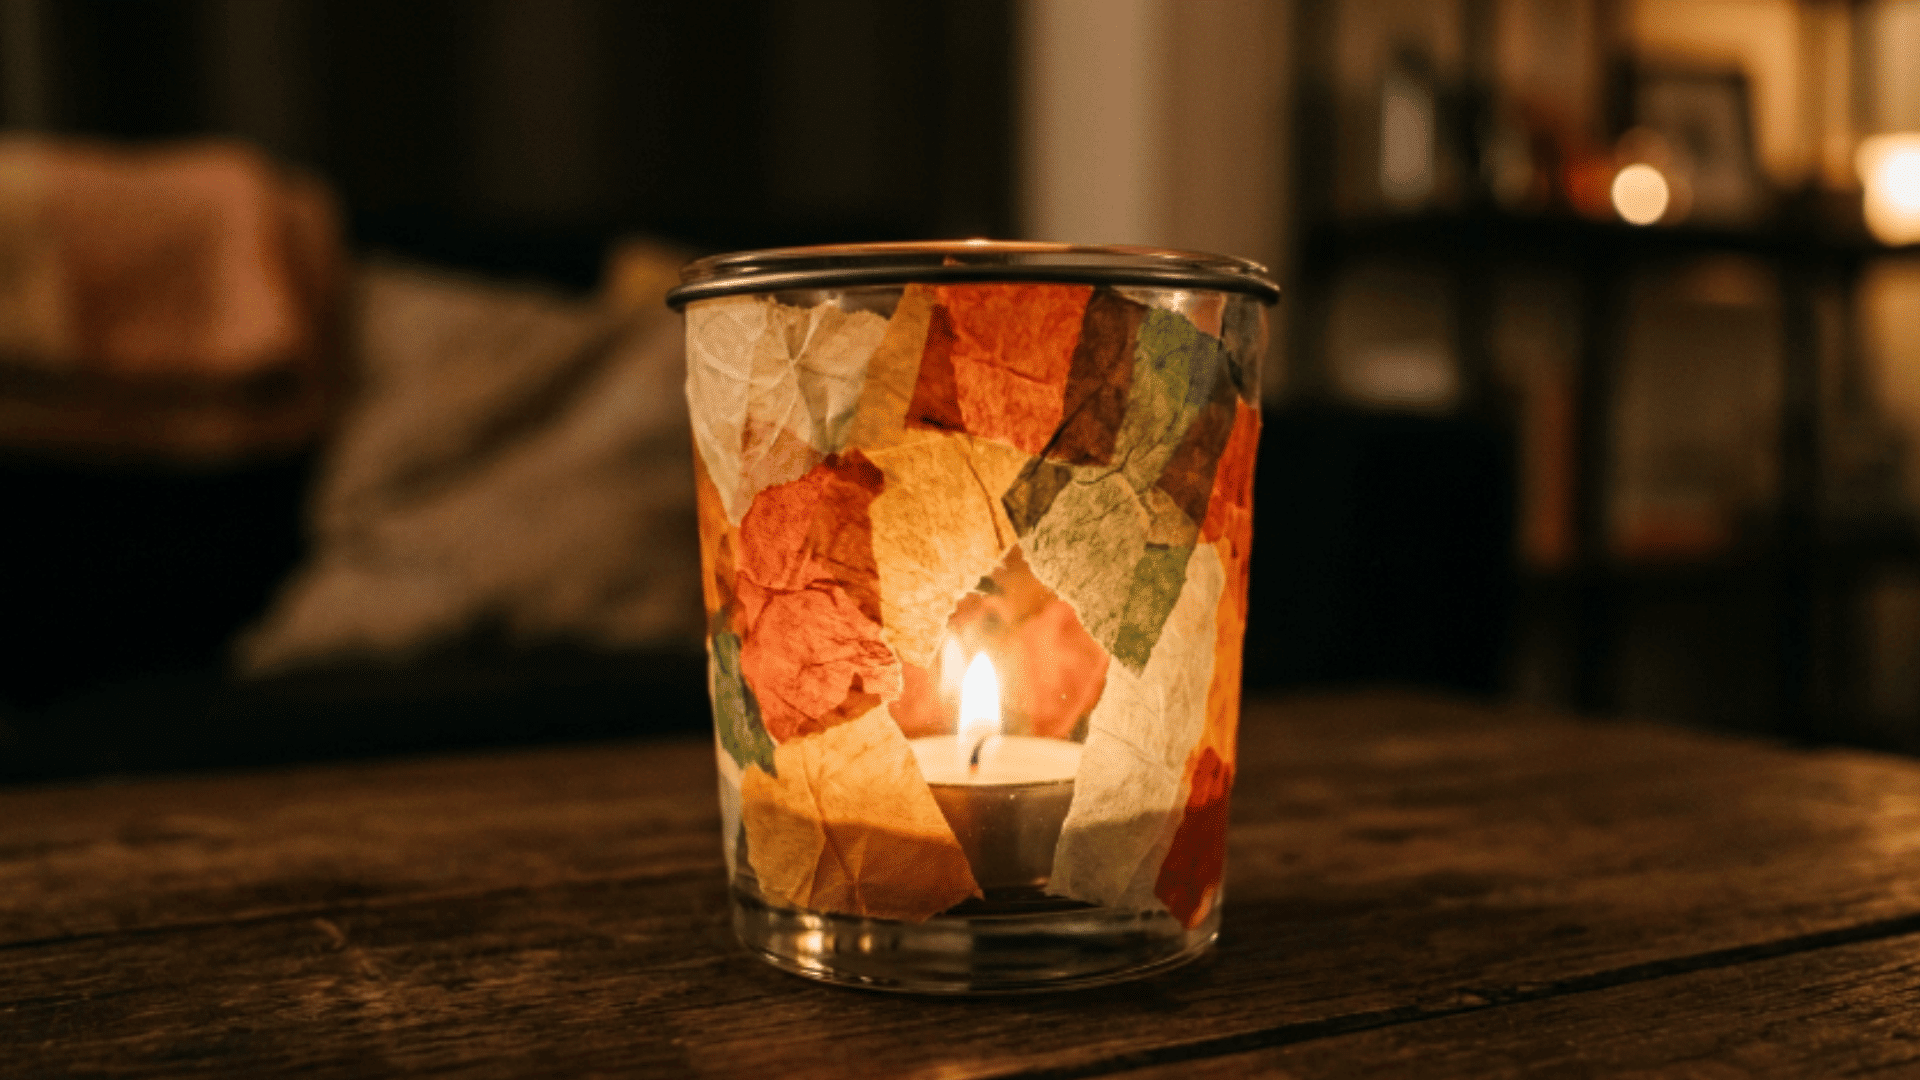
Use a glass holder or jar as the base. The light will shine through the paper beautifully. A quick craft that gives a warm and cozy feel.
How to Make:
- Use a glass holder or jar as the base and cut tissue paper into small shapes or pieces.
- Glue them onto the surface to create a layered effect that evenly covers the glass.
- Choose soft or bright colors based on your style for a more personalized and finished look.
- Create patterns or keep it random, depending on the level of detail you want to add.
- Once dry, carefully place a candle inside to complete the holder and prepare it for use.
- This works well for evening or festive decor and gives any space a warm and glowing feel.
More Crafts to Try at Home
Looking for more creative ideas to try without spending much? These easy crafts to do at home use simple materials and still give great results.
- DIY Photo Transfer On Wood: Transfer printed images onto wood with glue to create a rustic, personalized decor piece for walls, shelves, or handmade gifting.
- Paper Bead Jewelry: Roll paper strips into beads and string them into colorful handmade jewelry pieces that are lightweight, fun to make, and perfect for daily wear or gifting.
- Decorated Cork Board Organizer: Customize a cork board with fabric or paper to organize notes, photos, and reminders neatly while adding a decorative and functional element to your workspace.
- DIY Fabric-Covered Storage Boxes: Wrap plain boxes in fabric to create stylish storage for small household items like accessories, stationery, and everyday essentials, while improving room organization.
- Painted Plant Pots: Add patterns or colors to plain pots to make indoor or outdoor plants look more appealing while matching your home decor and adding a fresh decorative touch.
- Handmade Clay Keychains: Shape and paint clay into small designs to create personalized keychains for daily use that can also be gifted or used as cute accessories.
- DIY Wall Art Using Magazine Cutouts: Arrange magazine cutouts into a collage to create bold and creative wall decor that reflects your style and adds visual interest to empty spaces.
- Bottle Cap Magnets: Turn bottle caps into mini decorative magnets by painting, adding paper, or using small images to create unique fridge decor that is both creative and useful.
- Simple Macrame Key Holder: Use basic knotting techniques to create a hanging key holder for entryways, keeping your essentials organized while adding a handmade decorative element.
- Recycled Newspaper Baskets: Roll and interlock newspaper into baskets for lightweight, eco-friendly storage solutions that can organize items around the home.
- DIY Scented Sachets Using Fabric: Fill small fabric pouches with dried herbs to keep drawers and closets smelling fresh while adding a soft and natural fragrance to your space.
- Painted Seashell Trinket Dish: Decorate seashells with paint to create small dishes for jewelry or tiny items, adding a beach-inspired decorative element to your space.
- Beaded Sun Catcher for Windows: String beads together and hang them near windows to beautifully reflect light, creating colorful reflections that naturally brighten your room.
- DIY Wind Chimes Using Old Keys: Attach old keys to strings to create a simple wind chime with soft metallic sounds that add charm and movement to outdoor or balcony spaces.
- Custom Phone Case with Stickers: Decorate a clear phone case with stickers to create a unique, changeable design that reflects your personality and can be updated anytime.
- Paper Lanterns for Room Decor: Fold and cut paper into lantern shapes to add soft, decorative lighting, making a room feel warmer and more inviting.
- DIY Stencil Wall Art: Use stencils to paint clean, repeated designs on walls for a quick decor upgrade that adds pattern and visual interest with minimal effort.
- Upcycled T-Shirt Tote Bag: Turn an old T-shirt into a reusable tote bag without sewing for everyday use, helping reduce waste while creating a practical, useful bag.
- Handmade Soap Bars: Melt-and-pour soap into molds with colors and scents to create custom soap bars that can be used daily or given as thoughtful handmade gifts.
- Diy Jewelry Holder from Cardboard: Shape cardboard into a stand to neatly organize necklaces, rings, and earrings while keeping your accessories easy to find and display.
- Painted Tray for Serving: Decorate a plain tray with paint to make it suitable for serving or display, adding a personal and creative touch to your space.
- DIY Fabric Flower Brooch: Create layered fabric flowers and attach a pin to make a wearable accessory that can also be used to decorate bags or clothing.
- Clay Mini Food Magnets: Shape clay into tiny food items and turn them into fun fridge magnets that add a playful and colorful element to your kitchen decor.
- Decorated Notebook Covers: Cover notebooks with paper or fabric to give them a fresh and personalized look while making everyday items feel more unique and creative.
- DIY Rope Basket: Coil and glue rope into a sturdy basket shape for simple and functional storage that works well for organizing small items around your home.
- Handmade Holiday Ornaments: Create decorative ornaments using basic materials for seasonal decoration, making your space feel festive and more personalized during special occasions.
- Painted Mirror Frame: Refresh an old mirror by painting the frame with simple colors or patterns to give it a new look that matches your room style.
- DIY Plant Hangers Using Rope: Use rope and knots to create hanging plant holders to save space while adding greenery and a decorative element to your room.
- Personalized Mugs with Paint: Decorate mugs with special paint to create custom designs for daily use or gifting, making them feel more personal and unique.
- Diy Memory Jar with Notes: Fill a jar with handwritten notes to create a meaningful keepsake to revisit later and remember special moments.
Common Mistakes to Avoid
Even simple projects can go wrong if a few key things are overlooked, so knowing these common mistakes can help you get better results with your DIY crafts at home.
| Mistake | What It Means | Impact |
|---|---|---|
| Skipping basic preparation | Not cleaning, measuring, or organizing materials before starting | Leads to uneven results and wasted effort |
| Using the wrong tools or supplies | Choosing unsuitable glue, paint, or materials | Affects final look and durability of the craft |
| Rushing through the process | Not allowing enough drying or setting time | Ruins the finish and lowers overall quality |
| Overcomplicating simple ideas | Adding too many elements to the design | Makes the craft look messy instead of balanced |
| Ignoring instructions or steps | Missing small details in tutorials | Causes mistakes that are hard to fix later |
Wrapping Up
Creating something with your hands can bring a different kind of satisfaction that everyday routines often miss. Simple projects can turn into meaningful pieces that reflect your style while also being practical.
With so many easy crafts you can do at home, it’s easier to stay creative without special tools or a big budget. Trying new ideas can also help you stay engaged, learn new skills, and enjoy your time more productively.
There’s always something new to experiment with, no matter your experience level. Start with one idea that feels interesting and build from there.

James McLaren, with a rich background in architecture from the University of Manchester, has been contributing his expertise to the world of creative construction and home innovation for over 20 years. His journey began as a project manager for a leading construction firm, where he honed his skills in bringing complex designs to life. James joined our platform as a freelancer in 2019, quickly becoming a favorite for his insightful and practical advice. He has been a pivotal force to our wing ever since, bringing our readers a blend of technical know-how and creative flair. Beyond his professional life, James is an avid woodworker and enjoys restoring vintage furniture, a hobby that complements his professional insights beautifully.