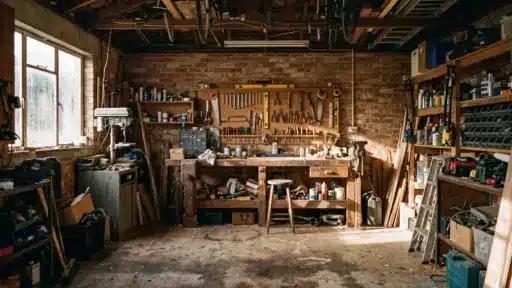
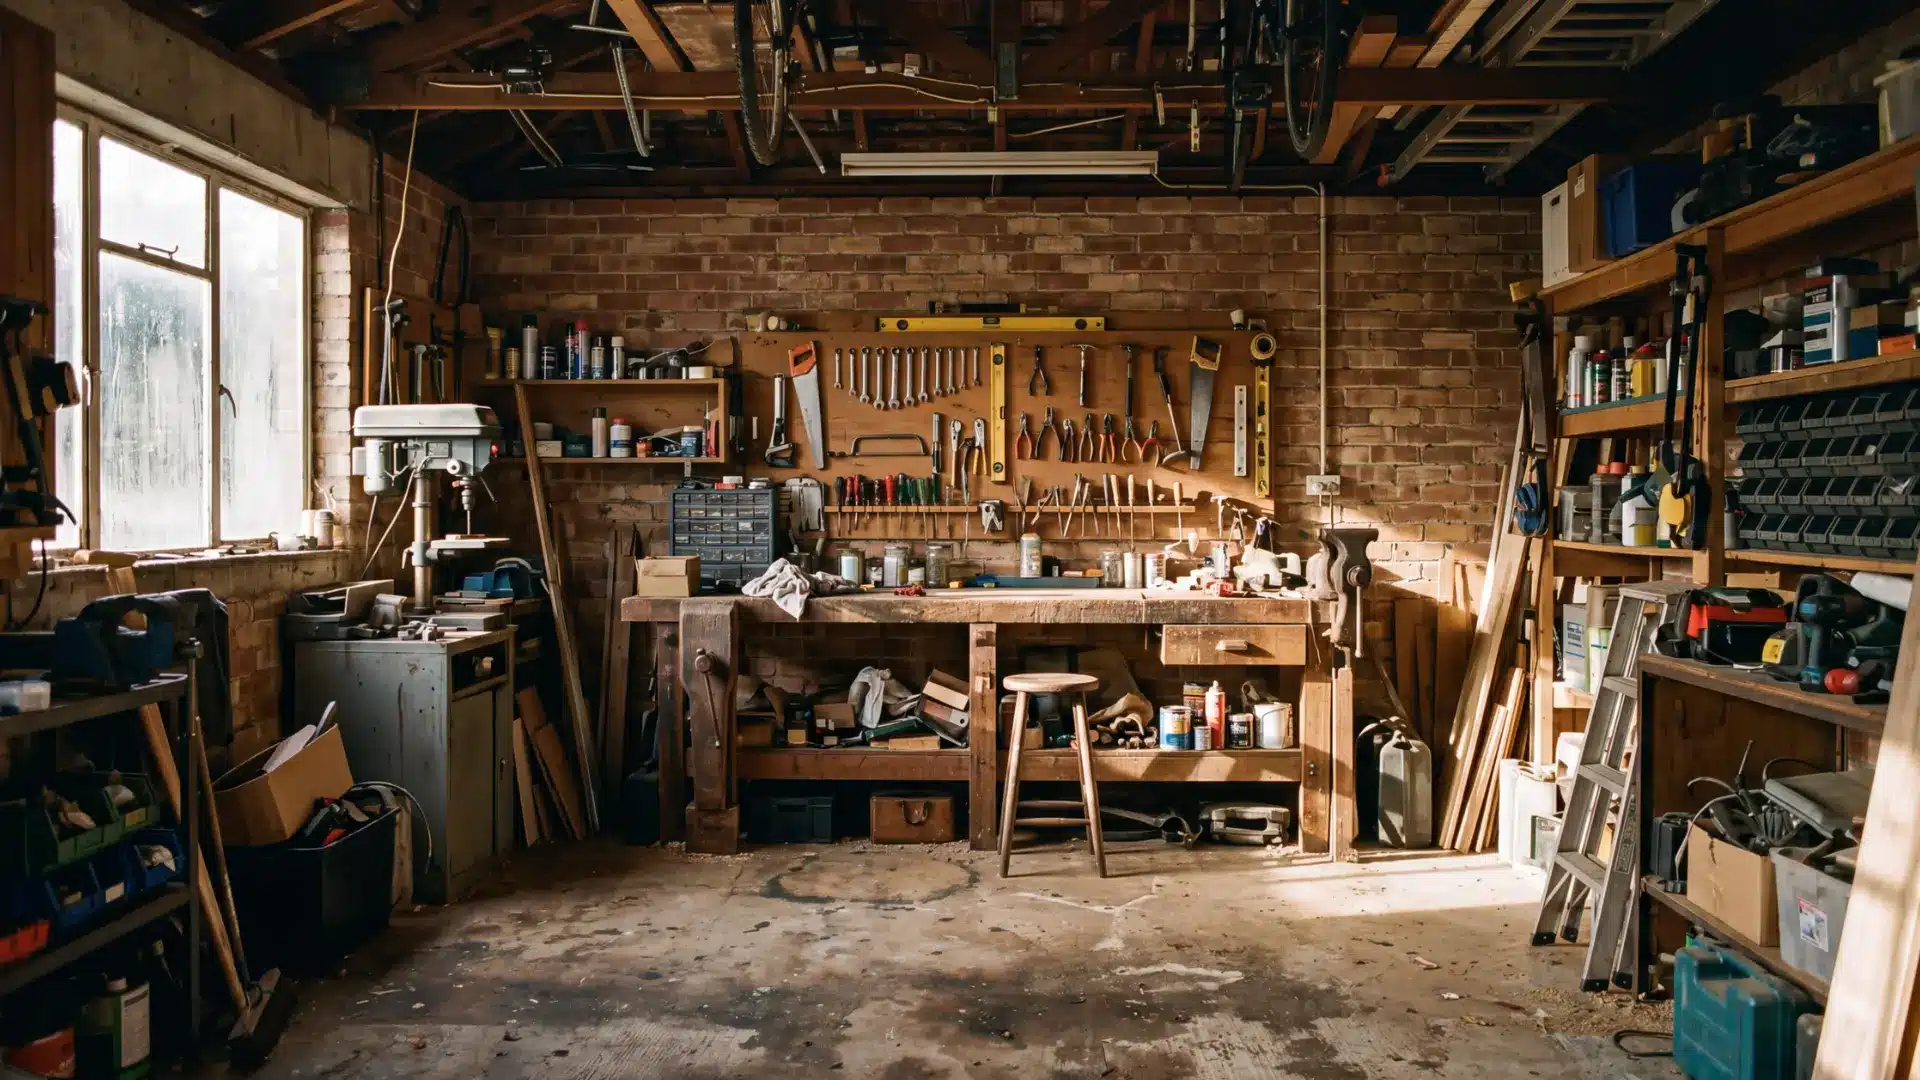

A DIY workbench is a sturdy, flat-topped table purpose-built for hands-on tasks like woodworking, repairs, and garage projects.
Unlike a folding table or a borrowed kitchen counter, a proper workbench provides a dedicated surface for cutting, drilling, sanding, and assembling.
Building one yourself costs between $50 and $150 in materials, takes a single day to complete, and results in a bench built exactly to your space, your height, and your working style.
Here, this step-by-step guide will provide you with a list of the most common mistakes to avoid.
Why Build Your Own Workbench?
A decent commercial workbench can cost a significant amount, and even then, it comes in a fixed size that may not suit your space or working style.
However, building your own costs a fraction of that and gives you full control over every aspect of the build.
You are free to decide the height, depth, length, and the amount of storage. The strength and quality depend entirely on the materials you choose.
Tools and Materials Required
Before you start, gather everything in one place. Having the right tools and materials ready saves time and avoids unnecessary stops mid-build.
| Materials | Tools |
|---|---|
| 4×4 timber posts for legs (4 pieces) | Circular saw, or miter saw |
| 2×4 timber for the frame and supports | Power drill and drill bits |
| 3/4 inch plywood or solid wood boards for the work surface | Tape measure |
| Wood screws (3-inch and 1.5-inch) | Speed square or carpenter’s square |
| Wood glue | Spirit level |
| Sandpaper (80 grit and 120 grit) | Clamps |
| Wood stain or sealant (optional) | Pencil for marking |
Choosing the Right Size for Your Workbench
Getting the size right before cutting a single piece of wood saves a lot of trouble later.
Here are the standard ranges:
- Height: Standard size is 34 inches, with a recommended range of 32 to 36 inches.
- Depth: Standard size is 24 inches, with a recommended range of 20 to 30 inches.
- Length: Standard size is 60 inches, with a recommended range of 48 to 96 inches.
The most reliable way to find your ideal working height is to stand upright and measure from the floor to your wrist with your arms hanging naturally.
That measurement is your target height. Taller builders often prefer 36 inches; shorter builders typically find 32 inches more comfortable. A bench set at the wrong height can cause real back strain over time.
Step by Step: How to Build a DIY Workbench
Follow these steps carefully, and you will have a solid, functional workbench built in a single day.
Step 1: Measure and Cut Your Timber
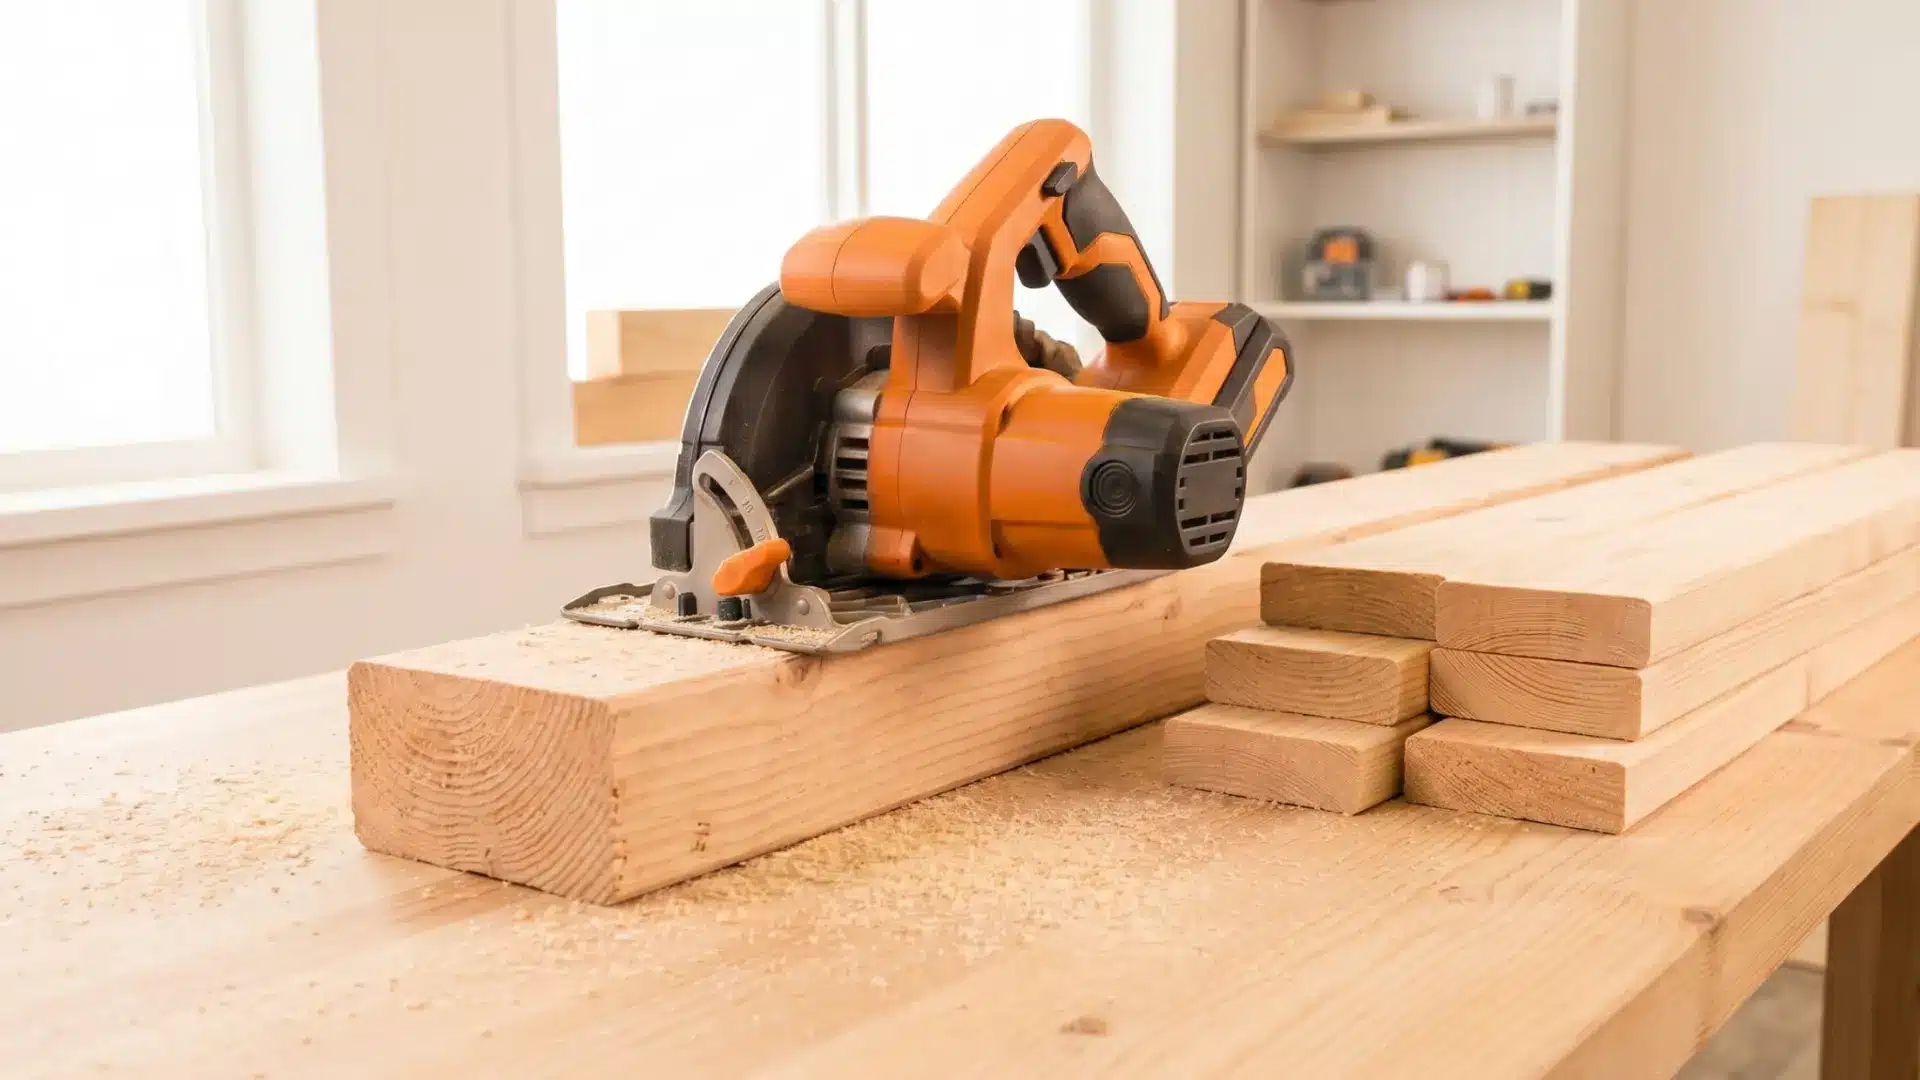
Measure and mark all your cuts before starting the saw. Use a speed square to mark perfectly straight cut lines across each piece.
Cut list for a standard 60 x 24-inch bench:
- 4 legs at your chosen height (4×4 timber)
- 2 long side frame pieces at 57 inches (2×4 timber)
- 4 short cross pieces at 21 inches (2×4 timber)
- 1 work surface at 60 x 24 inches (3/4 inch plywood)
- 1 lower shelf piece at 57 x 21 inches (optional, 3/4 inch plywood)
Measure twice, cut once. Label each piece with a pencil immediately after cutting so you can identify them during assembly.
Step 2: Build the Two End Frames
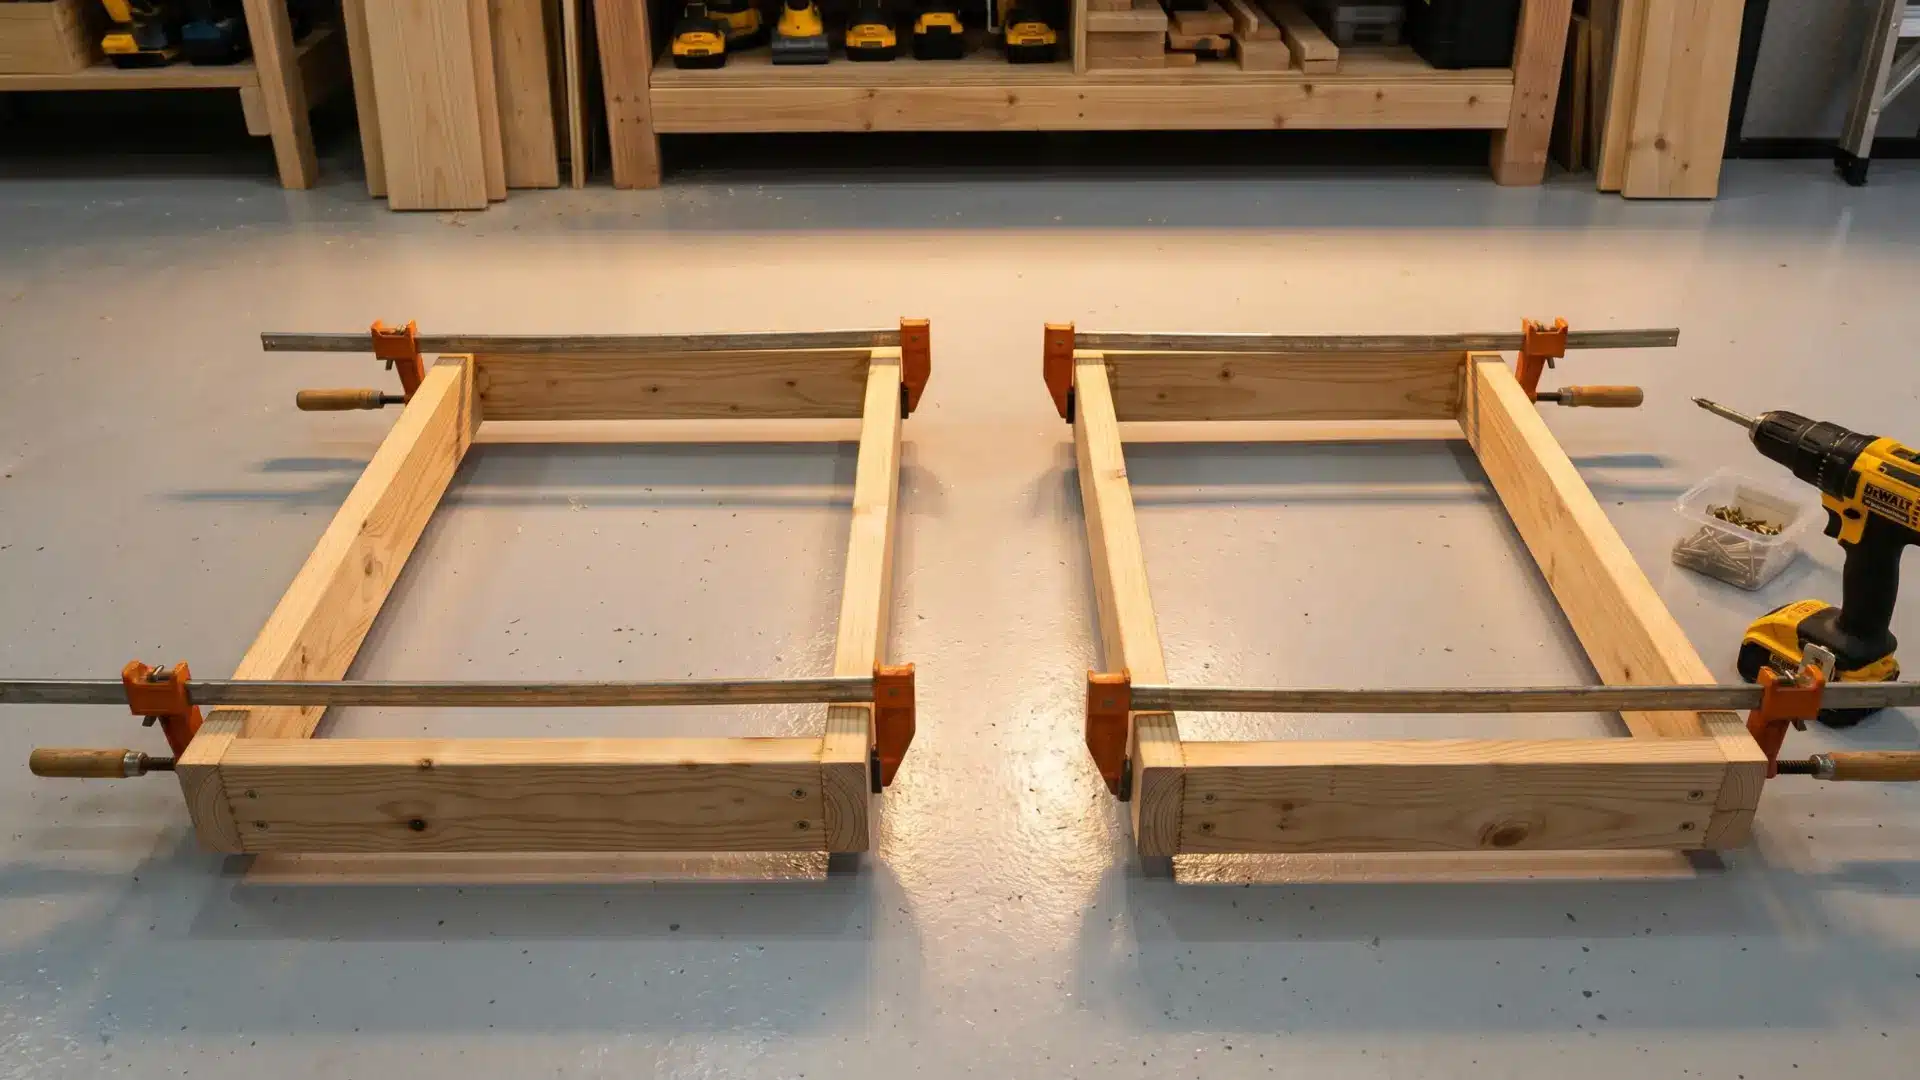
Take two legs and two short cross pieces for each end frame. Position one cross piece near the top of the legs and one near the bottom. This creates a ladder-shaped end panel.
Apply a small amount of wood glue to each joint surface before screwing. Pre-drill pilot holes near the ends of every board; skipping this step splits the timber and weakens the joint. Drive two 3-inch screws into each joint.
Build both end frames and let the glue set for 10–15 minutes before moving to the next step.
Step 3: Connect the Two End Frames
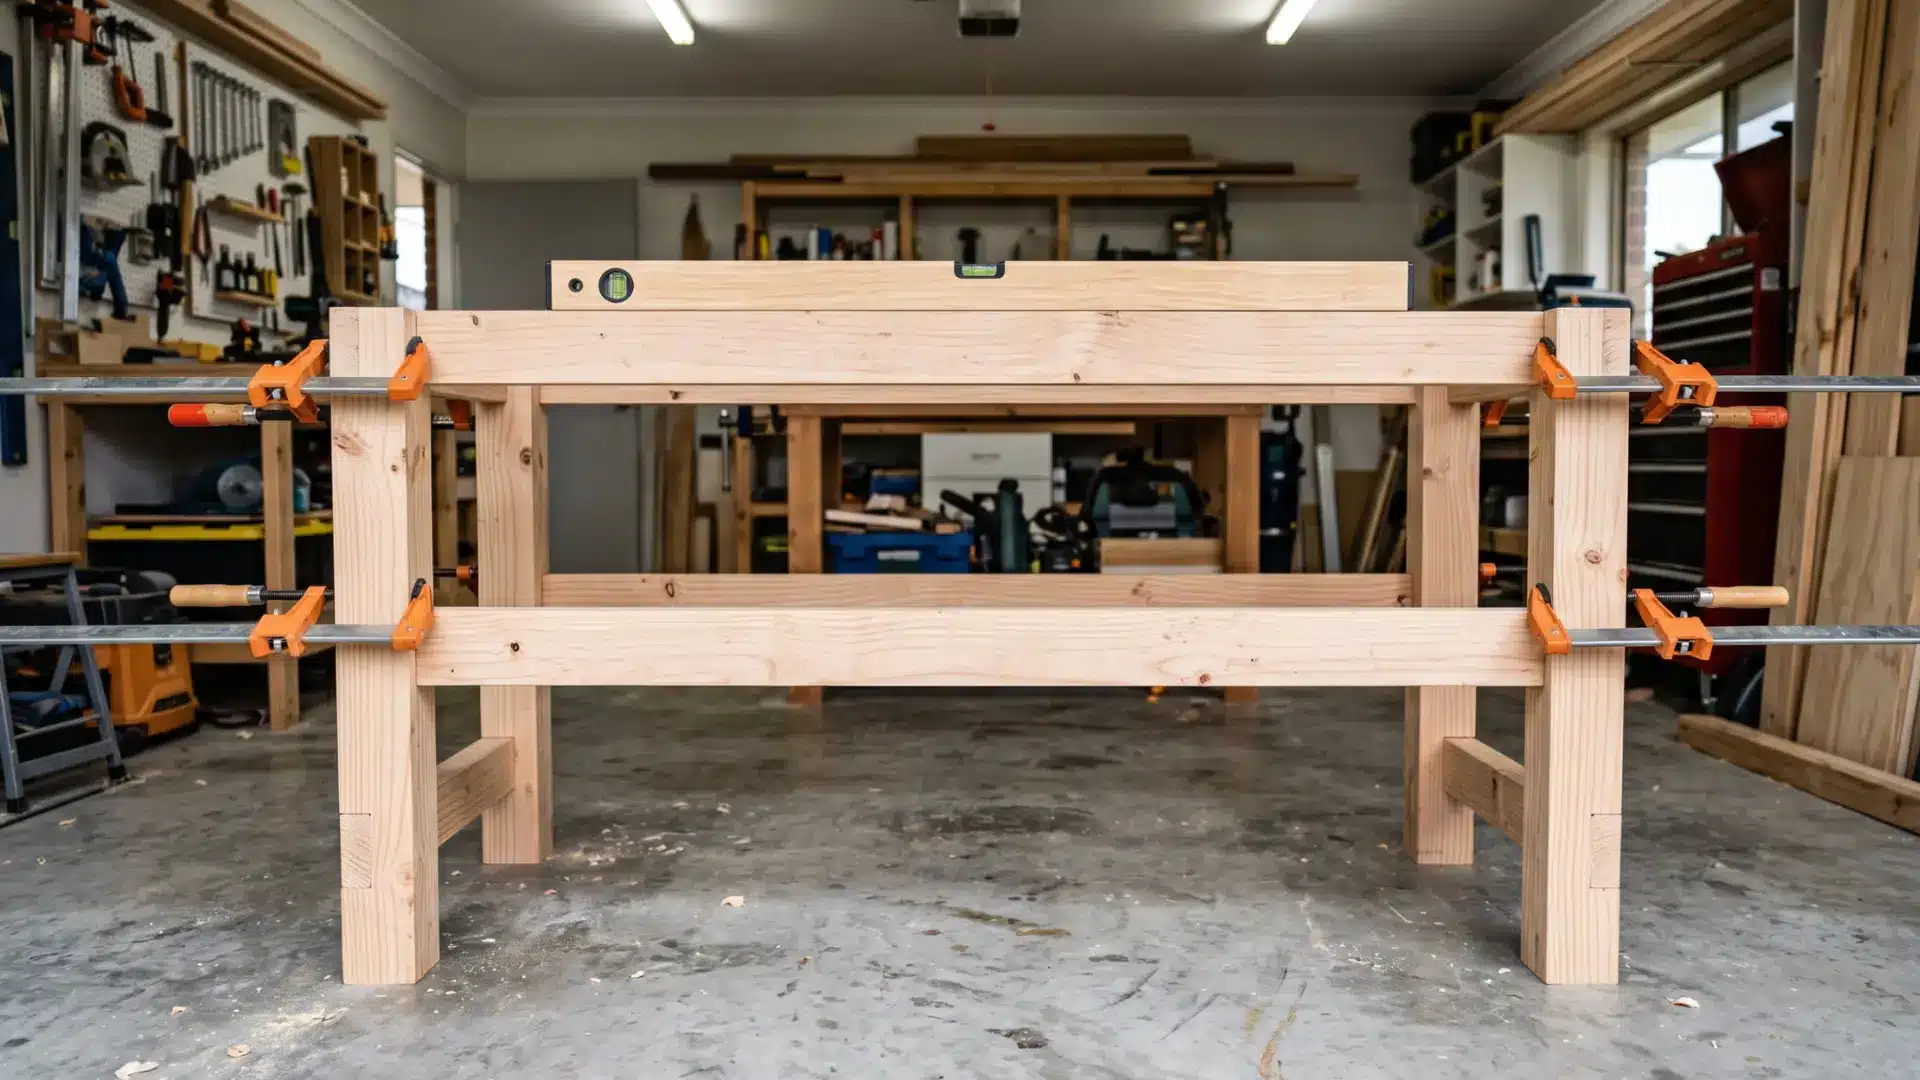
Stand both end frames upright and connect them using the two long side rails, one along the top of each side, one along the bottom.
Before driving any screws, use your carpenter’s square to check that every corner is at 90 degrees.
A frame that is slightly out of square will wobble noticeably once the bench is loaded. Check, adjust, and check again. Apply glue to each joint, pre-drill, and drive two 3-inch screws per connection.
Use a spirit level to confirm the frame sits flat.
Step 4: Add the Work Surface
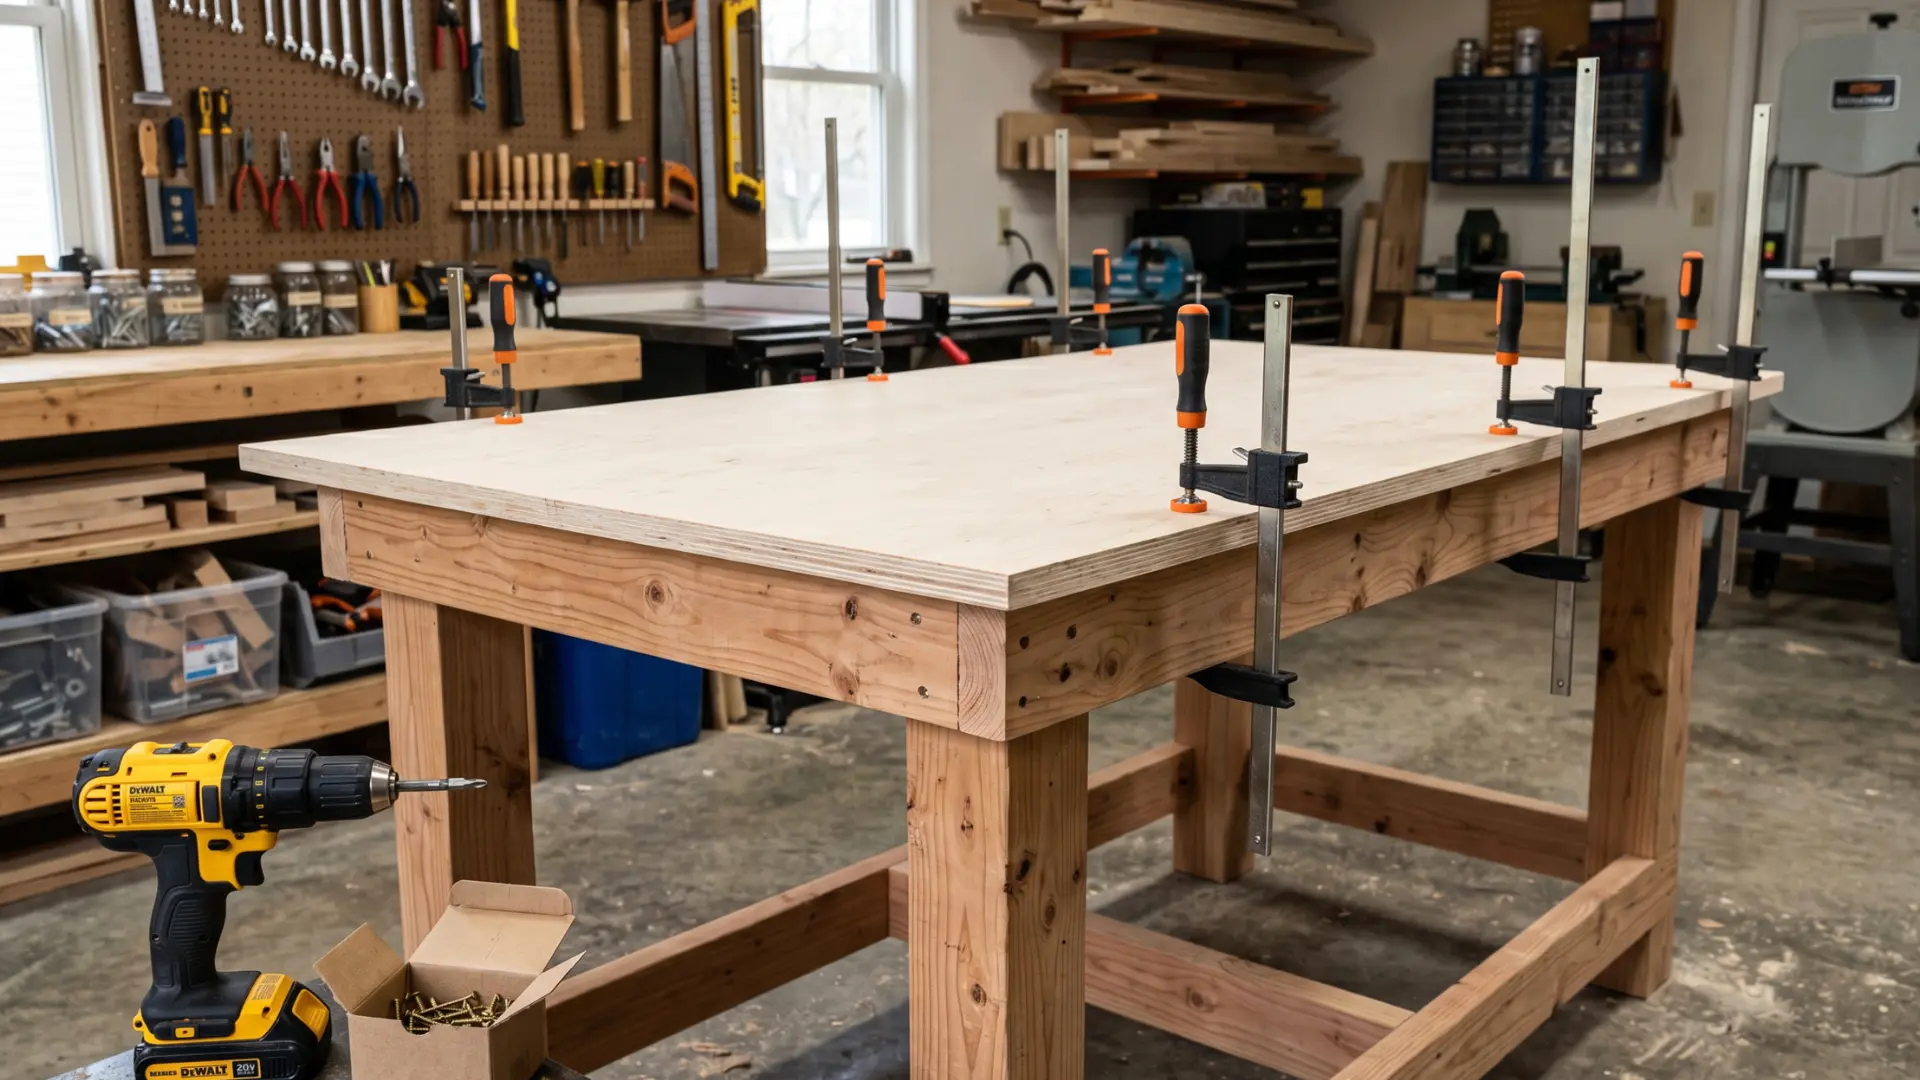
Place the plywood or solid board work surface on top of the completed frame. It should sit flush on all four sides with no overhang.
Clamp it firmly before drilling; an unsecured surface will shift as you drive screws. Drive 1½-inch screws through the surface down into the top frame rails, spaced approximately every 8–10 inches along each side.
Sand the surface first with 80-grit paper, then finish with 120-grit paper for a smooth working area.
Step 5: Add the Lower Shelf
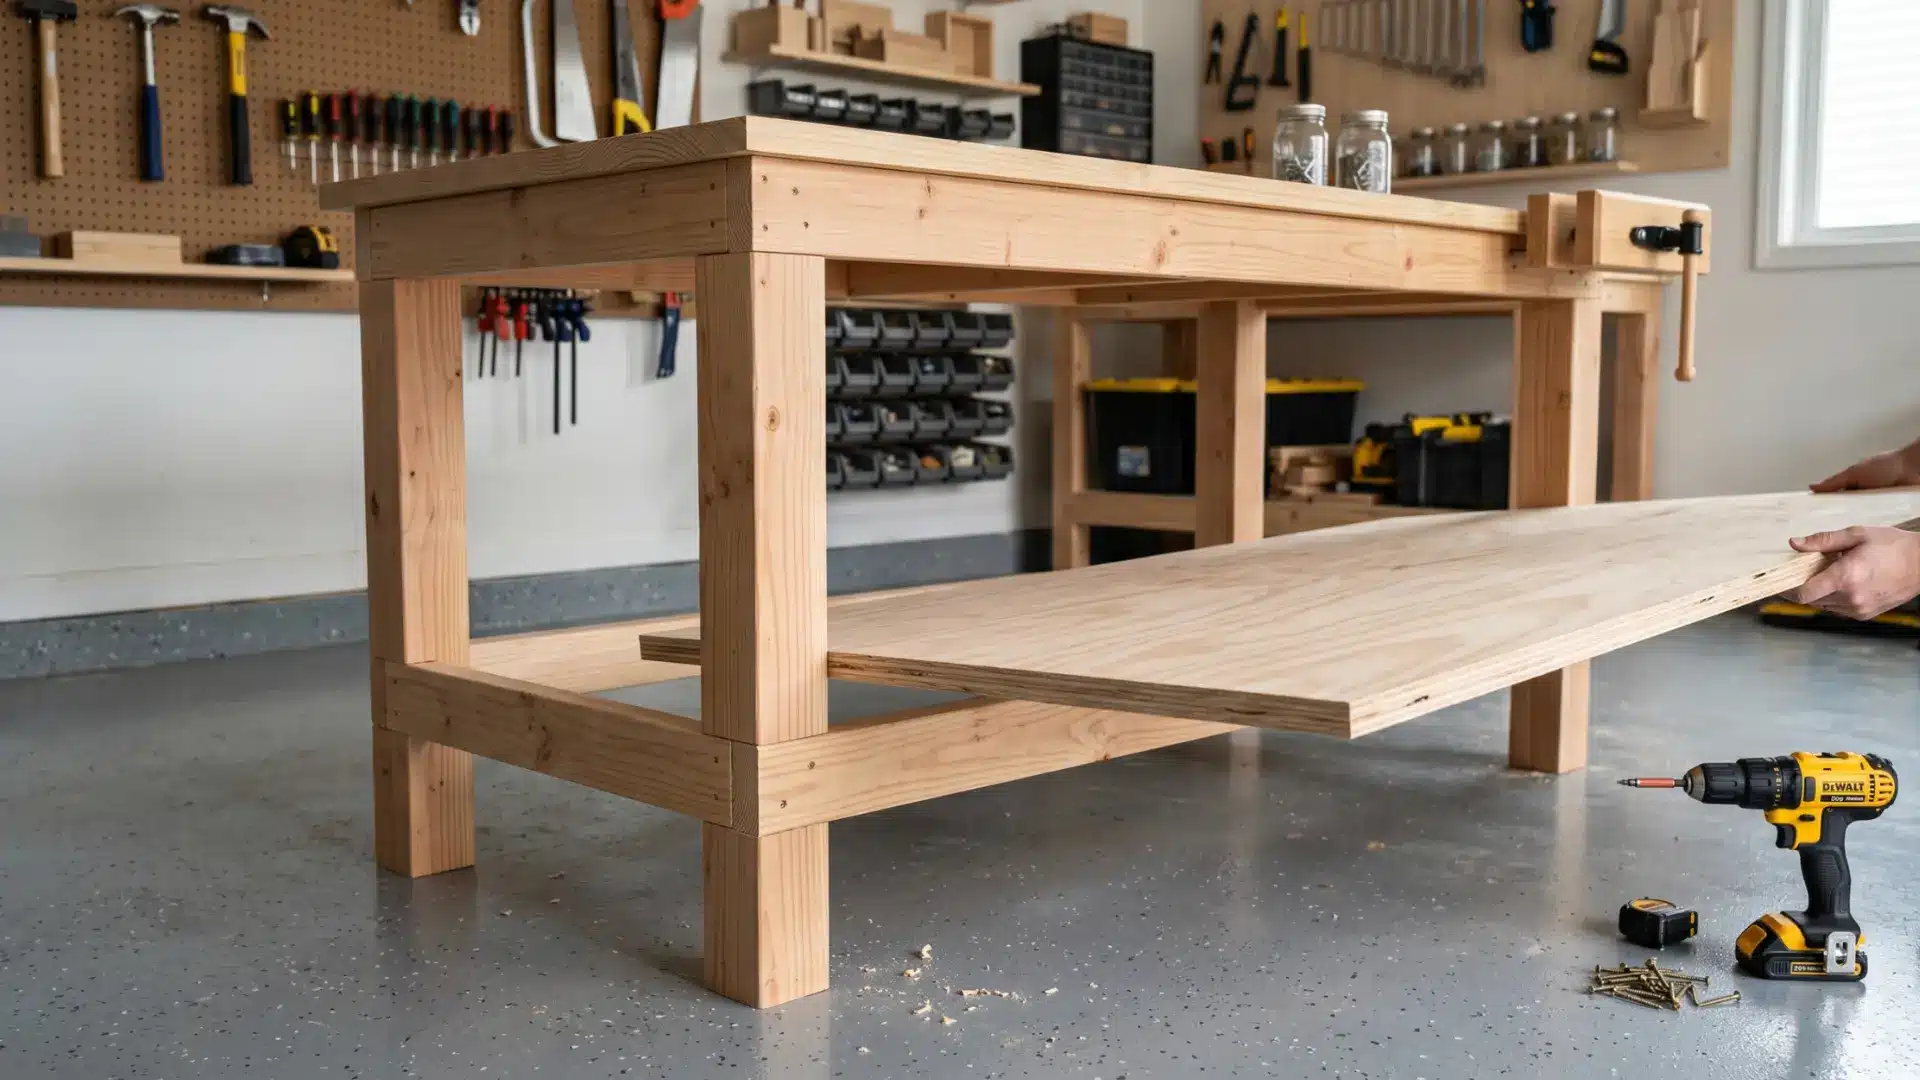
Drop your lower shelf piece into position, resting on the lower cross rails. Screw it down the same way as the work surface.
The lower shelf is useful for storing power tools, supply boxes, or workshop equipment you want off the floor but within easy reach. It also adds structural rigidity to the overall frame.
Step 6: Sand, Finish, and Seal
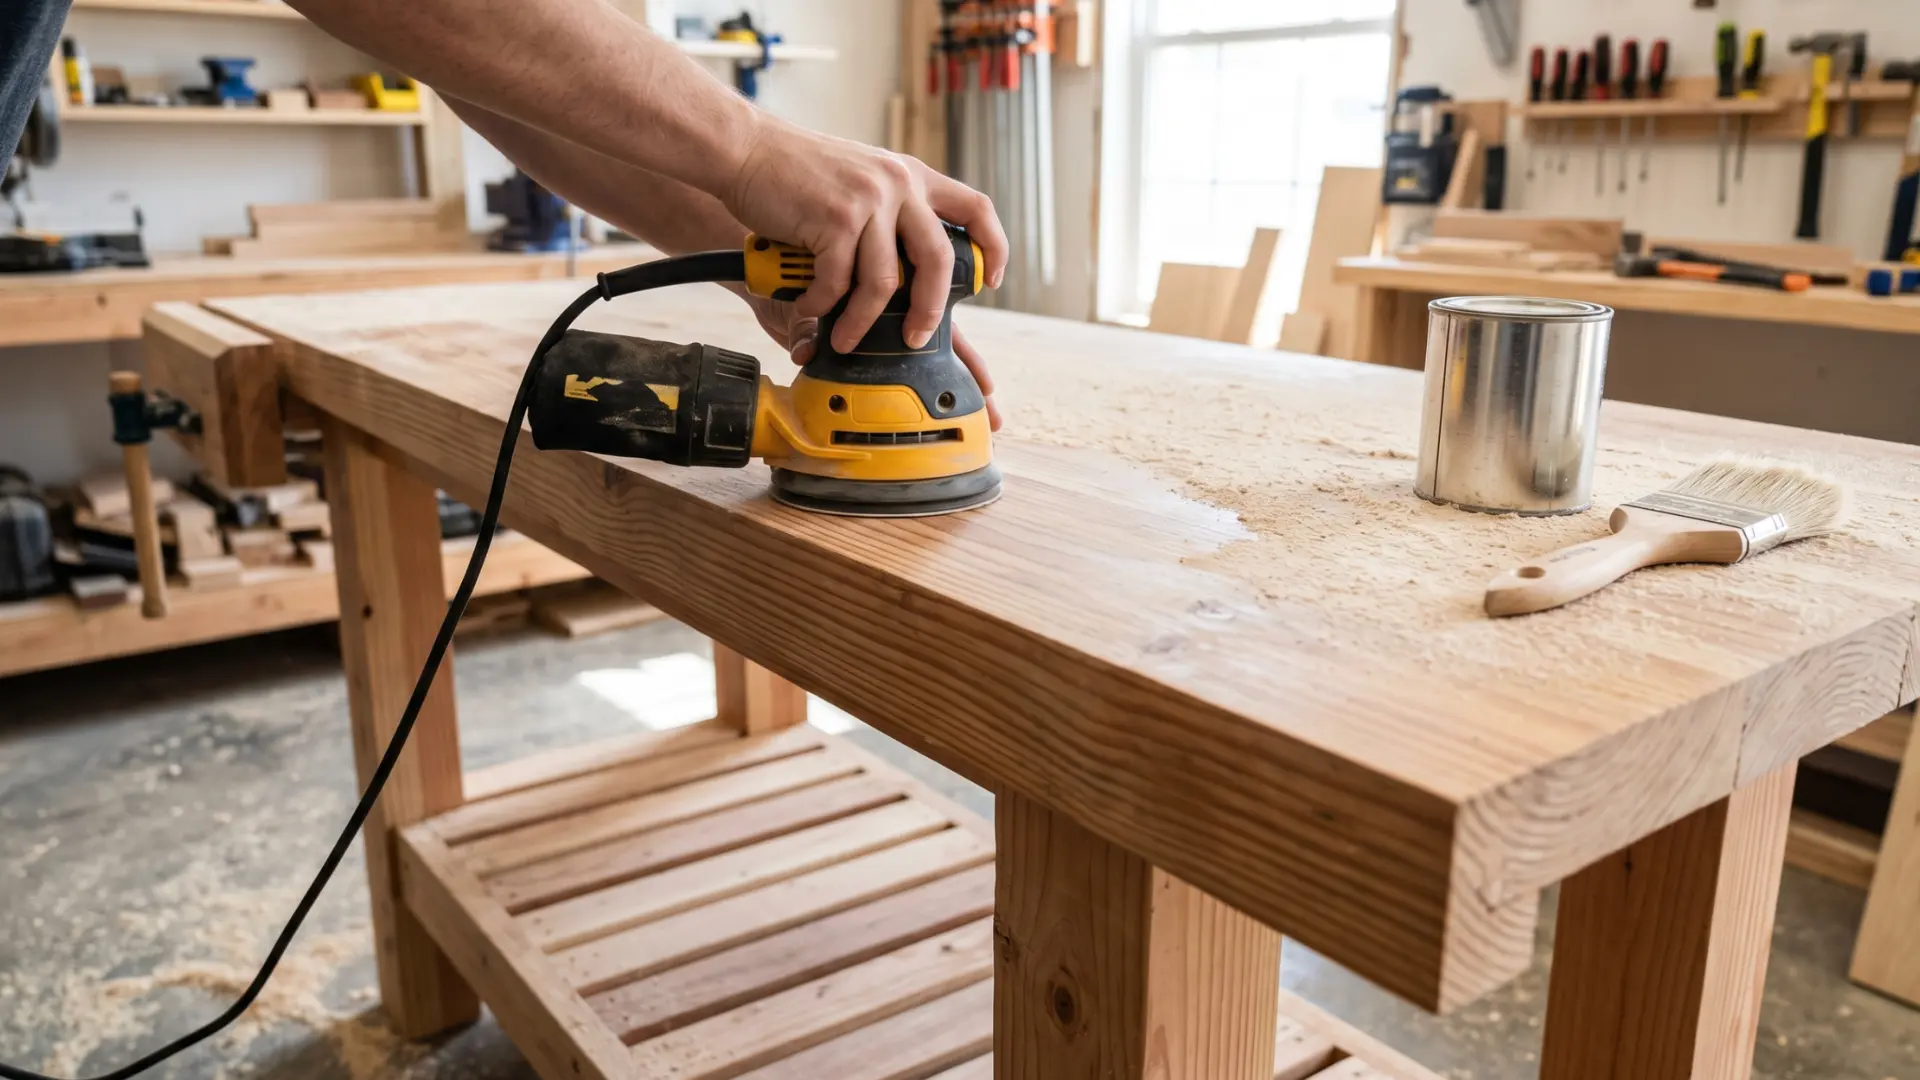
Once assembled, go over the entire bench with 120-grit sandpaper. Then, pay extra attention to edges and corners to remove any sharp points that could catch your hands during use.
For a garage workbench, apply a coat of exterior-grade wood sealant or stain. Garages and sheds expose wood to humidity fluctuations that cause untreated timber to crack and warp over time.
One coat of sealant adds years to the bench’s lifespan.
Step 7: Mount to the Wall (Optional but Recommended)
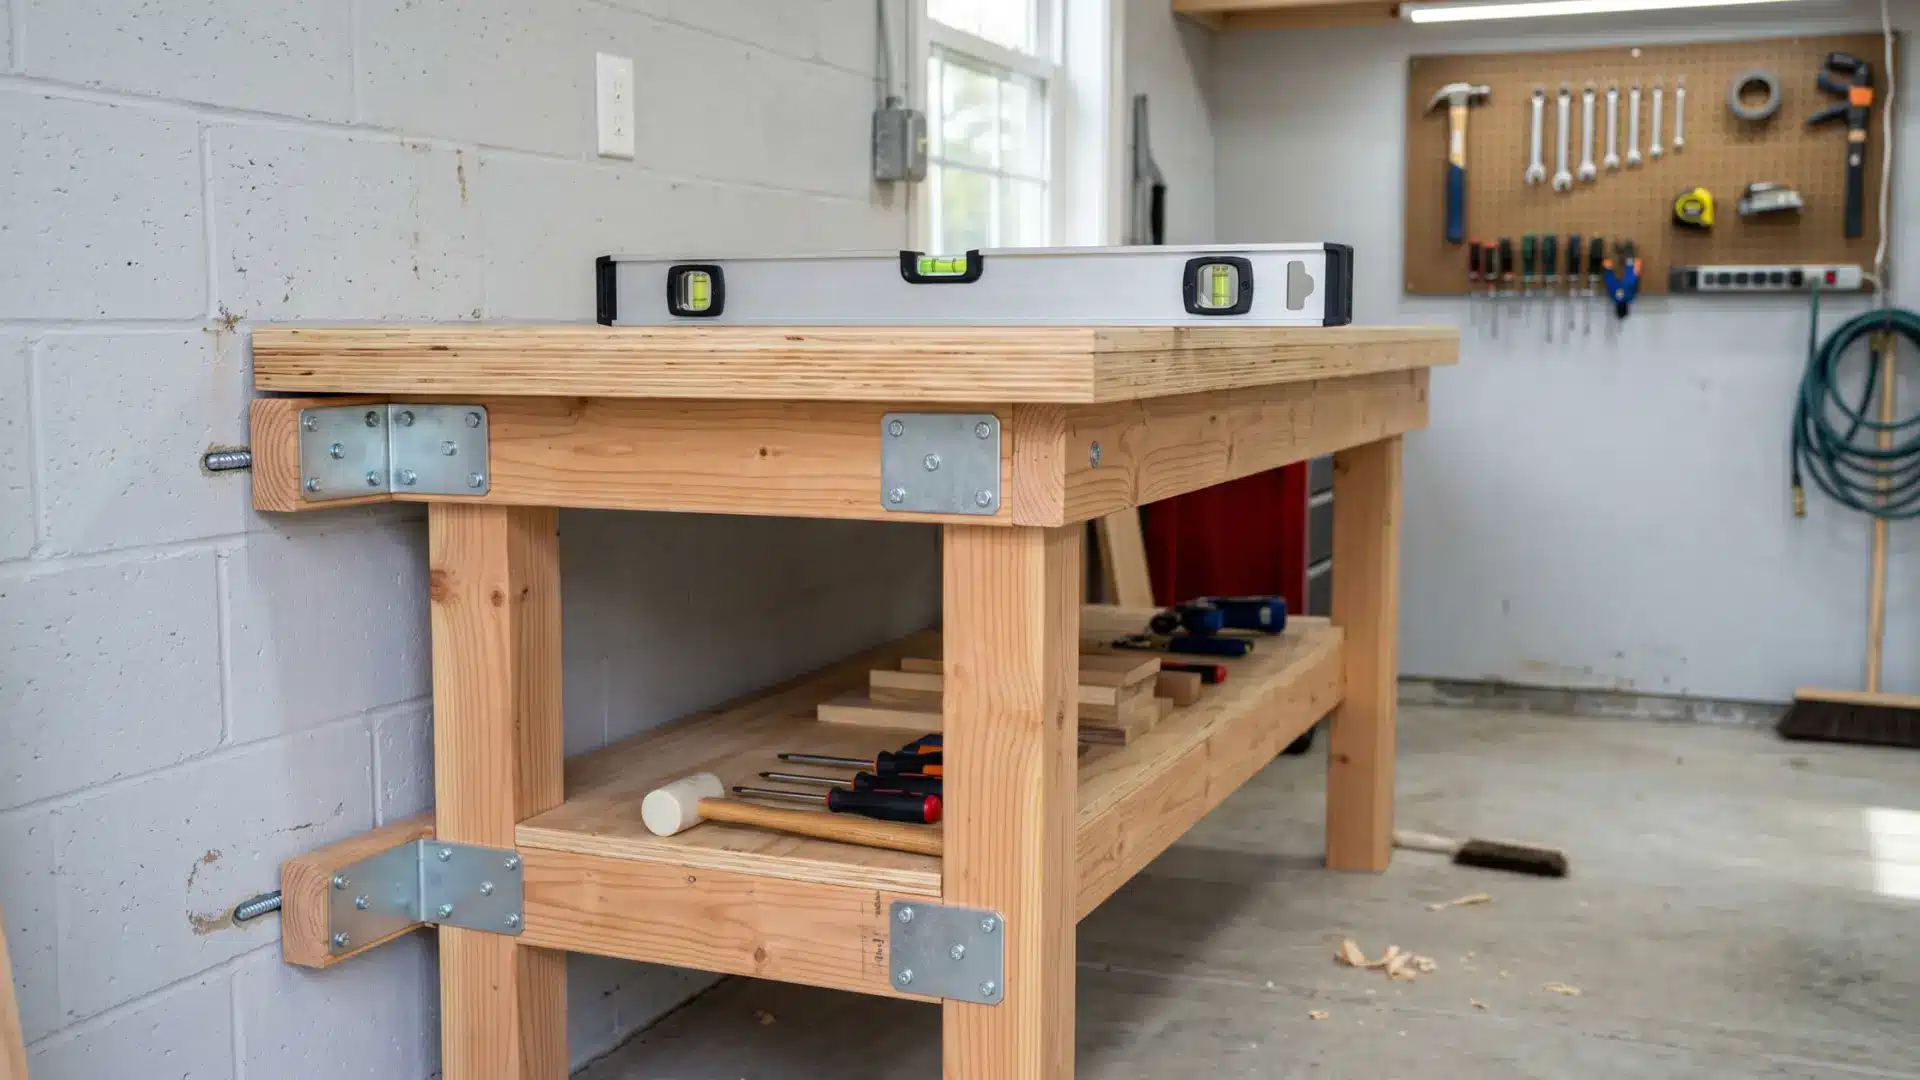
If you plan to do heavy sawing, planing, or hammering, securing the back of the bench to the wall eliminates any rocking.
Use a stud finder to locate wall studs, then fix two or three metal L-brackets through the back rail and into the studs with long screws.
A wall-anchored workbench is noticeably more stable than a freestanding one during demanding tasks.
If you want the bench to remain movable, consider fitting four heavy-duty locking casters to the legs instead. This lets you roll the bench aside for cleaning and reposition it when your workflow changes.
Just Check Out the Tutorial for Practical Knowledge!
Here are some highly viewed YouTube tutorials for building a DIY workbench that align closely with this guide:
1. Izzy Swan: Simple Workbench Build: Izzy walks through a clean, beginner-friendly build using basic materials. One of the most-watched workbench tutorials on YouTube for good reason, the process is clear and genuinely useful for a first build.
2. April Wilkerson: The Ultimate Workbench + 10 DIY Storage Solutions: April covers the full build alongside ten practical storage solutions. An excellent watch if you want a bench that does more than just sit there.
3. Family Handyman: How to Build a Simple Workbench: Clean, well-paced, and suitable for complete beginners. Family Handyman is one of the most trusted DIY sources online, and this tutorial reflects their reputation well.
How to Add Storage to Your Workbench
Once the basic bench is built, three additions make it significantly more functional:
- Pegboard wall panel: Mount a full sheet of pegboard directly to the wall above the bench. You can hang tools, clamps, drill bits, and accessories within arm’s reach, so you can see everything at a glance. Pegboard kits are widely available for $15–$40.
- Two-drawer unit: Build or attach a simple drawer unit to one end of the bench frame. This keeps small hardware, pencils, tape, and hand tools organized and off the work surface.
- Side rail with hooks: Screw a wooden rail to the side of the bench and add metal hooks. Extension leads, tape measures, hearing protection, and other frequently used items hang here ready to grab.
Common Mistakes to Avoid
A few simple errors can affect the strength and stability of your finished bench:
- Not pre-drilling holes – Driving screws directly into timber without pre-drilling often splits the wood, especially near the ends of boards.
- Skipping the glue – Screws alone hold a joint, but wood glue adds significant strength. Use both for every joint in the frame.
- Not checking for square – A frame built even slightly out of square will wobble. Check with a carpenter’s square at every stage before driving screws.
- Choosing the wrong wood thickness for the work surface – Anything thinner than 3/4 inch will flex under pressure. Stick to 3/4 inch plywood or thicker for the top.
- Building too short or too tall – Always measure your ideal working height before cutting the legs. A bench at the wrong height causes back strain over time.
Frequently Asked Questions
1. How long does it take to build a DIY Workbench?
A basic DIY workbench can be built in four to six hours with the right tools and pre-cut timber.
2. What wood is best for a DIY workbench?
Construction-grade 2×4 timber for the frame and 3/4 inch plywood for the surface are the most practical and affordable choices.
3. Do I need special tools to build a workbench?
A circular saw, power drill, tape measure, and speed square are enough to complete a basic workbench build.
4. How much does it cost to build a DIY workbench?
A basic DIY workbench can be built for as little as $50 to $150 using materials from Home Depot or Lowe’s.
Final Thoughts
A well-planned DIY workbench is one of the best additions any home workshop can have.
Understanding the right dimensions, materials, and assembly techniques helps builders of all skill levels create a setup that is safe and long-lasting.
From choosing the correct working height to sealing the wood for long-term durability, every small decision contributes to a bench that genuinely performs.
Every builder has a different space, budget, and skill level, and learning from others makes the process far smoother.
Have you built your own workbench? Share your experience, tips, or questions in the comments below to help fellow DIY enthusiasts.

James McLaren, with a rich background in architecture from the University of Manchester, has been contributing his expertise to the world of creative construction and home innovation for over 20 years. His journey began as a project manager for a leading construction firm, where he honed his skills in bringing complex designs to life. James joined our platform as a freelancer in 2019, quickly becoming a favorite for his insightful and practical advice. He has been a pivotal force to our wing ever since, bringing our readers a blend of technical know-how and creative flair. Beyond his professional life, James is an avid woodworker and enjoys restoring vintage furniture, a hobby that complements his professional insights beautifully.